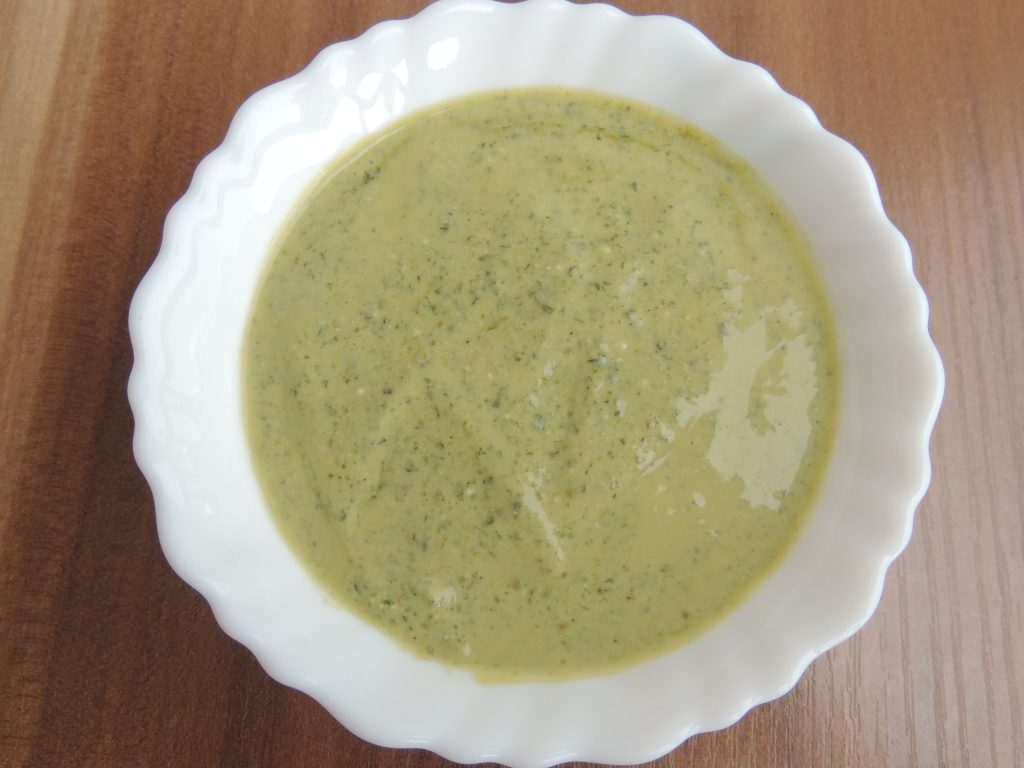
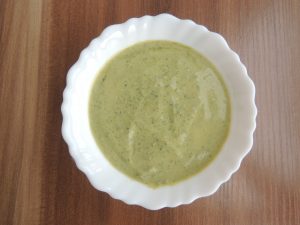
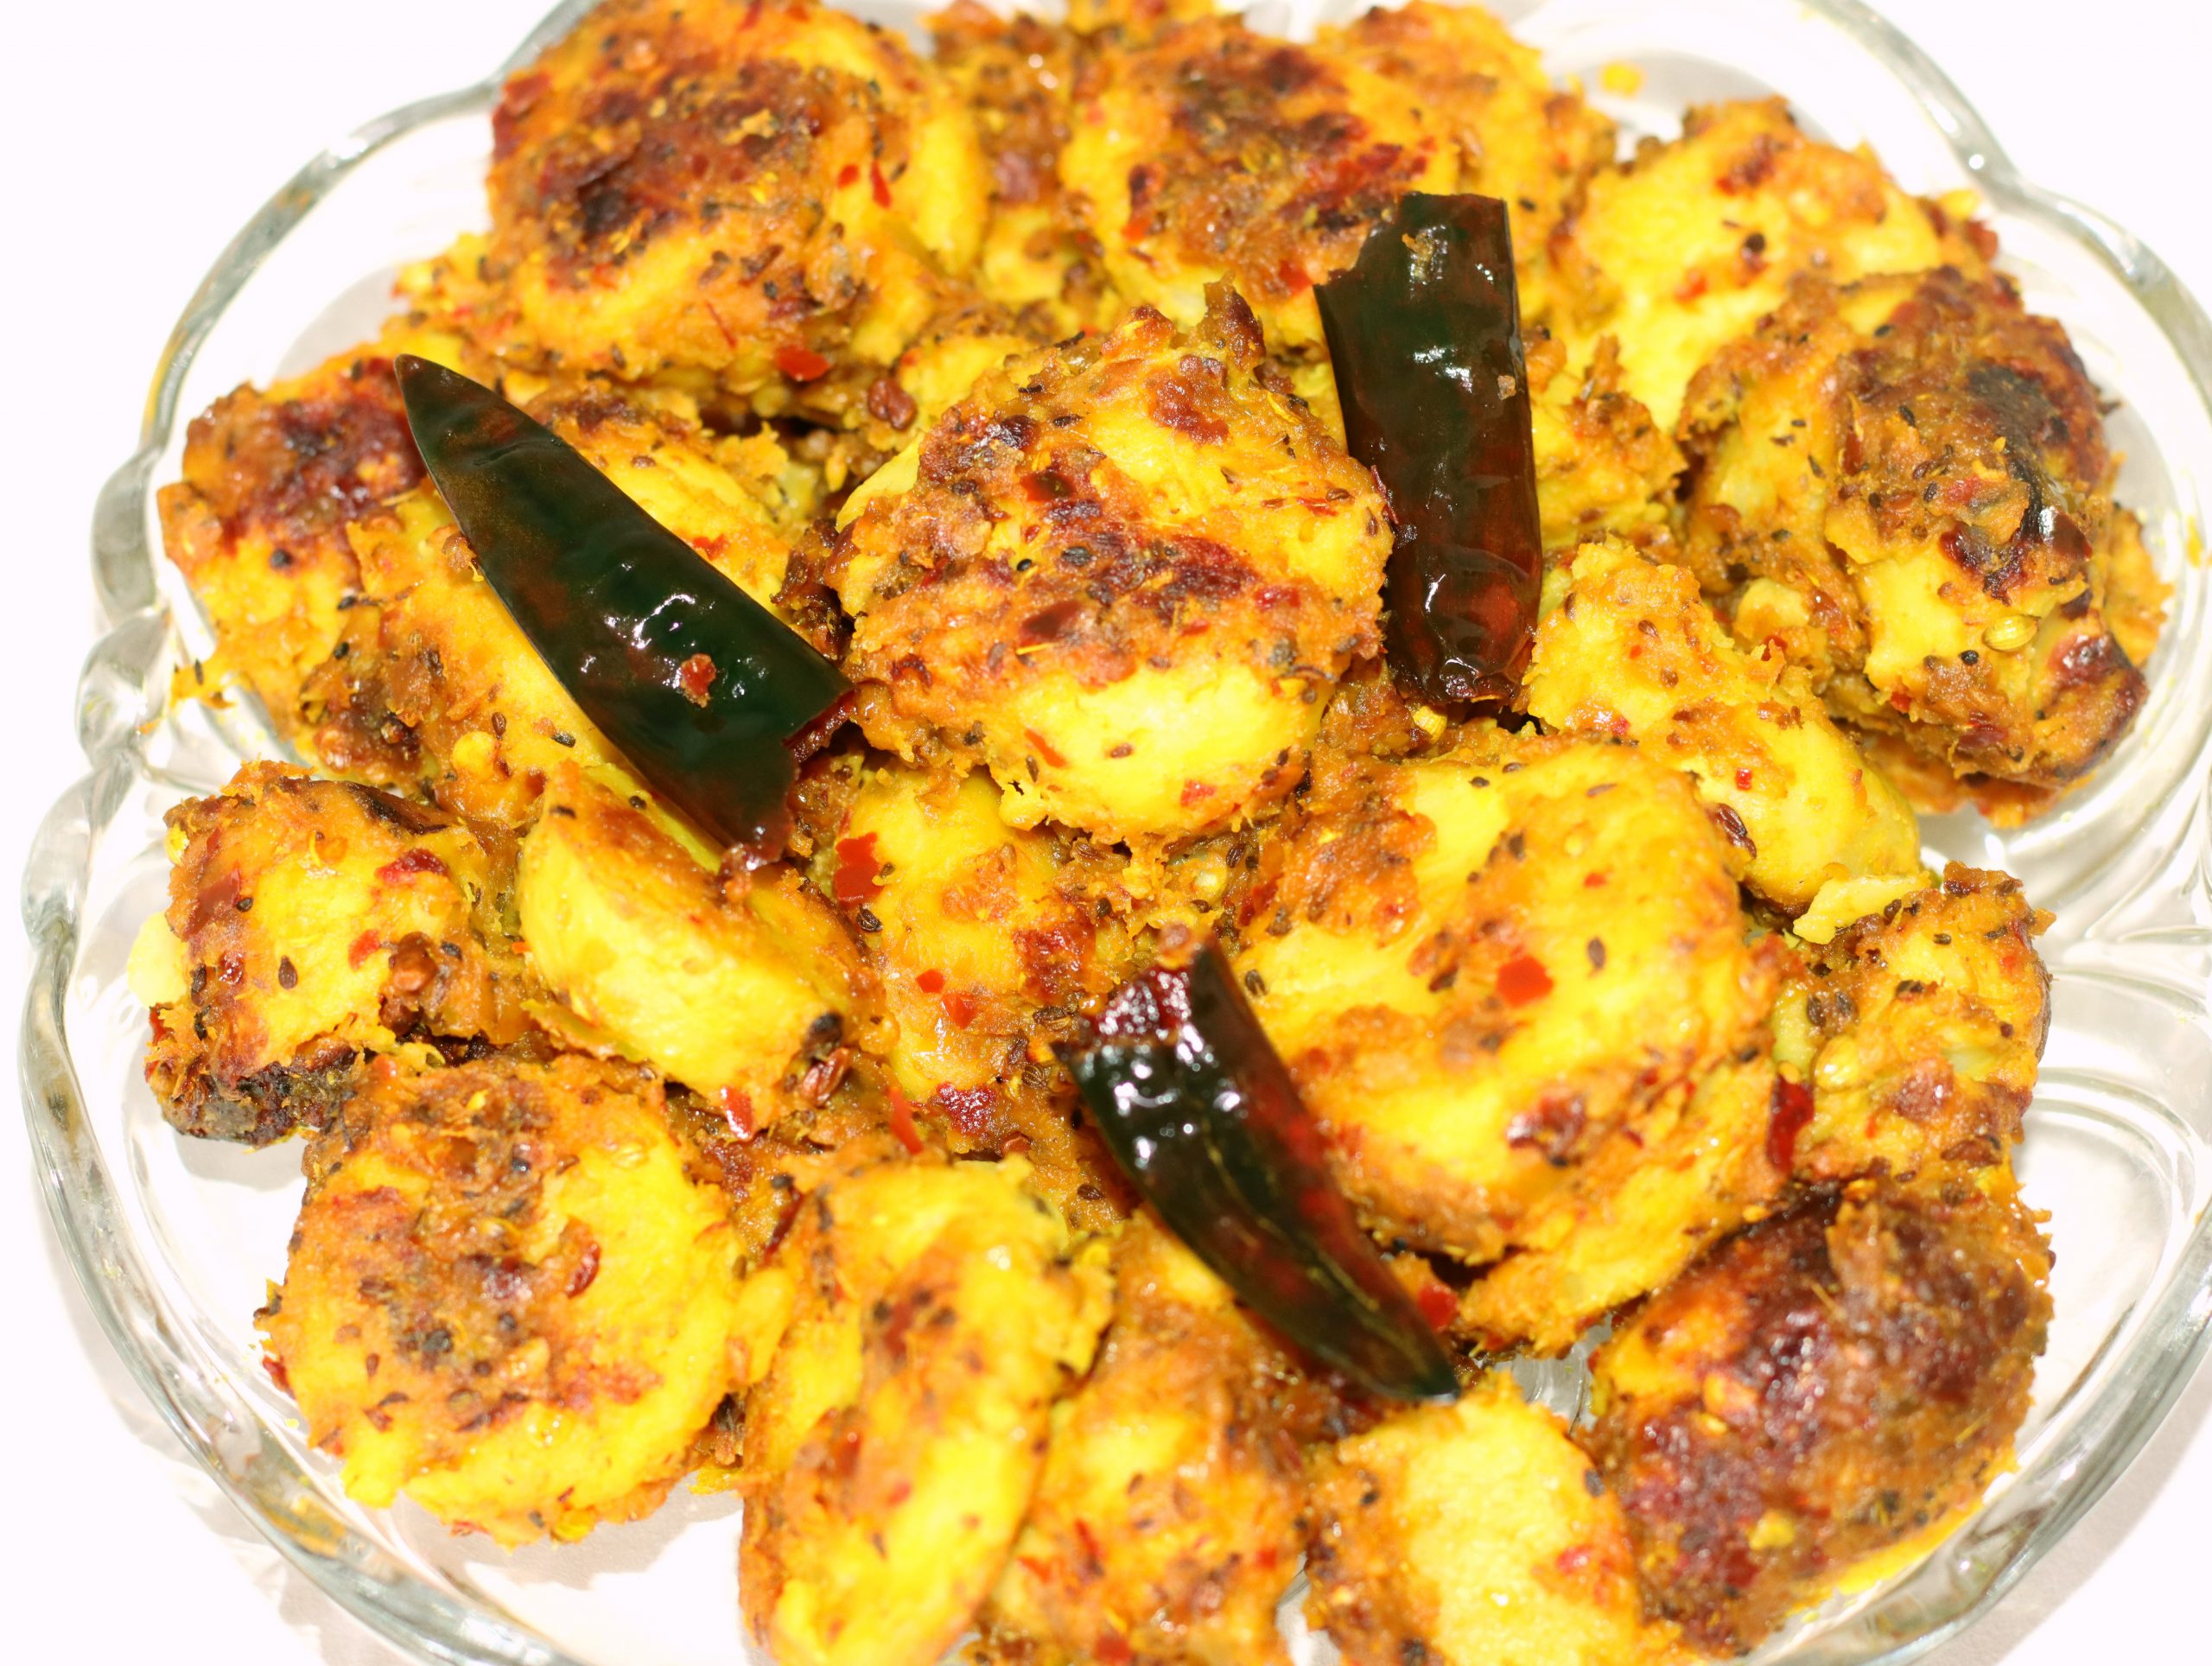
Pointed Gourd Curd / Parwal Dahi Recipe
Parwal is abundant in minerals and vitamins. Green vegetables are also very delicious to consume and essential for health.
There are many individuals who do not like eating parwal at all, but do you understand that in relation to vitamin-A, vitamin-B1, vitamin B2 and vitamin-C, calcium is also discovered in abundance, which is the quantity of calories.
Today I will tell you such dry vegetable of Parwal that even if you do not like the vegetable of Parwal, it will also lick fingers after eating the vegetable and will make dry parwal recipe again and again.
Servings 4 People
Calories 28kcal
Equipment
- Kadhai / Fry Pan
- Big Spoon
- Knife
- Plate
Ingredients
- 200 Grams Pointed Gourd
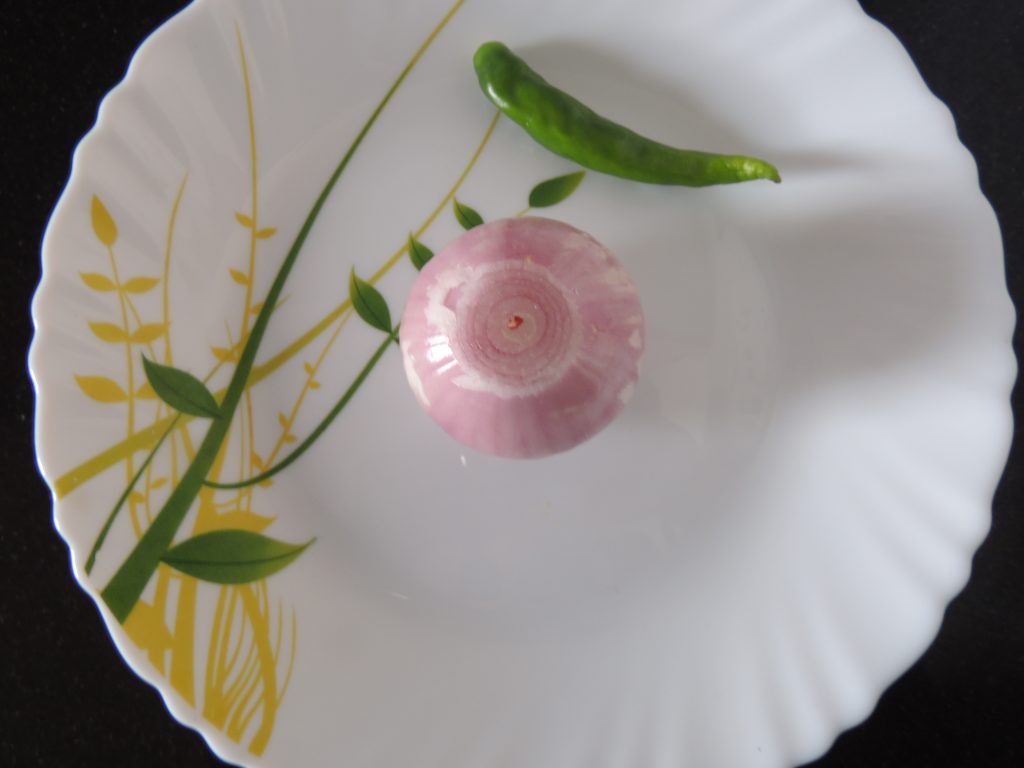
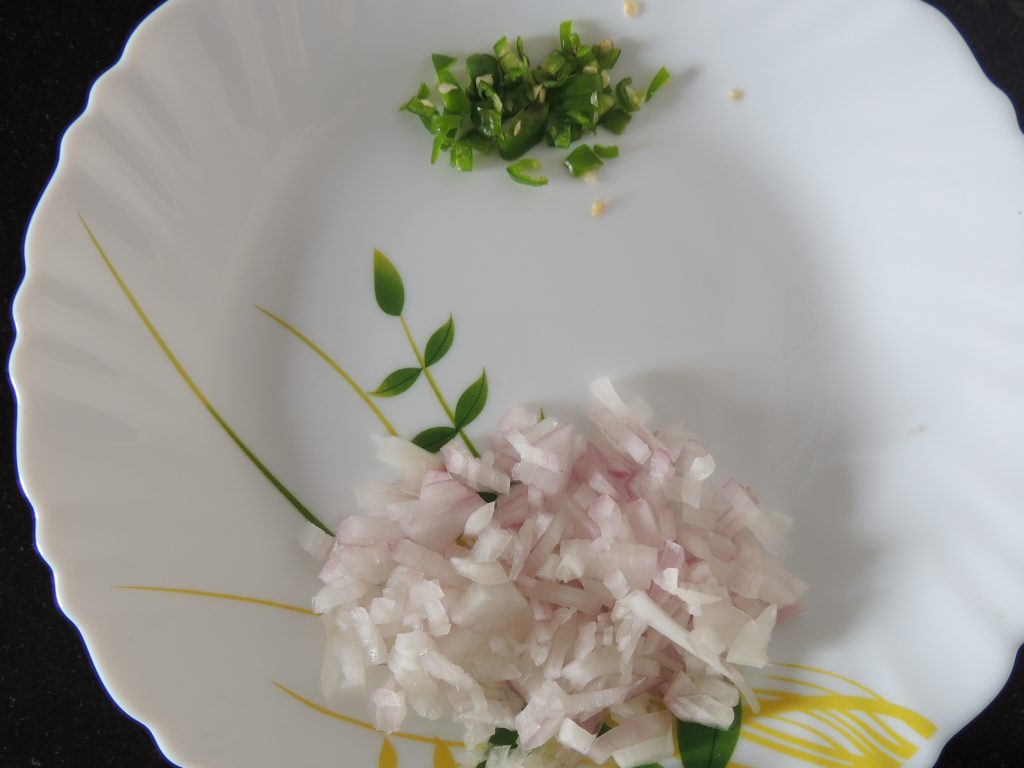
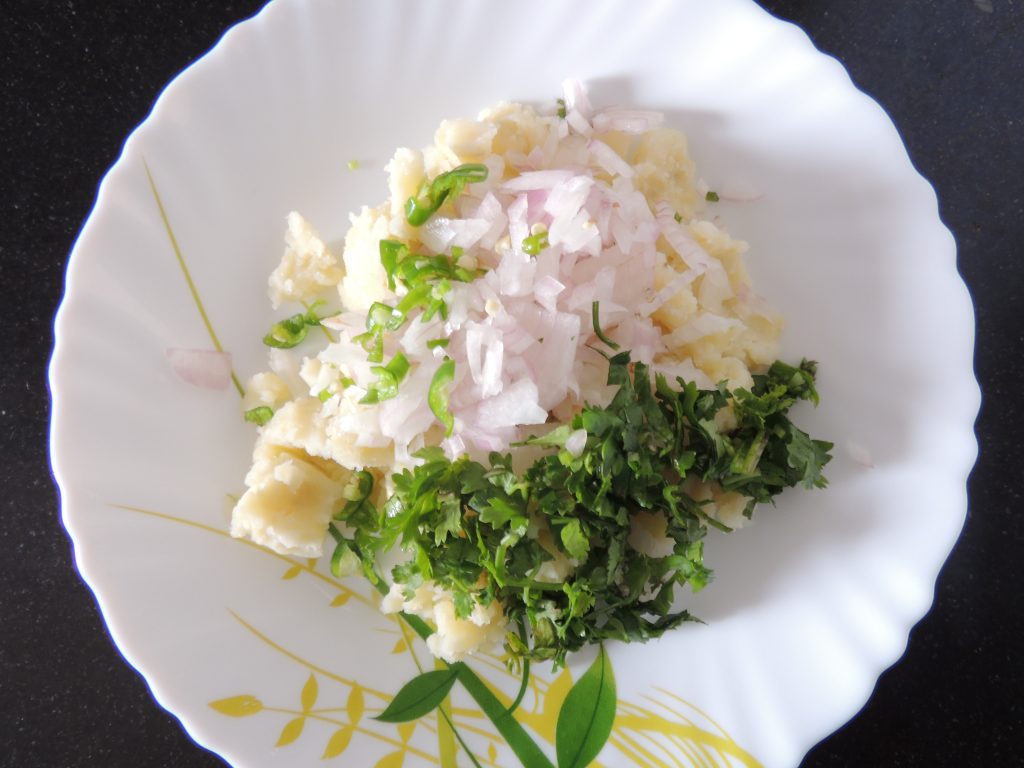
- 1 Unit Onion / Pyaz, chopped
- 1 Unit Green Chilli / Hari Mirch, chopped
- 2 Unit Whole Red Chilly / Lal Mirch, break in two pieces
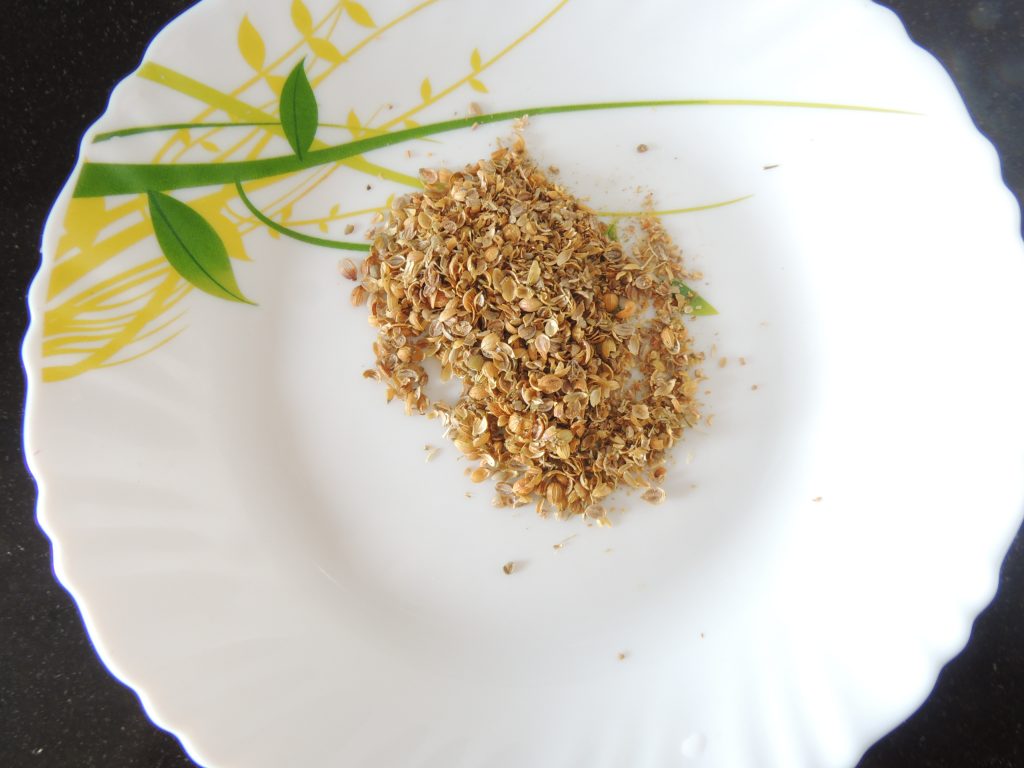
- 1 tsp Coriander Seeds / Khadi Dhaniya, Break coriander seed in mortar and pestle
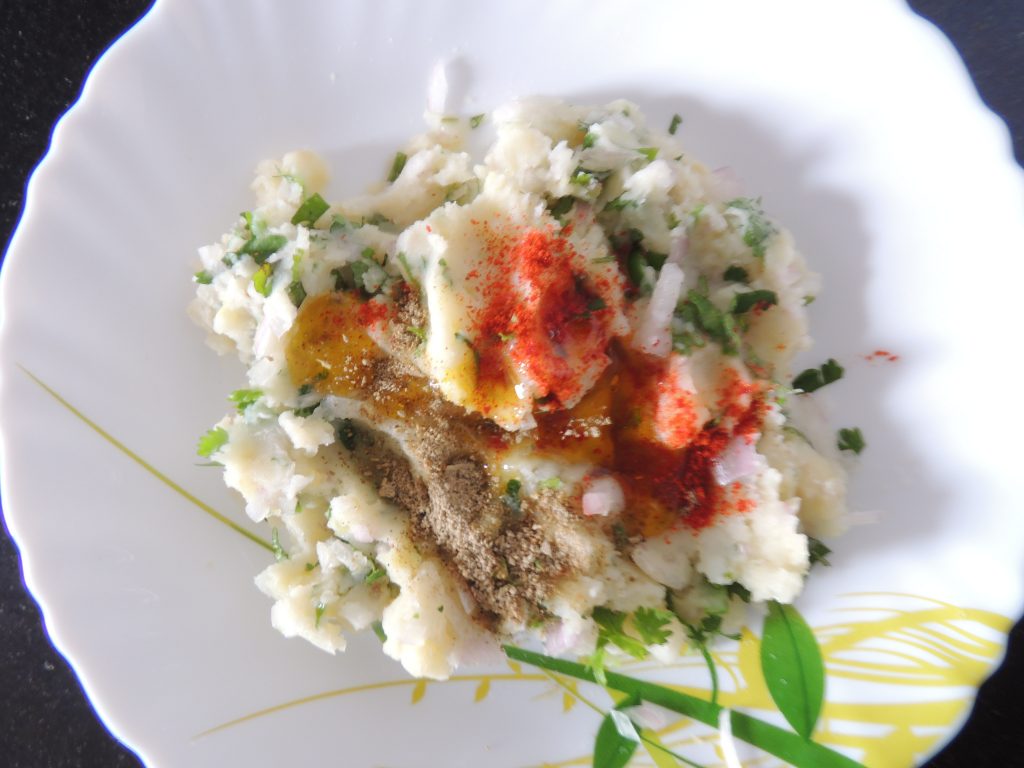
- 1/2 tsp Turmeric (haldi) powder
- 2 tsp Oil / Tel
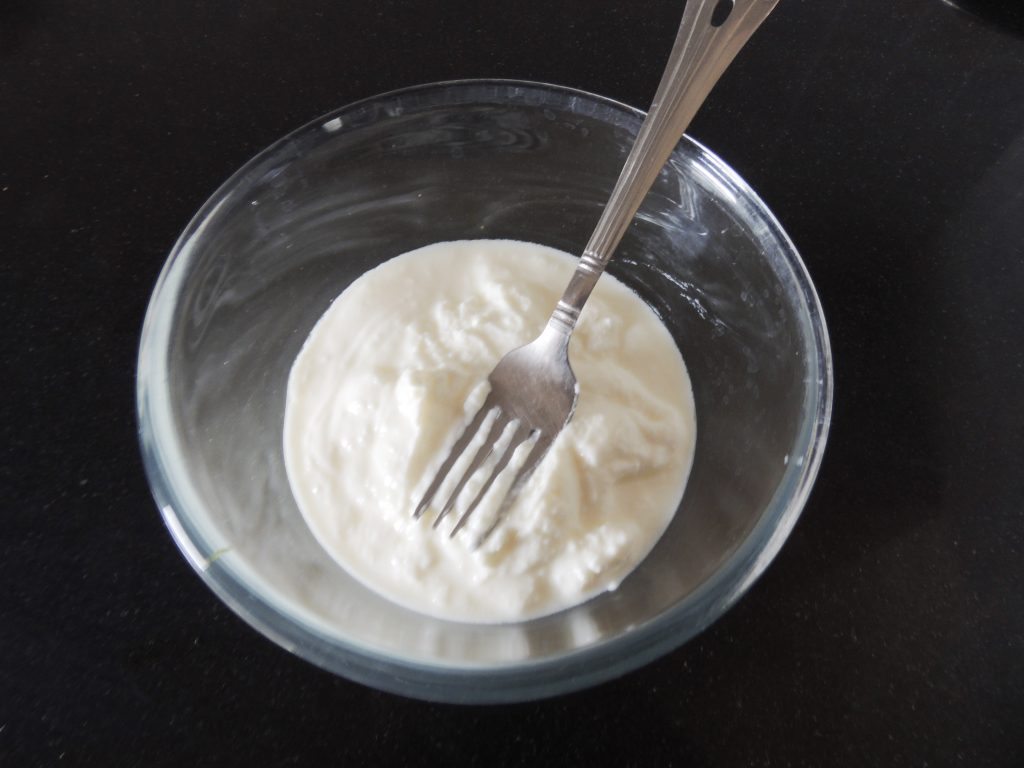
- 2 tsp Curd / Dahi / Yogurt, Beat the curd
- 1 tsp Coriander leave / Dhaniya Patti, chop coriander leave
- 2 tsp Oil
Instructions
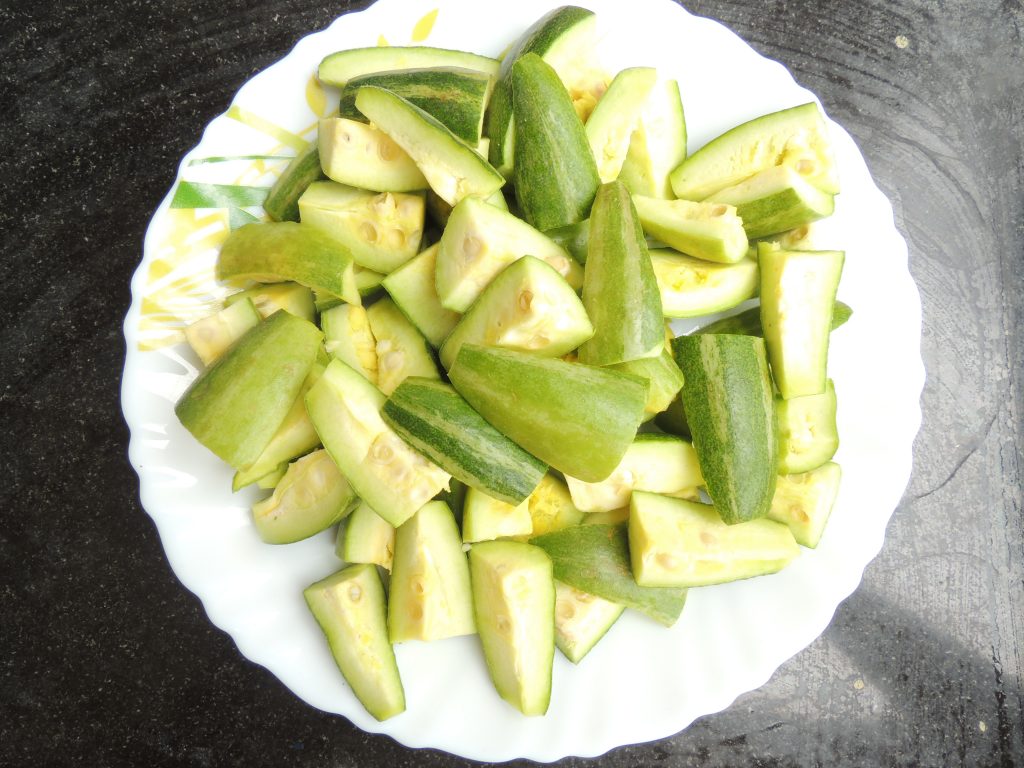
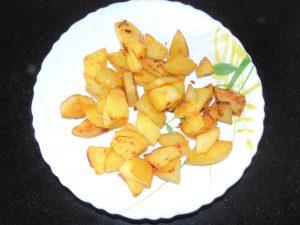
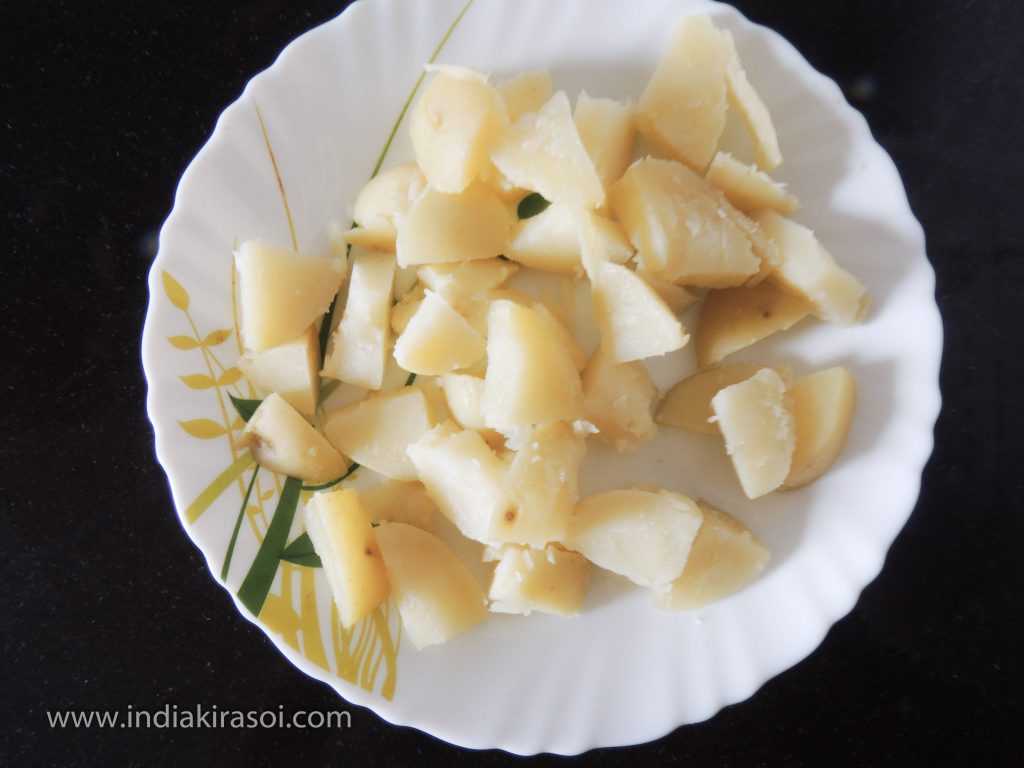
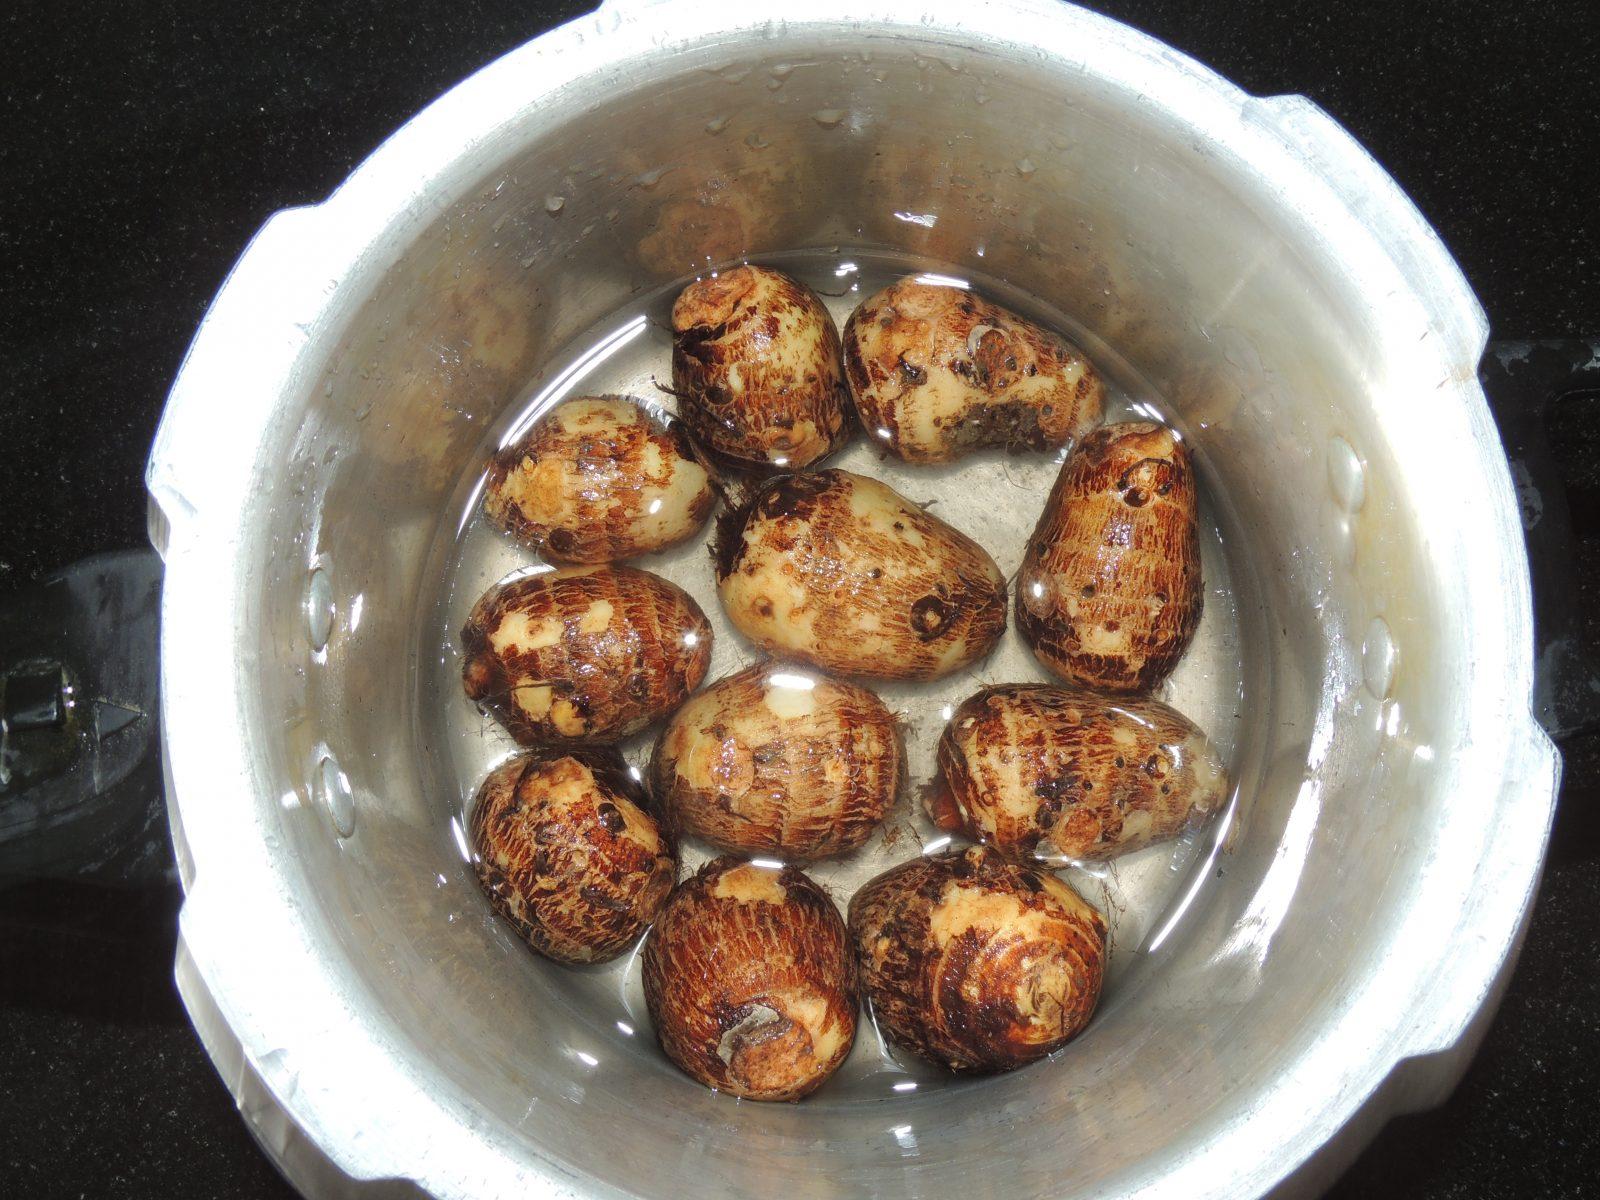
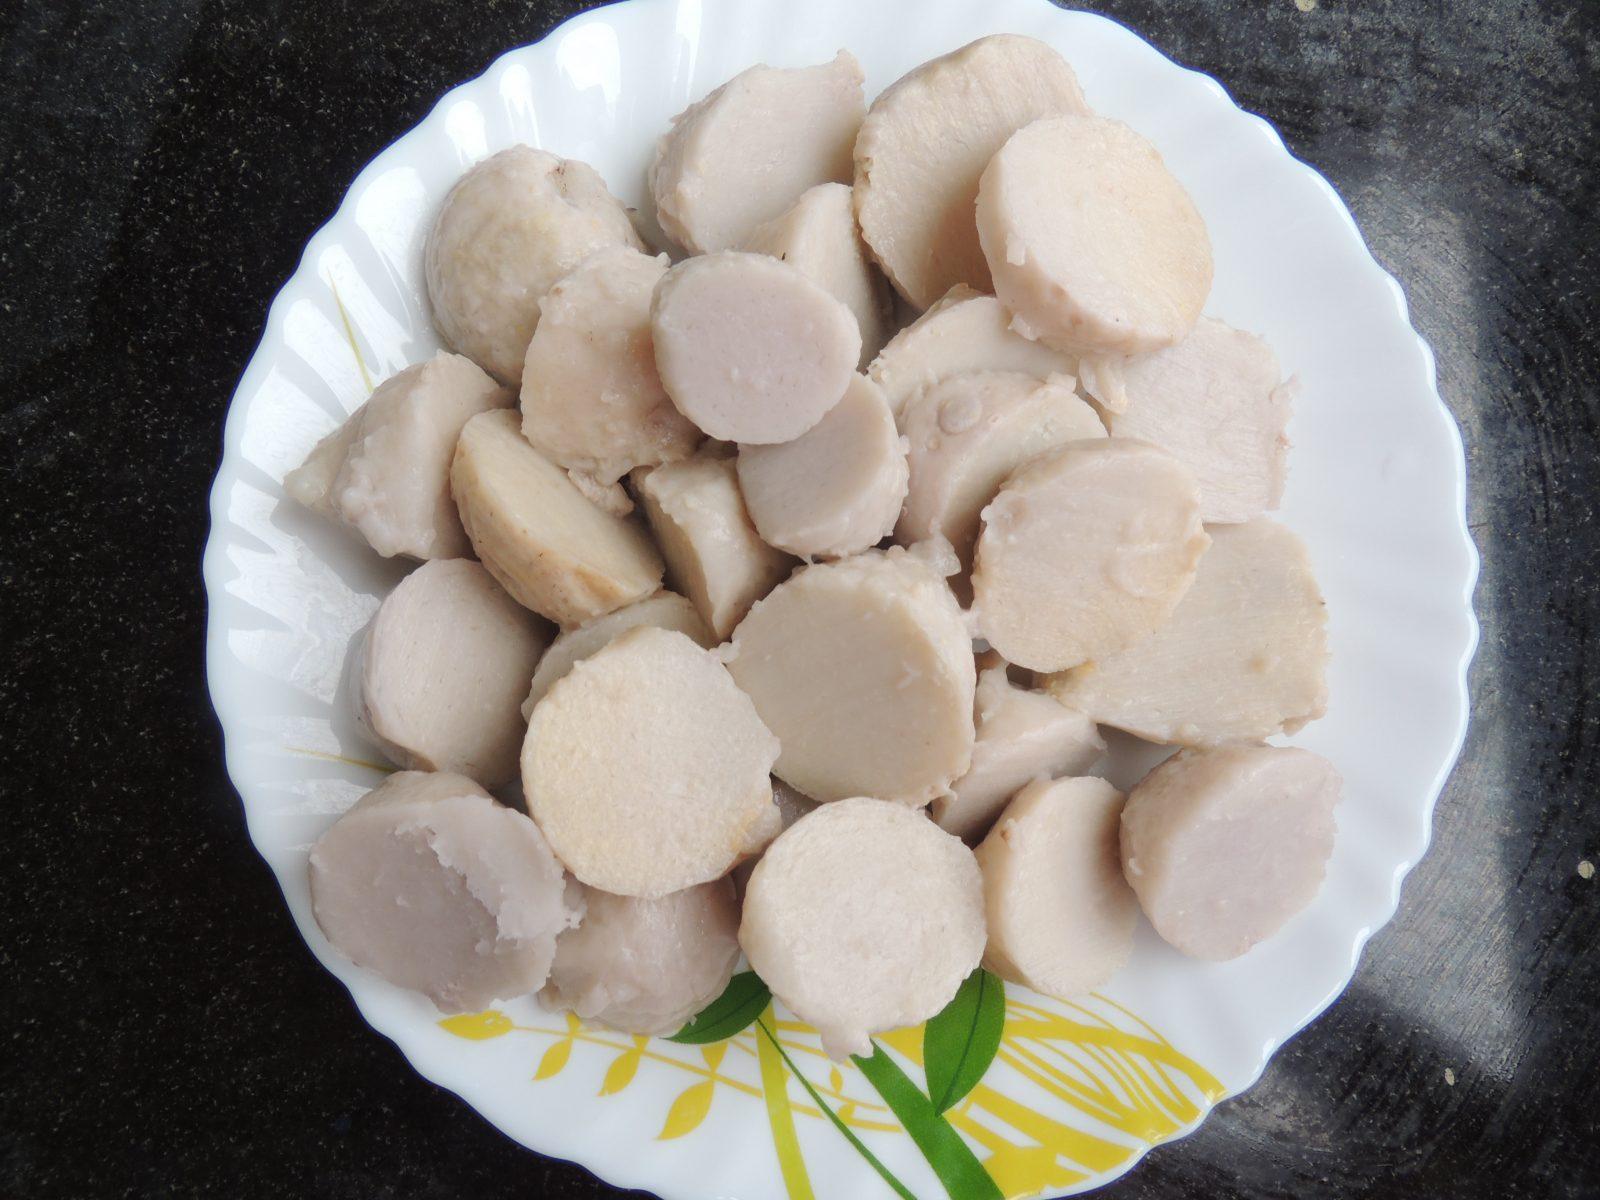
- First rinse the pointed gourd / parwal with water. And cut one pointed gourd into 4 pieces.

- Take an onion and chop it well.
- Crush the coriander seed coarsely with mortar and pestle.
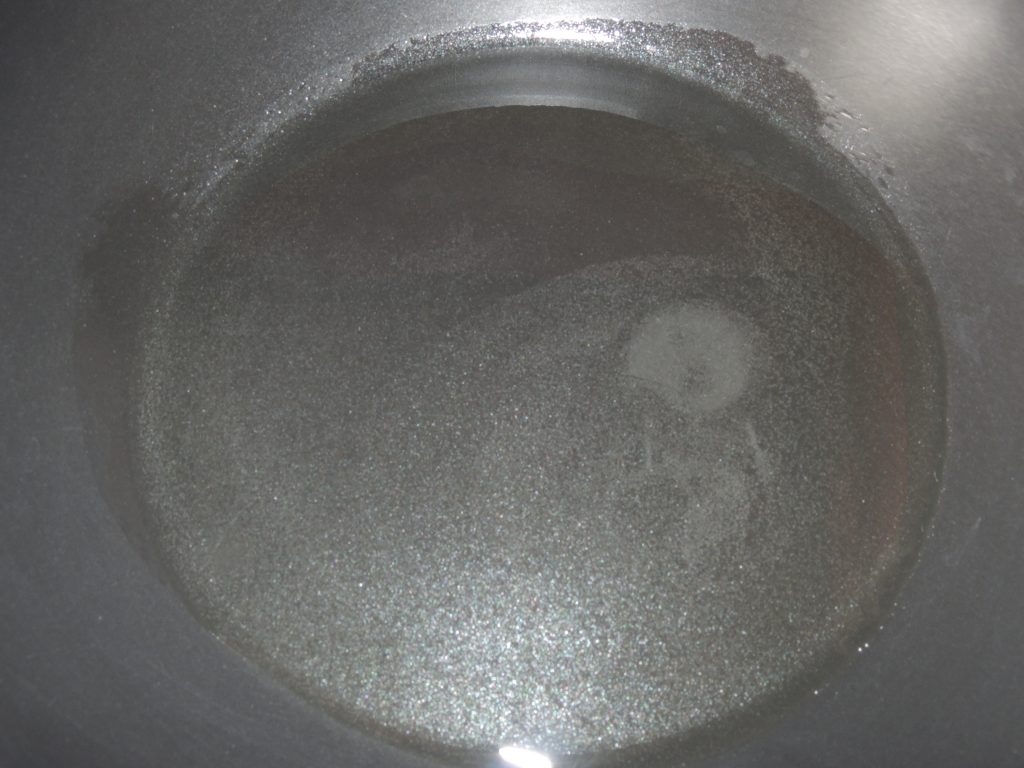
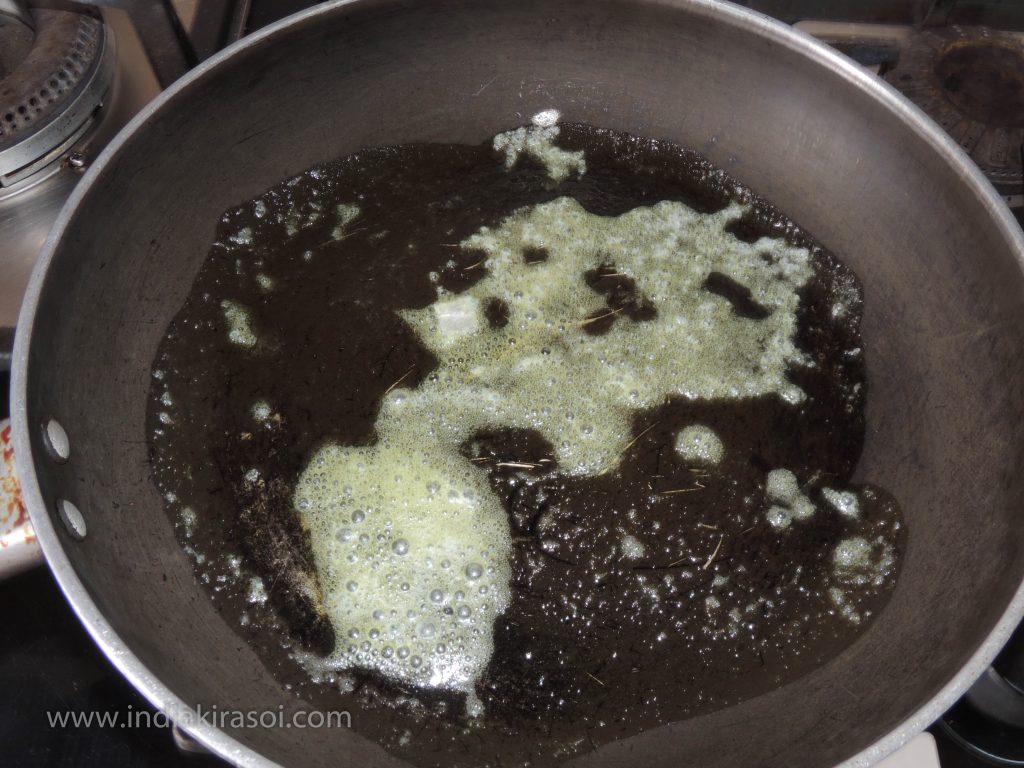
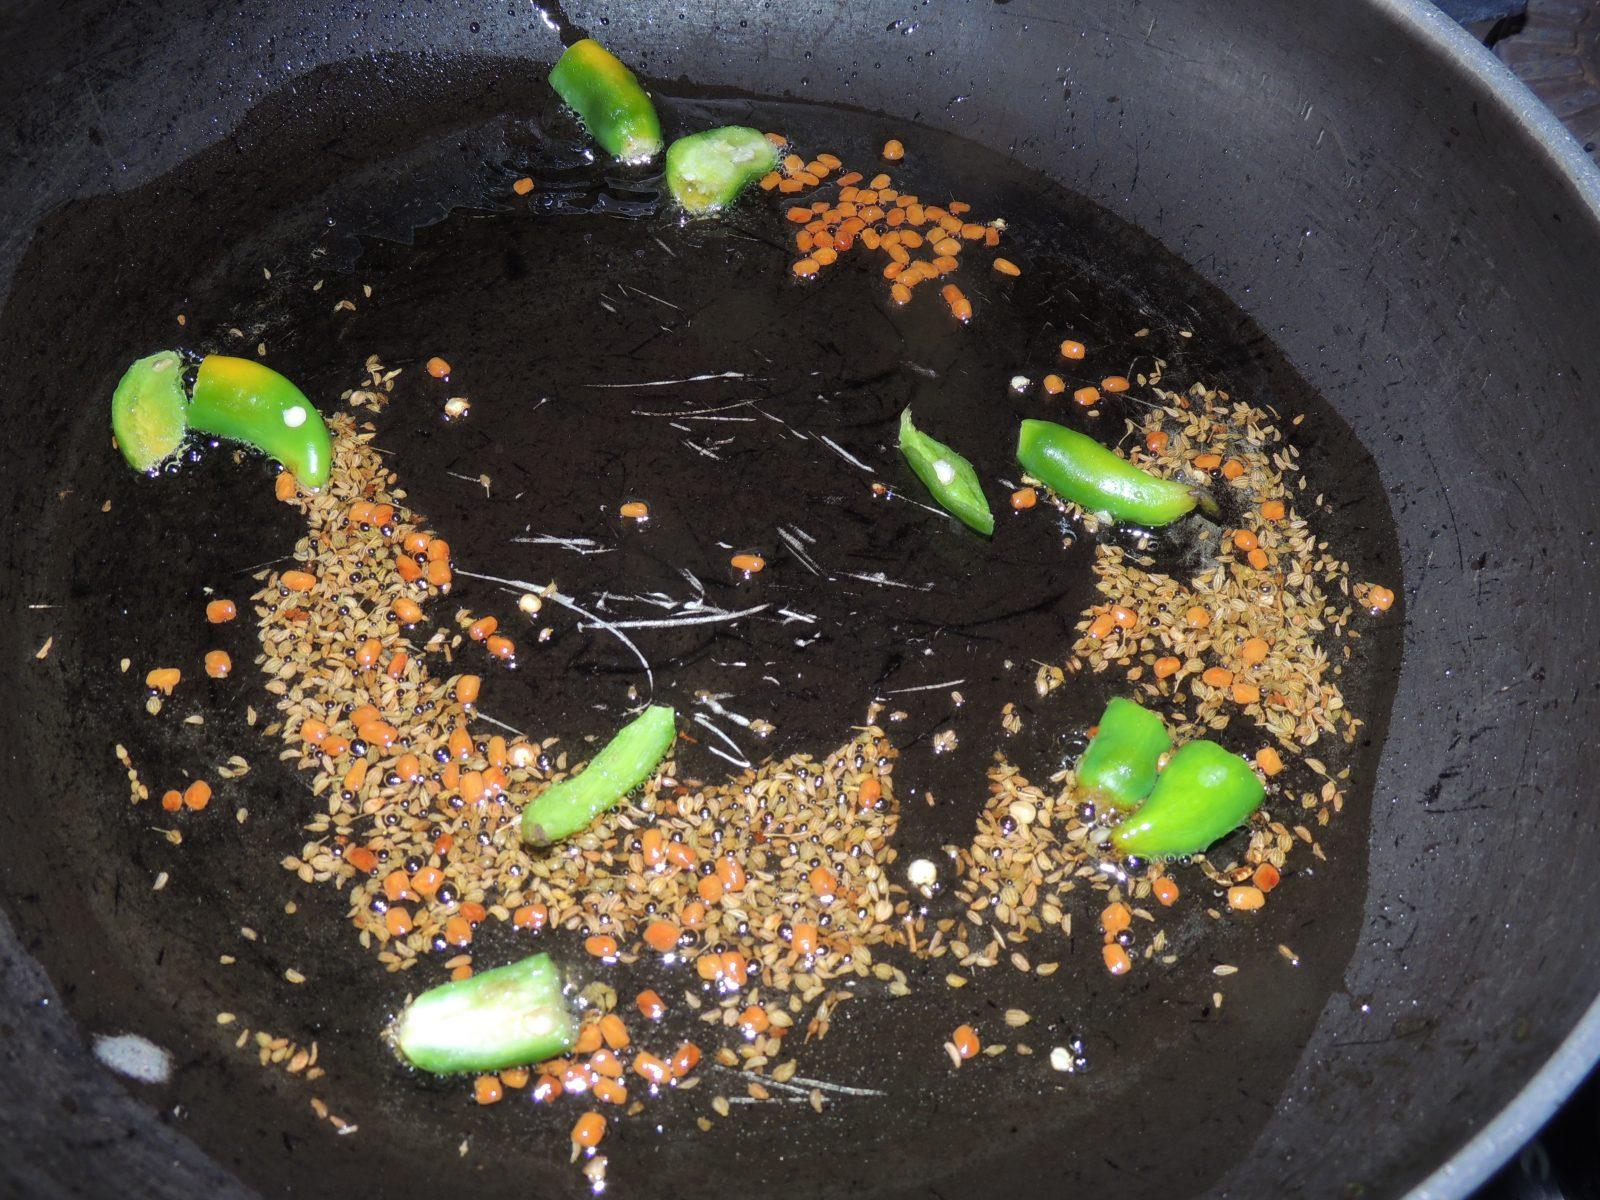
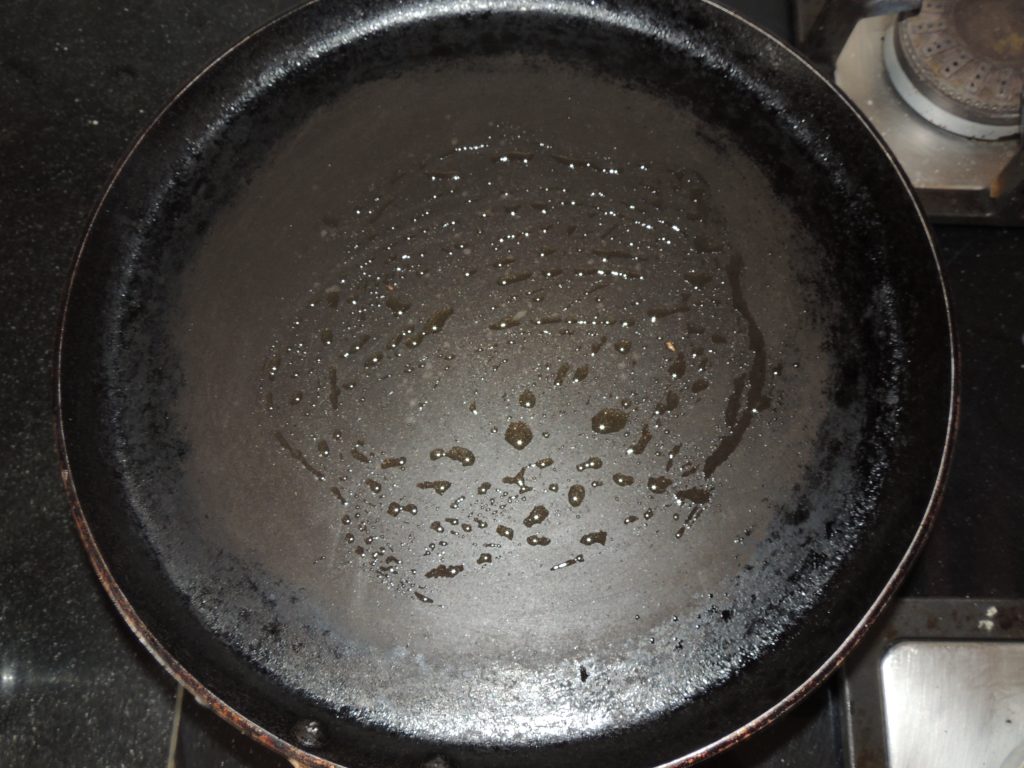
- Now put the kadai / fry pan on the gas. Add 2 tsp of oil in kadai / fry pan.
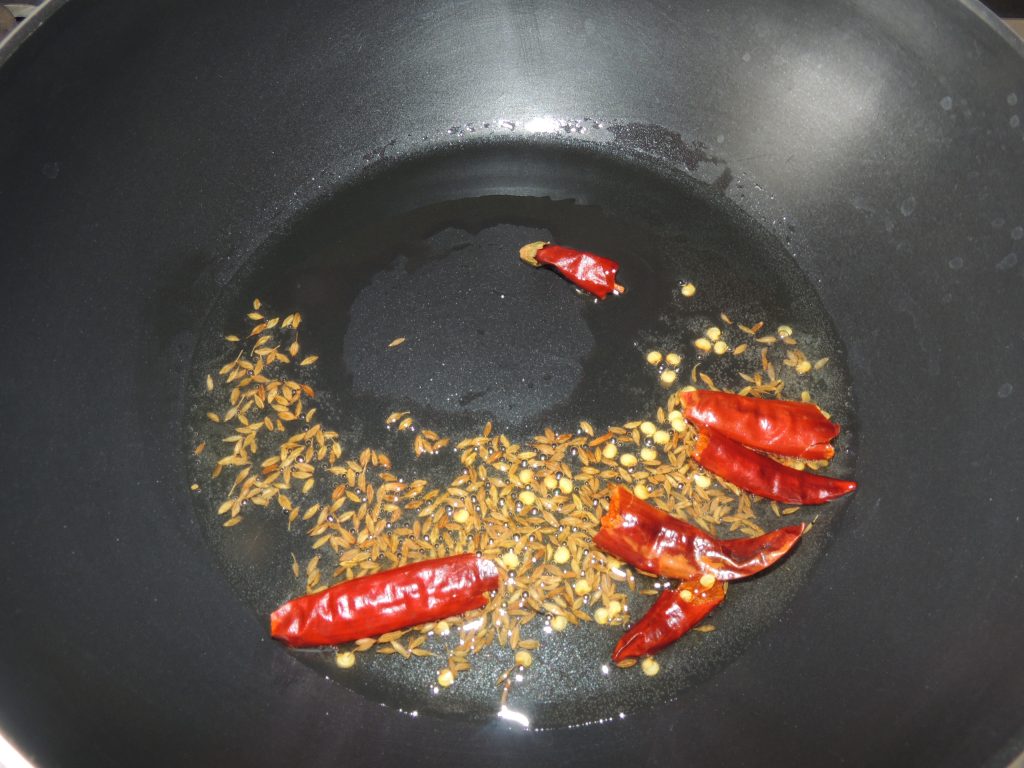
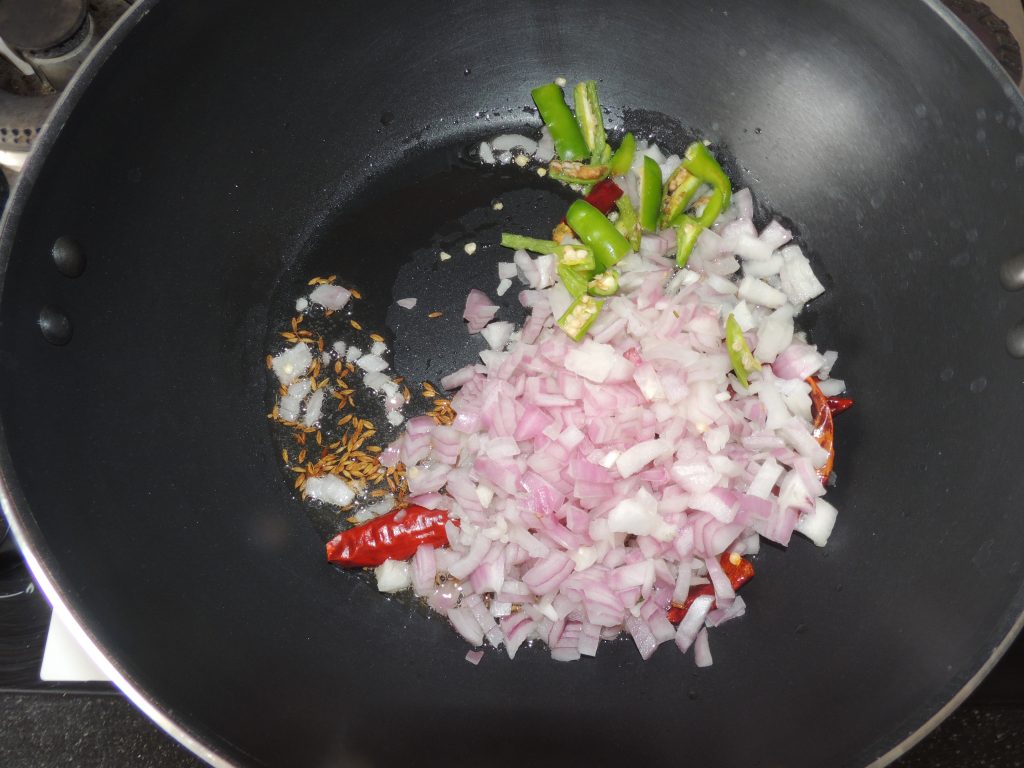
- Then add cumin seeds to the oil. When the cumin seeds start crackling add red chillies.
- After 10 seconds add chopped green chilli and chopped onion.
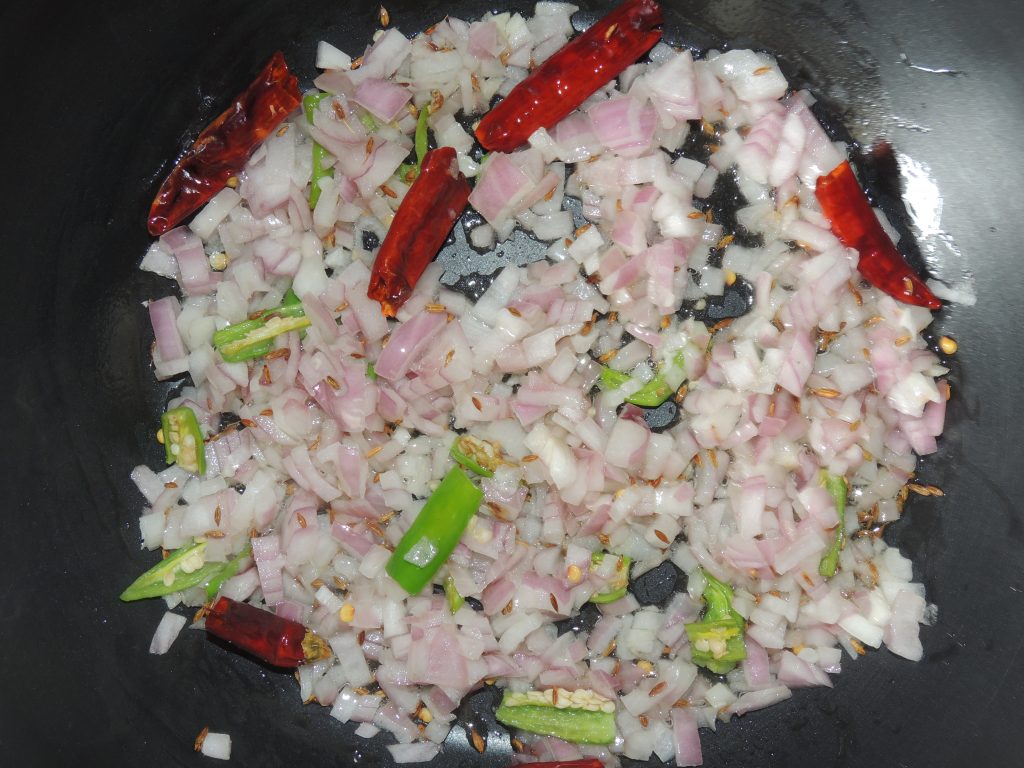
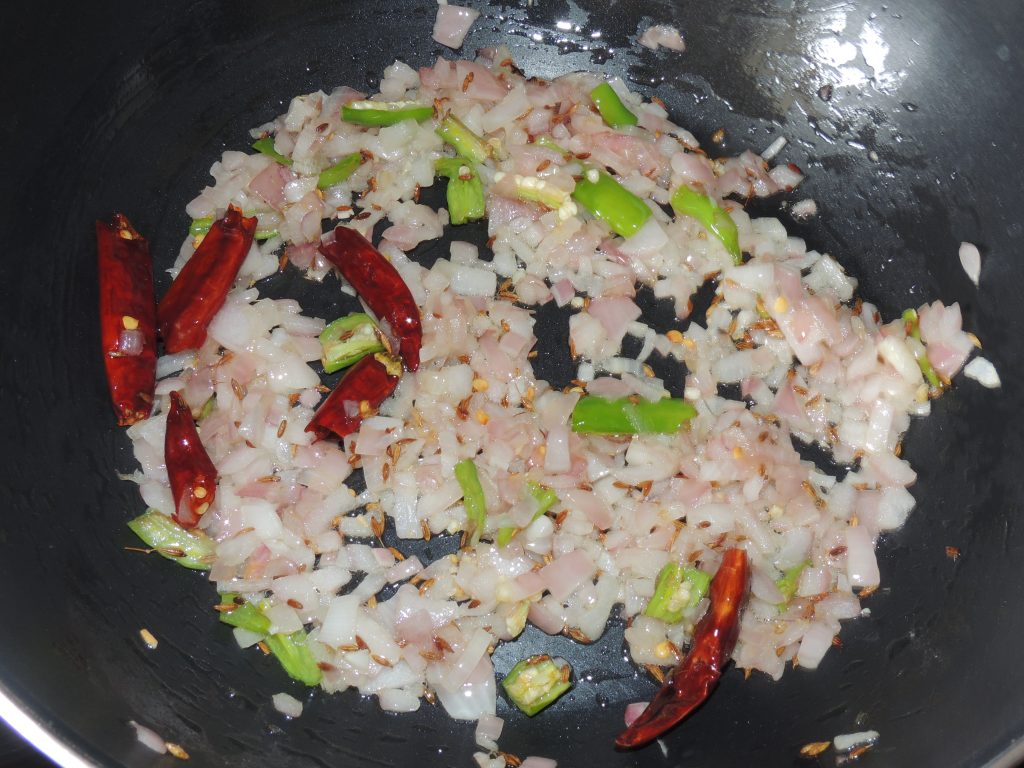
- Stir spices with spatula.
- Fry until light pink.
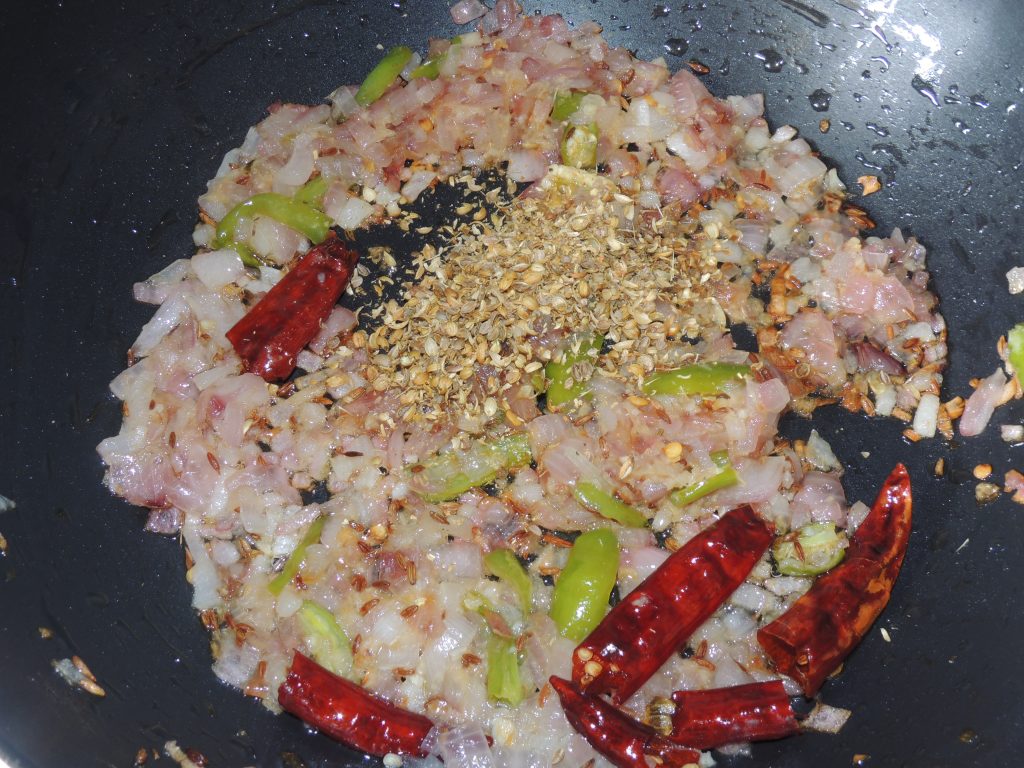
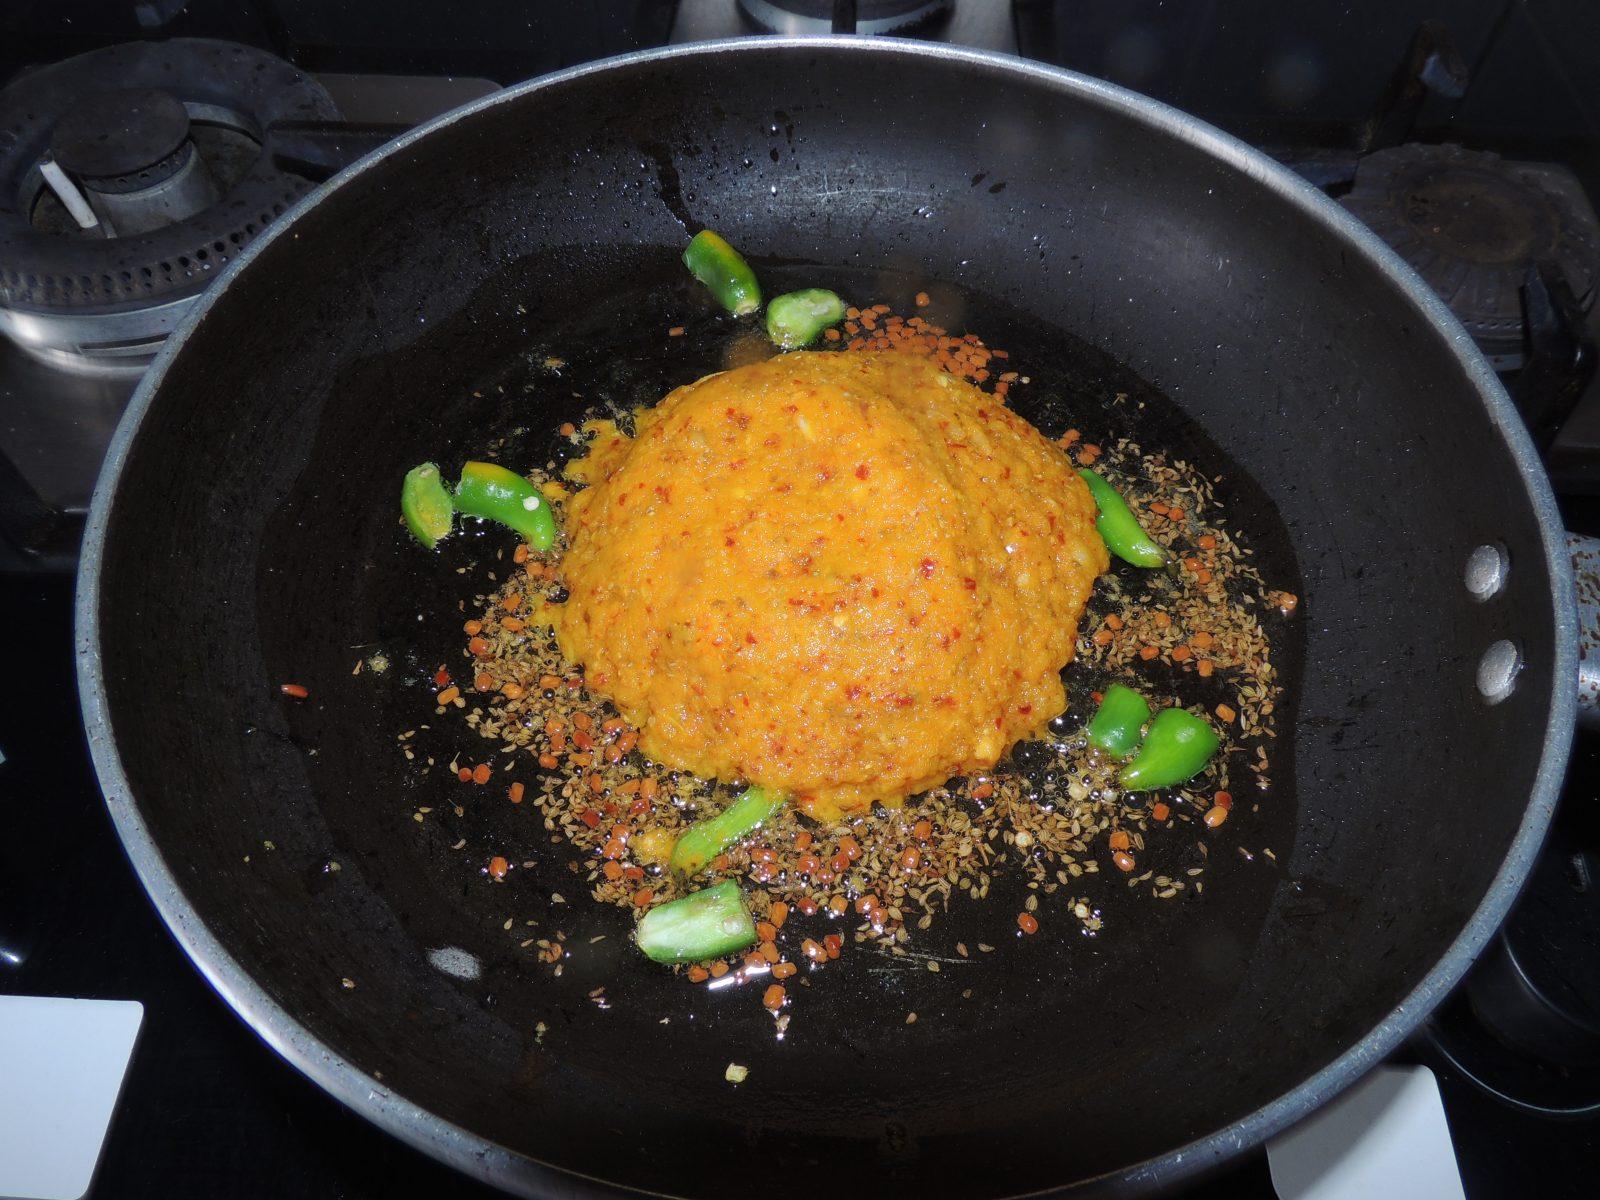
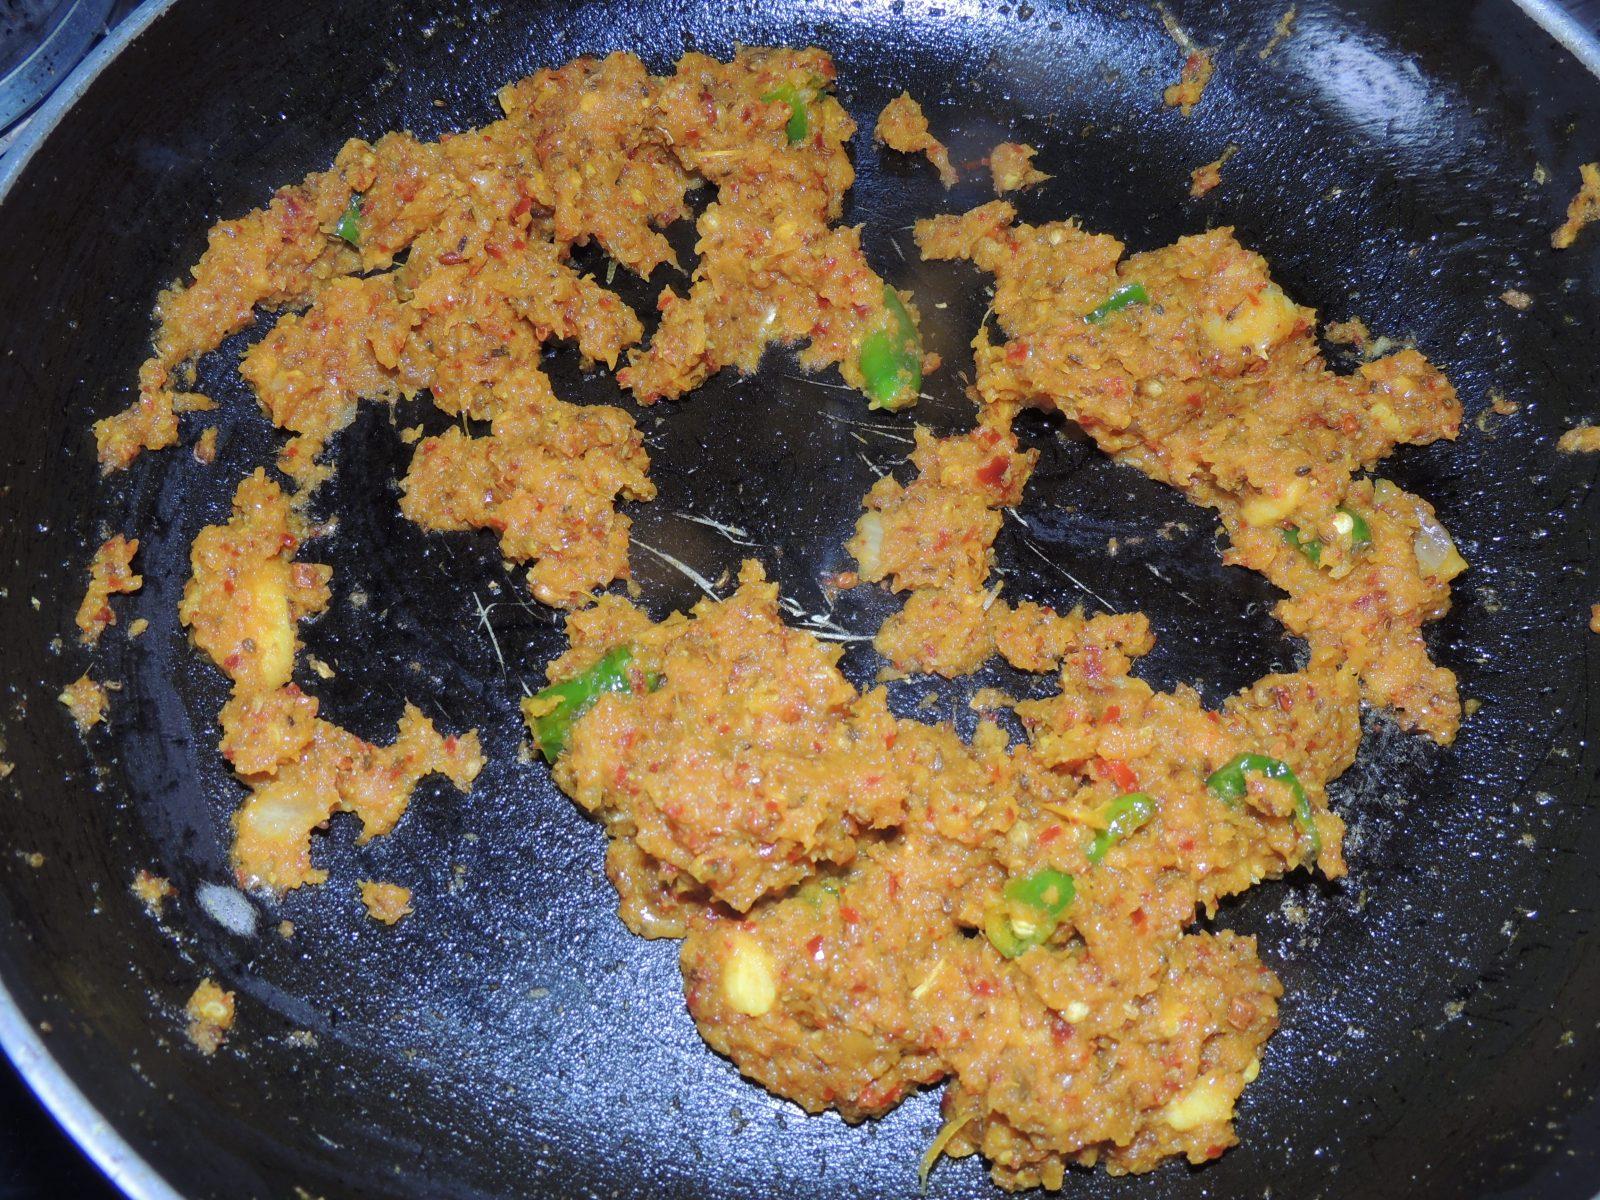
- After that add coarse coriander. Stir for 30 seconds.
- After that add turmeric into kadai / fry pan. Fry the spices for about a minute.
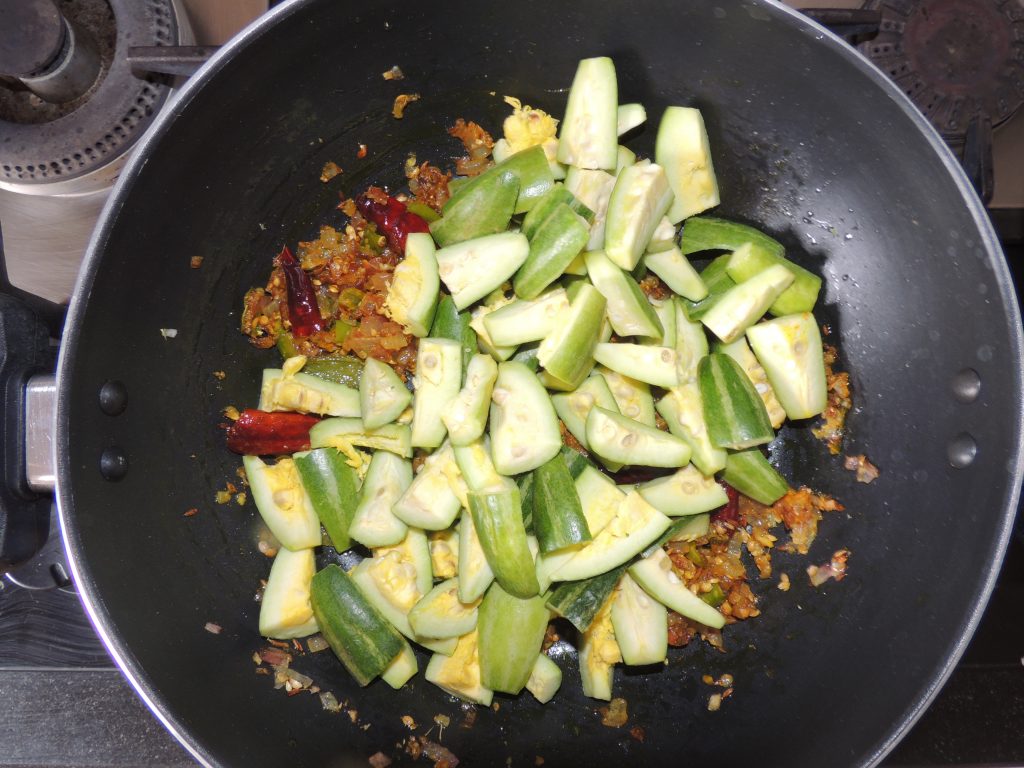
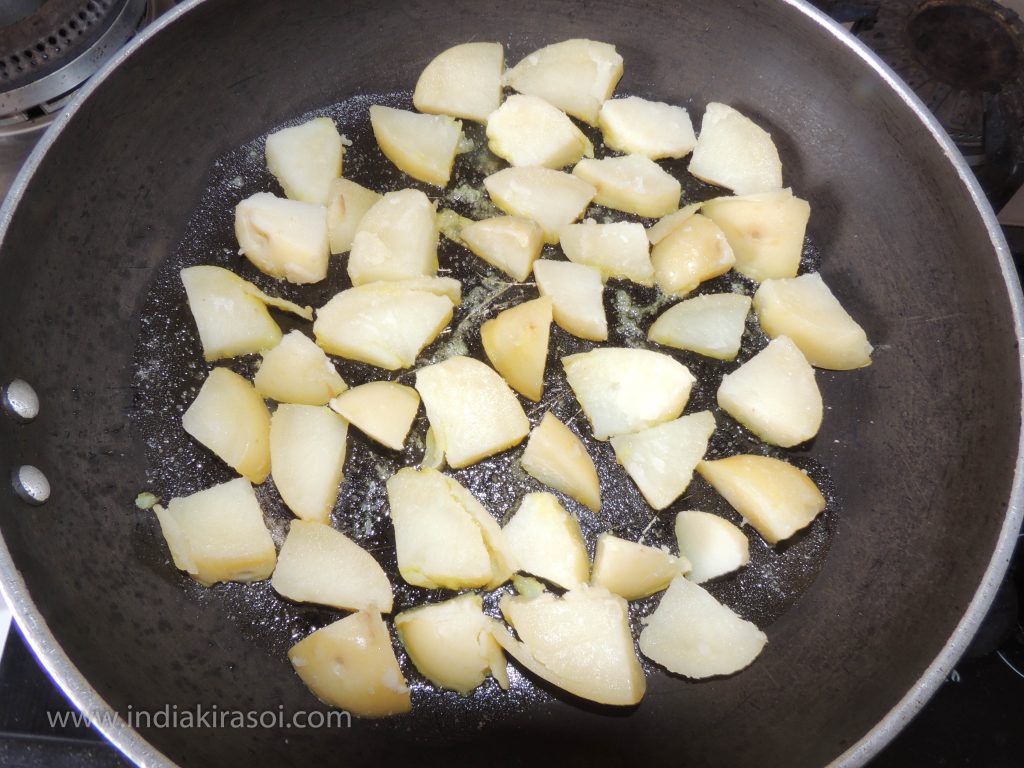
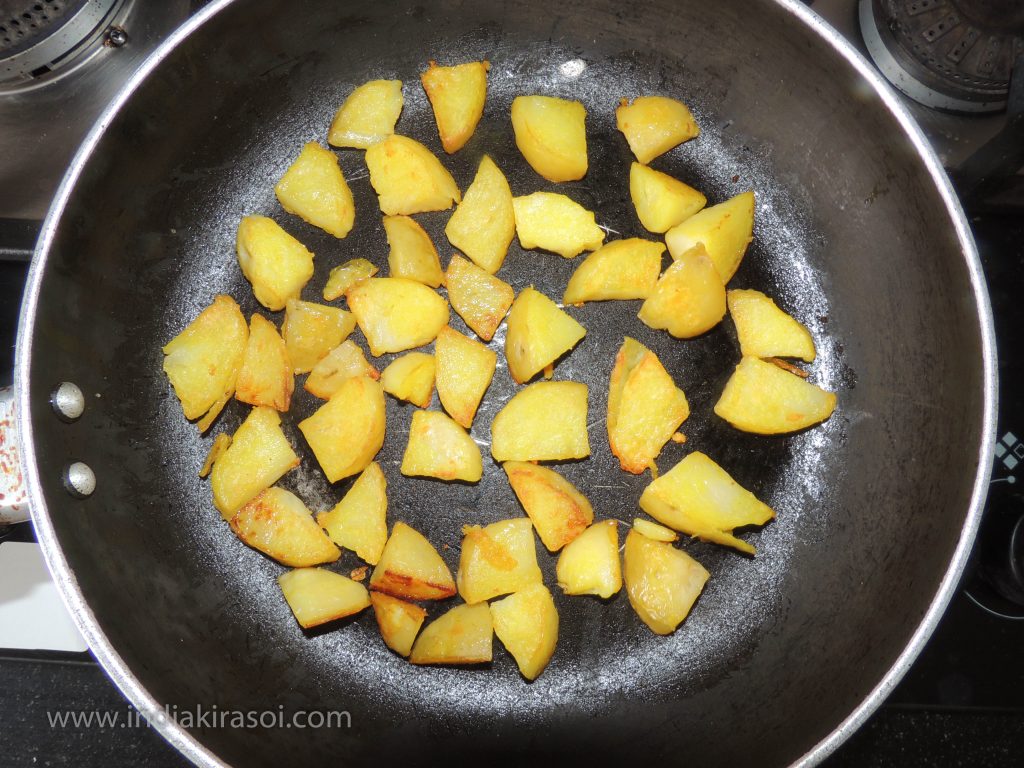
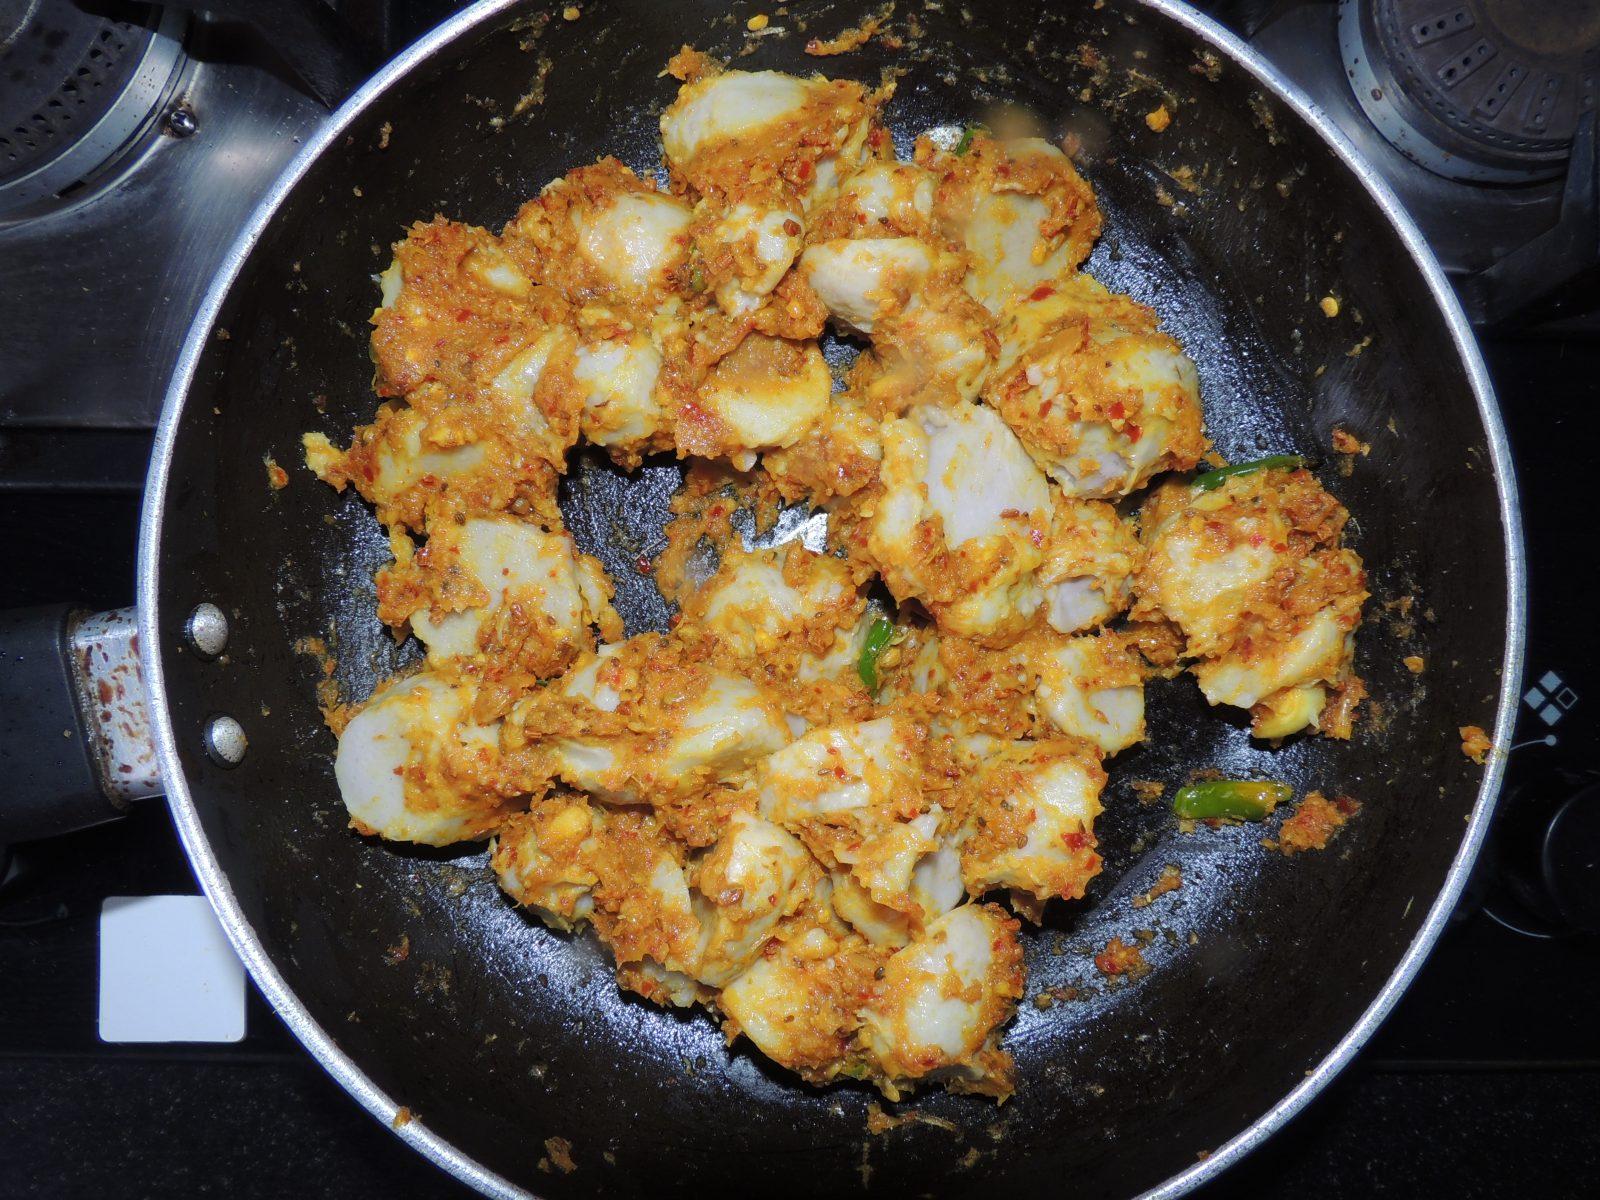
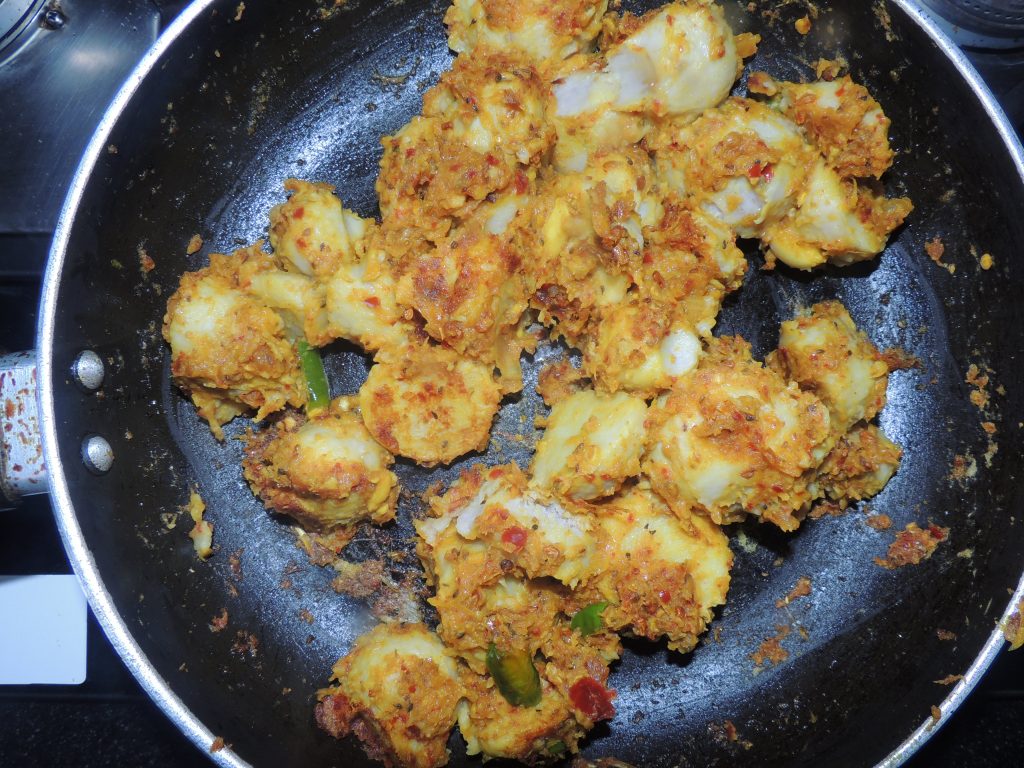
- Then add chopped pointed gourd / parwal to the spices.
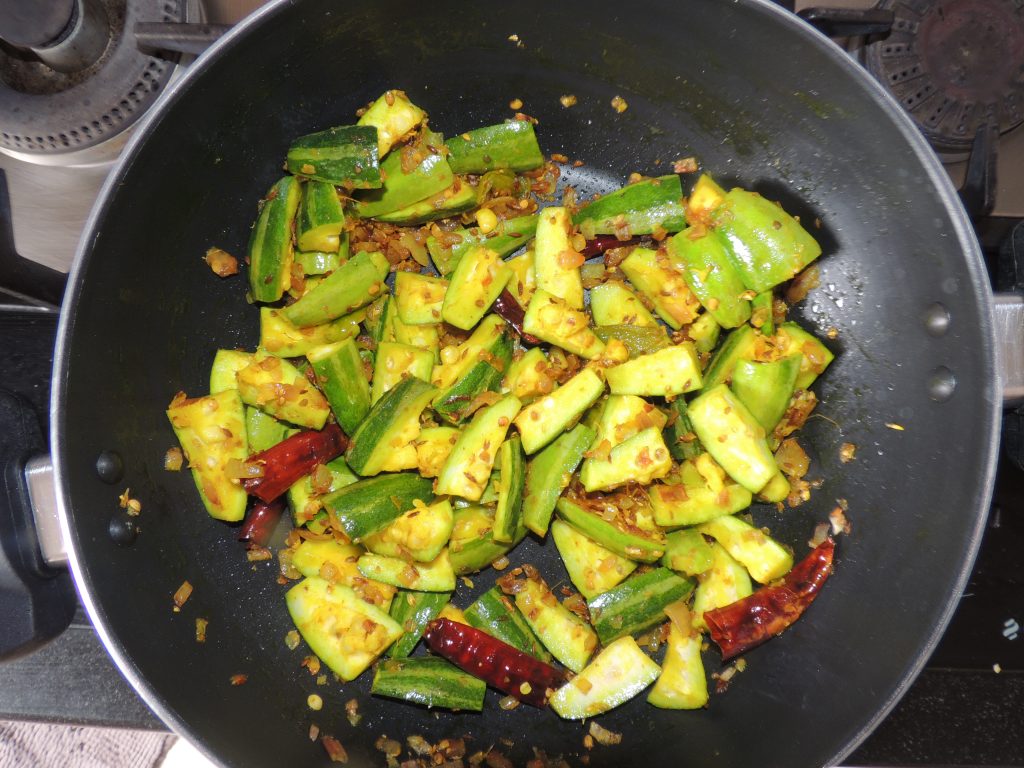
- Mix chopped pointed gourd / parwal with spices.
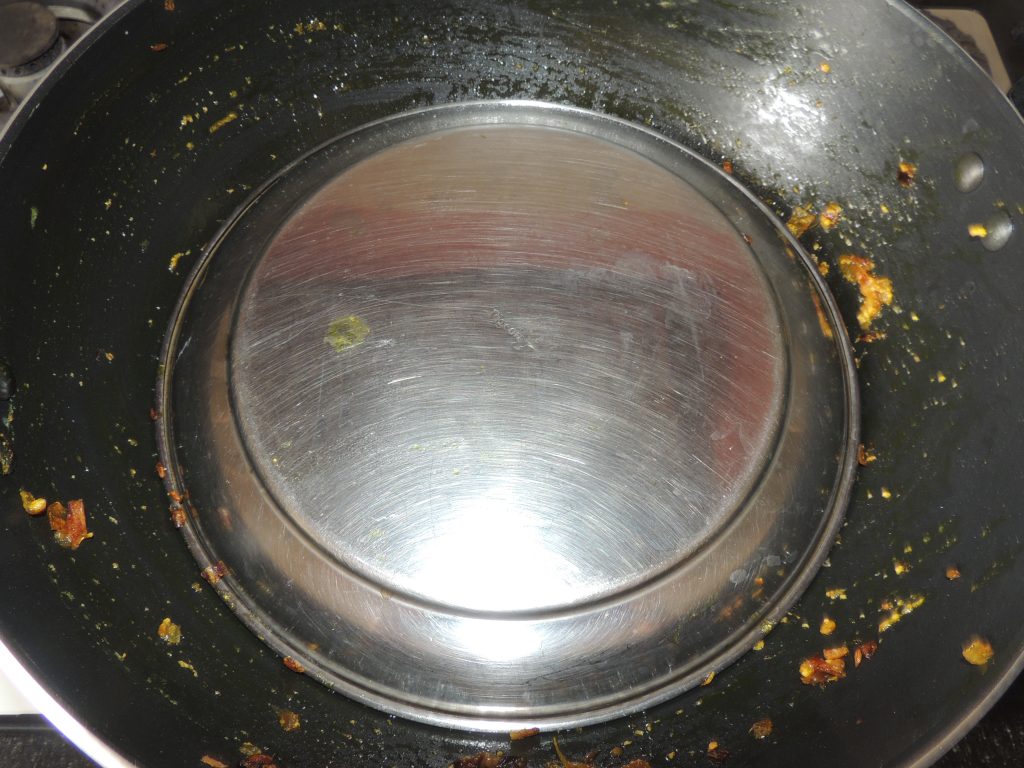
- Cover the lid on the kadai / fry pan.
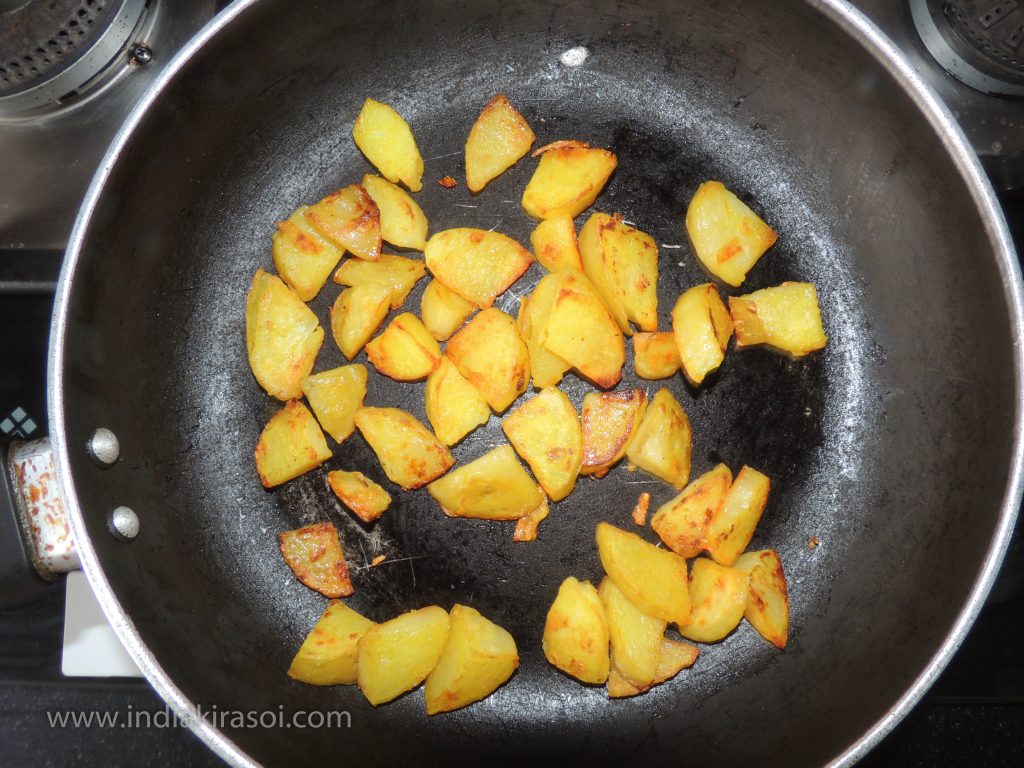
- Leave the lid of the kadai / fry pan closed for five minutes. Keep stirring the vegetables periodically. If the vegetable is not fully cooked, then close the lid of the kadai / fry pan again.
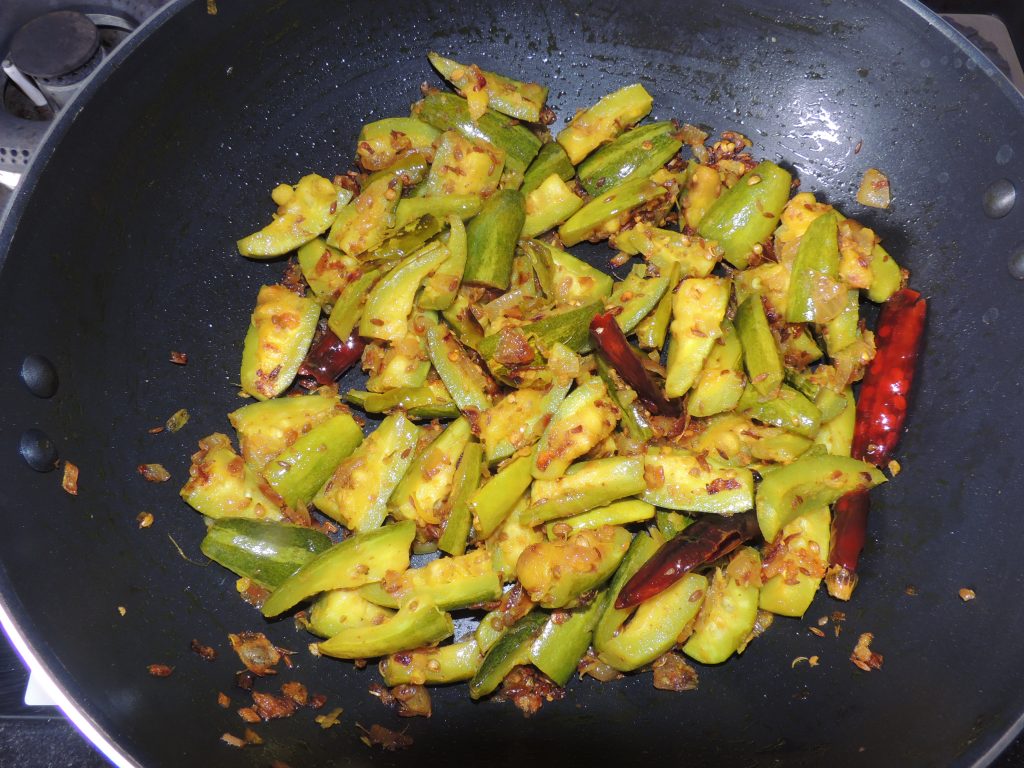
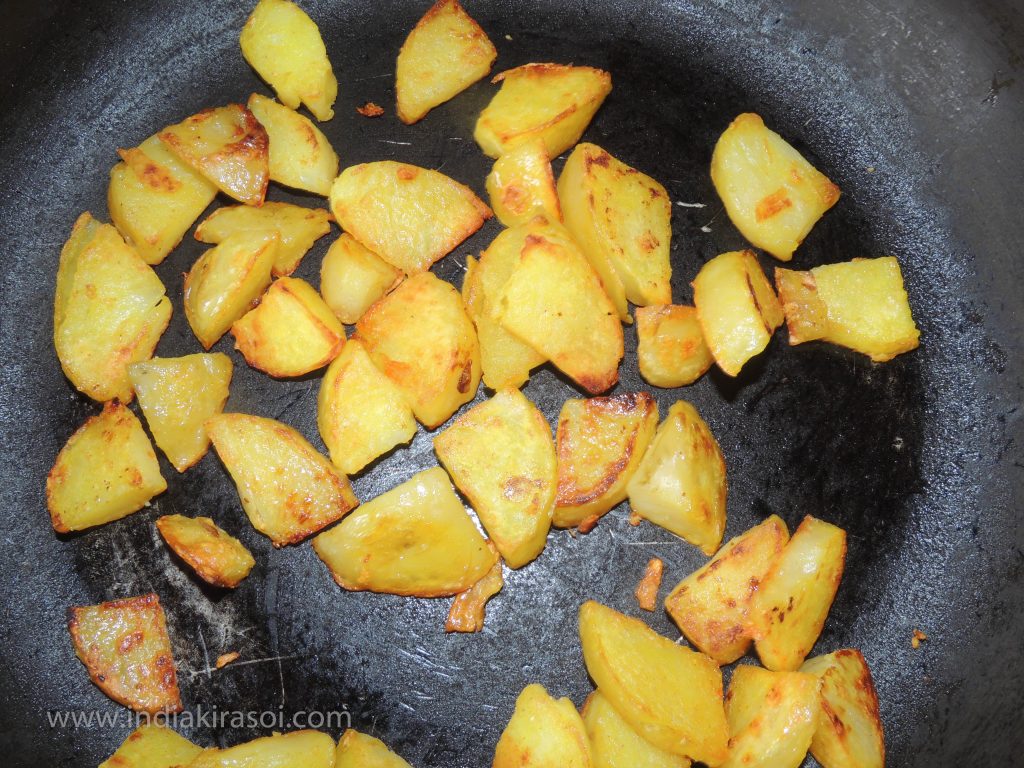
- Open the lid again and check if the vegetable is cooked.
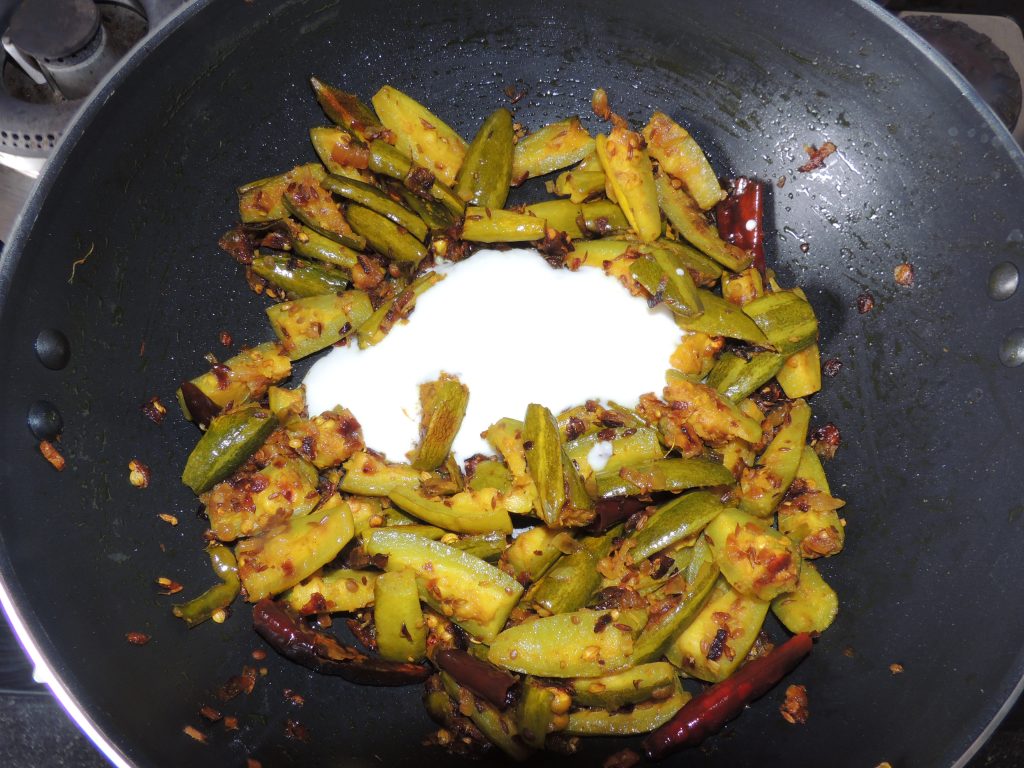
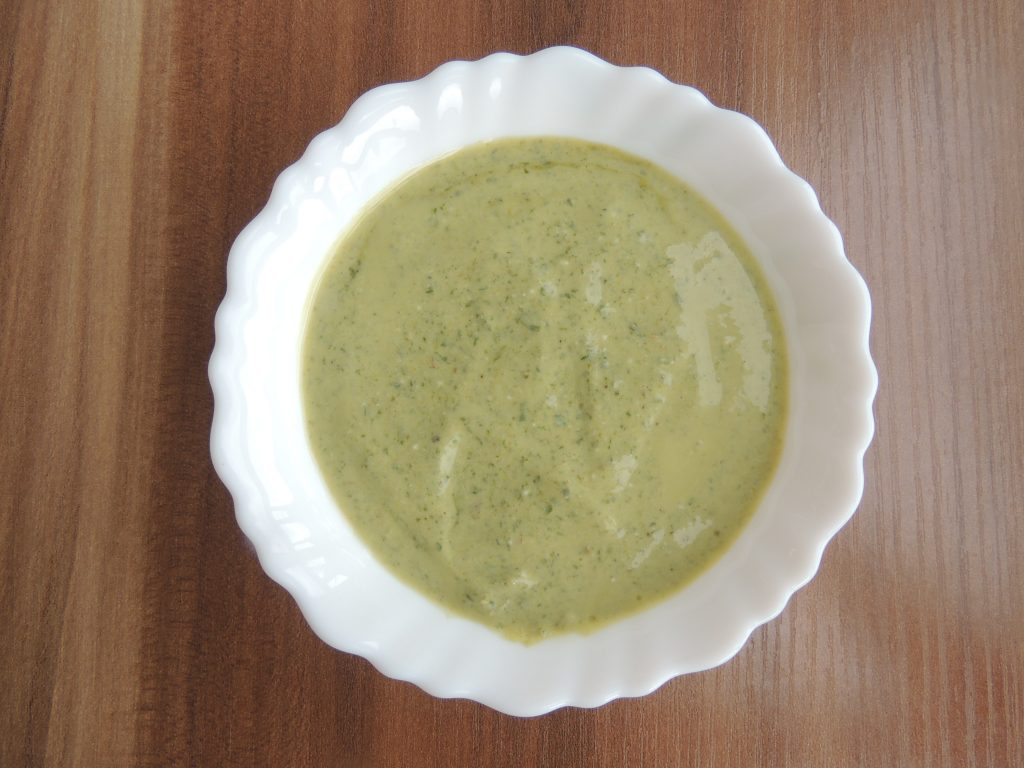
- If the vegetables are cooked, add the 2 tbsp beaten curd onto pointed gourd / parwal.
- Keep stirring the vegetable for one minute. Add salt to the sabji as per taste.
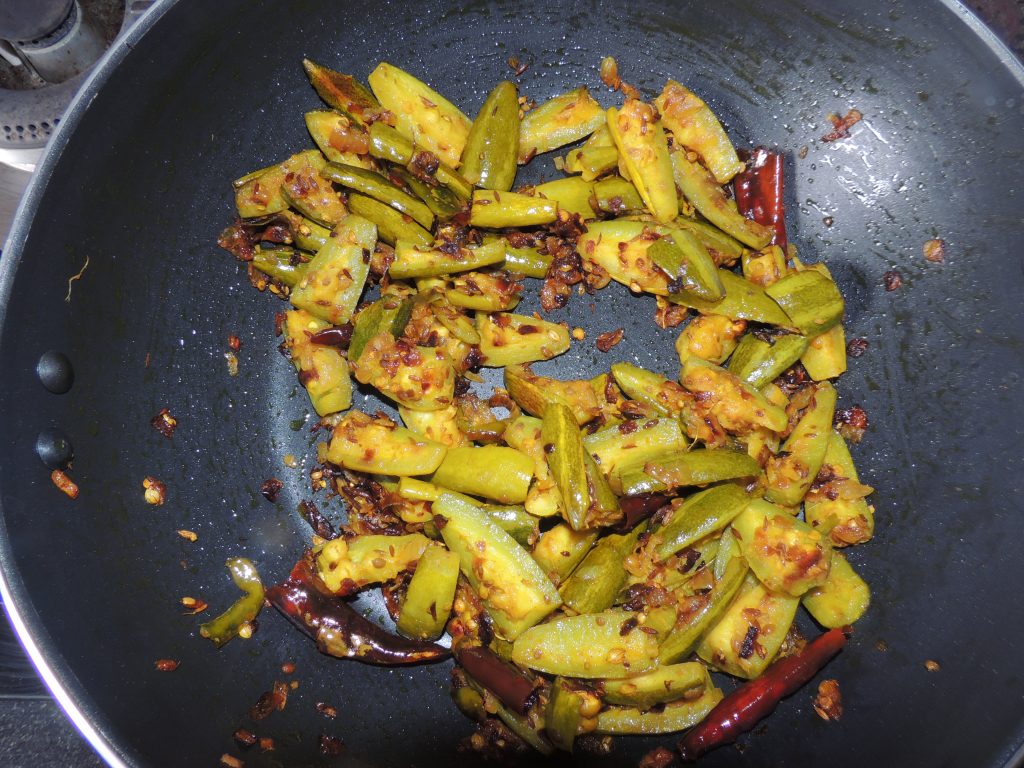
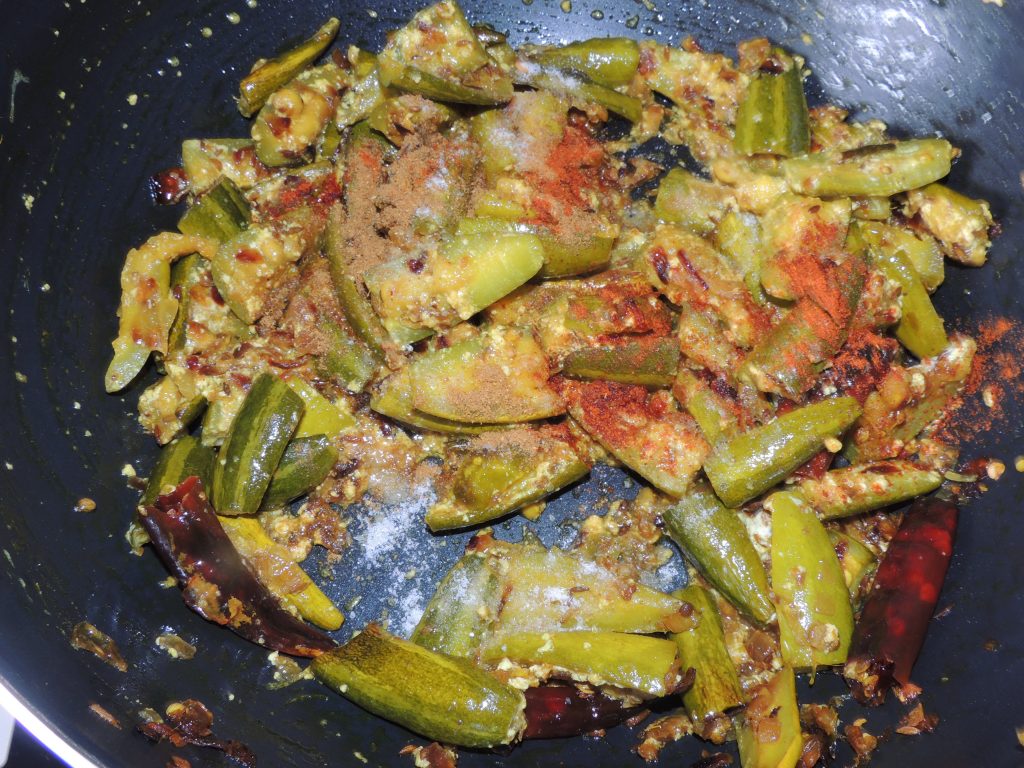
- Add red chilli powder and garam spice / masala to the vegetable.
- Mix spices to the vegetable and close the lid of kadai / fry pan. Leave the lid closed for one minute. So that the aroma of garam masala properly mixes with the vegetable.
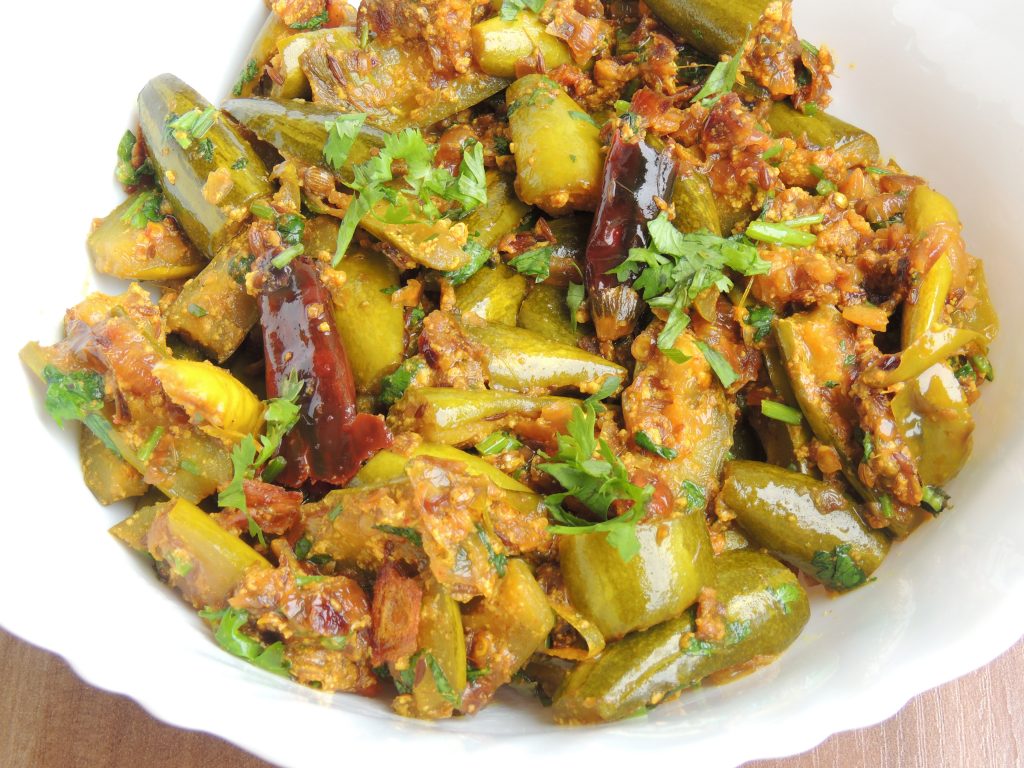
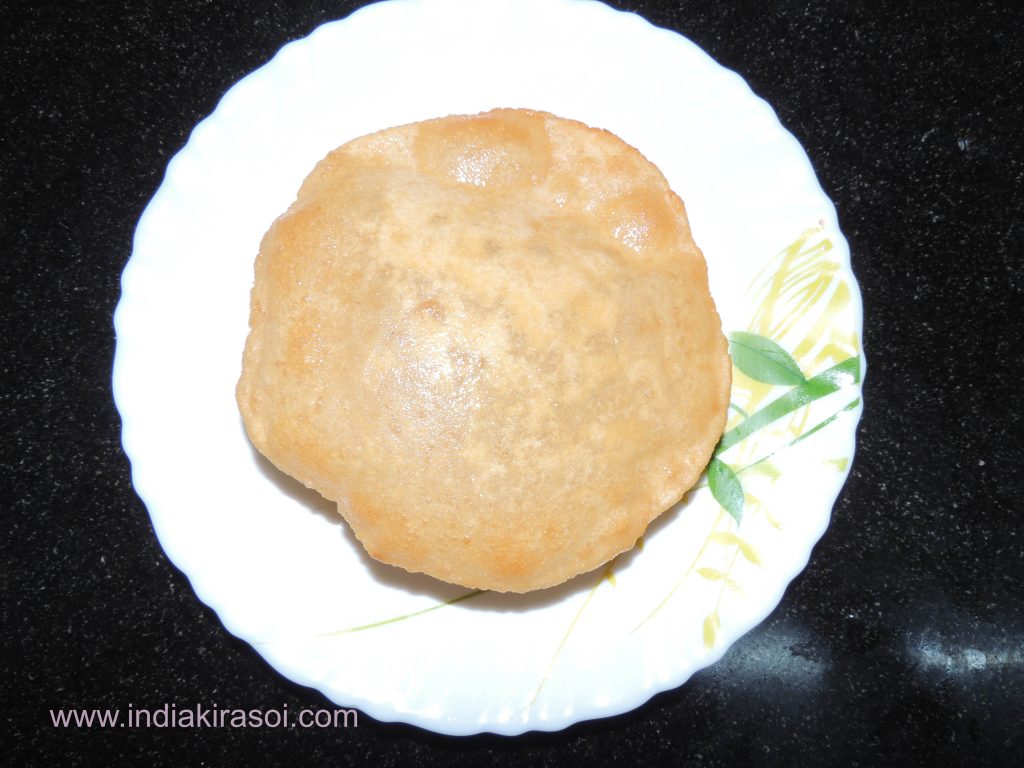
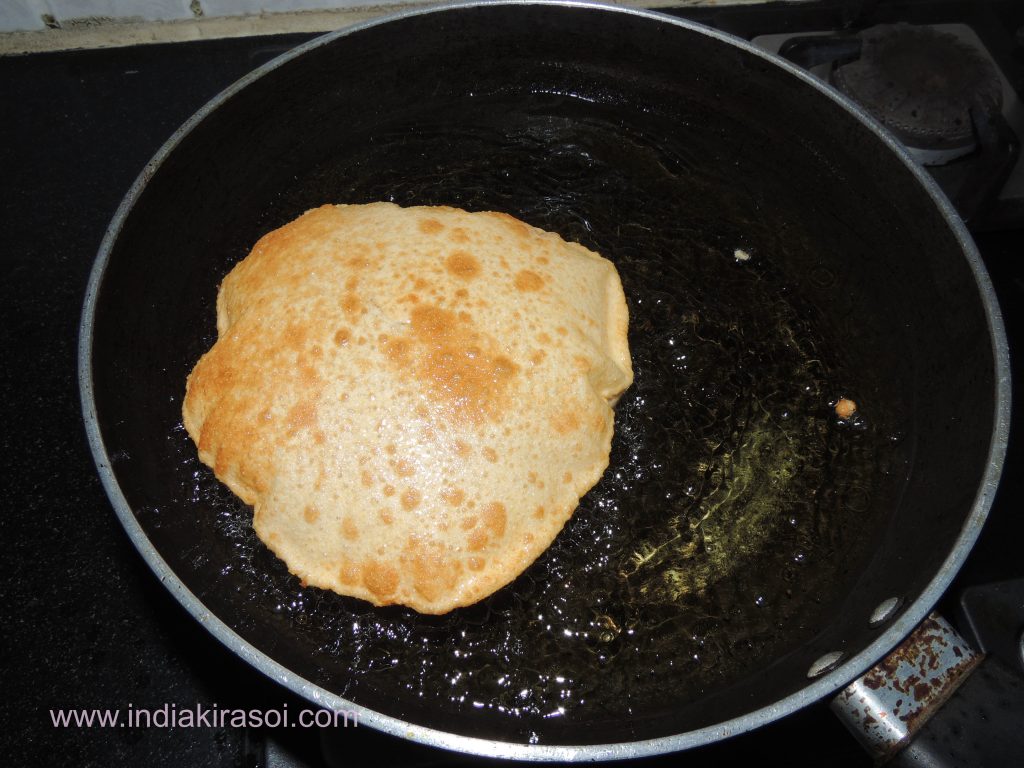
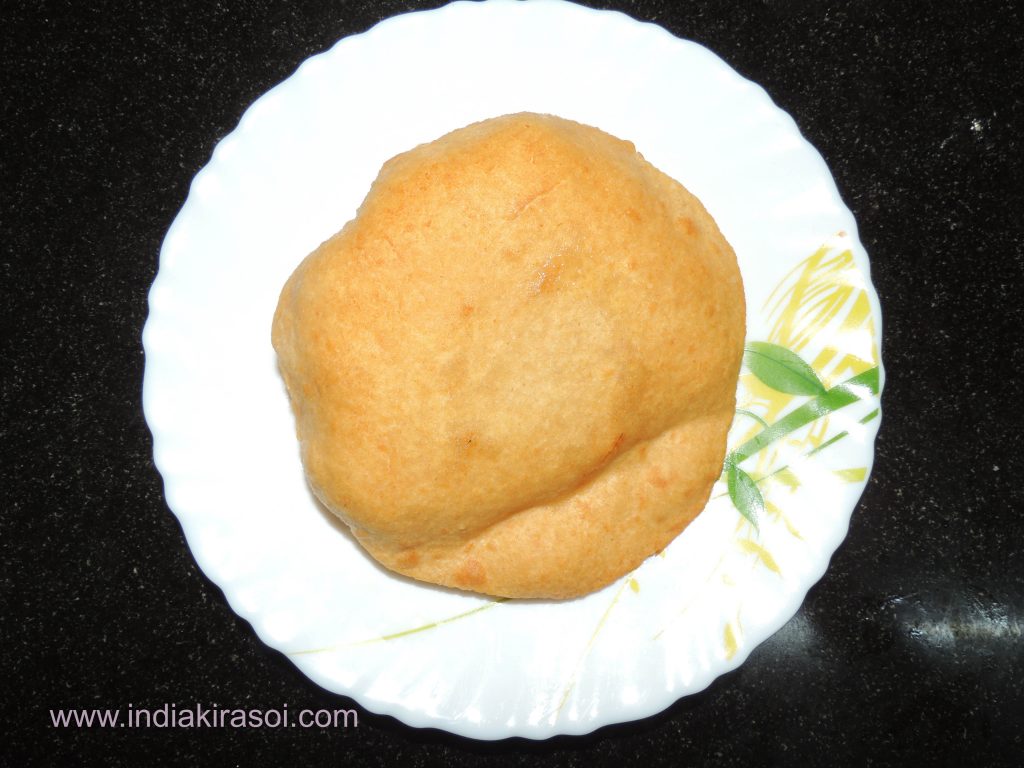
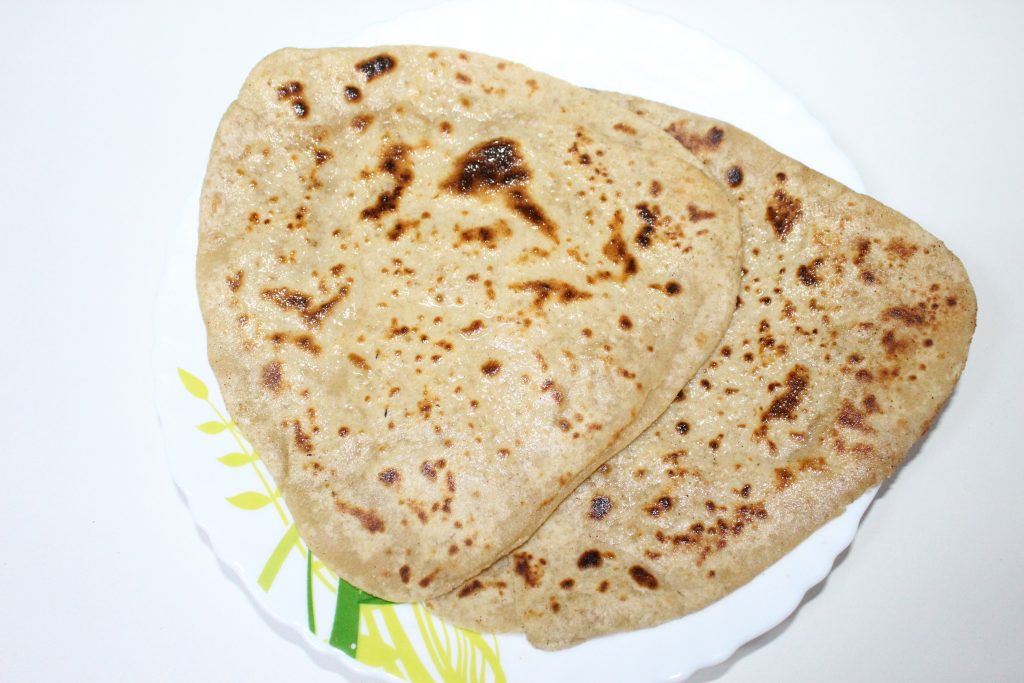
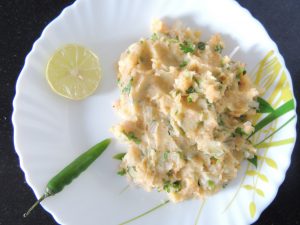
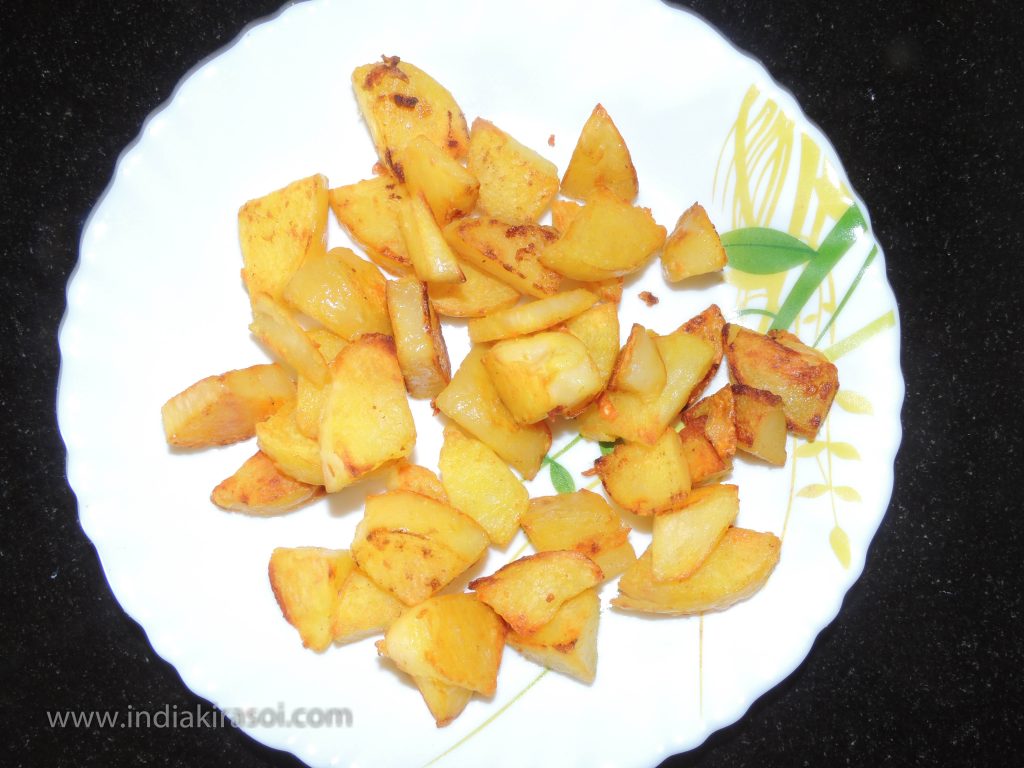
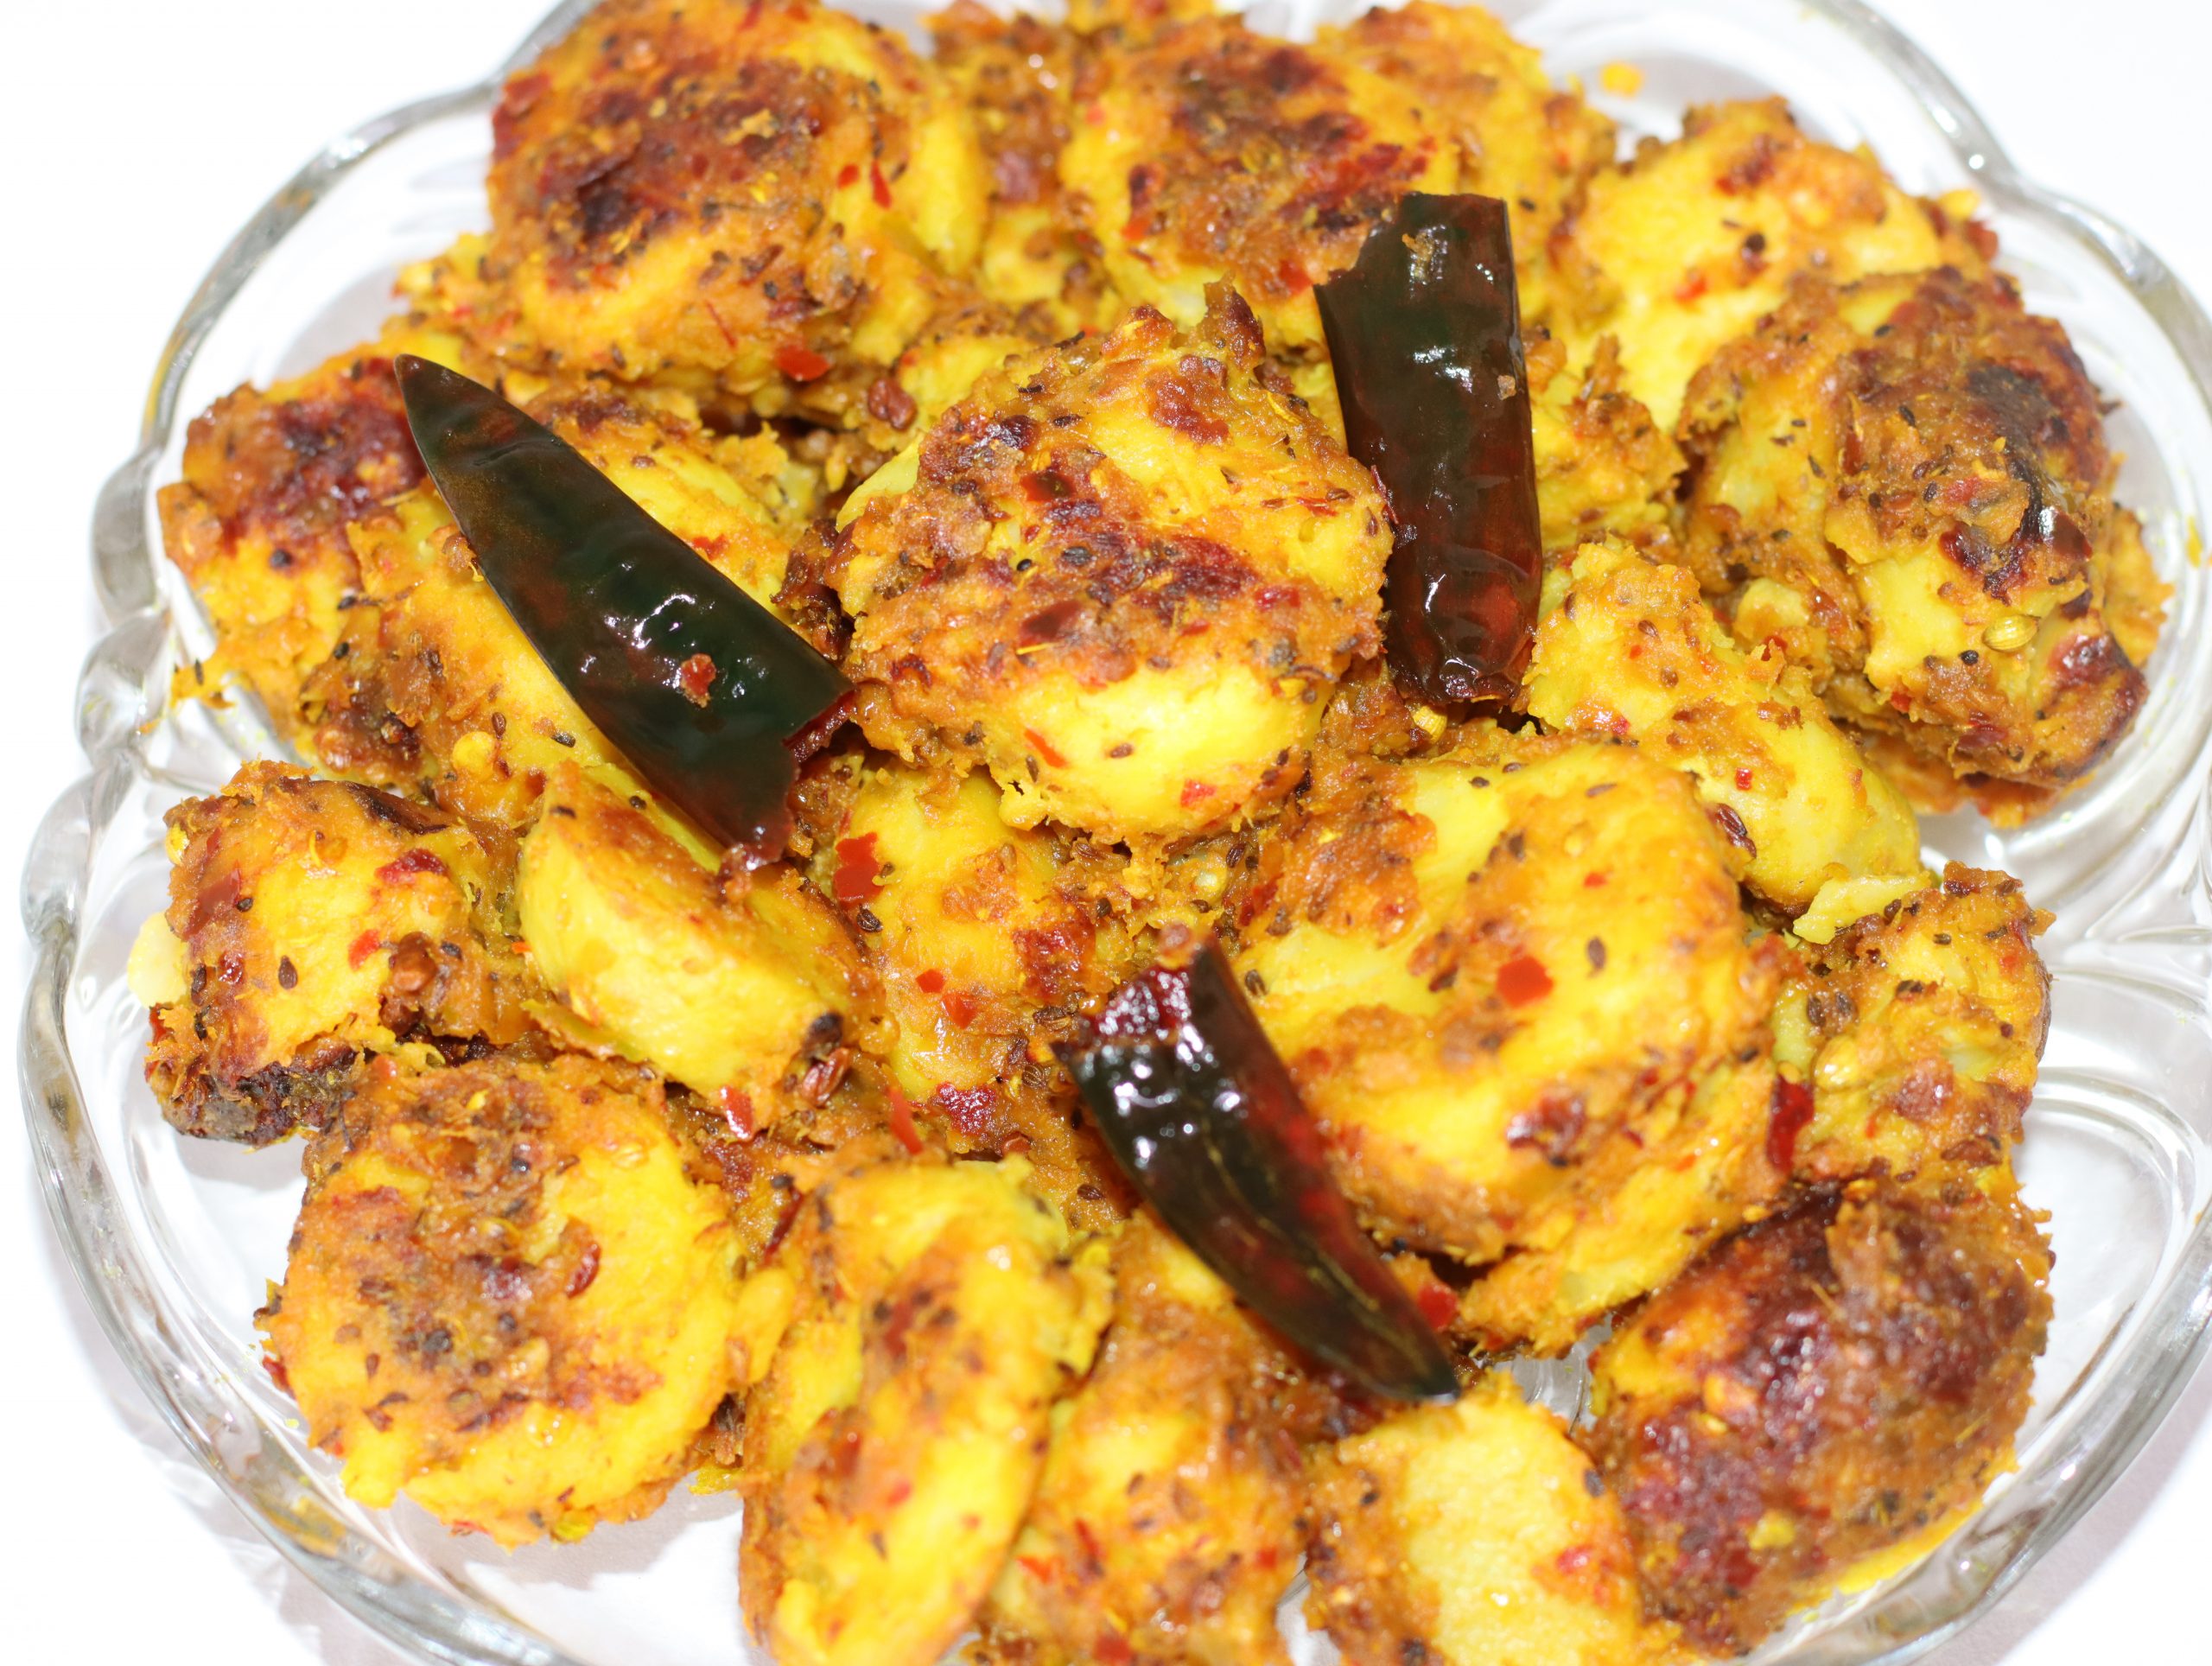
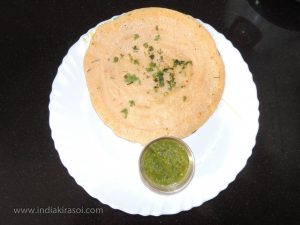
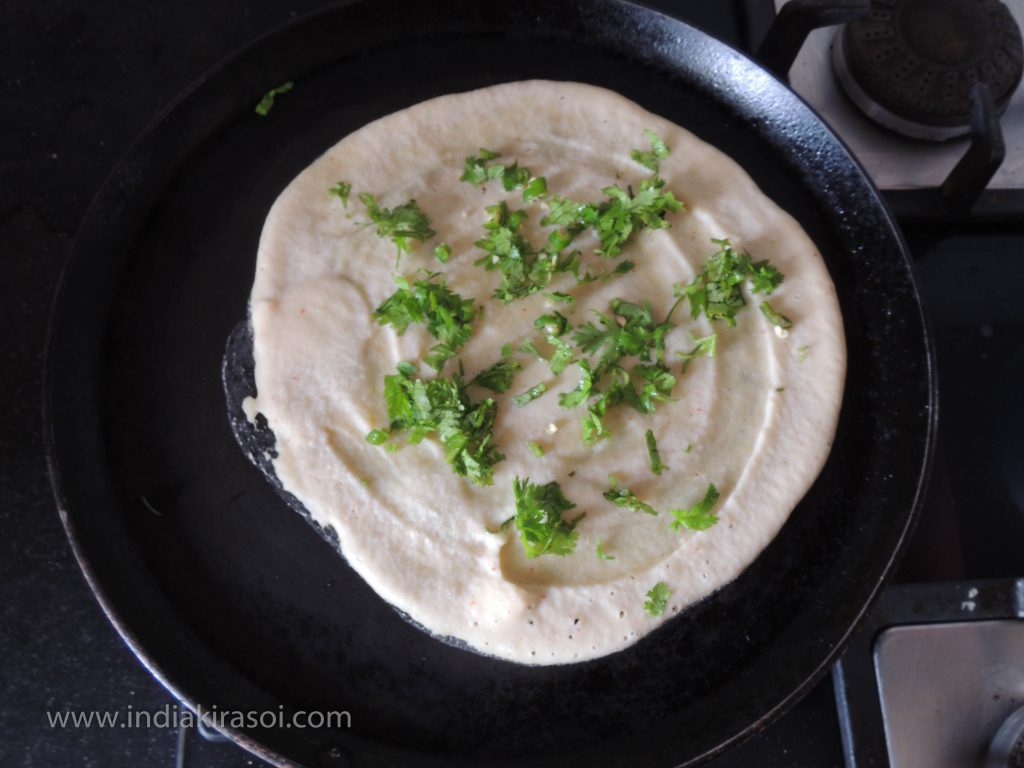
- Sprinkle coriander leaves on curd dry parwal recipe. Now recipe is ready. Serve recipe with poori, paratha, chapati or nan.