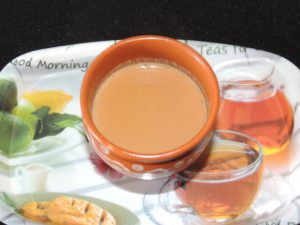
Cardamom Clove Tea / Elaichi laung Chai
Tea is an aromatic drink frequently prepared by pouring warm or boiling water over healed Camellia sinensis leaves, an evergreen shrub (bush) from East Asia.
It is the world’s most commonly consumed beverage after water.
Many distinct tea kinds, such as Darjeeling and Chinese greens, have a cooling, mildly bitter, and astringent taste.
While others have profiles that greatly differ, including sweet, nutty, floral or grassy notes.
When the tea is drunk with flavourful and aromatic cardamom, the taste buds are all the more thrilling.
Enjoy this tea with your favourite savours, warm and fresh.
Servings 1 People
Calories 15kcal
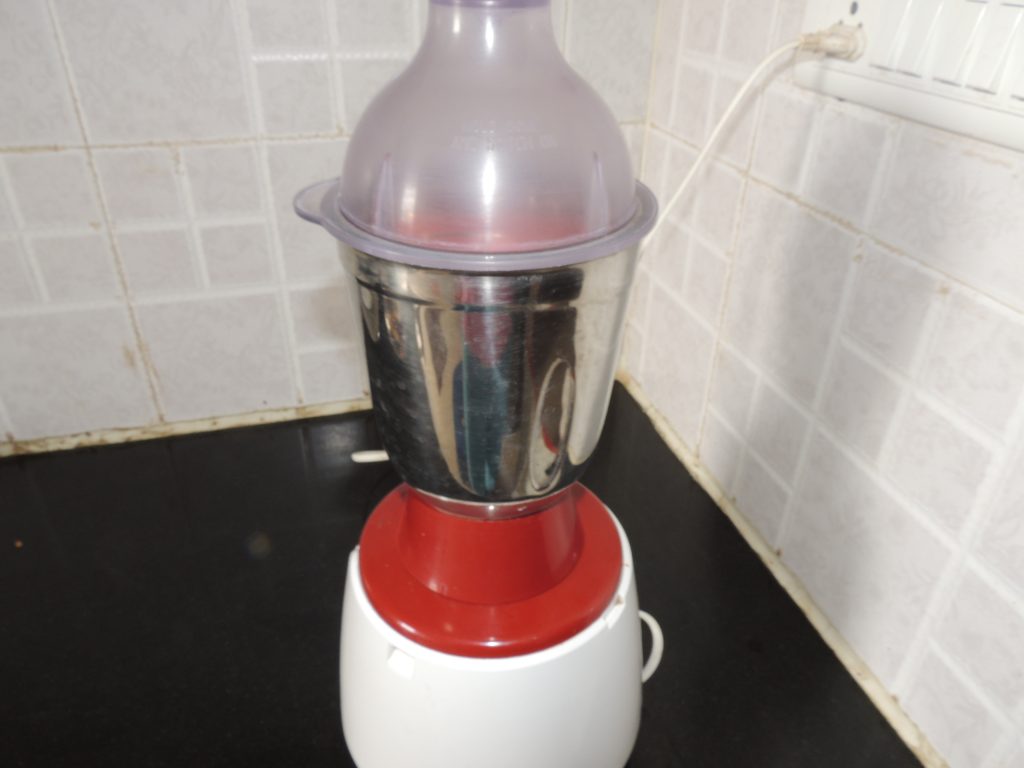
Equipment
- Pan
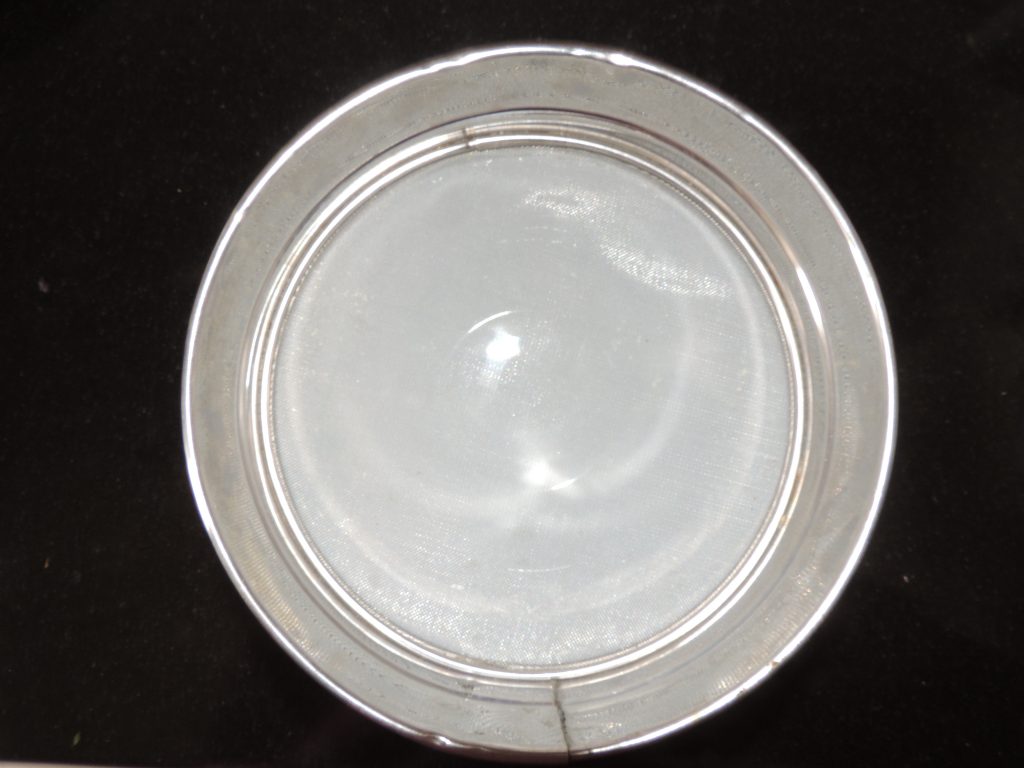
- Tea Strainer
- Cup
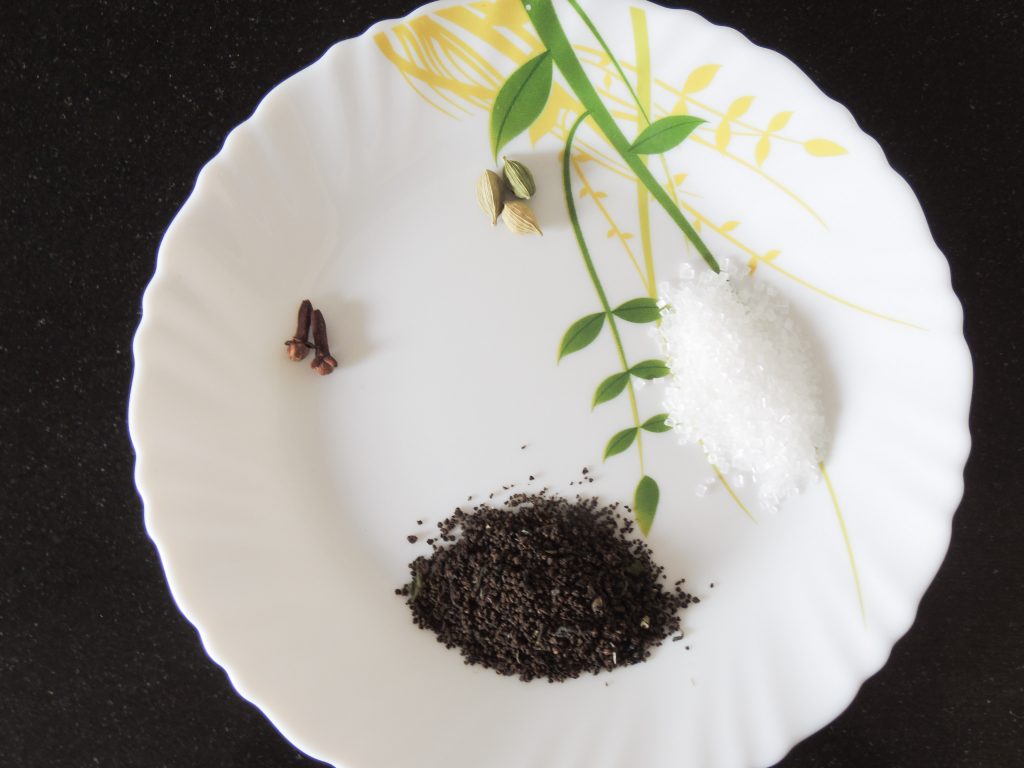
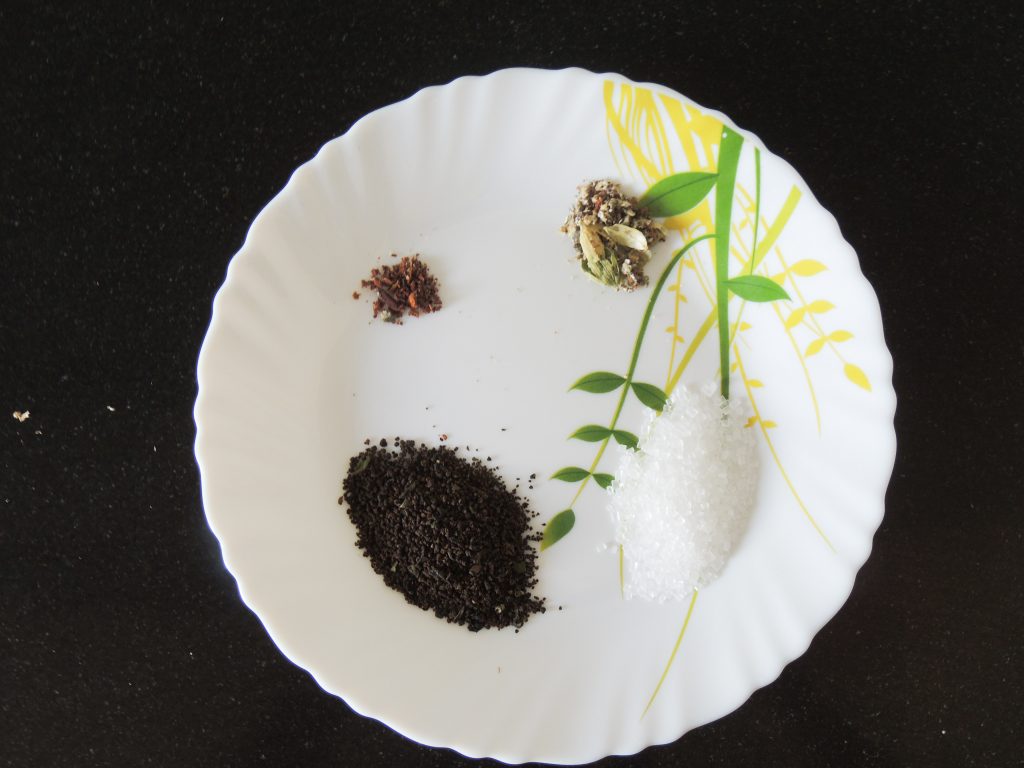
Ingredients
- 3/4 Cup Water / Pani
- 1/2 Cup Milk / doodh
- 1 Unit Cardamom / Elaichi, Should not be dry. If dry then take 2 Unit of cardamom
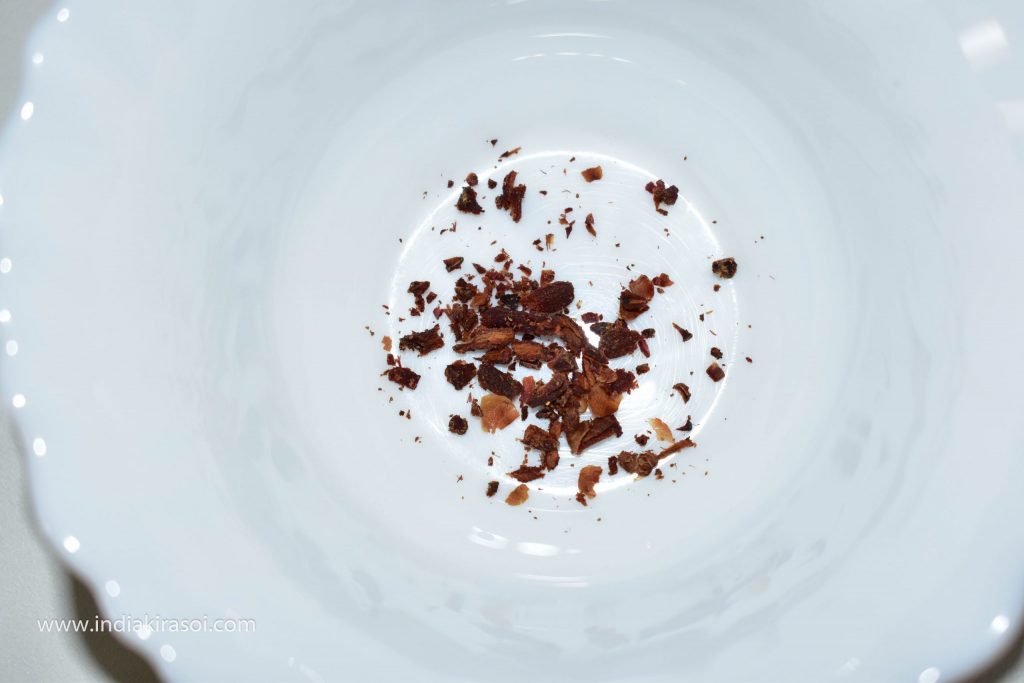
- 2 Unit Clove / Laung
- 1 tsp Sugar, If you like more sugar, you can add sugar as per your taste
- 1 tsp Tea Leaves / Chai Patti
Instructions
- First take 1 tsp sugar, 1 tsp tea , 1 battered cardamom

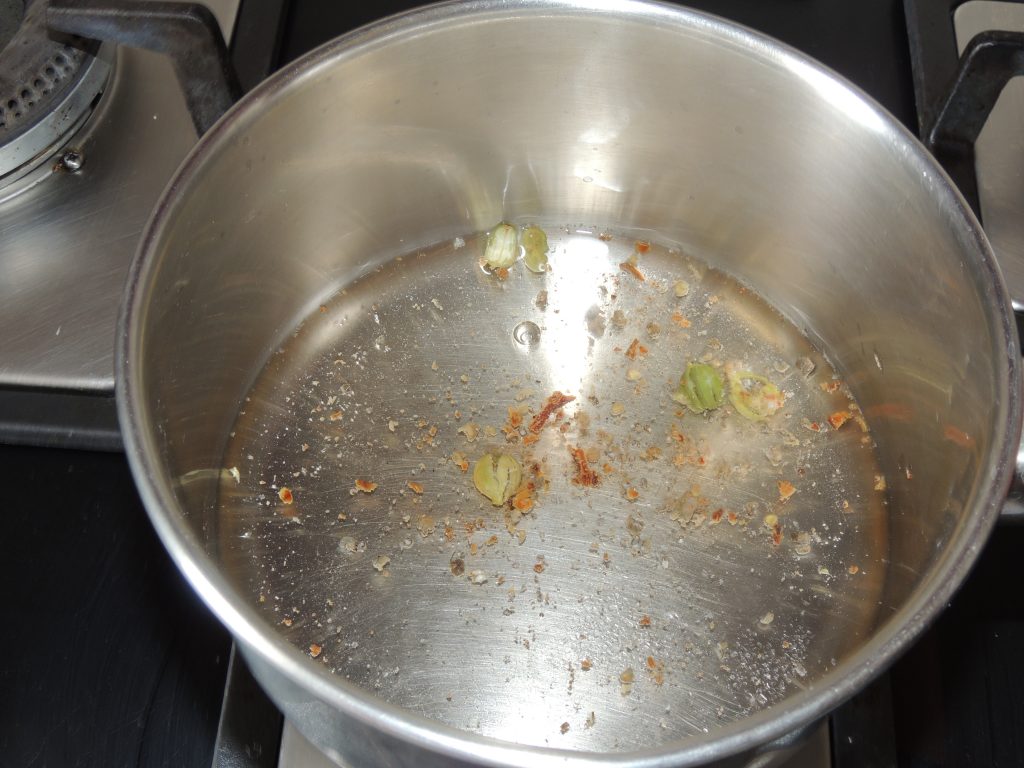
- After that batter cardamom, clove with mortar & pestle / khallar / khal kutni.
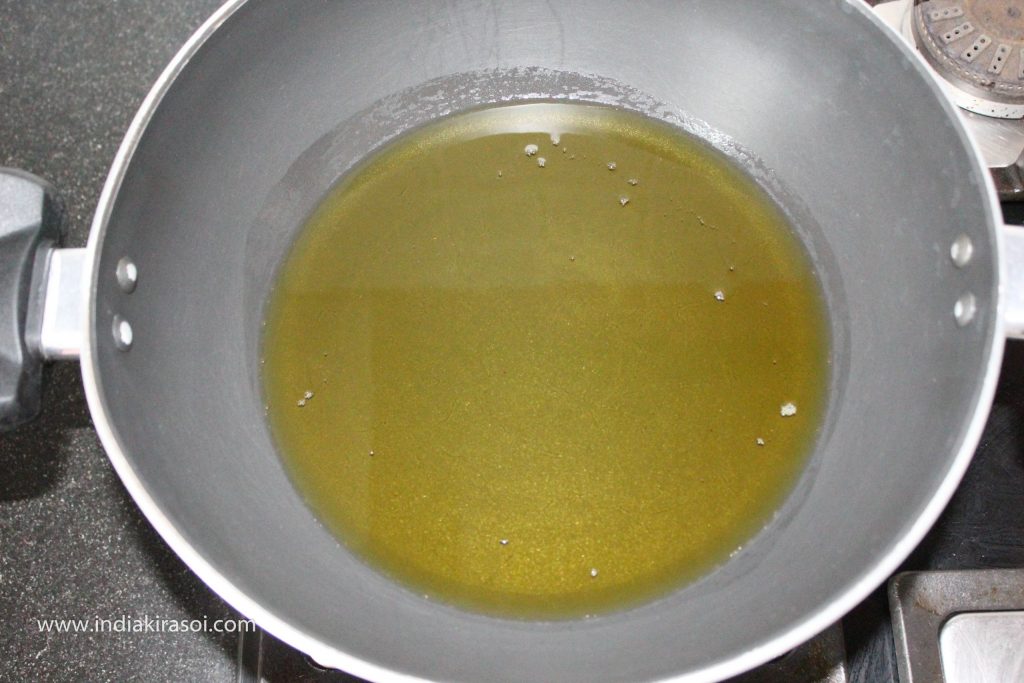
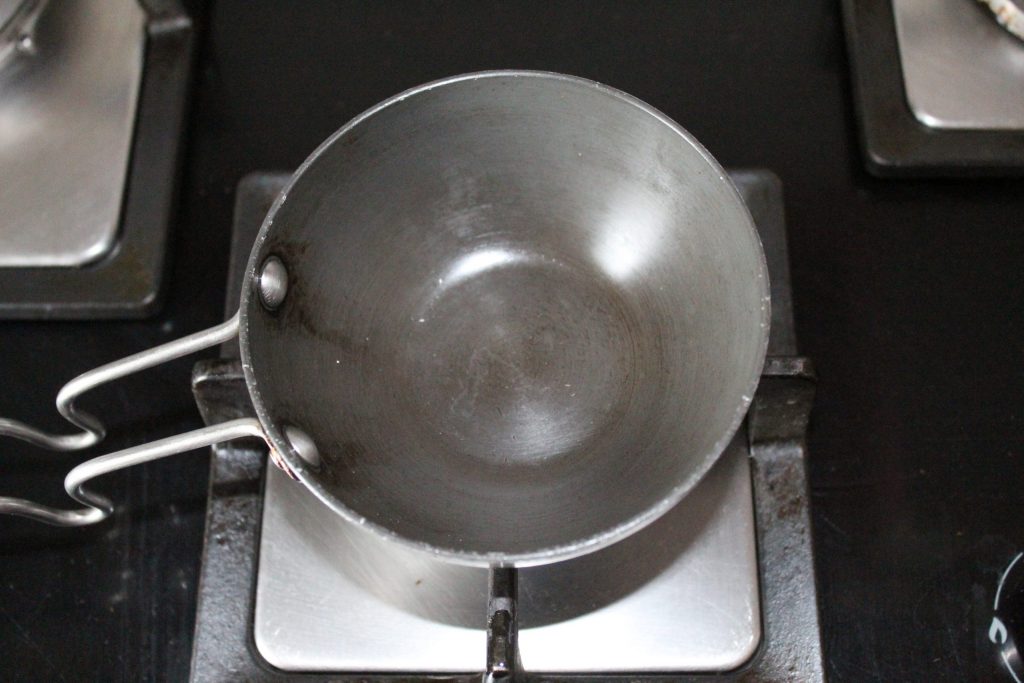
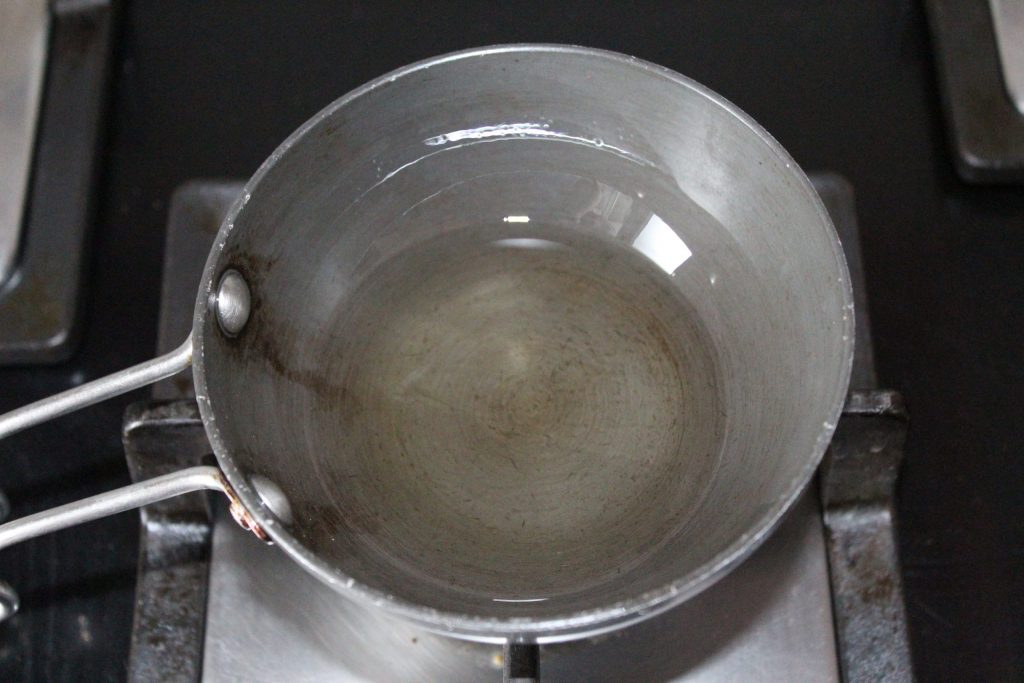
- Take 3/4 cup of water in the tea pan. Place on the gas. Combine cardamom, clove, sugar in the water. Let boil the water.
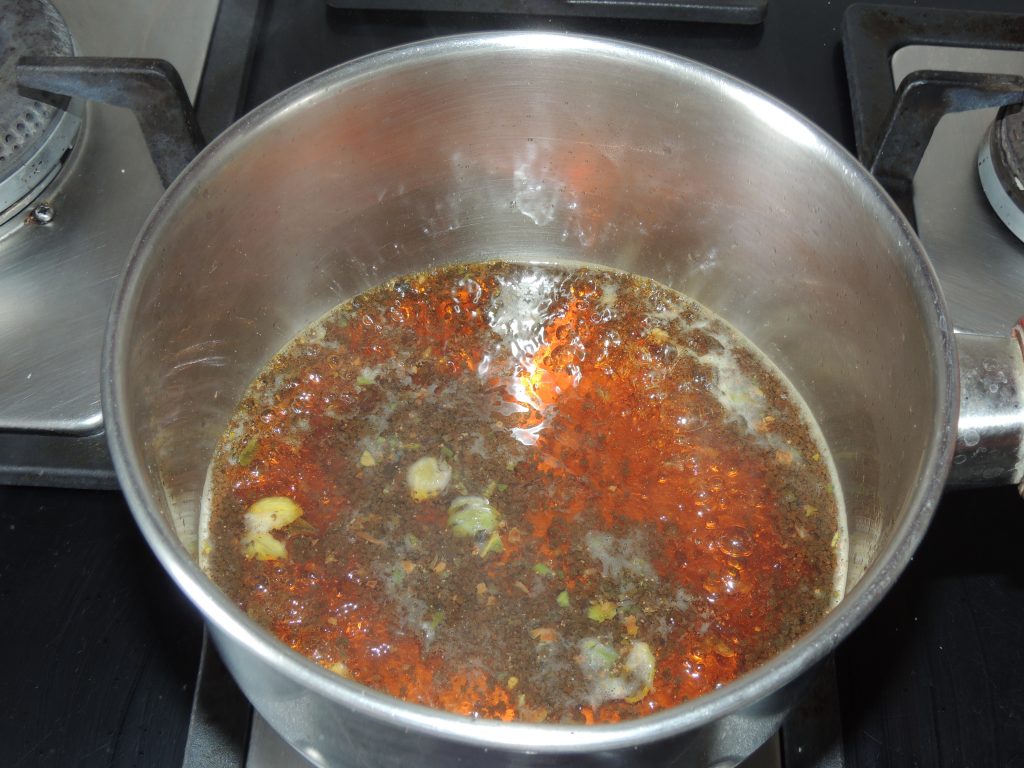
- Now add tea in the tea pan.
- After 1 minute add 1/2 cup of water in the tea pan.
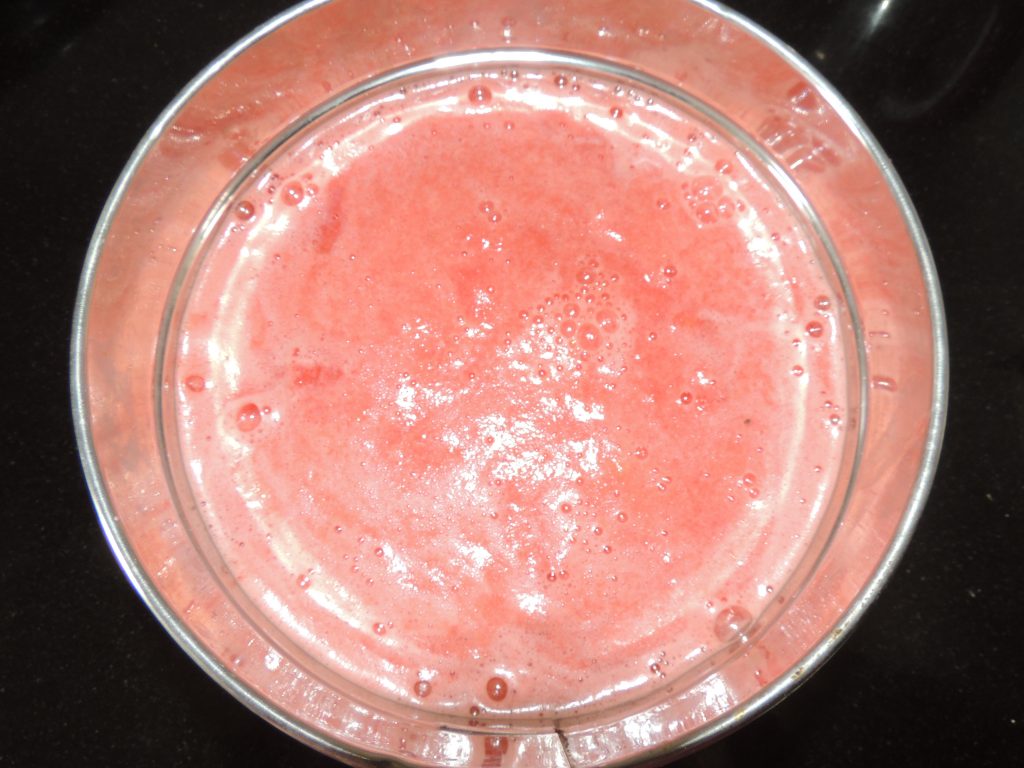
- After few minute tea will start boiling.
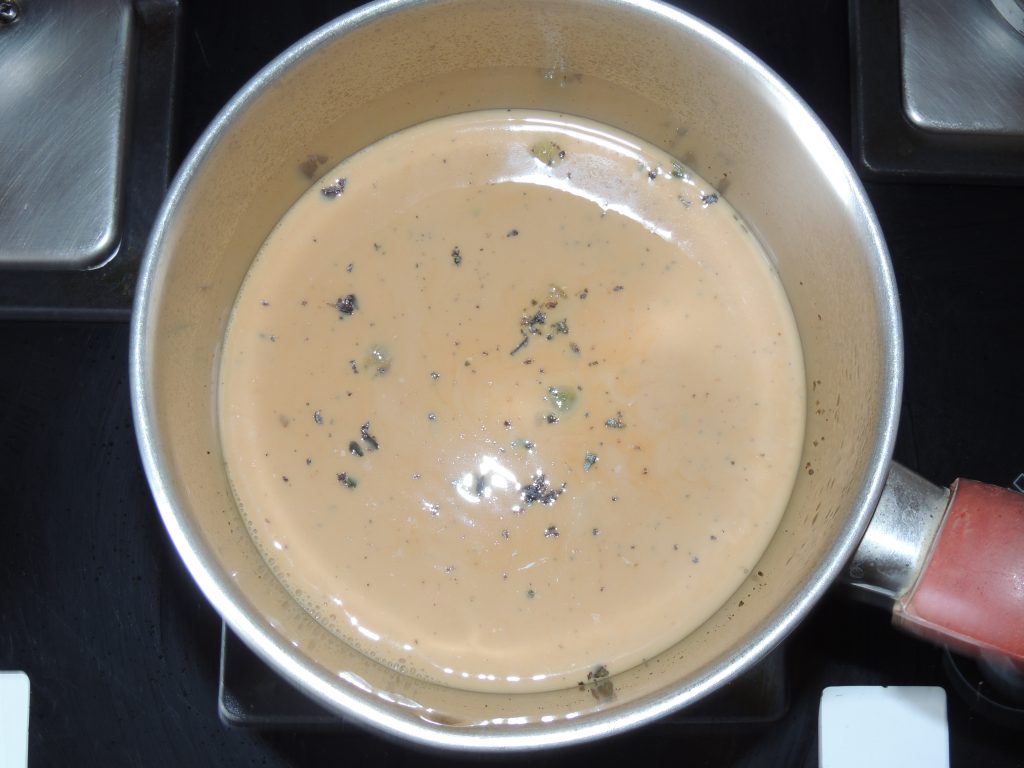
- Let boil the tea for approx 2 minute, so that flavour of tea, cardamom, clove will be added to the tea,
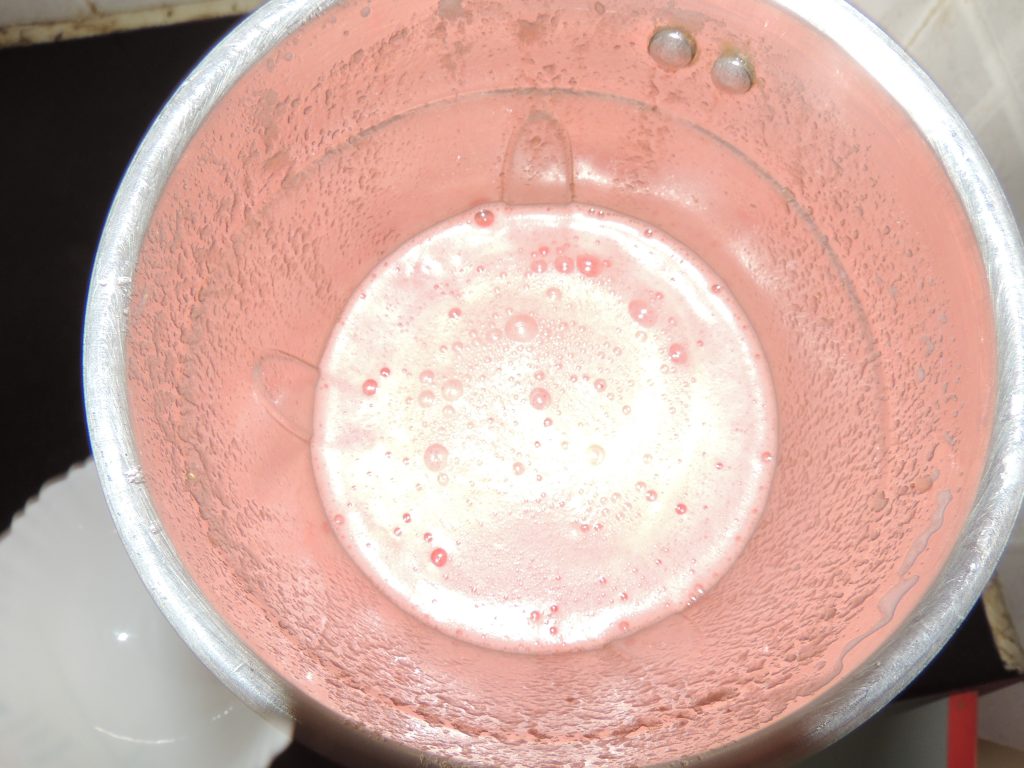
- Filter tea with tea strainer. Serve immediately. Enjoy the tea.


Video
Notes
- Take this tea 1 or 2 times in a day.
- Avoid take more that 2 to 3 times a day.
- As clove is warming in nature, more tea can create hotness in body.
- In winters you can take as many times as you want.
- You can also try Ginger Tea / Adrak Ki Chai. This tea is very good to change the taste buds, cold and cough.