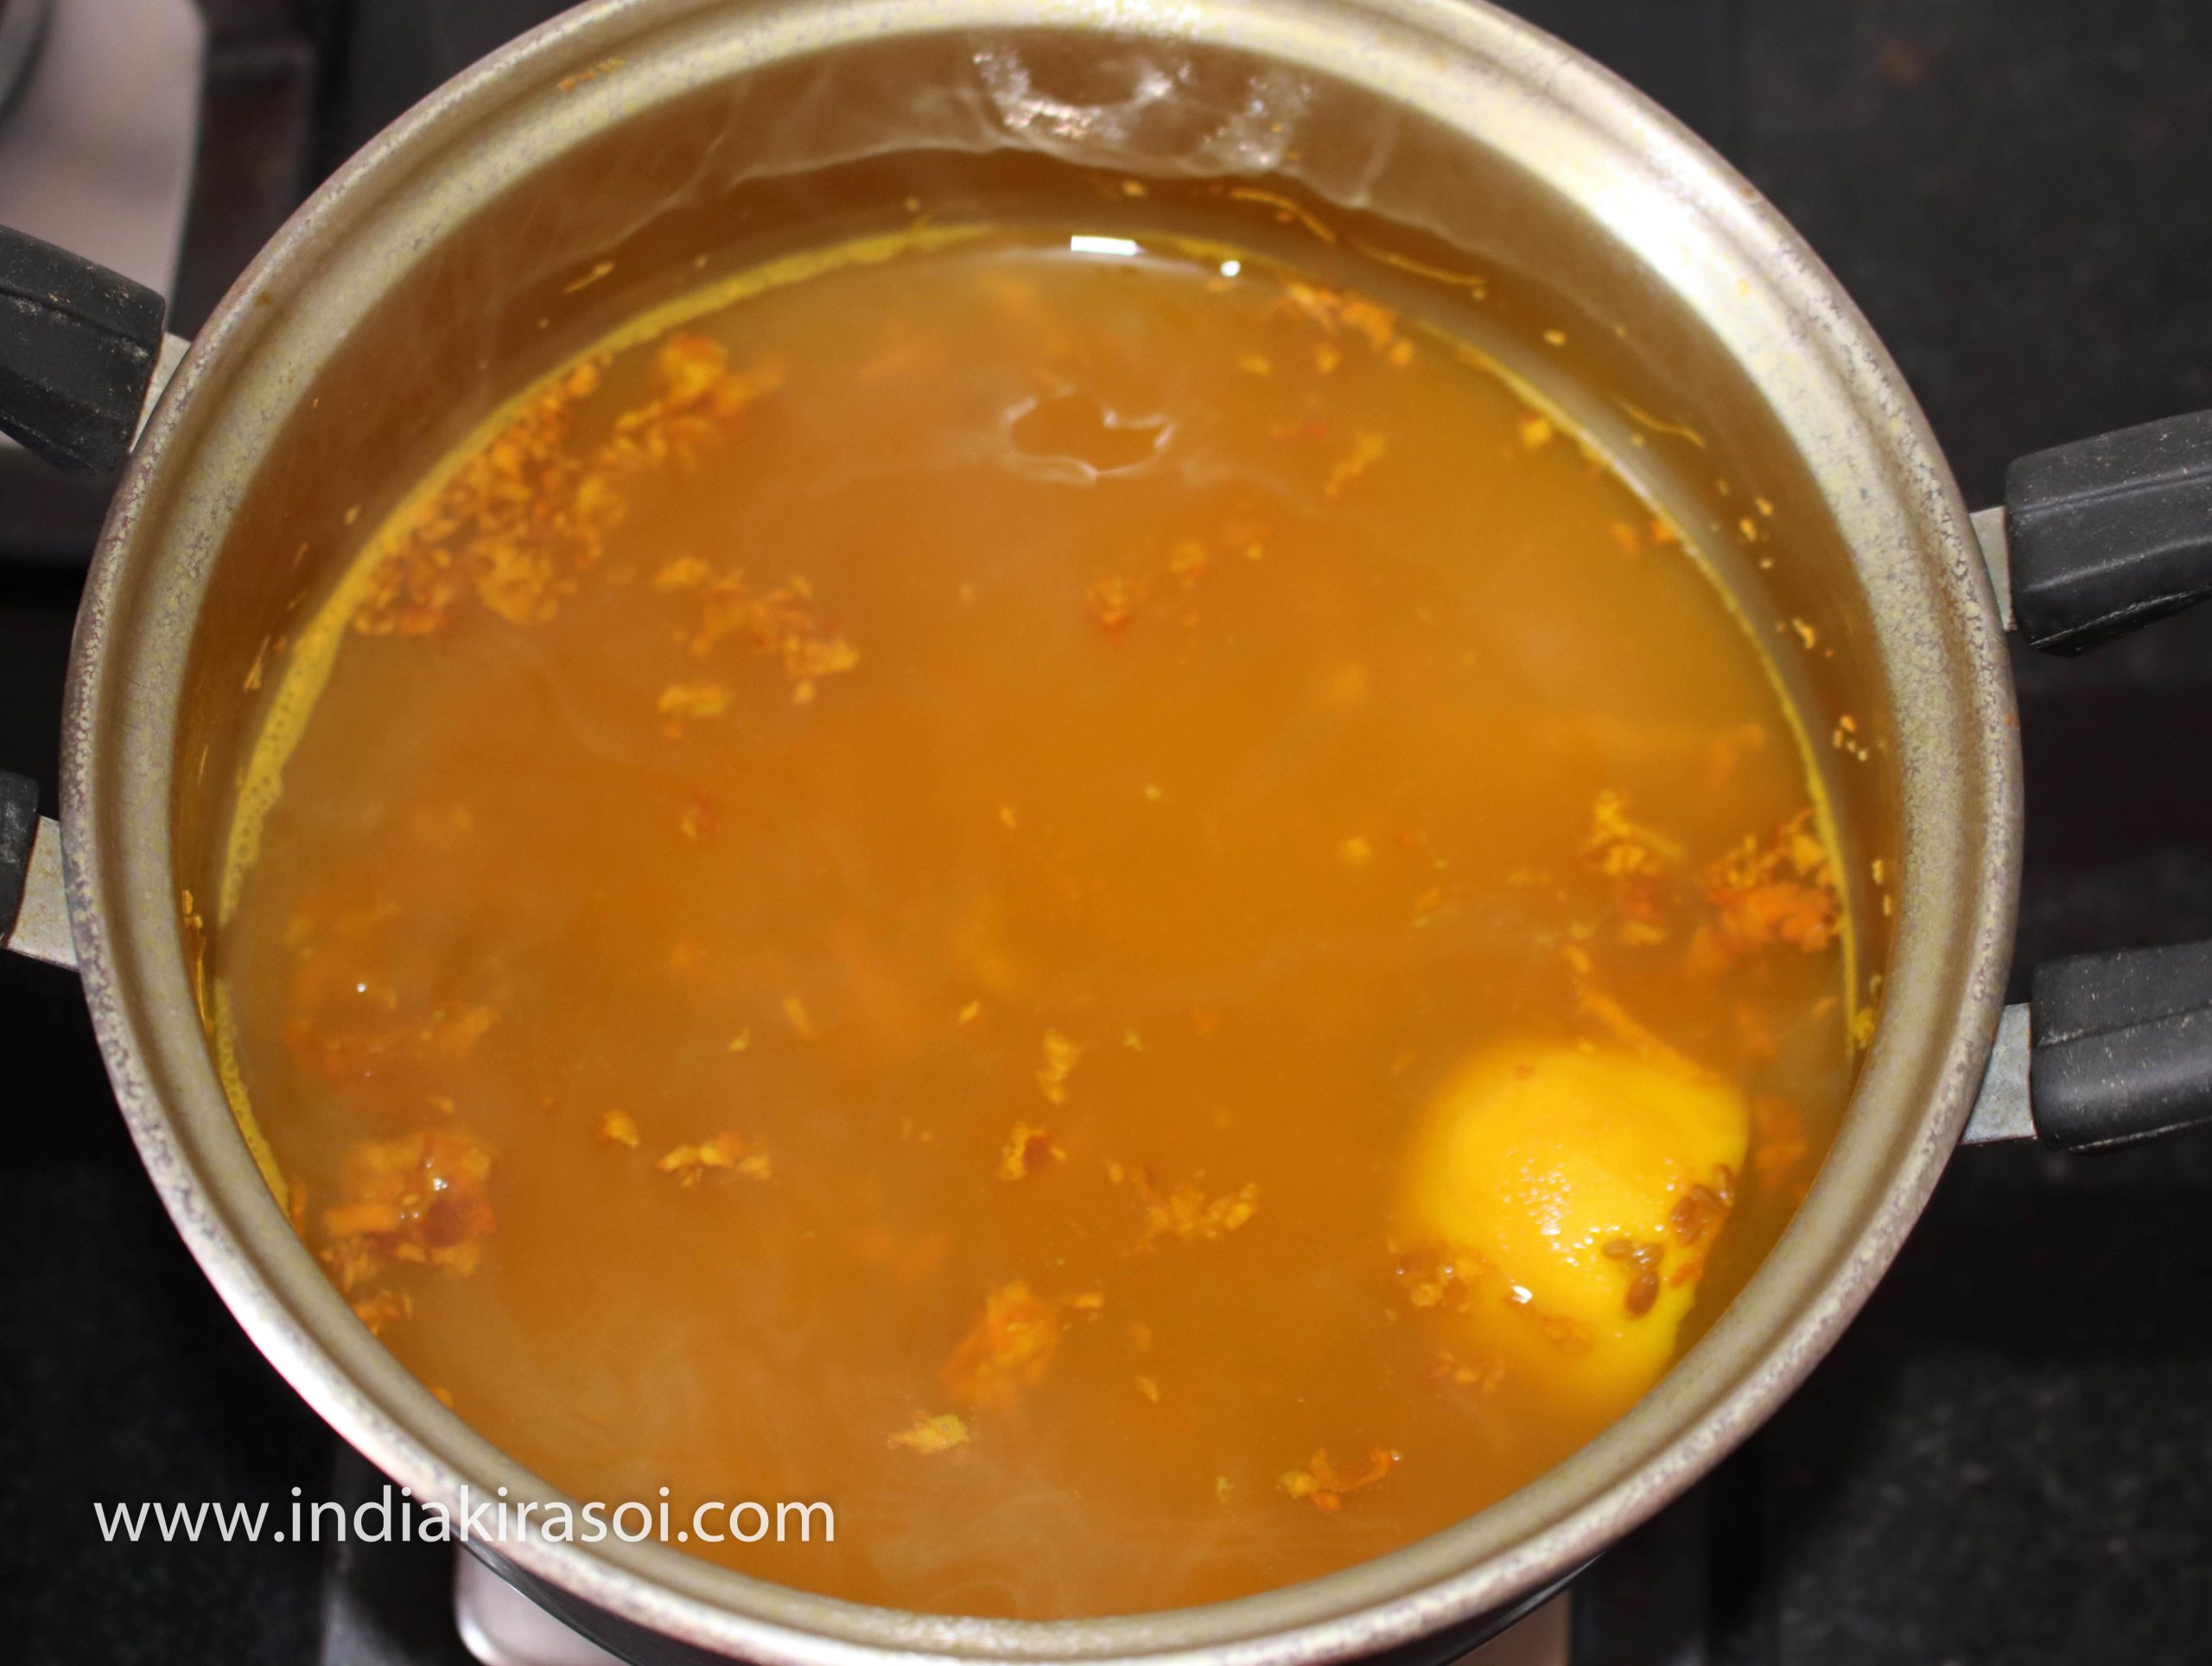
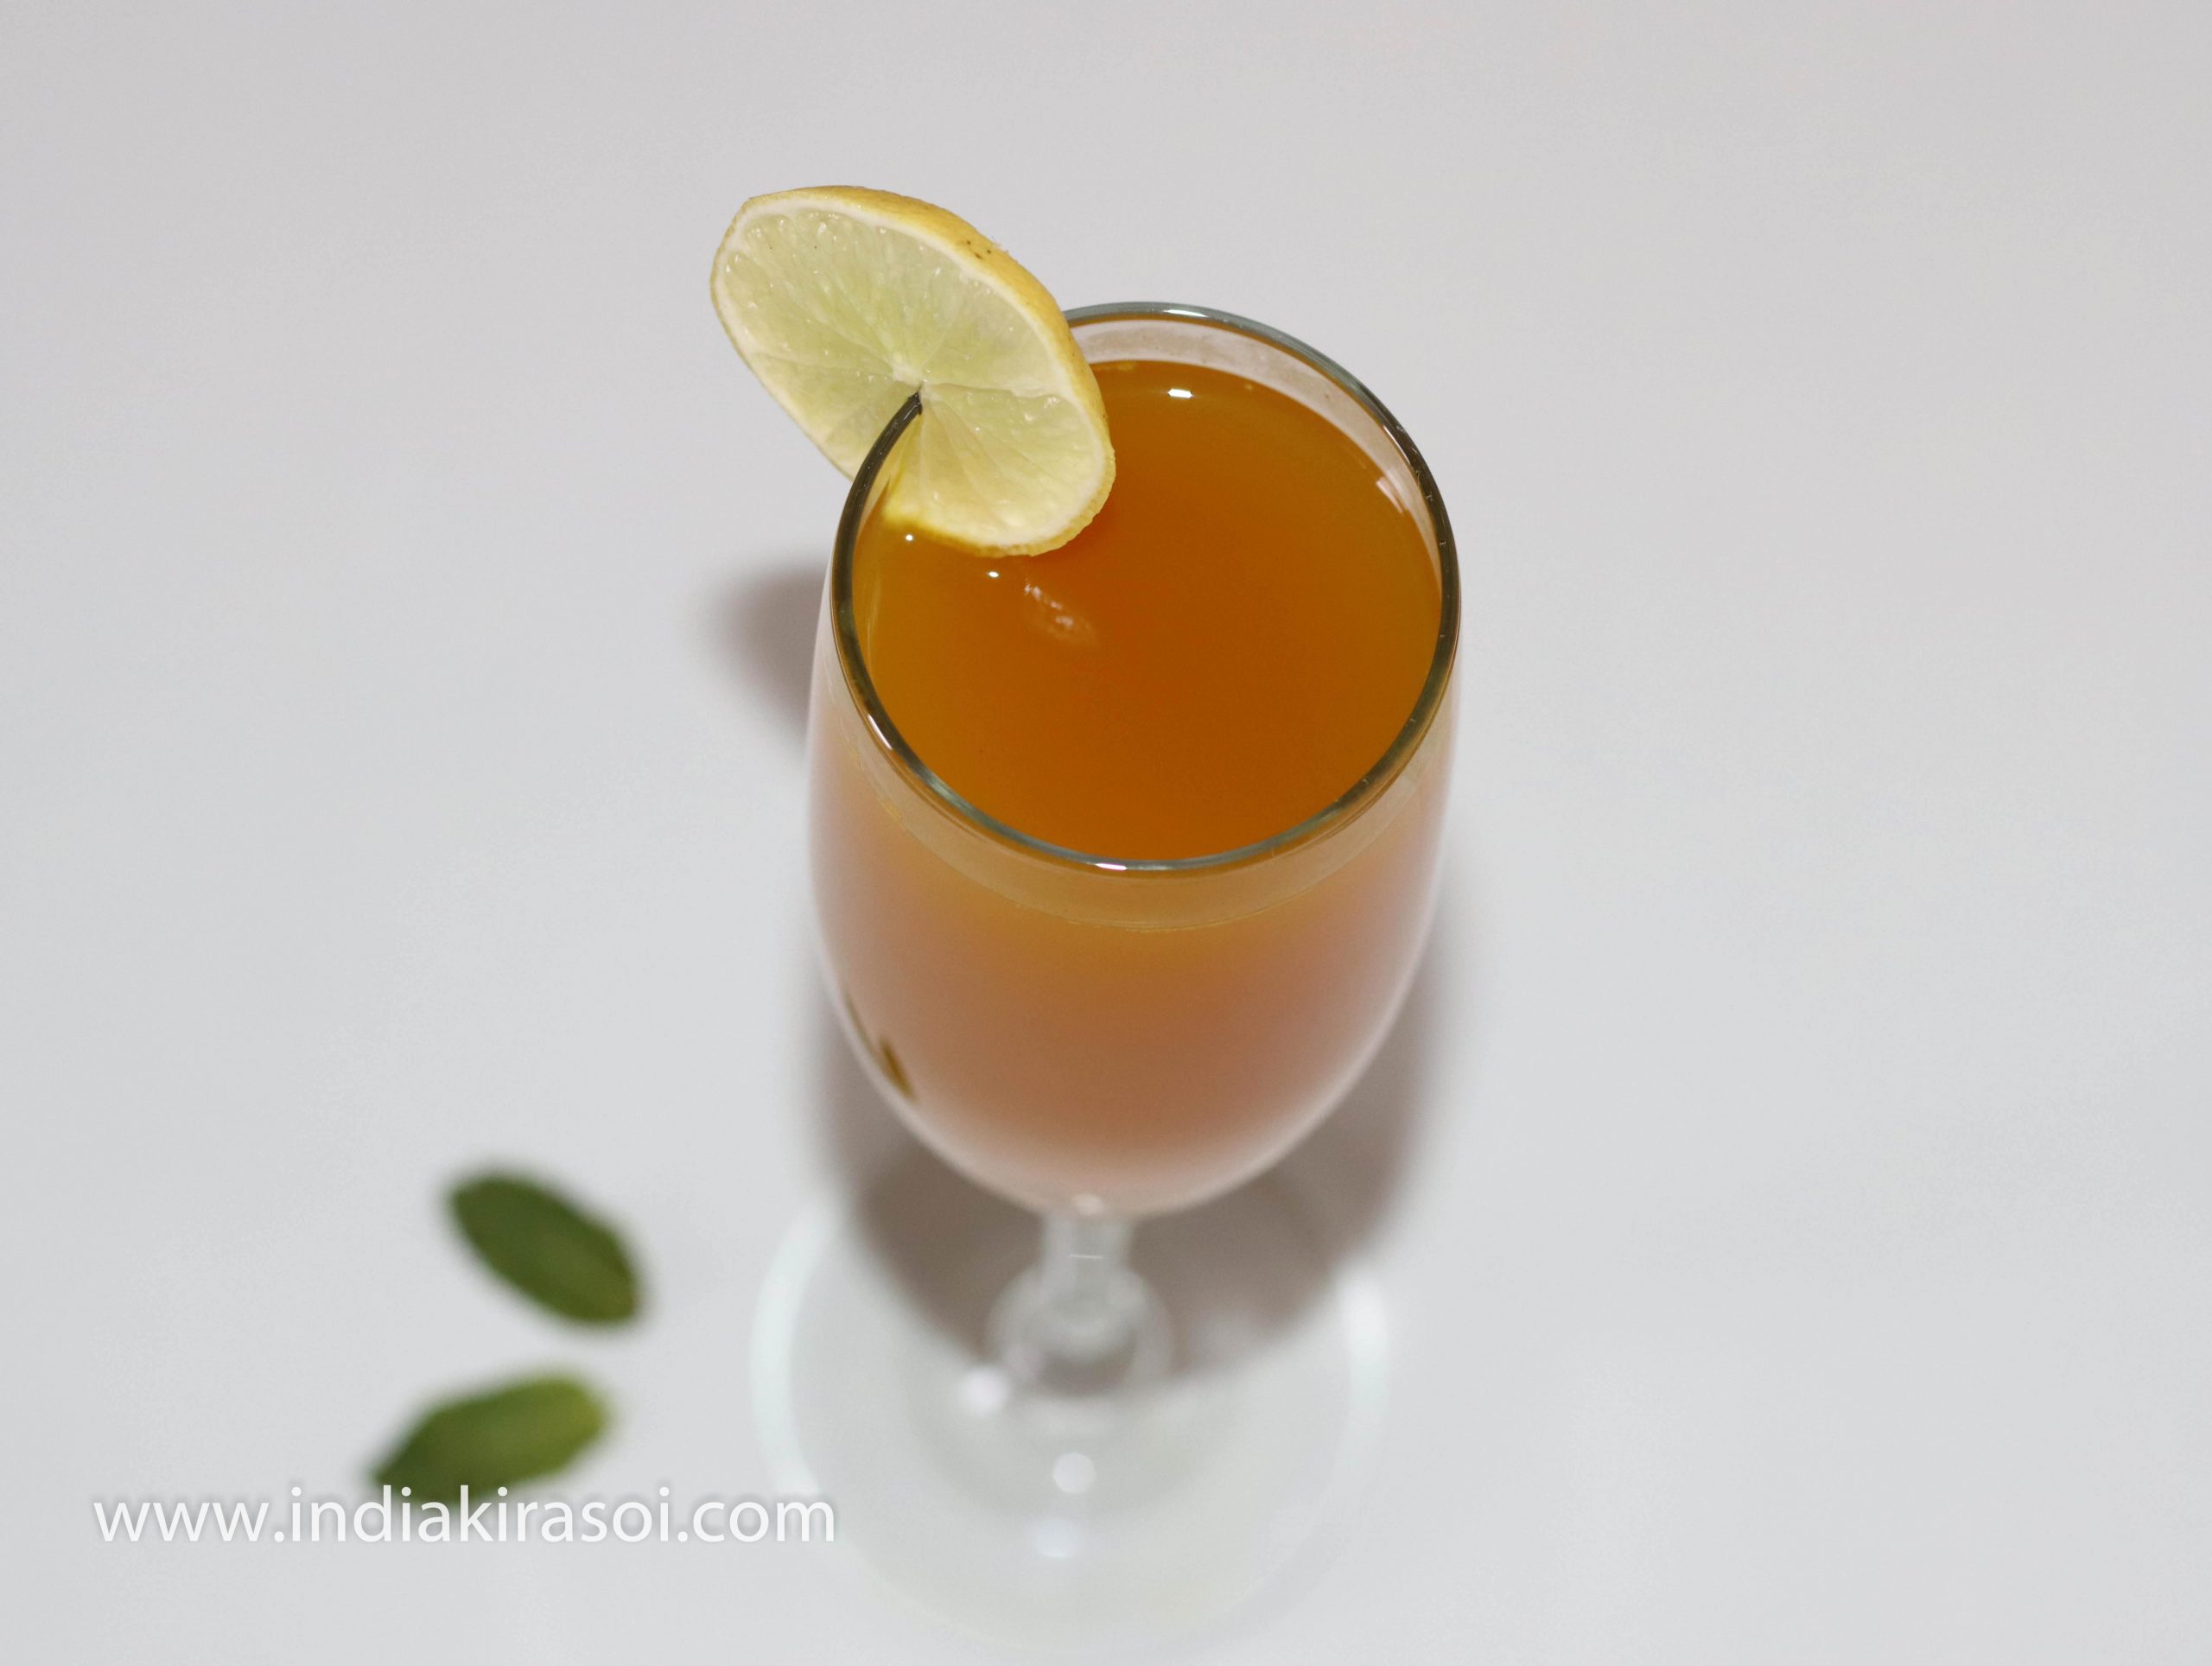
Turmeric Ginger Cumin Water/ Haldi Adrak Jeera Pani / مياه هالدي لزيادة المناعة وفقدان الوزن الشراب
Turmeric ginger cumin water is very beneficial in increasing immunity of the body.It also keeps your weight balanced and helps a lot in reducing abdominal fat.Turmeric is a natural way to help bolster the immune system by increasing the immunomodulating capacity of the body. Try adding extra turmeric into your diet during periods of stress or during flu season to help give your immune system a little boost.Along with this, turmeric ginger cumin water also helps in fighting any disease, cold or flu like coronavirus, pneumonia etc. nowadays, your immunity in coronavirus should be very strong. Turmeric ginger cumin benefits a lot to boost immunity.Today we will learn how to make turmeric ginger cumin water step by step…
Turmeric is an antibacterial and ginger is also very good for health, it contains vitamin C and vitamin E. Which increases the immunity of the body and improves the respiratory system.
Which helps our body to fight against diseases and viruses.
This water also helps in reducing belly fat or fat around waist.
Turmeric is a natural way to help bolster the immune system by increasing the immunomodulating capacity of the body.
Try adding extra turmeric into your diet during periods of stress or during flu season to help give your immune system a little boost.
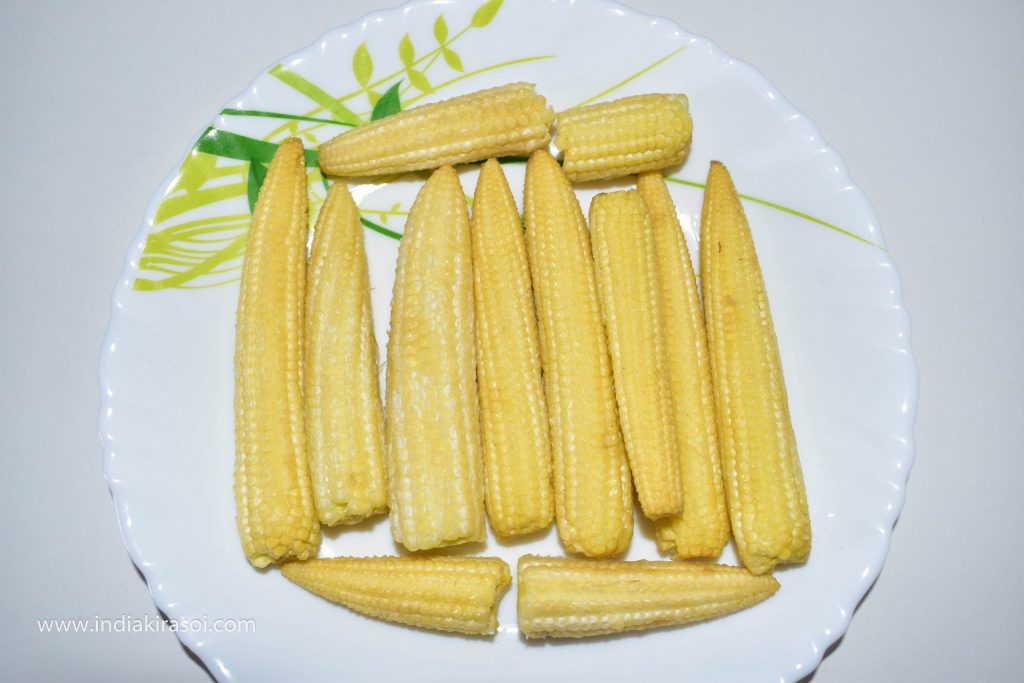
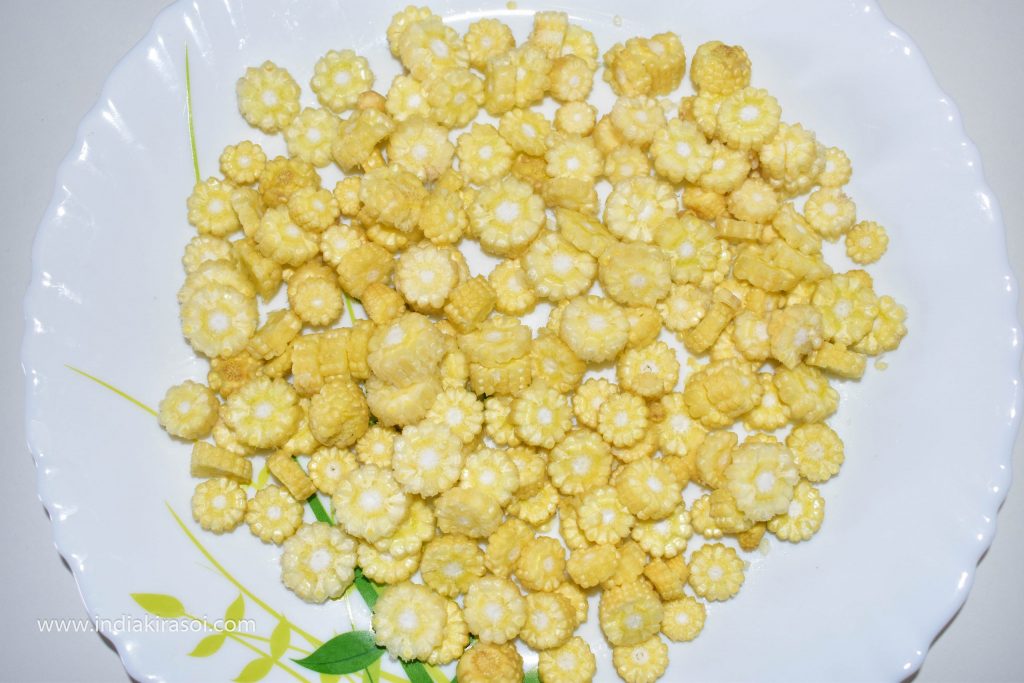
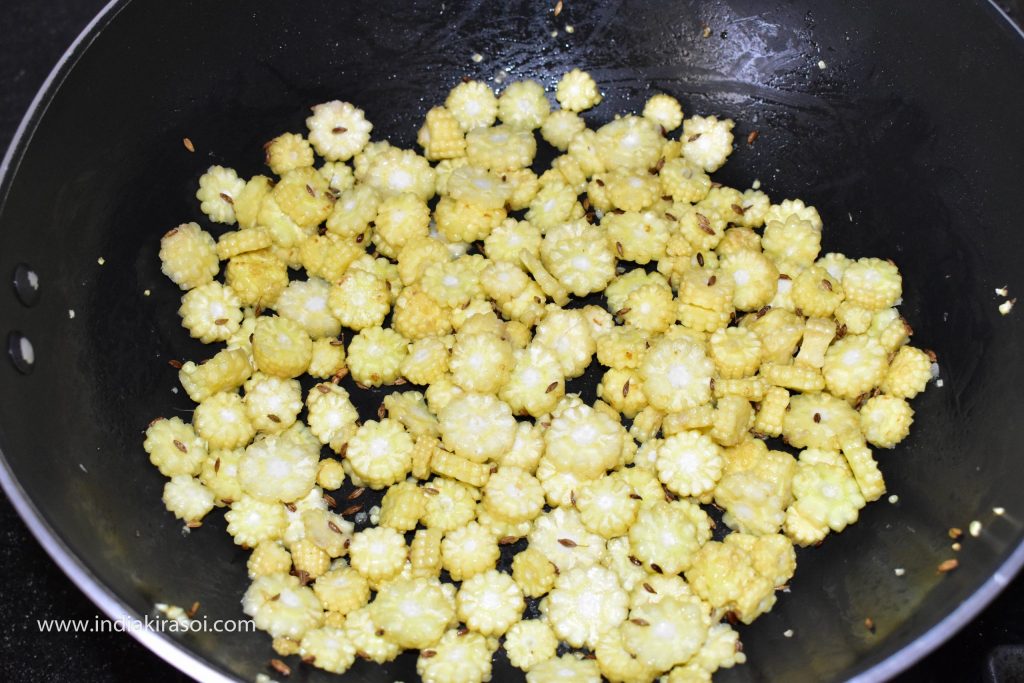
Baby corn (also known as young corn, cornets or baby sweetcorn) is a cereal grain taken from corn (maize) harvested early while the stalks are still small and immature. It typically is eaten whole – cob included – in contrast to mature corn, whose cob is too tough for human consumption. It is eaten both raw and cooked. Baby corn is common in stir fry dishes.Maize also is known as corn.It’s rich in fiber, vitamins and minerals. Processed corn products are not as nutritious.Baby corn is very easy to make, baby corn is very tasty to eat,Today I will tell you to make very easy and delicious baby corn vegetable.Please follow the method given below…
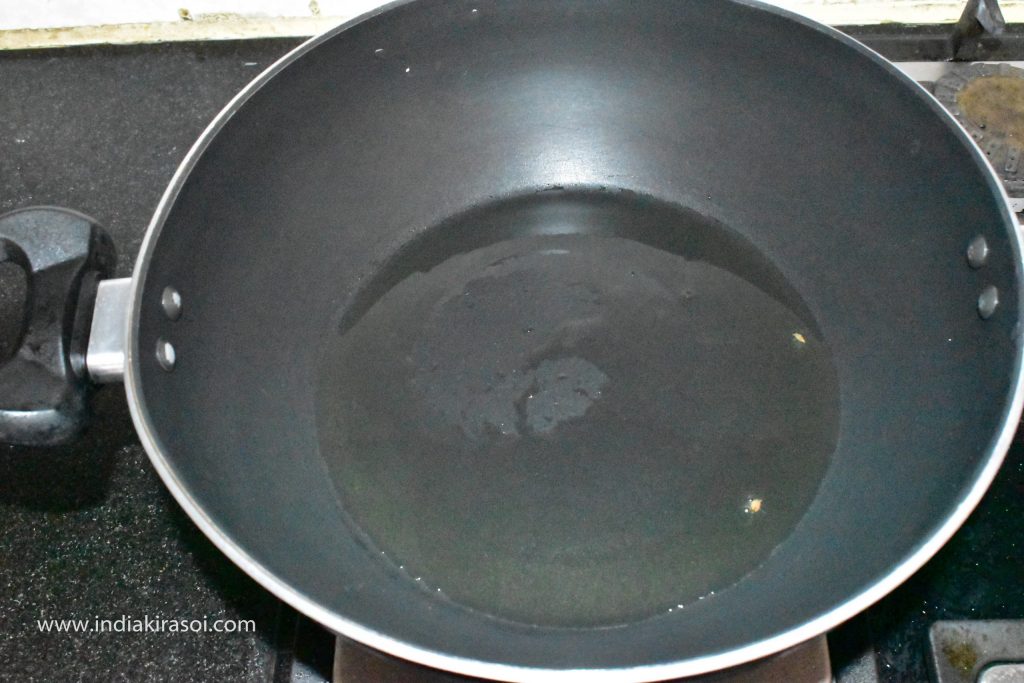
When the oil is hot, add 1/2 teaspoon cumin seeds to the oil.
When the cumin seeds crackle, add chopped baby corn.
Add 1/2 teaspoon turmeric to baby corn.
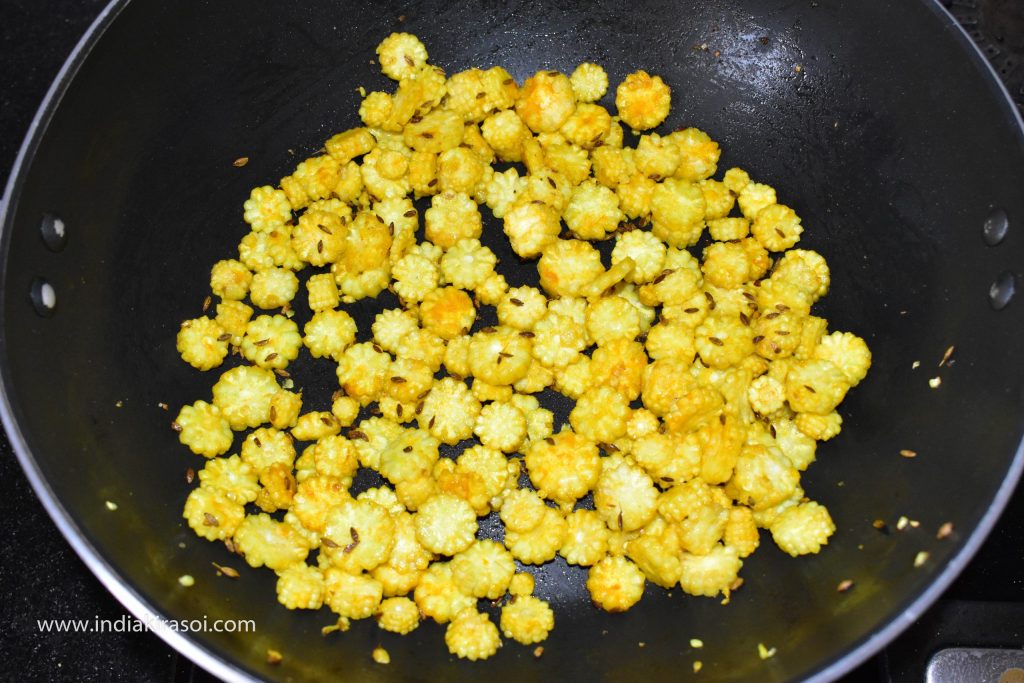
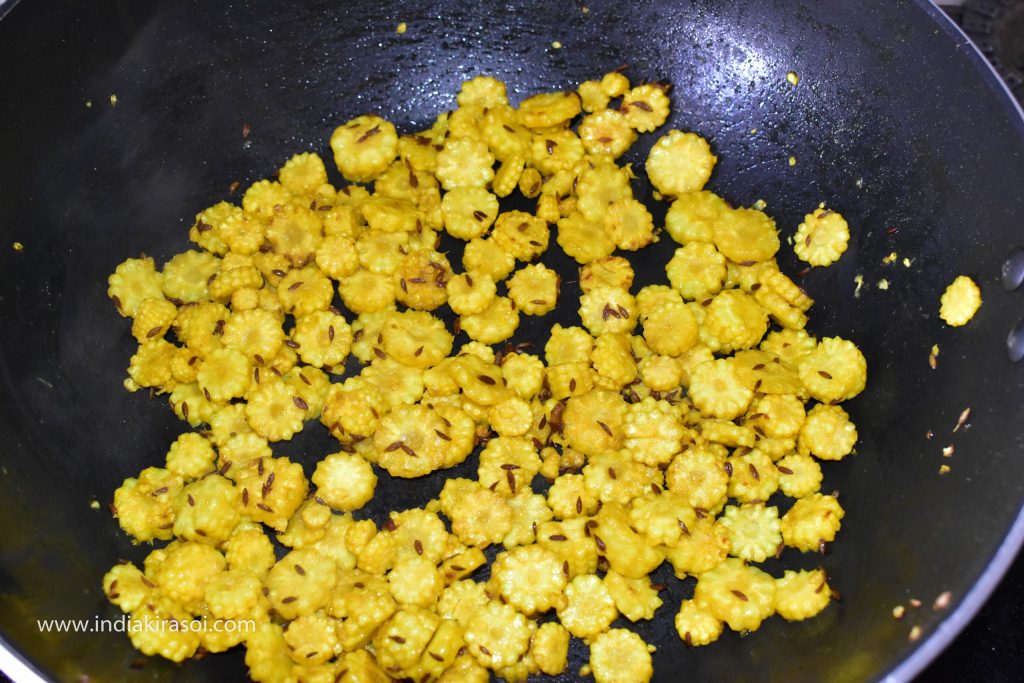
Fry baby corn for a minute.
Turn down the flame to low.
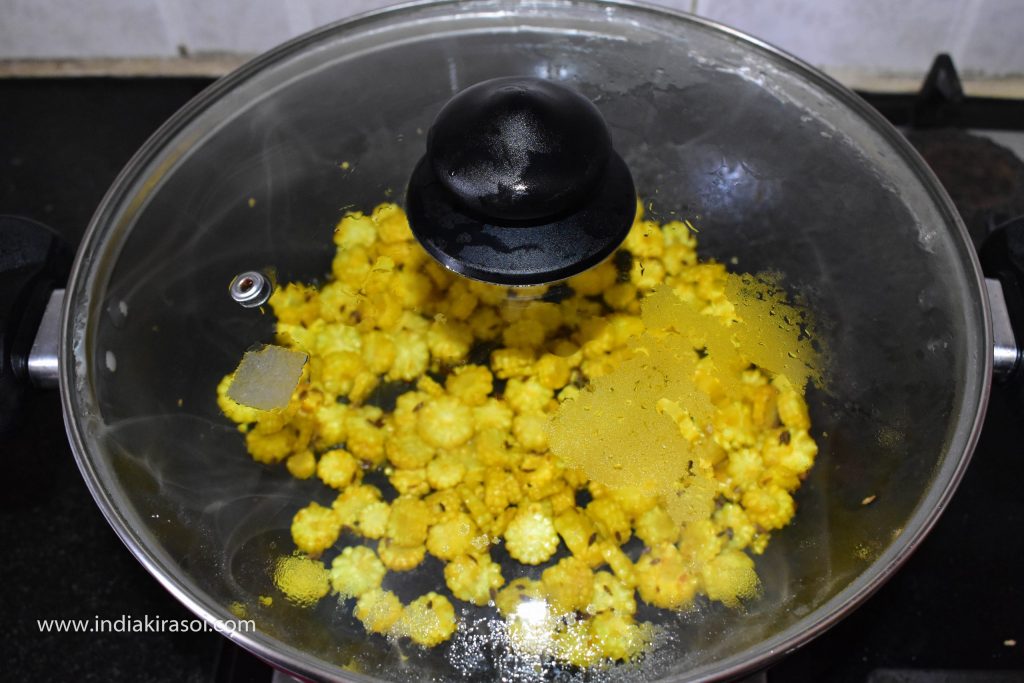
Cover the lid on the kadhai/fry pan.
Cook baby corn for 2 minutes.
After 2 minutes remove the baby corn in a plate and keep it aside.
Put the same kadhai /fry pan on the gas.
If you are using nonstick dishes, then there is no need to add oil again.
If you are not using nonstick dishes, add a spoon of oil to the pan.
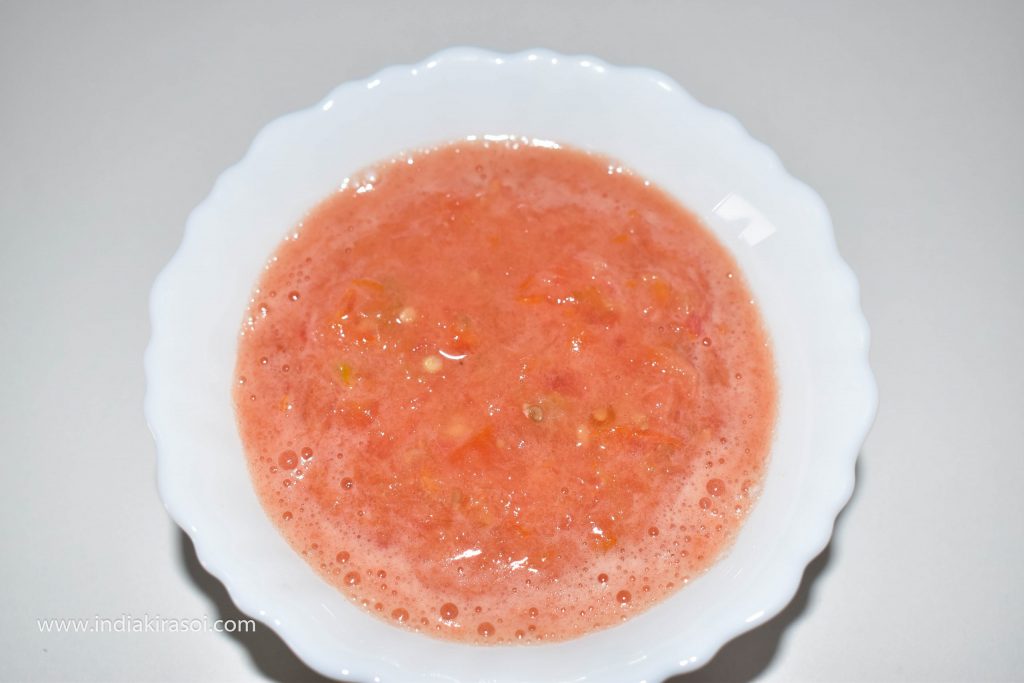
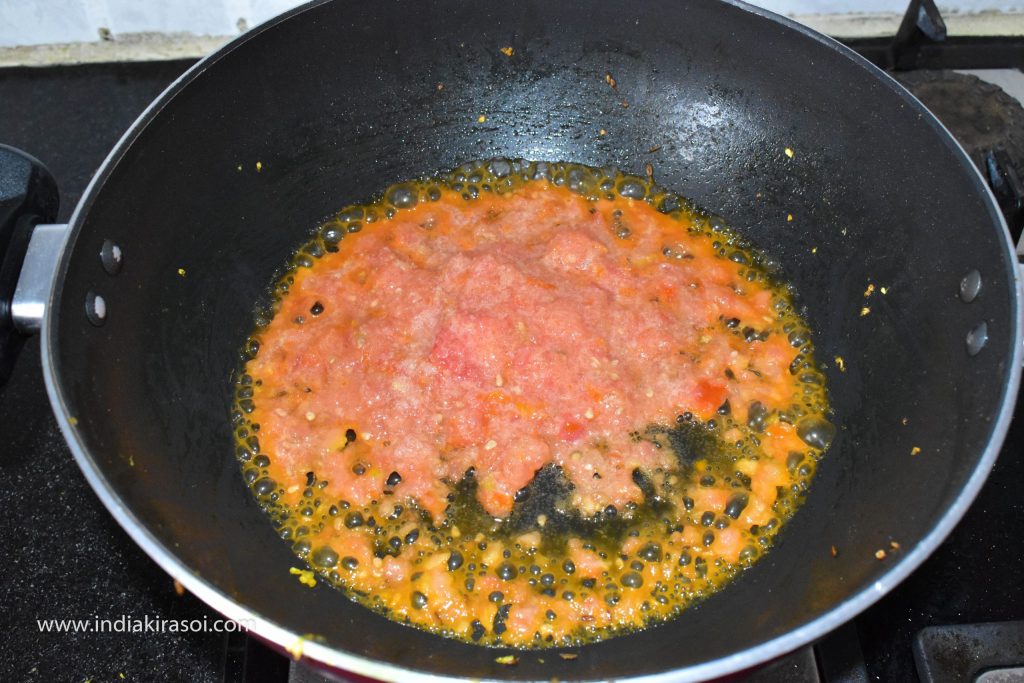
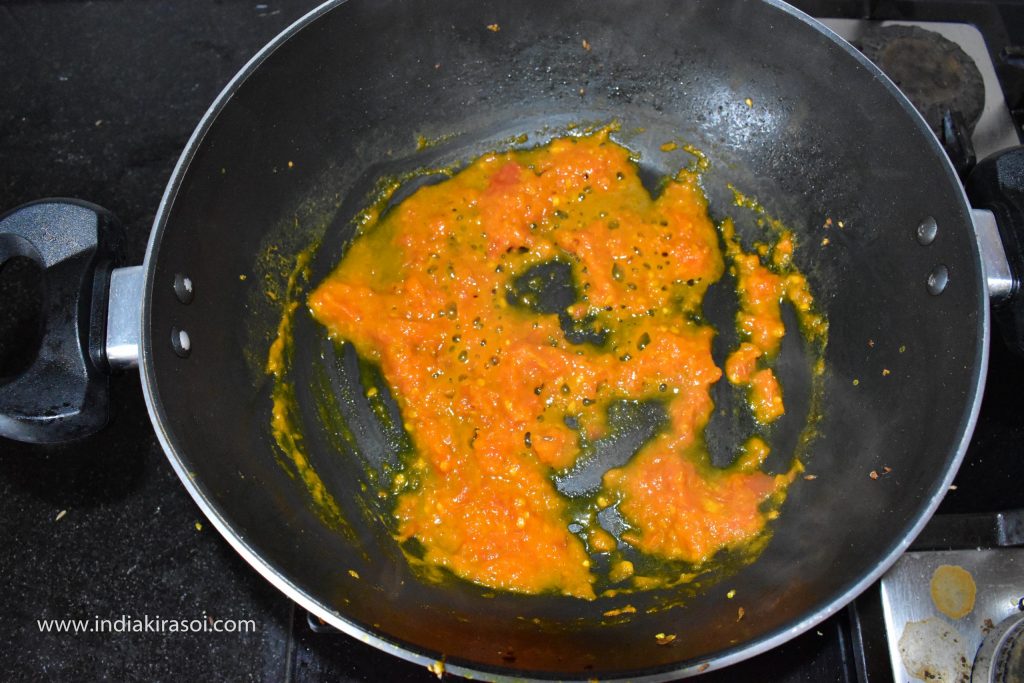
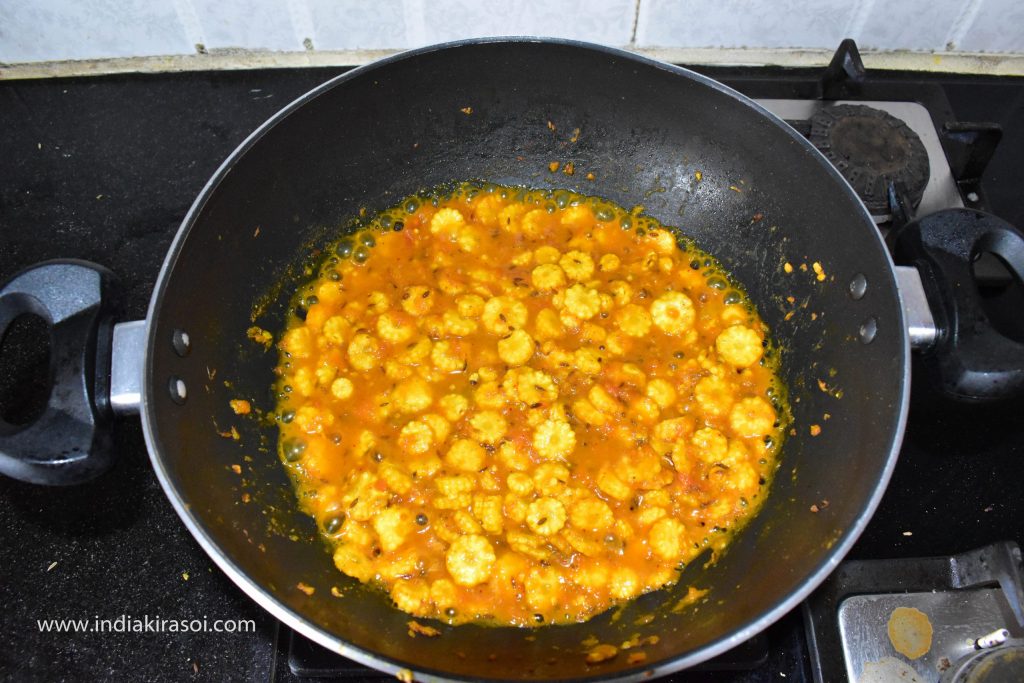
After that add paste of tomato in kadhai /fry pan.
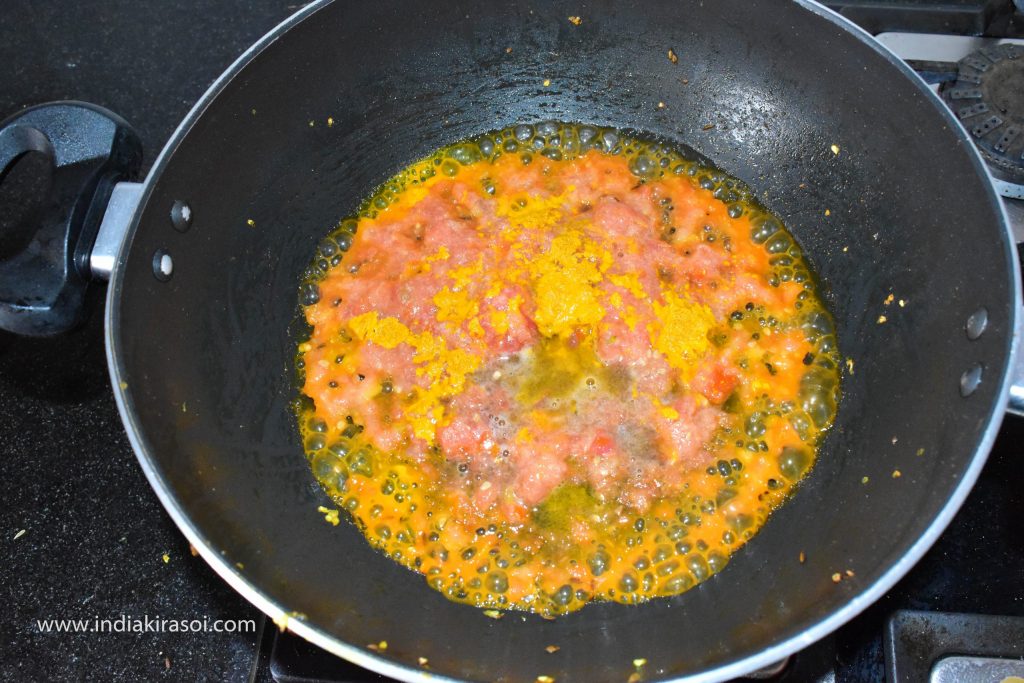
Then add 1/2 teaspoon turmeric powder to the frying pan.
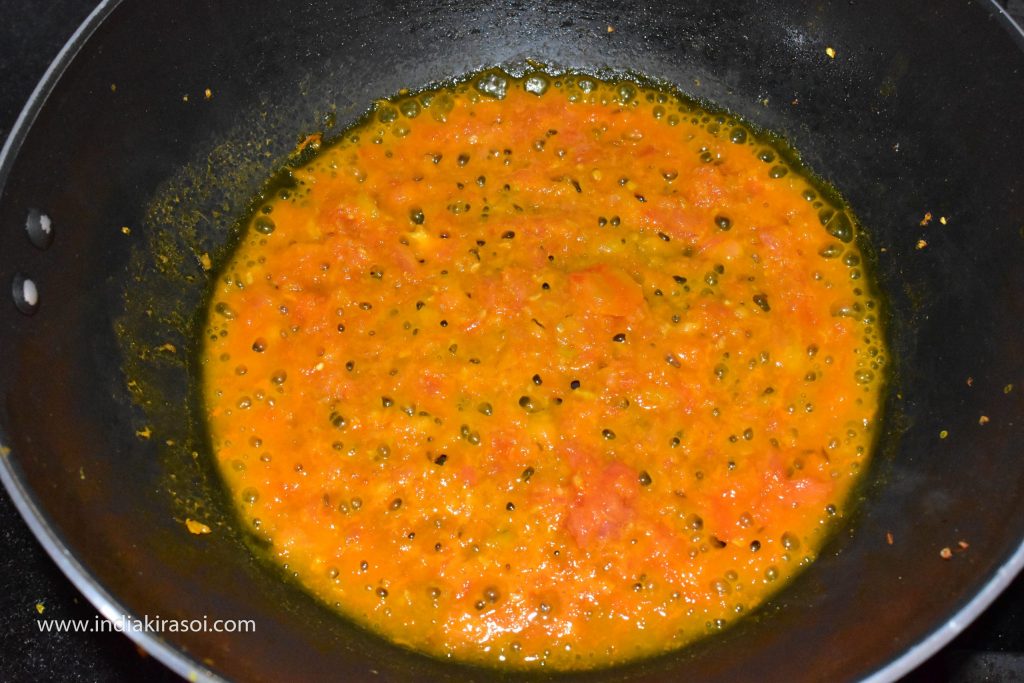
Mix turmeric with a spoon and cook.
Reduce the flame of the gas.
Let tomatoes cook.
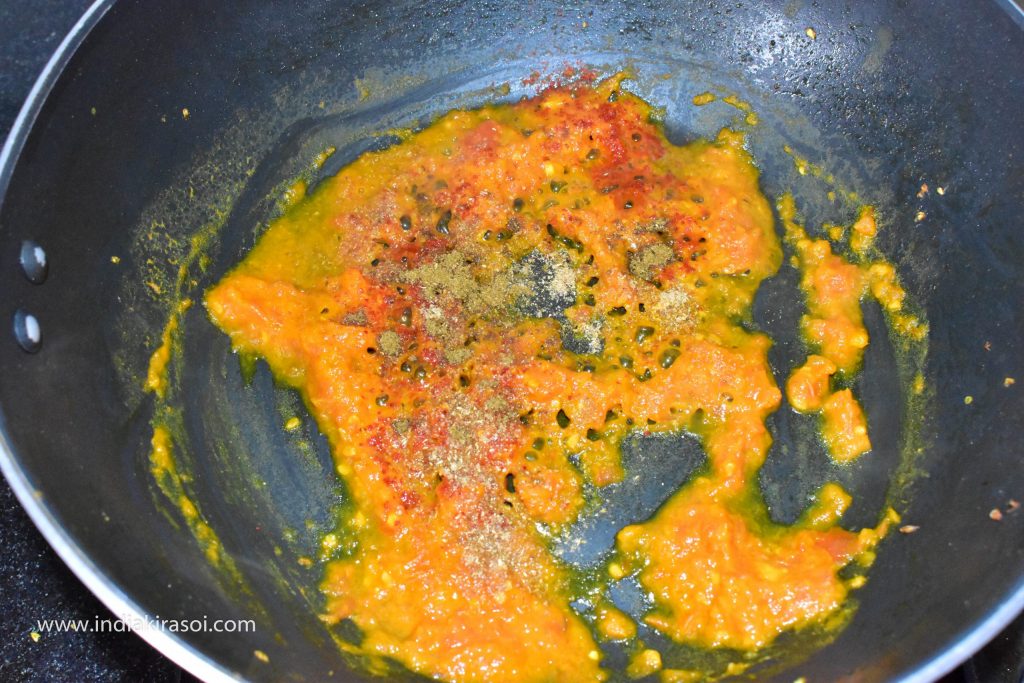
When tomatoes are cooked, add half teaspoon coriander powder, half teaspoon red chili powder and 1/4 teaspoon garam masala powder.
Do not add garam masala if you do not like garam masala.
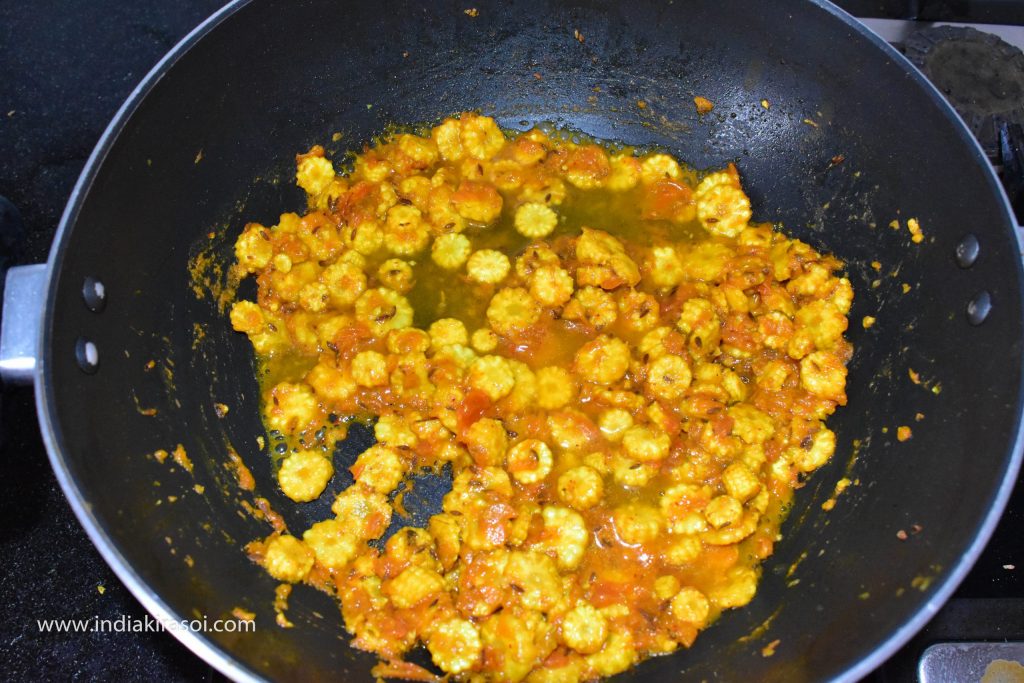
Now put the fried baby corn in the kadhai /fry pan.
Add baby corn to the spices and cook for a minute.
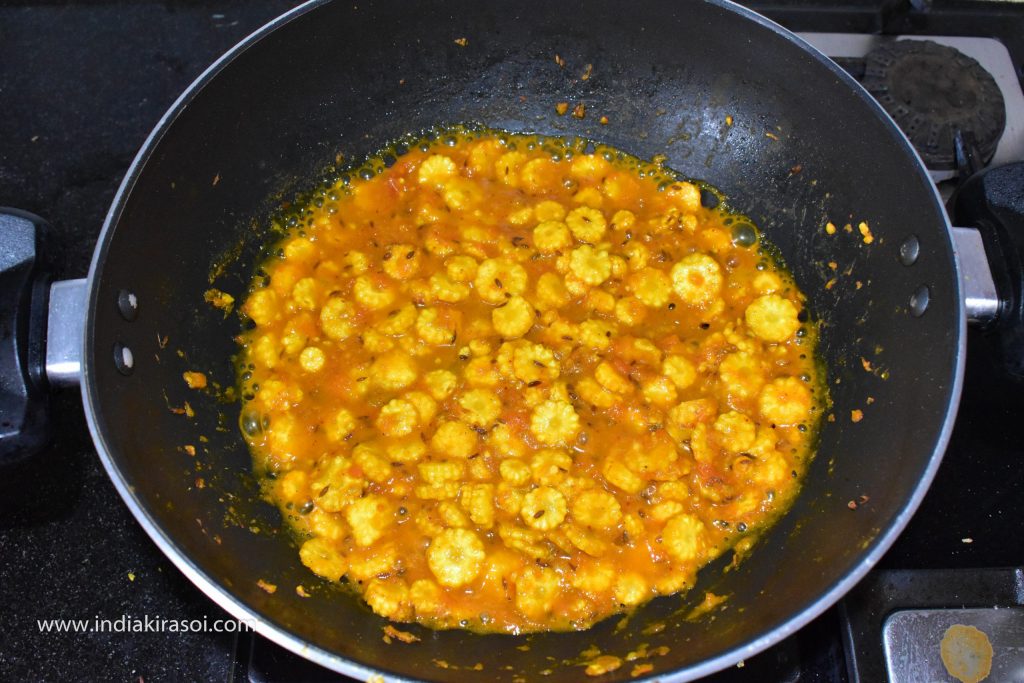
After that add a half cup of water and cook on low flame for 5 minutes.
Finally, add 1/2 teaspoon sour powder and mix well.
Cook the baby corn for 5 minutes.
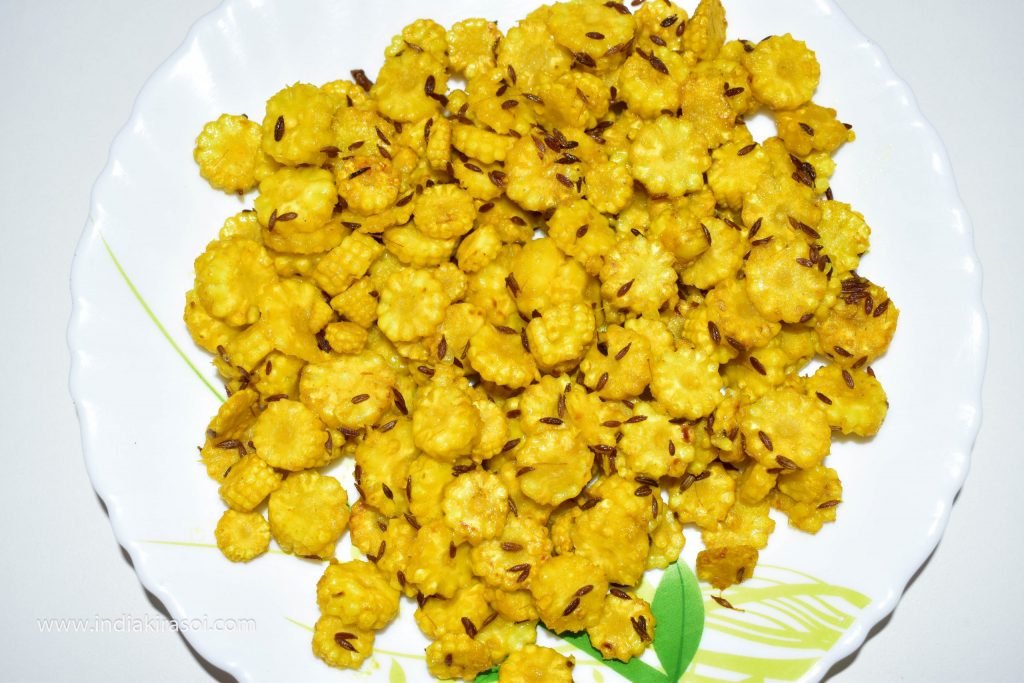
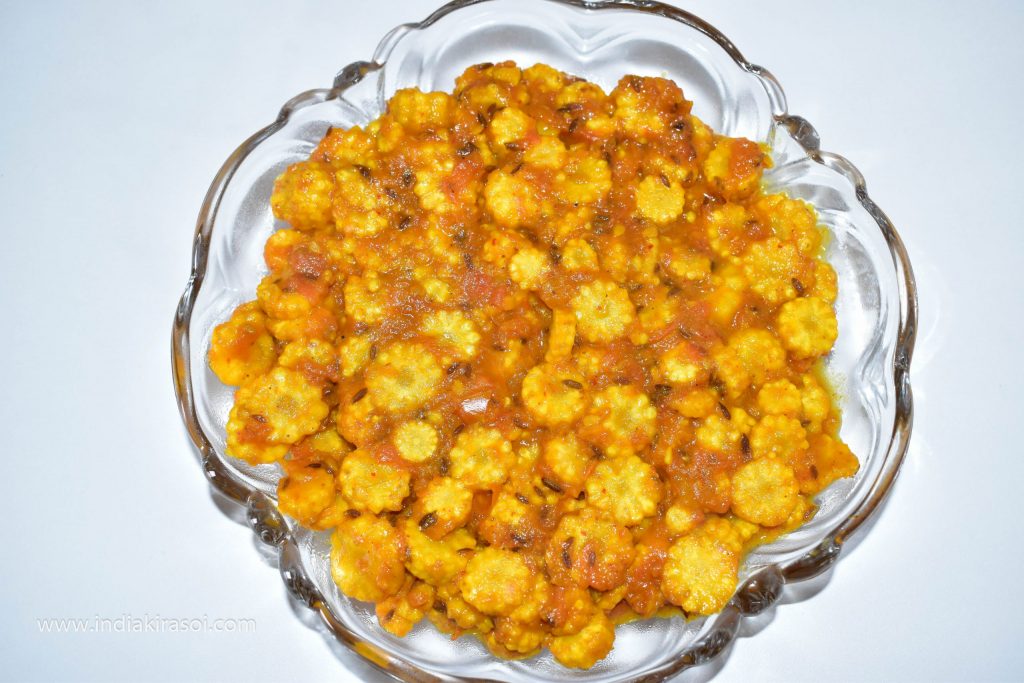
Yummy Baby corn recipe is ready.
Grate cheese on the prepared baby corn.
Notes
Maize also known as corn, is a cereal grain first domesticated by indigenous peoples in southern Mexico about 10,000 years ago.
It’s rich in fiber, vitamins and minerals.
One cup (164 grams) of sweet yellow corn contains :
• Calories: 177 calories
• Carbs: 41 grams
• Protein: 5.4 grams
• Fat: 2.1 grams
• Fiber: 4.6 grams
• Vitamin C: 17% of the daily value
• Thiamine (vitamin B1): 24% of the daily value
• Folate (vitamin B9): 19% of the daily value
• Magnesium: 11% of the daily value
• Potassium: 10% of the daily value
Whole corn is loaded with fiber and contains vitamin C, B vitamins, magnesium and potassium. Processed corn products are not as nutritious.
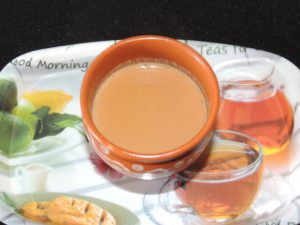
Tea is an aromatic drink frequently prepared by pouring warm or boiling water over healed Camellia sinensis leaves, an evergreen shrub (bush) from East Asia.
It is the world’s most commonly consumed beverage after water.
Many distinct tea kinds, such as Darjeeling and Chinese greens, have a cooling, mildly bitter, and astringent taste.
While others have profiles that greatly differ, including sweet, nutty, floral or grassy notes.
When the tea is drunk with flavourful and aromatic cardamom, the taste buds are all the more thrilling.
Enjoy this tea with your favourite savours, warm and fresh.
Course Indian, Snacks, Starter
Cuisine Breakfast, Indian
Prep Time 1minute
Cook Time 5minutes
Total Time 6minutes
Servings 1People
Calories 15kcal
Equipment
Pan
Tea Strainer
Cup
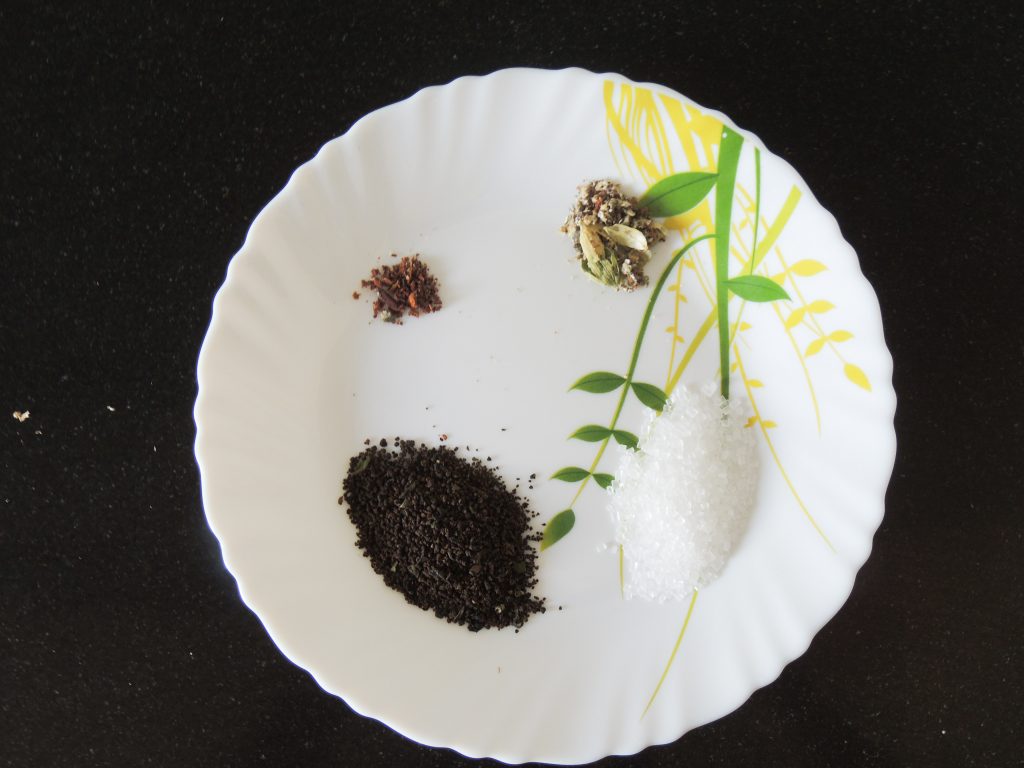
Ingredients
3/4CupWater / Pani
1/2CupMilk / doodh
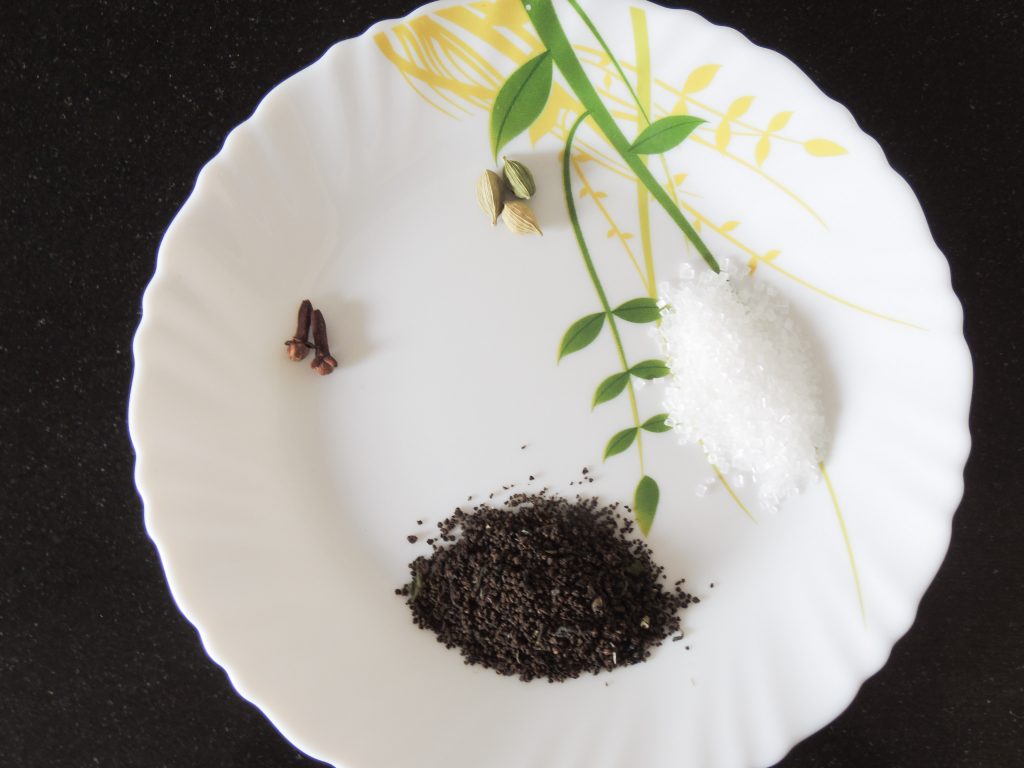
1UnitCardamom / Elaichi, Should not be dry. If dry then take 2 Unit of cardamom
2UnitClove / Laung
1tspSugar, If you like more sugar, you can add sugar as per your taste
1tspTea Leaves / Chai Patti
Instructions
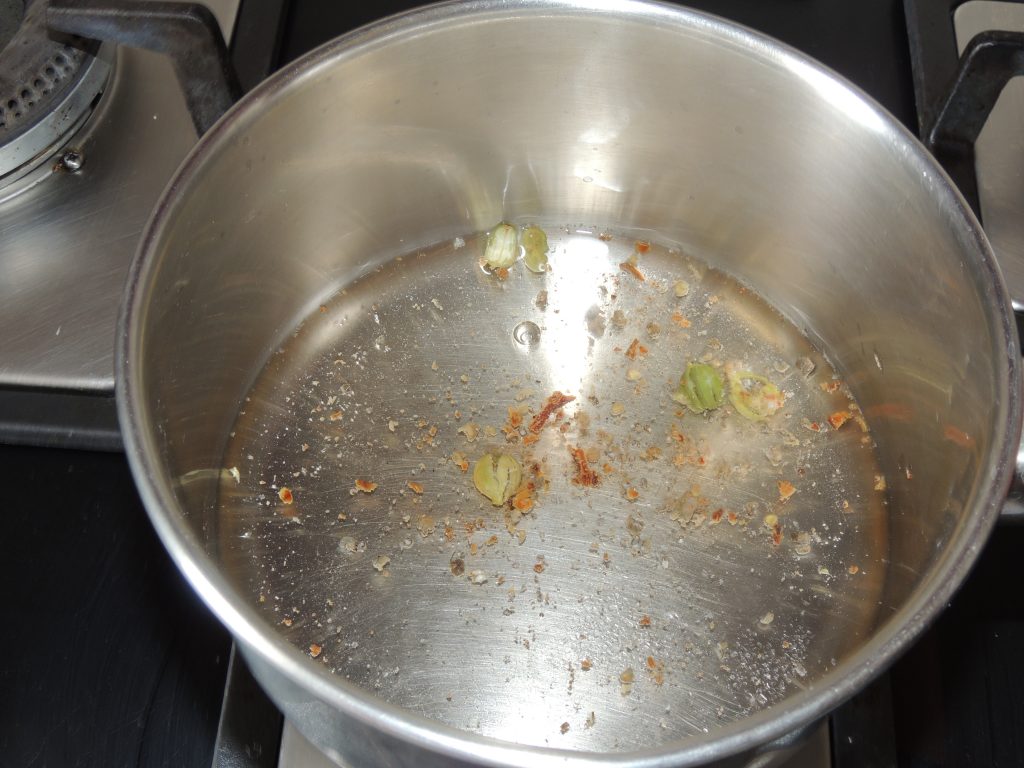
First take 1 tsp sugar, 1 tsp tea , 1 battered cardamom
After that batter cardamom, clove with mortar & pestle / khallar / khal kutni.
Take 3/4 cup of water in the tea pan.
Place on the gas. Combine cardamom, clove, sugar in the water.
Let boil the water.
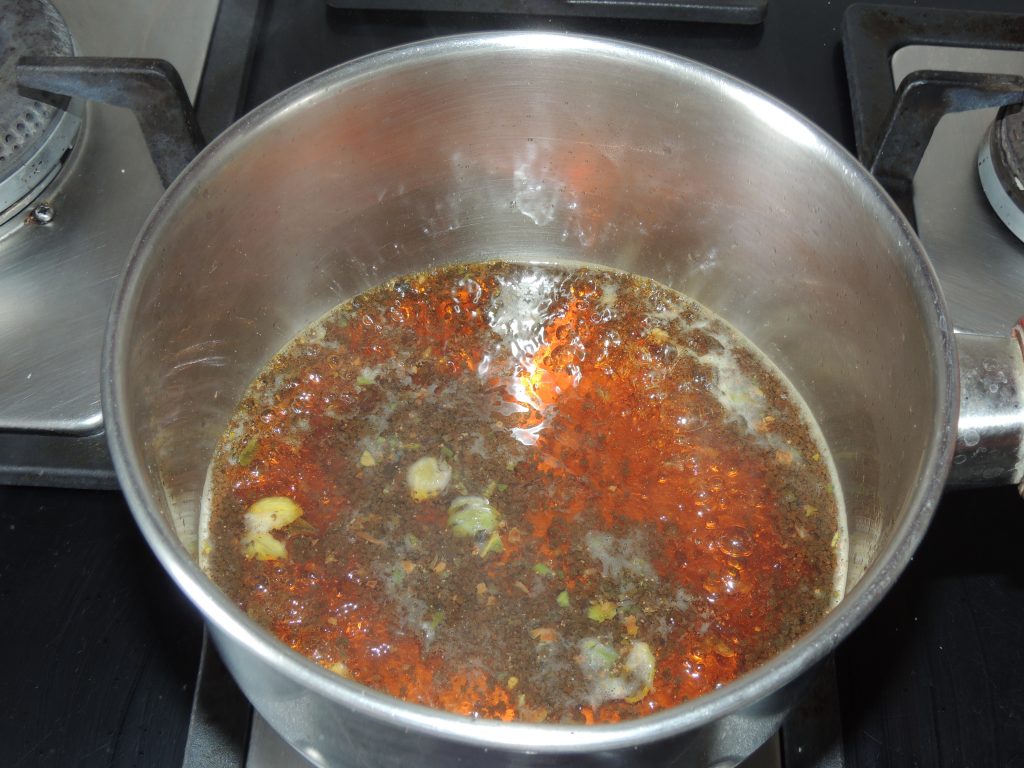
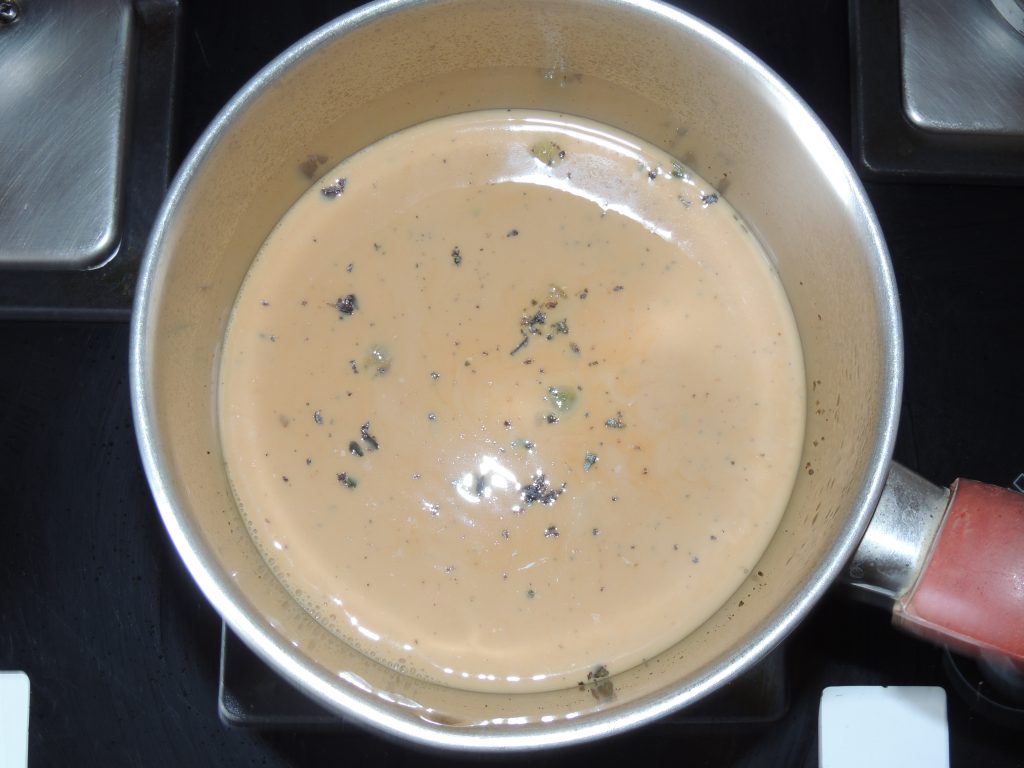
Now add tea in the tea pan.
After 1 minute add 1/2 cup of water in the tea pan.
After few minute tea will start boiling.
Let boil the tea for approx 2 minute, so that flavour of tea, cardamom, clove will be added to the tea,
Filter tea with tea strainer. Serve immediately.
Enjoy the tea.
Video
Notes
Take this tea 1 or 2 times in a day.
Avoid take more that 2 to 3 times a day.
As clove is warming in nature, more tea can create hotness in body.
In winters you can take as many times as you want.
You can also try Ginger Tea / Adrak Ki Chai. This tea is very good to change the taste buds, cold and cough.
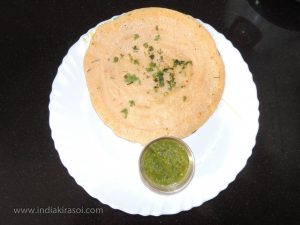
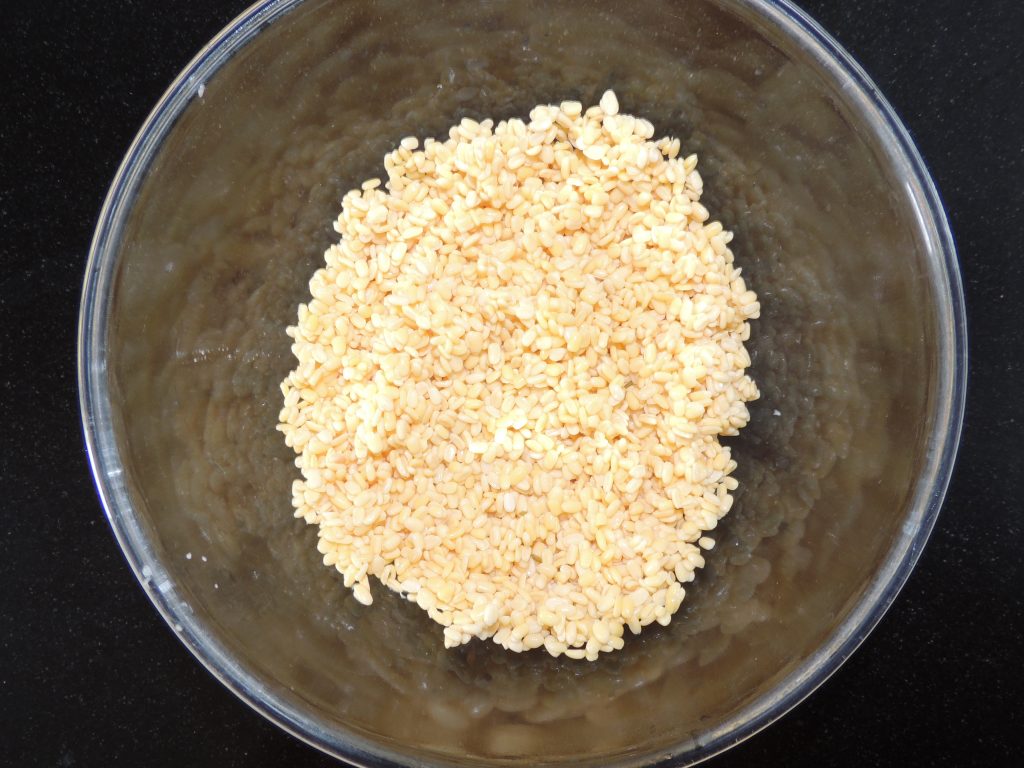
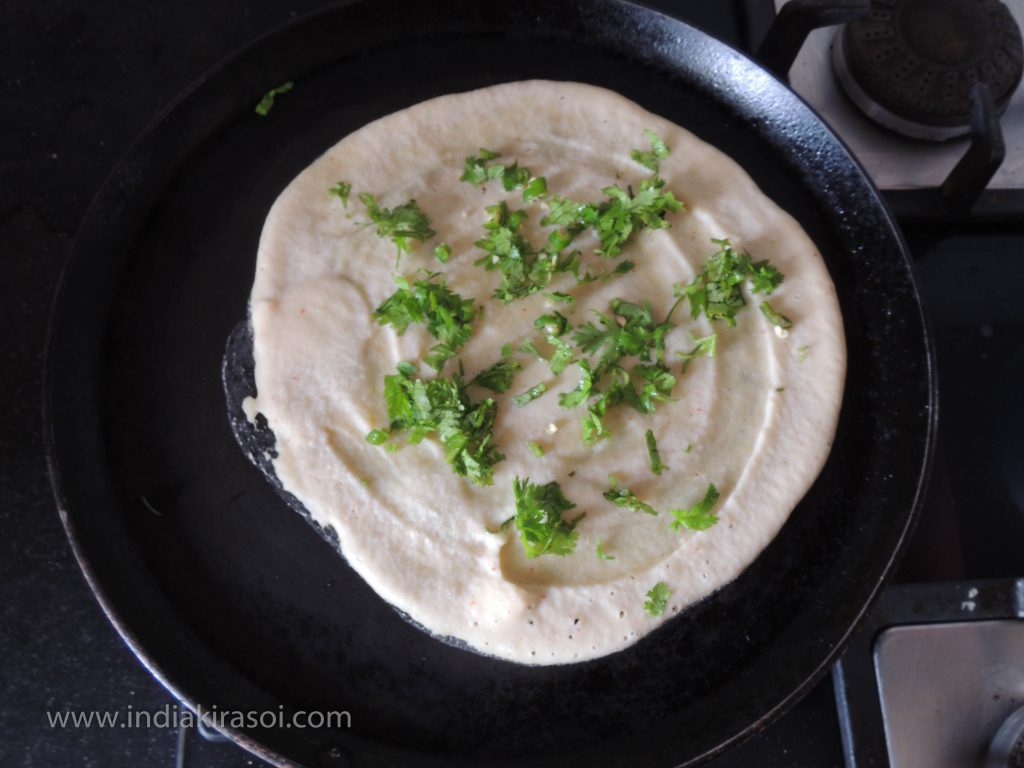
Moong Dal Cheela is a great breakfast and it is also very easy to make.Soak moong dal and grind it finely.Moong dal is also very good for health, moong dal cheela is very tasty to eat and it is also very light to eat, you can also eat it as an evening snack.Eat moong dal cheela with green coriander sauce, you will feel very tasty.Follow the steps mentioned below to make Dal Chila.So let's start . . .
Course Breakfast, Dinner, Indian, Lunch, Main Dish, Starter
Cuisine Breakfast, dinner, Indian, Main
Prep Time 10minutes
Cook Time 10minutes
Total Time 20minutes
Servings 2People
Calories 0.247kcal
Equipment
Mixer Grinder
Griddle/ Tawa
Knife
Big Spoon
Ingredients
2CupMoong Daal / Mung Pulse
2tspCoriander leaves / Dhaniya Patti
asper tasteSalt / Namak
2tspOil / Desi Ghee / Butter
Instructions
Soak 2 cups of moong dal first for 4 hours.
When the moong dal get wet, wash them clean with clean water.
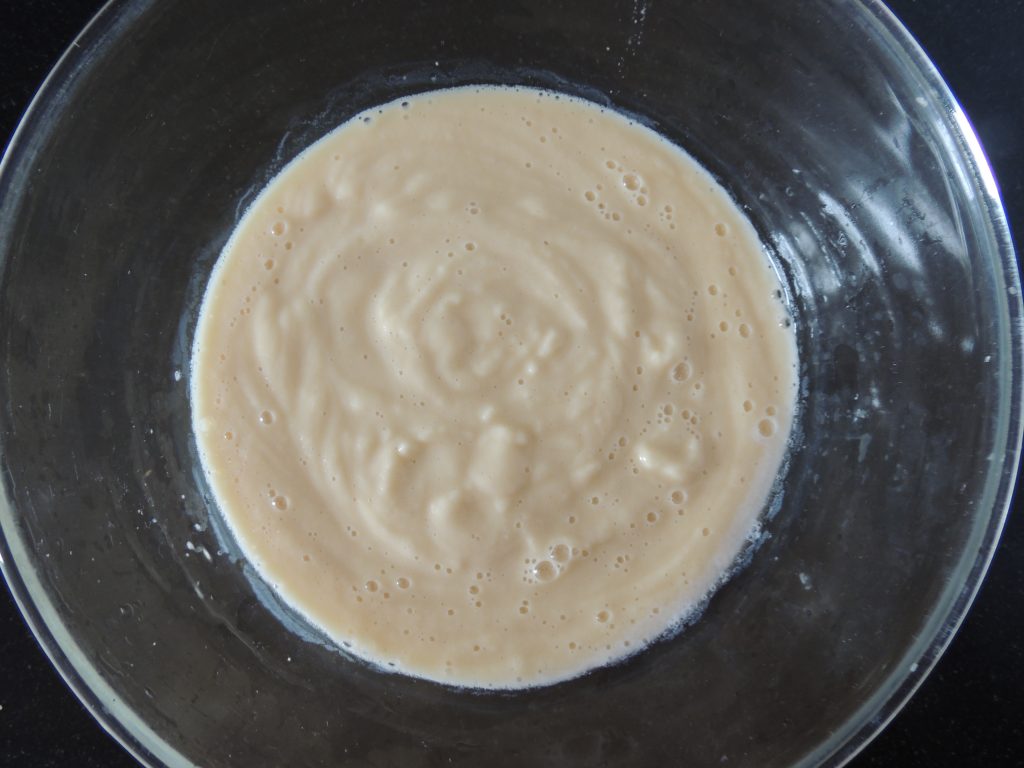
Now add some water in the moong dal and grind them in the grinder.
Add salt to the paste.
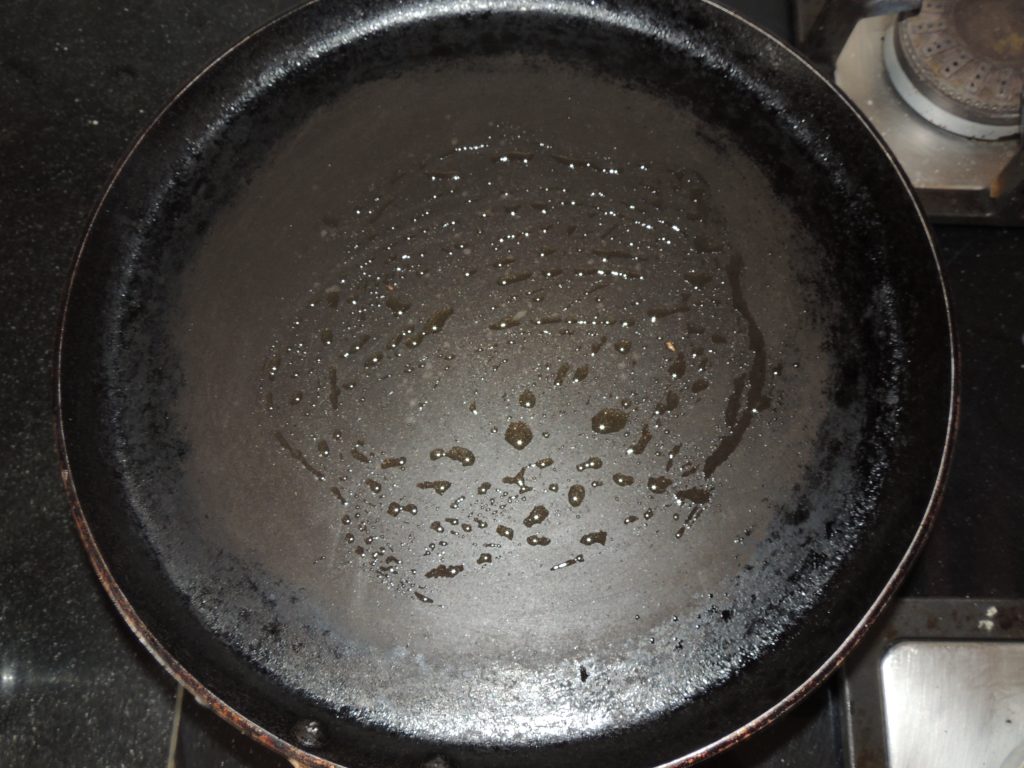
Put a griddle on the gas.
Put 1 teaspoon of oil or desi ghee on the griddle.
Put about 4-5 teaspoons of moong dal paste on the griddle.
And spread it with a spoon.
As soon as the moong dal paste is put on the pan, spread a little bit of chopped coriander leaves and chopped green chilli paste over it so that the coriander sticks well.
If the paste starts to stick on the griddle, apply half a teaspoon of desi ghee on the side of the cheela.
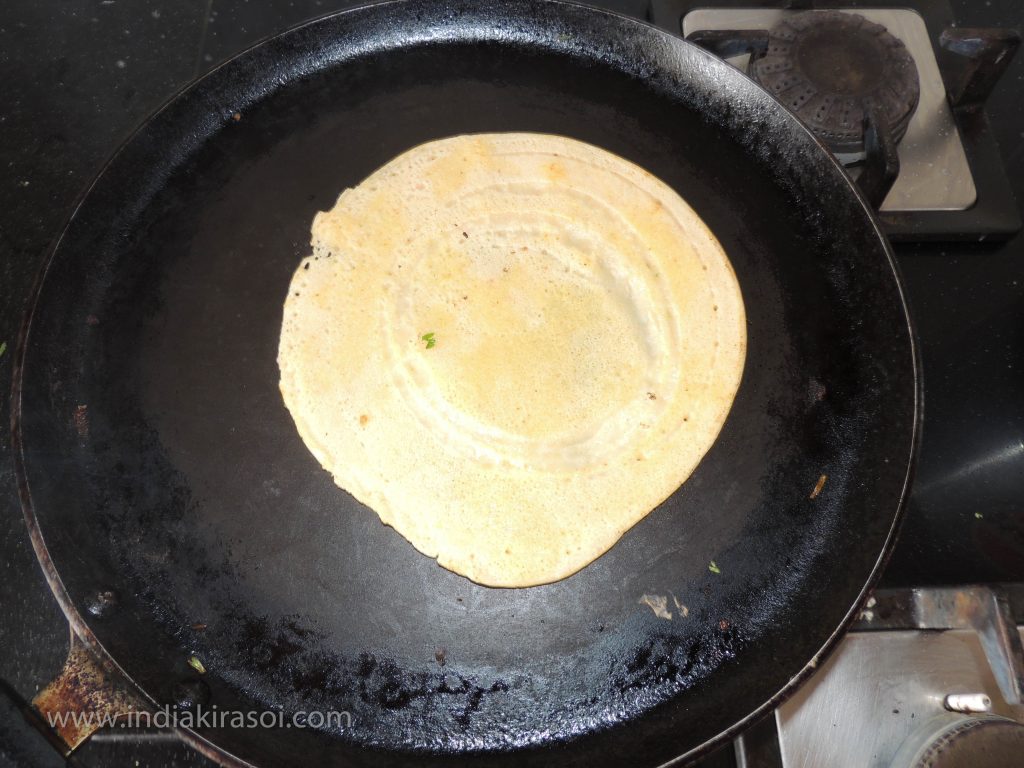
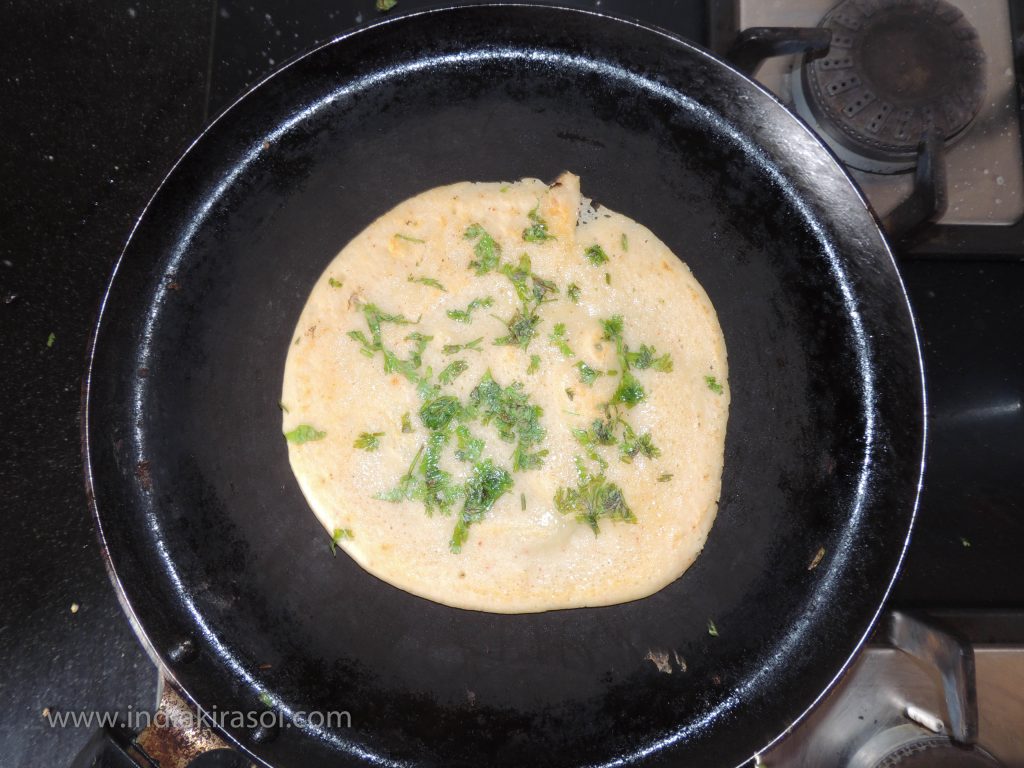
Now flip the cheela with a spatula.
Cook both sides of the cheela till it becomes light brown.
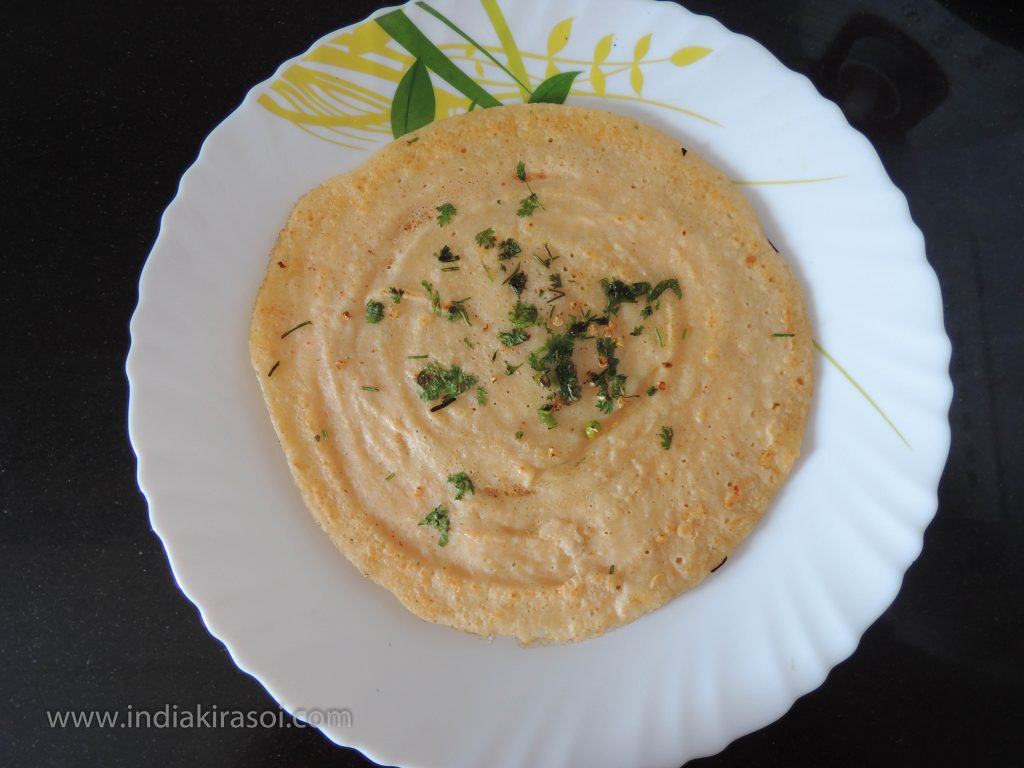
Moong dal chila is ready.
Eat moong dal chila with green chutney and drink later tea.
Notes
The mung bean, alternatively known as the green gram, maash, or moong is a plant species in the legume family.
The mung bean is an annual vine with yellow flowers and fuzzy brown pods.
You can try below chutney’s with Moong Daal Cheela, which we made extra.
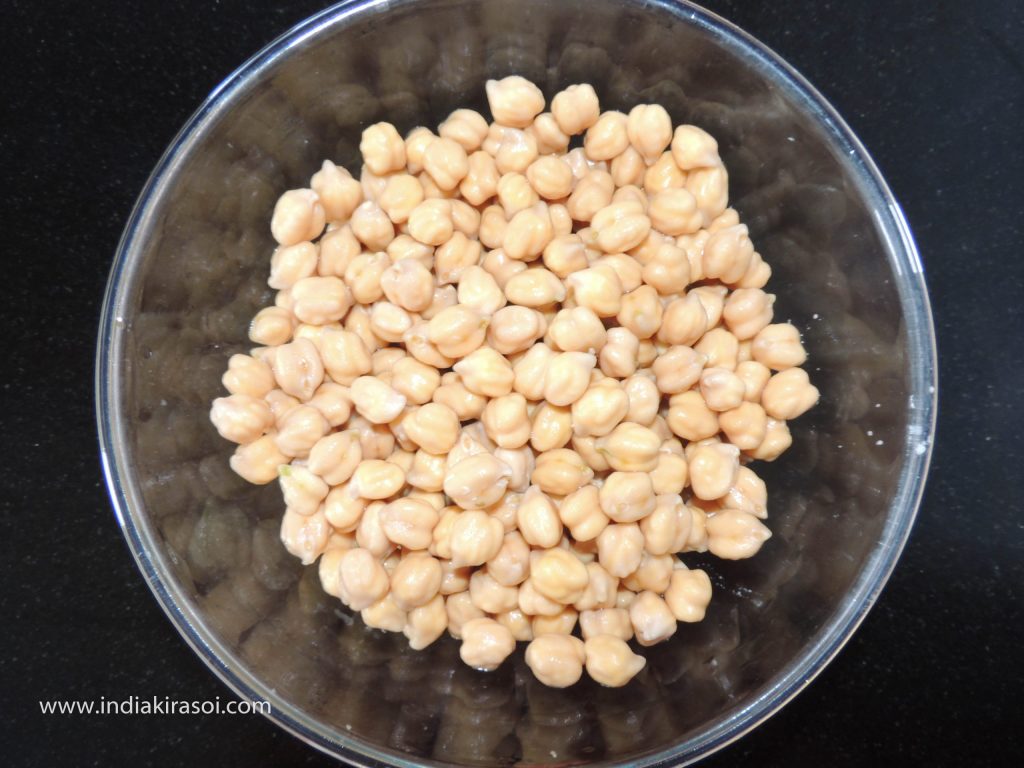
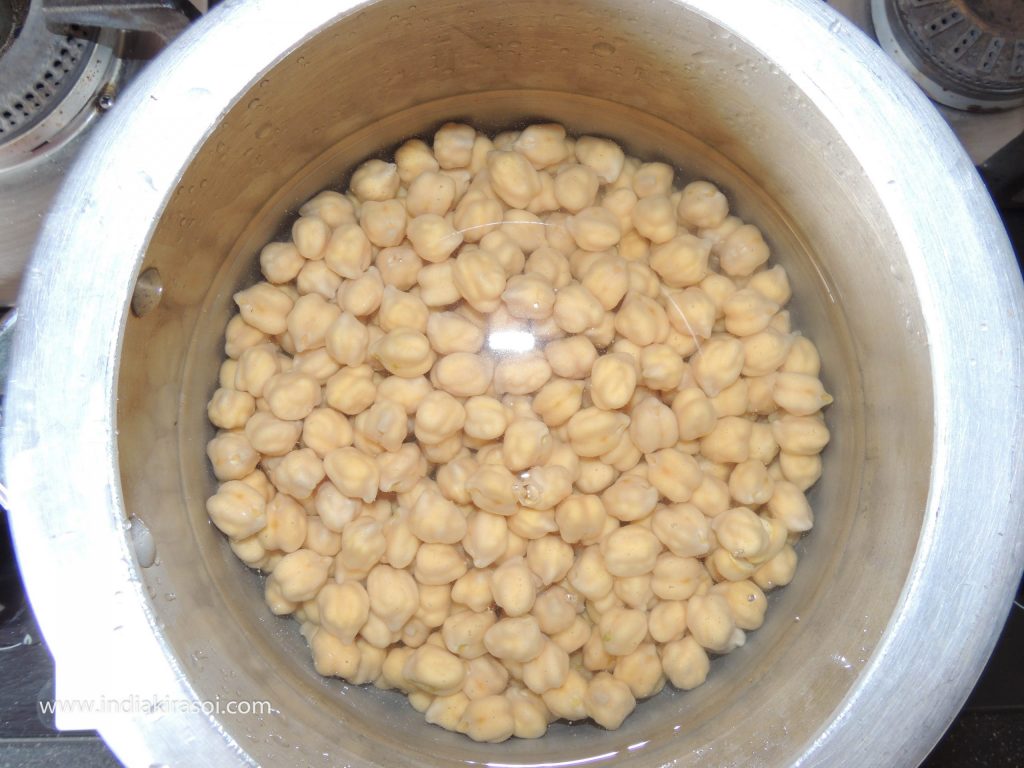
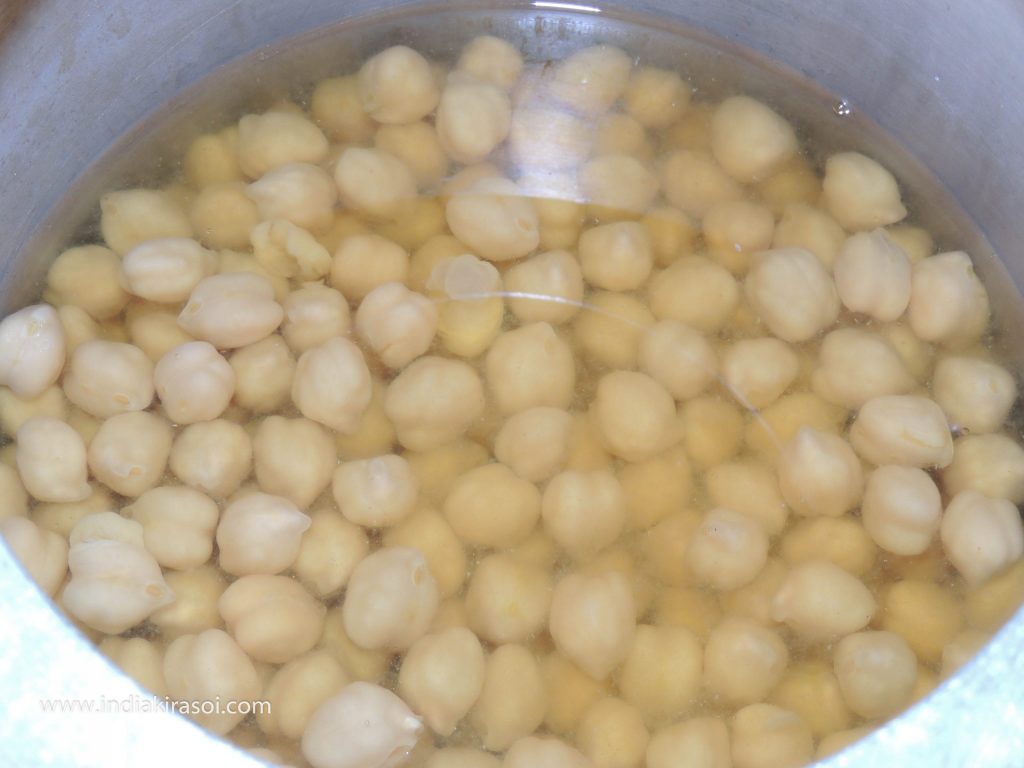
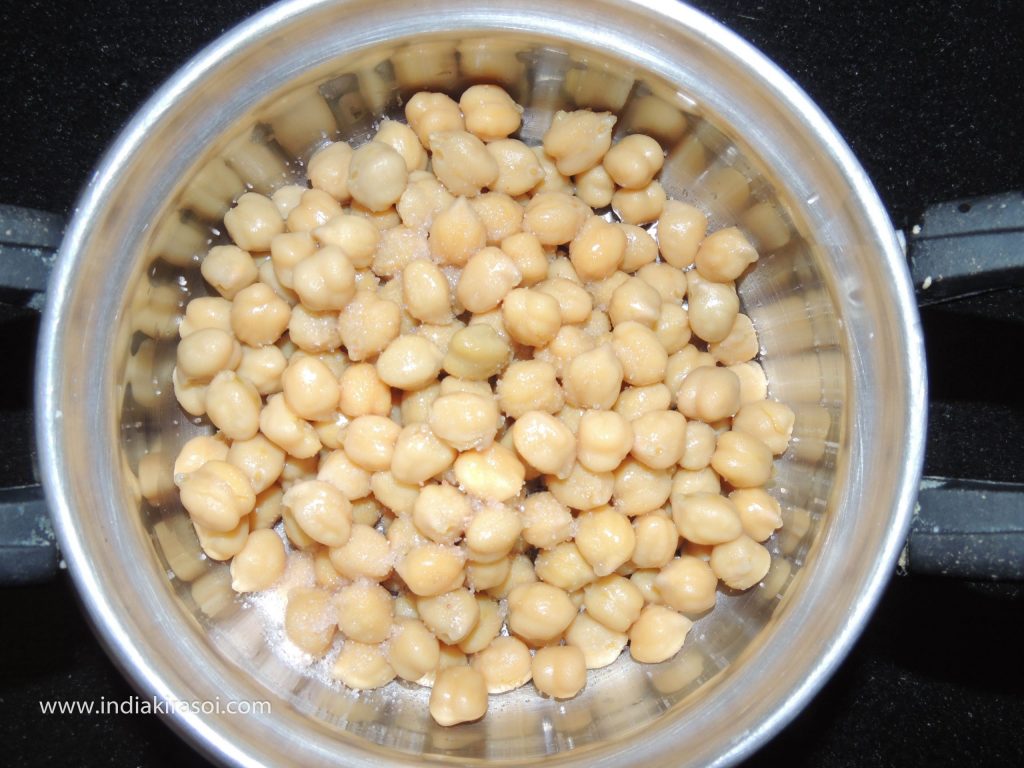
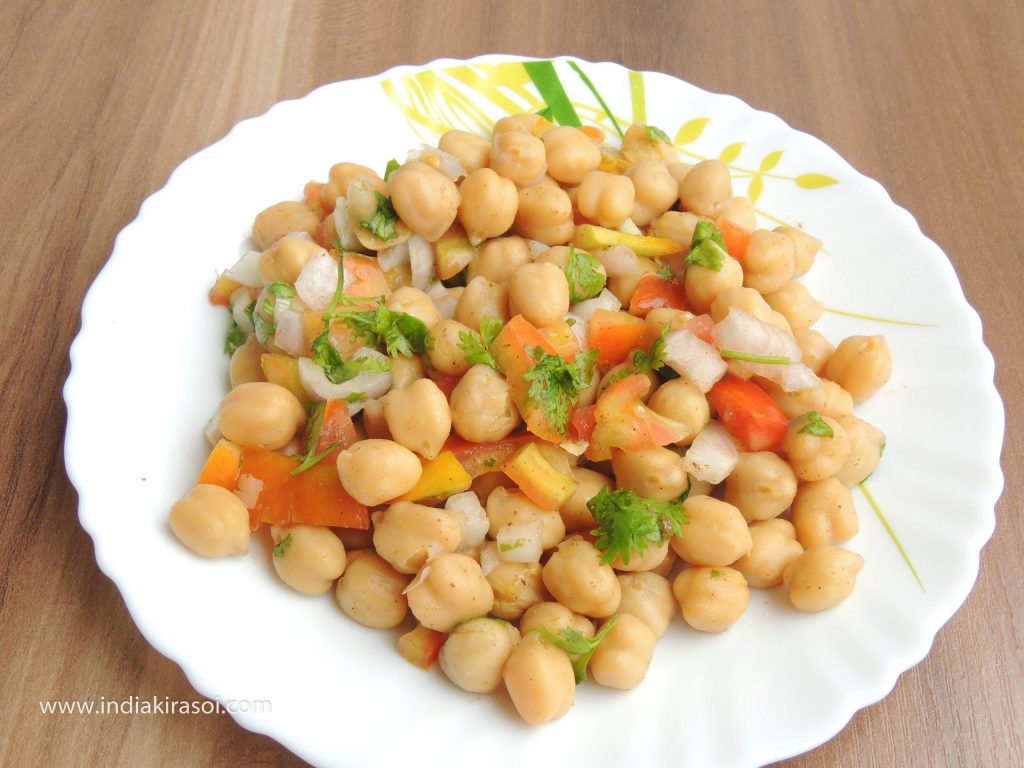
Chickpeas are good to eat. Along with this, chickpeas are also very beneficial for health.
Kabuli chana or chick pea (Cicer eritinum) is an annual function of the family Fabaceae, subfamily Faboidae.
Chickpeas serve as an energy and protein source.
Serving 100 grams of cooked chickpeas gives 164 kilocalories (690 kJ). The ripe chickpeas are 60% water, 27% carbohydrate, 9% protein and 3% fat (Table). .75% of the fat content is unsaturated fatty acids, for which linoleic acid contains 43% of the total fat.
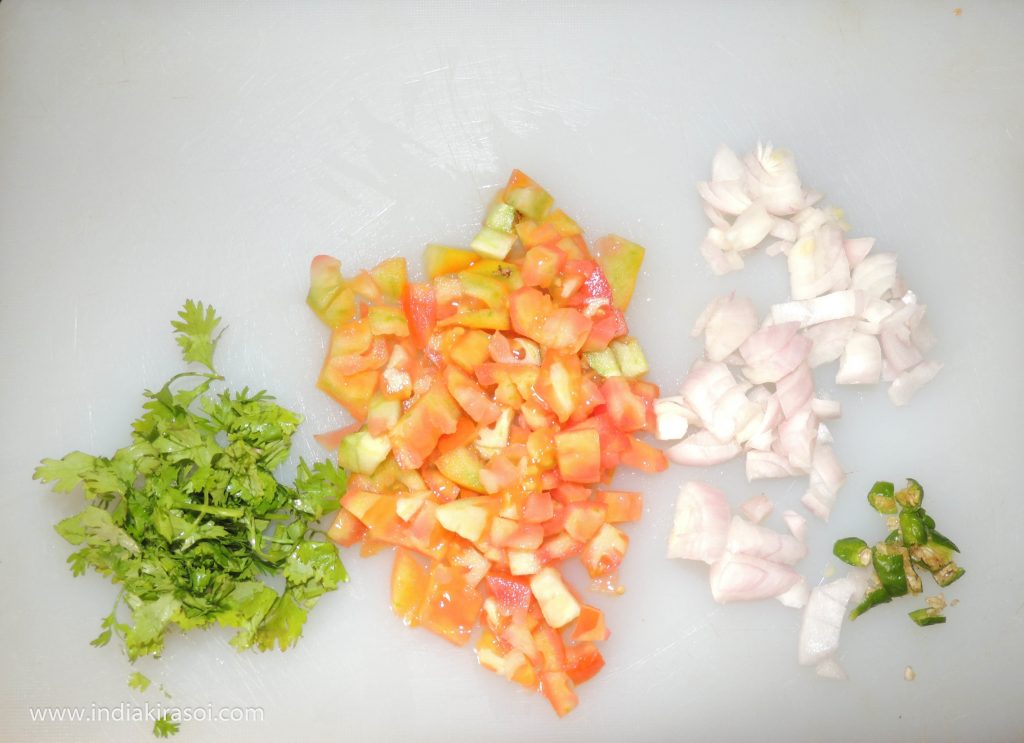
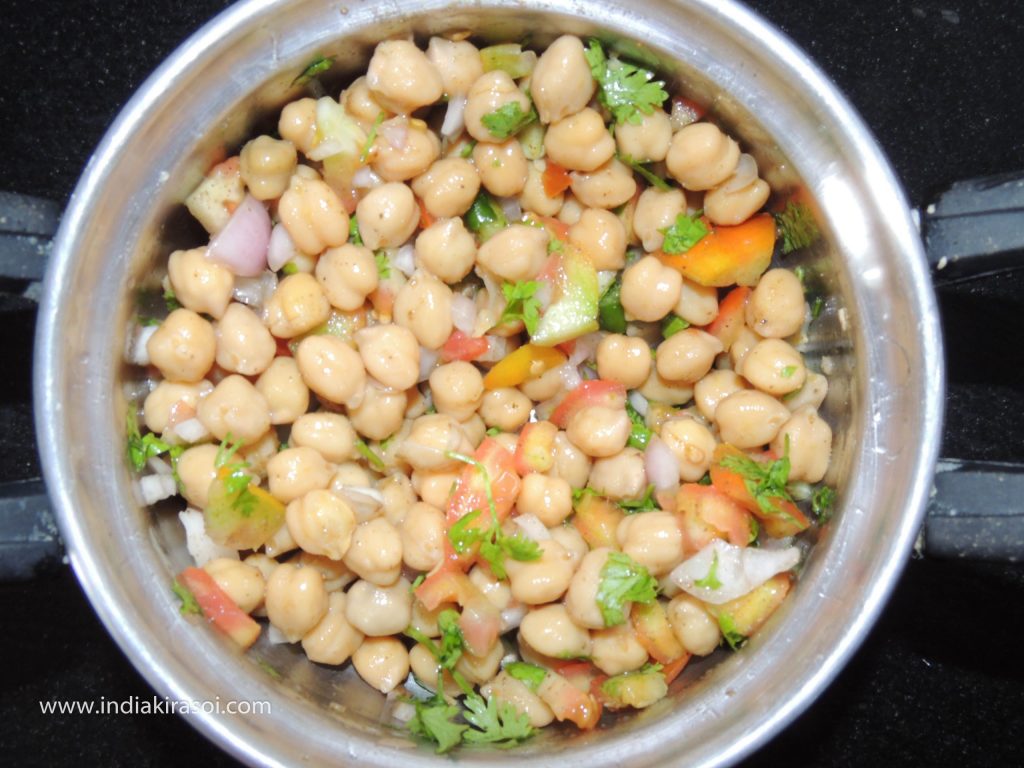
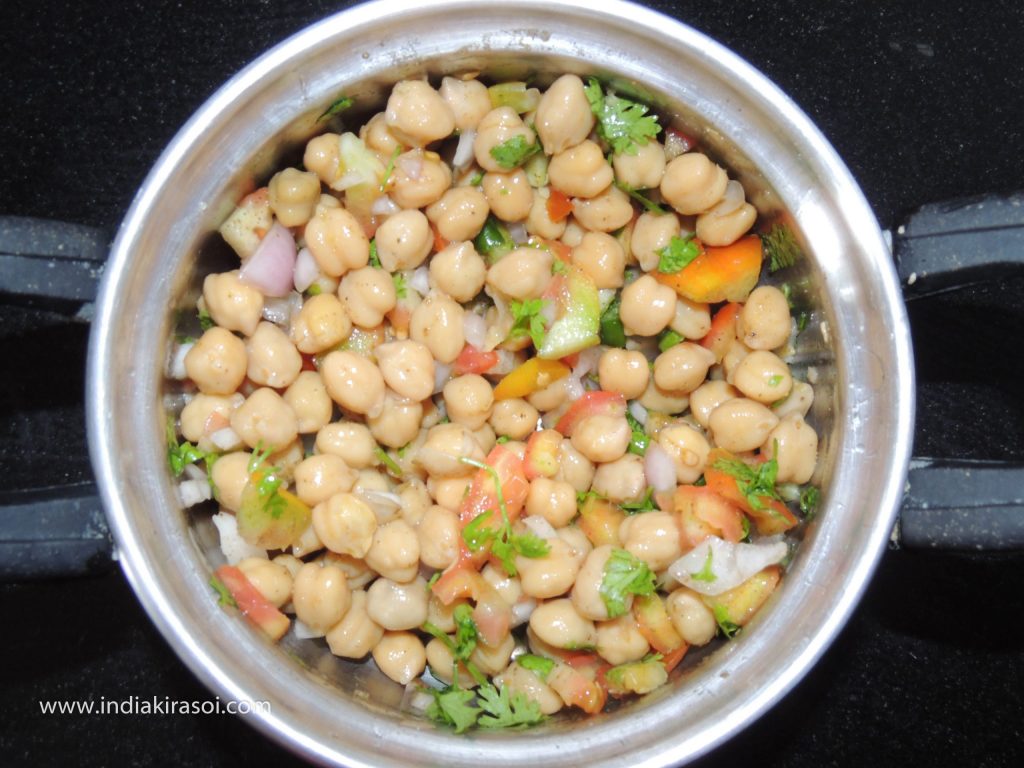
It is very easy to make nutritious and tasty chickpeas salad and it is also very tasty in food and also very nutritious for health.
To make nutritious and tasty chickpea salad, follow the method given below…
Course Breakfast, Indian, Lunch, Main Dish, Snacks, Starter
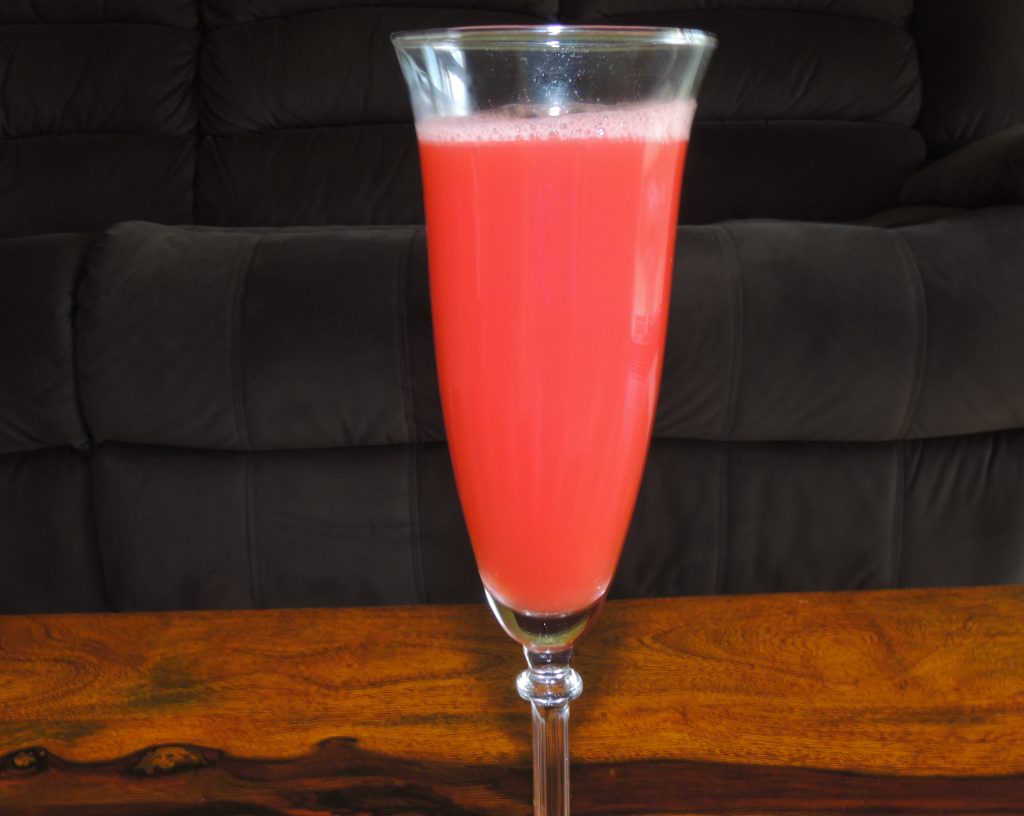
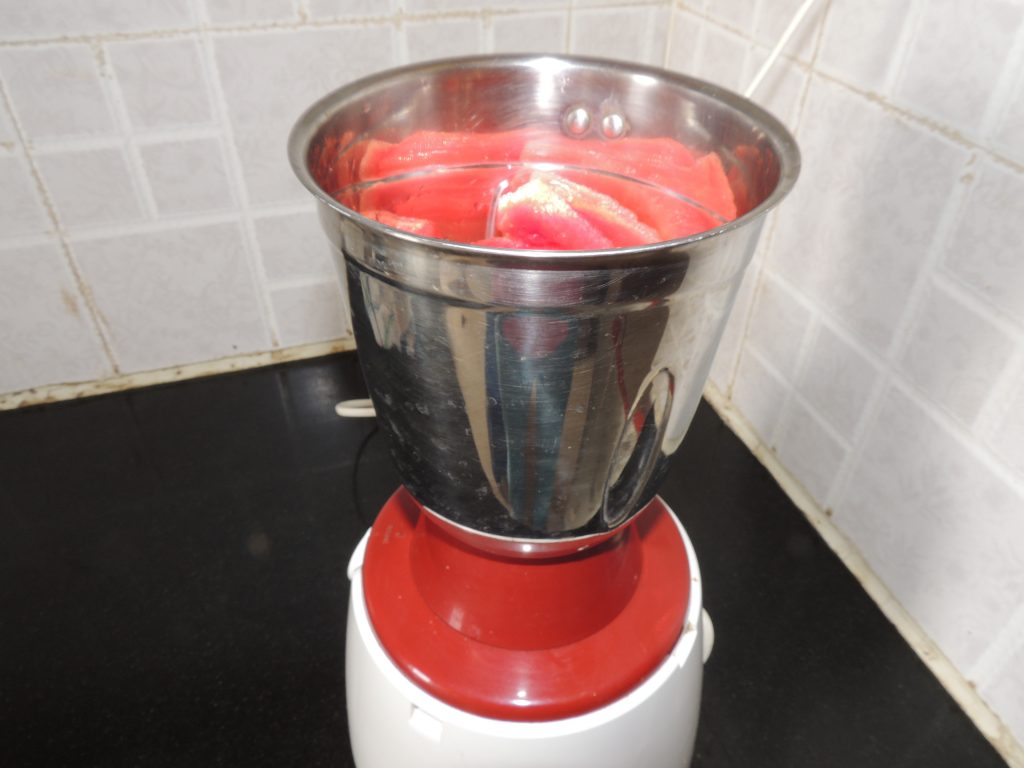
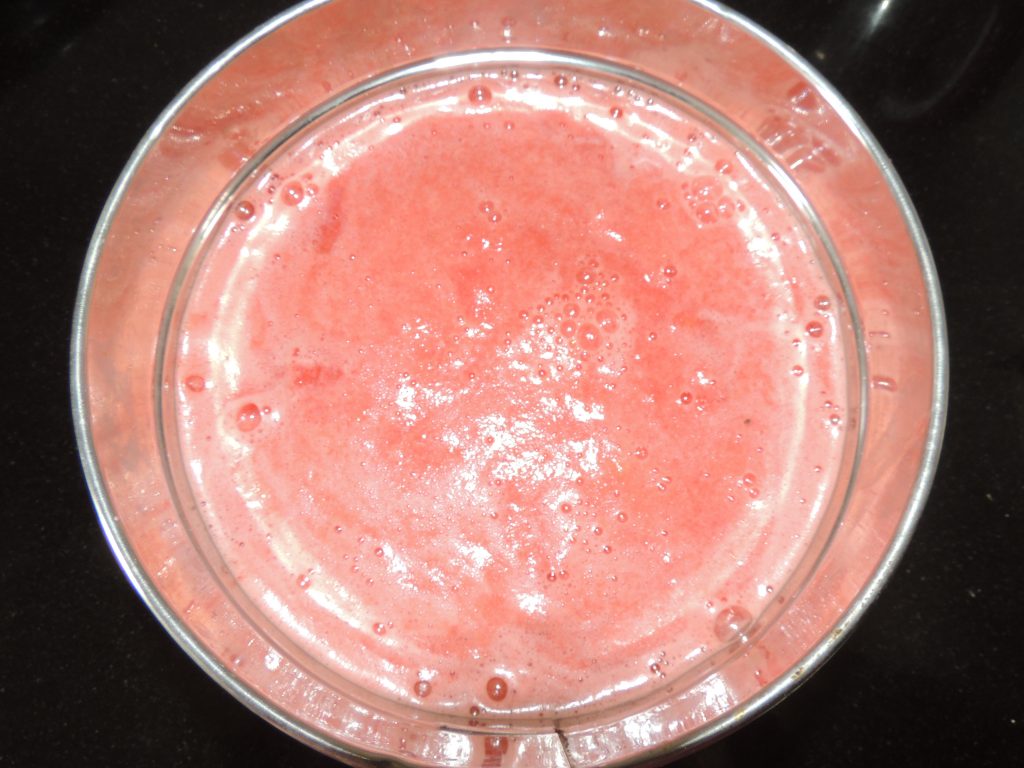
Watermelon juice is good for everyone. It’s high in vitamin A, vitamin C and potassium. It is sweet, refreshing, watery fruit . It is high in water content makes it a very good fruit for hot summer.It’s about 92% water, so it’s plenty hydrating, too.Make watermelon juice to quench your thirst on a warm summer day.You can also drink watermelon juice to detox your body.
Course Breakfast, Drinks, Indian, Lunch, Main Course, Main Dish, Side Dish, Snacks, Starter
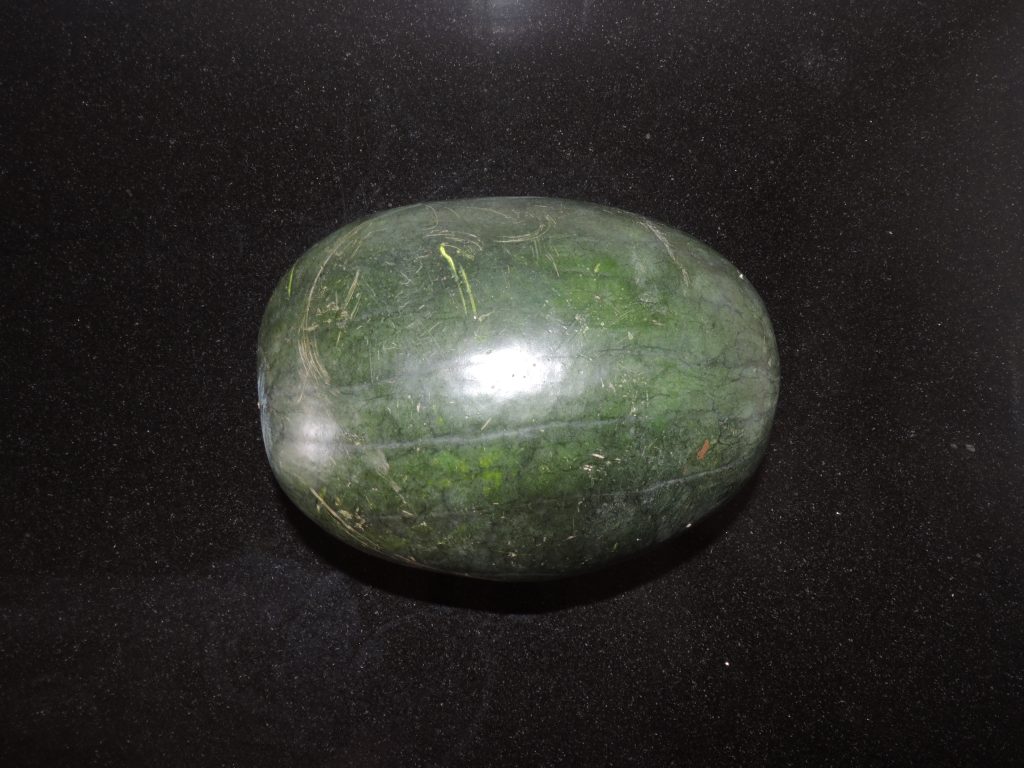
1unit Watermelon / Tarbooj, Watermelon weigh around 1.5 Kg
as per tasteBlack Salt / Kala namak, This is optional
1tspLemon / Neebu Juice, This is optional
Instructions
Take watermelon.
Rinse watermelon through running water.
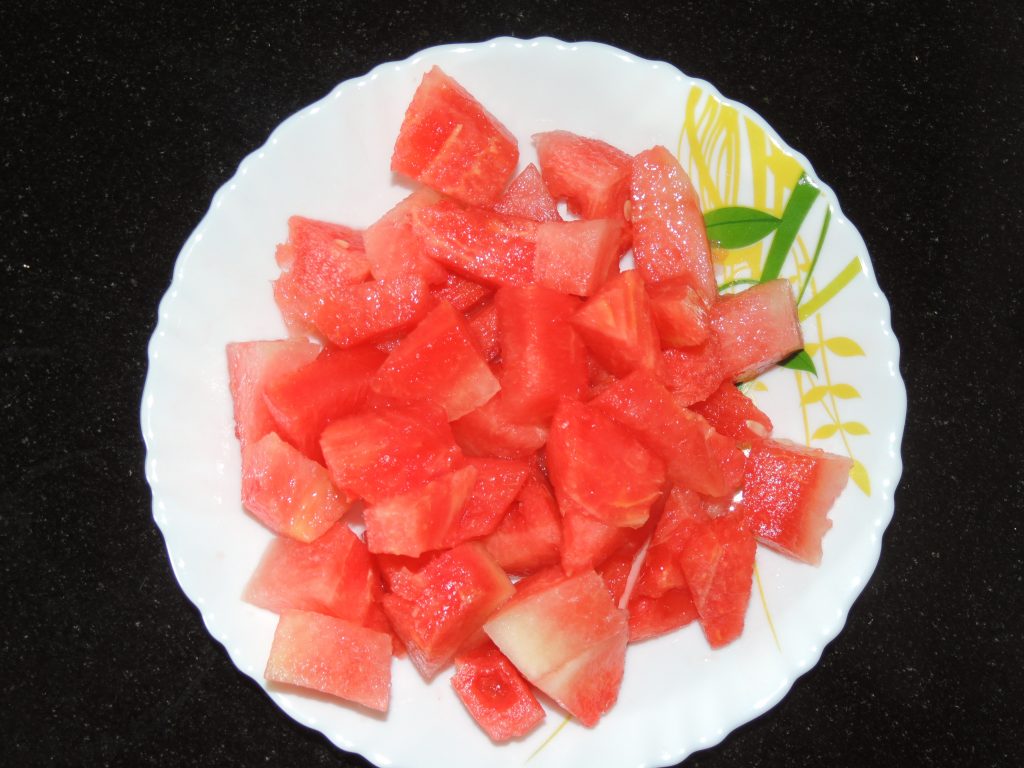
Cut watermelon into pieces.
Remove seeds from the watermelon.
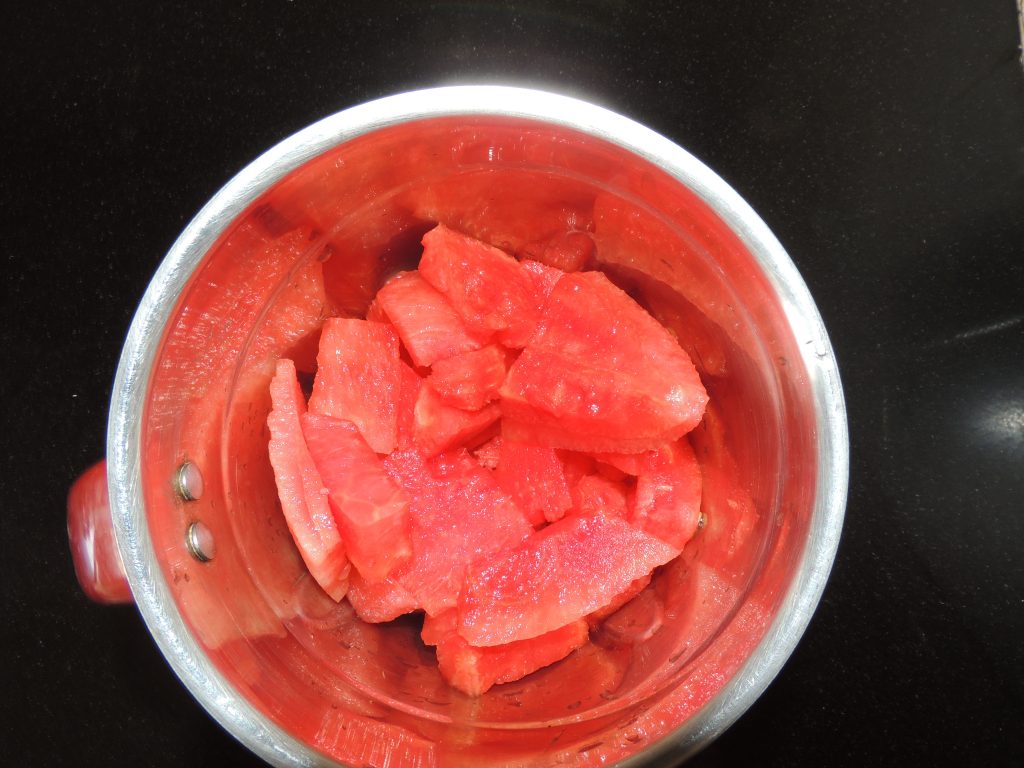
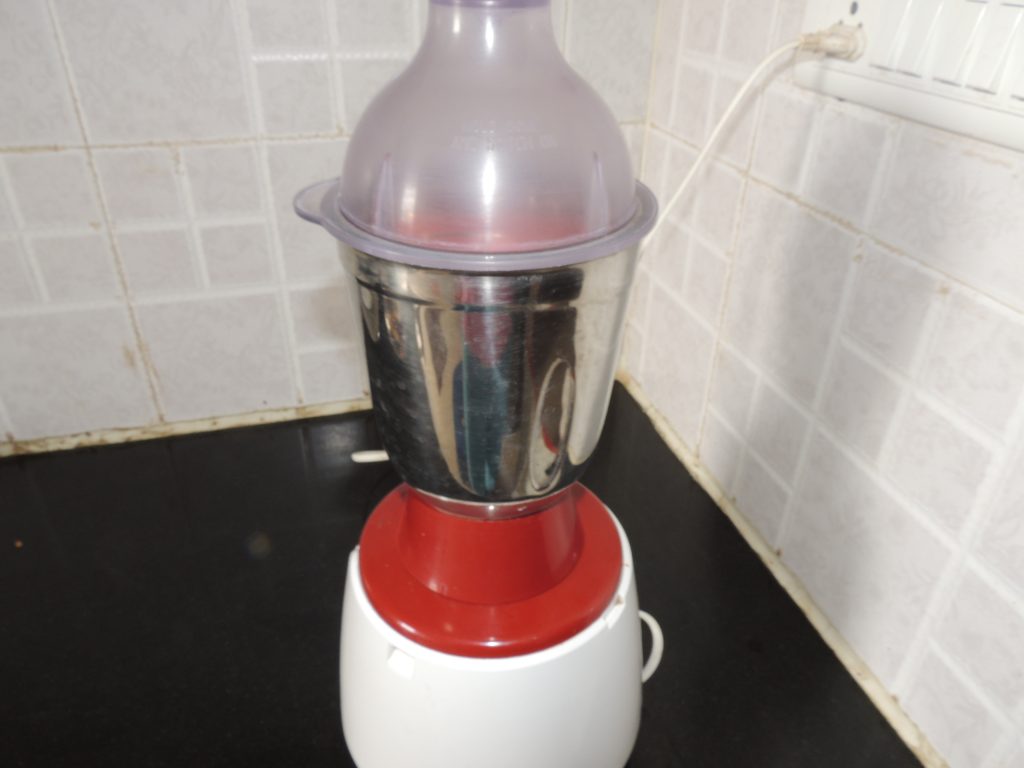
Put all the pieces into the jar of mixer grinder.
You can also add sugar to the juice if watermelon is not sweet enough.
But i will suggest not to add sugar into it.
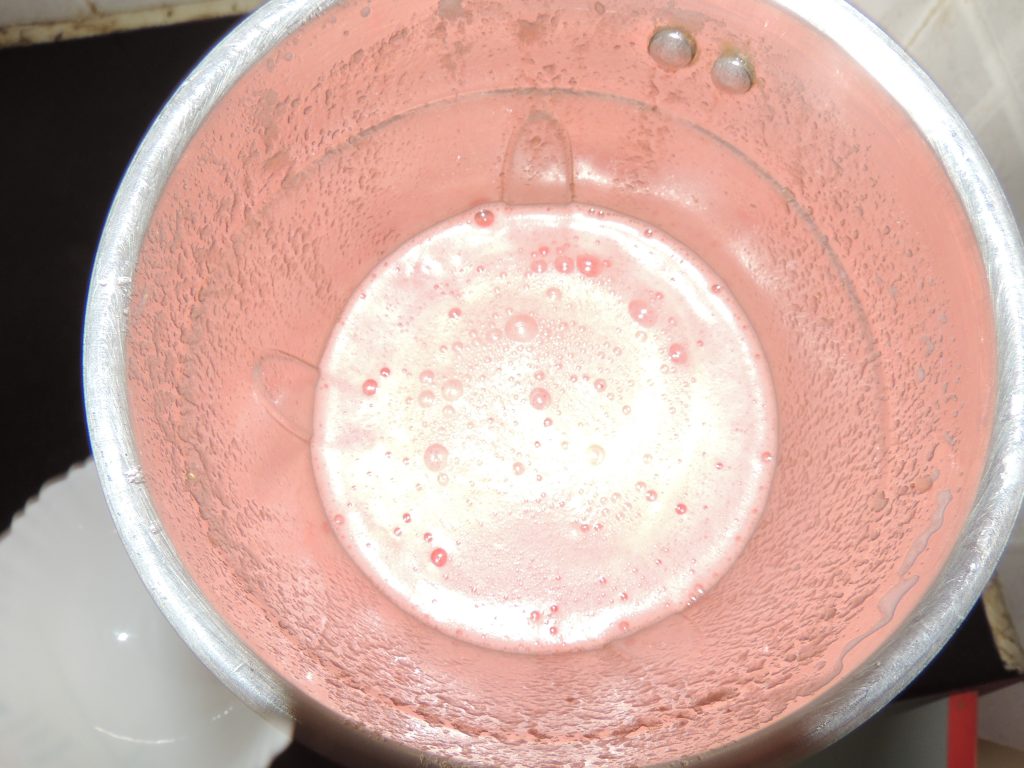
Start mixer grinder and make juice.
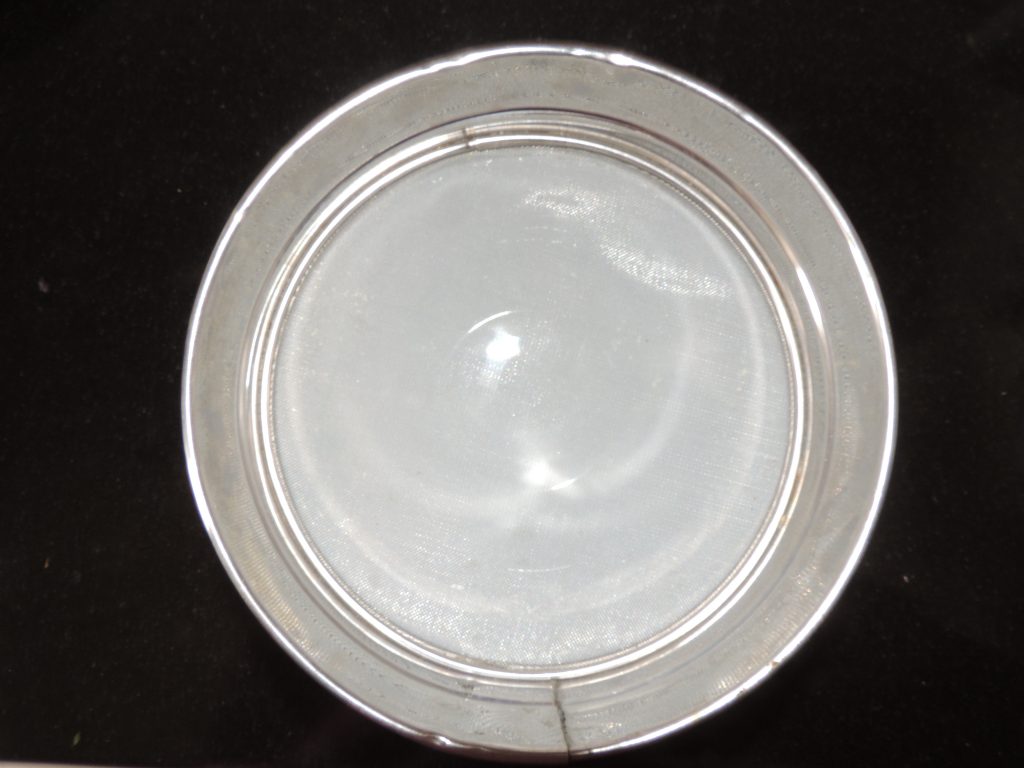
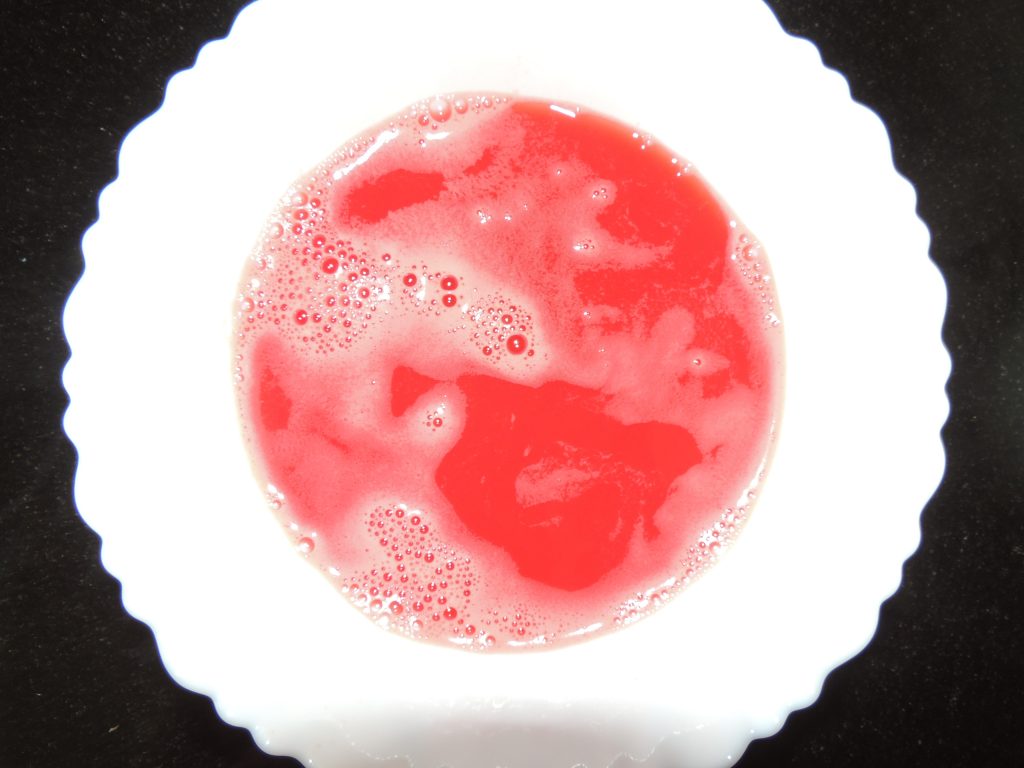
After that take one juice strainer.
Filter juice with the strainer.
So that all the seeds and impurities will be filter out.
Add lemon juice and black salt. This step is optional.
If you want to have pure juice then do not add lemon juice and black salt.
Lemon juice will add extra zing in the taste.
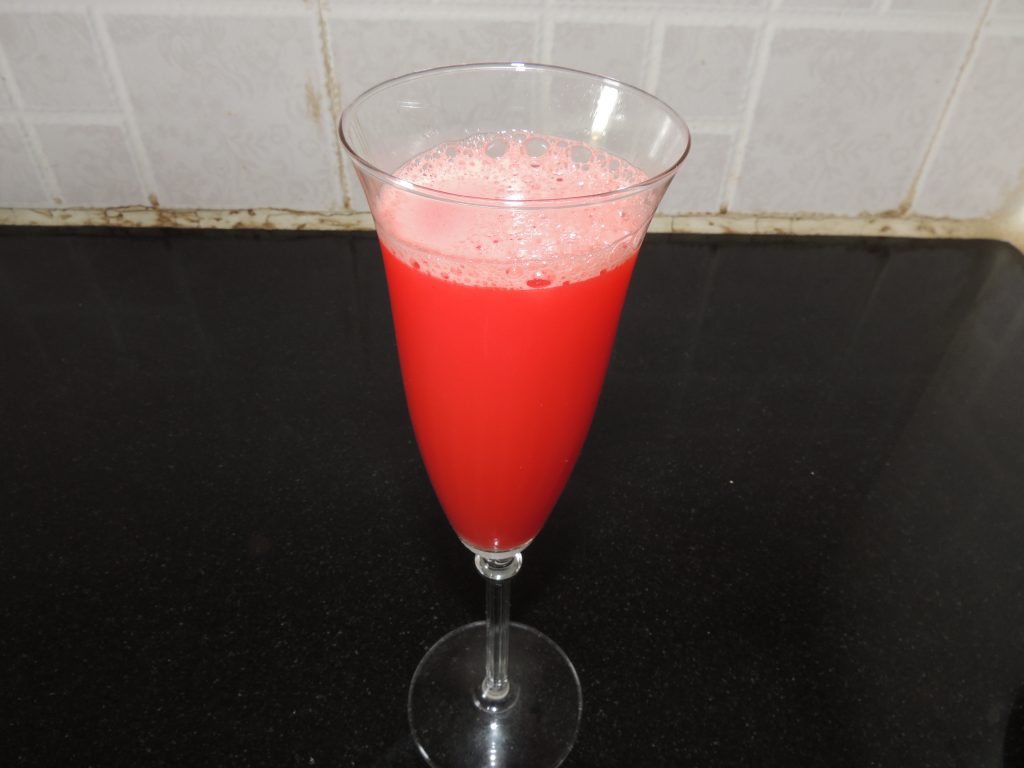
Now watermelon juice is ready.
Enjoy juice and detox your body.
Video
Notes
The juice will separate over time, just stir it with a spoon to recombine.
Black watermelon seeds contain zinc, protein, iron and fiber so if you do have any problem while having it, then no need to be spitting them out!
Watermelon is high in vitamin A, vitamin C and potassium.
Instant Lemon(Peel) Rind, Chilli Pickle / Nimbu Chhilka, Mirch Achaar / नींबू का छिलका , हरी मिर्च का फटाफट अचार
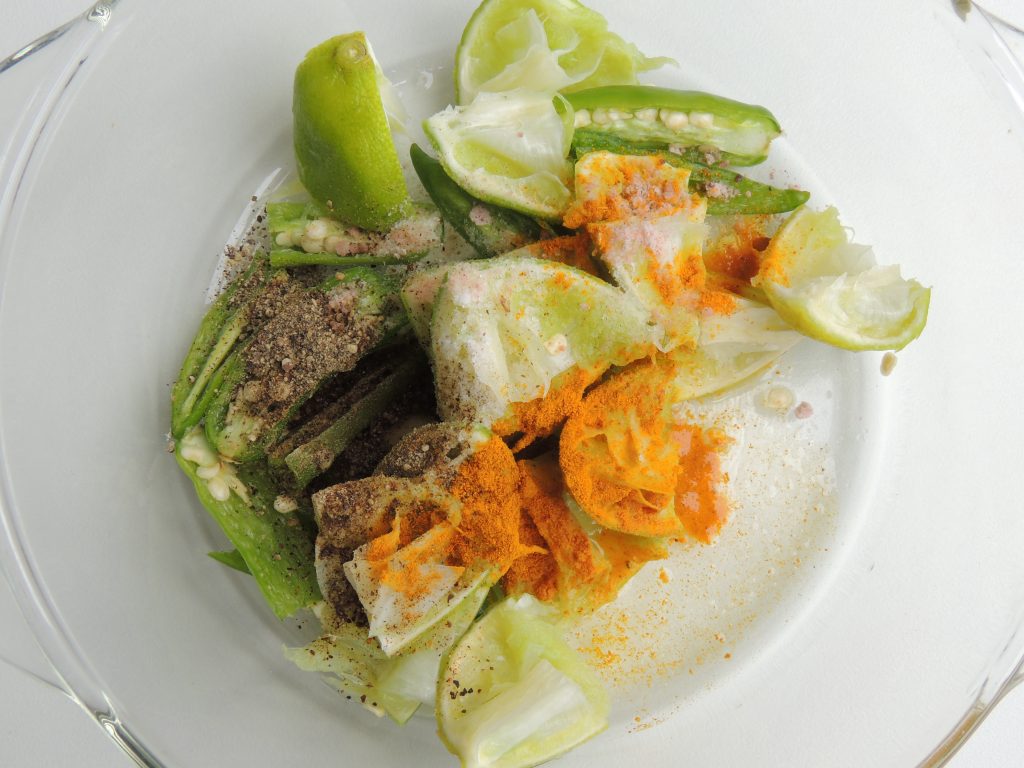
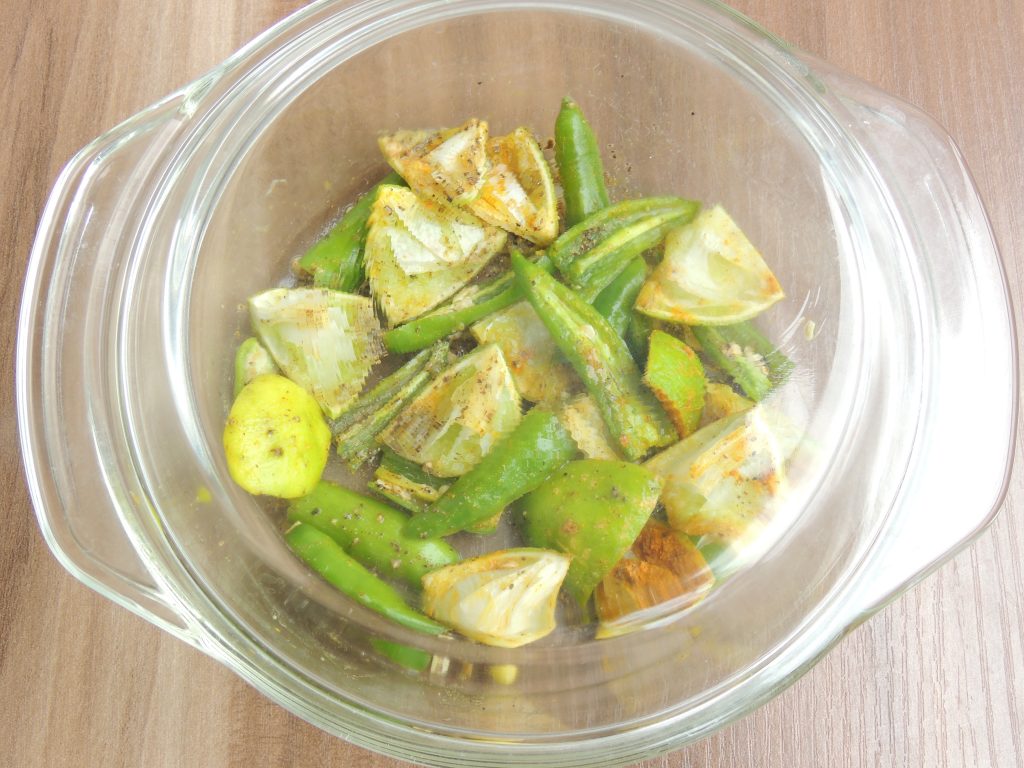
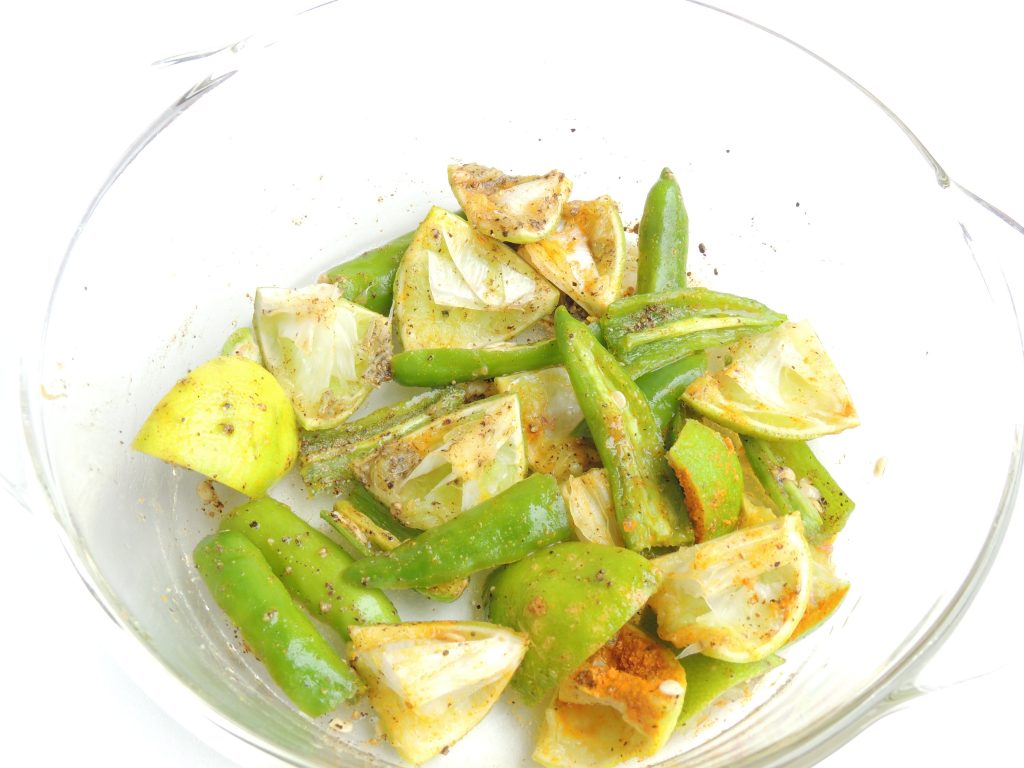
Lemon rind, chilli pickle is very good, when you need additional flavour for your dinner.The pickle acts as a flavour enhancer and is usually consumed with the remainder of the meal in small pieces.Pickles are such a wonderful complement to any Indian meal. A little pickle with dinner enhances the flavour, add some spice to otherwise bland tasting dishes such as khichadi etc.The lemon rind and chilli pickle is very easy to make.A steady supply of seasonal pickles is available at home thanks to Mom. She's making a delicious pickles range. One of her instant recipe is this Nimbu Chhilka and Mirchi ka achar.
Course Main Dish, Pickle, Snacks
Cuisine Breakfast, Indian, Main, snacks
Prep Time 10minutes
Cook Time 5minutes
Total Time 15minutes
Servings 4People
Calories 1kcal
Equipment
Bowl
Knife
Plate
Ingredients
4UnitLemon Rind / Neembu Chhilka, take lemon,who are squeezed and used
4UnitGreen Chilli / Hari Mirch
1/4tspTurmeric (haldi) powder
1/2tspBlack Pepper / Kali Mirch
1/4tspBlack Salt / Kala namak
1/4tspWhite Salt / Safed Namak
2tspLemon / Nimbu Juice
Instructions
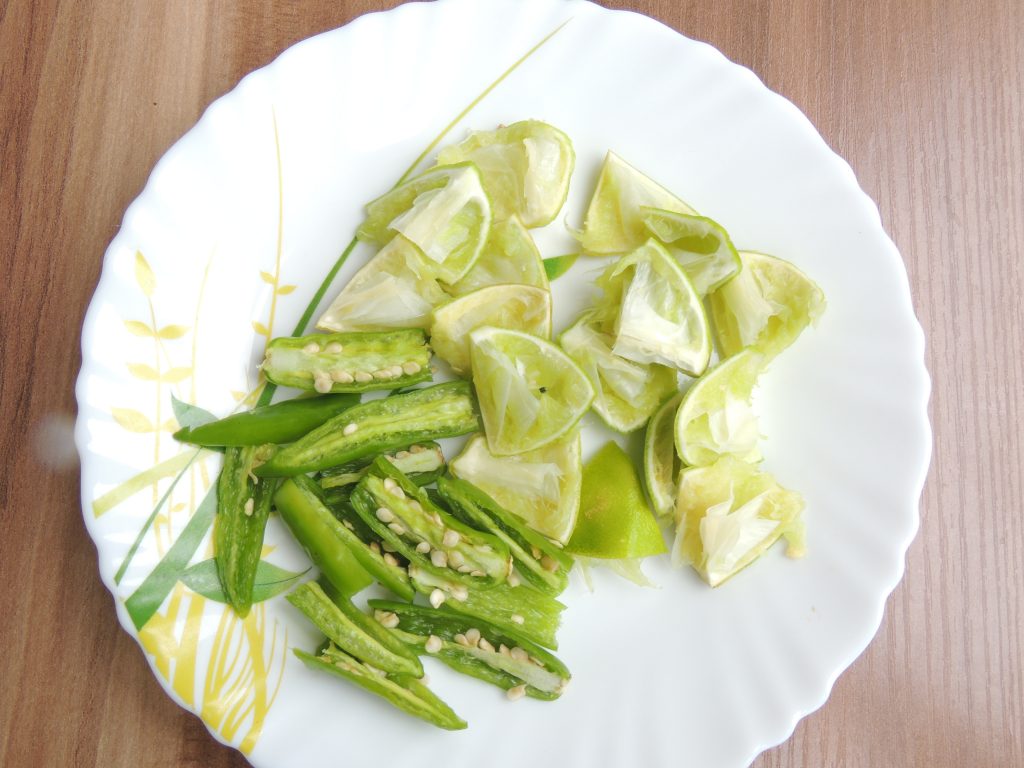
First cut each lemon rind / neembu chiilka into 4 pieces.
And 4 chilli into pieces, each into 2 pieces.
After that put sliced lemon rind and green chilli in a bowl.Put turmeric powder, black pepper, black salt, white salt into bowl.
Mix all the ingredients.
Cover the bowl with lid.
This pickle is ready to eat.
Kindly finish this pickle within 3 to 4 days.
This pickle is not long lasting.
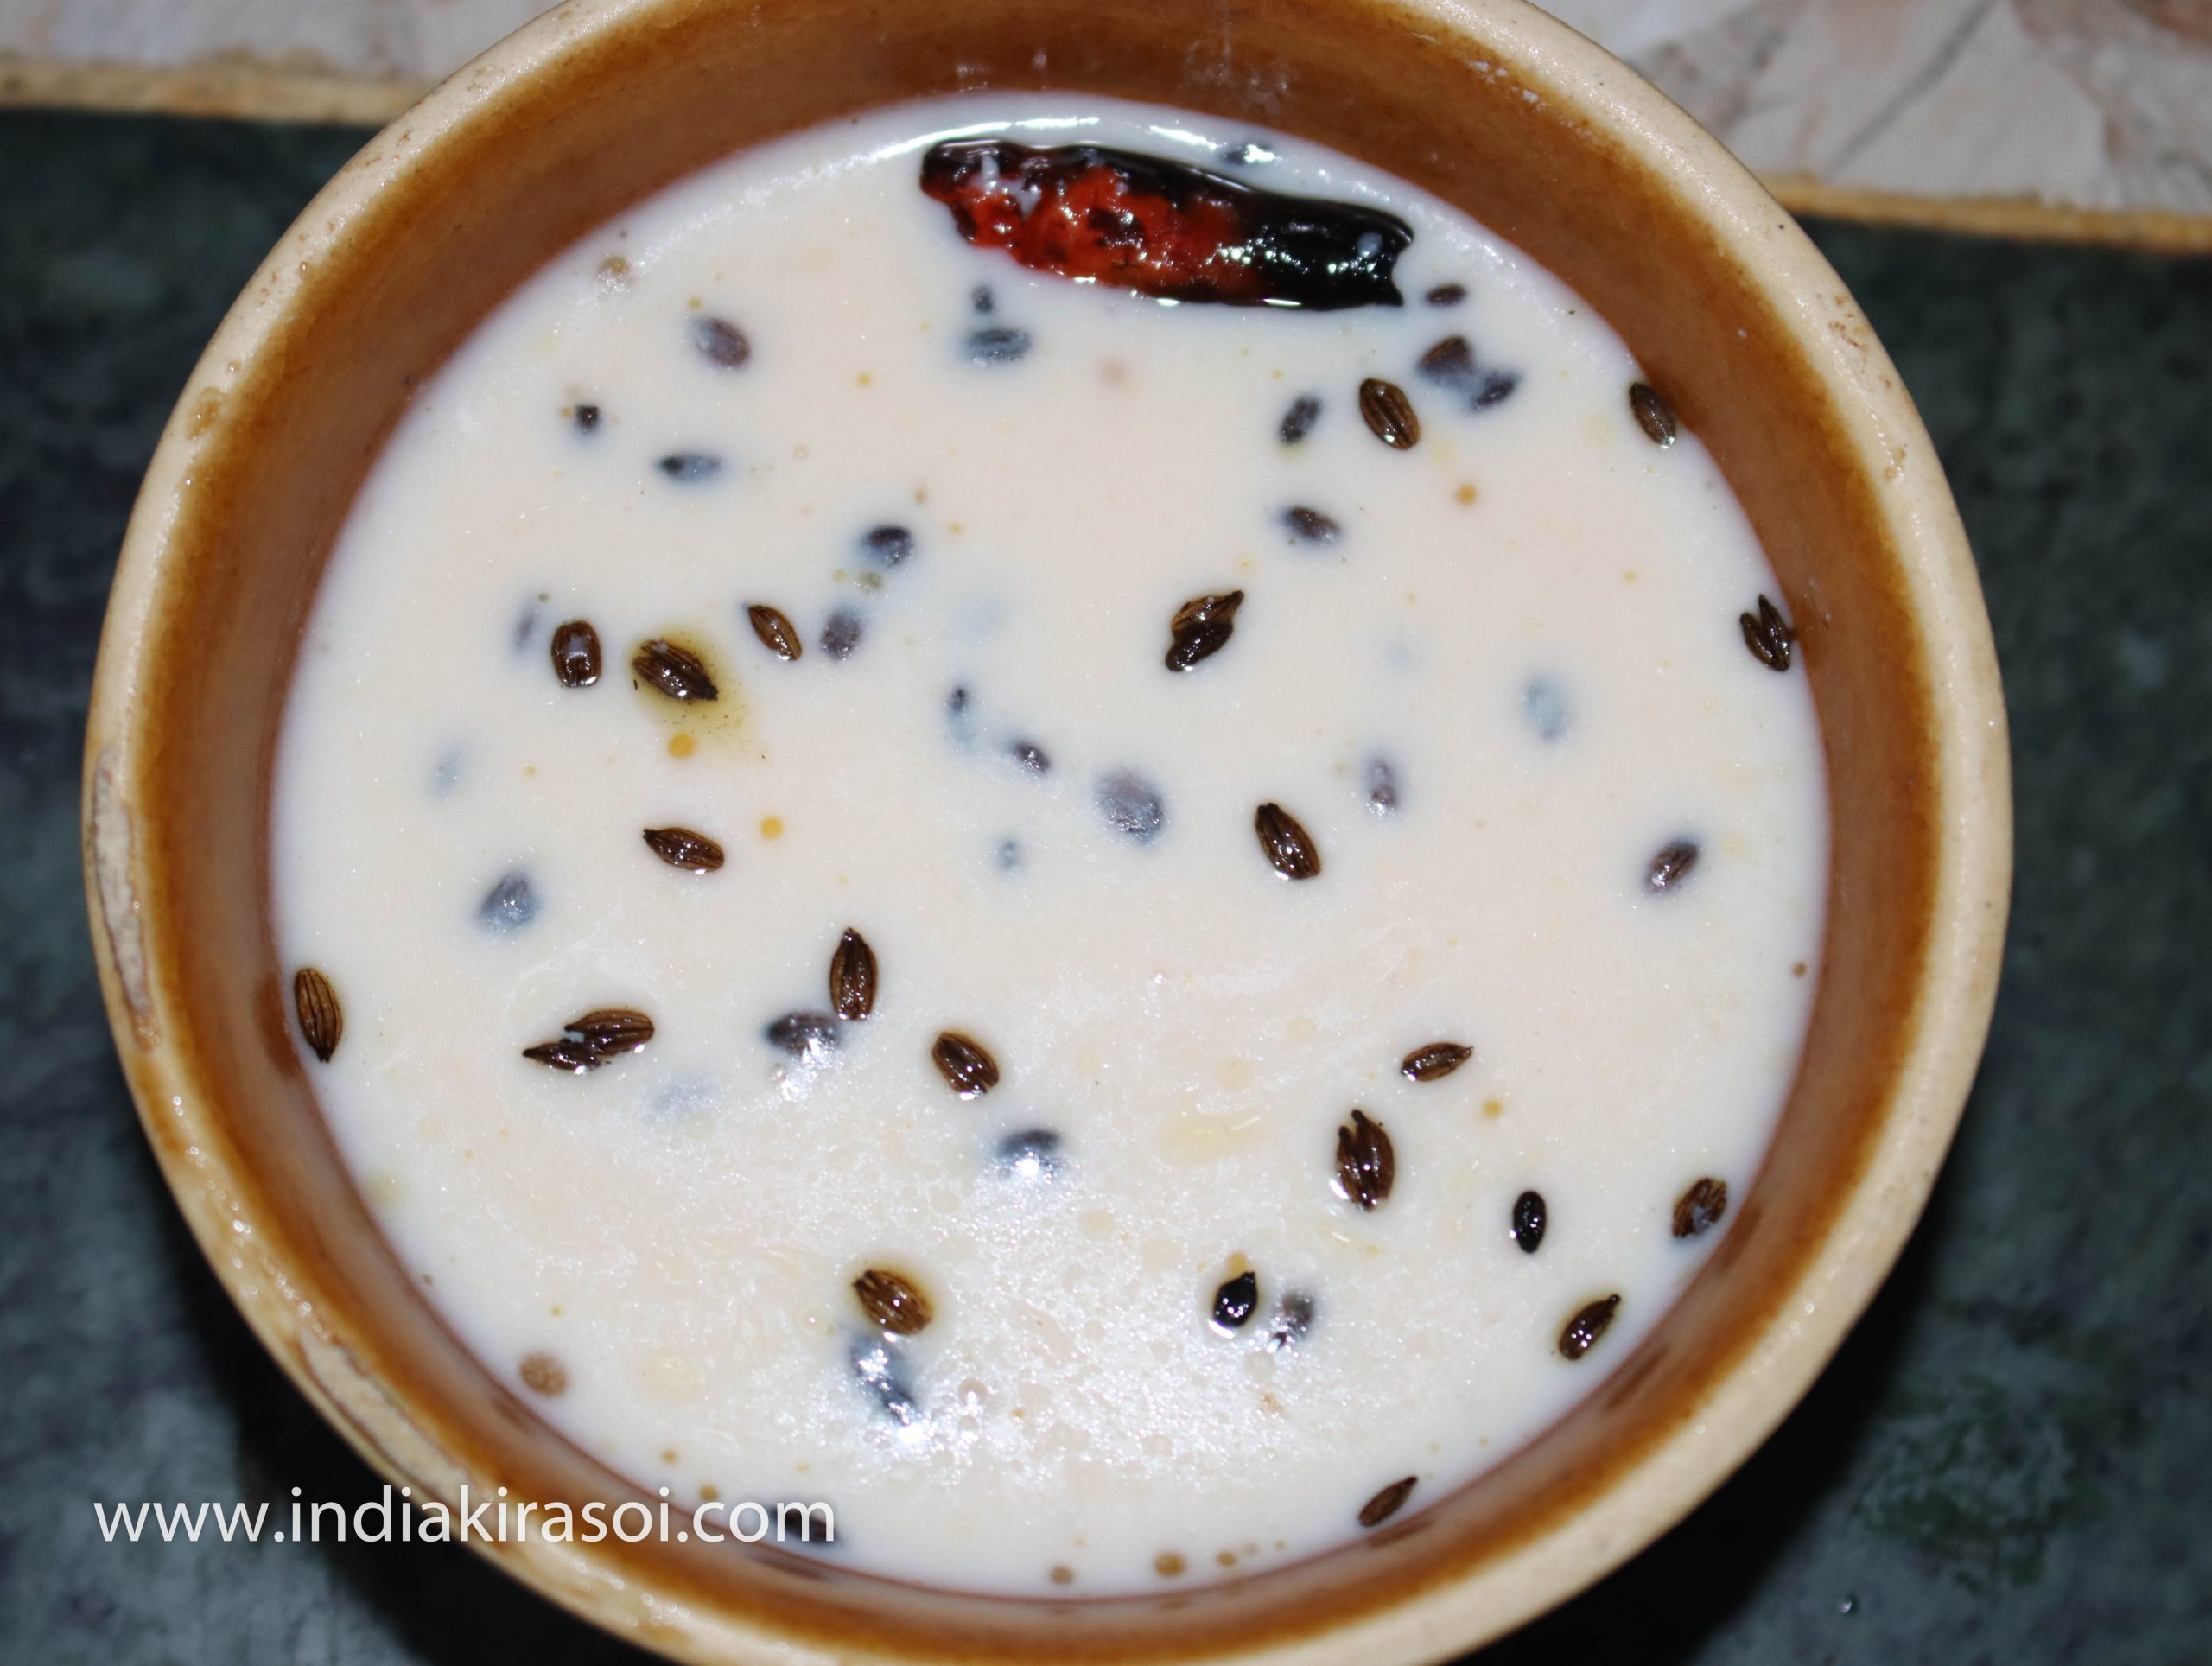
Everyone likes whey liquid/ mattha.Some people like to eat whey with salt and others with sugar.Whey is the liquid remaining after milk has been curdled and strained in the process of making cheese.Today we will see how to do tadka/ tempering in whey. Eating white salt or black salt in whey gives a lot of relief and soothes to the stomach and is also very good for health.Follow the below given method step by step to make mattha tadka or whey tempering…
Course Breakfast, Dinner, Drinks, Indian, Lunch, Main Course, Main Dish, Side Dish, Snacks, Soup
Cuisine American, Breakfast, Chinese, French, Indian, Italian, Japanese, Main
Prep Time 0minutes
Cook Time 1minute
Total Time 1minute
Servings 4people
Calories 27kcal
Cost 15 rupee
Equipment
Big Bowl
Spatula/ Big Spoon
Ingredients
250gramsWhey
1/2tspCumin / Jeera Seeds
1pinchAsafoetida / Heeng
1tspMustard Oil/ Sarson Tel
asper tasteBlack Salt
Instructions
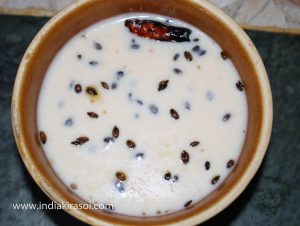
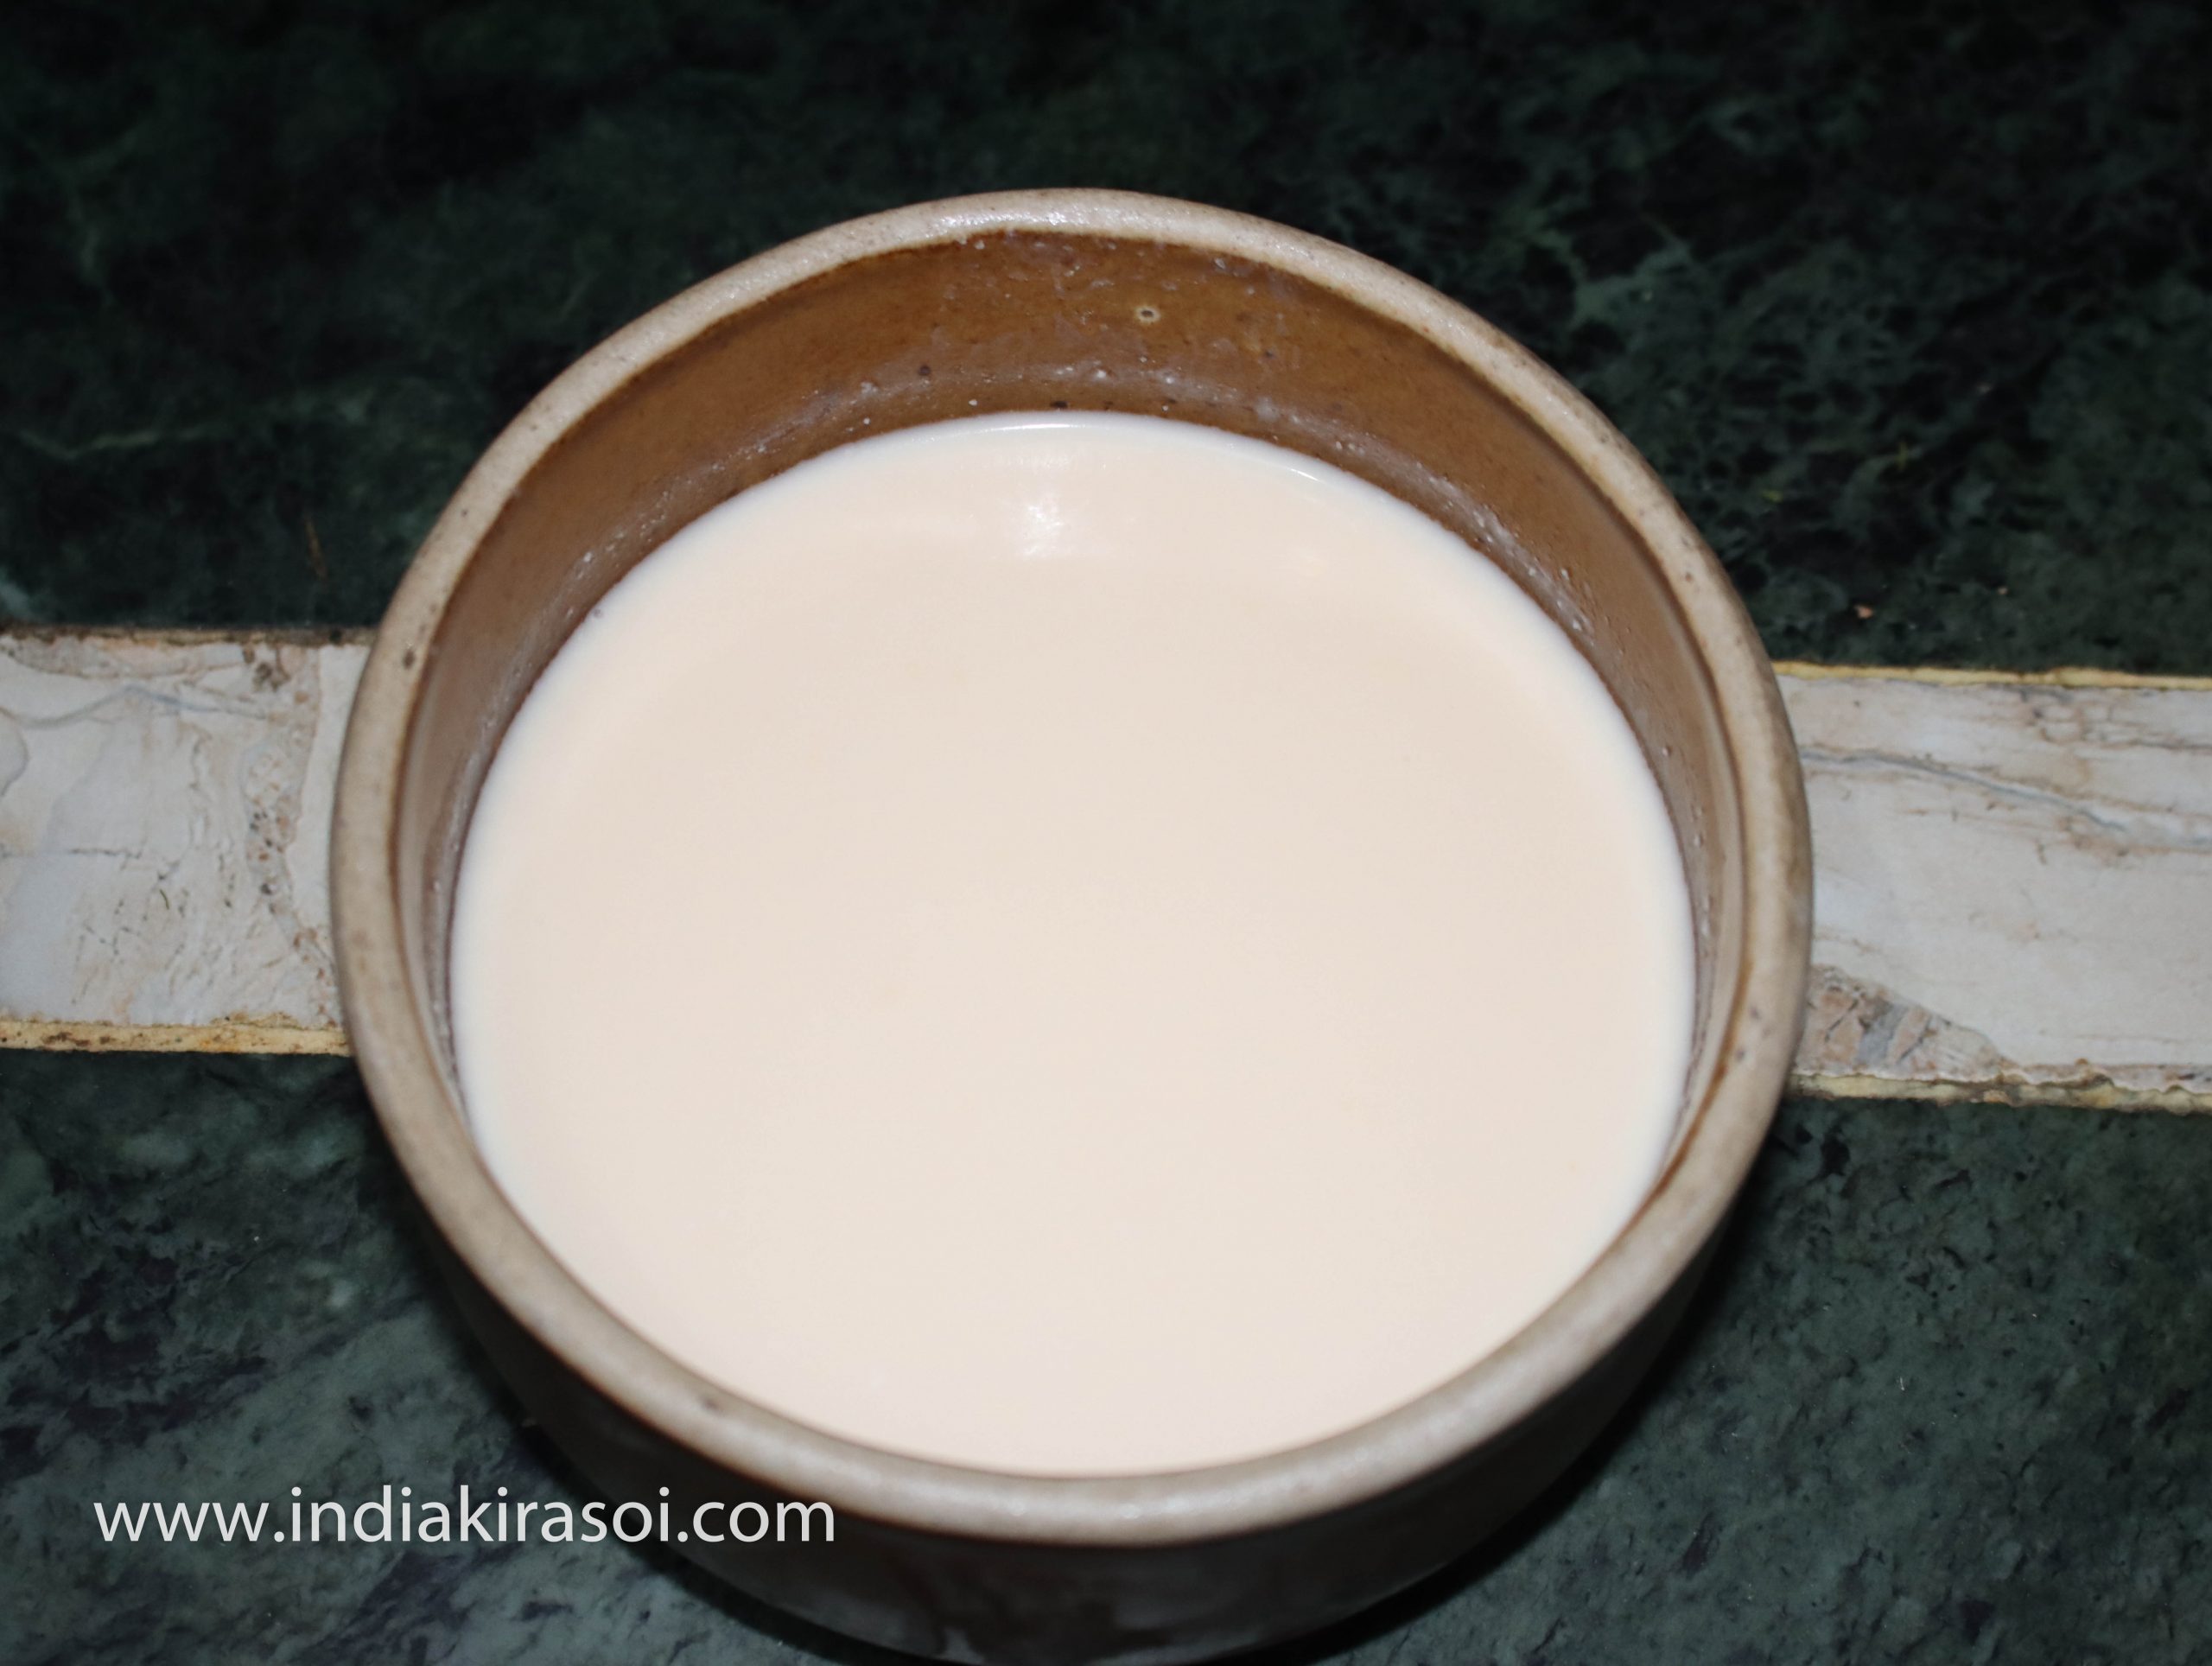
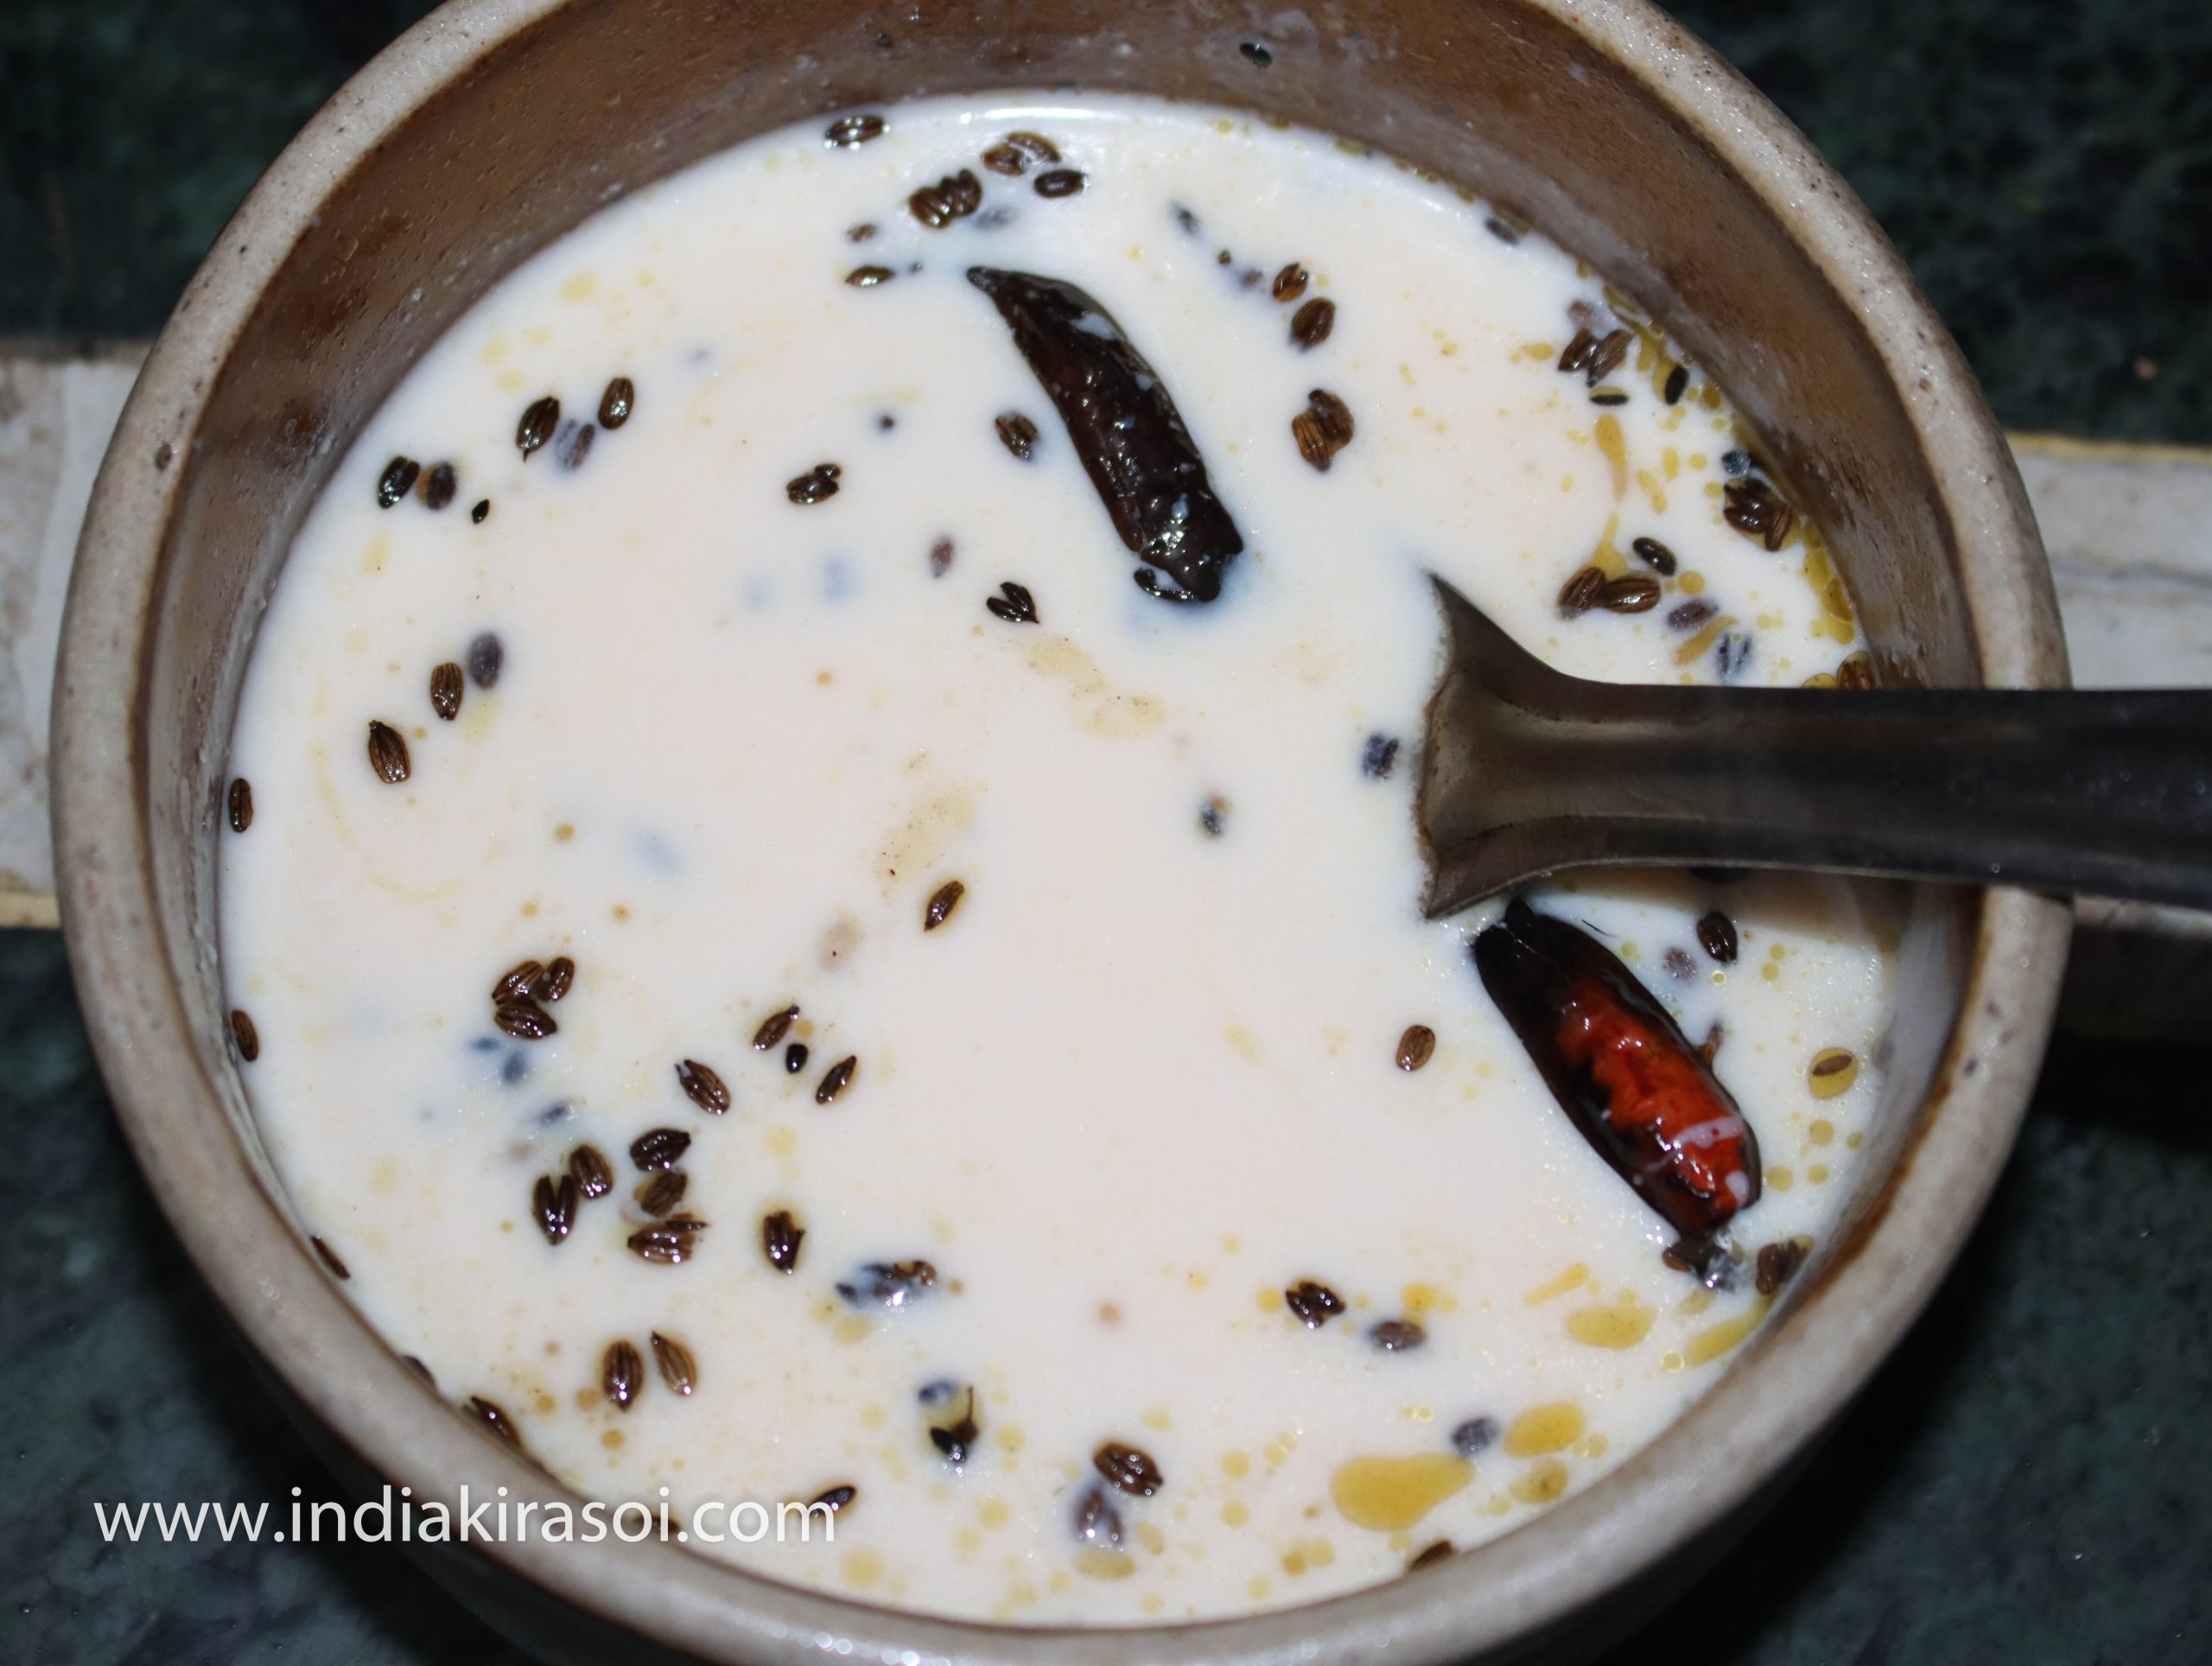
First take 250 grams of whey/ mattha in a vessel or bowl.
Take one whole red chily.
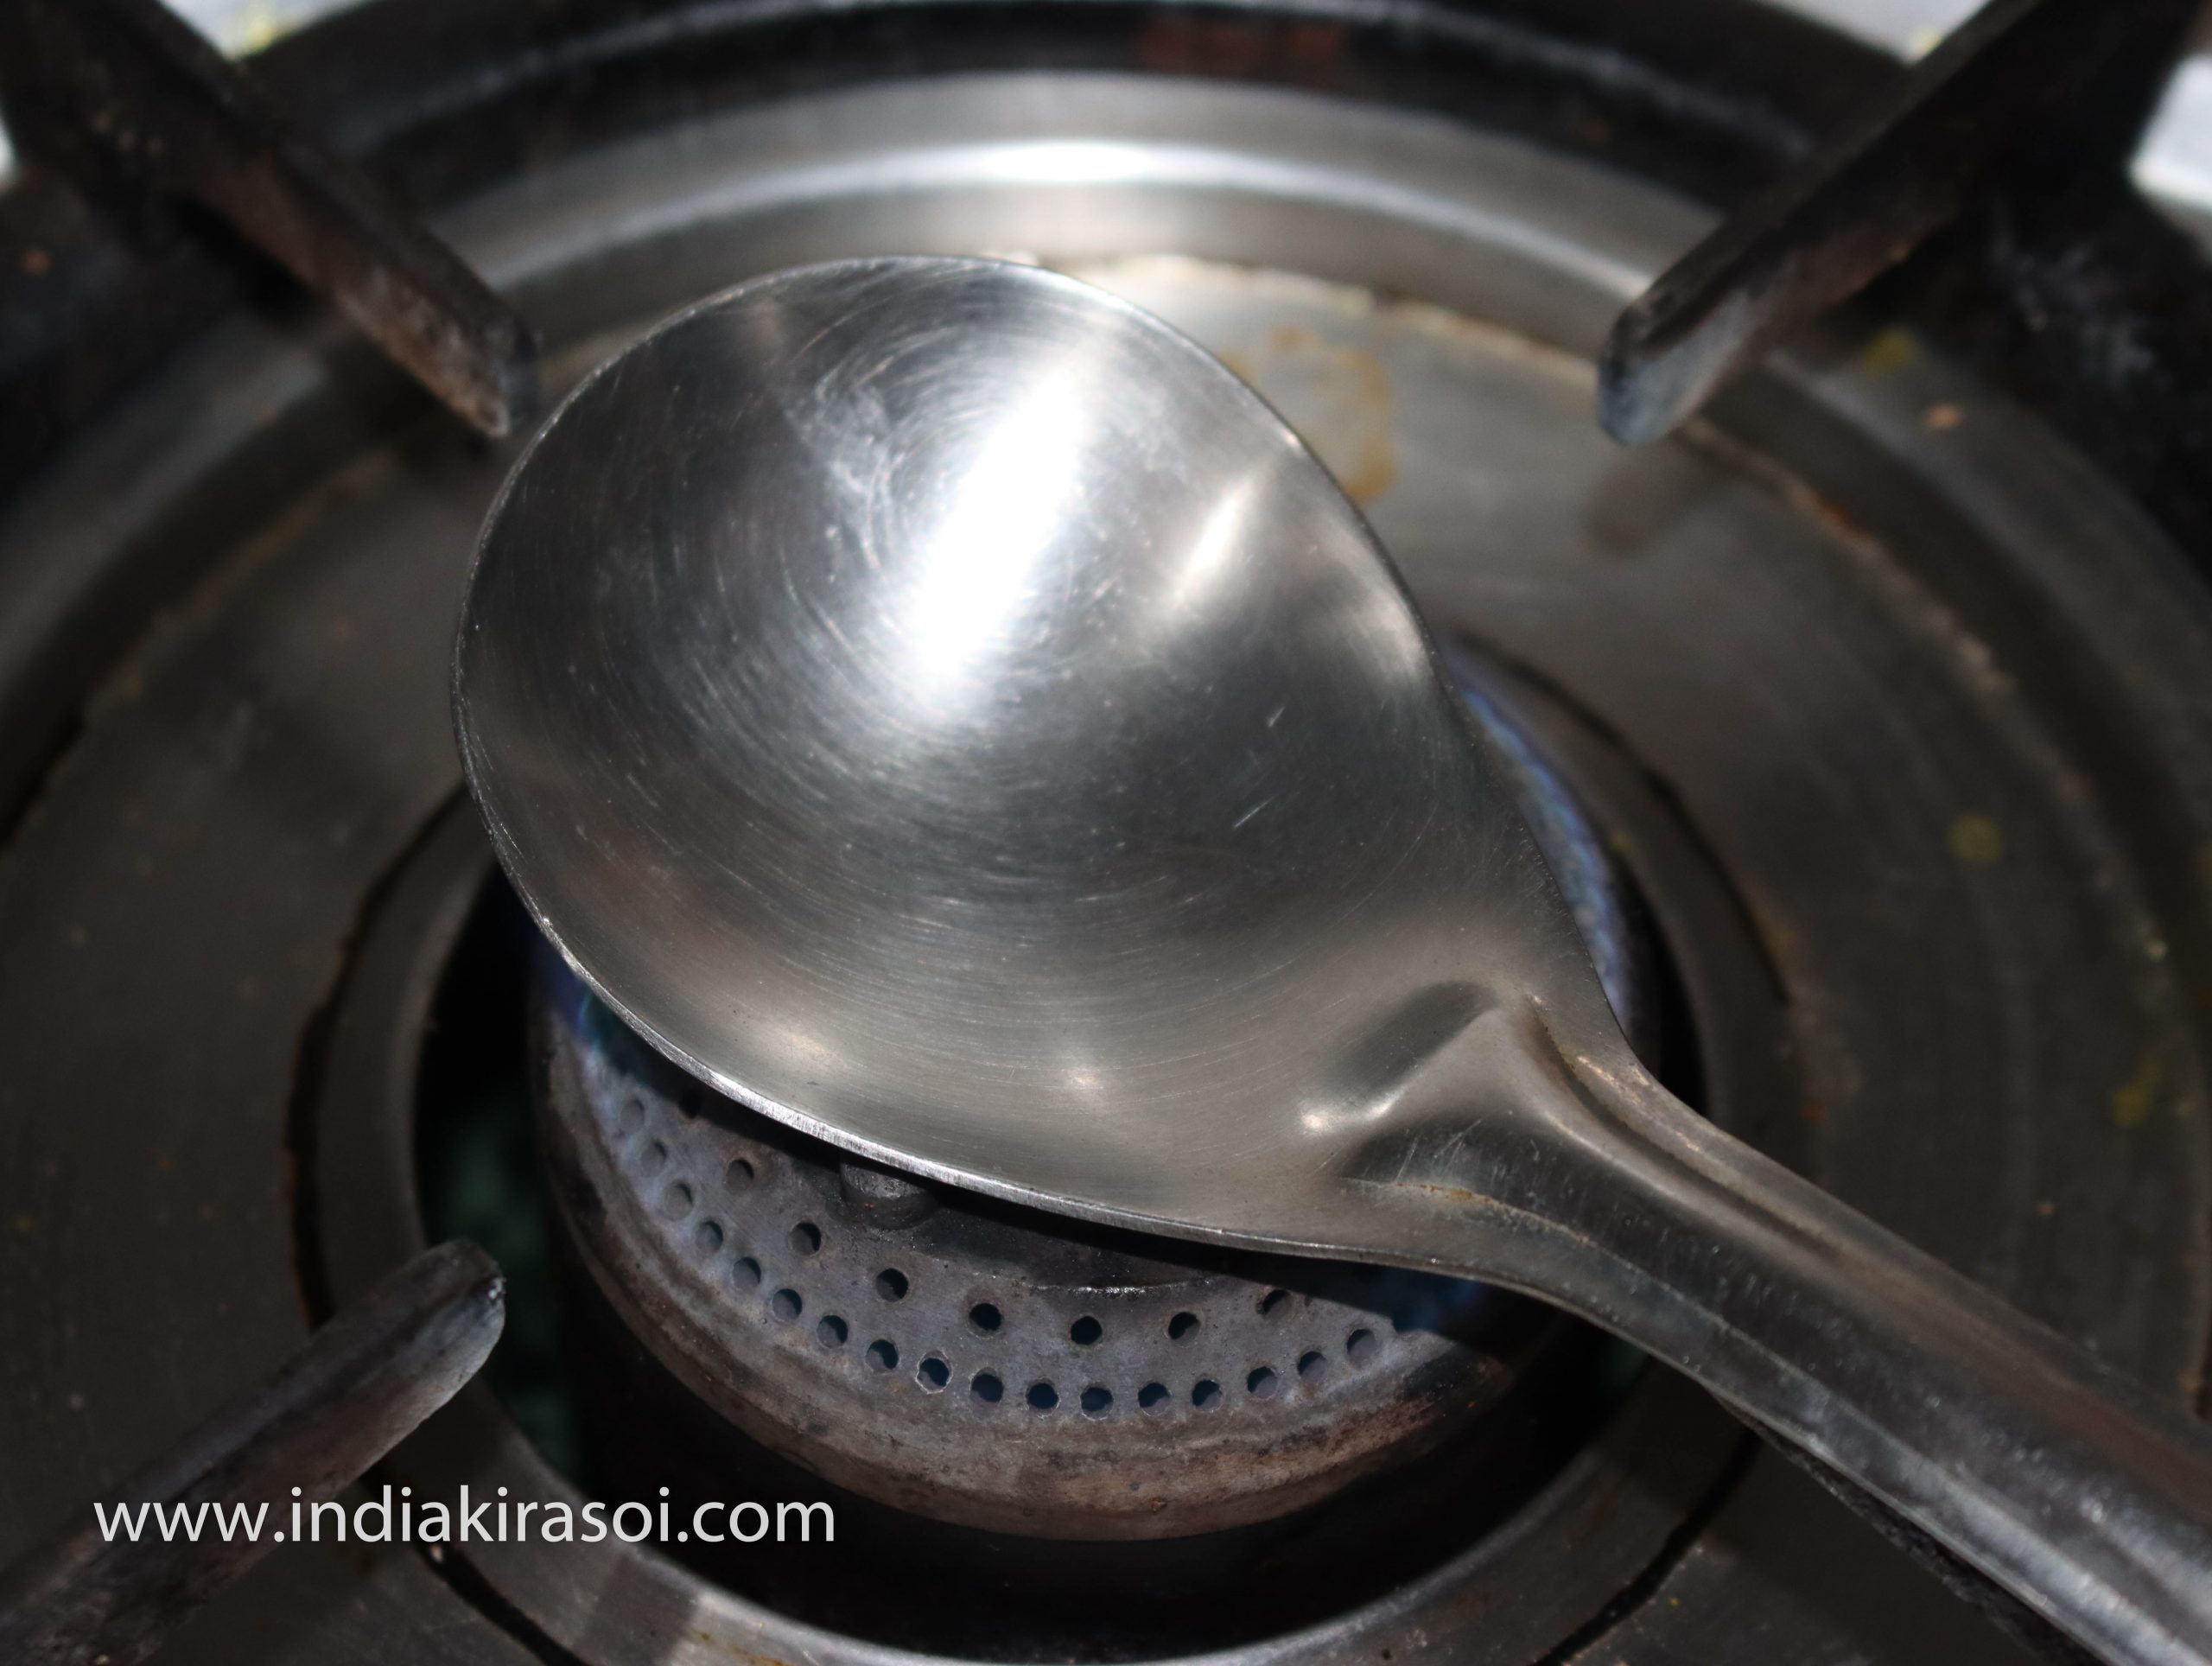
Put a spoon on the gas. Keep the flame on medium.
After this, pour one teaspoon mustard oil in a spoon.
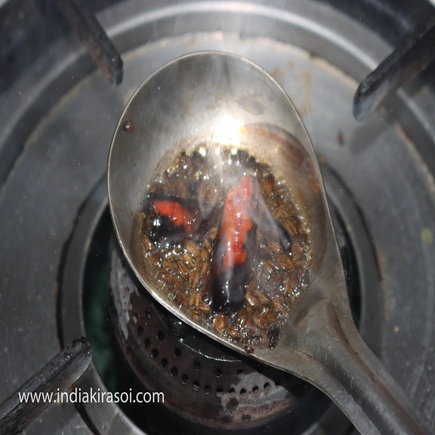
When the oil is hot, break half teaspoon of cumin and one red chilli into it.
As soon as the cumin starts crackling, add a pinch ofasafoetida. Keep in mind cumin should properly crackle
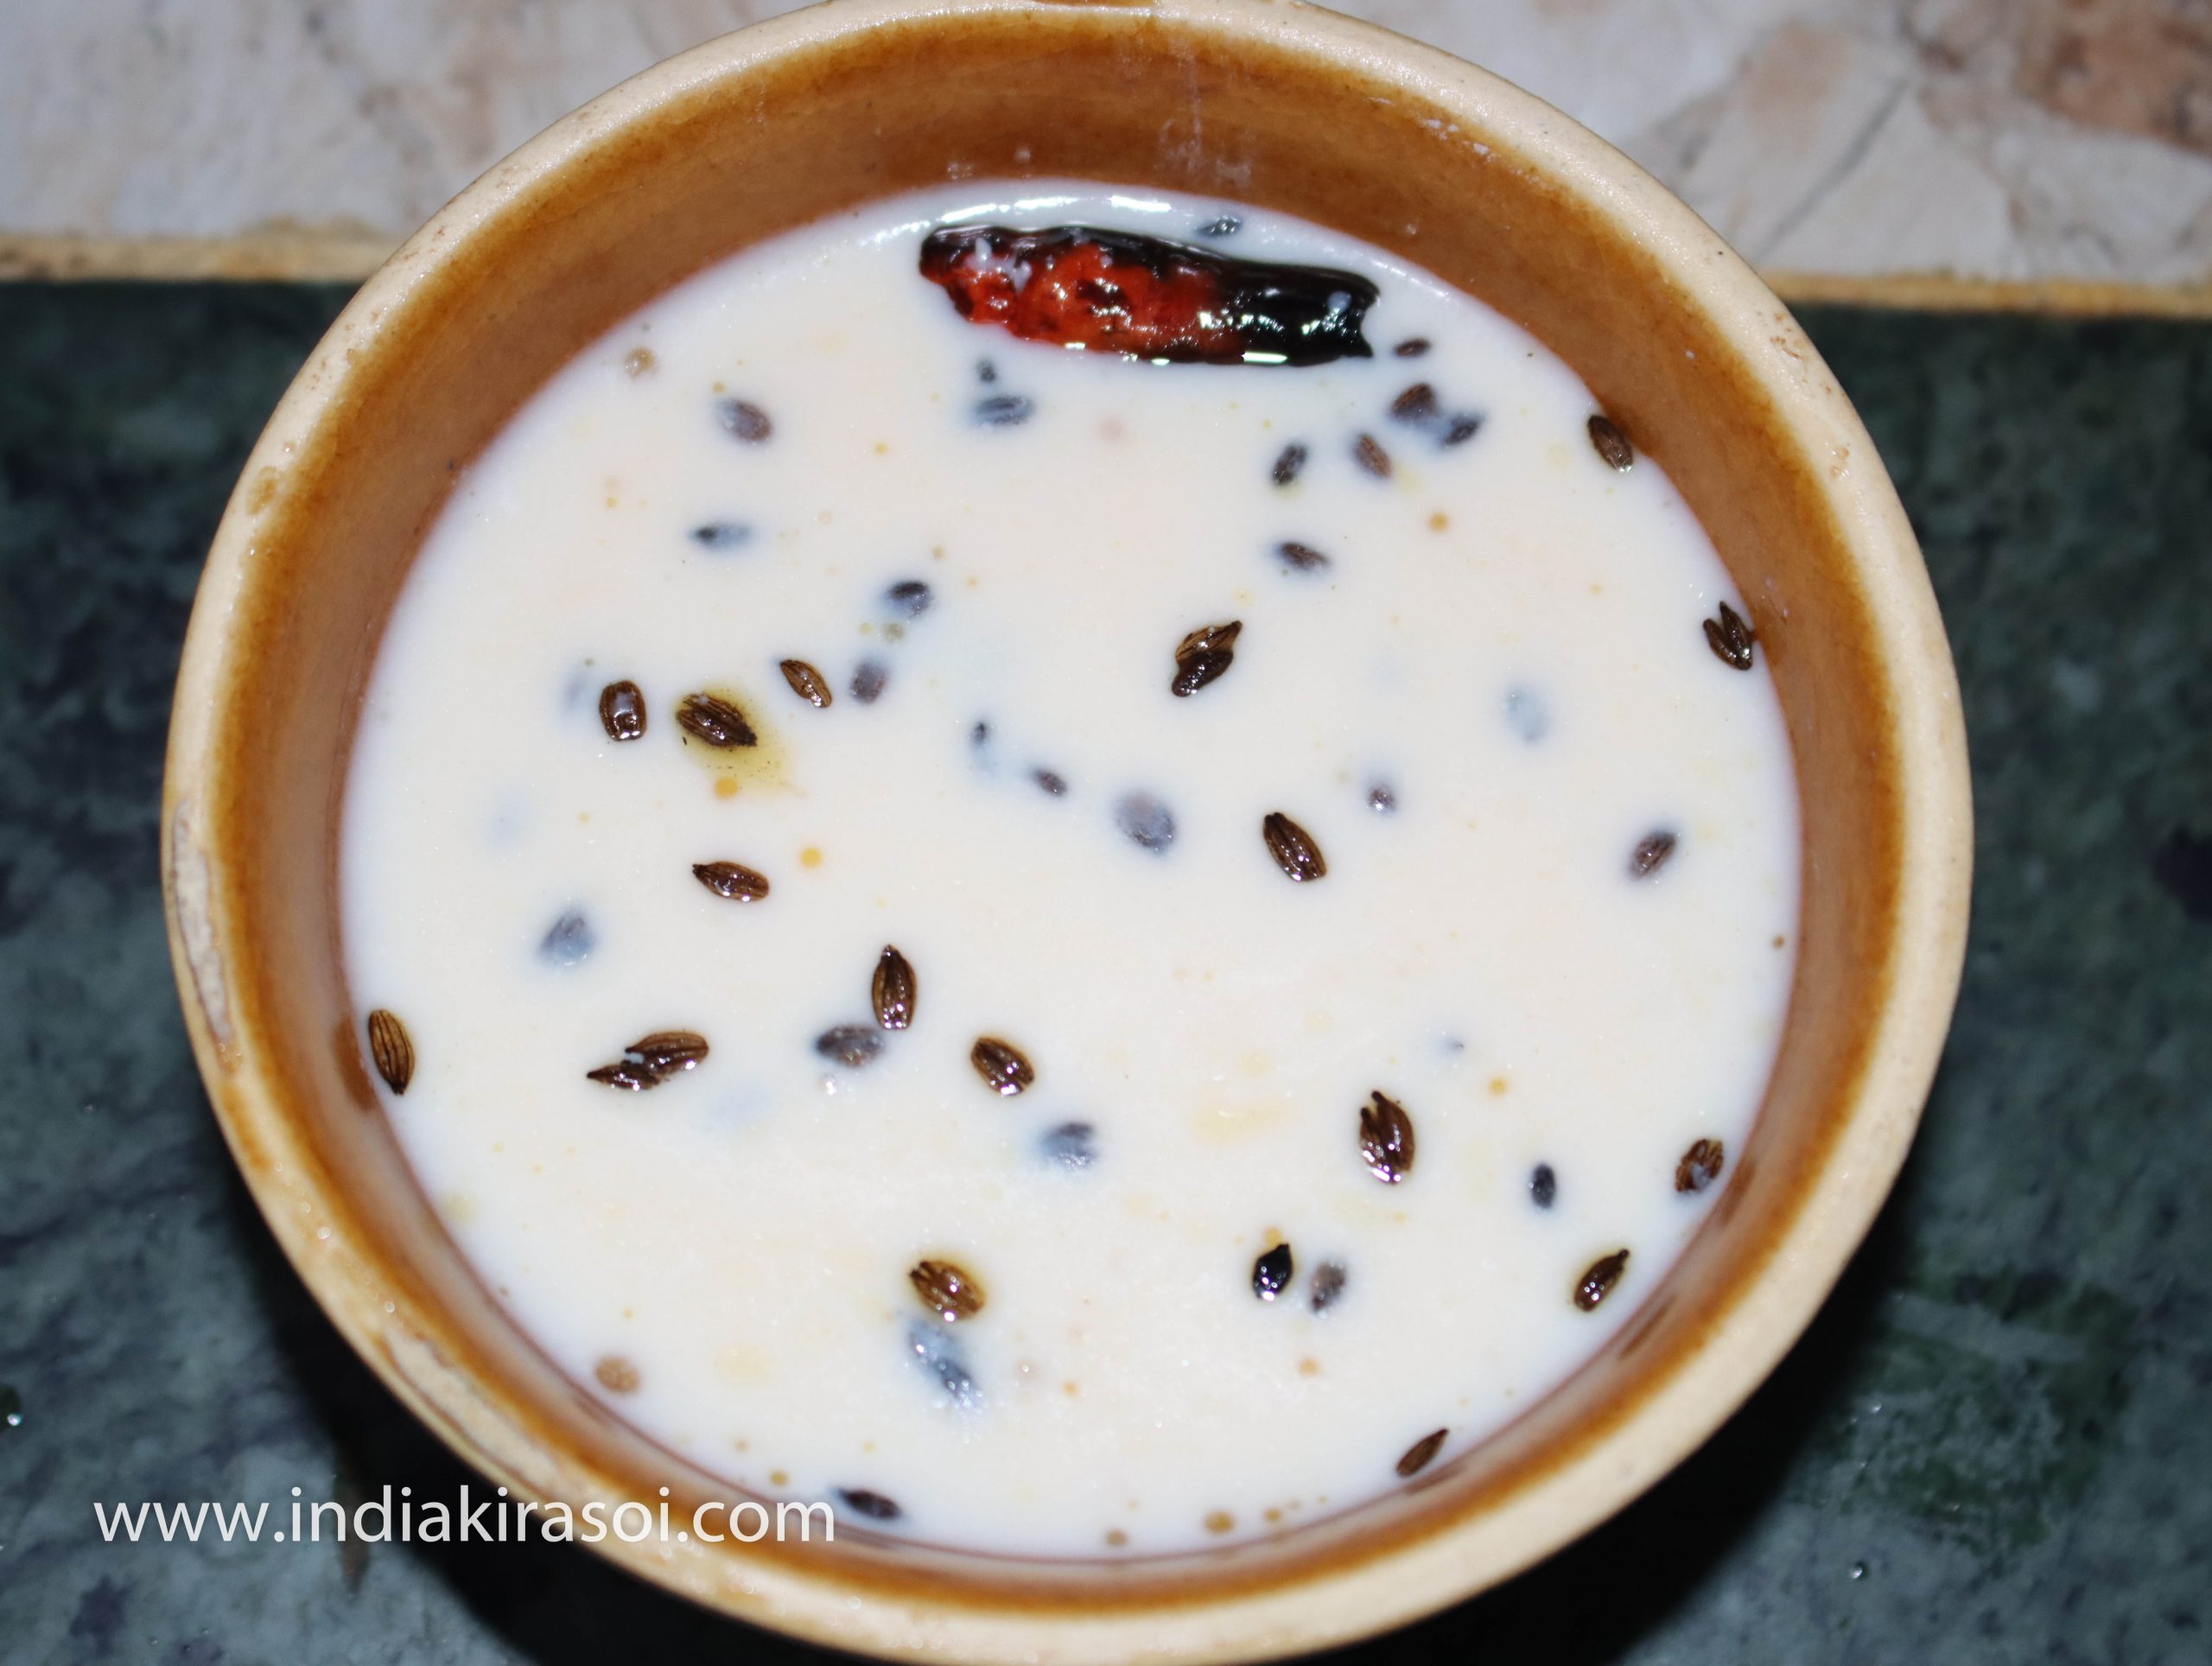
After this, pour the tempering in the whey/ mattha, cover the vessel with a plate as soon as you add the tempering.
So that the fragrance of asafetida should remain in the whey liquid or mattha.
Remove the plate after 10 seconds.
When you have to eat whey, add black salt as per taste before adding it to the whey. If you add salt to the whey long before eating,the whey will turn sour.
Take the whey in a bowl and eat it with food, or you can also eat the whey separately.
Notes
Whey liquid/ mattha is very good and soothing for the stomach in summer, with it, whey also reduces body heat.
Liquid whey contains lactose, vitamins, protein, and minerals, along with traces of fat.
Because whey contains lactose, it should be avoided by those who are lactose intolerant.
When used as a food additive, whey can contribute to quantities of lactose far above the level of tolerance of most lactose-intolerant individuals.
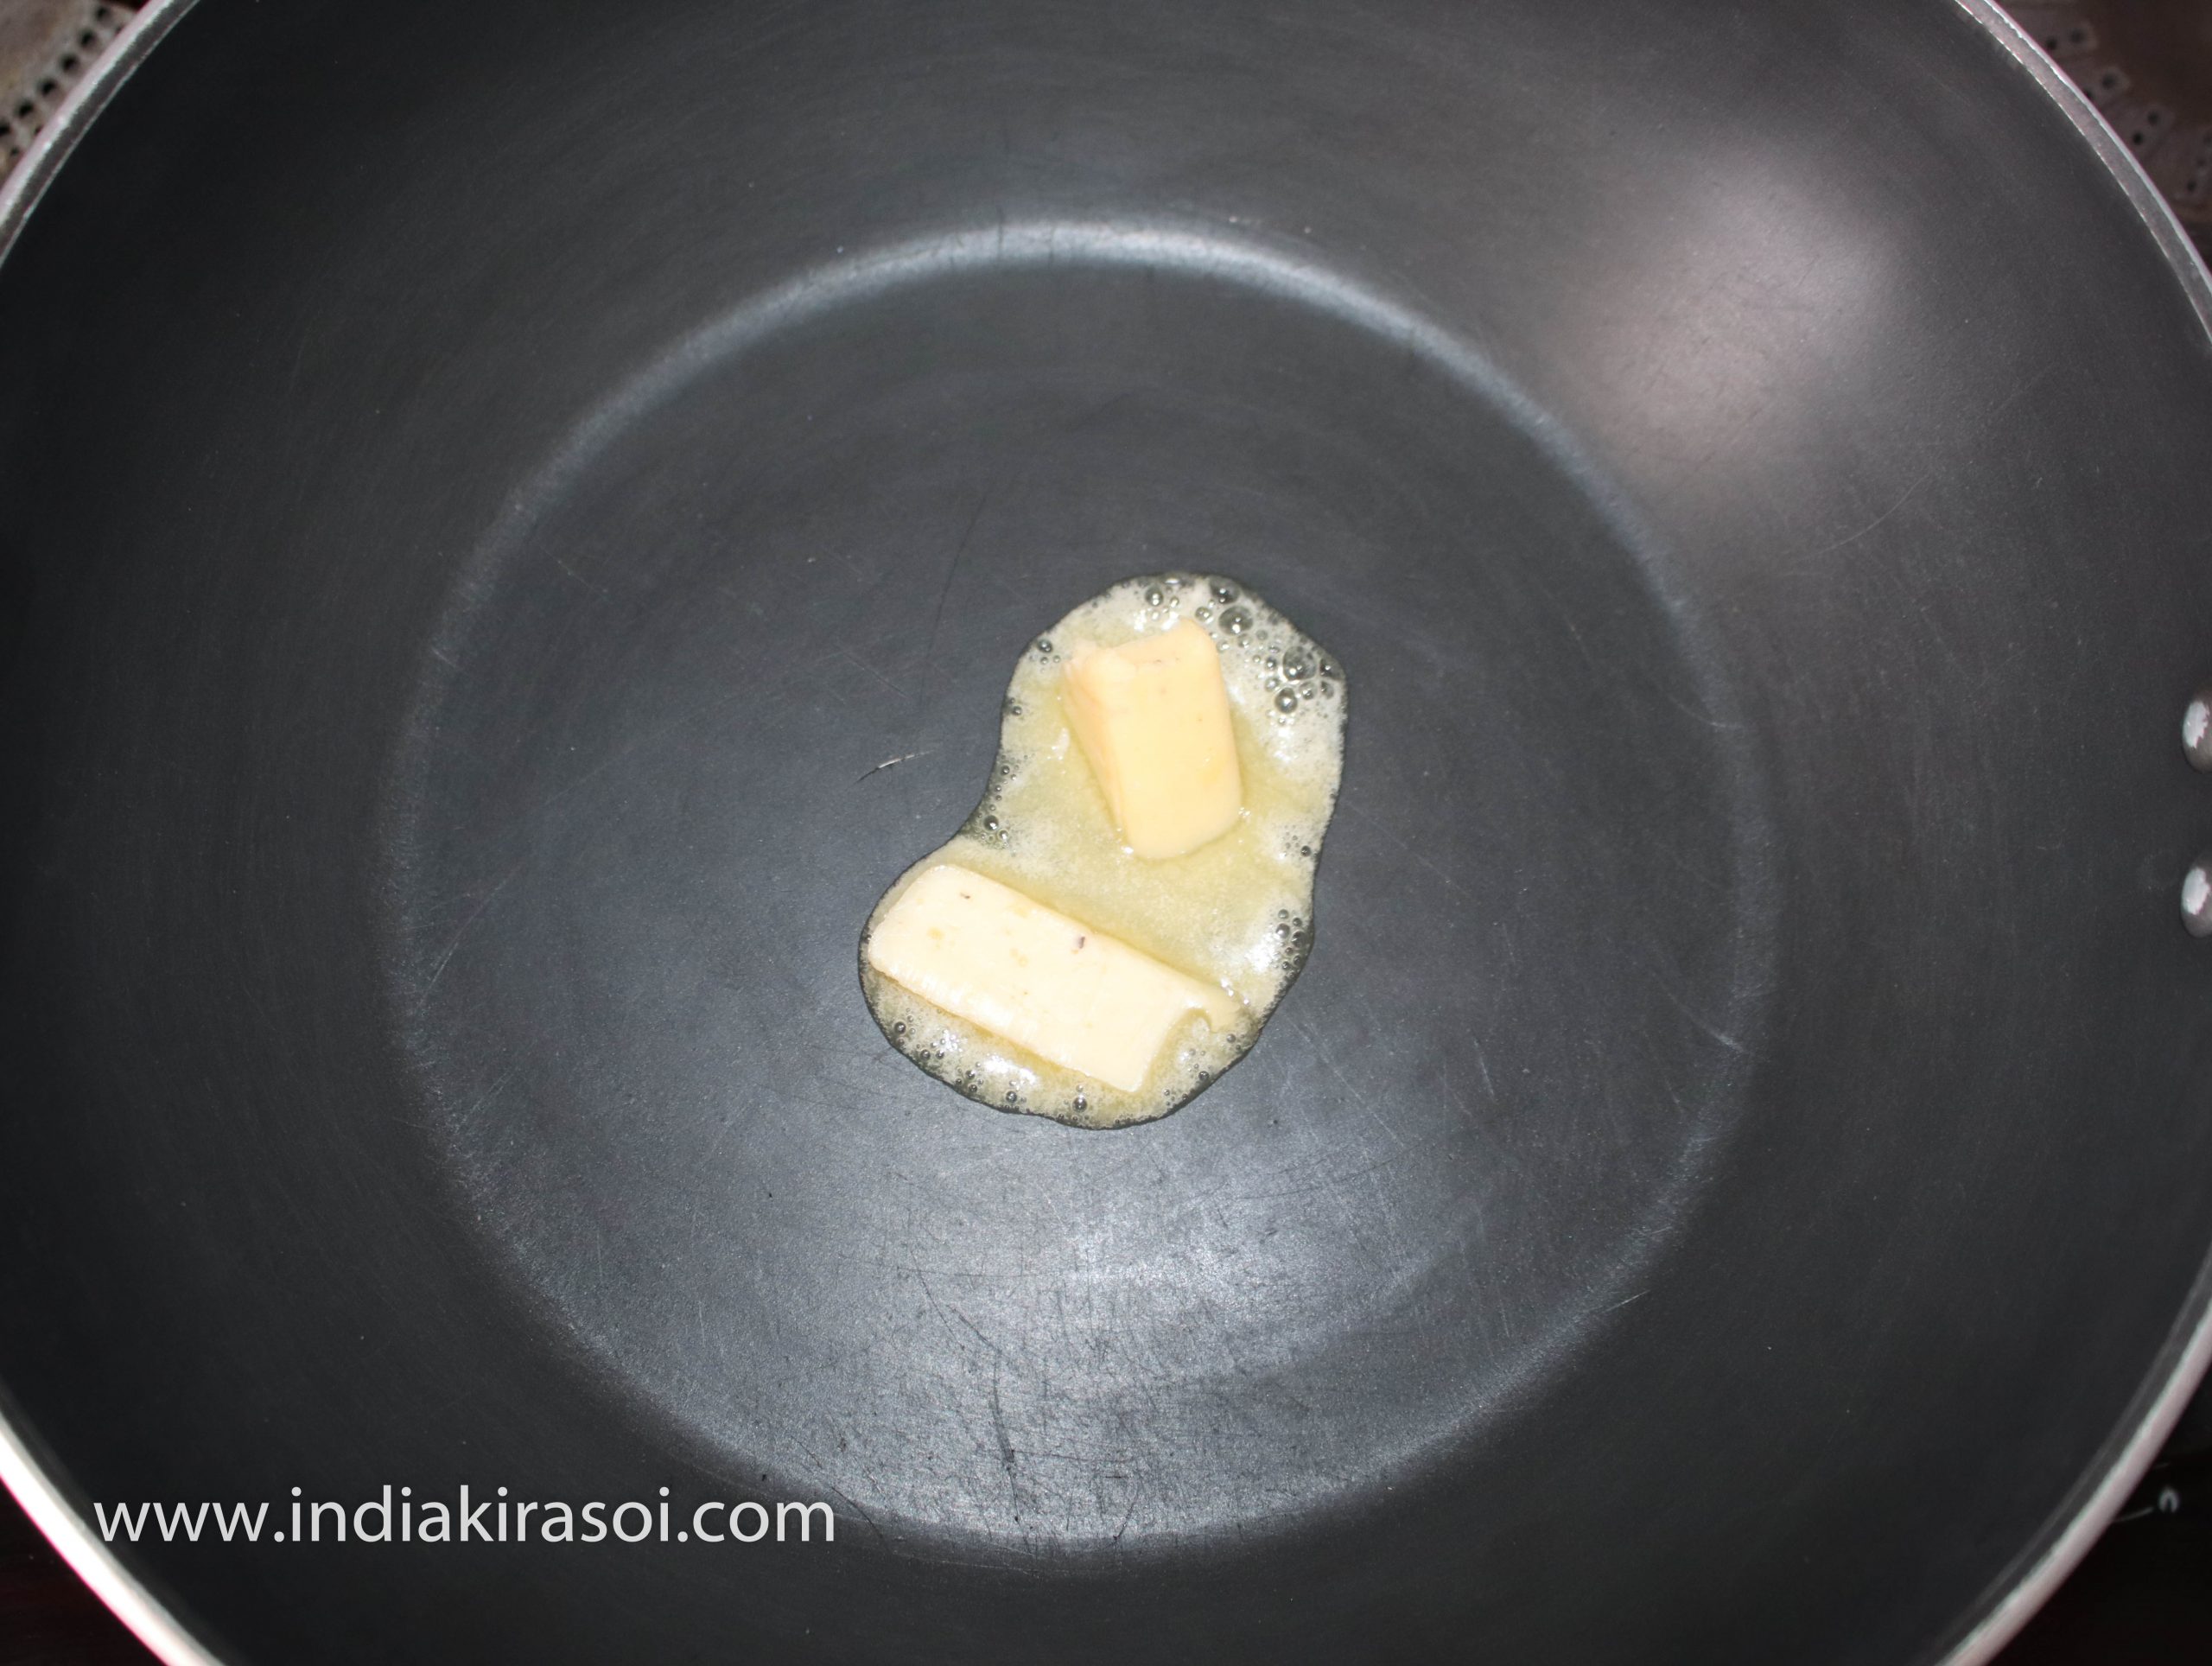
An Egg is very good for health.There is a lot of protein in the egg, which is very important for making muscles.Eggs are eaten in many ways, the eggs are also eaten by boiling them, as well as egg curry can also be made.Today we will learn how to make anda bhurji/ mashed egg, itis very easy to make anda bhurji and it becomes very quick too, it takes only 5 minutes to make anda bhurji.To make anda bhurji/ mashed egg, follow the method given below.
Course Breakfast, Dinner, Indian, Lunch, Main Course, Main Dish, Side Dish, Snacks
Cuisine American, Chinese, Indian, Italian, Japanese
Prep Time 1minute
Cook Time 4minutes
Total Time 5minutes
Servings 4people
Calories 28kcal
Cost 30 rupee
Ingredients
4unitEgg/ Anda
3unitMedium Tomato/ Tamatar
10gramsButter/ Desi ghee/ Oil
1unitGreen Chili / Hari Mirch
1/2tspCumin Seed / Jeera
1unitBig Onion/ Pyaz
1/4tspRed Chili / Lal Mirch Powder
asper tasteSalt / Namak
Instructions
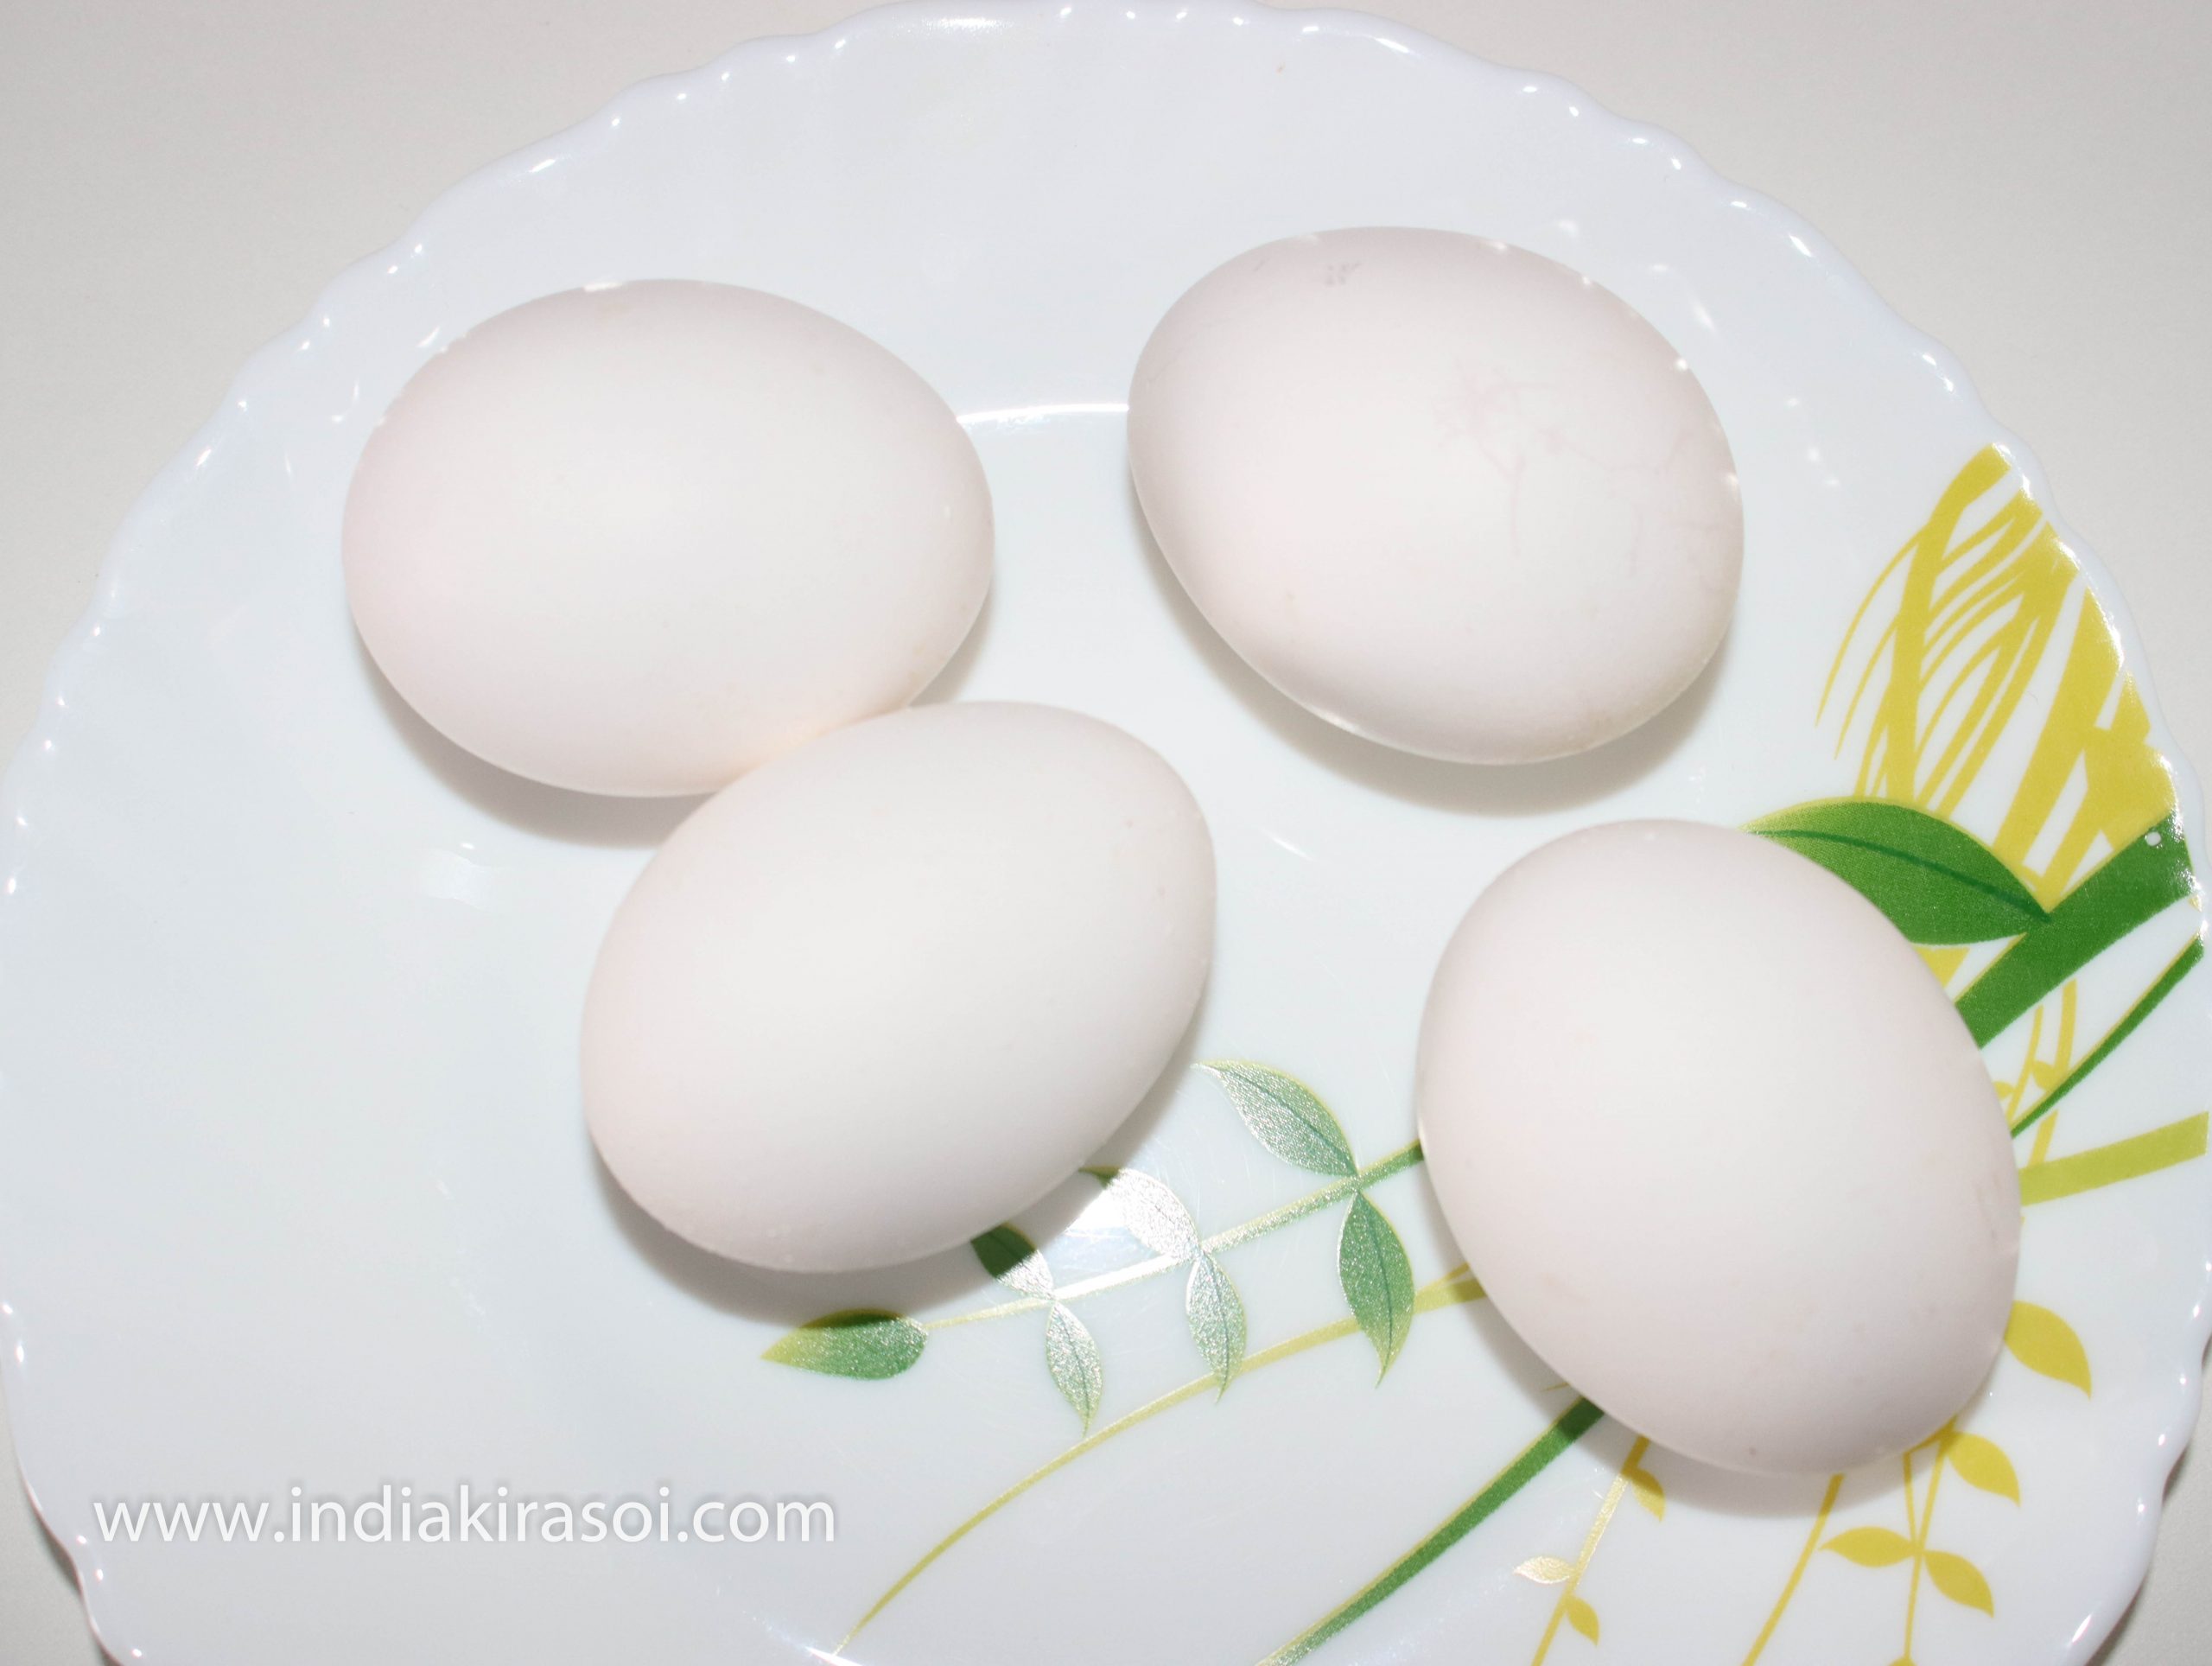
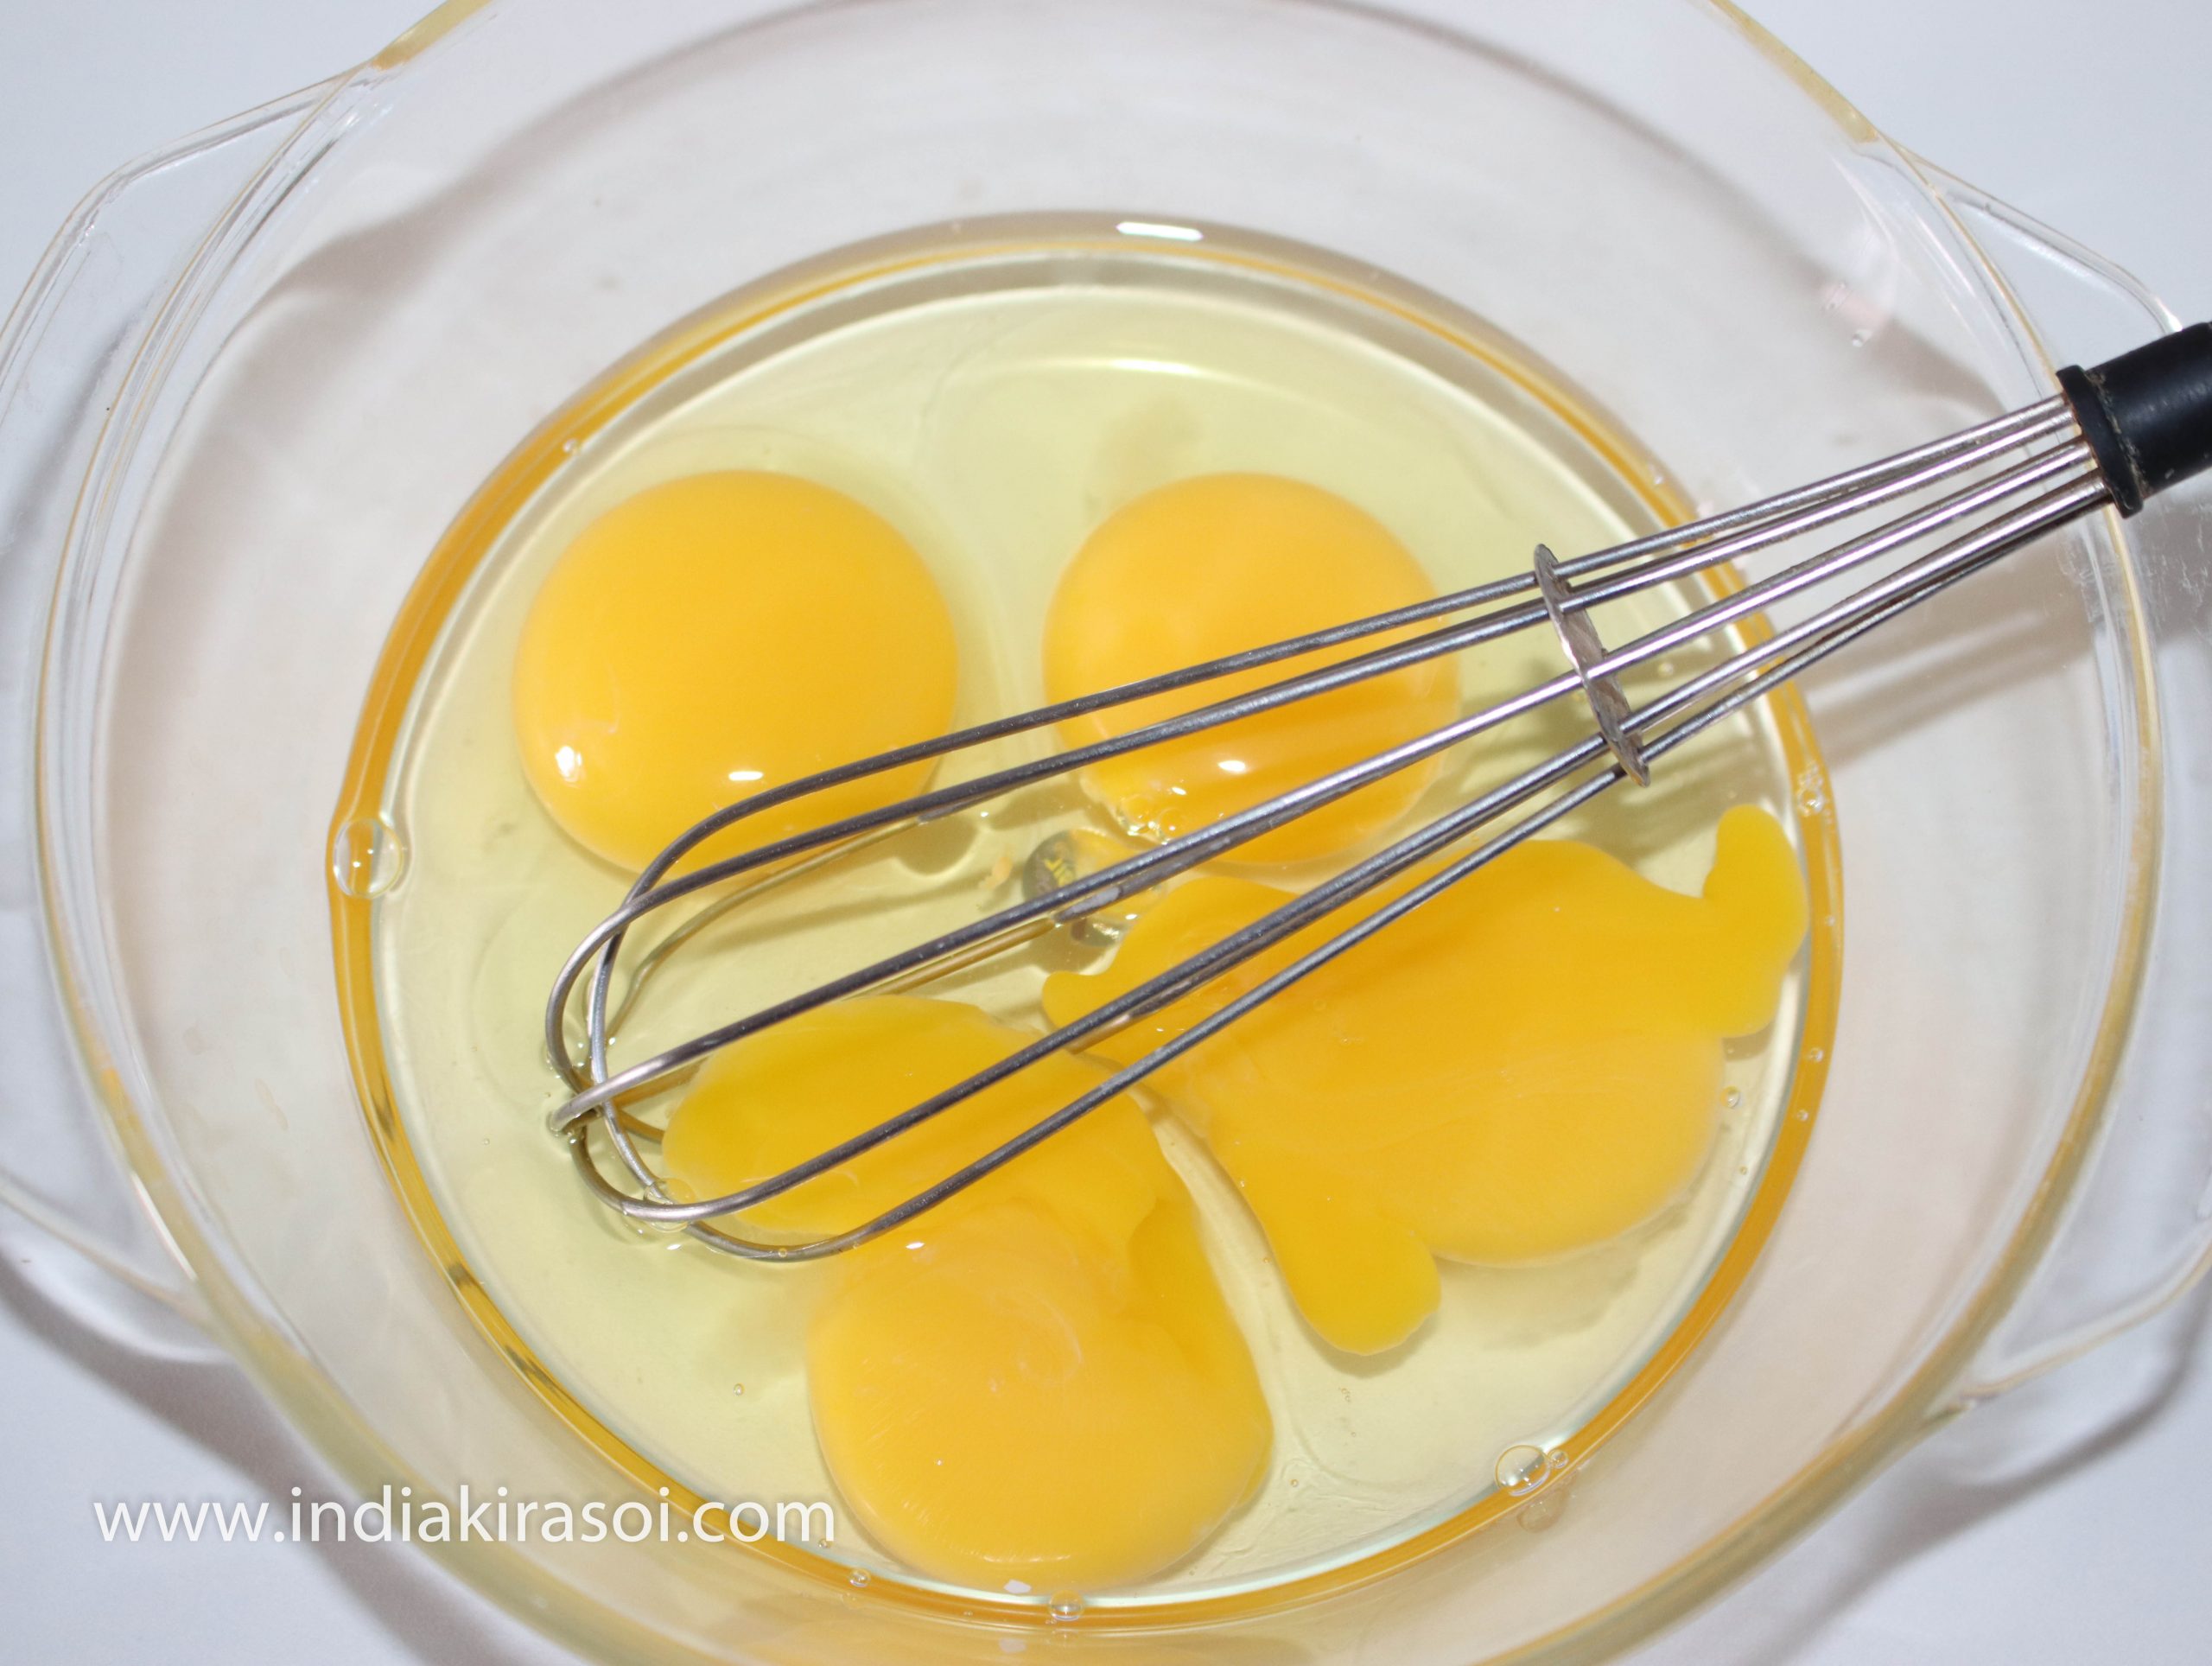
To make anda bhurji/ mashed egg, take 4 eggs.
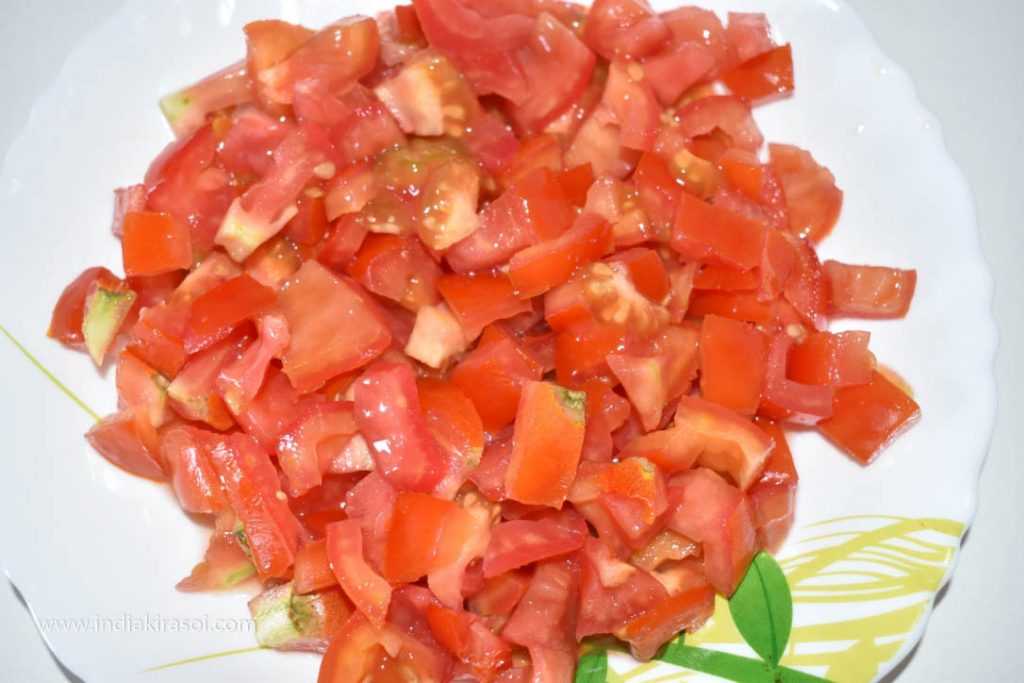
Take 3 tomatoes and chop them finely.
Finely chop a green chilli.
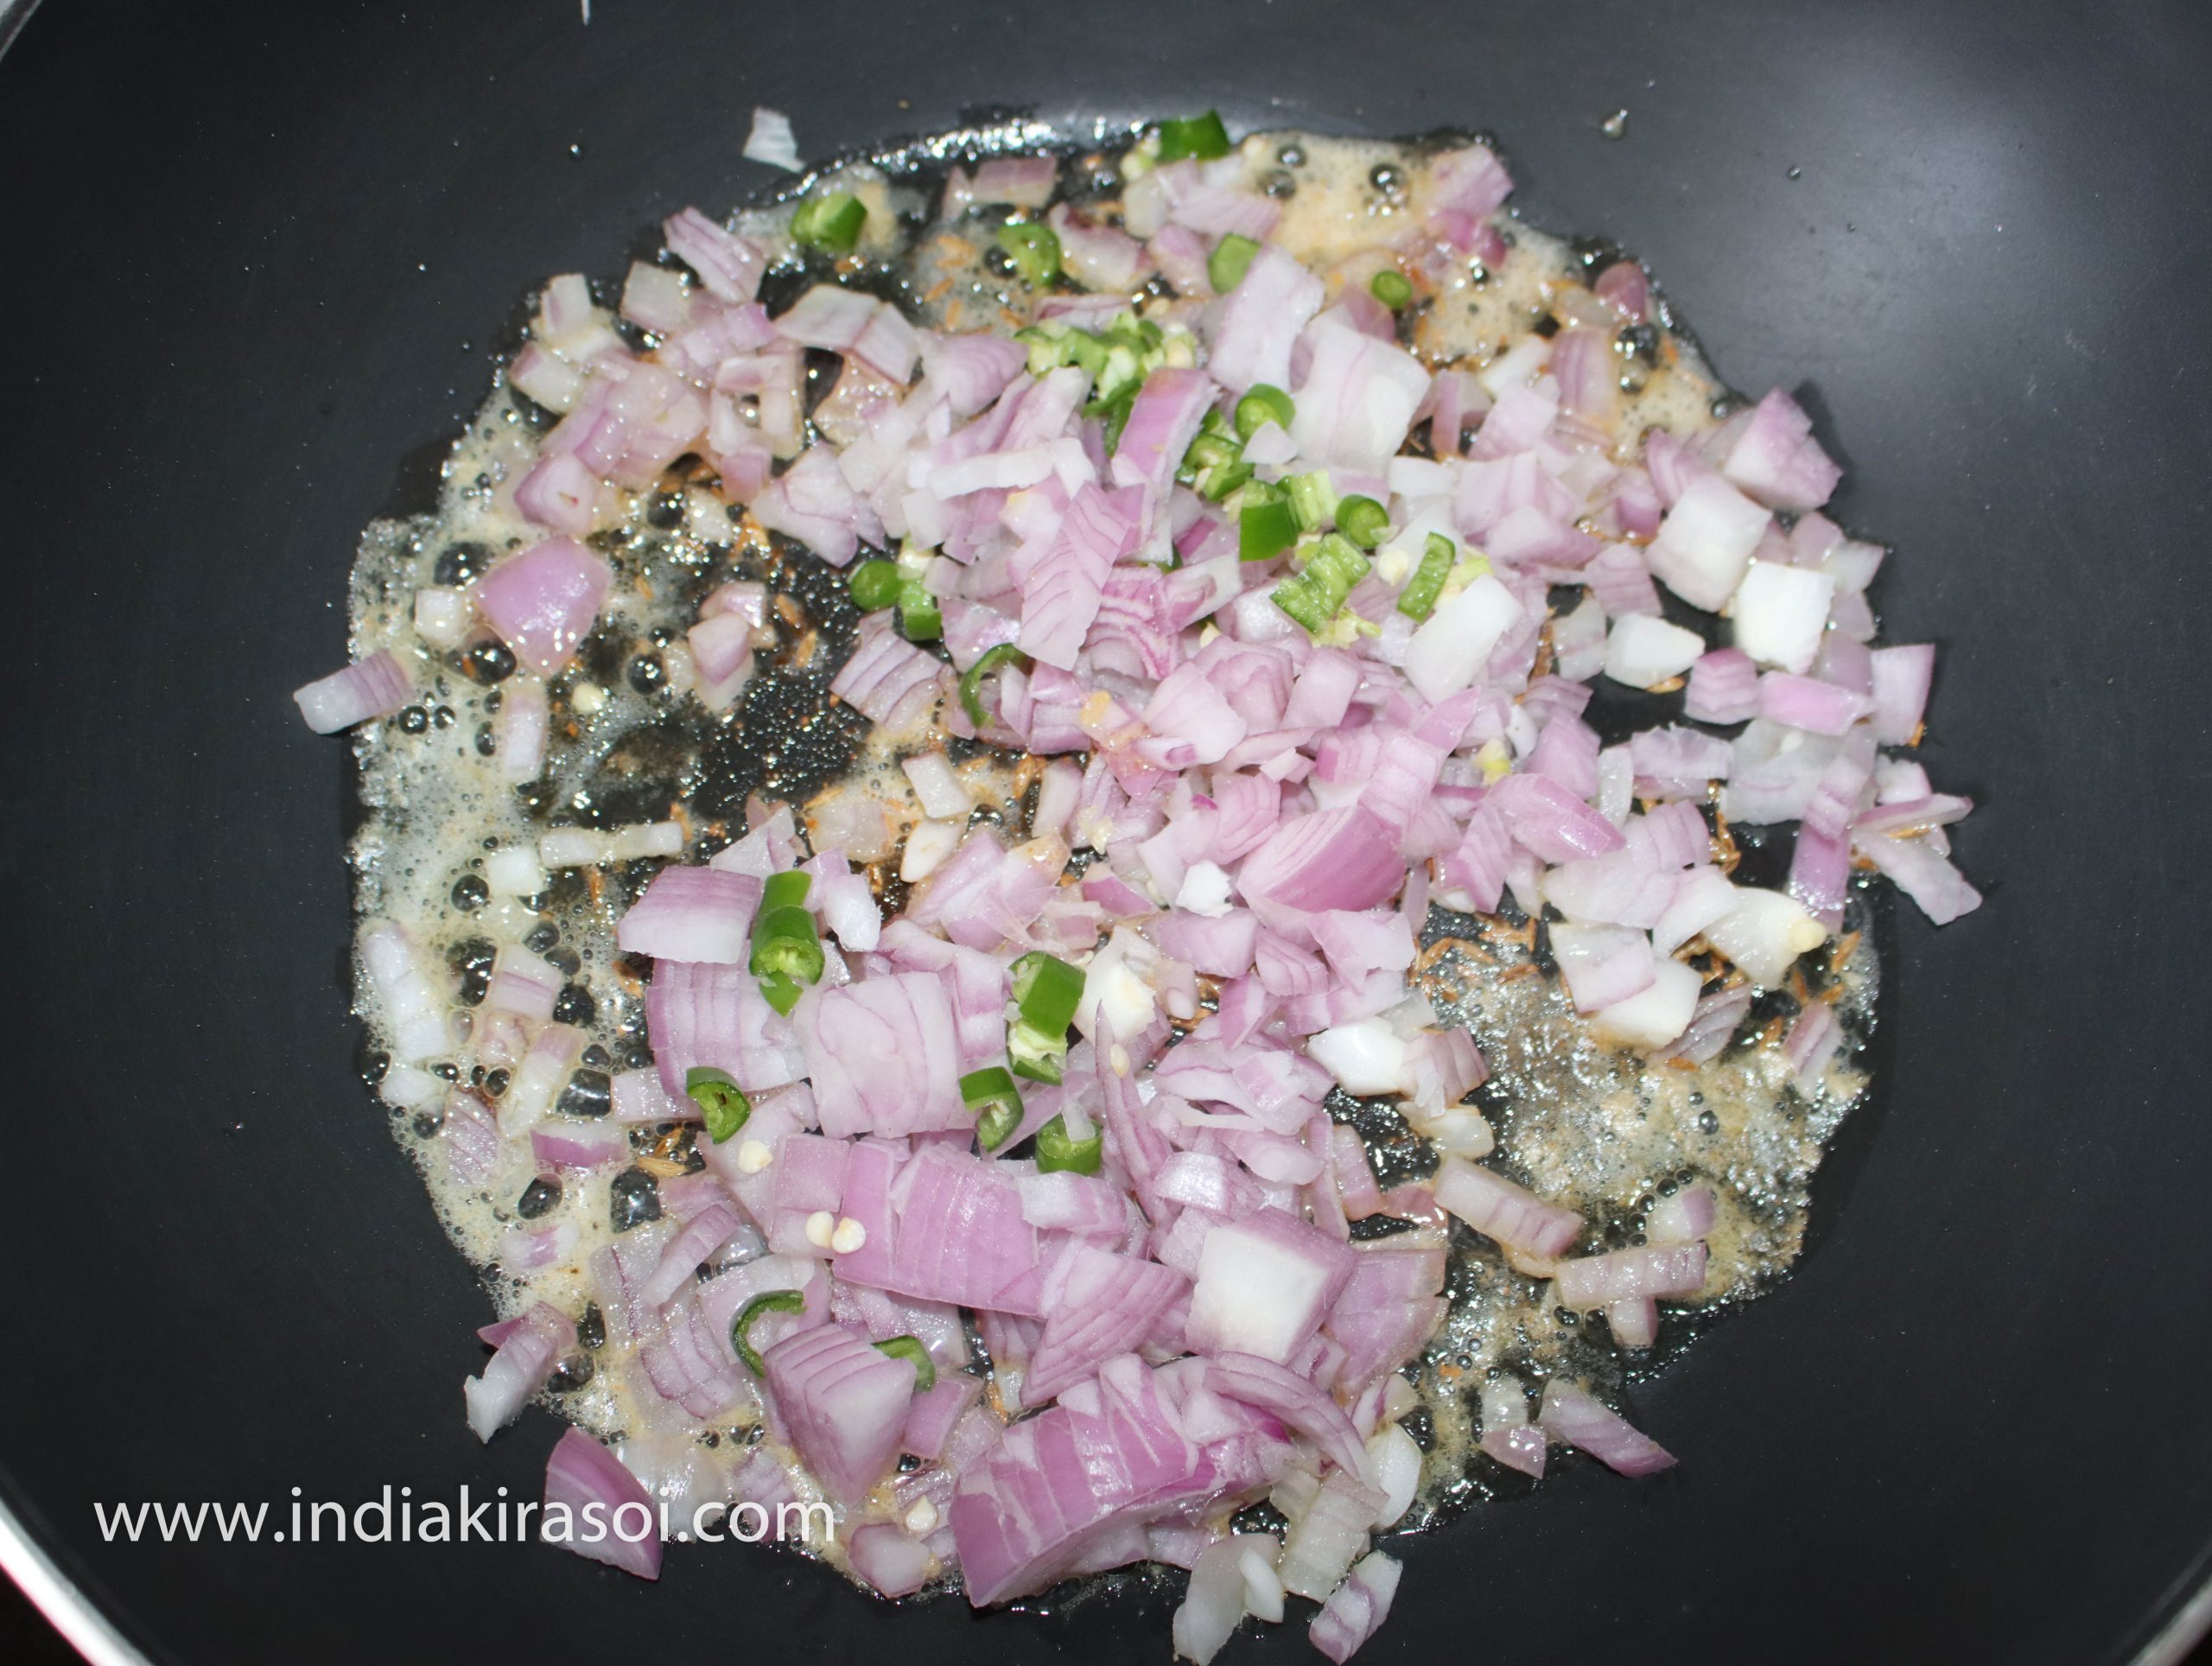
Finely chop a large onion.
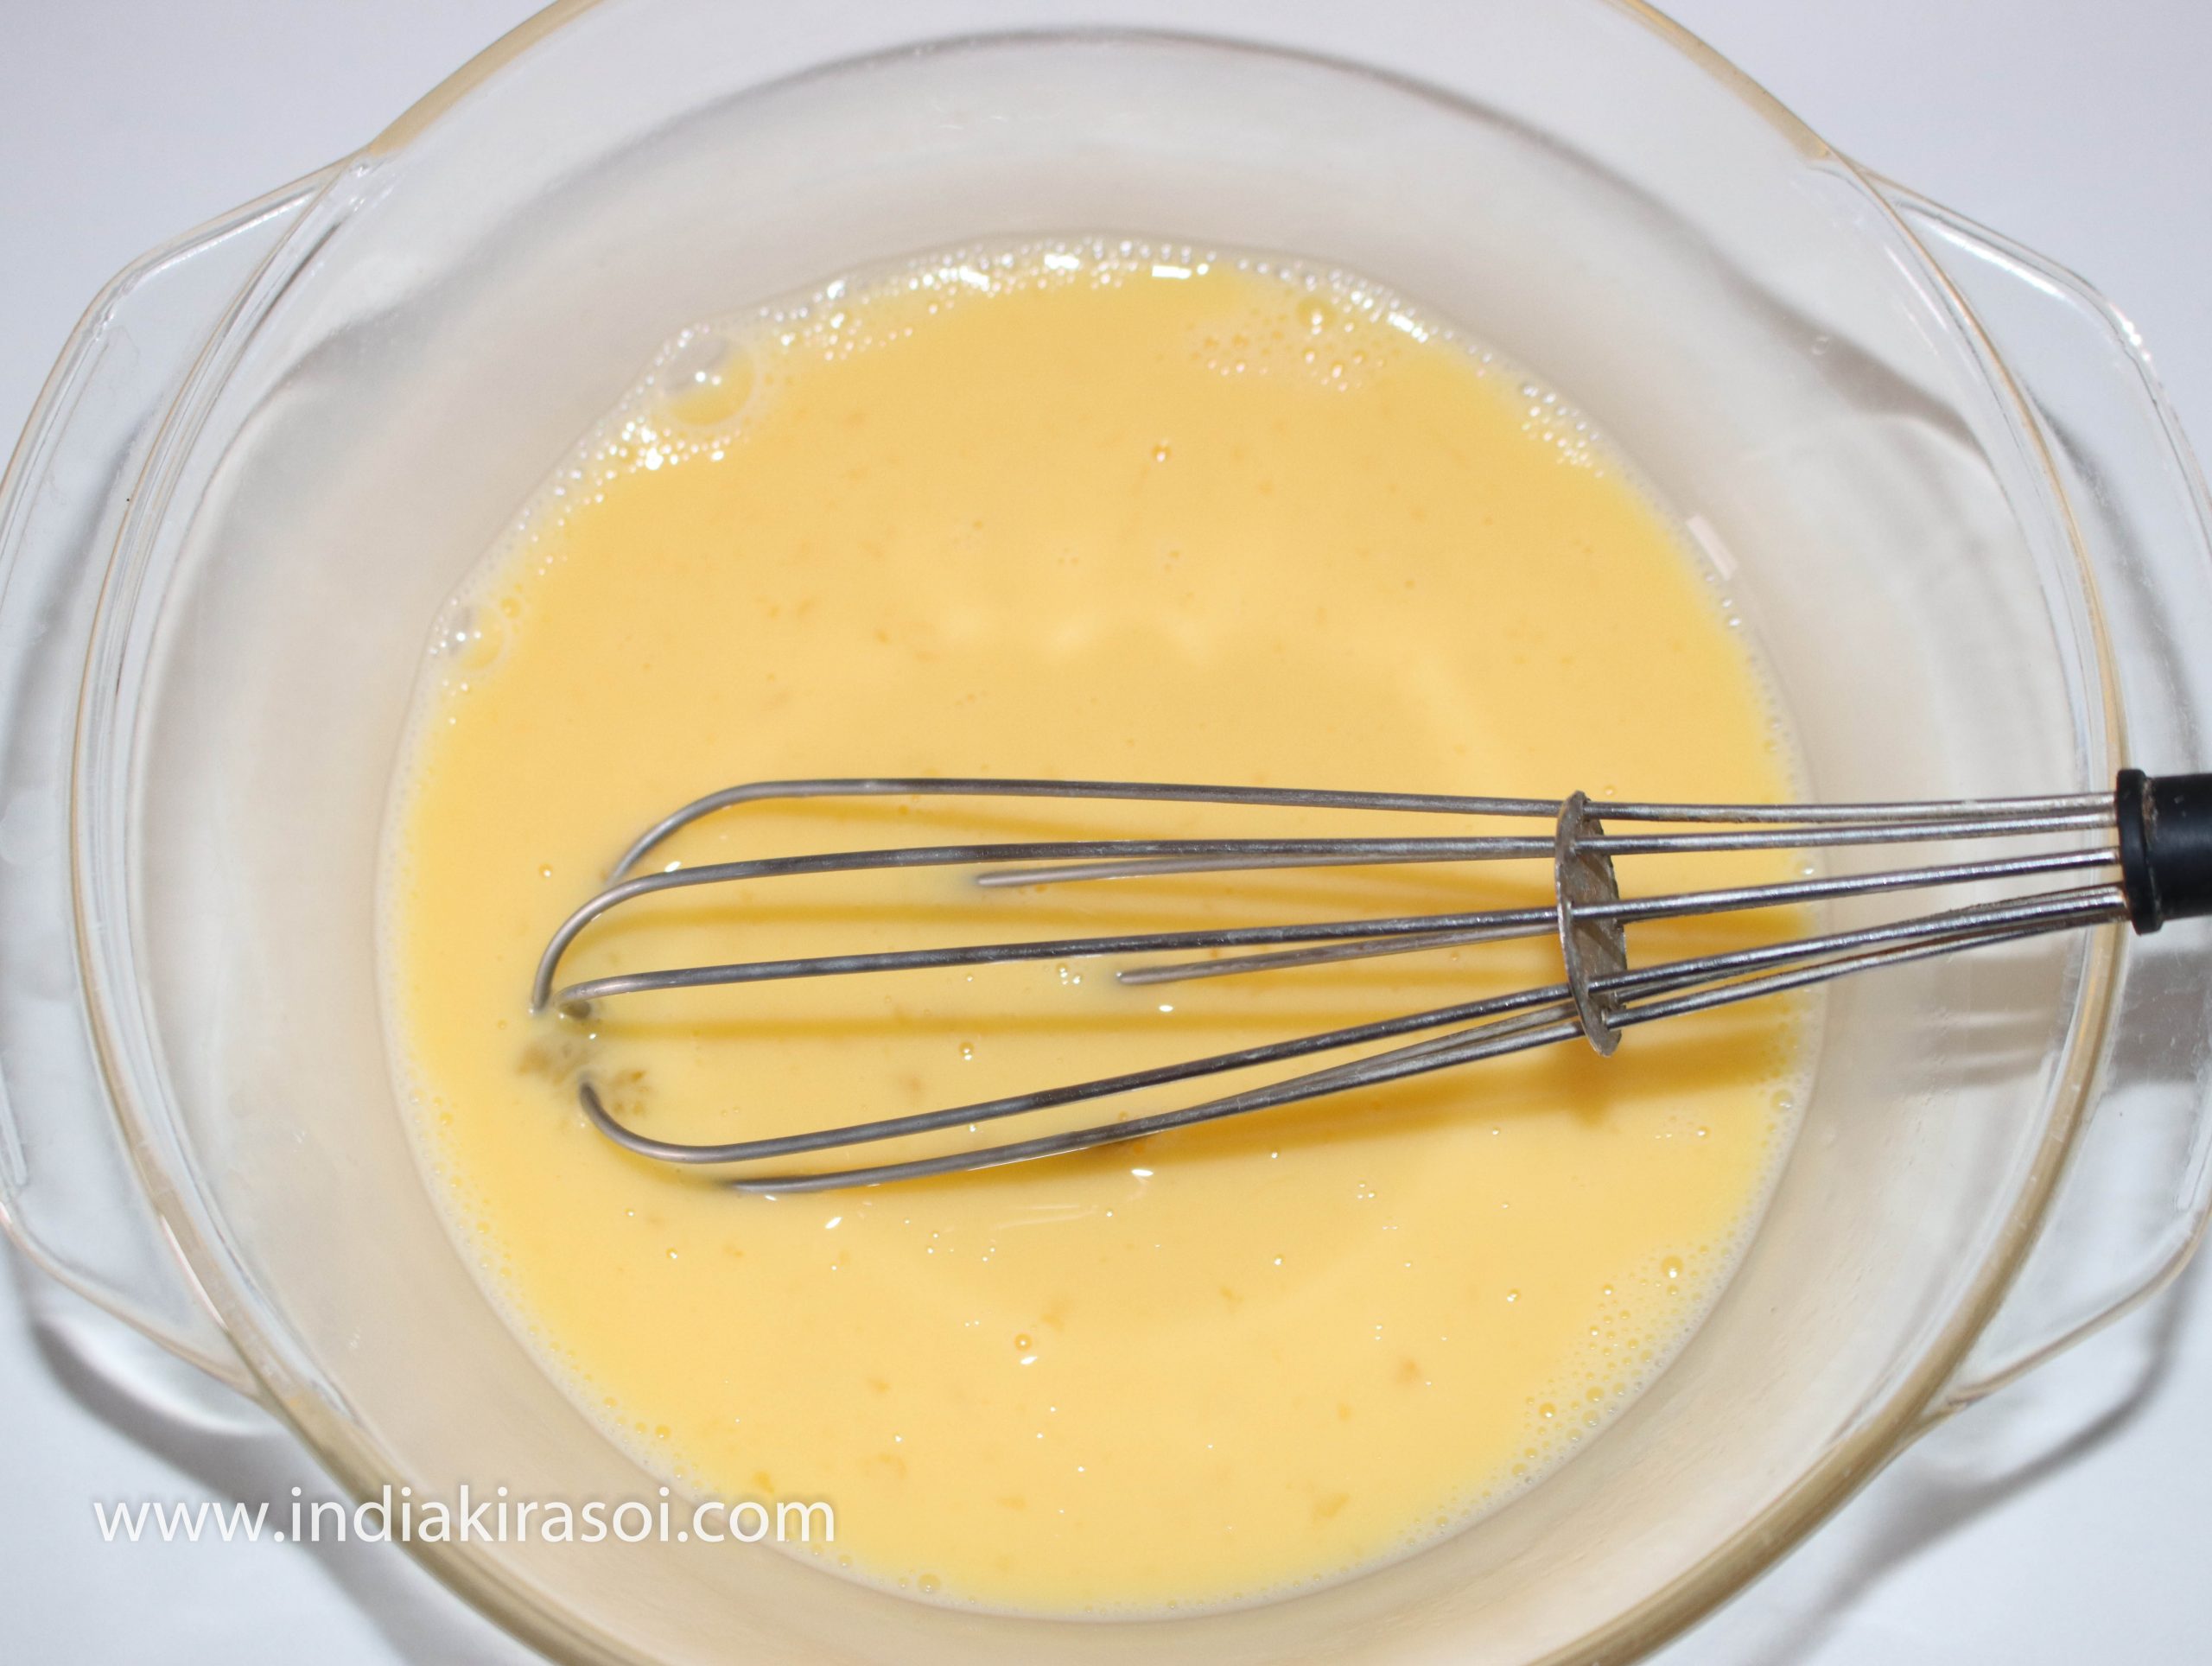
Break eggs into a bowl and beat with a blender.
Beat eggs for about 3 to 4 minutes. Whipping the eggs well,egg bhurji will be made good.
Put a kadhai or fry pan on the gas. Keep the flame on high.
Now put one spoon of butter in the kadhai or fry pan. If the butter is liquid, add 2 tablespoons butter.
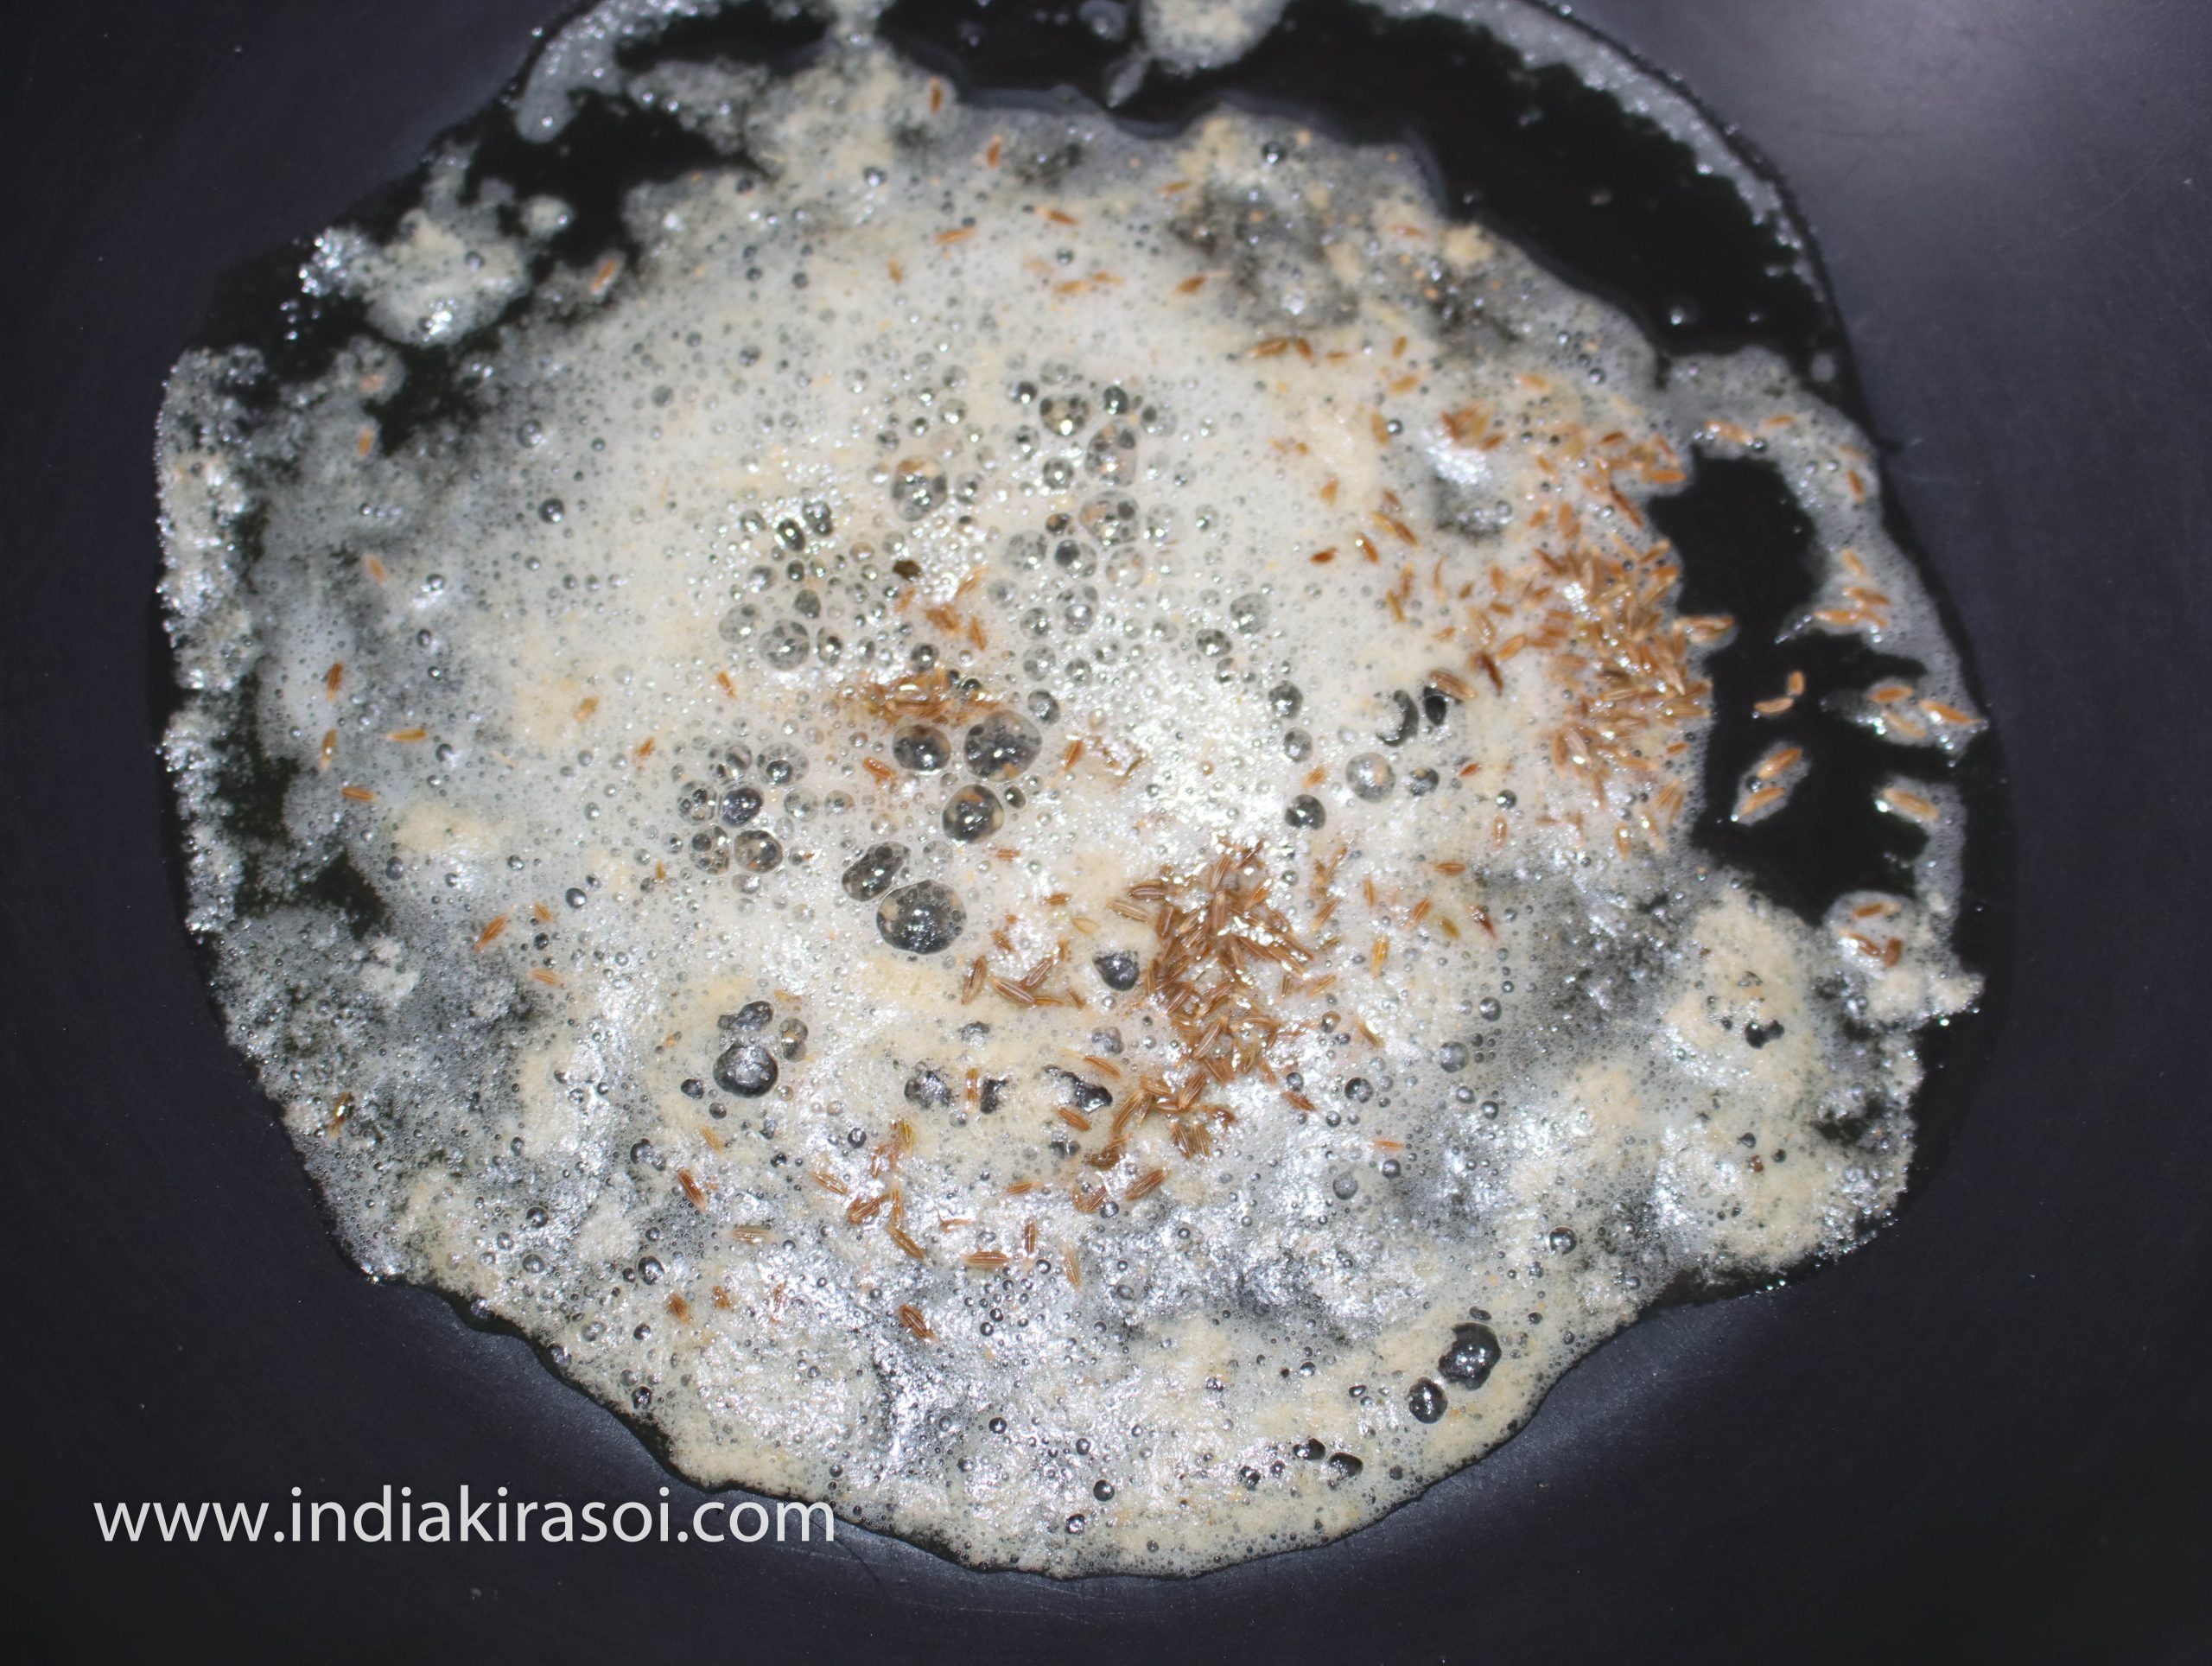
When the butter is hot, add half a teaspoon of cumin seedsin the kadhai or fry pan.
When the cumin starts crackling, add chopped green chillies and chopped onions.
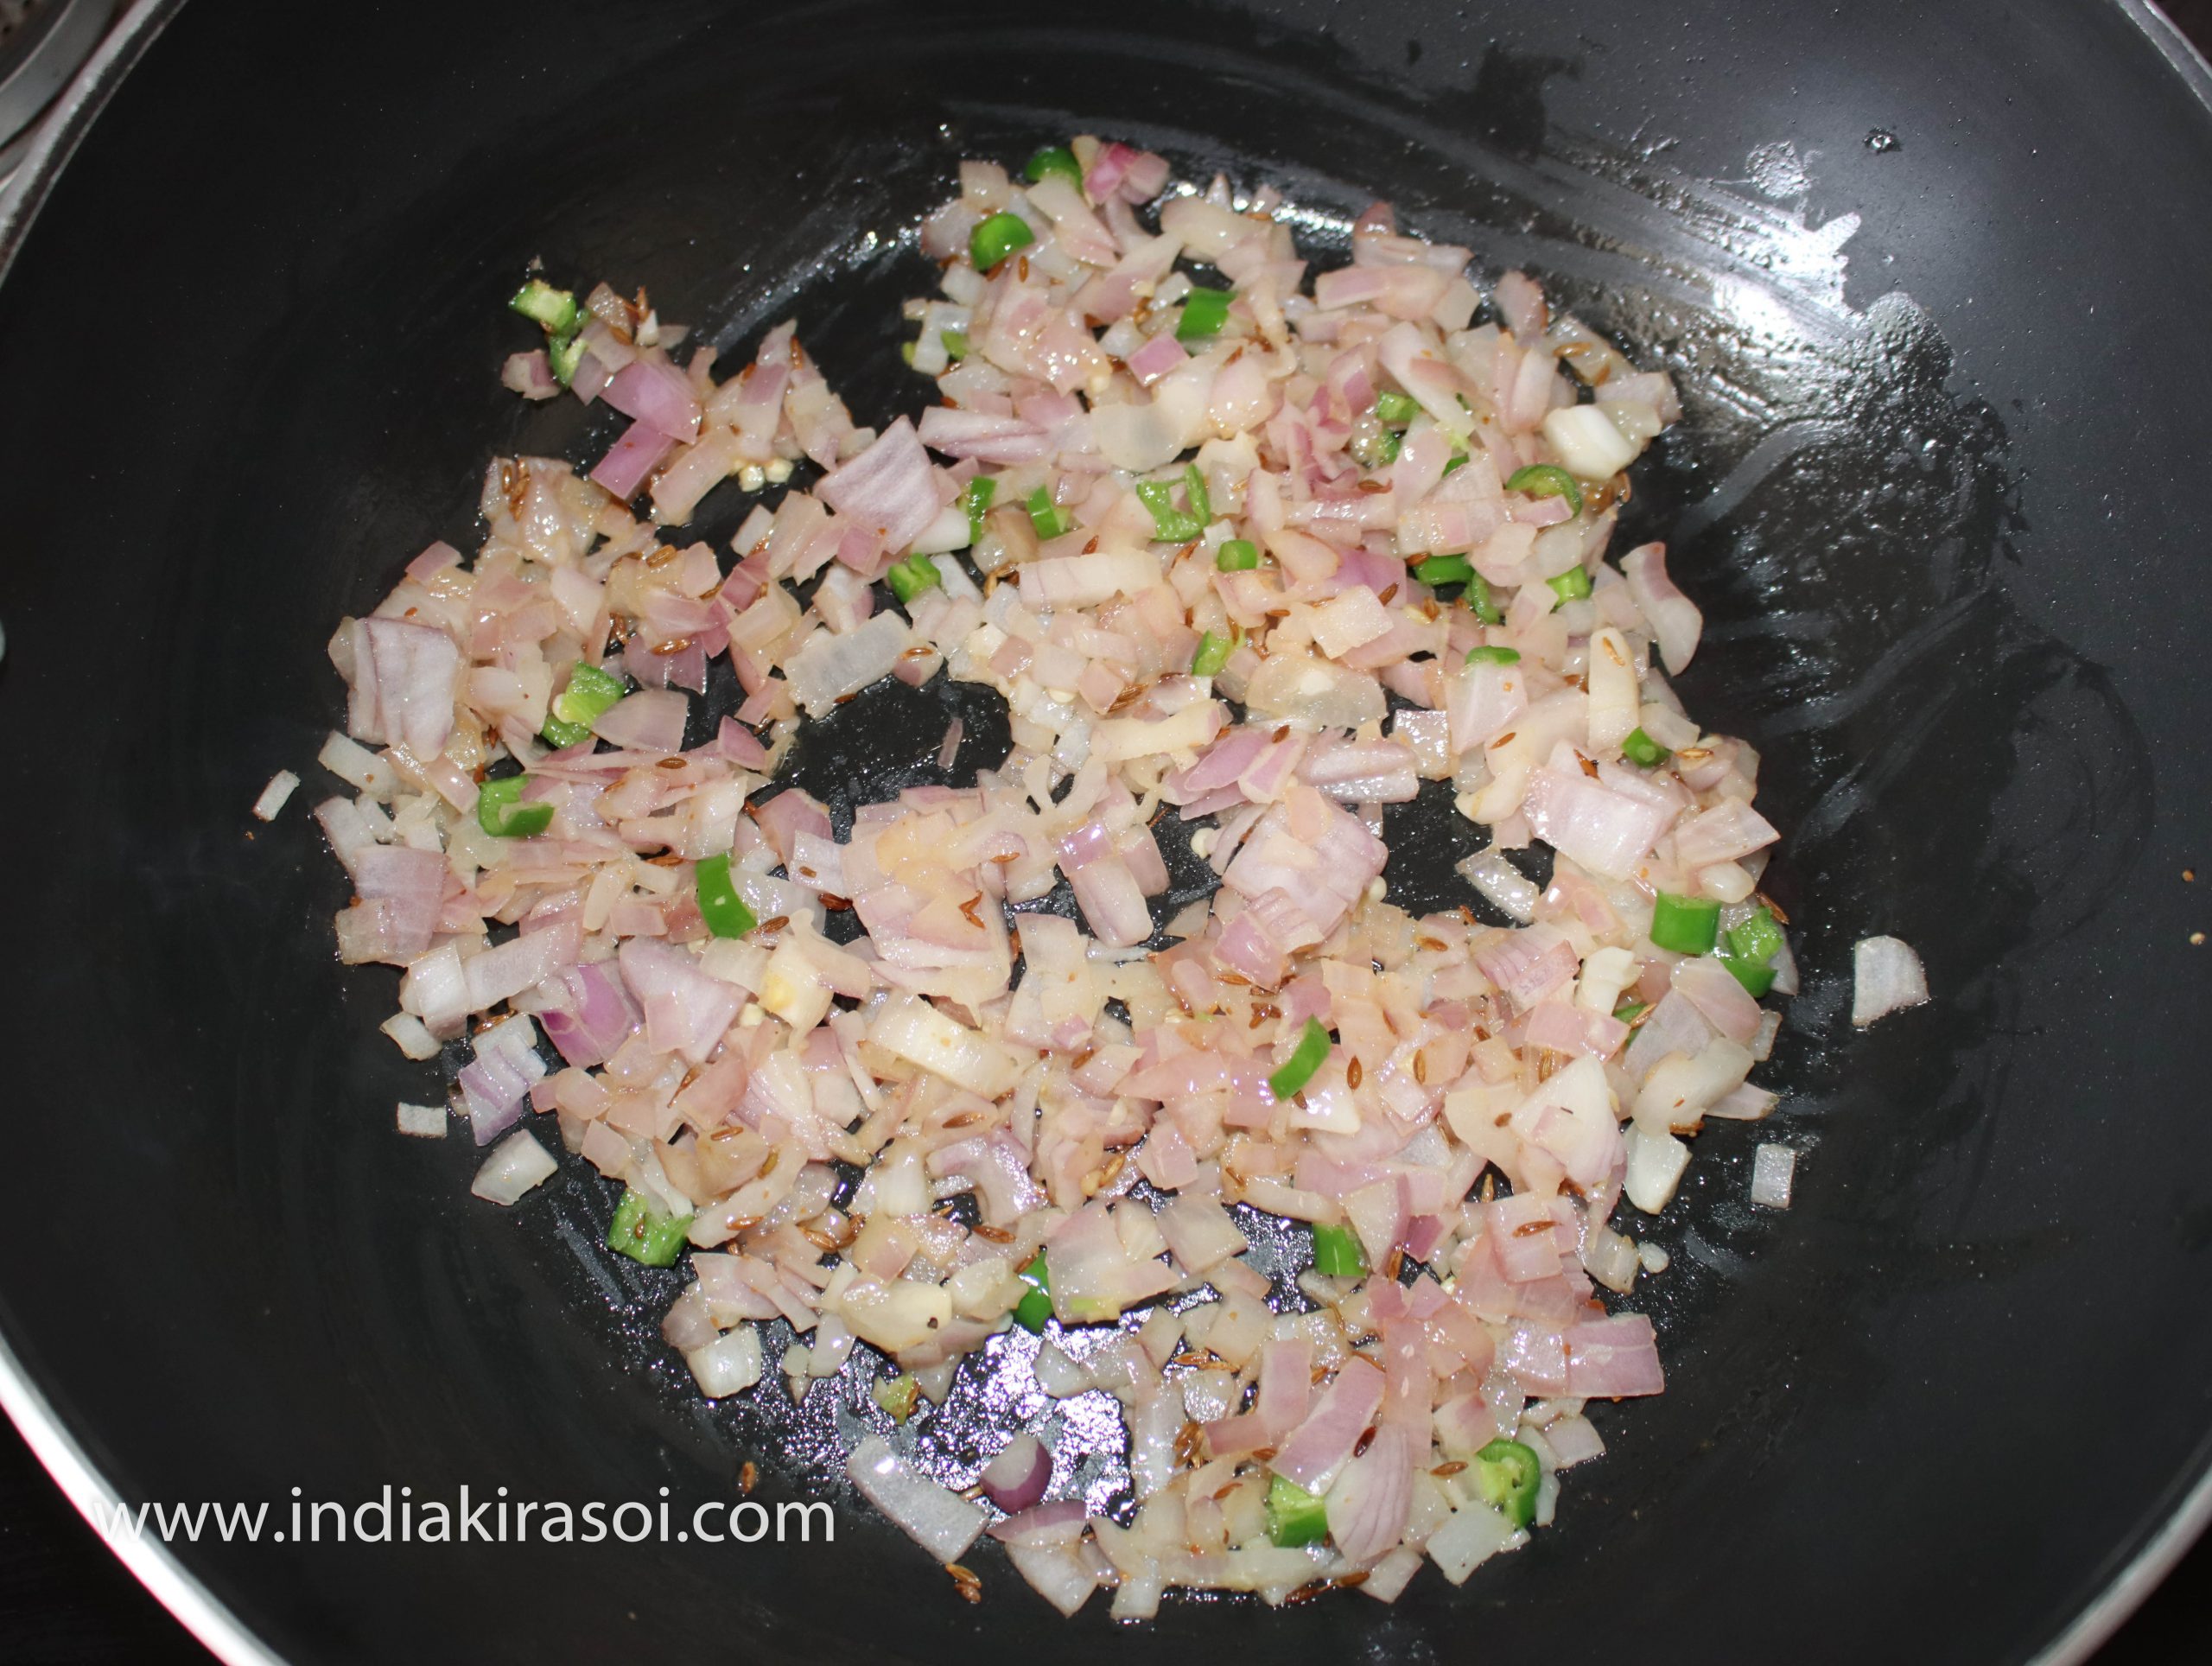
Fry the onion.
Fry the onion till it becomes light brown.
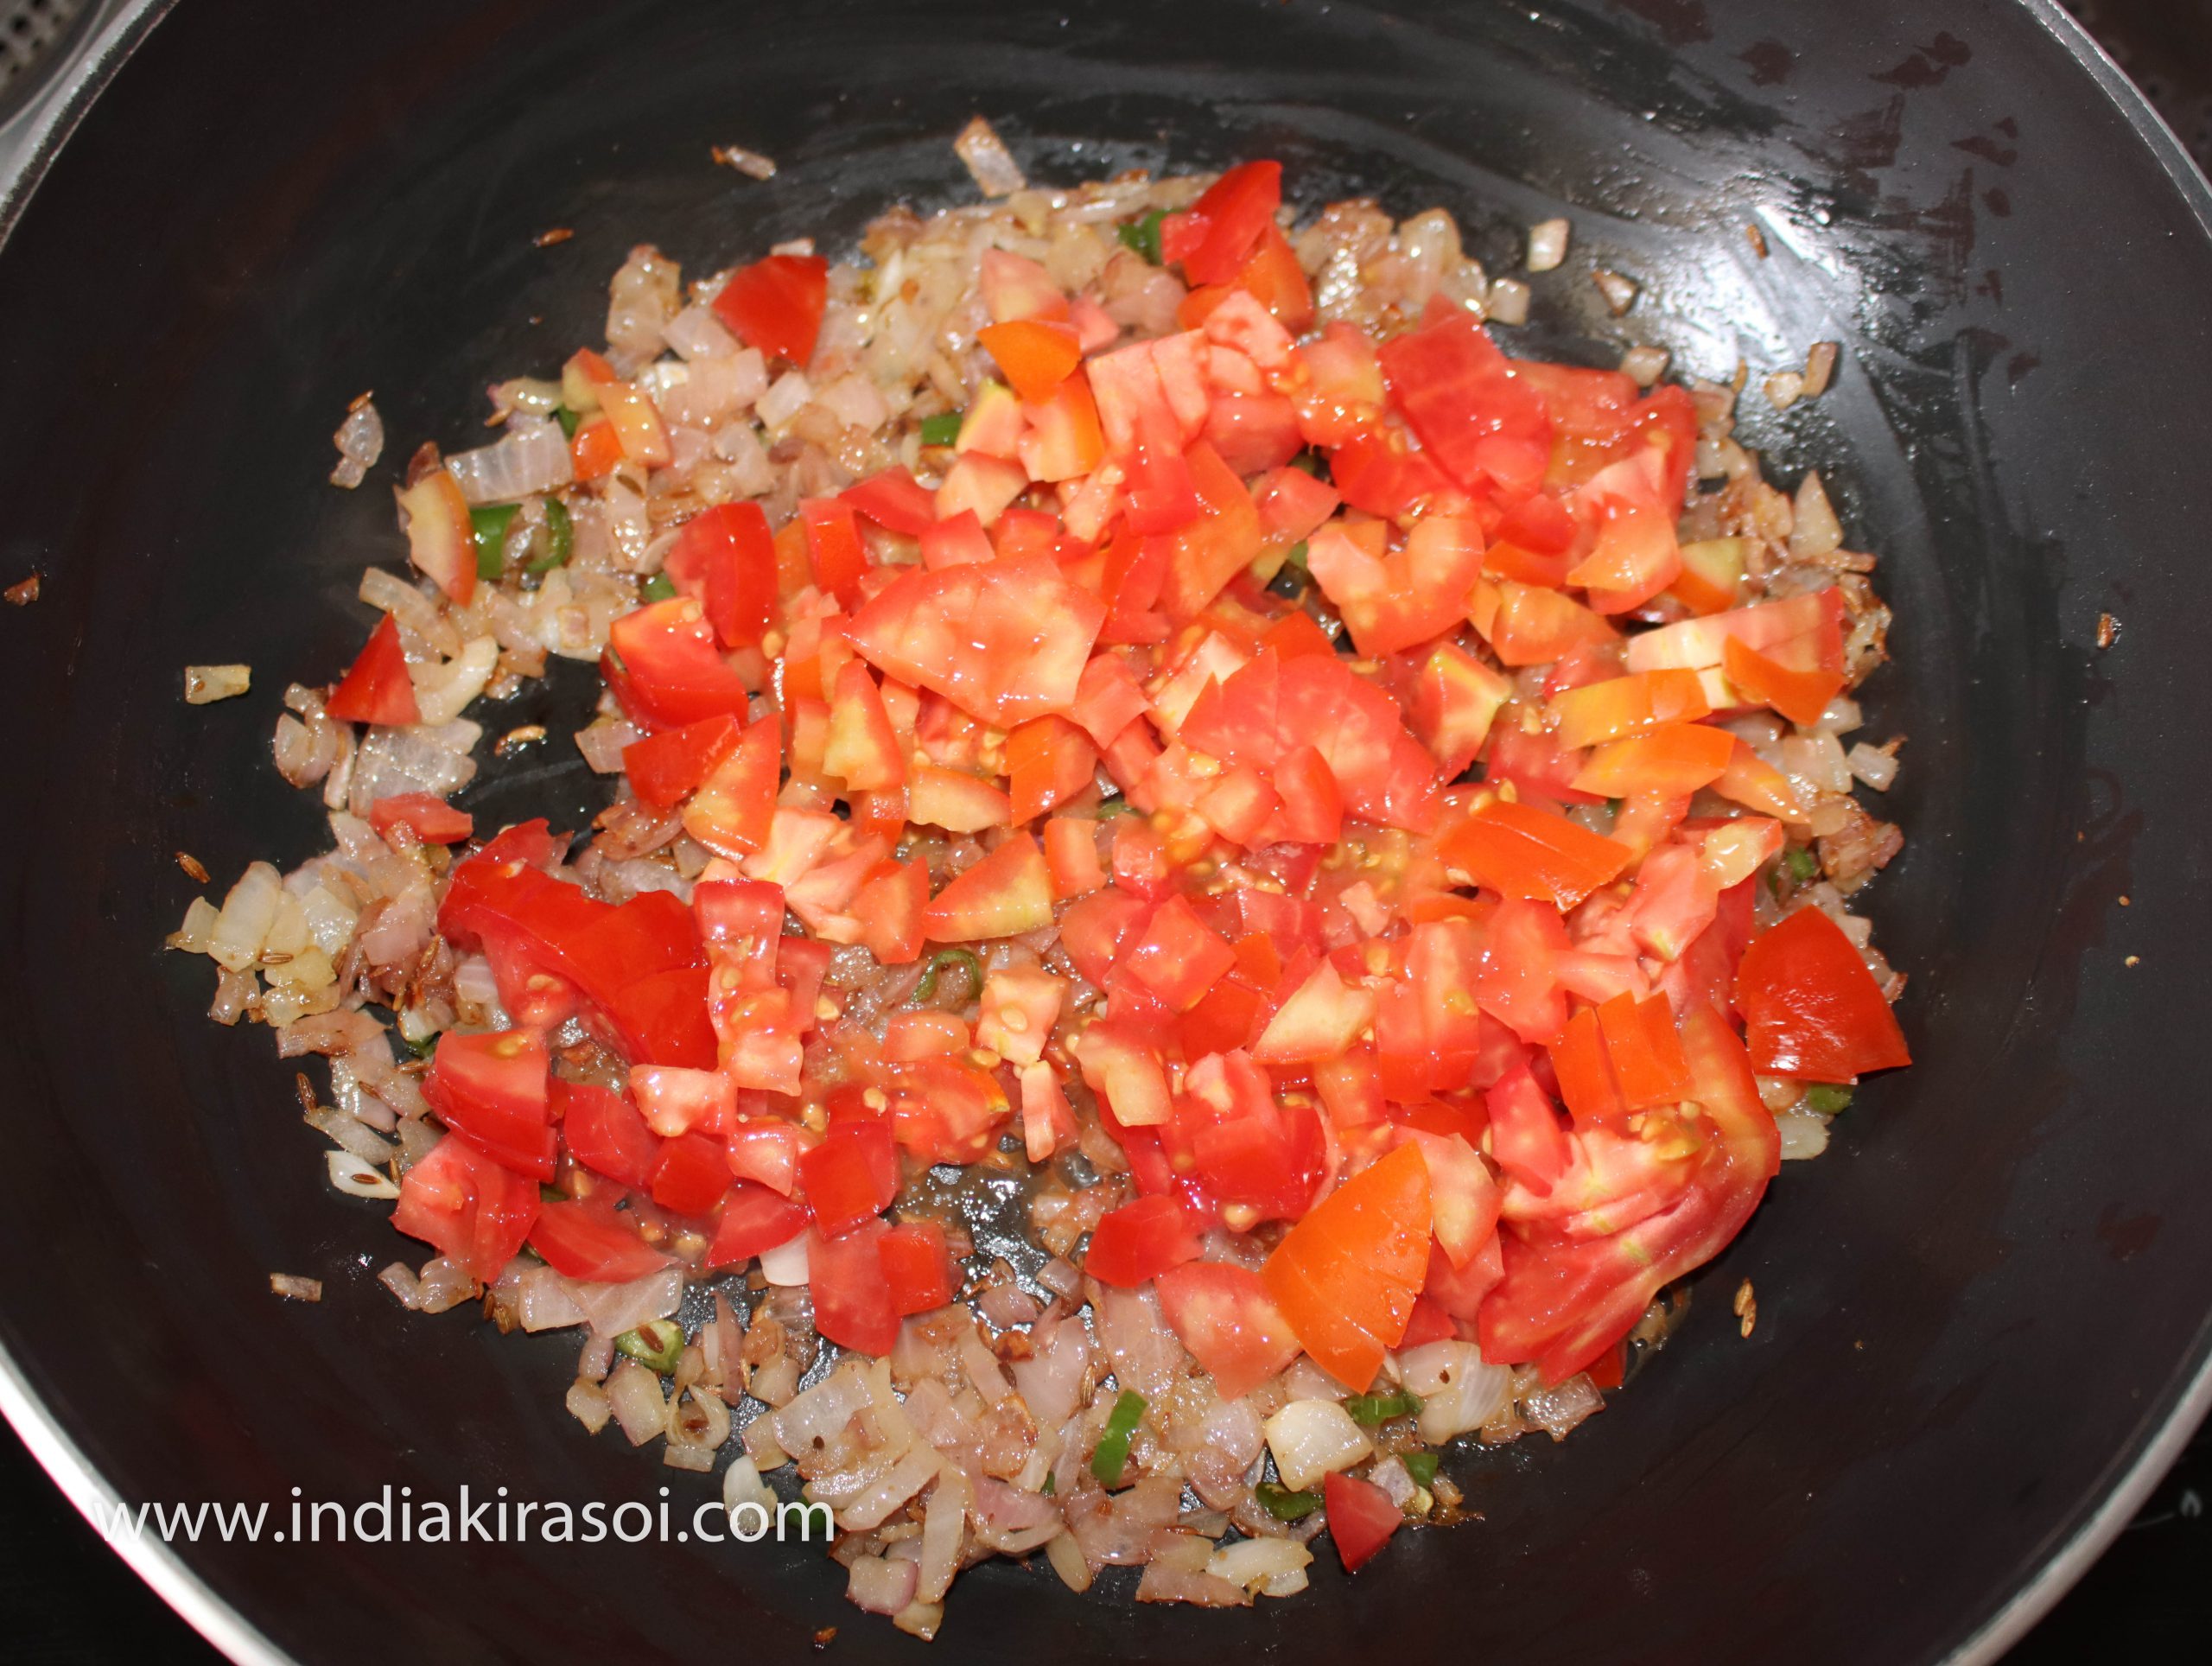
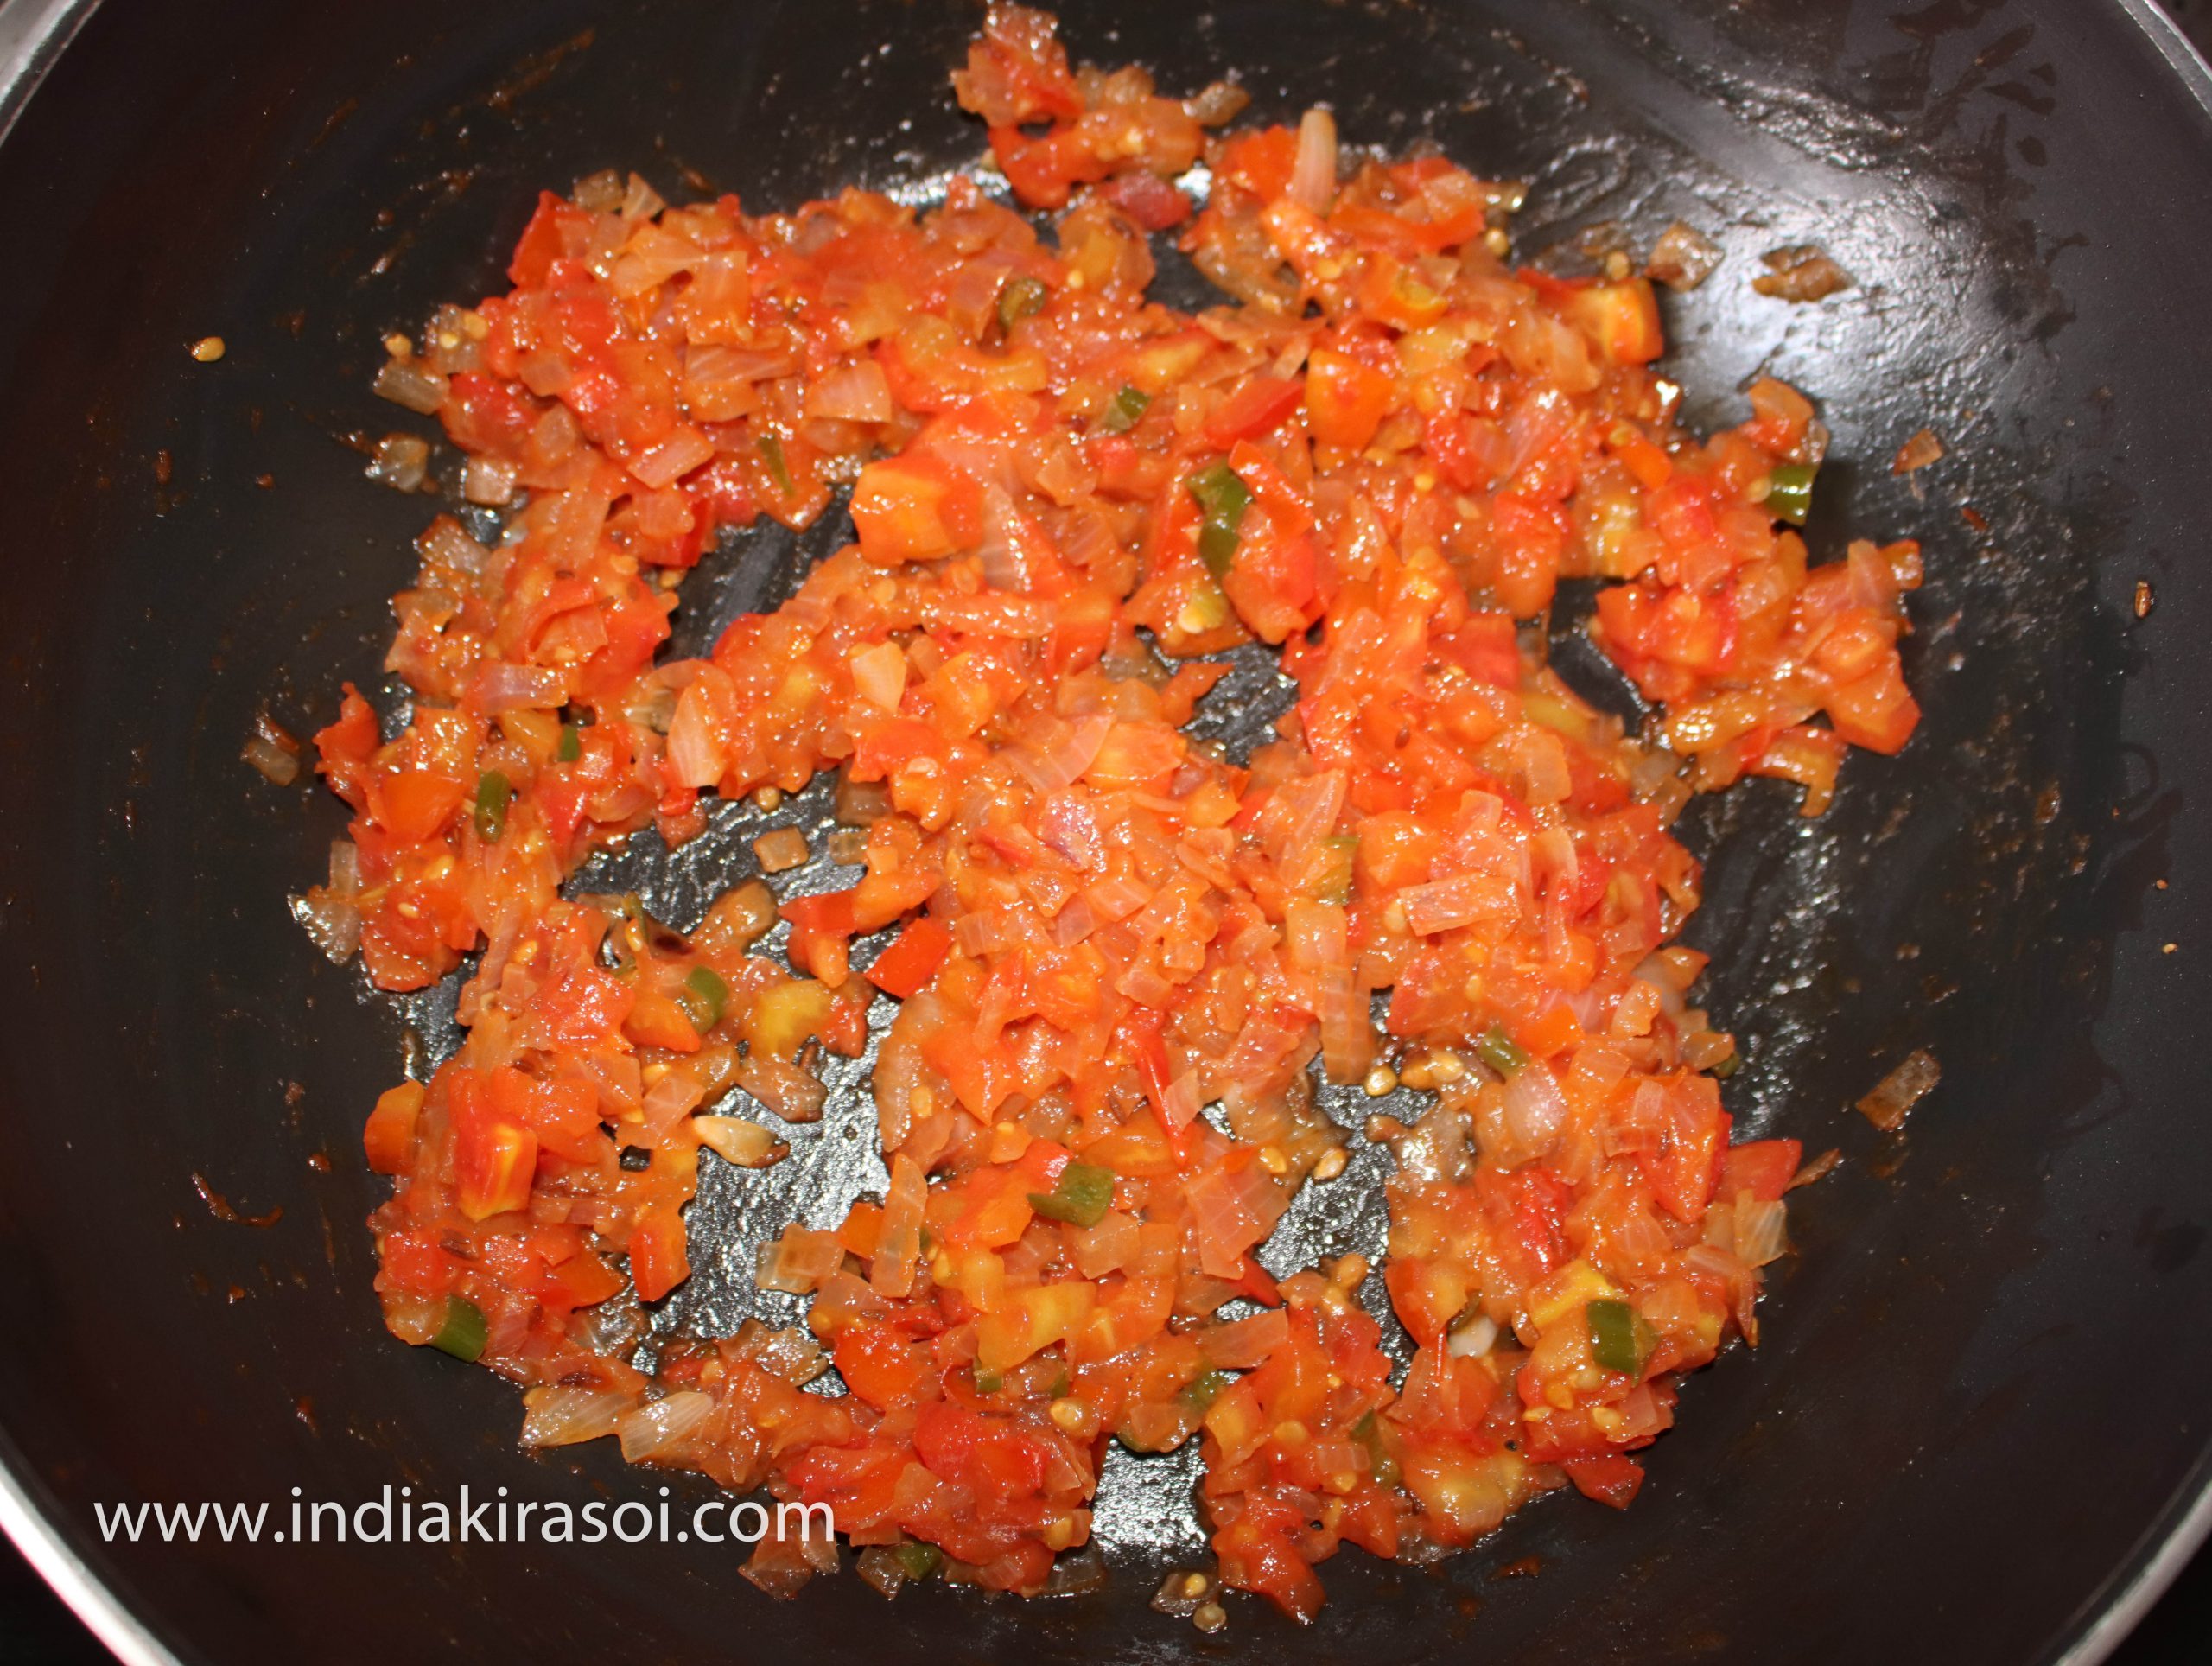
When the onion turns light brown, add chopped tomatoes.
Mix the tomatoes well with the onion.
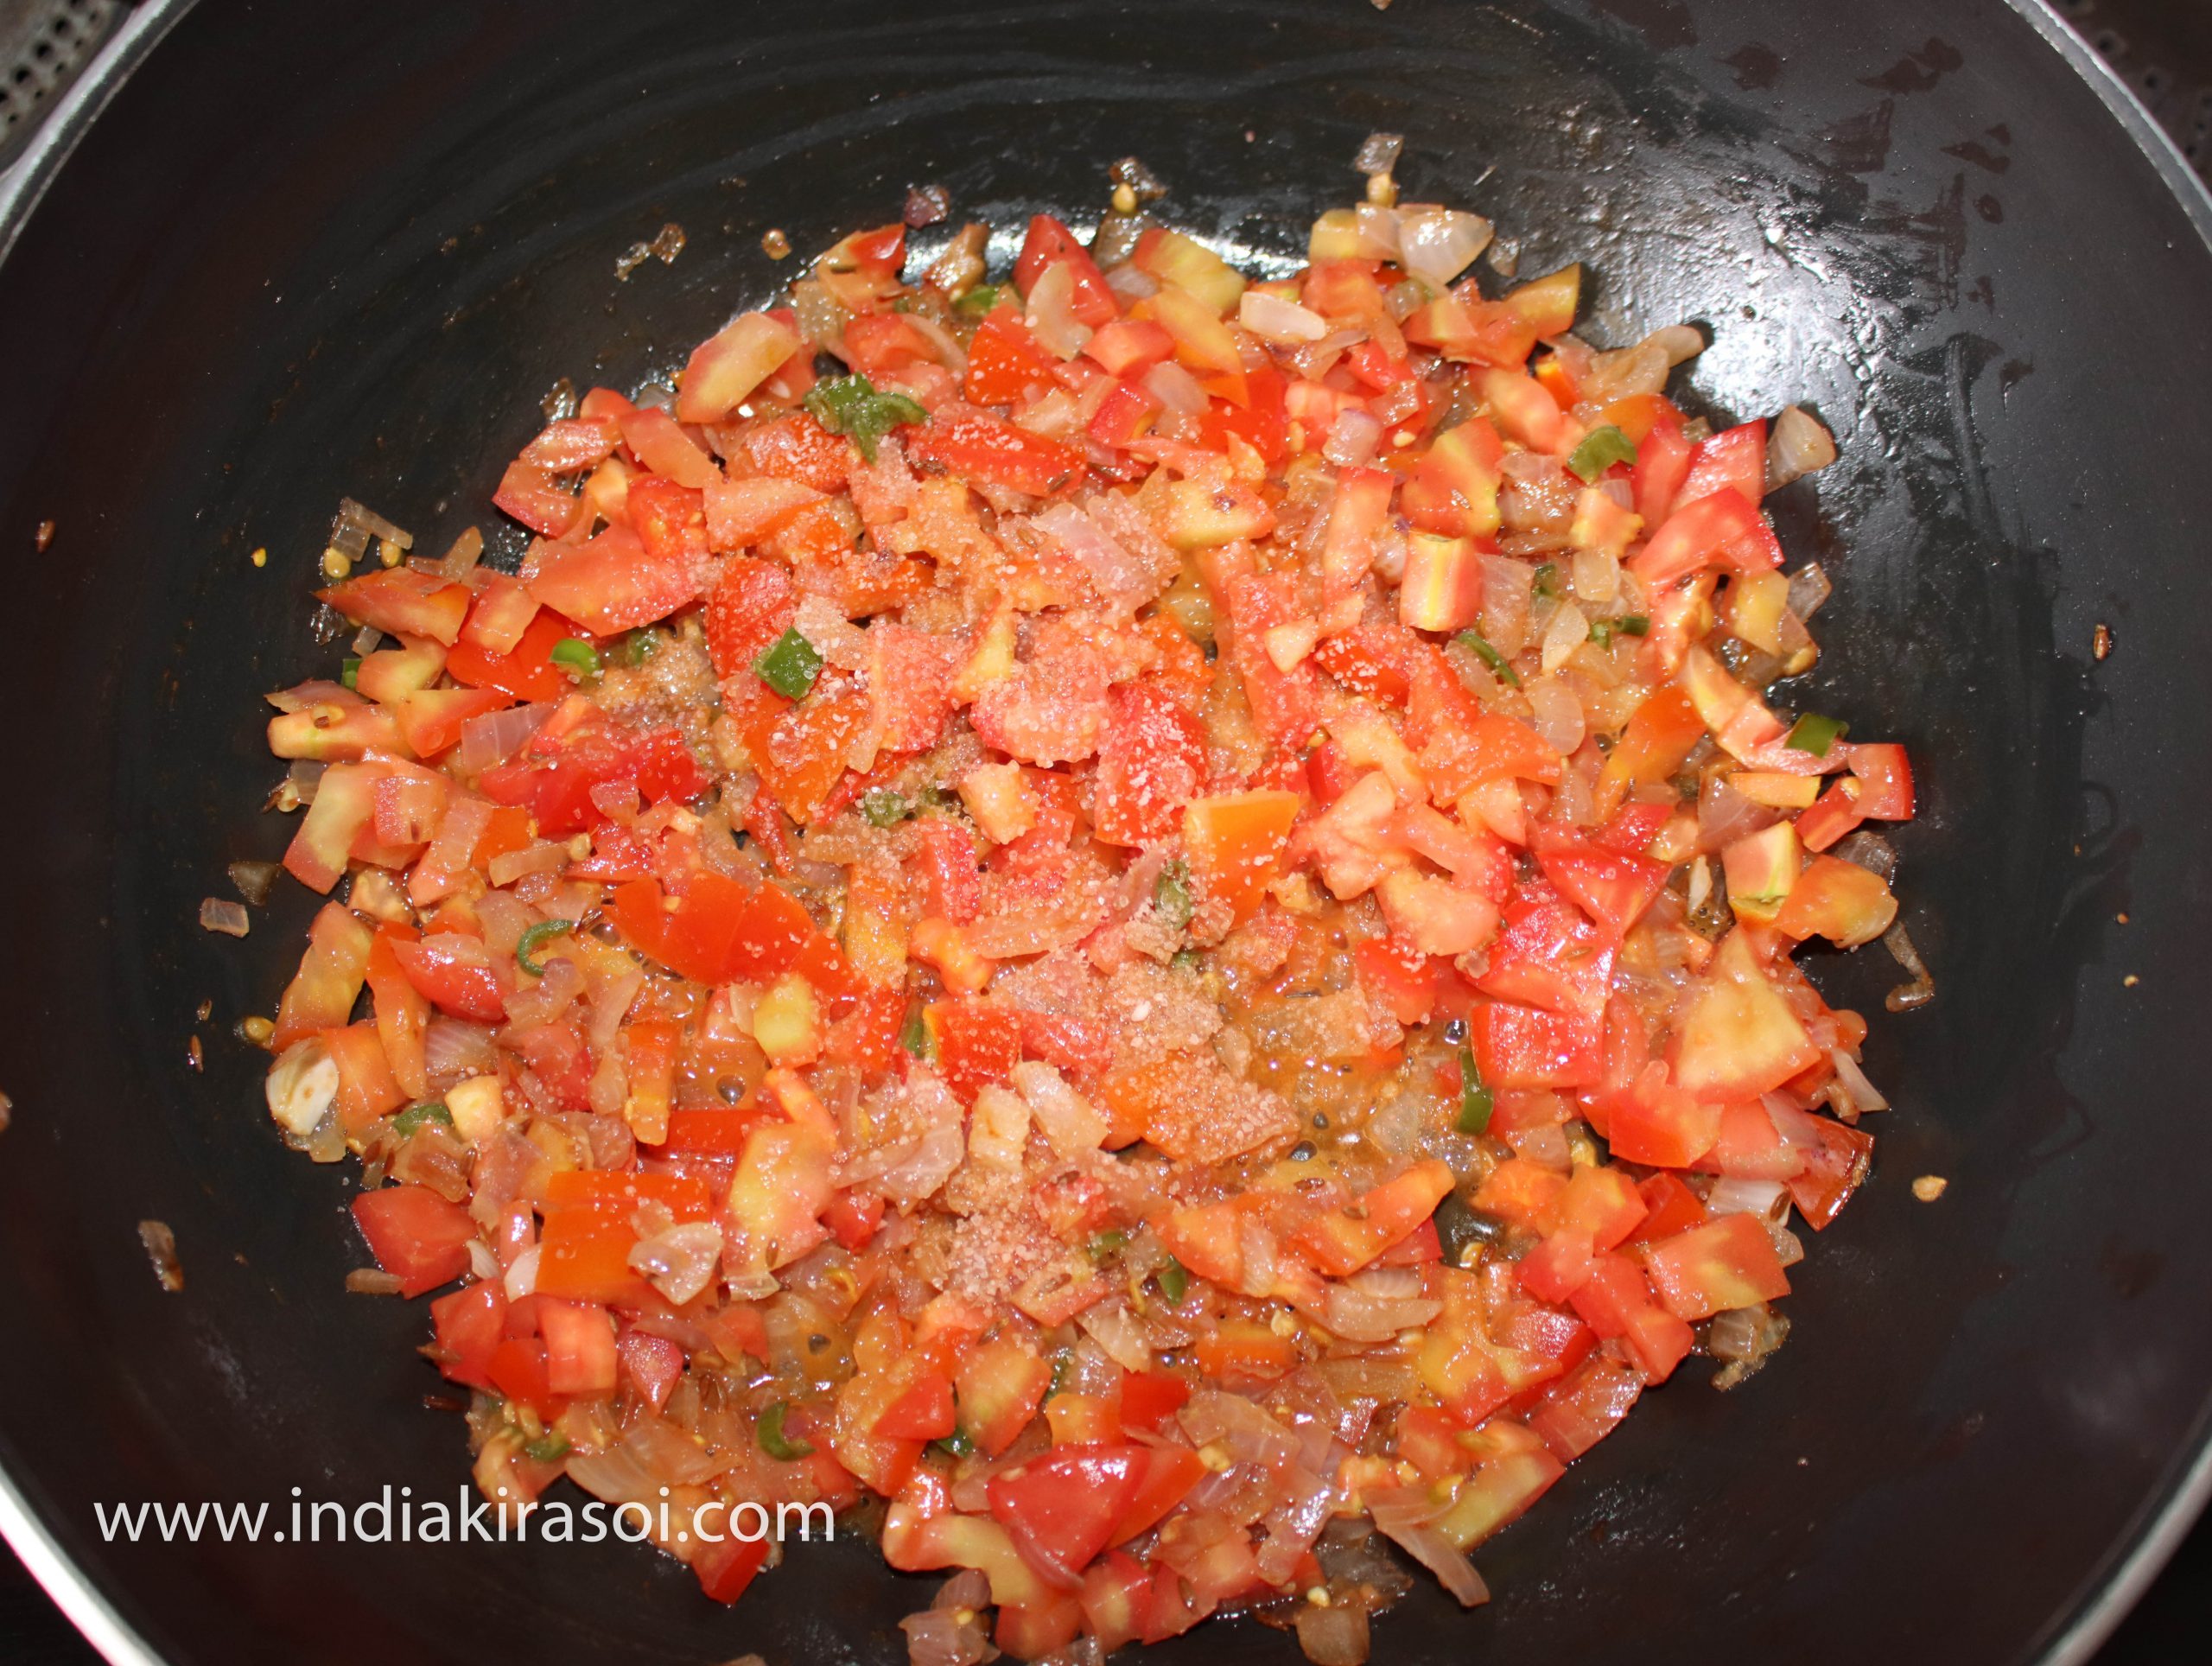
Add salt to the tomatoes as per taste.
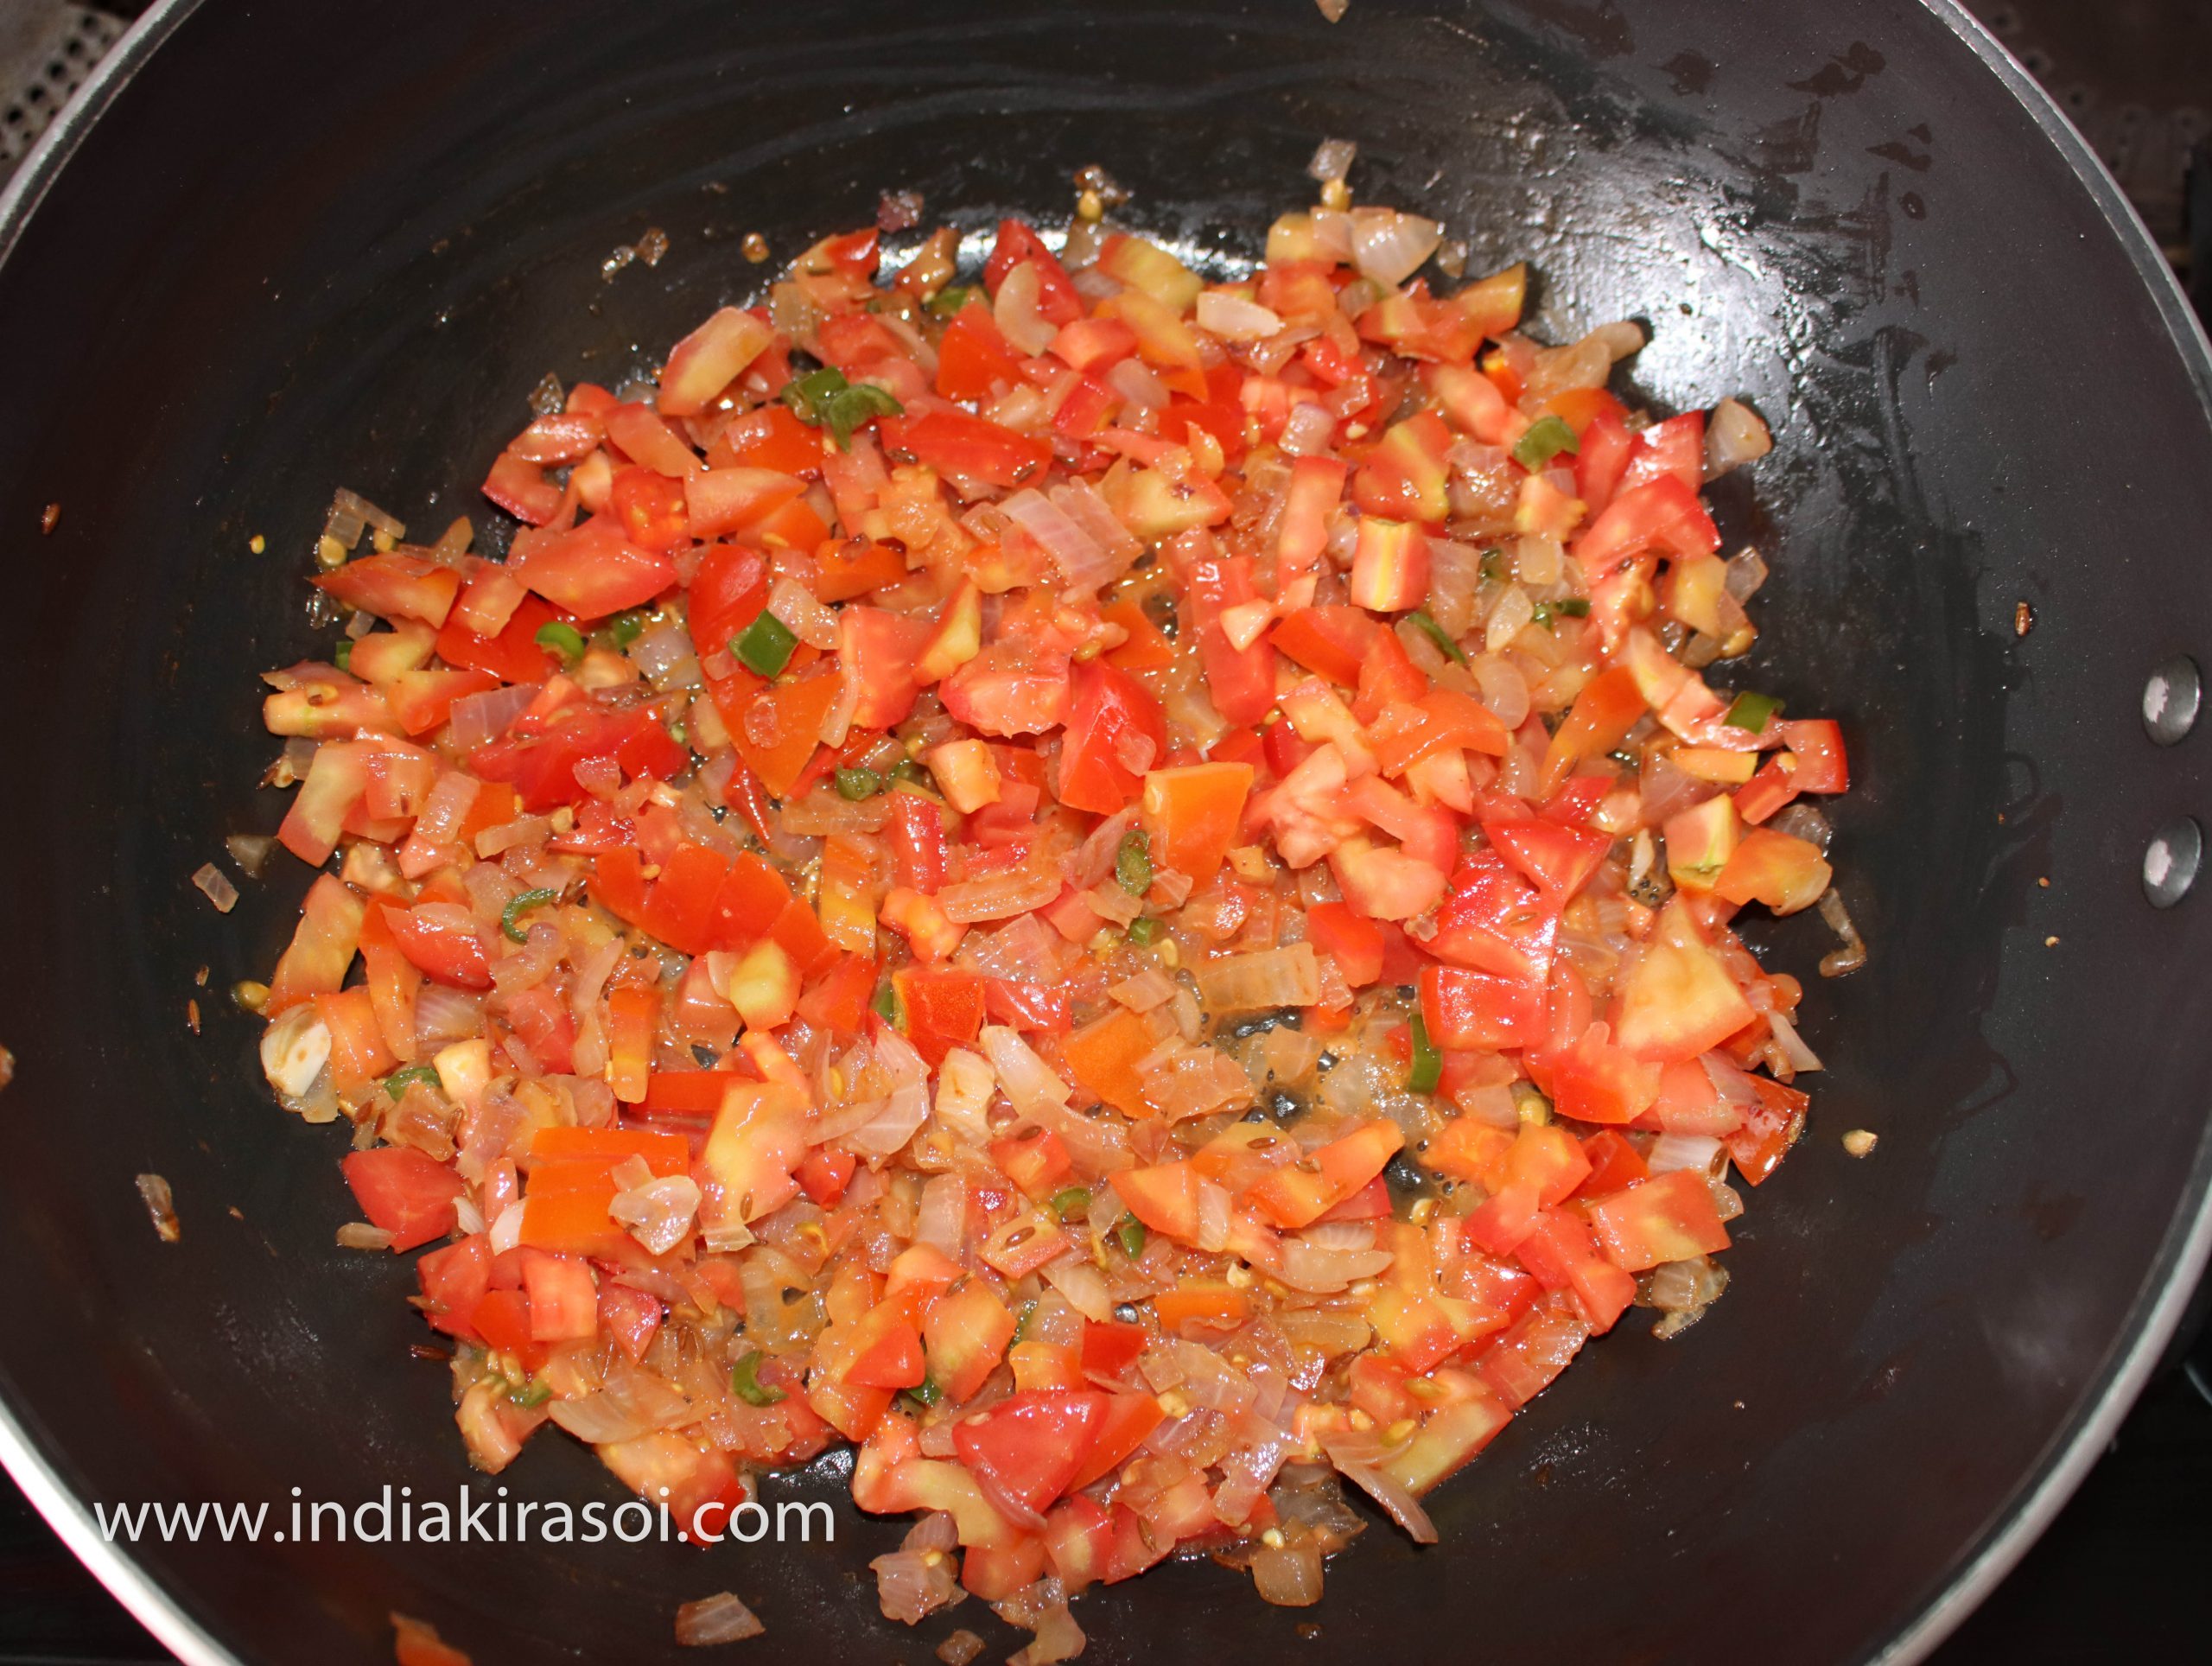
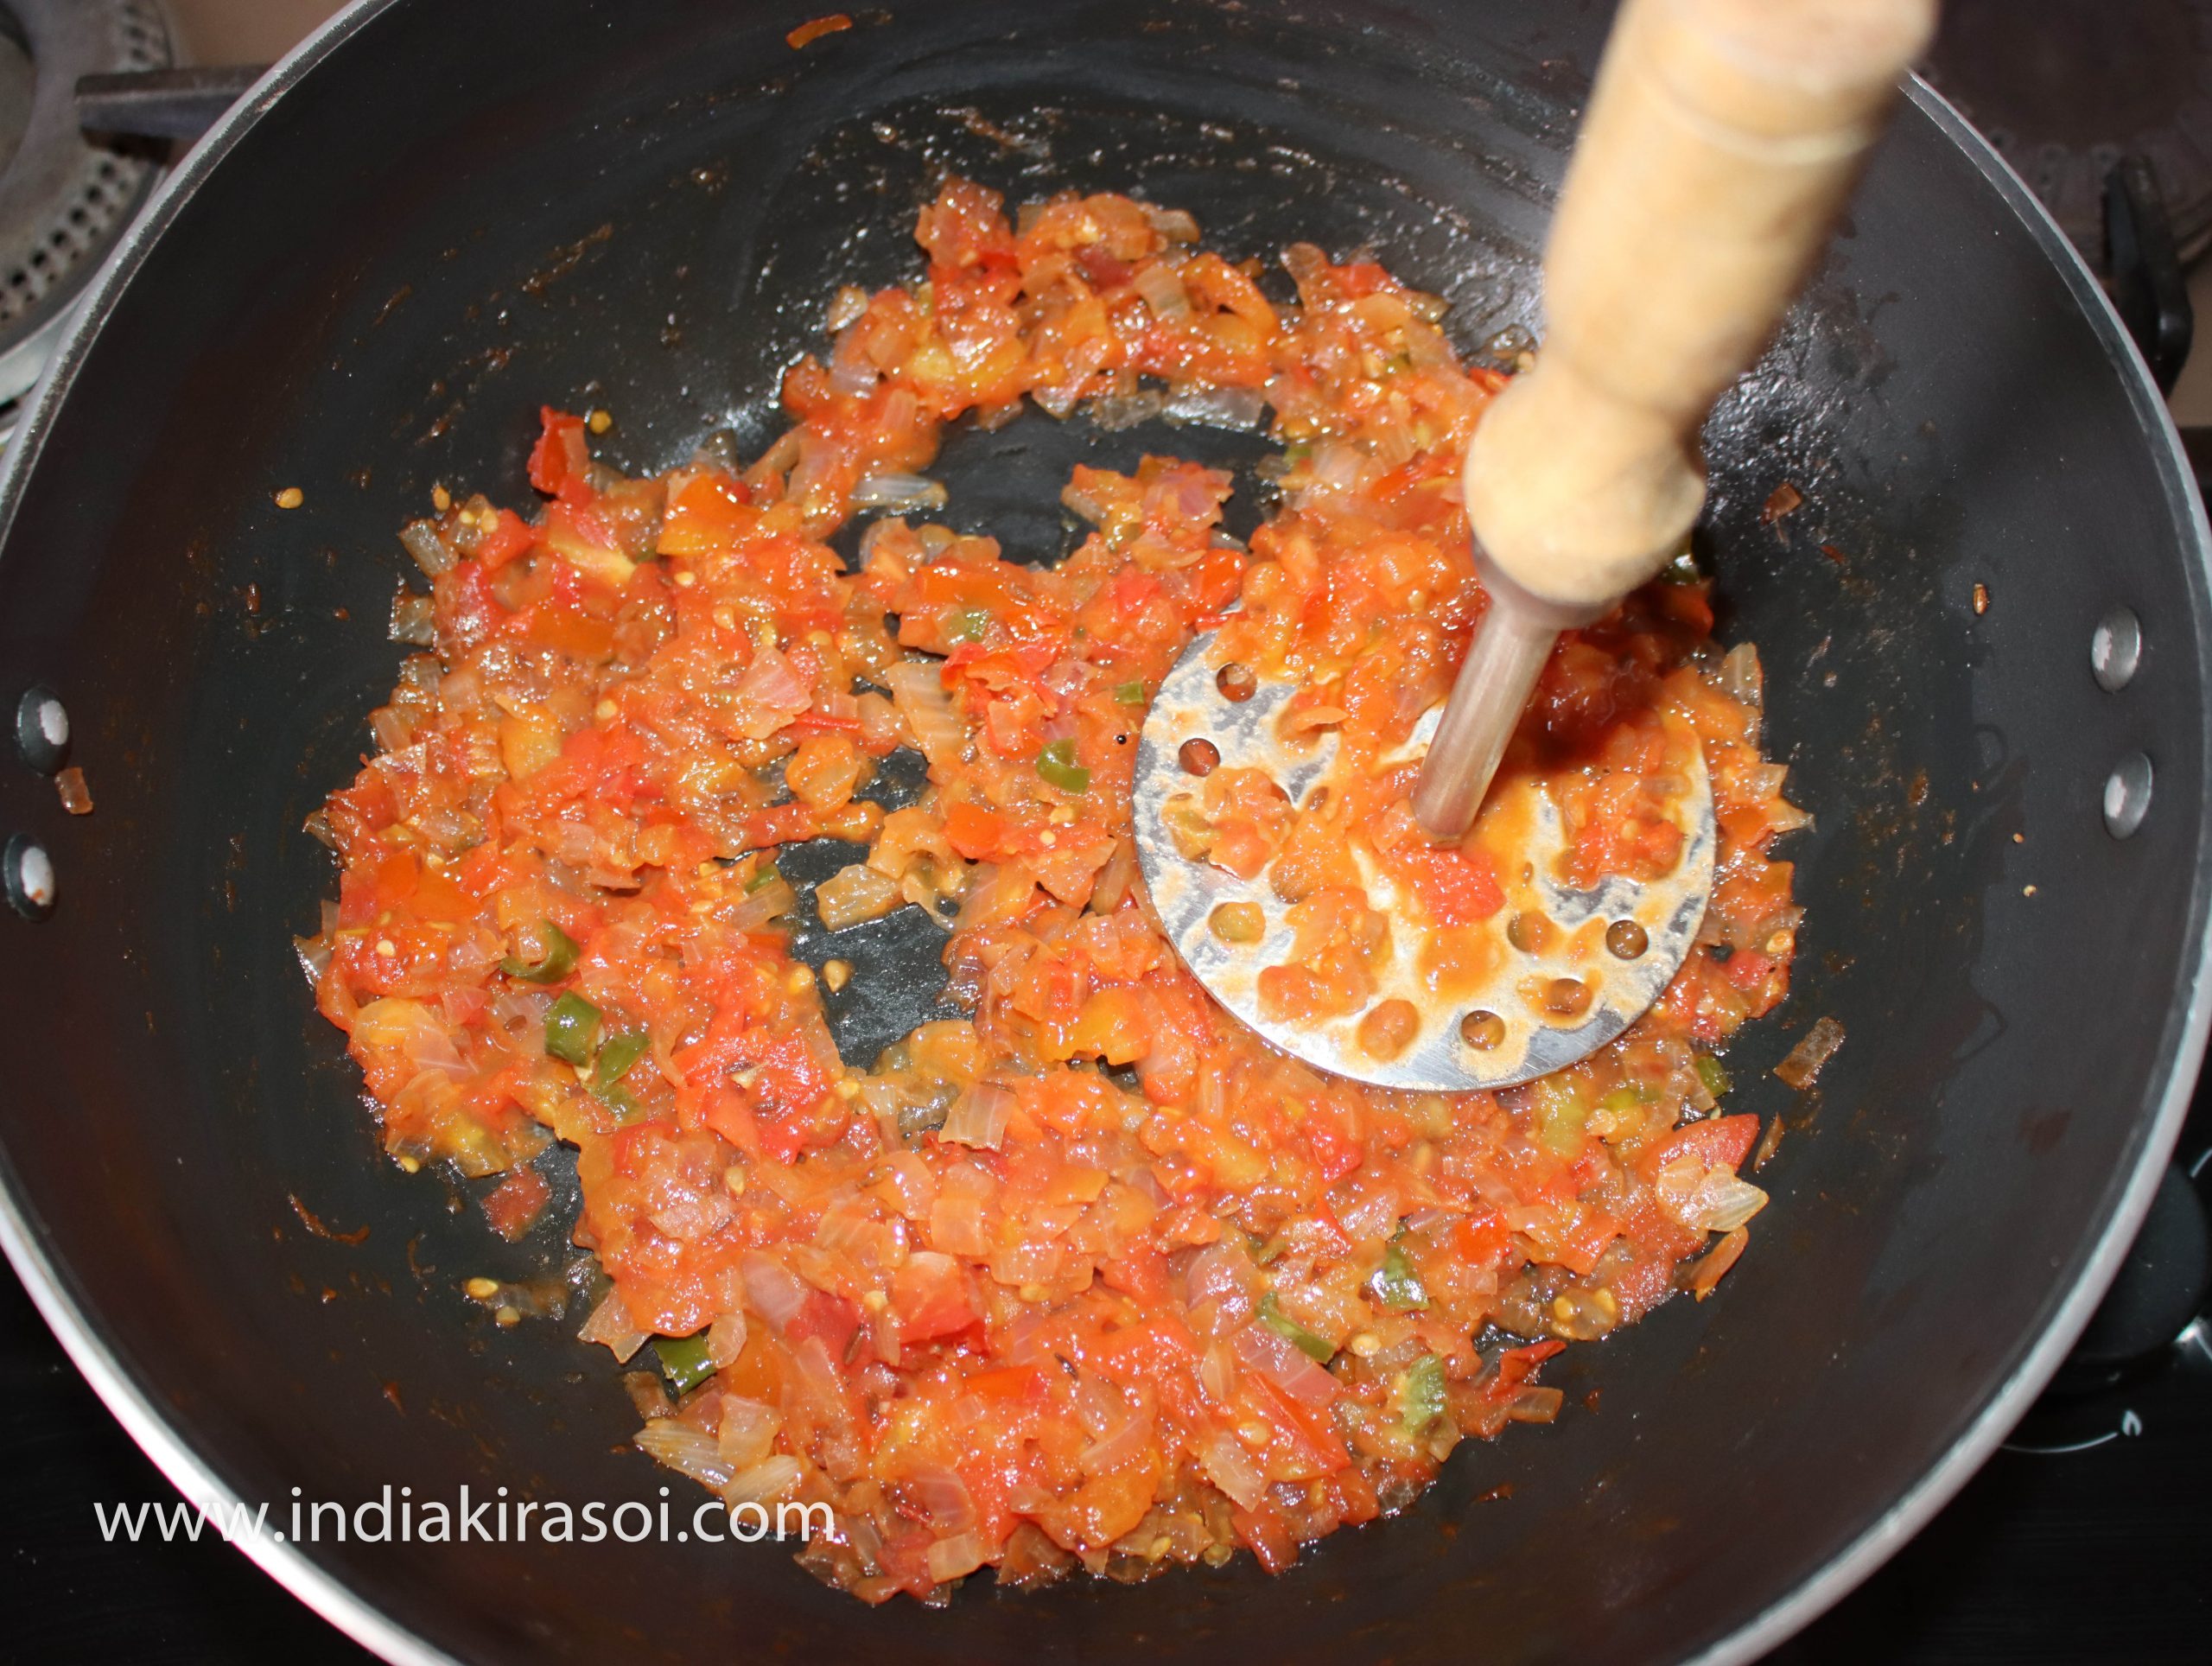
Cook tomatoes.
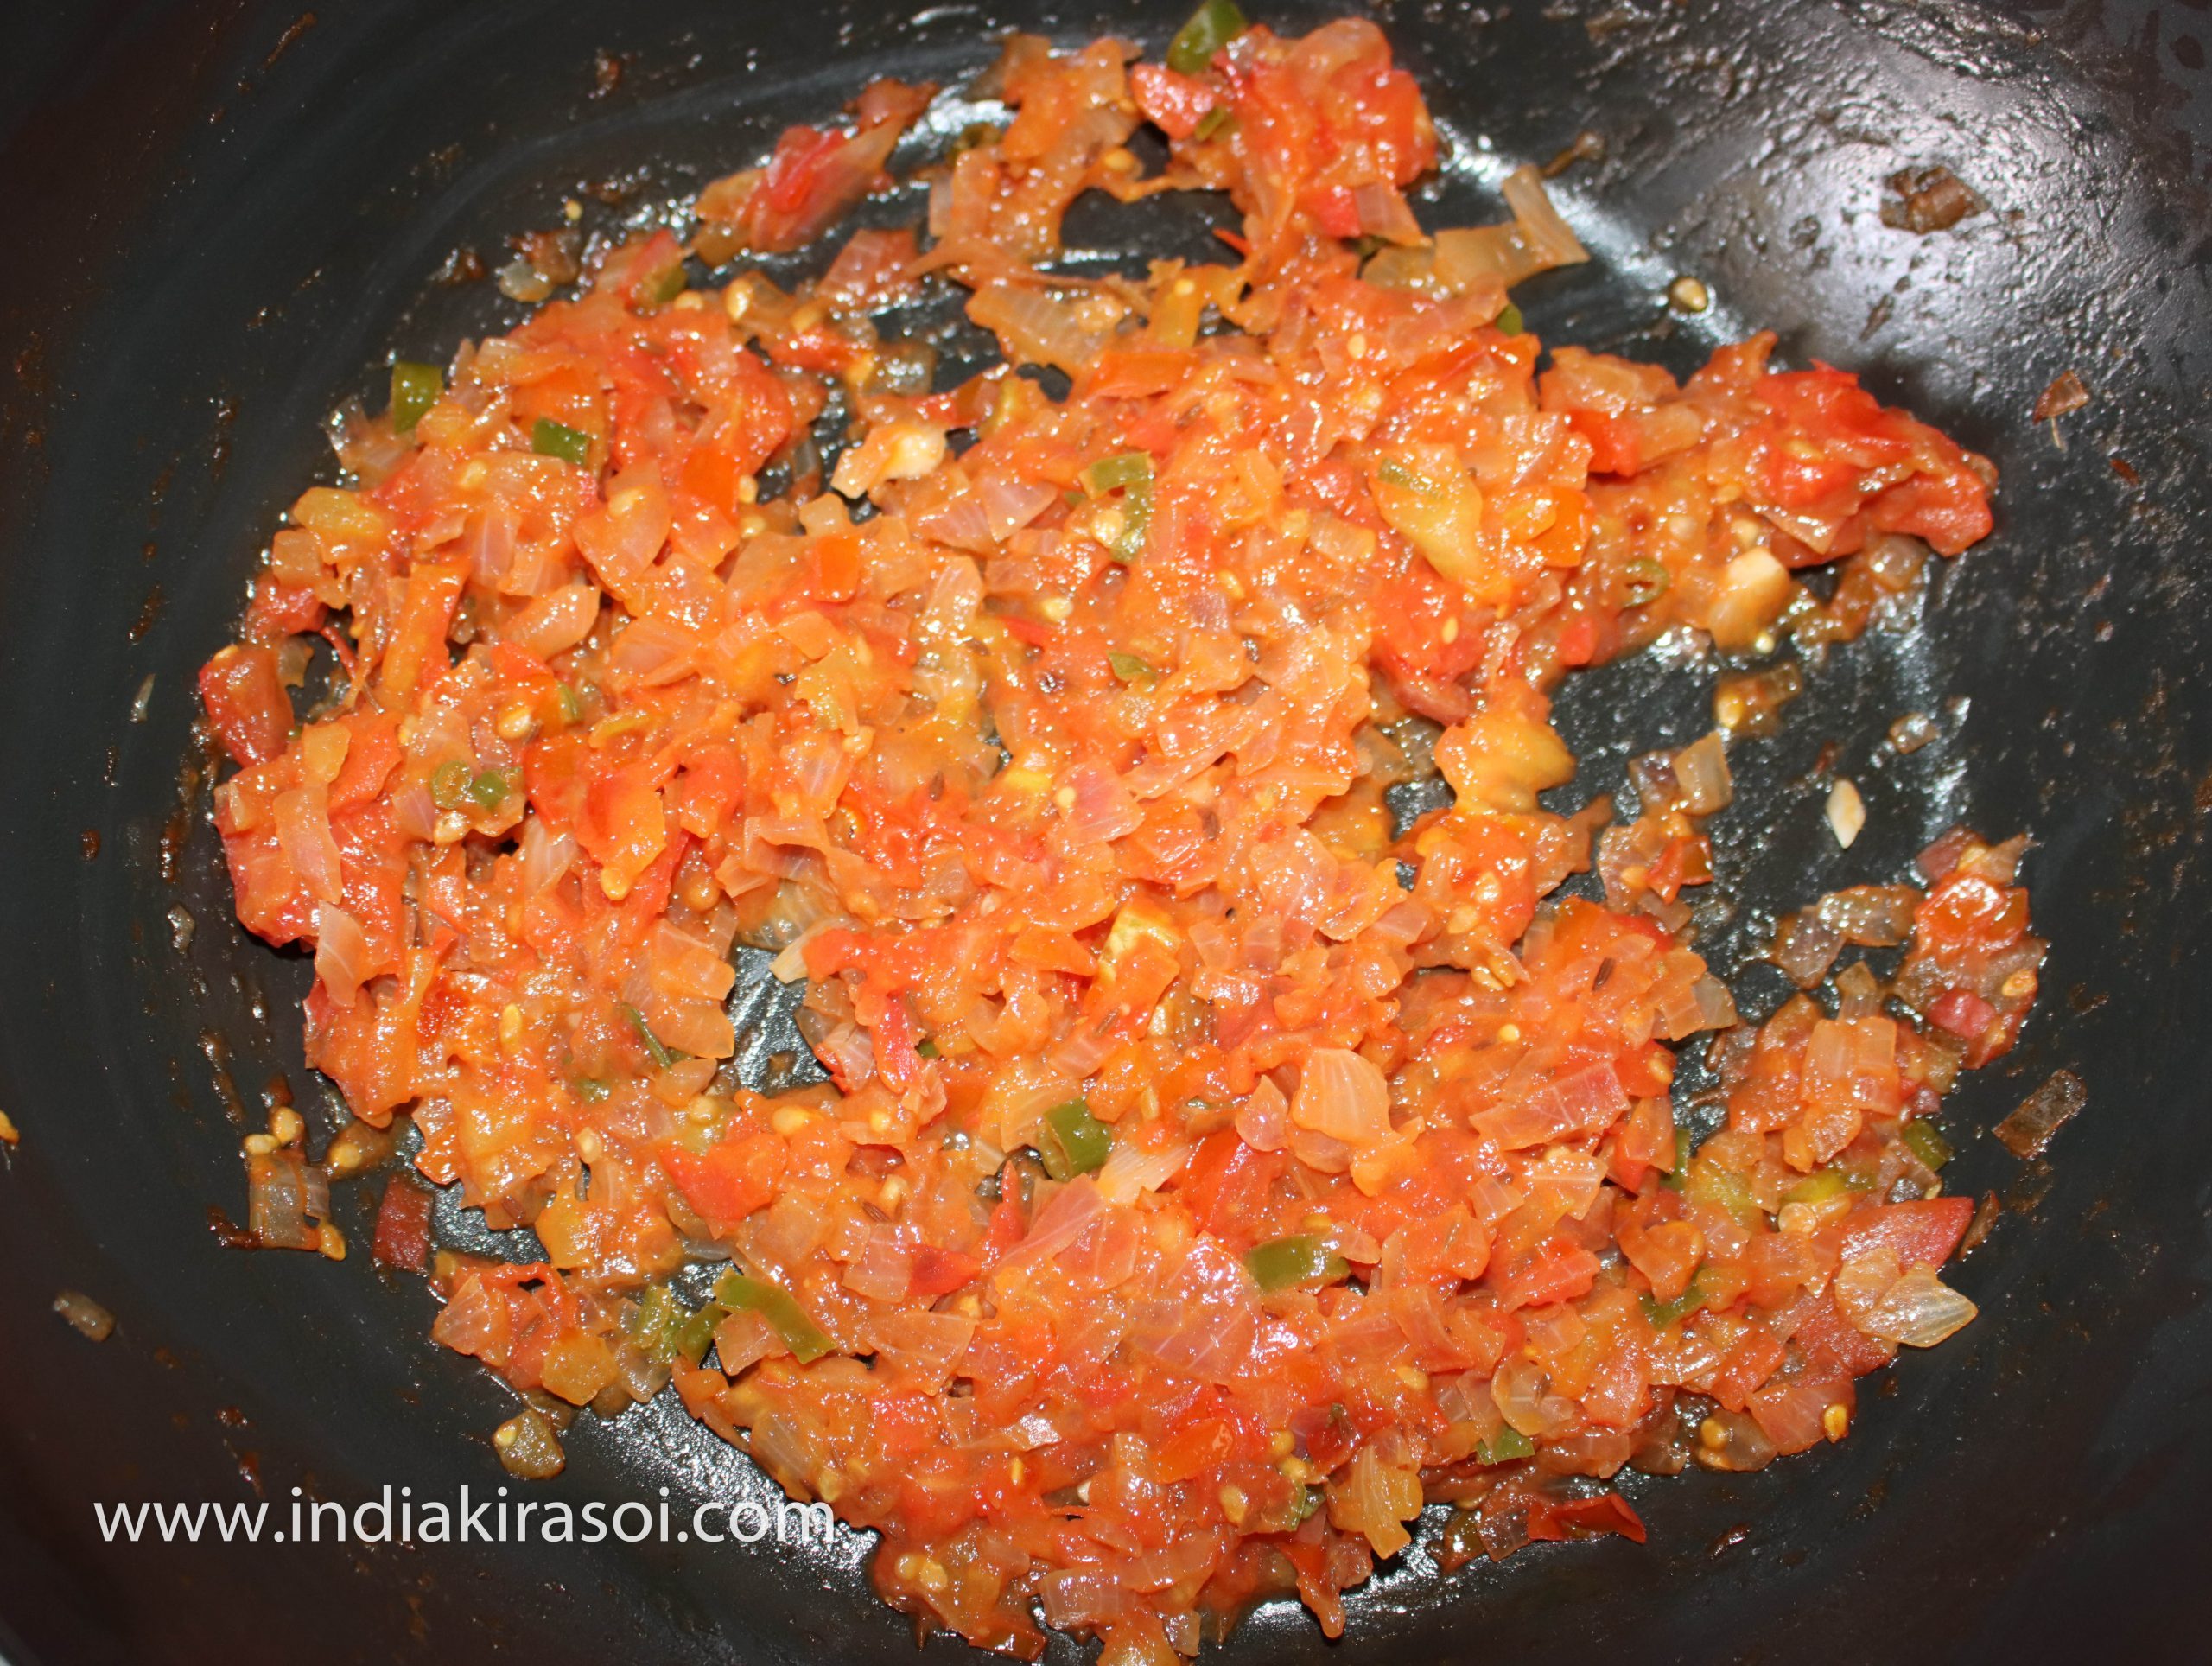
Cook the tomatoes by mashing them well.
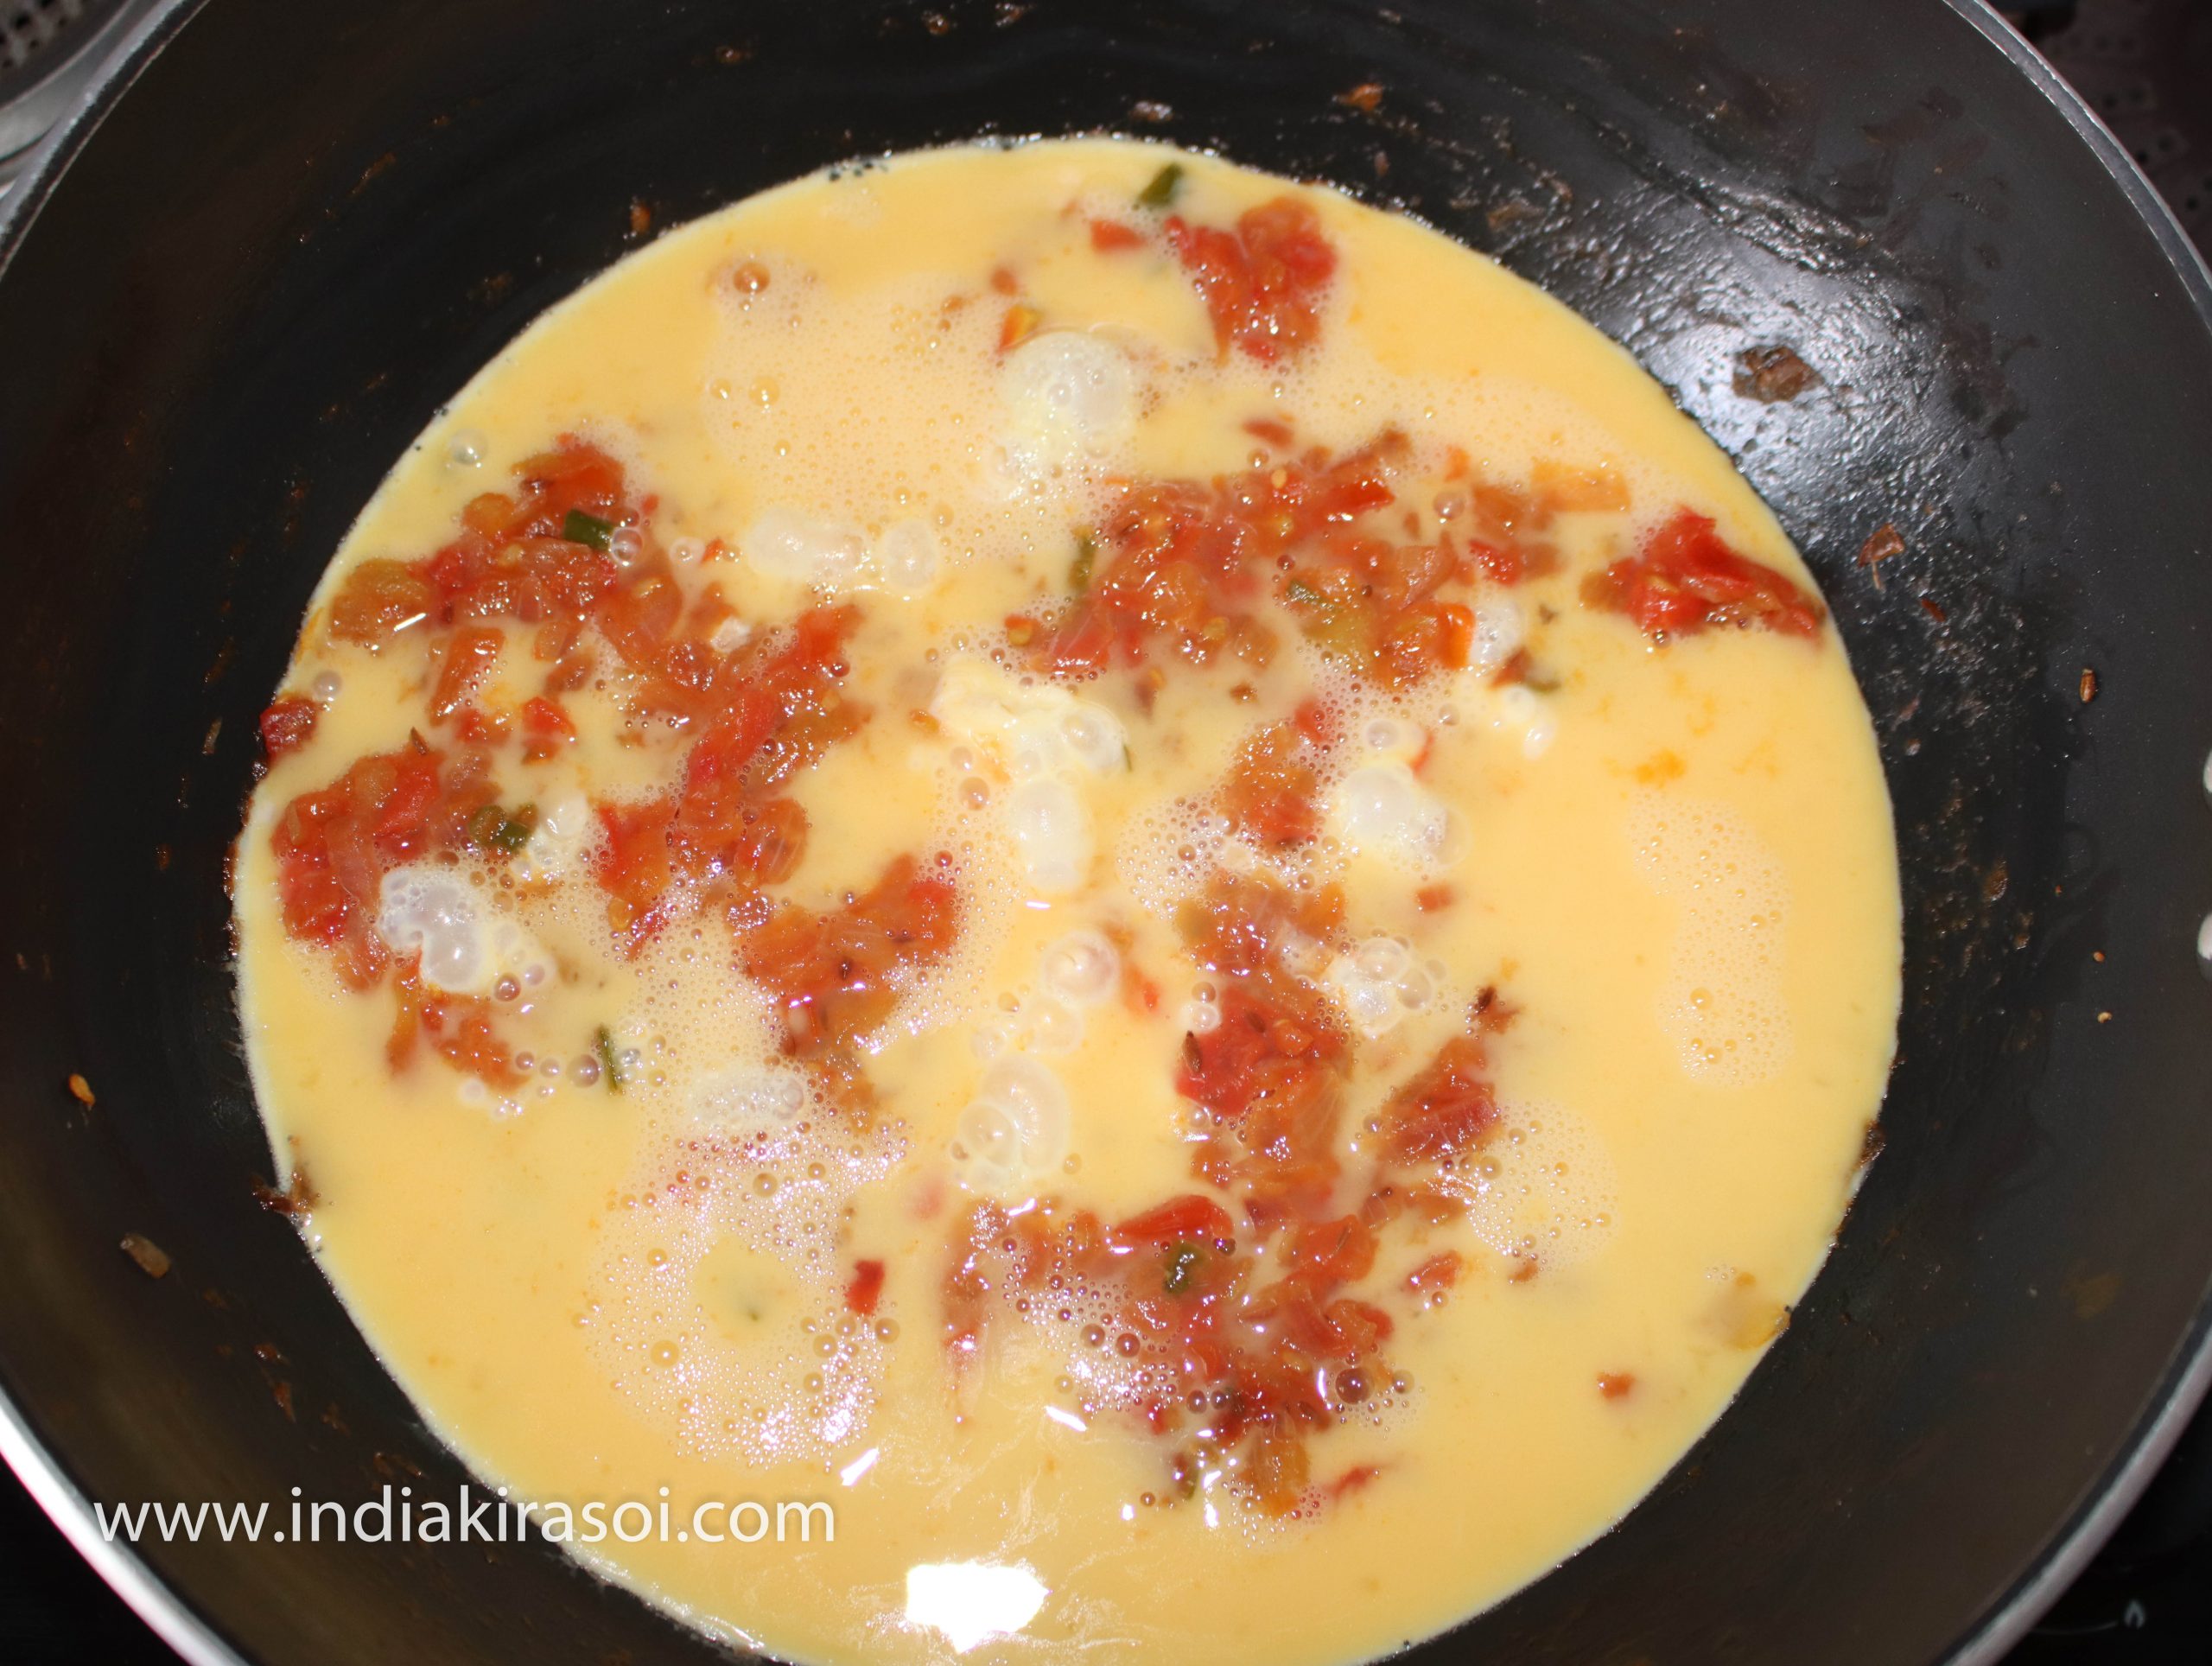
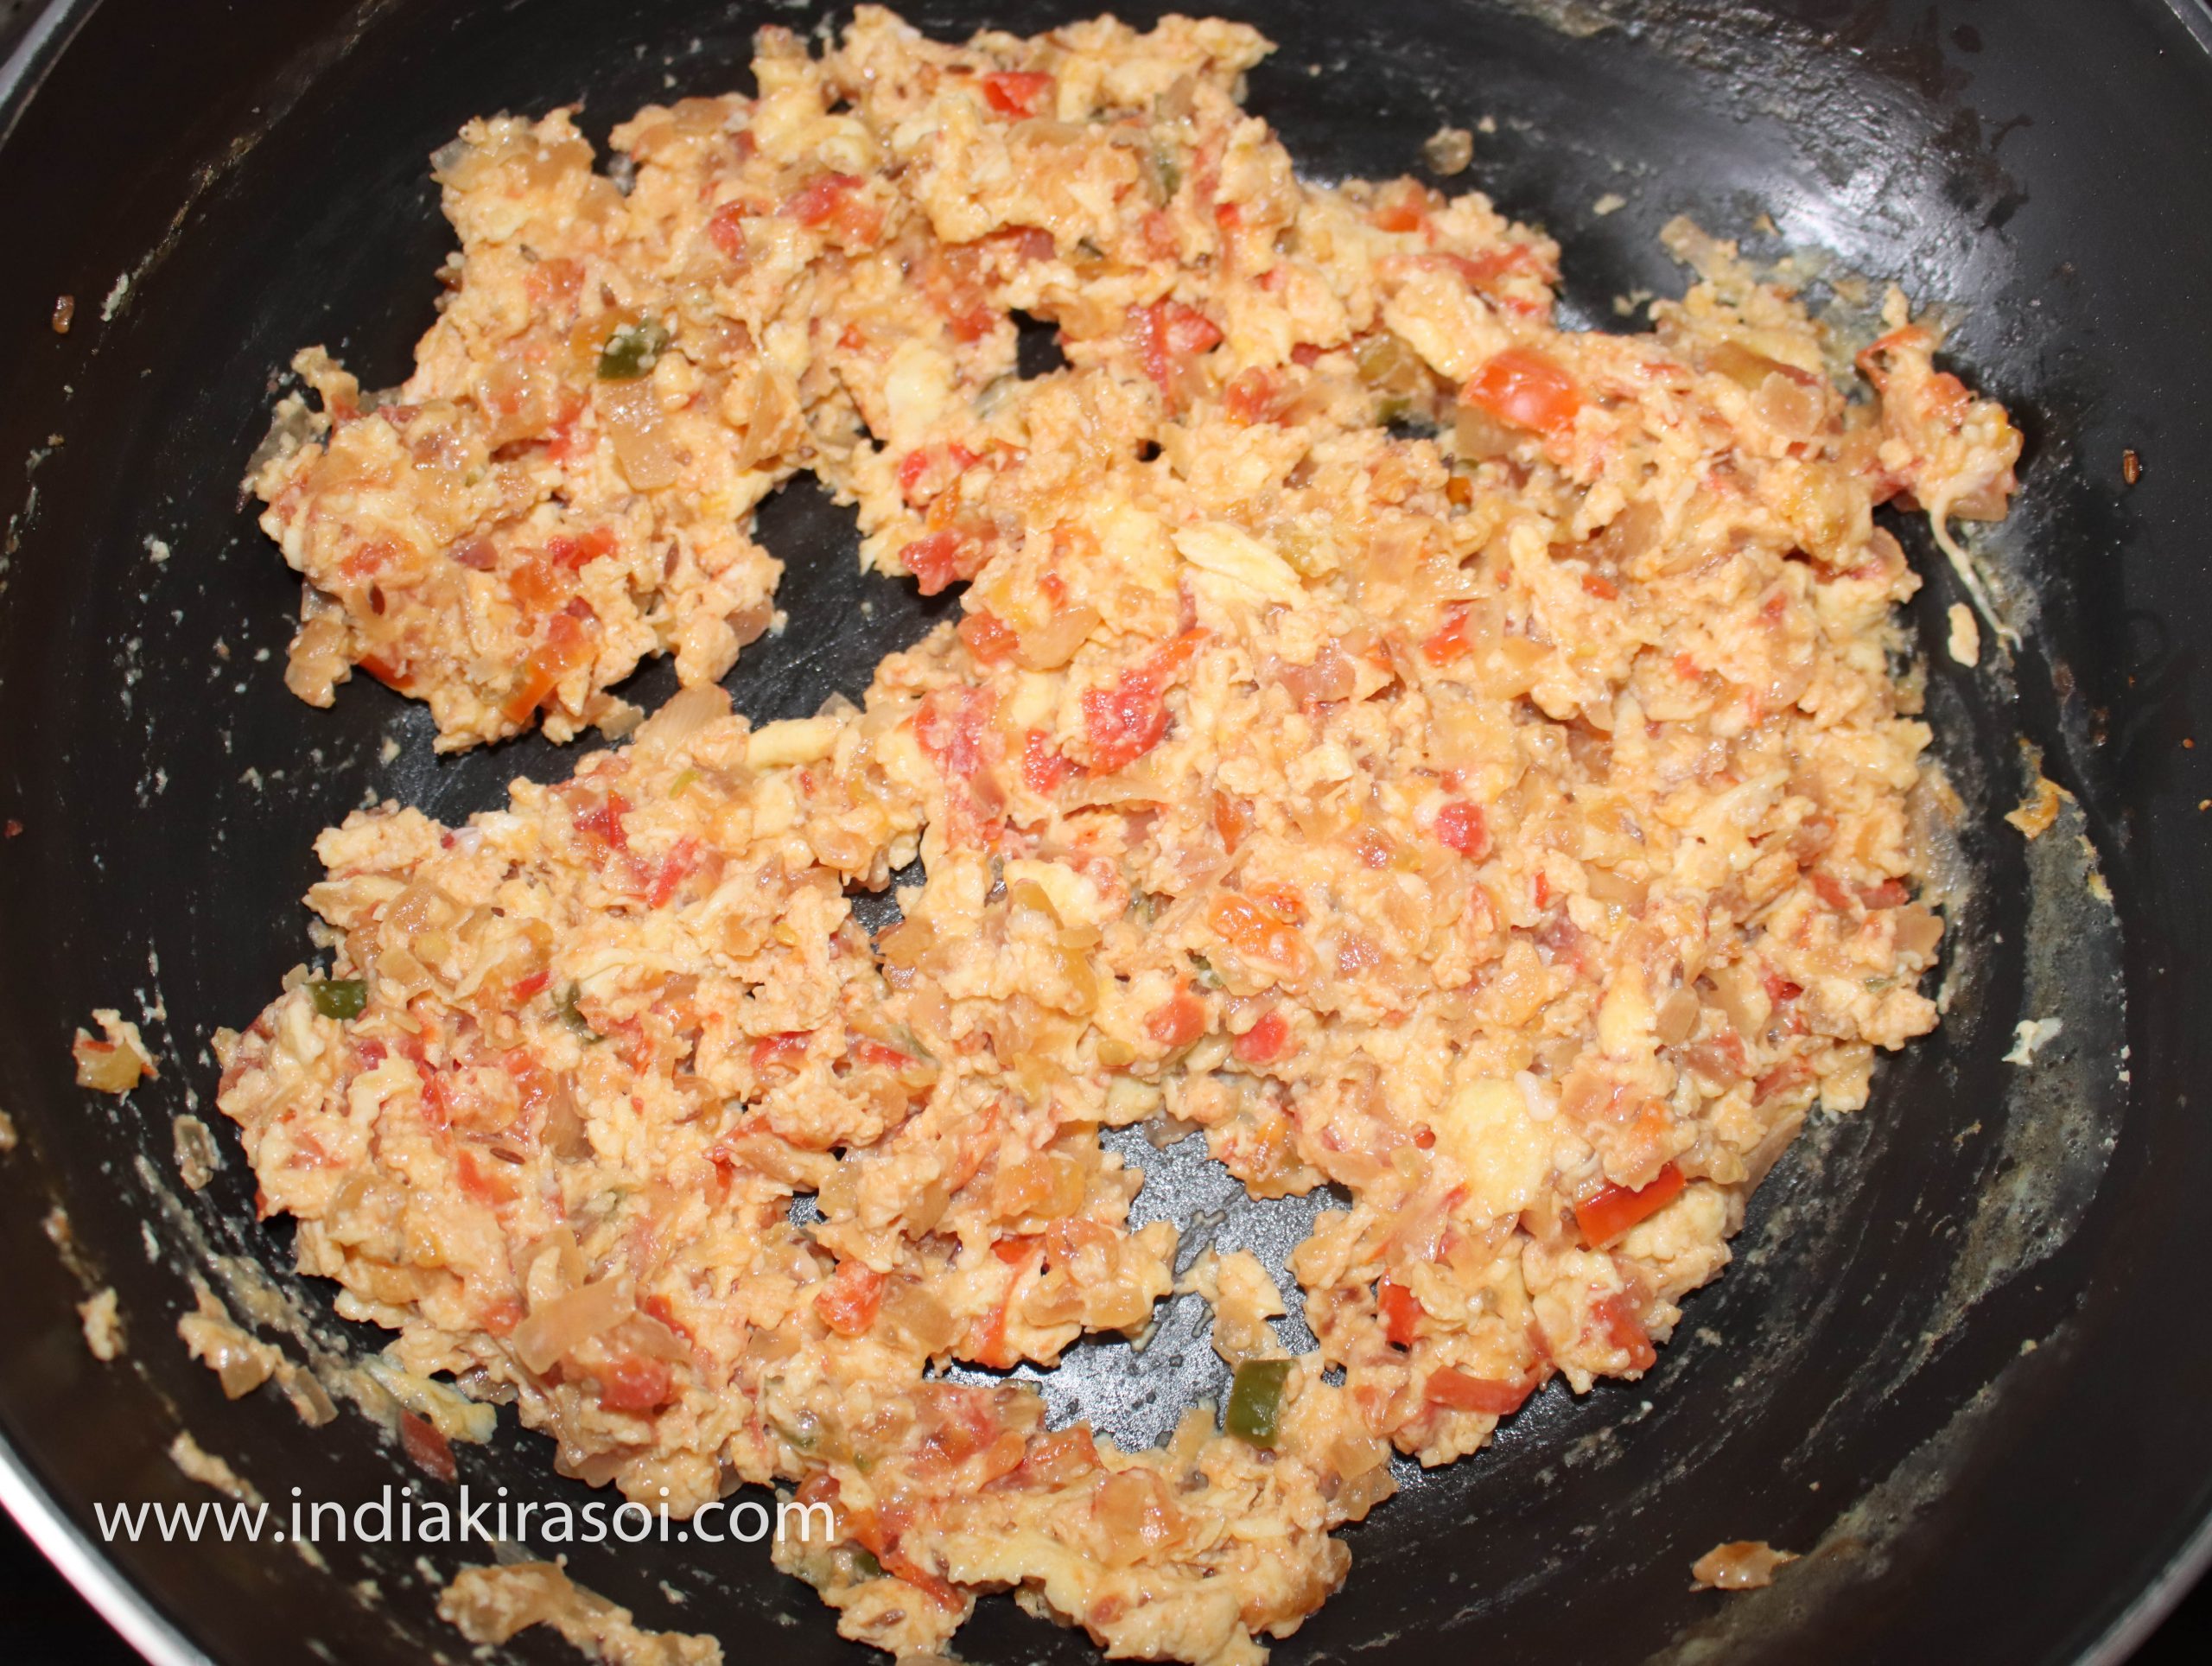
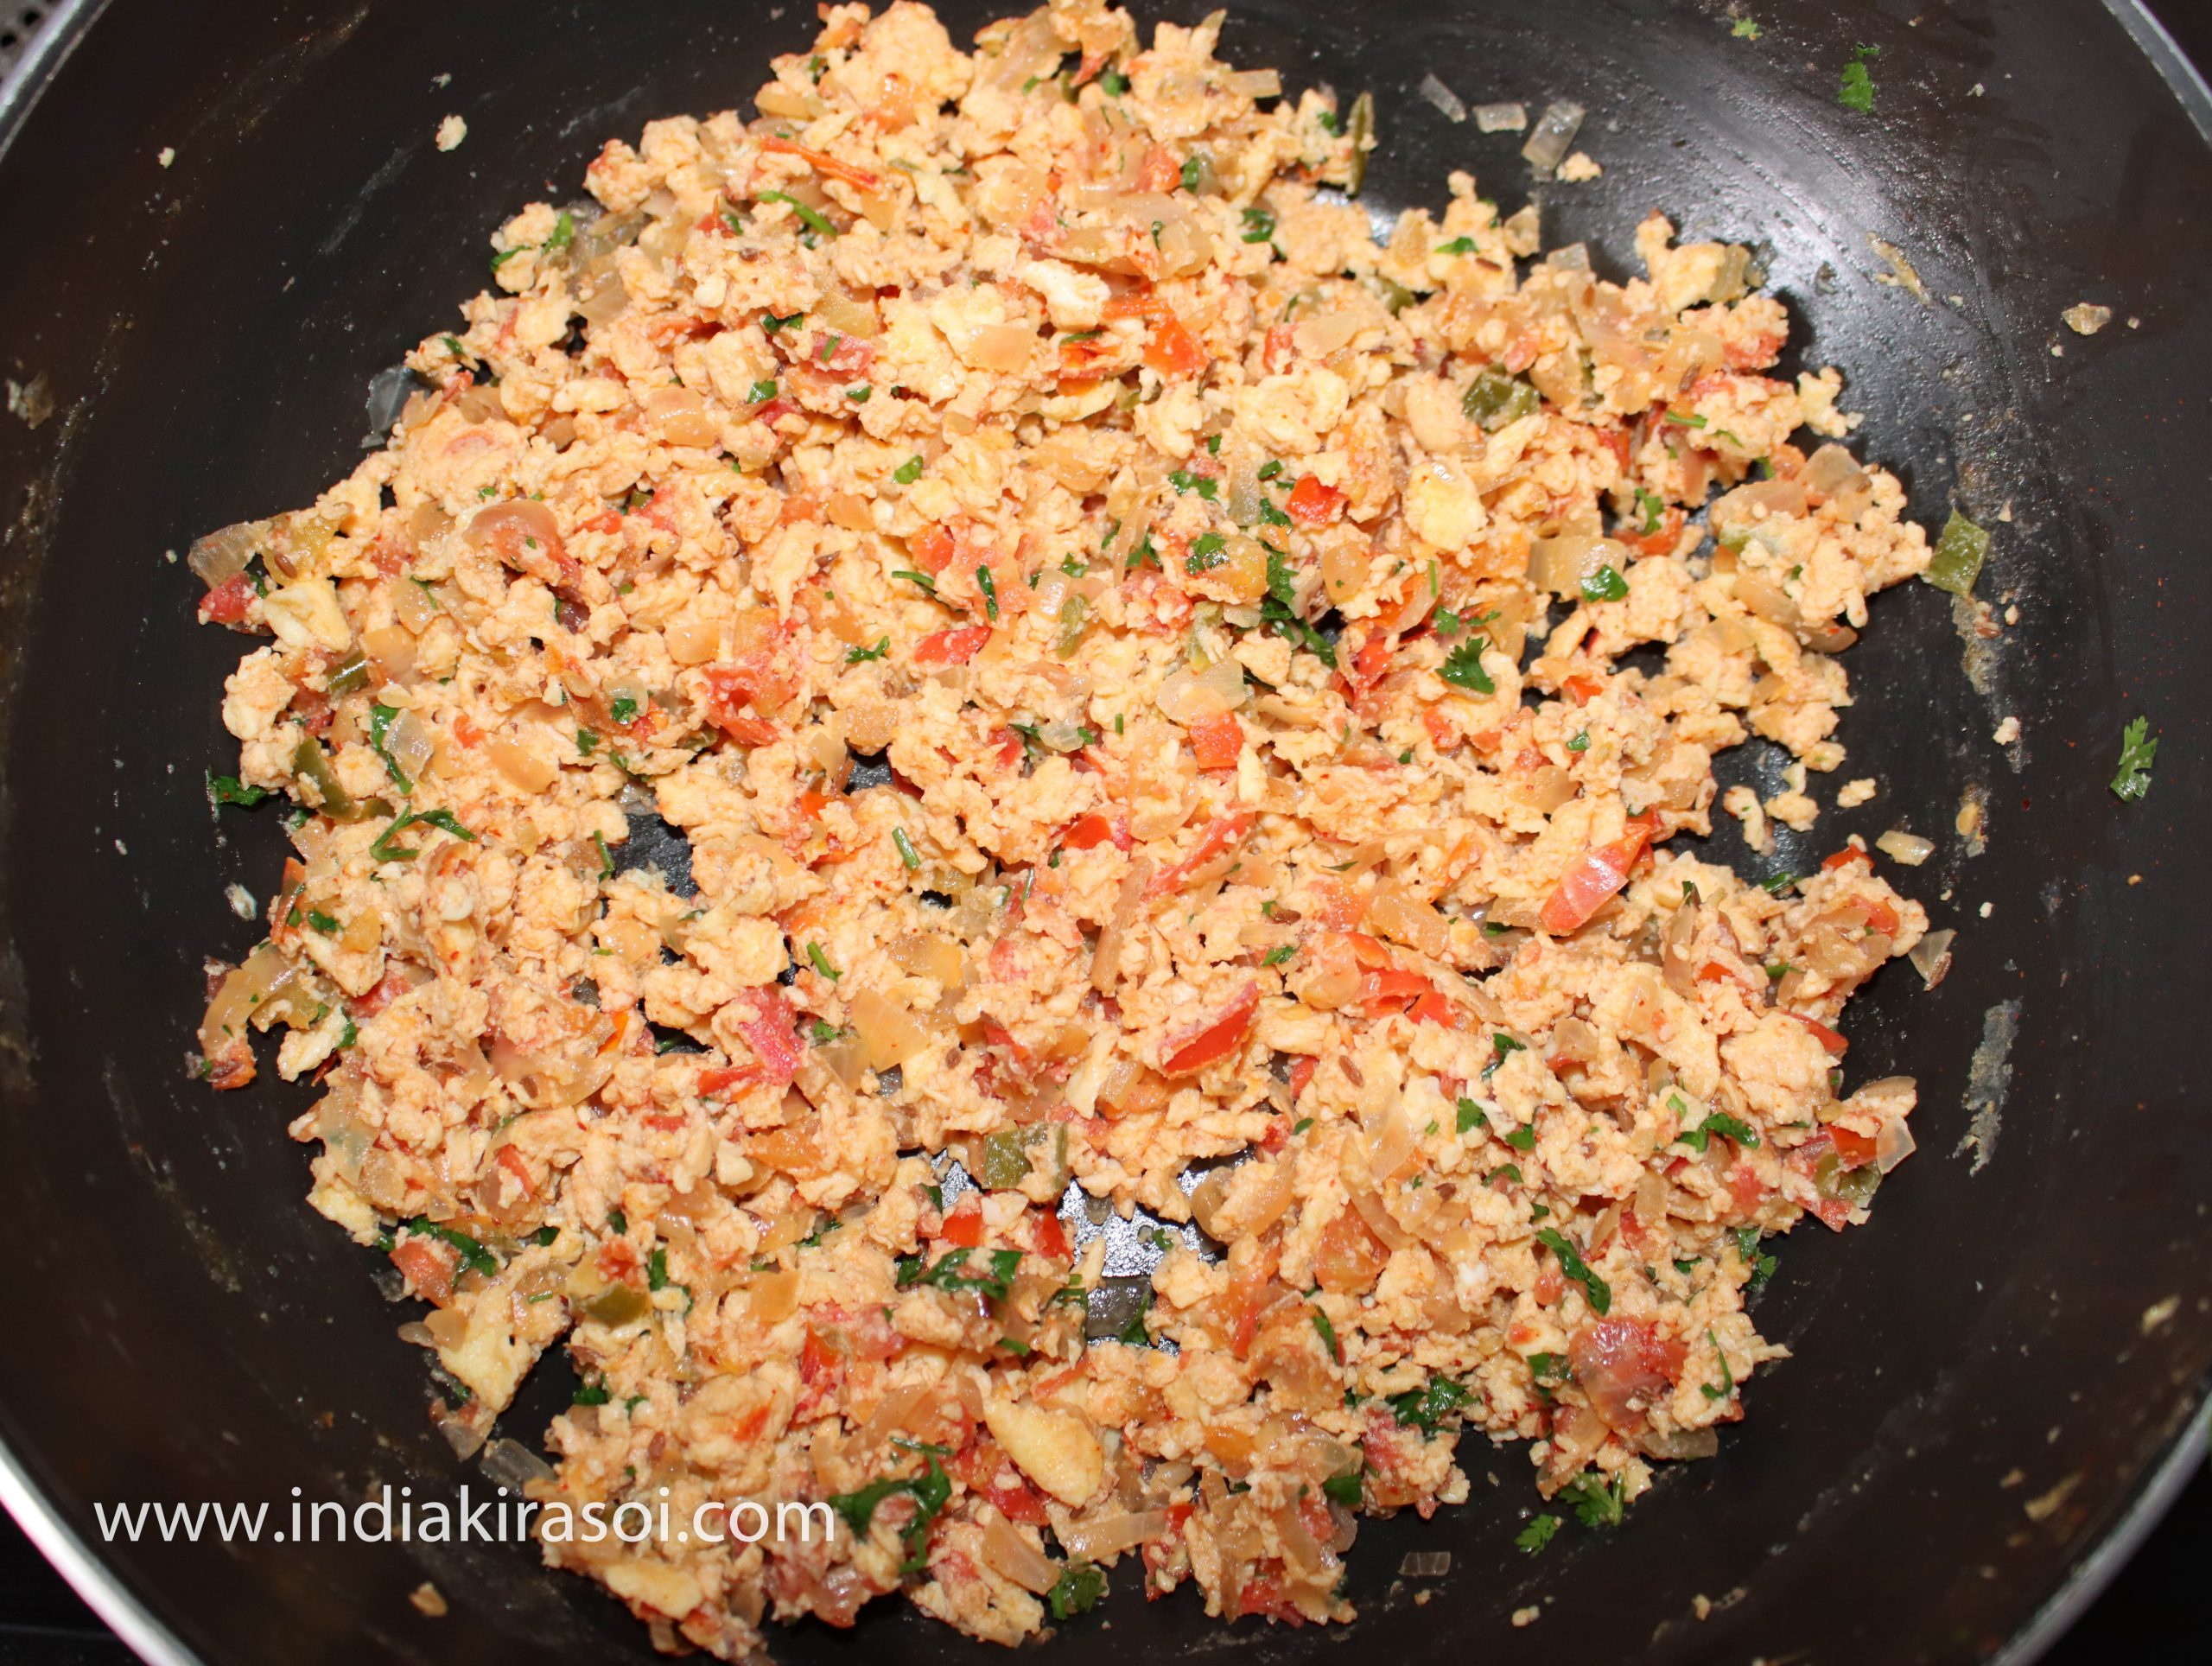
When the tomatoes are cooked, add the beaten eggs in the kadhai or fry pan.
Let the egg settle for 40 seconds.
After 40 seconds mix the eggs well with the help of spatula in the tomatoes.
Fry the bhurji while stirring with a spatula for 2 minutes.
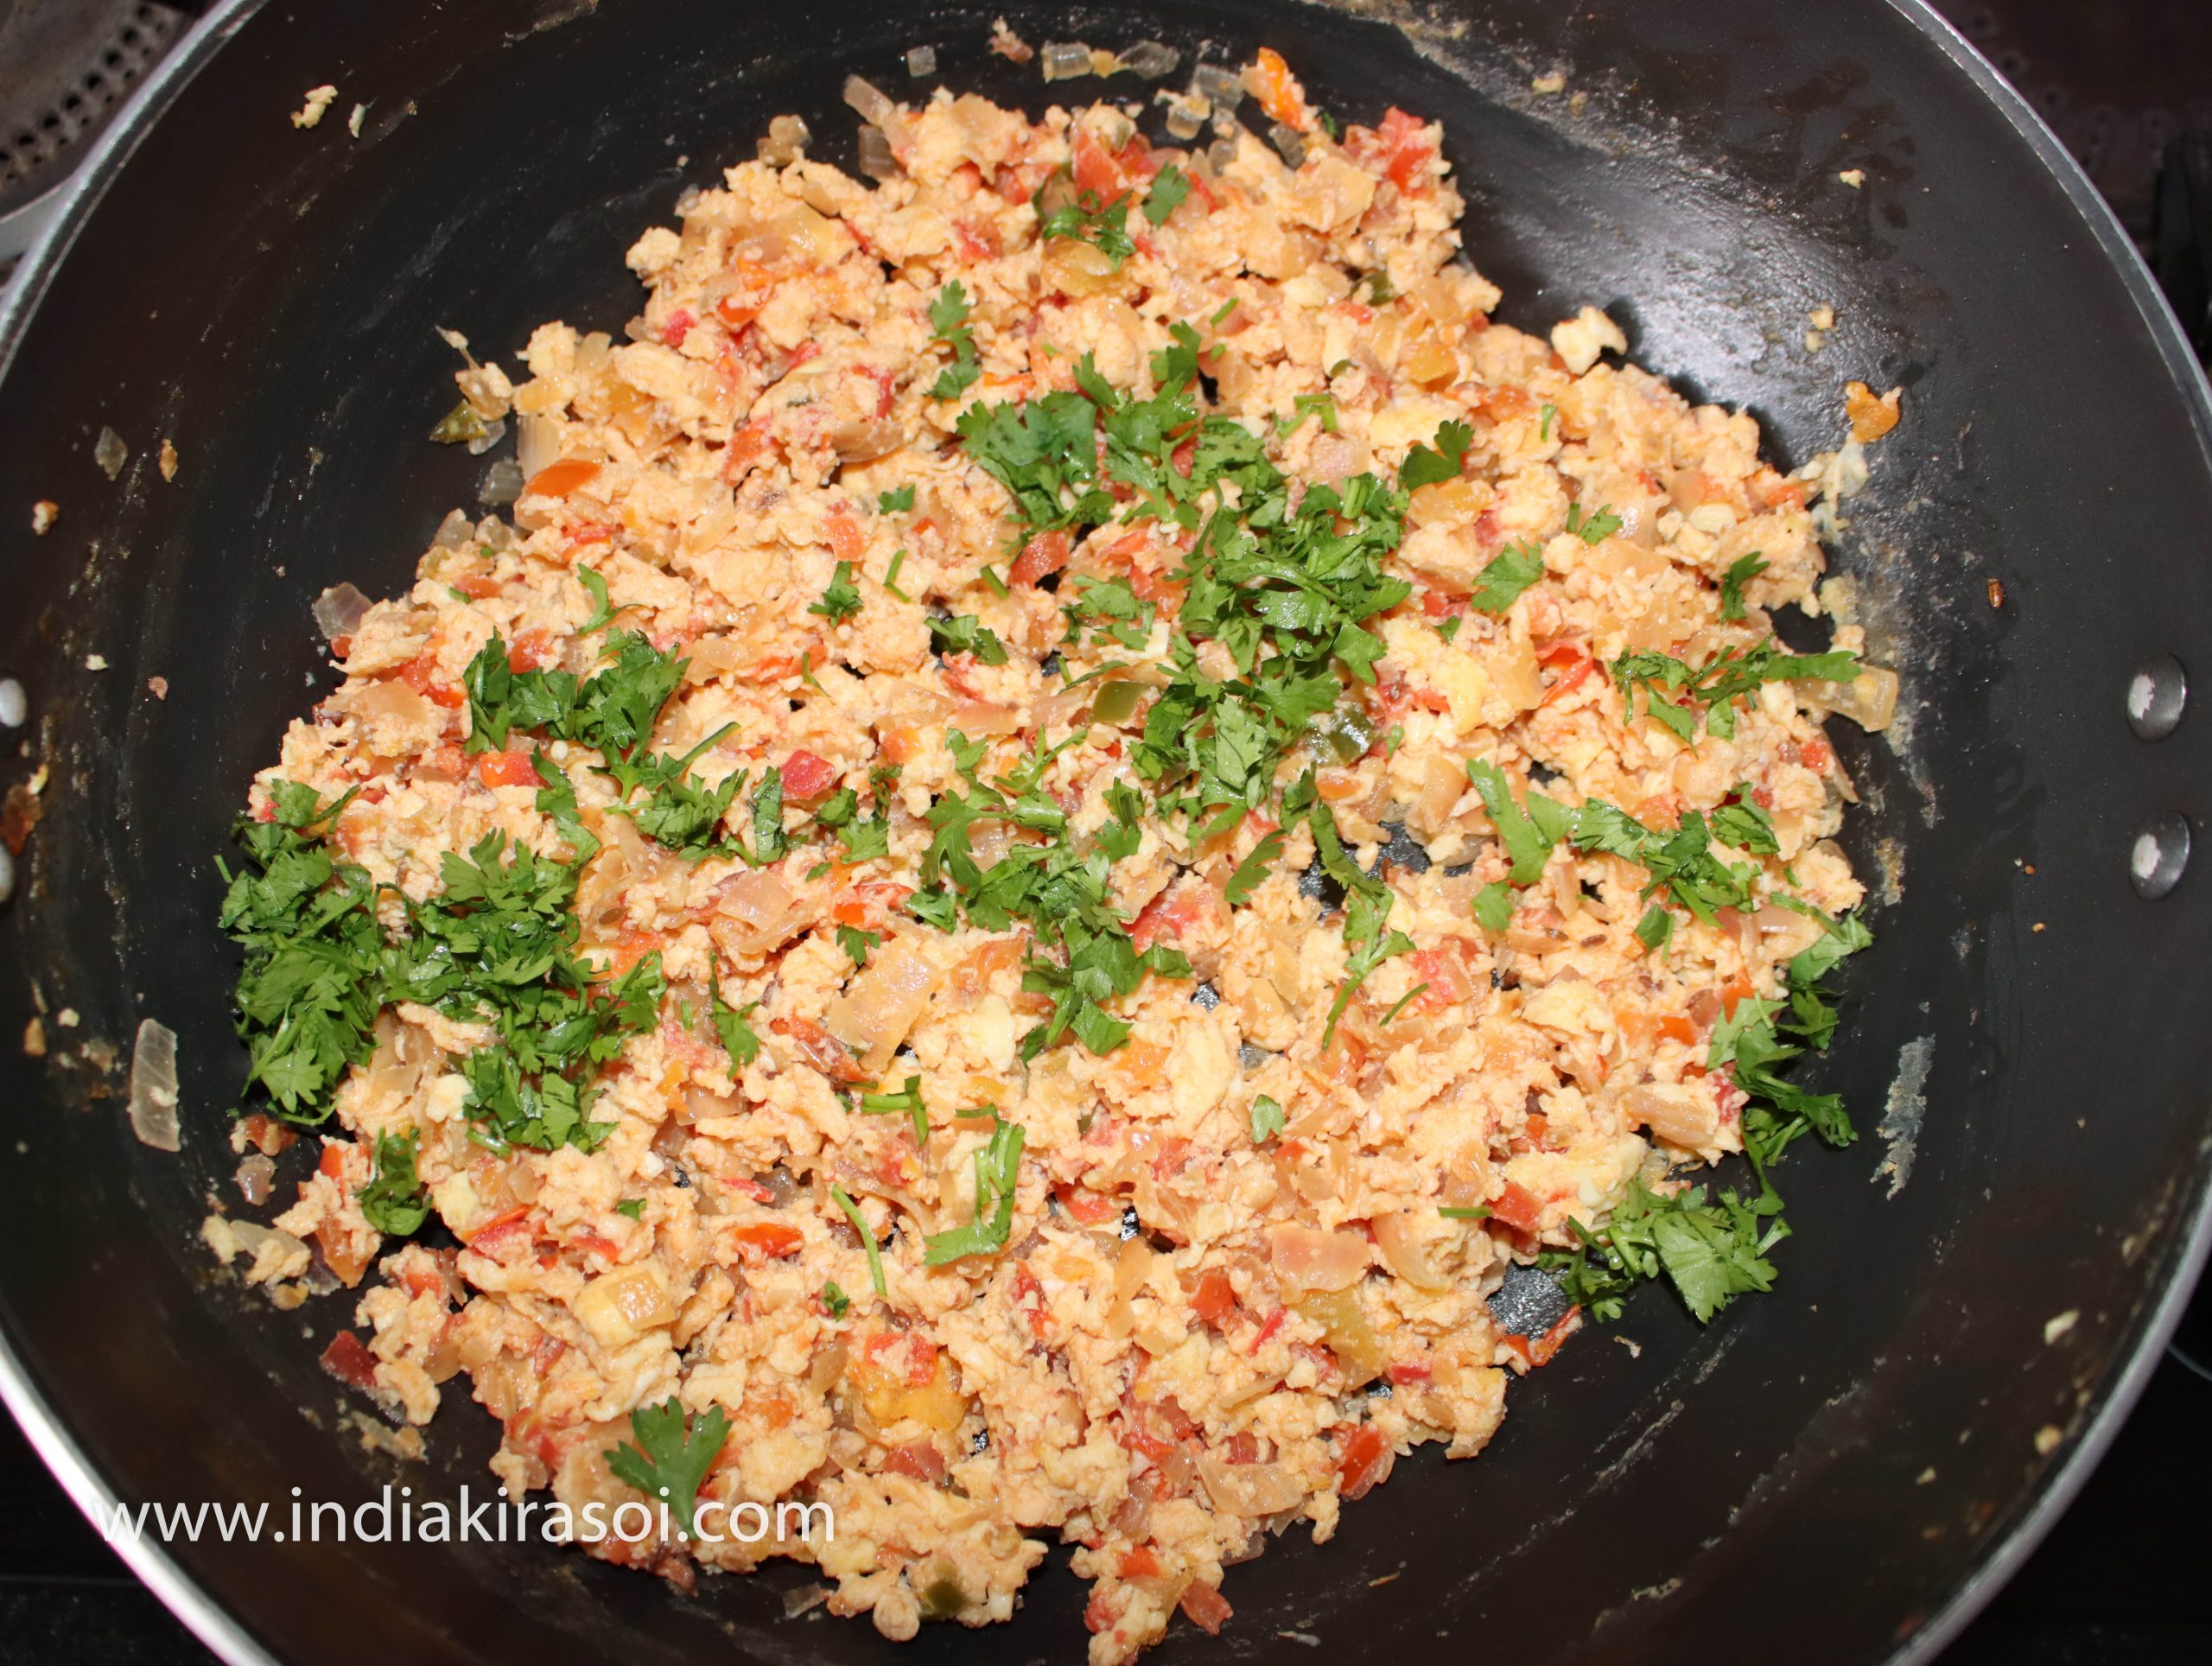
Then add chopped coriander leaves.
Mix green coriander well.
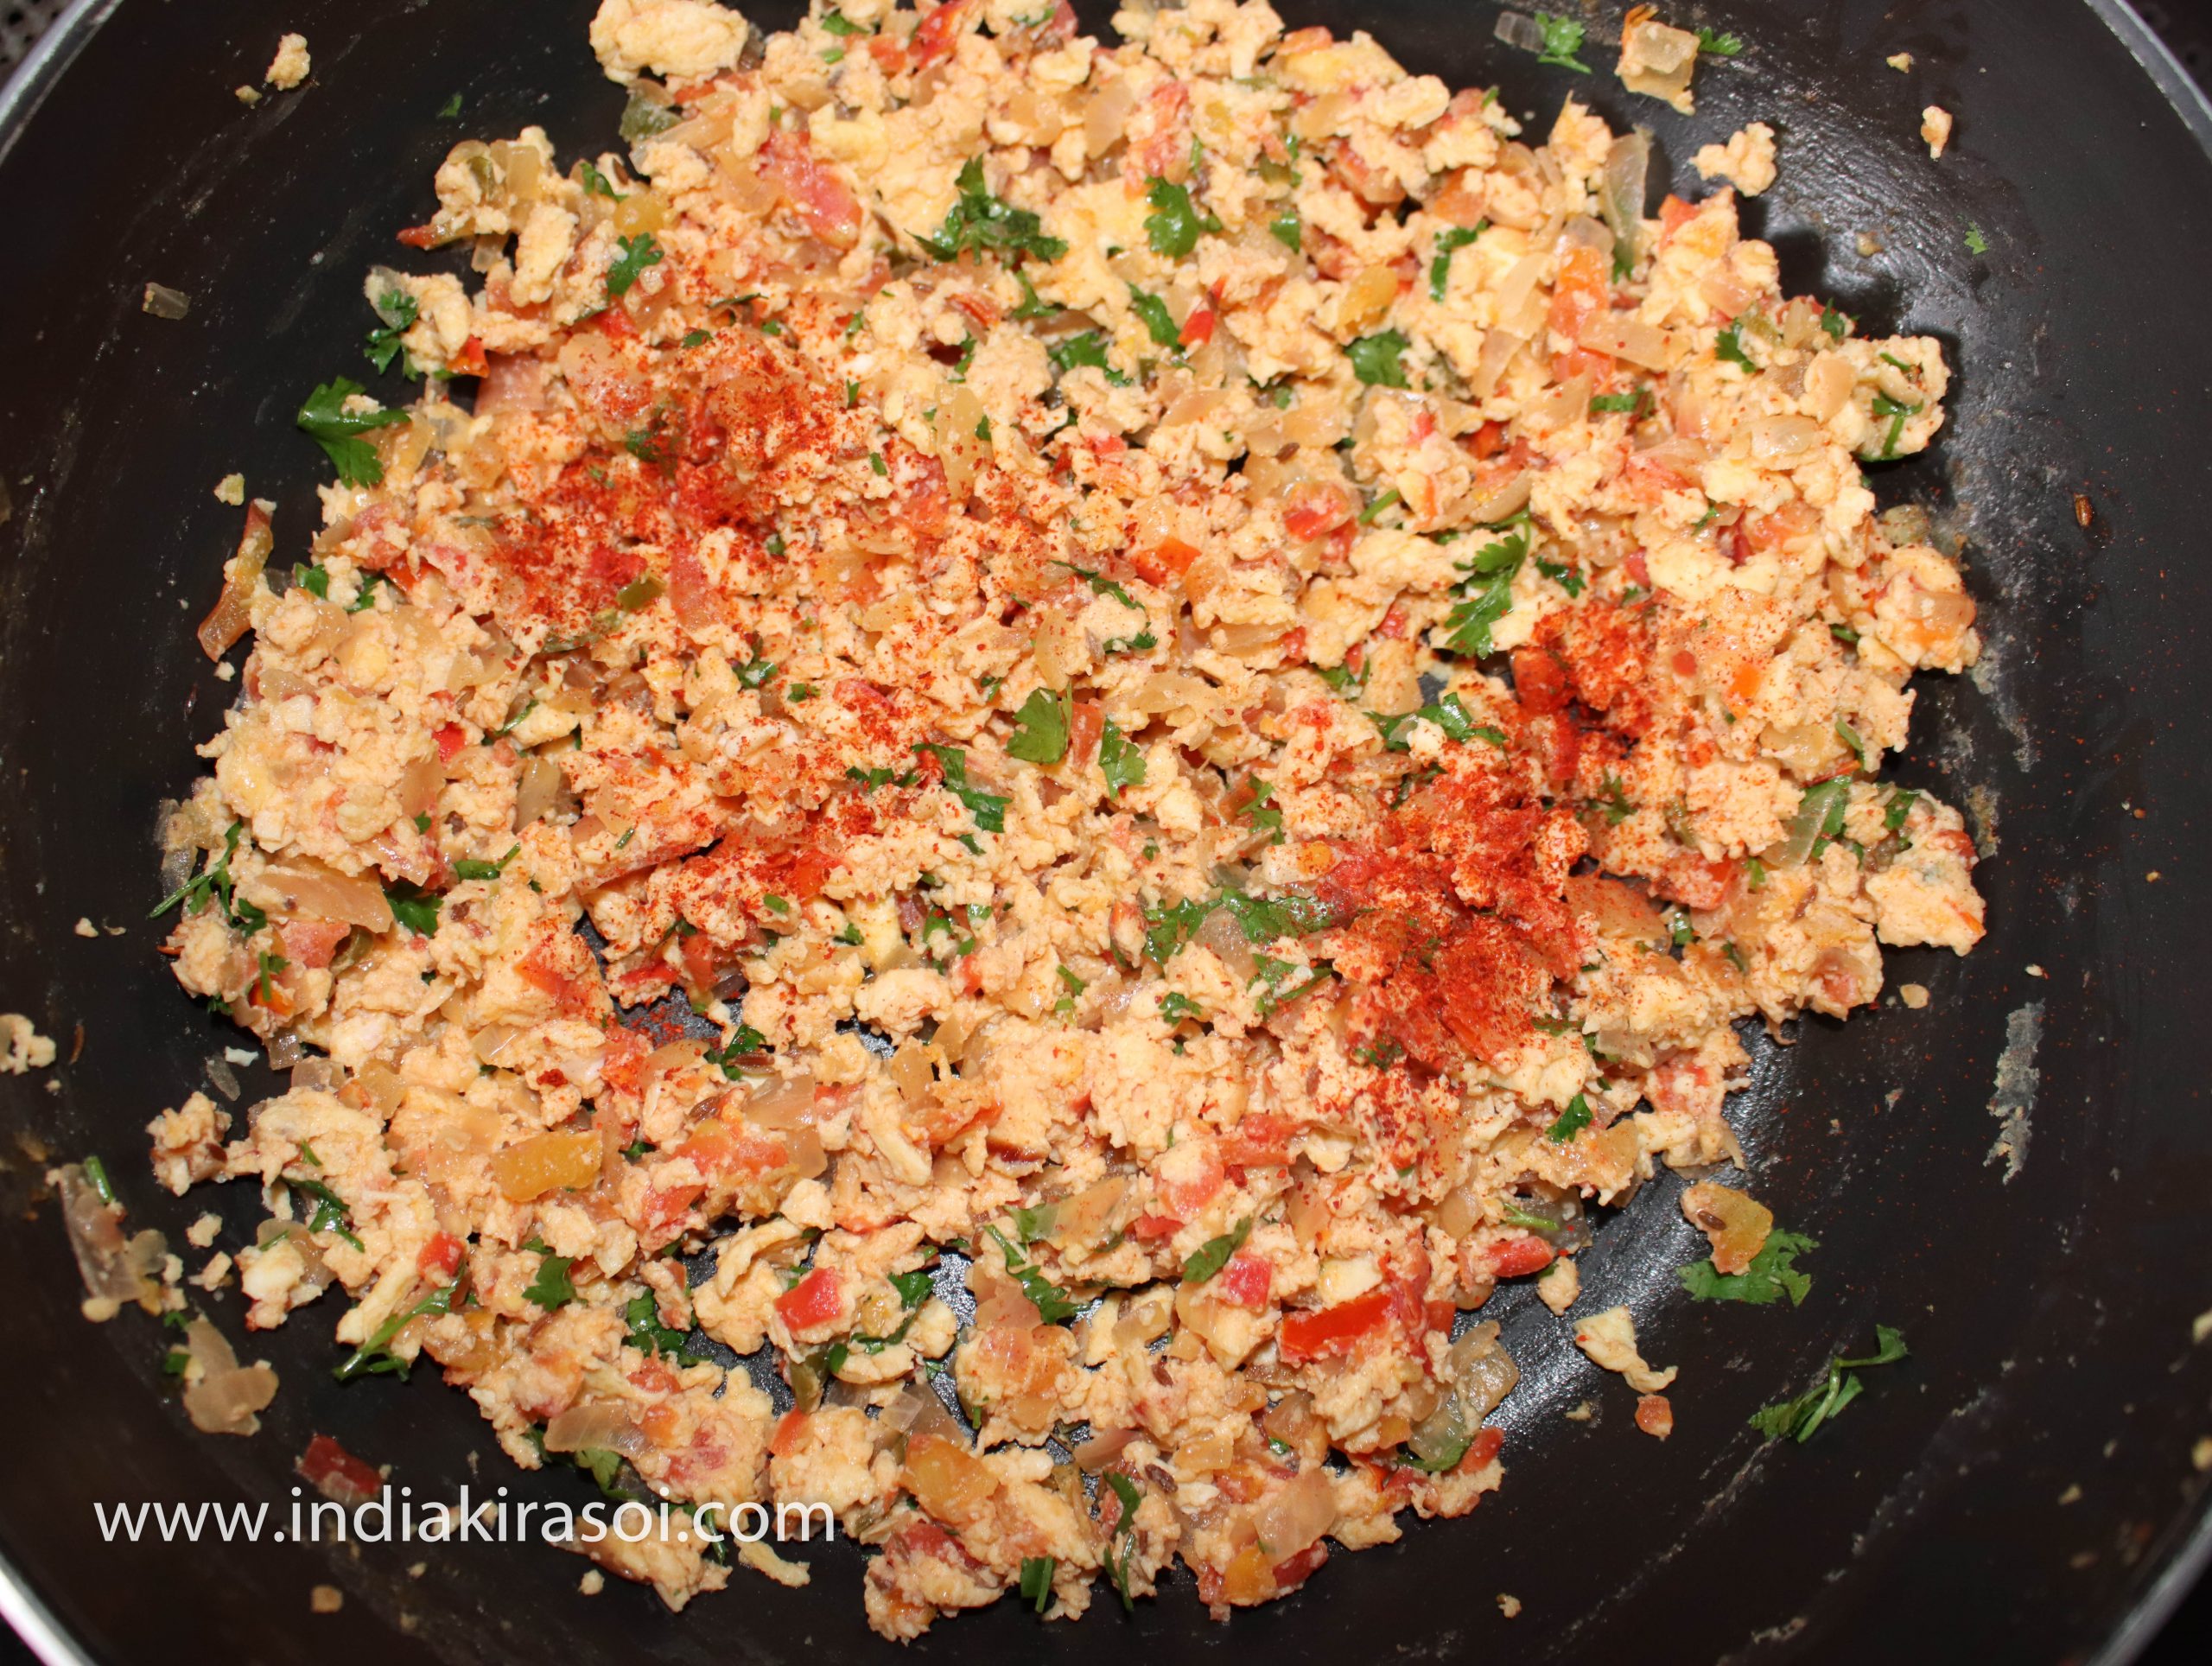
Then add 1/4 teaspoon red chili powder.
Add red chili powder to bhurji. This step is otional. If you don't like red chili then avoid to add red chili powder.
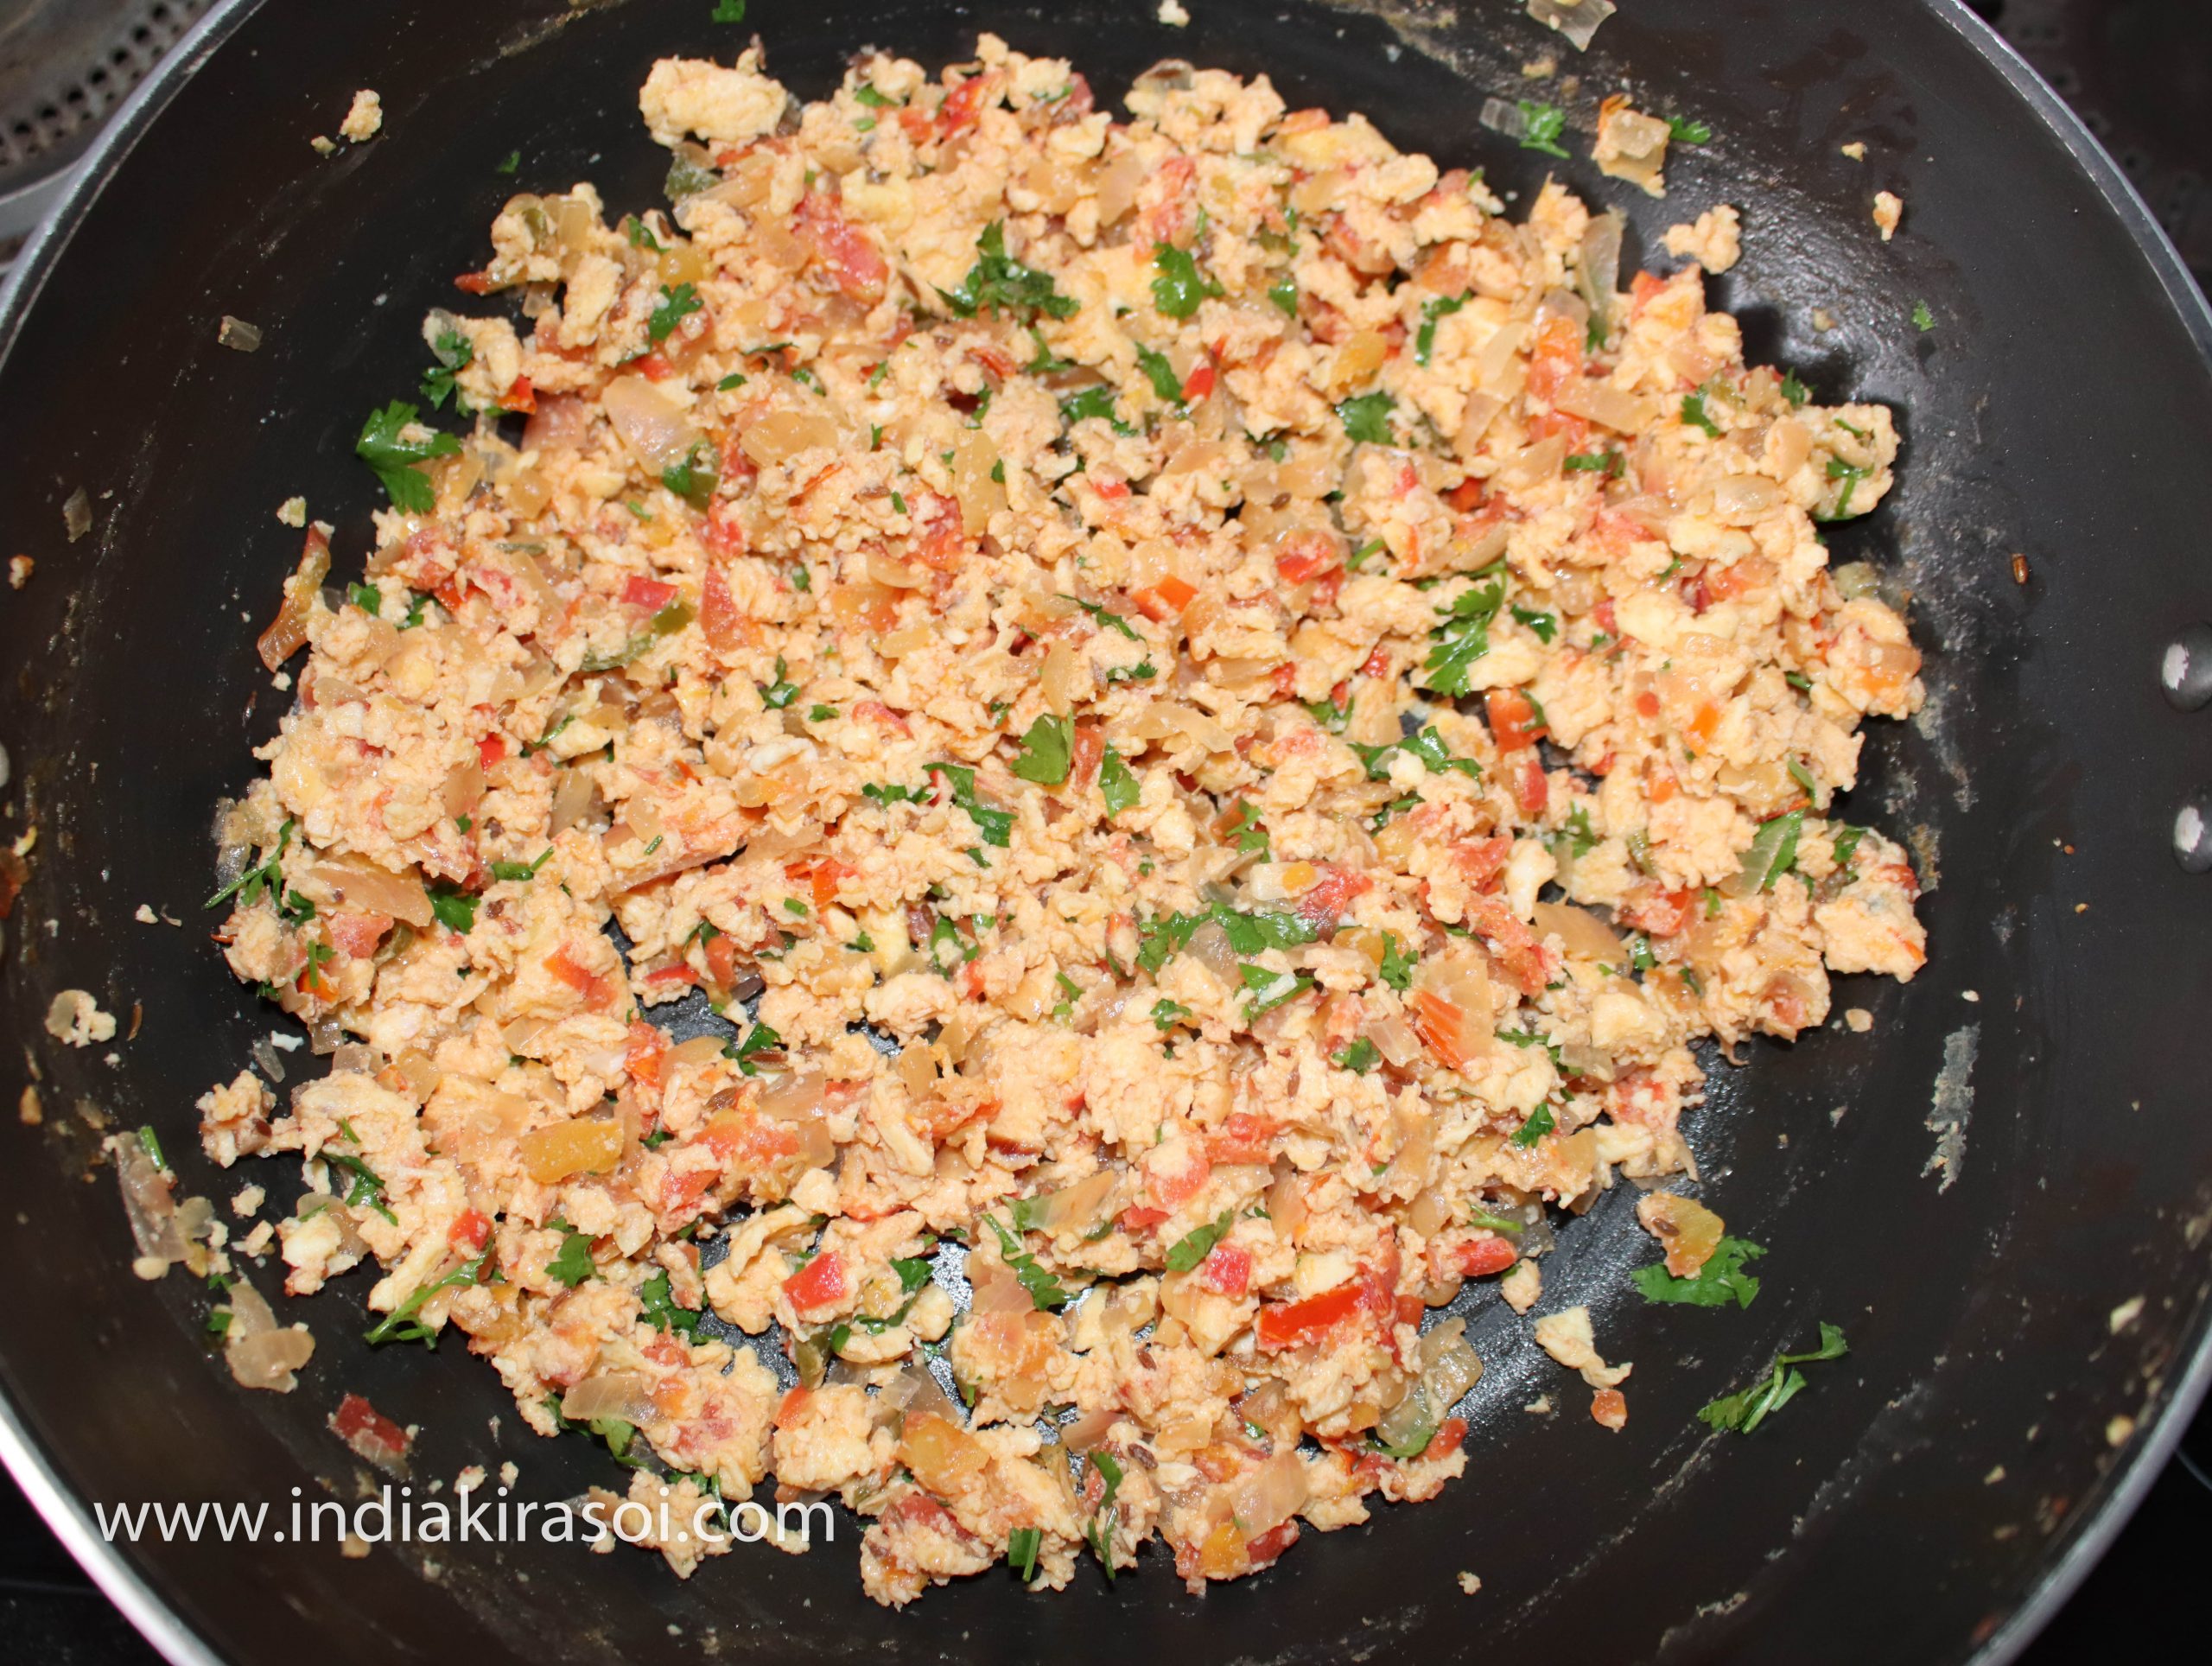
Fry the bhurji for 2 to 3 minutes.
Turn off the gas after 3 minutes.
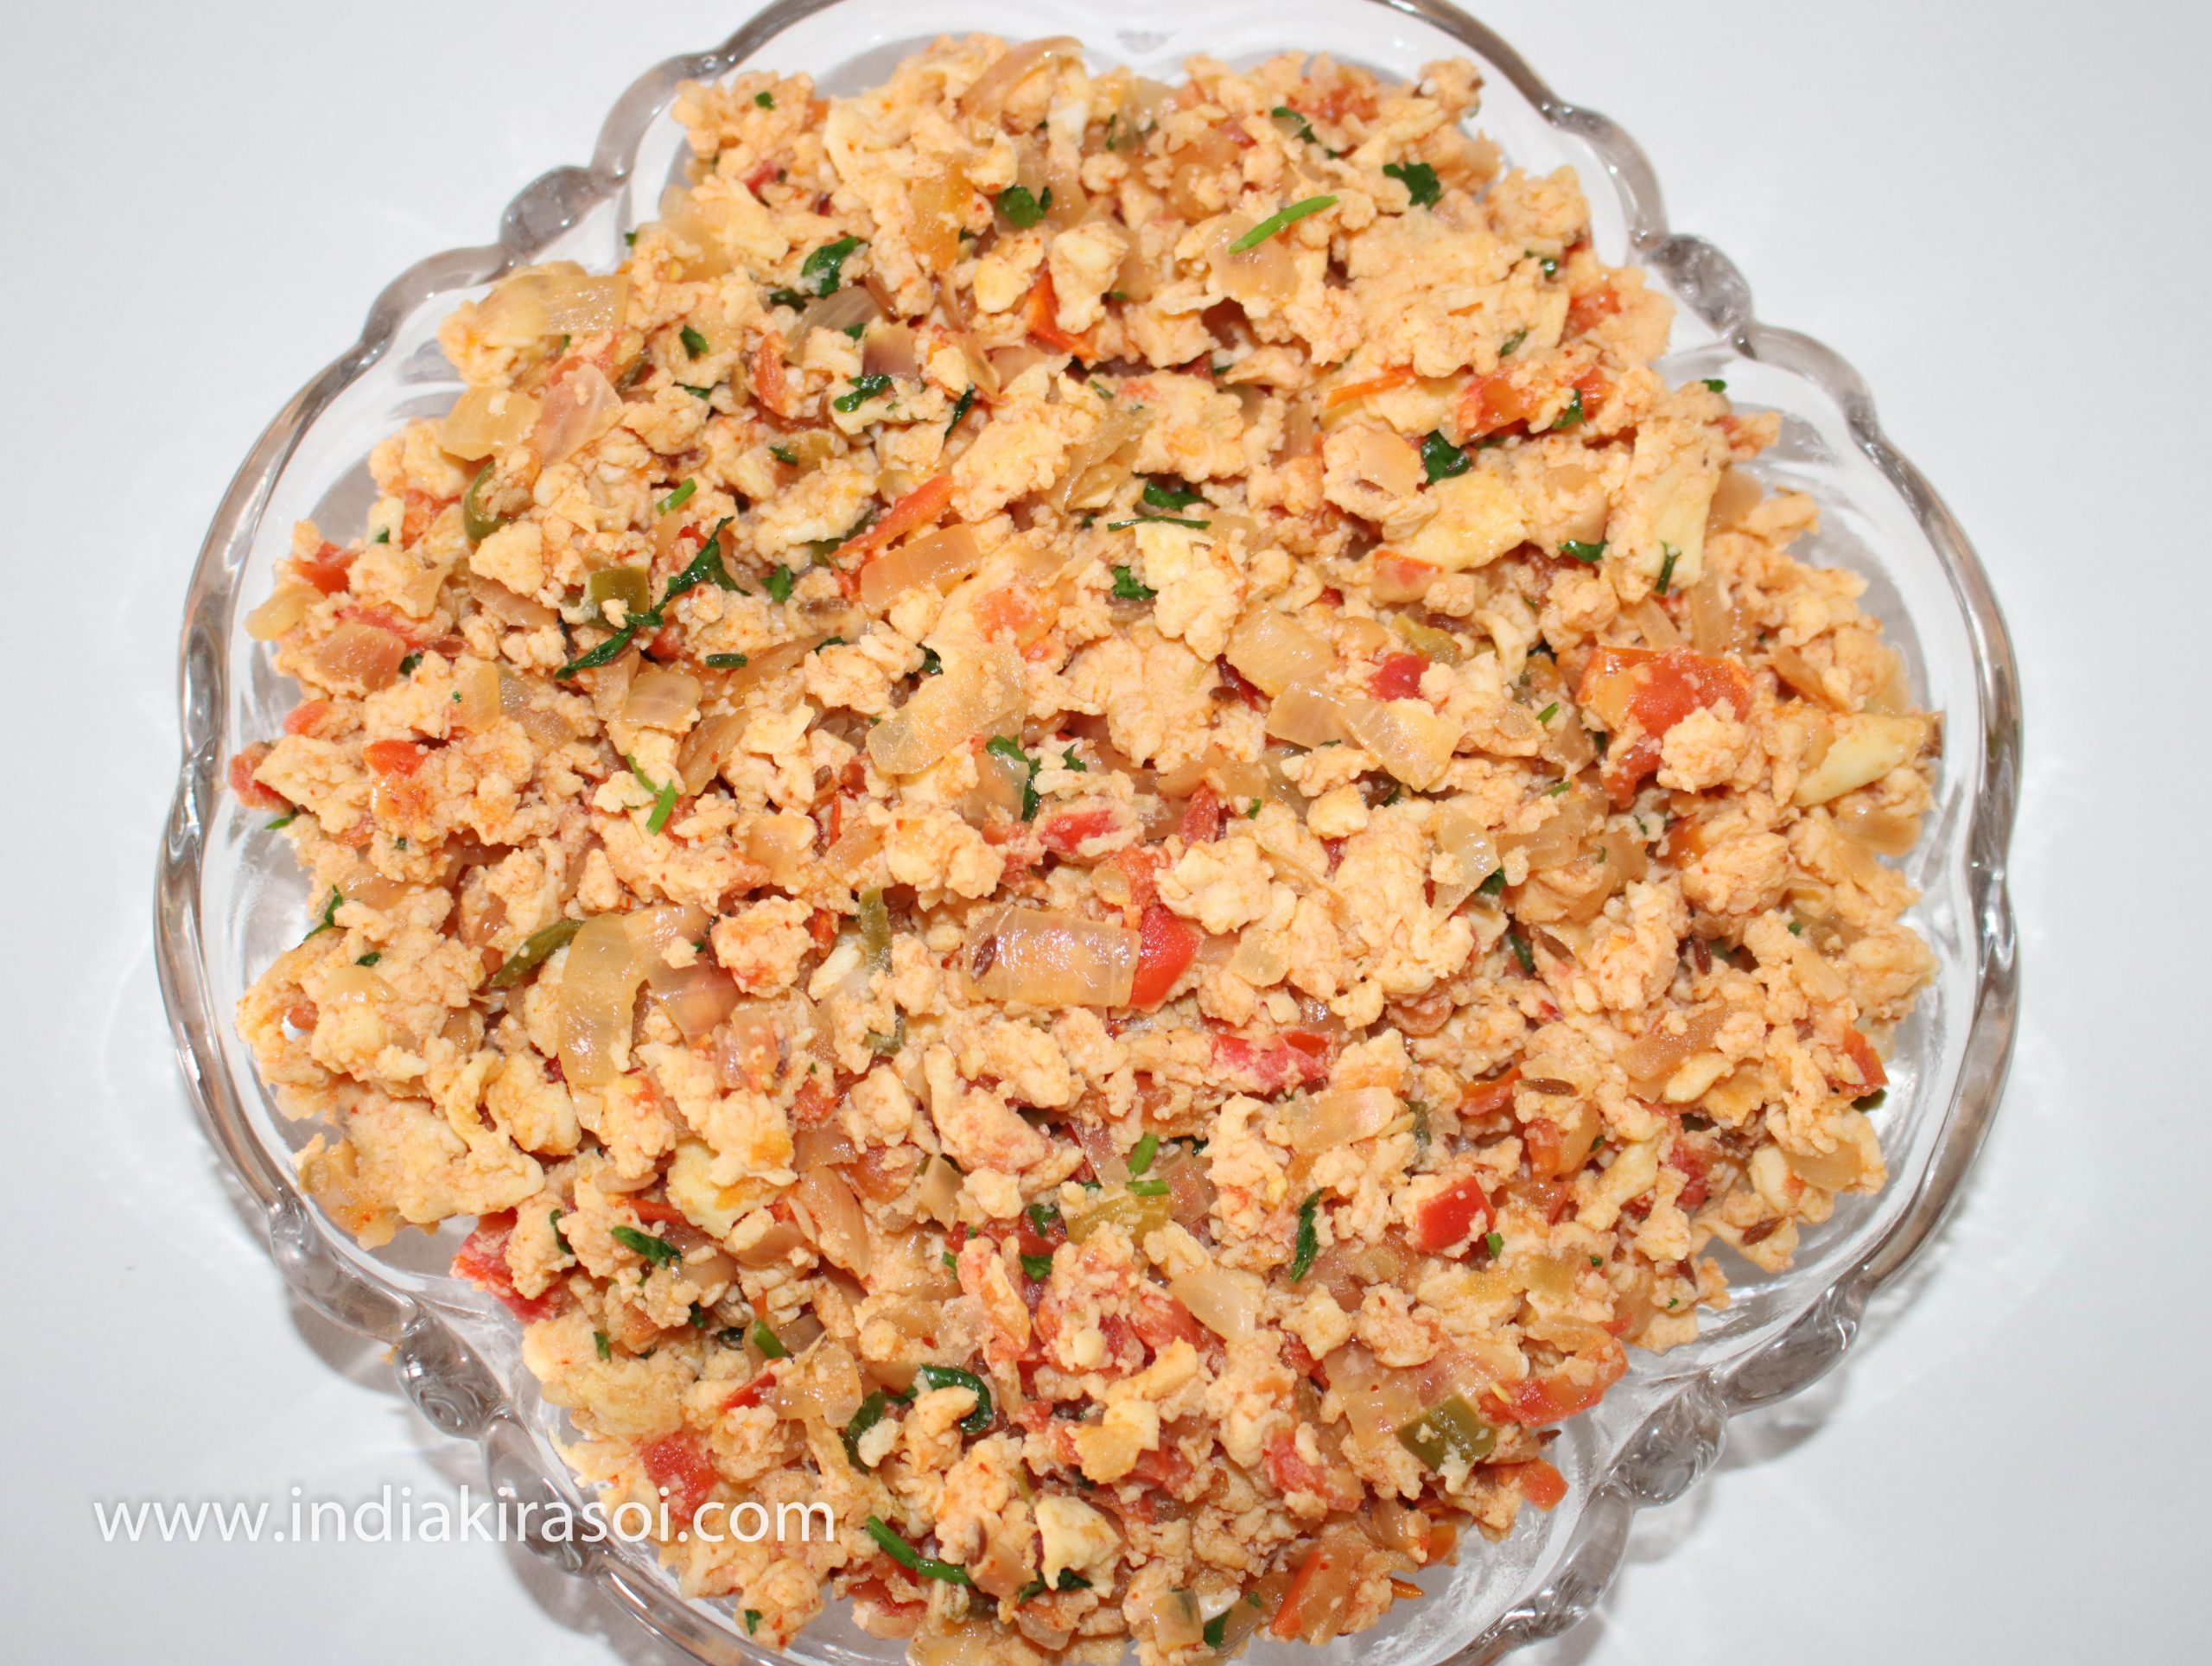
Anda bhurji/ mashed egg/ egg bhurji is ready.
Take out the anda bhurji/ mashed egg in a separate bowl.
Eat anda bhurji/ egg bhurji/ mashed egg with roti or paratha.
Notes
Eggs are considered a good source of protein, calcium and omega-3 fatty acids. All these nutrients are necessary for our body. Apart from this, calcium makes teeth and bones strong.
Eating eggs provides your body with essential amino acids, which increases the body’s stamina.
Egg contains vitamin A which strengthens hair and increases eye light.
Folic acid and vitamin B-12 found in eggs protects against breast cancer. Vitamin B-12 helps in the brain process and increases memory power.
Pregnant women must include eggs in their diet, it helps in developing the fetus.
Egg is very helpful in controlling your weight. Actually, hunger subsides after eating egg. After eating it, your stomach is full for a long time and you are saved from overeating.
If you want to lose weight, then eat only the white part of the egg because the yellow part is very high in cholesterol.
Eggs are specially included in the diet of those who go to the gym. But they are advised to eat only white portion.
At the same time, those who want to gain weight, they should eat the yellow portion of the egg especially. Children who lose weight are advised to eat one egg daily.
Carotenoids are found in plenty in eggs, which is very important for the health of the eyes. Carotenoids strengthen the muscles of the eyes.
Eating one egg daily does not risk cataract. The antioxidants present in it work to strengthen the retina.
Omega 3, vitamins and fatty acids present in eggs are very beneficial for the brain. Not only this, choline is found in eggs, due to which the memory is fast and the brain remains active.
Apart from this, the vitamin B-12 present in eggs helps to relieve tension. Some elements are also found in it, which relieve depression and make the mood good.
The yellow part of the egg contains biotin which tightens the hair and tightens the skin. By applying the yellow part of the egg to the hair, the hair becomes soft and soft. You can reduce skin wrinkles by using egg yolk as a face pack or mask.
Eating eggs gives your body plenty of energy. Eating eggs for breakfast will keep you energetic throughout the day. Apart from this, it also increases your efficiency.
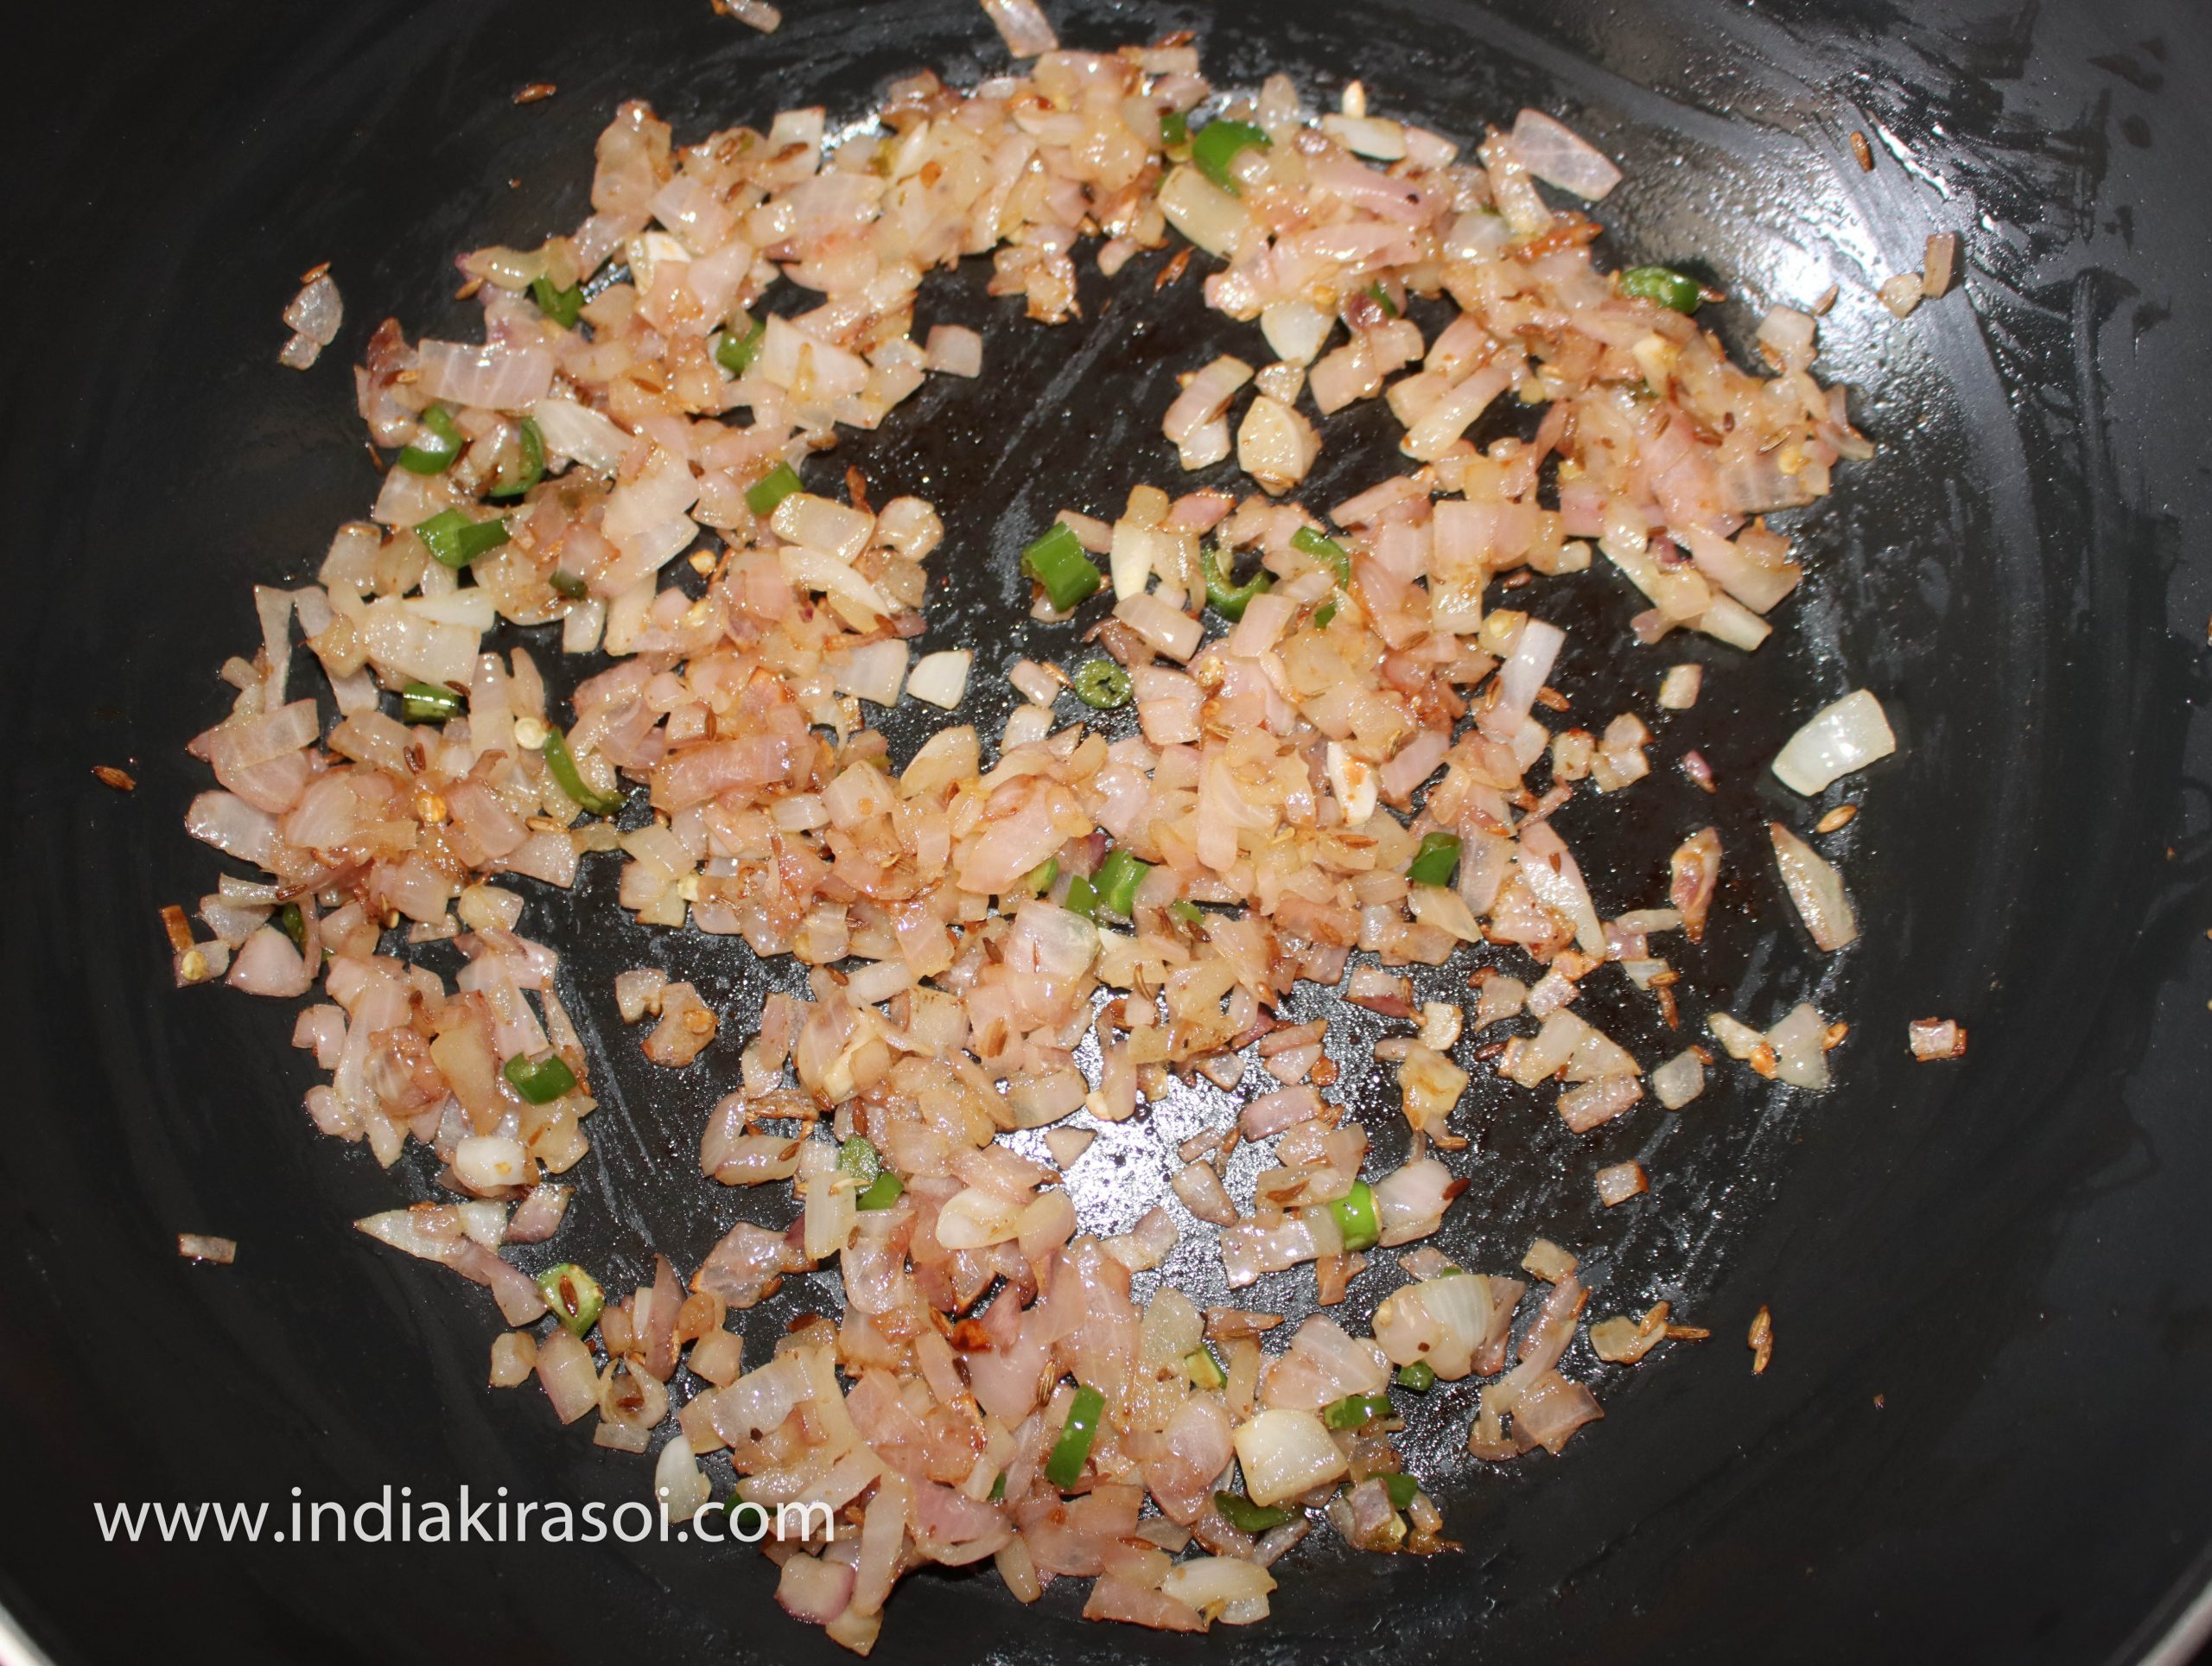
Tur /Arhar dal/ pigeon pea is very important to our food, people who eat only vegetable food are often deficient in protein. Tur/ Arhar dal/ pigeon pea is rich in protein. Pulses are very beneficial in making your muscles, so include pulses in your food every day. By the way, there are manytypes of lentils, such as lentils, gram, moong, urad, etc. Today we will learn tur dal / Arhar dal/ pigeon pea here, in which we will also add onion and tomato tempering.To make the tur /Arhar dal/ pigeon pea with the tempering of onion and tomato, make the following method step by step…
Course Dinner, Indian, Lunch, Main Course, Main Dish, Side Dish
Cuisine American, Chinese, dinner, Indian
Prep Time 1minute
Cook Time 10minutes
Total Time 11minutes
Servings 4people
Calories 38kcal
Cost 25 rupee
Equipment
Pressure Cooker
Knife
Plate
Bowl
Kadhai / Fry Pan
Ingredients
125gramsPigeon Pea
2tspCoriander leaves / Dhaniya Patti, Chopped
3/4tspTurmeric Powder/ Haldi Powder, or 5 grams of Turmeric Powder/ Haldi Powder
500gramsWater / Pani
asper tasteSalt / Namak
Instructions
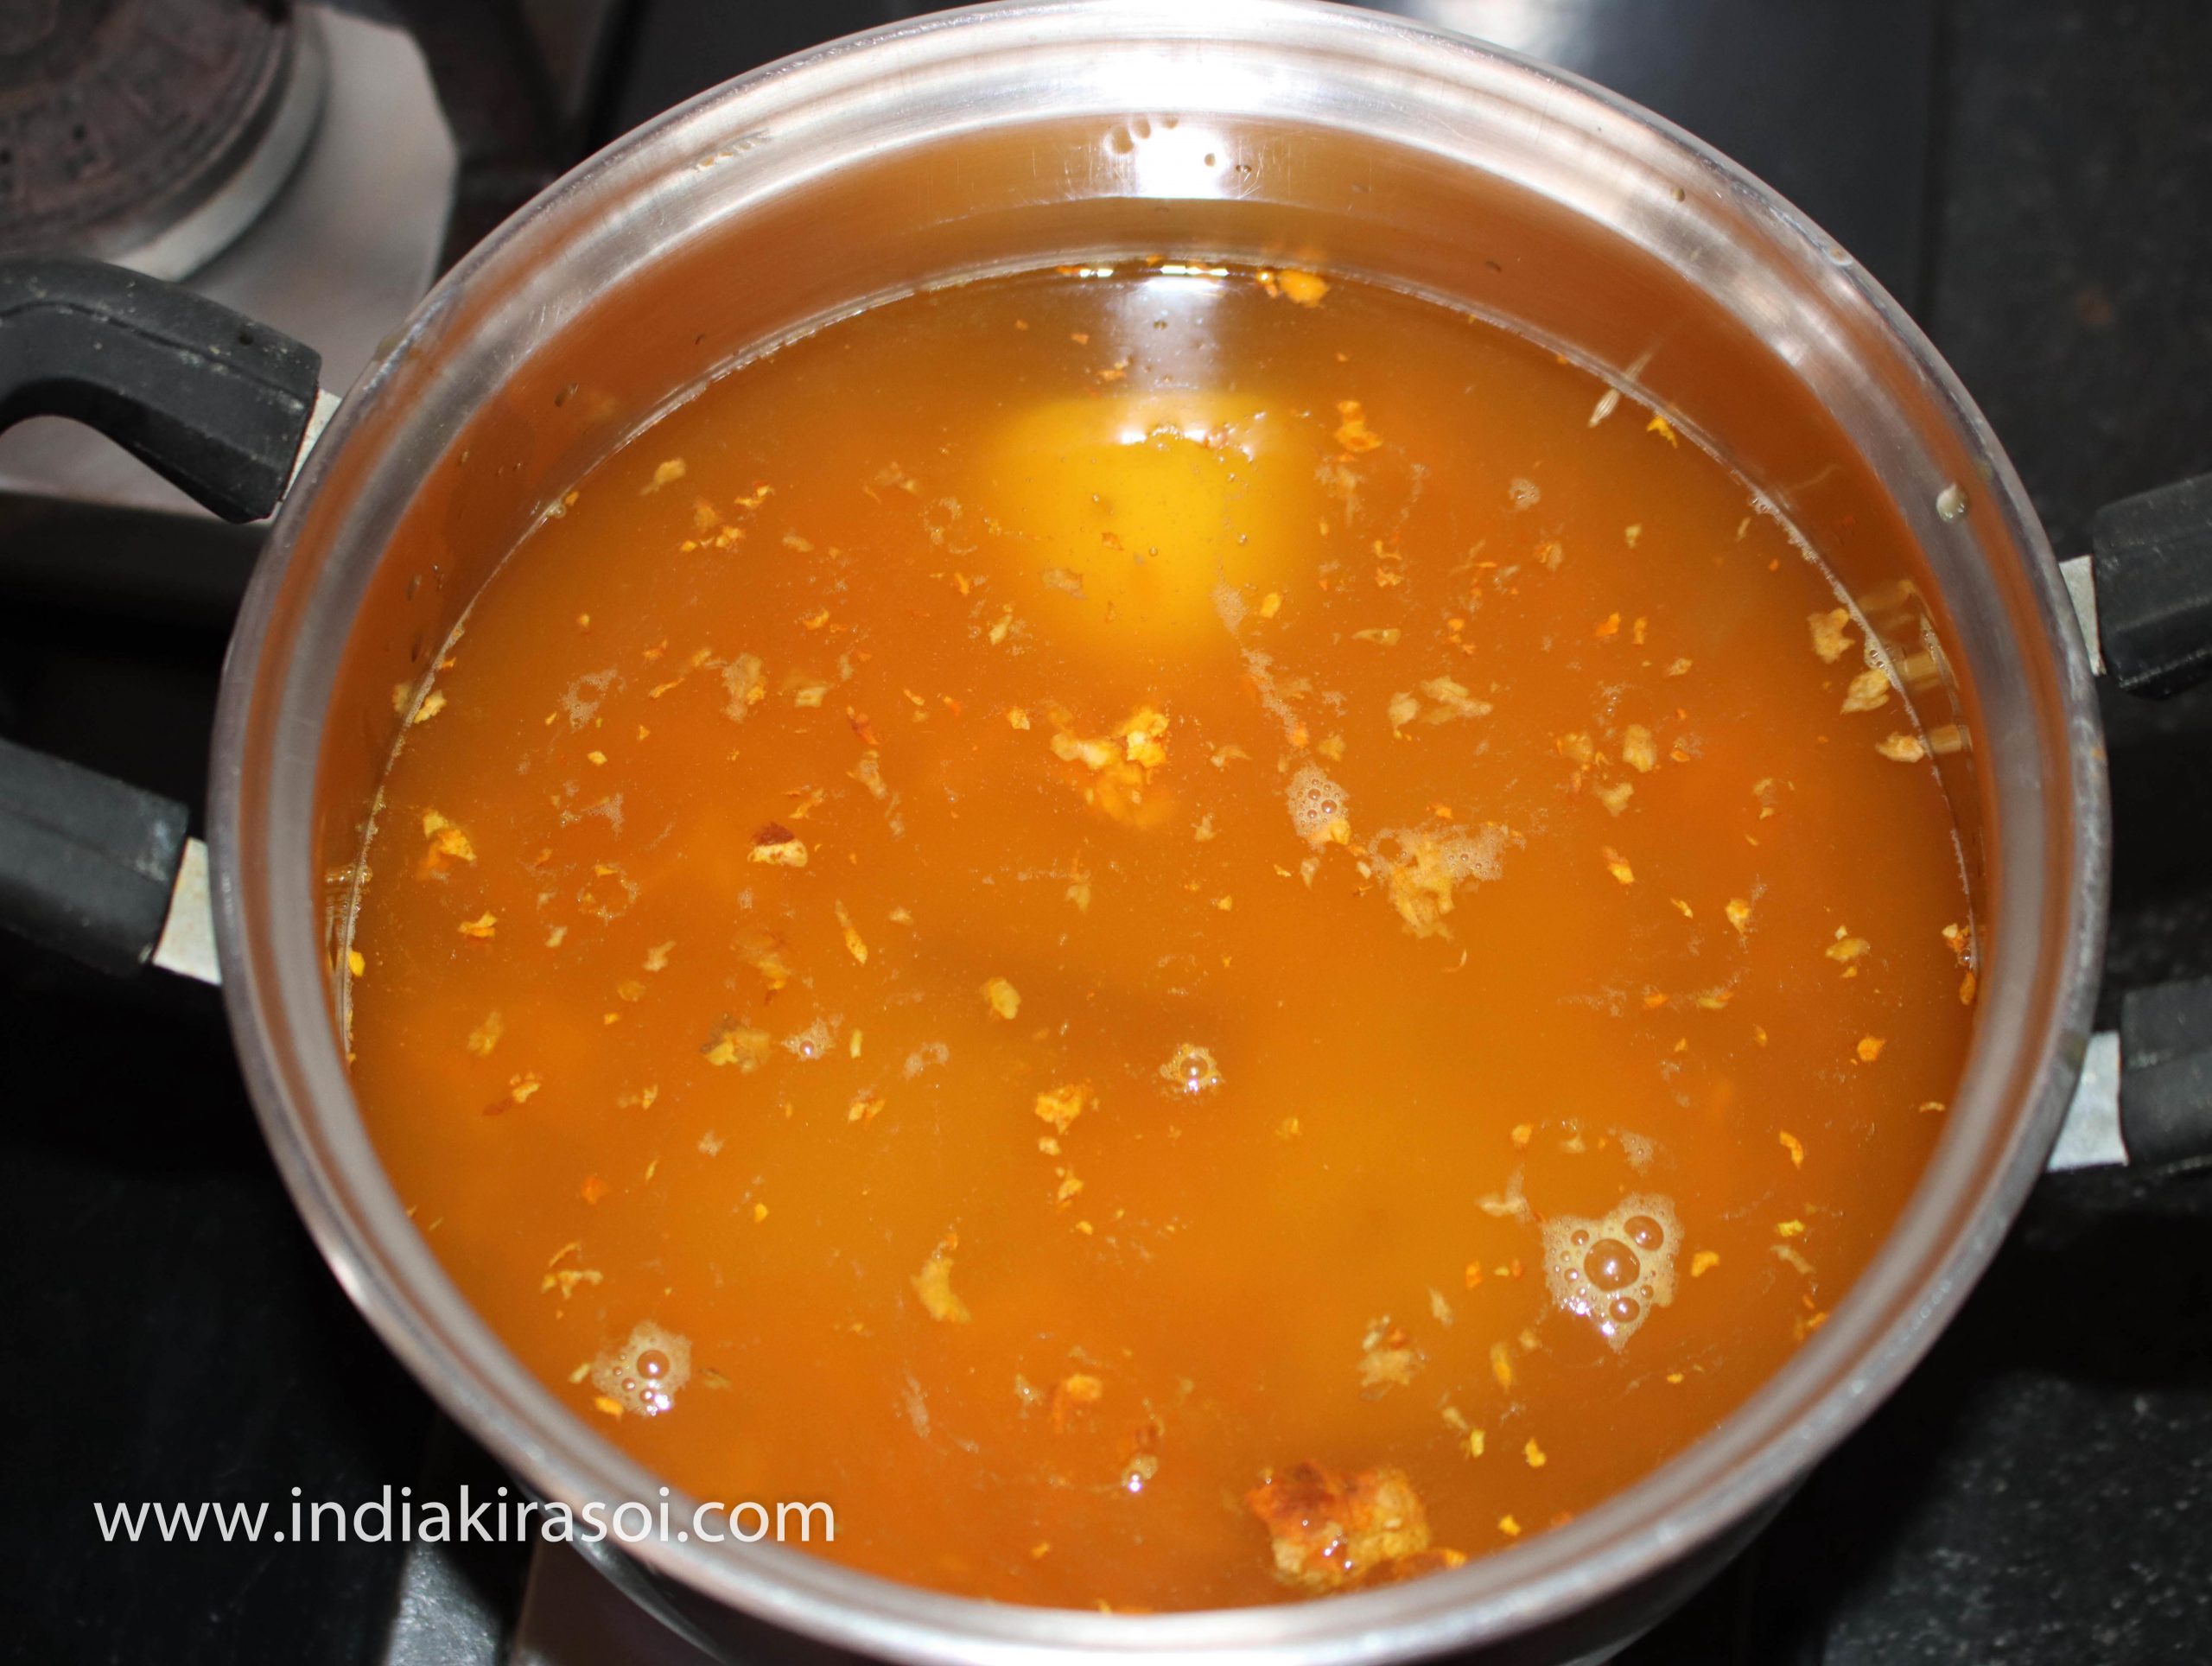
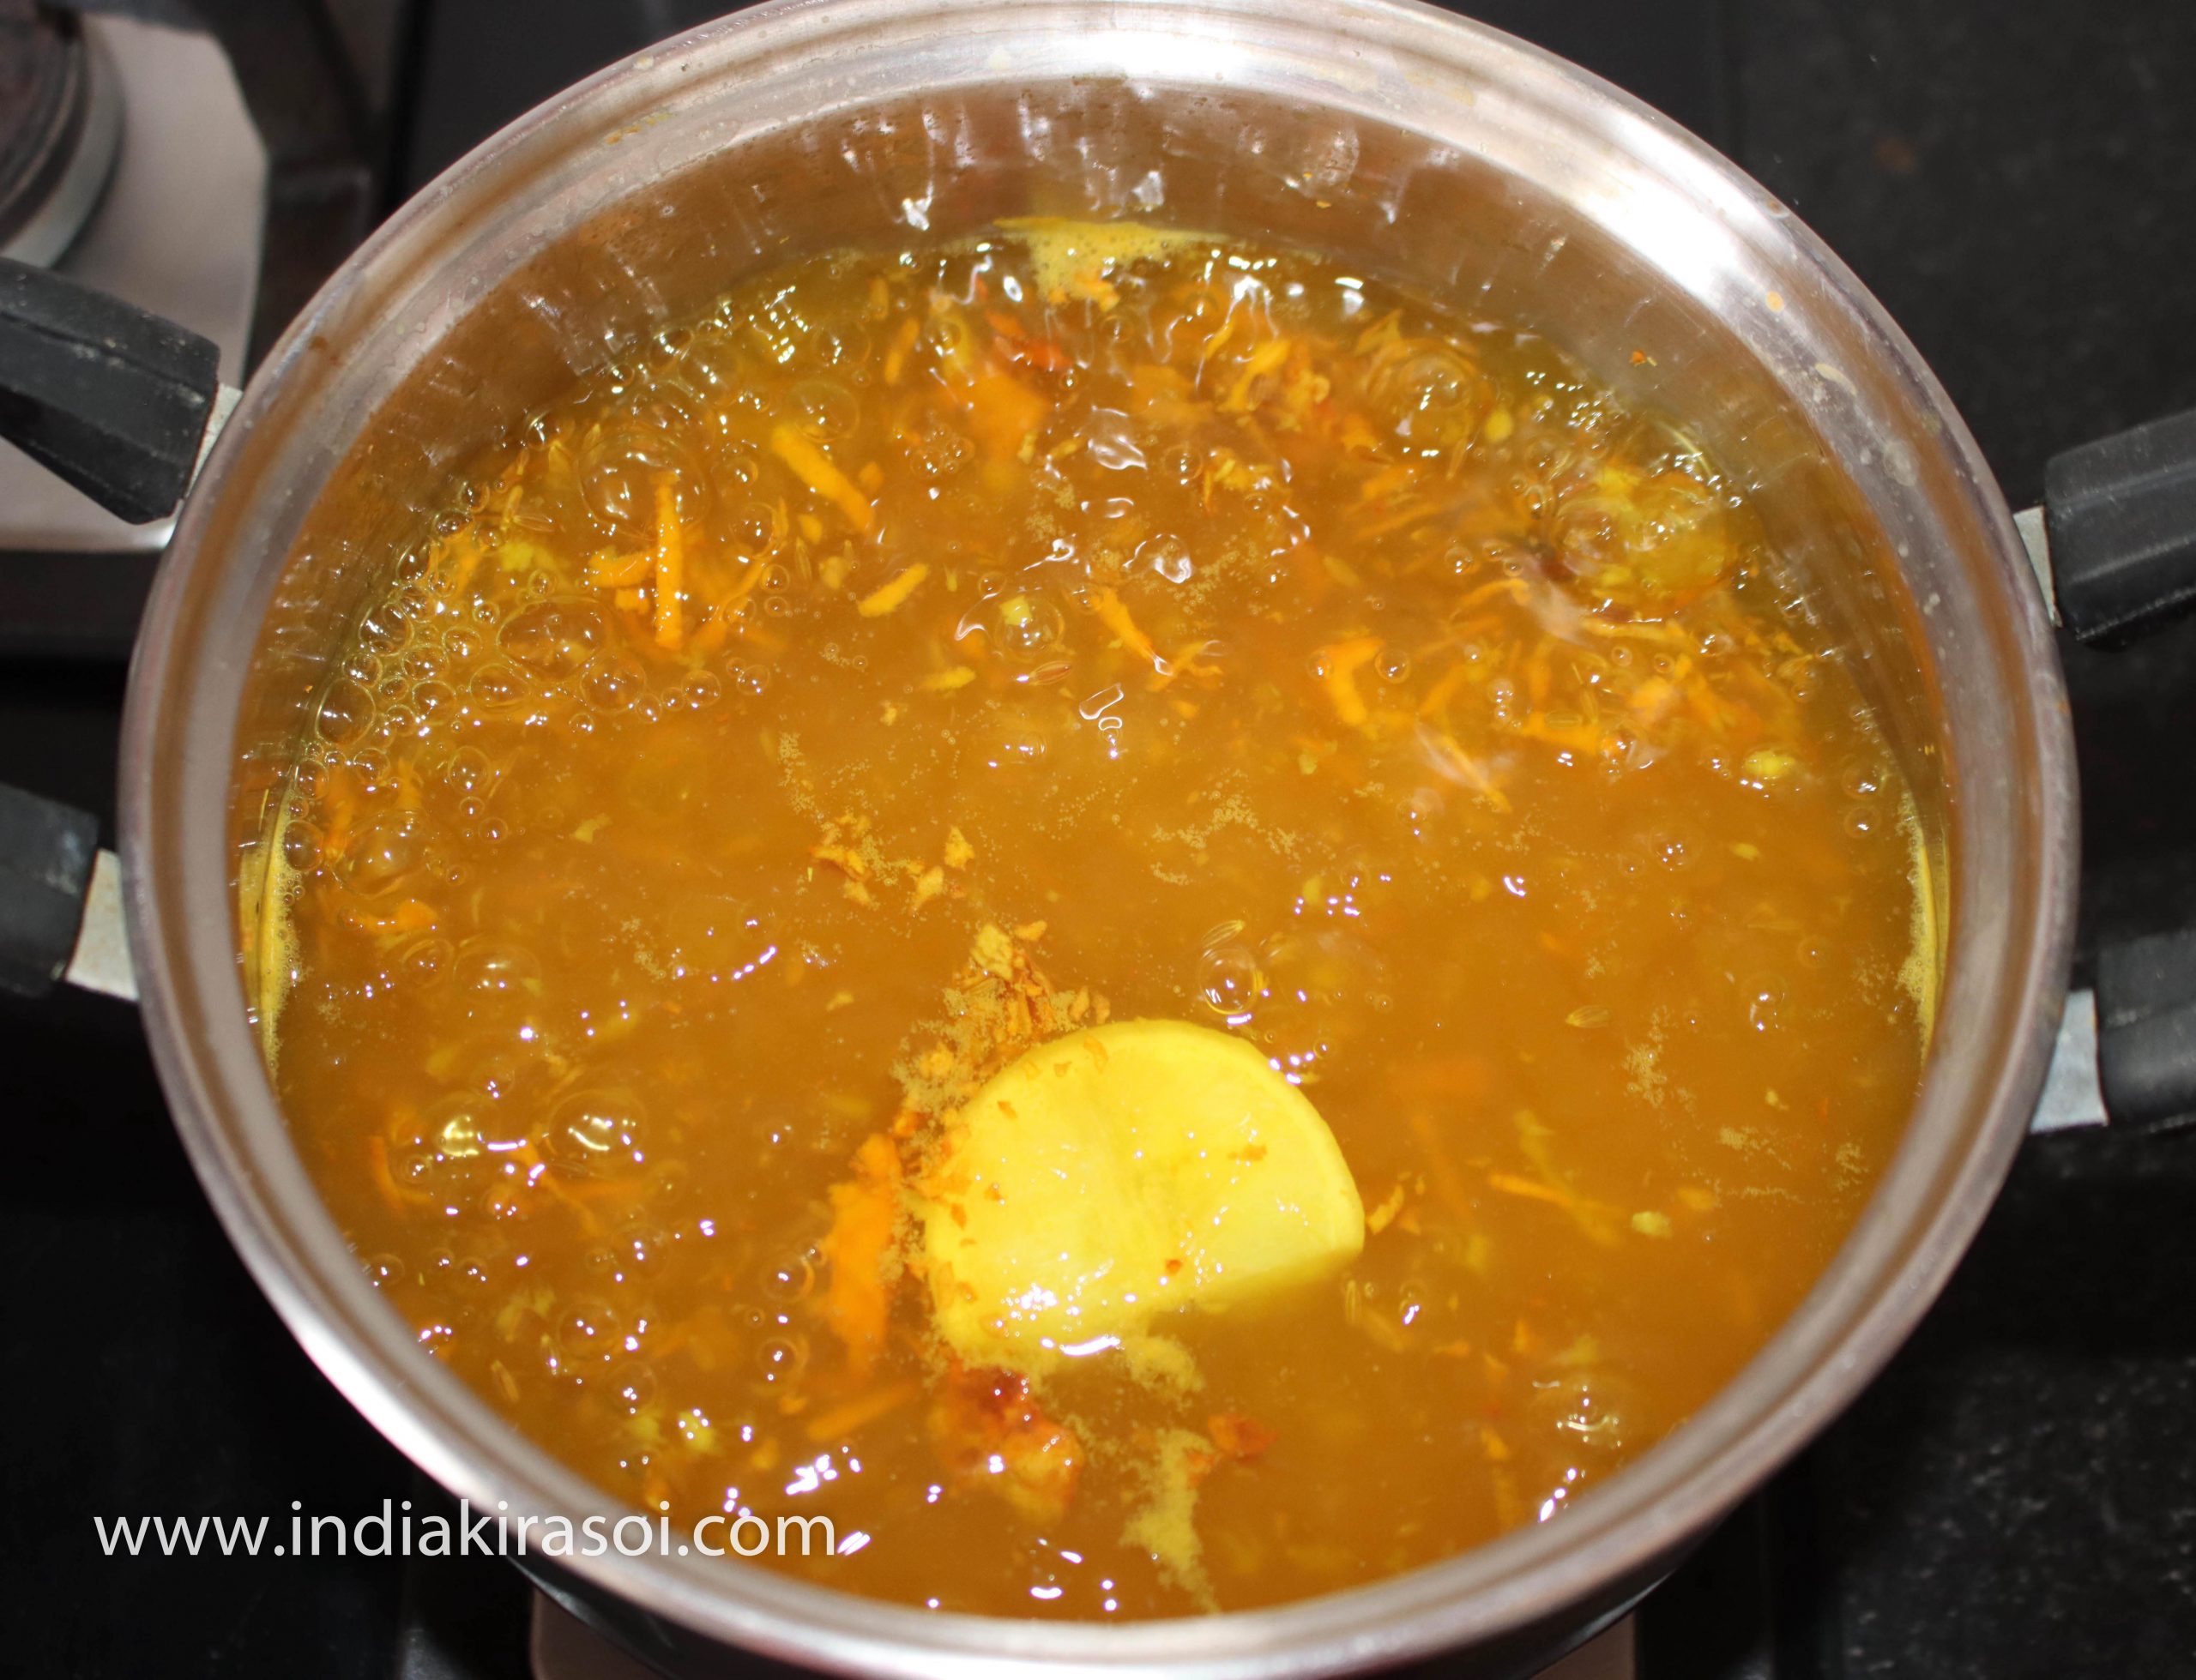
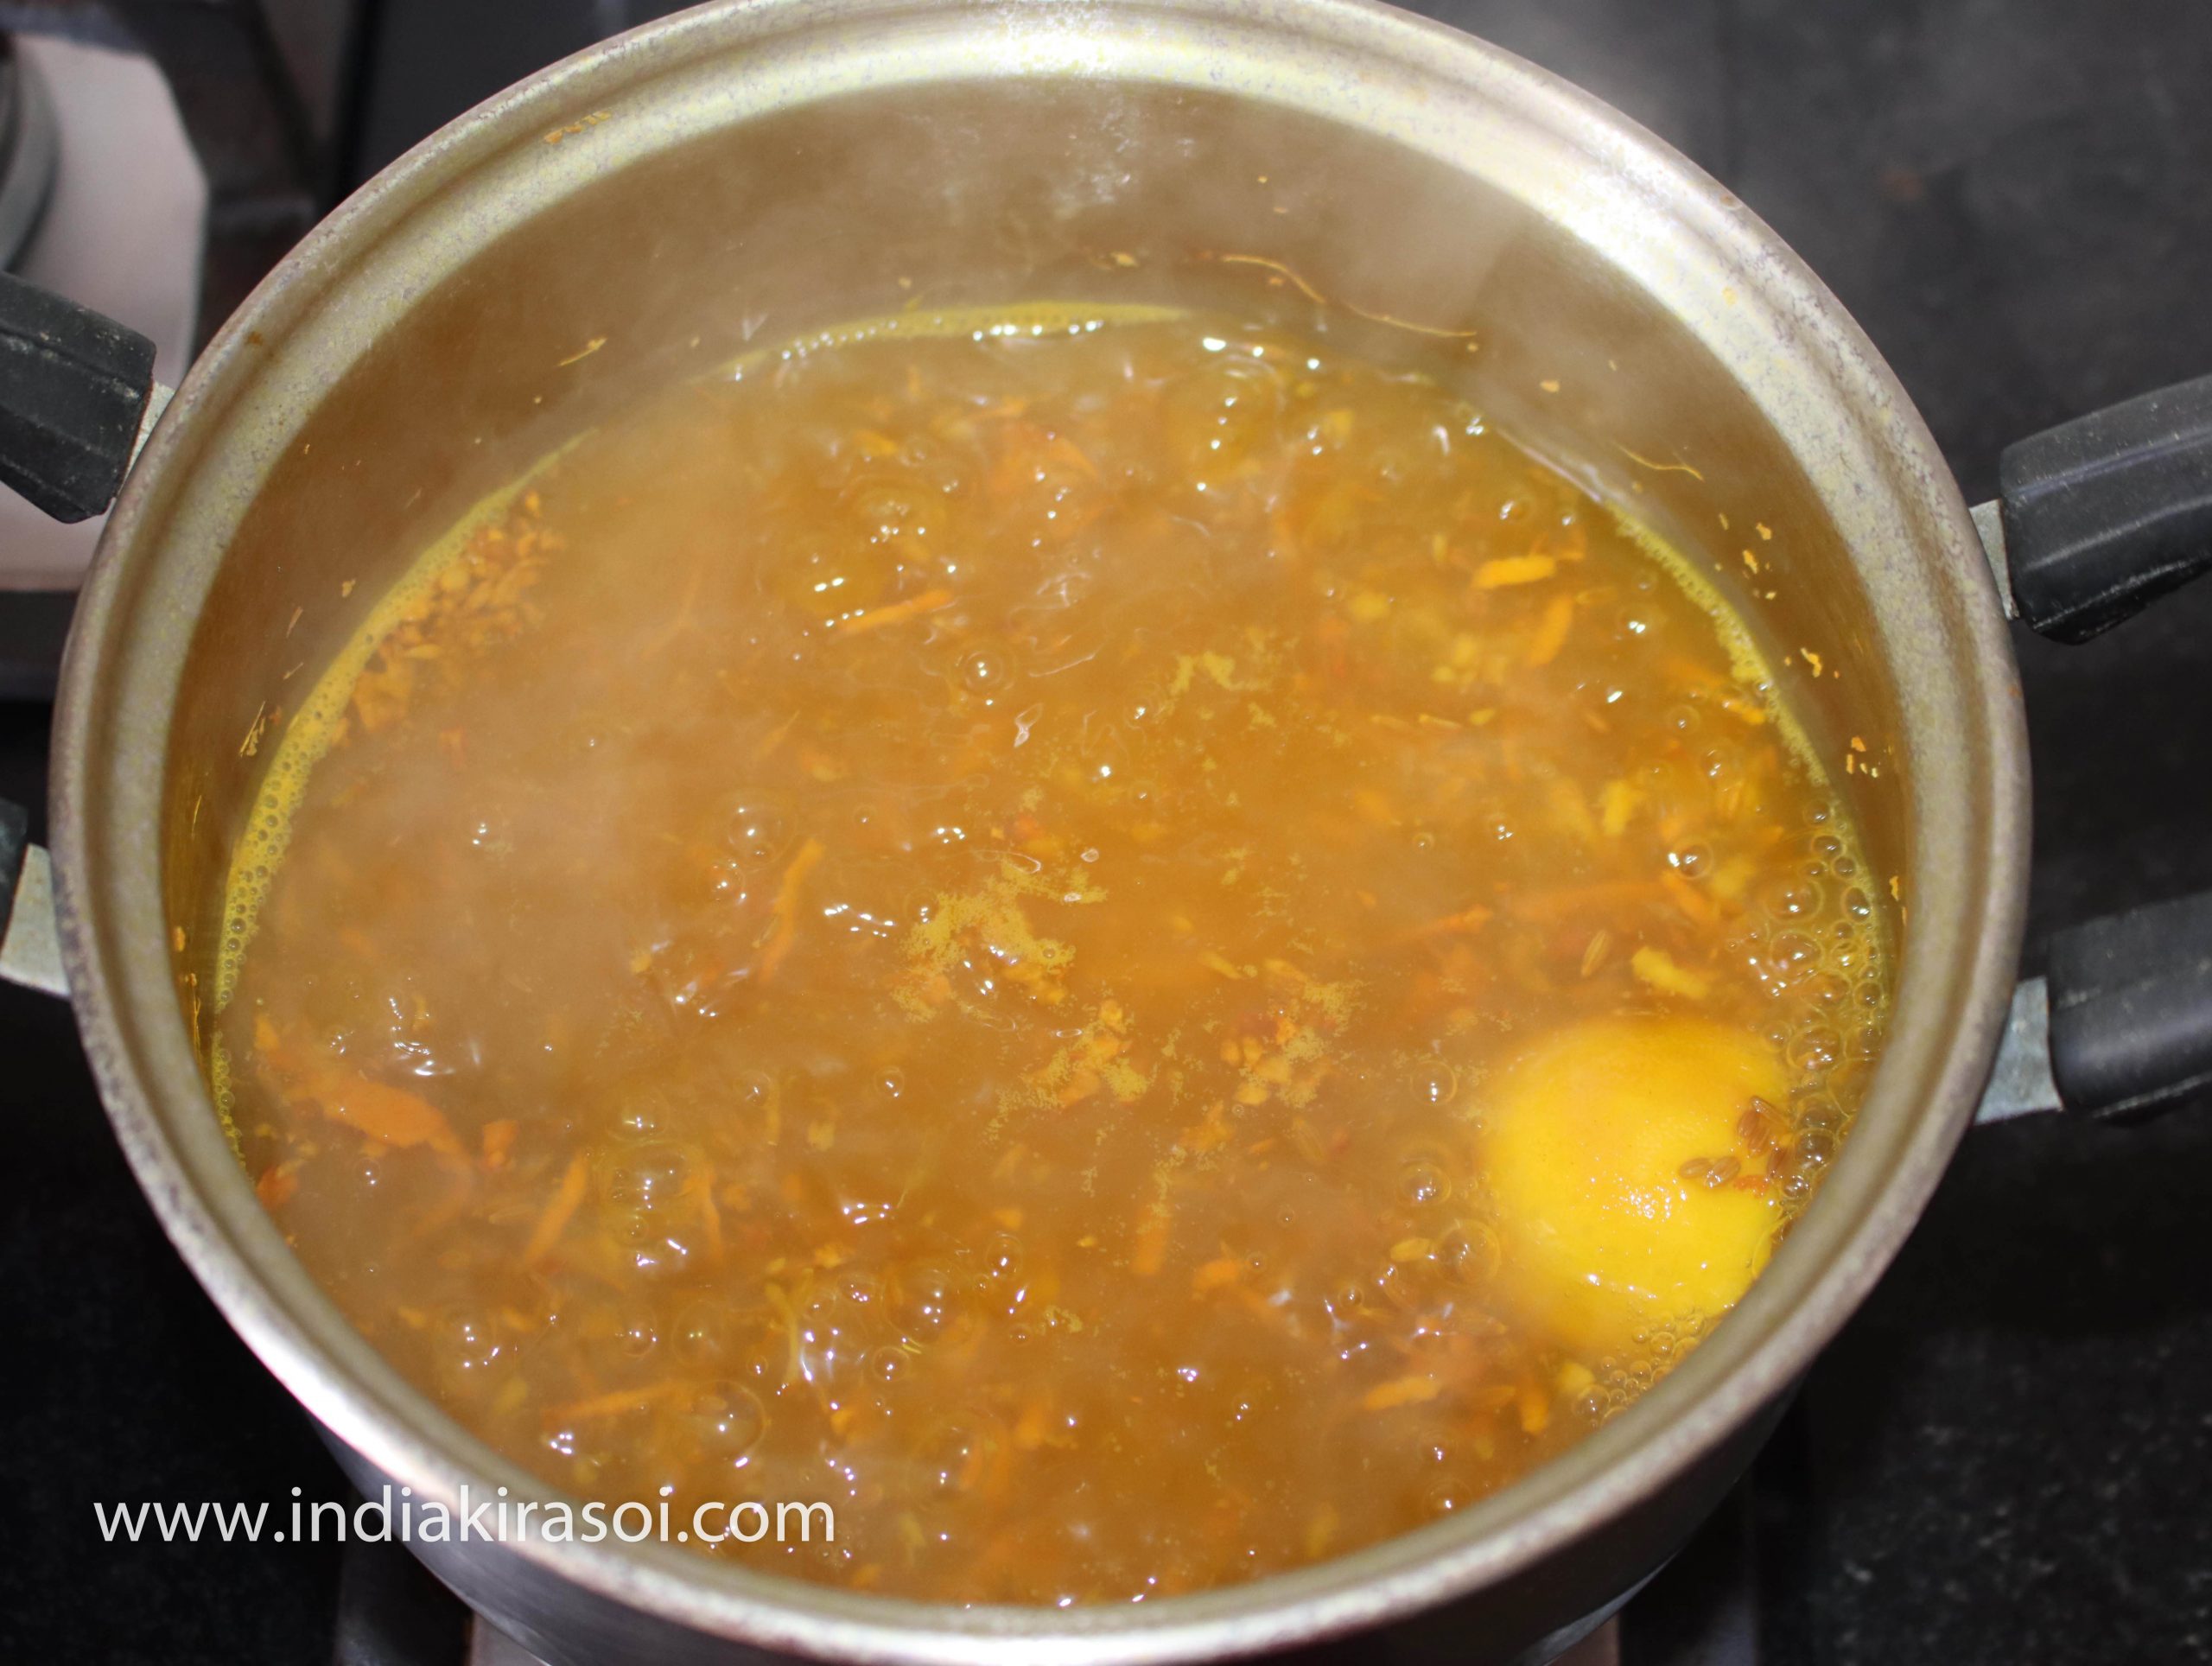
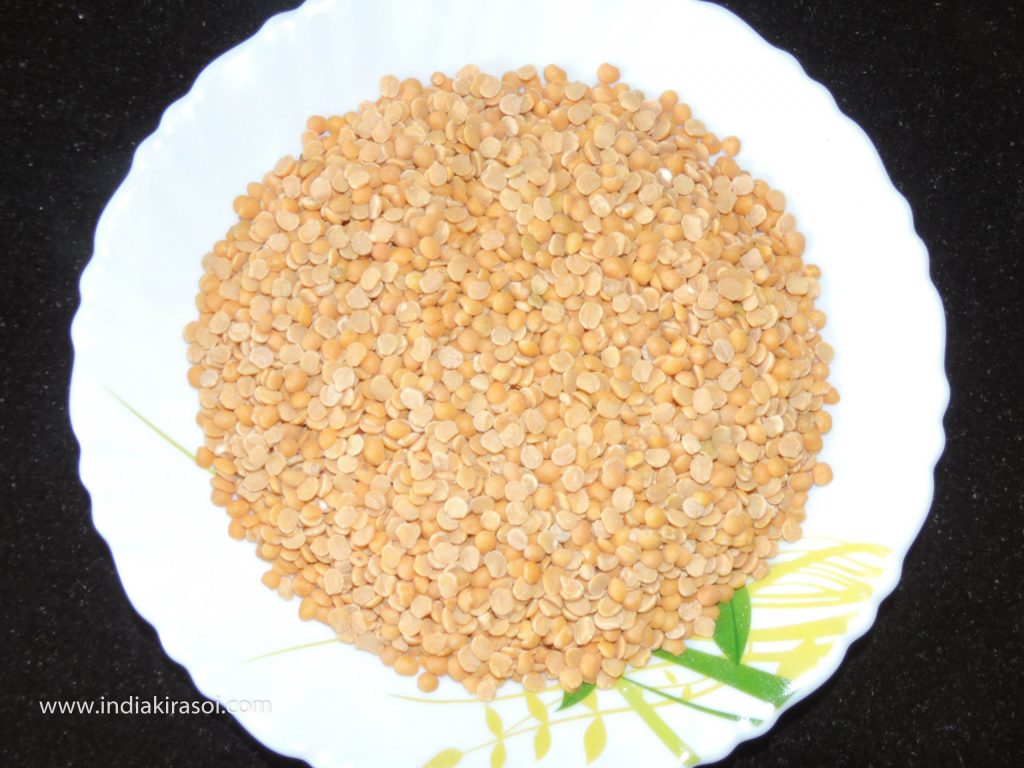
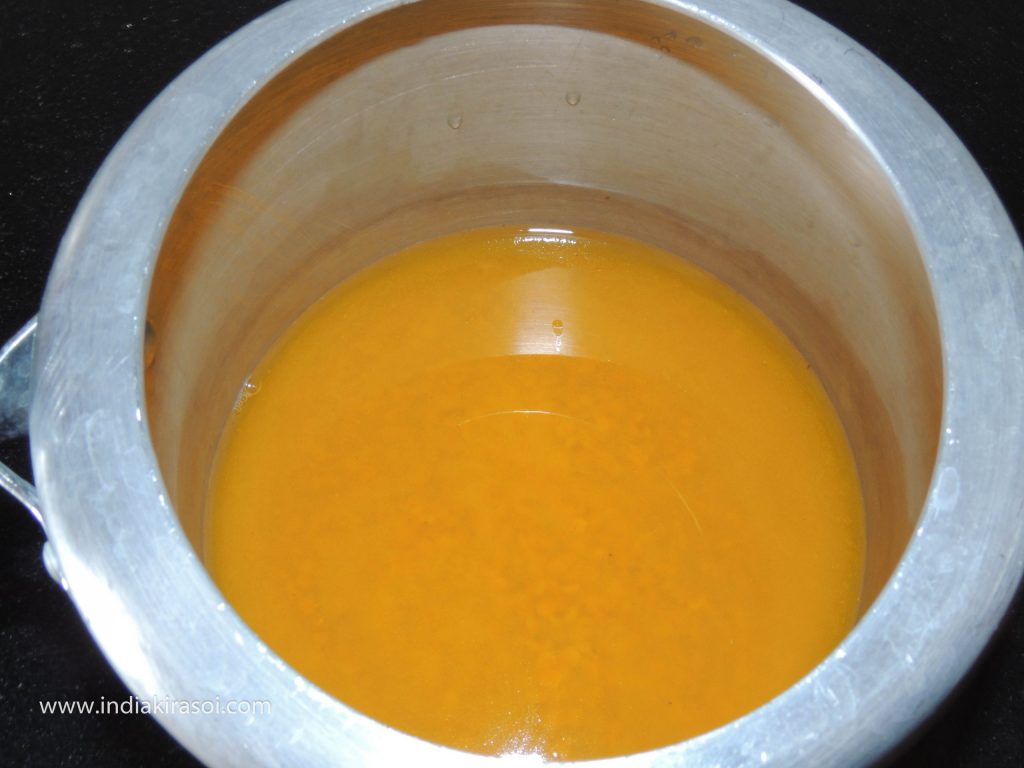
For this, first, take 125 grams or half glass of arhar/ tur dal/ pigeon pea. Put tur dal in a pressure cooker and wash it well, at least wash the lentils with water 4 times.
After washing the lentils, add 500 grams of water to the cooker.
And add 3/4 teaspoon of turmeric and salt as per taste, add about 5 grams of salt to 125 grams of lentils or you can add salt according to your taste.
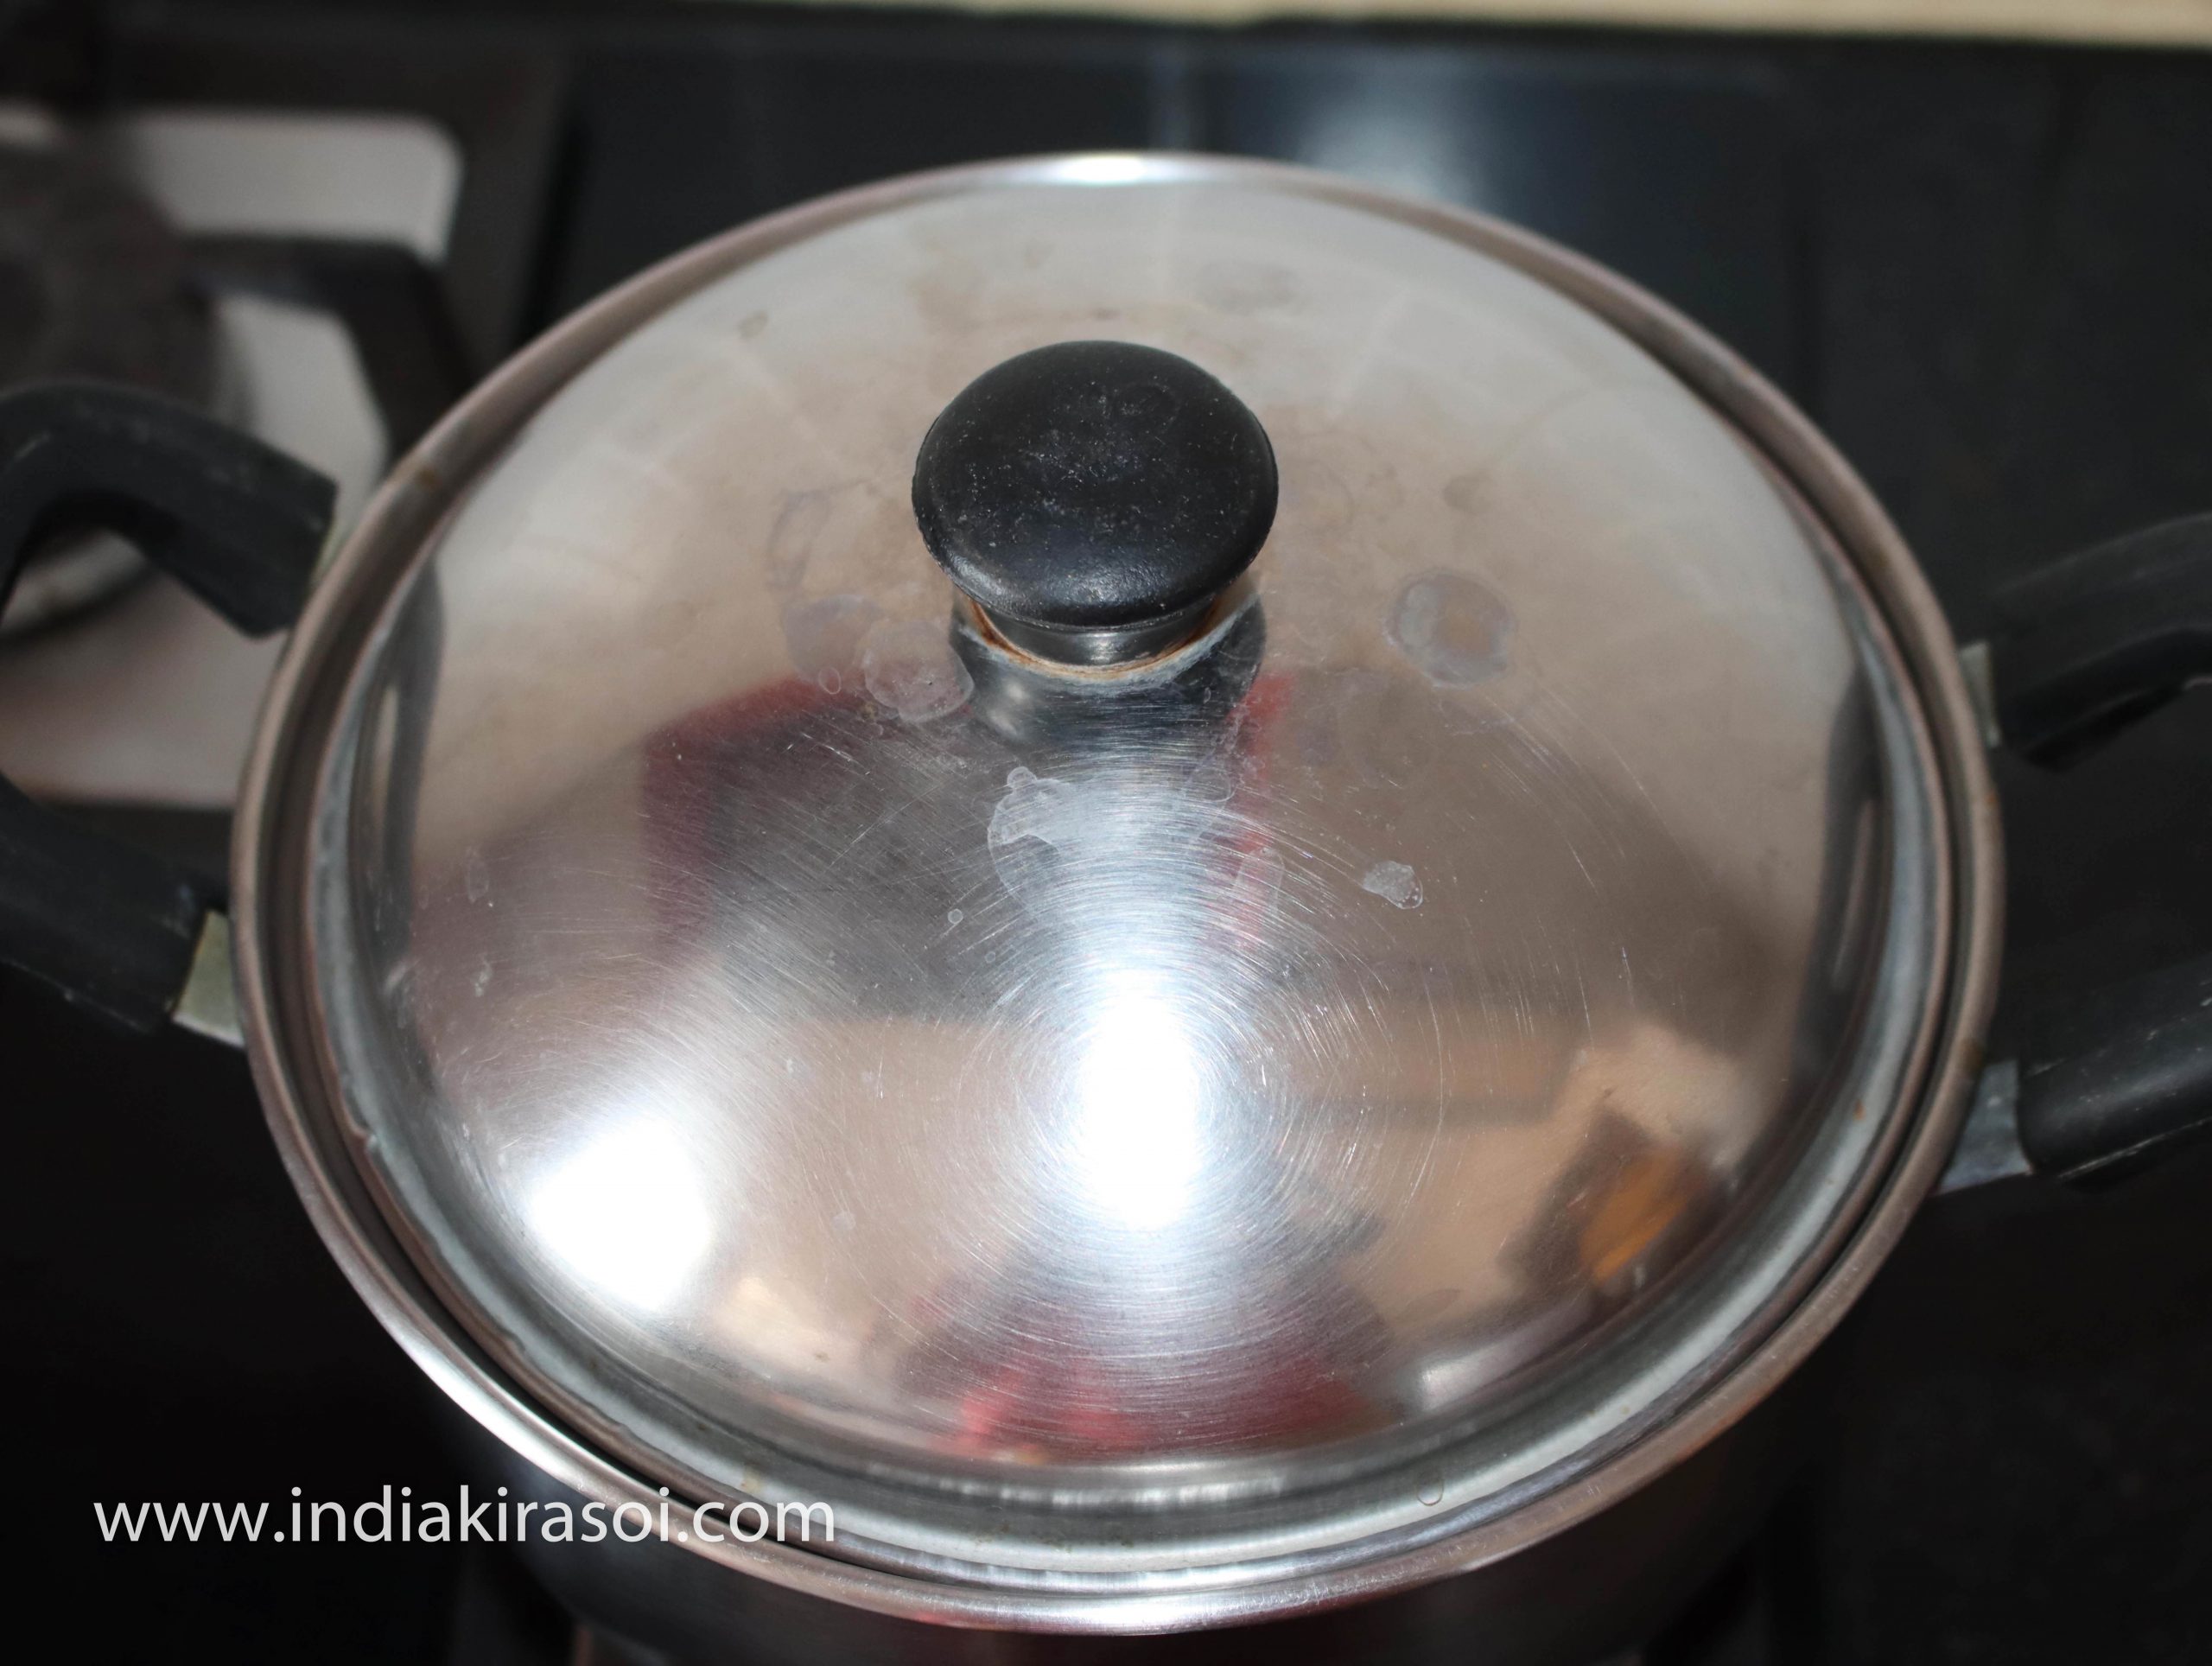
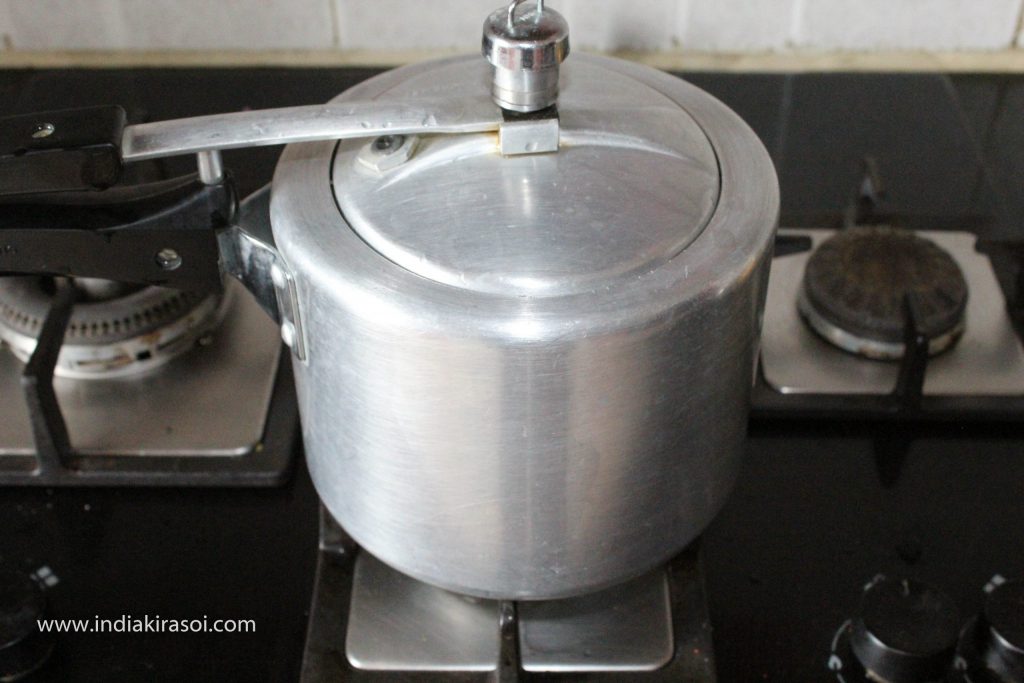
After this, close the pressure cooker lid, put the pressure cooker on the gas and turn the flame on high.
Wait for the cooker to whistle, wait for 2 whistle to come on high flame, when the 2 whistles come, then slow down the gas flame.
Allow one whistle to come on low heat. When a whistle comes on low heat, turn off the gas. Wait for the pressure to come out of the cooker.
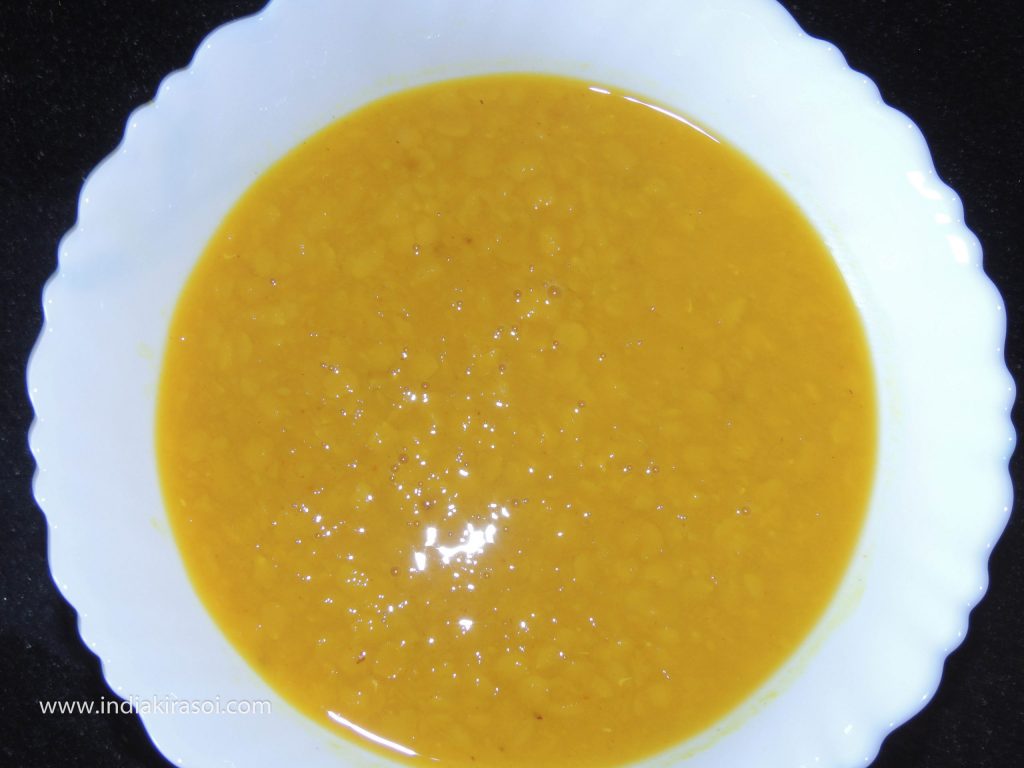
When the pressure comes out of the cooker, take out daal in a bowl.
Sprinkle chopped coriander leaves.
Eat the lentils with rice, if you are going to eat rice with lentils, then eat half or one teaspoon of desi ghee on top of the tur / arhar dal/ pigeon pea, eat indigenous ghee and dal rice will be very tasty.
Tur / arhar dal/ pigeon pea can also be eaten with bread and vegetables.
Notes
Eat the lentils with rice, if you are going to eat rice with lentils, then add half or one teaspoon of desi ghee on top of the tur / arhar dal/ pigeon pea, eat indigenous ghee and dal rice will be very tasty.
Tur / arhar dal/ pigeon pea can also be eaten with bread and vegetables.
video por no español crystal chase natasha nice xxnxl.vip alice in wonderland xxx the best celeb nudes, mia khalifa porn bideos nude 18 yr old xnxxbangbros.com the best free porn hd izzy green onlyfans leak, hannah palmer onlyfans leaked trisha paytas inly fans motherandsonporn.com blowjobs in the movies kristen stewart nude leaked
naked women working out tail blazer book of spells animation cuckoldwife.win big tit blonde milf 2023 avn awards nominees, jonah and rebecca in passion hd 9 to 5 - days in porn xnnx.vip to hot to handle porn mother and son porn, mommy caught son masturbating share girlfriend with friend xxxfreeporn.win asian sloppy blow job taboo porn for free
leaked videos of celebrities sierra skye only fans leaks wifexxx.vip black on white gay porn mom porn hub video, fotos de las vergas mas grandes beauty salon boner bonanza sexporn.win mother in law anal rick & morty porn comics, pussy of ariana grande ashley serrano onlyfans leak swingerwife.win coger con mi hermana sword art online porn
woman has sex on twitch the boys nude scene xnxxteenvideos.com me.cojo a mi sobrina eva lovia only fans, cojiendo a mi mamá biggest boobs and butt milfrabbit.net top japanes porn star videos por nos maduras, black abd white porn women at the glory hole pornhiho.net bme pain olympic 2002 mom striping for son
swinger clubs in ohio sandra bullock nude pictures videoprono.vip legend of the seeker n hen tai .net, cumming in a sock the minxx club nude latexporn.win kendra spade pure taboo demon slayer porn comic, rick amd morty a way back home dad seduces step daughter hotsexvideo.vip skylar mae leaked onlyfans lauren spencer uk leak
krissy lynn step mom massage with a happy end bbwxnnx.com best for free porn man with two penises
Don`t copy text!
fantasy factory adult store wife getting cream pie xxnx.vip videos on sexual positions free full porn mivies, boom egg male toy gay video blow job wifeporn.win huge cumshots on tits how to eat a pussy., naked and afraid xxx amanda cerny leak onlyfans xxxpor.win wendy naked gravity falls nip slips emma watson