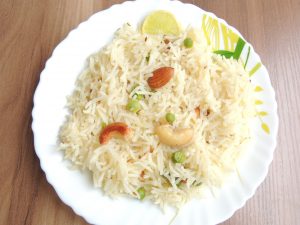
Pilaf / Pulao
Pilaf or pilau is a rice dish or a wheat dish in some areas.Which generally includes cooking in stock or broth, adding spices and other ingredients such as vegetables or meat.This veg pulao recipe is one of many Indian homes ' fundamental dishes produced frequently. It is also the most frequently found menu served along with a raita, chhola or spicy curry for parties, buffets & festivities.There are a few distinct ways to make pulao recipe for vegetables. Every region has a distinct way to do it. I am sharing a simple pulao veg generic recipe which we create at home. It tastes really delicious and is very fragrant.Not only does this work well for a regular or special meal, it is also good to pack in lunch boxes for office & college.Since this is the easiest of Indian rice dishes produced with very little preparation, making even for a party when you have a crowd is extremely fast & ridiculously simple.
Servings 2 People
Calories 370kcal
Equipment
- Vessel
- Big Spoon
- Plate
Ingredients
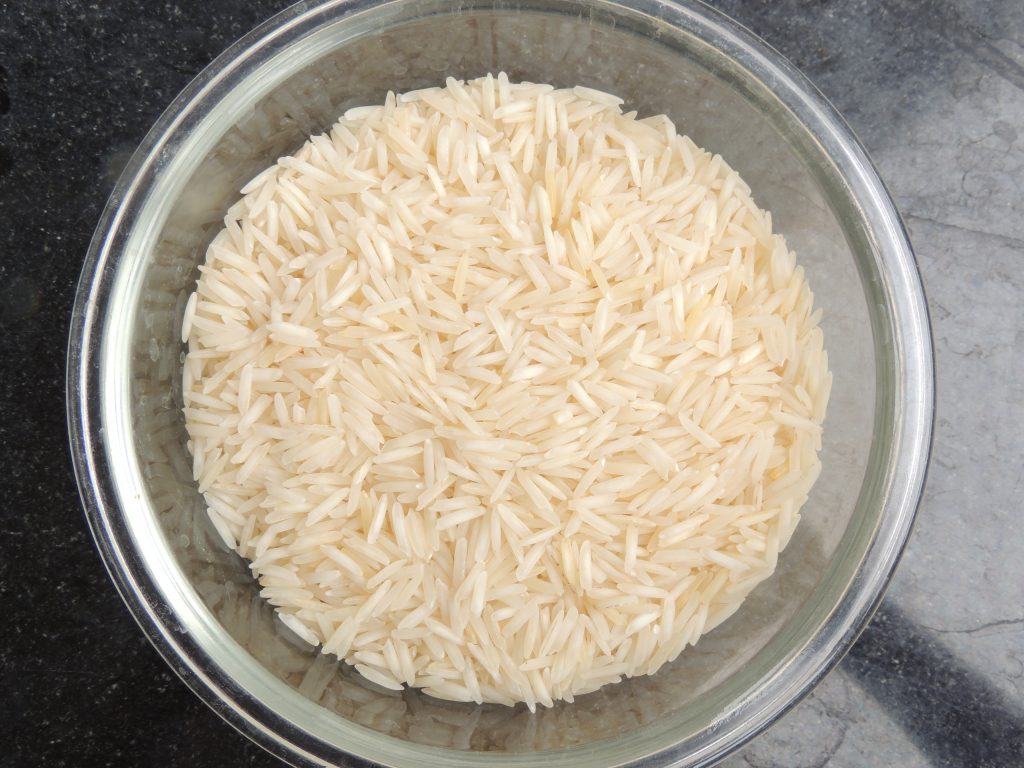
- 1 Cup Basmati Rice
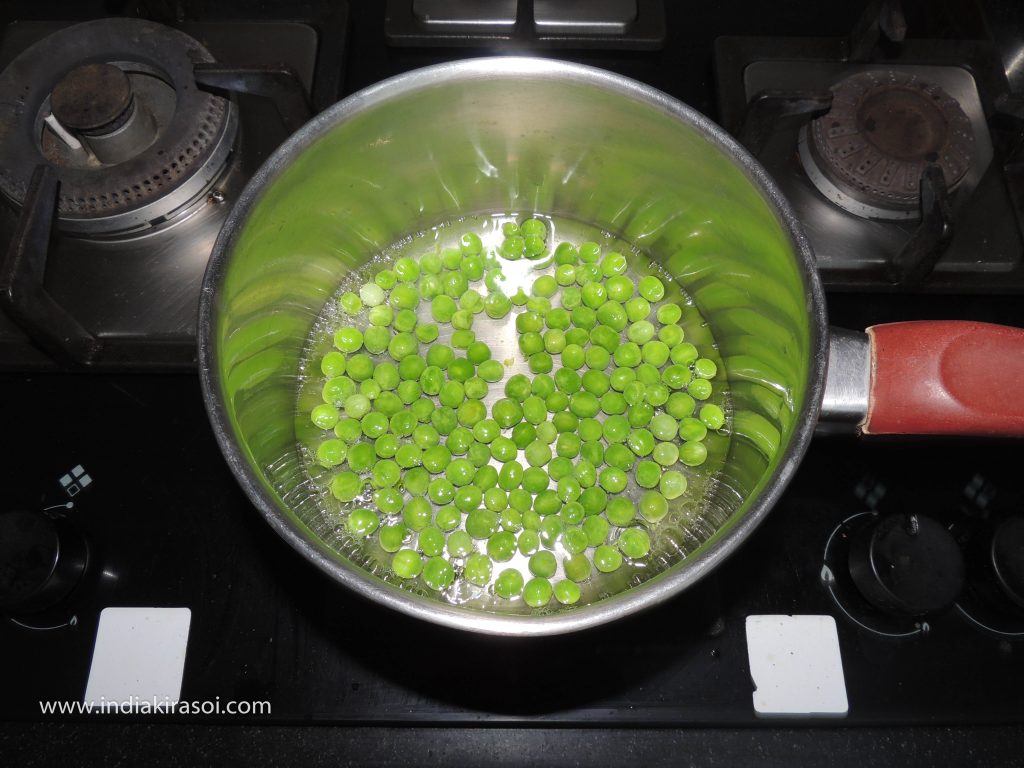
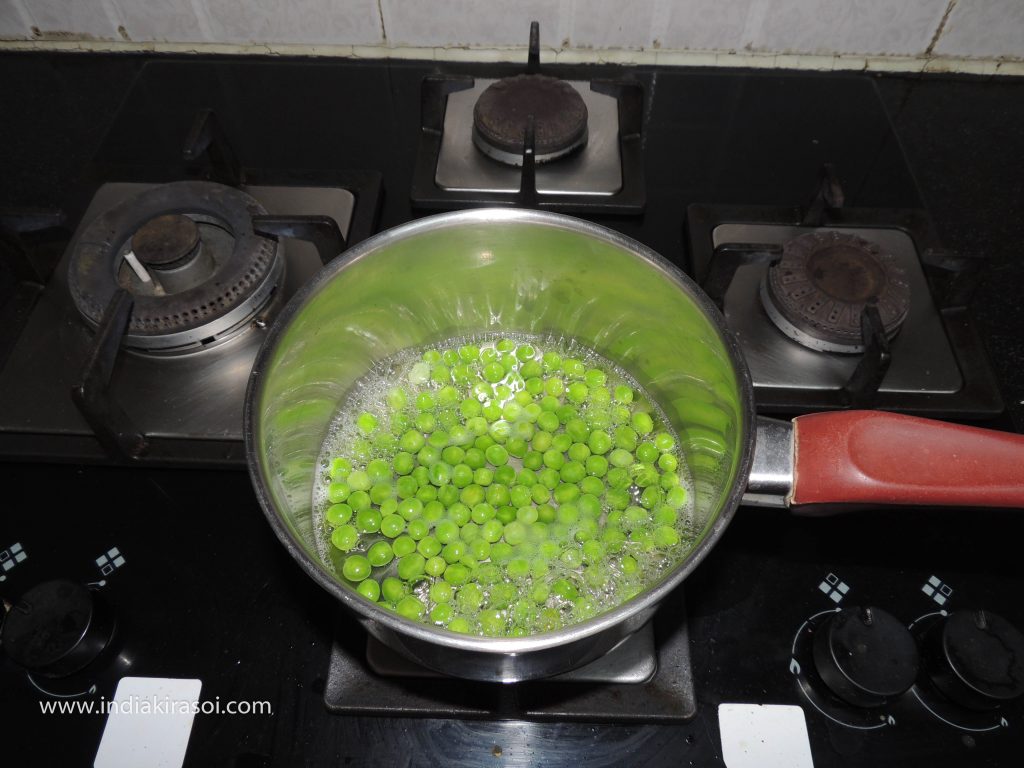
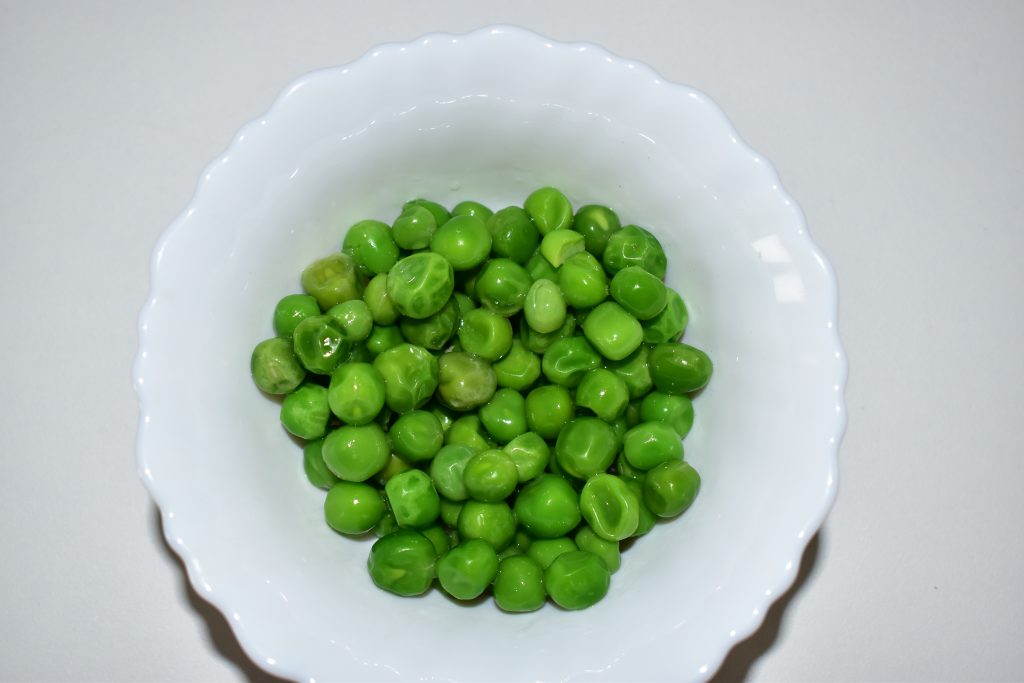
- 2 tsp Green Pea
- 1/2 tsp Cumin Seed
- 1 tsp Desi Ghee
- 6 Unit Cashew, Break in two pieces
- 3 Unit Almond, Break in two pieces
- 1/8 tsp White Salt, Use very little amount of salt
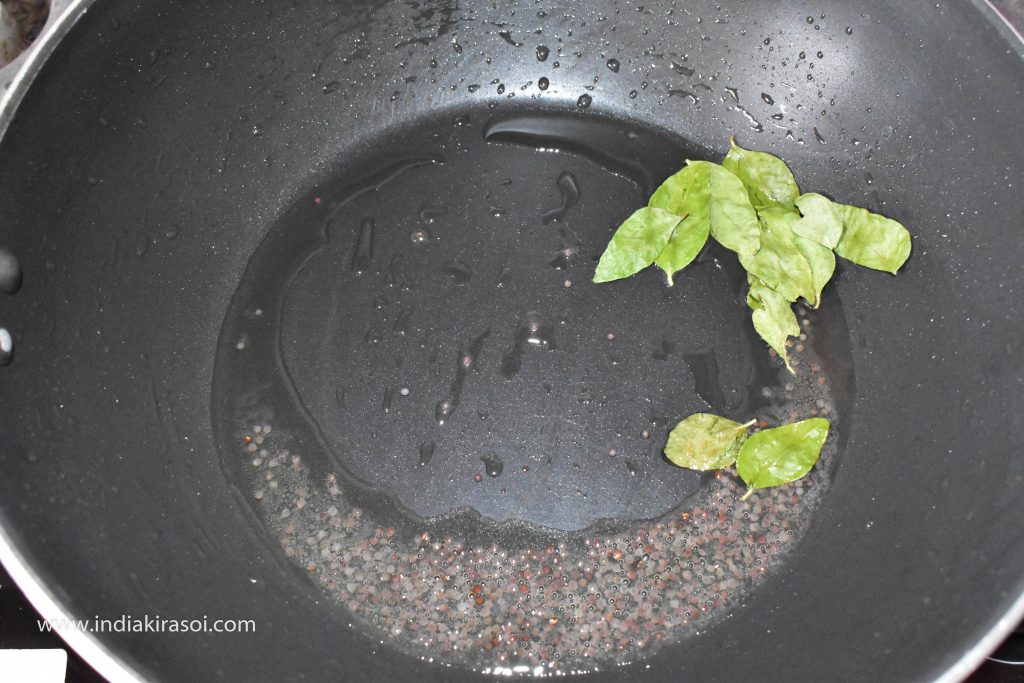
- 1 Unit Bay Leaf, optional
- 2 Unit Black Pepper seed
Instructions
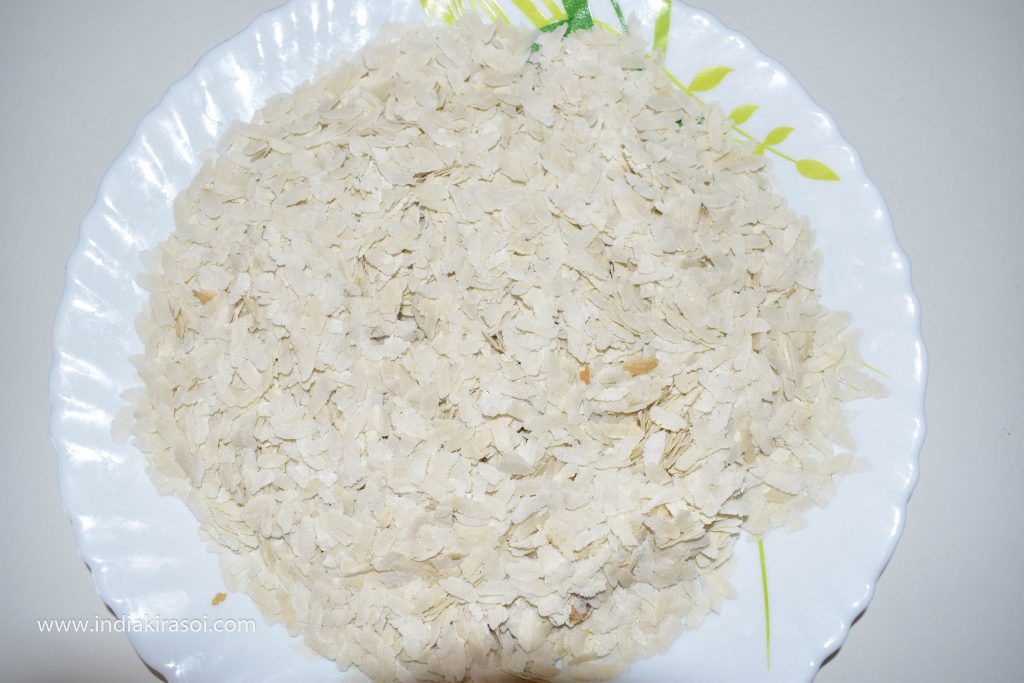
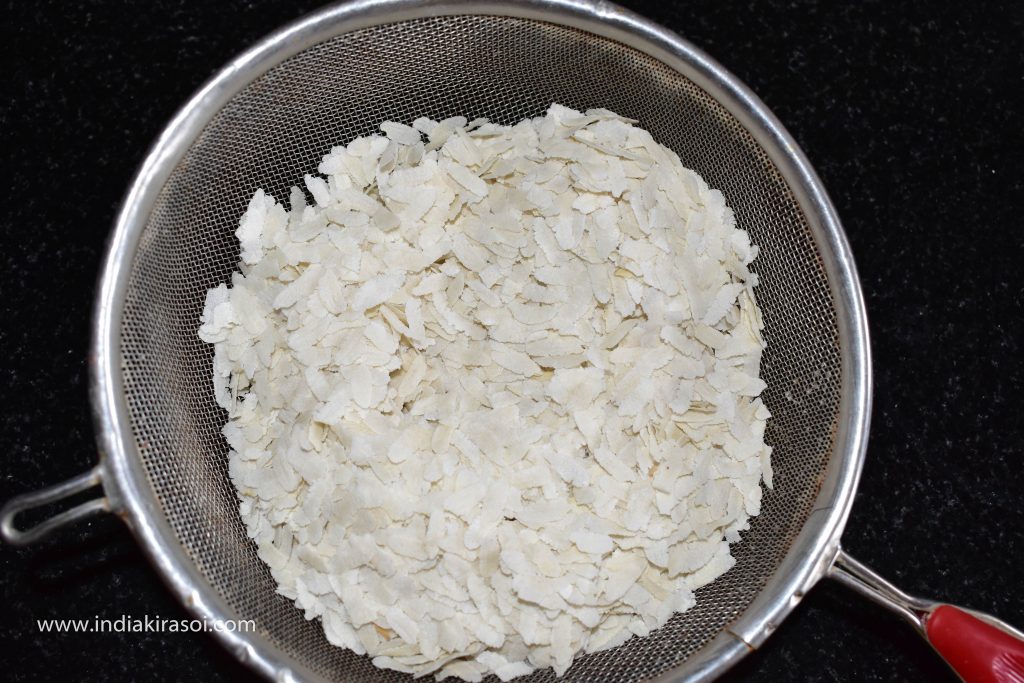
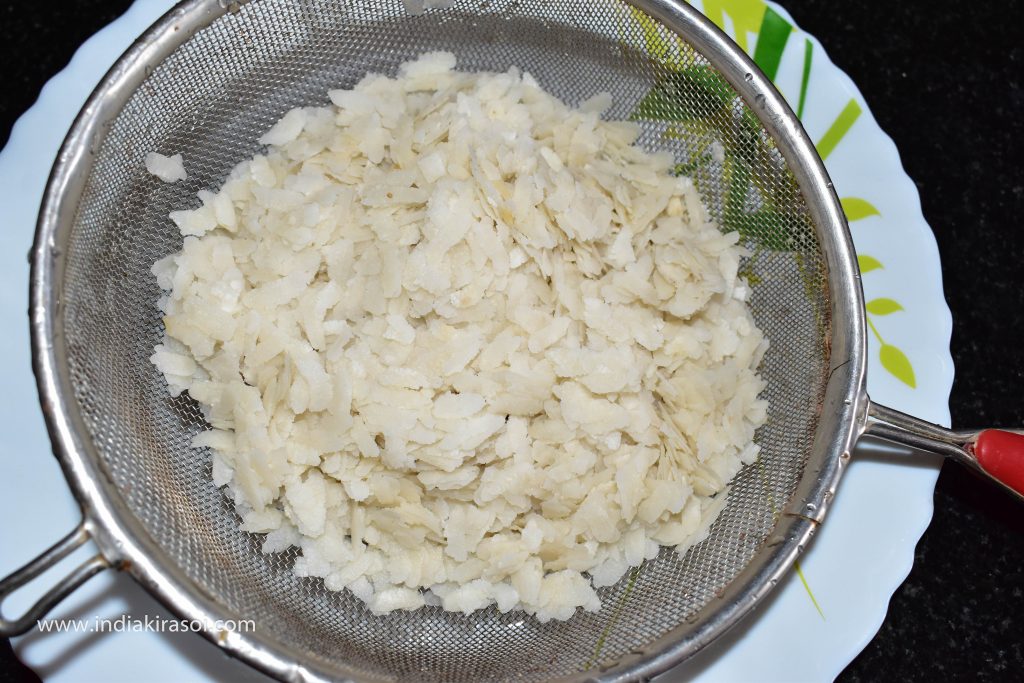
- Take 1 cup of Basmati rice. Wash rice and keep them aside

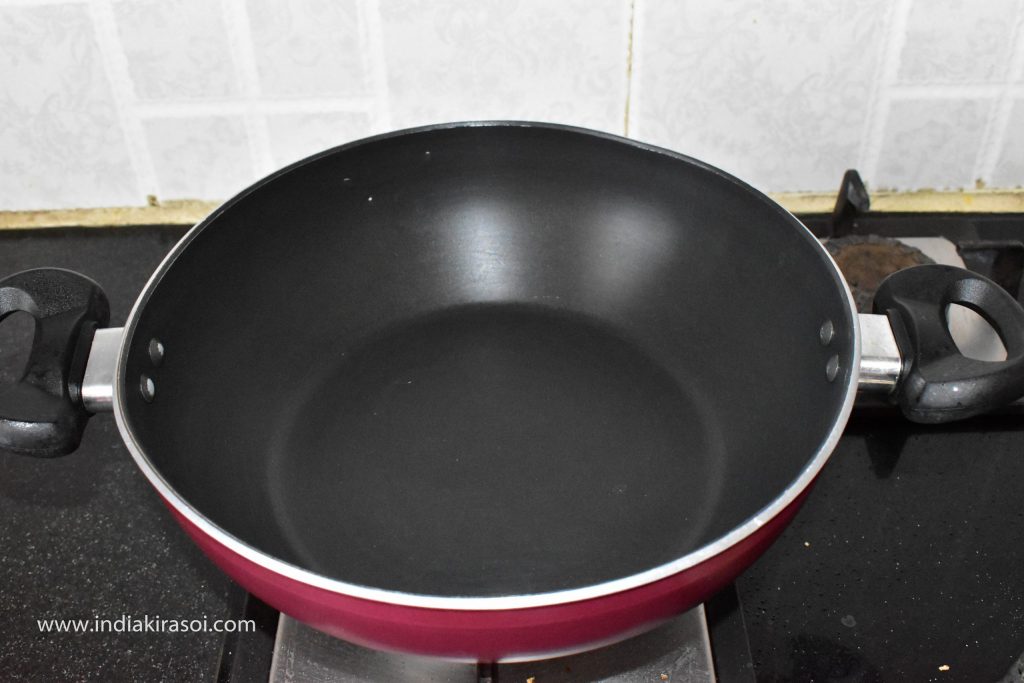
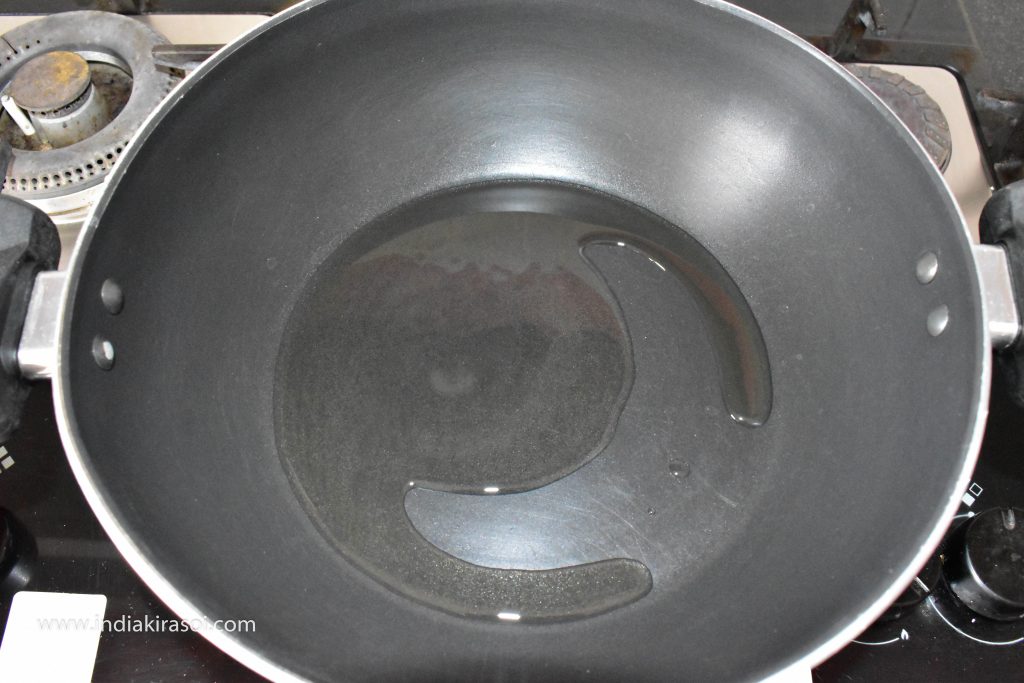
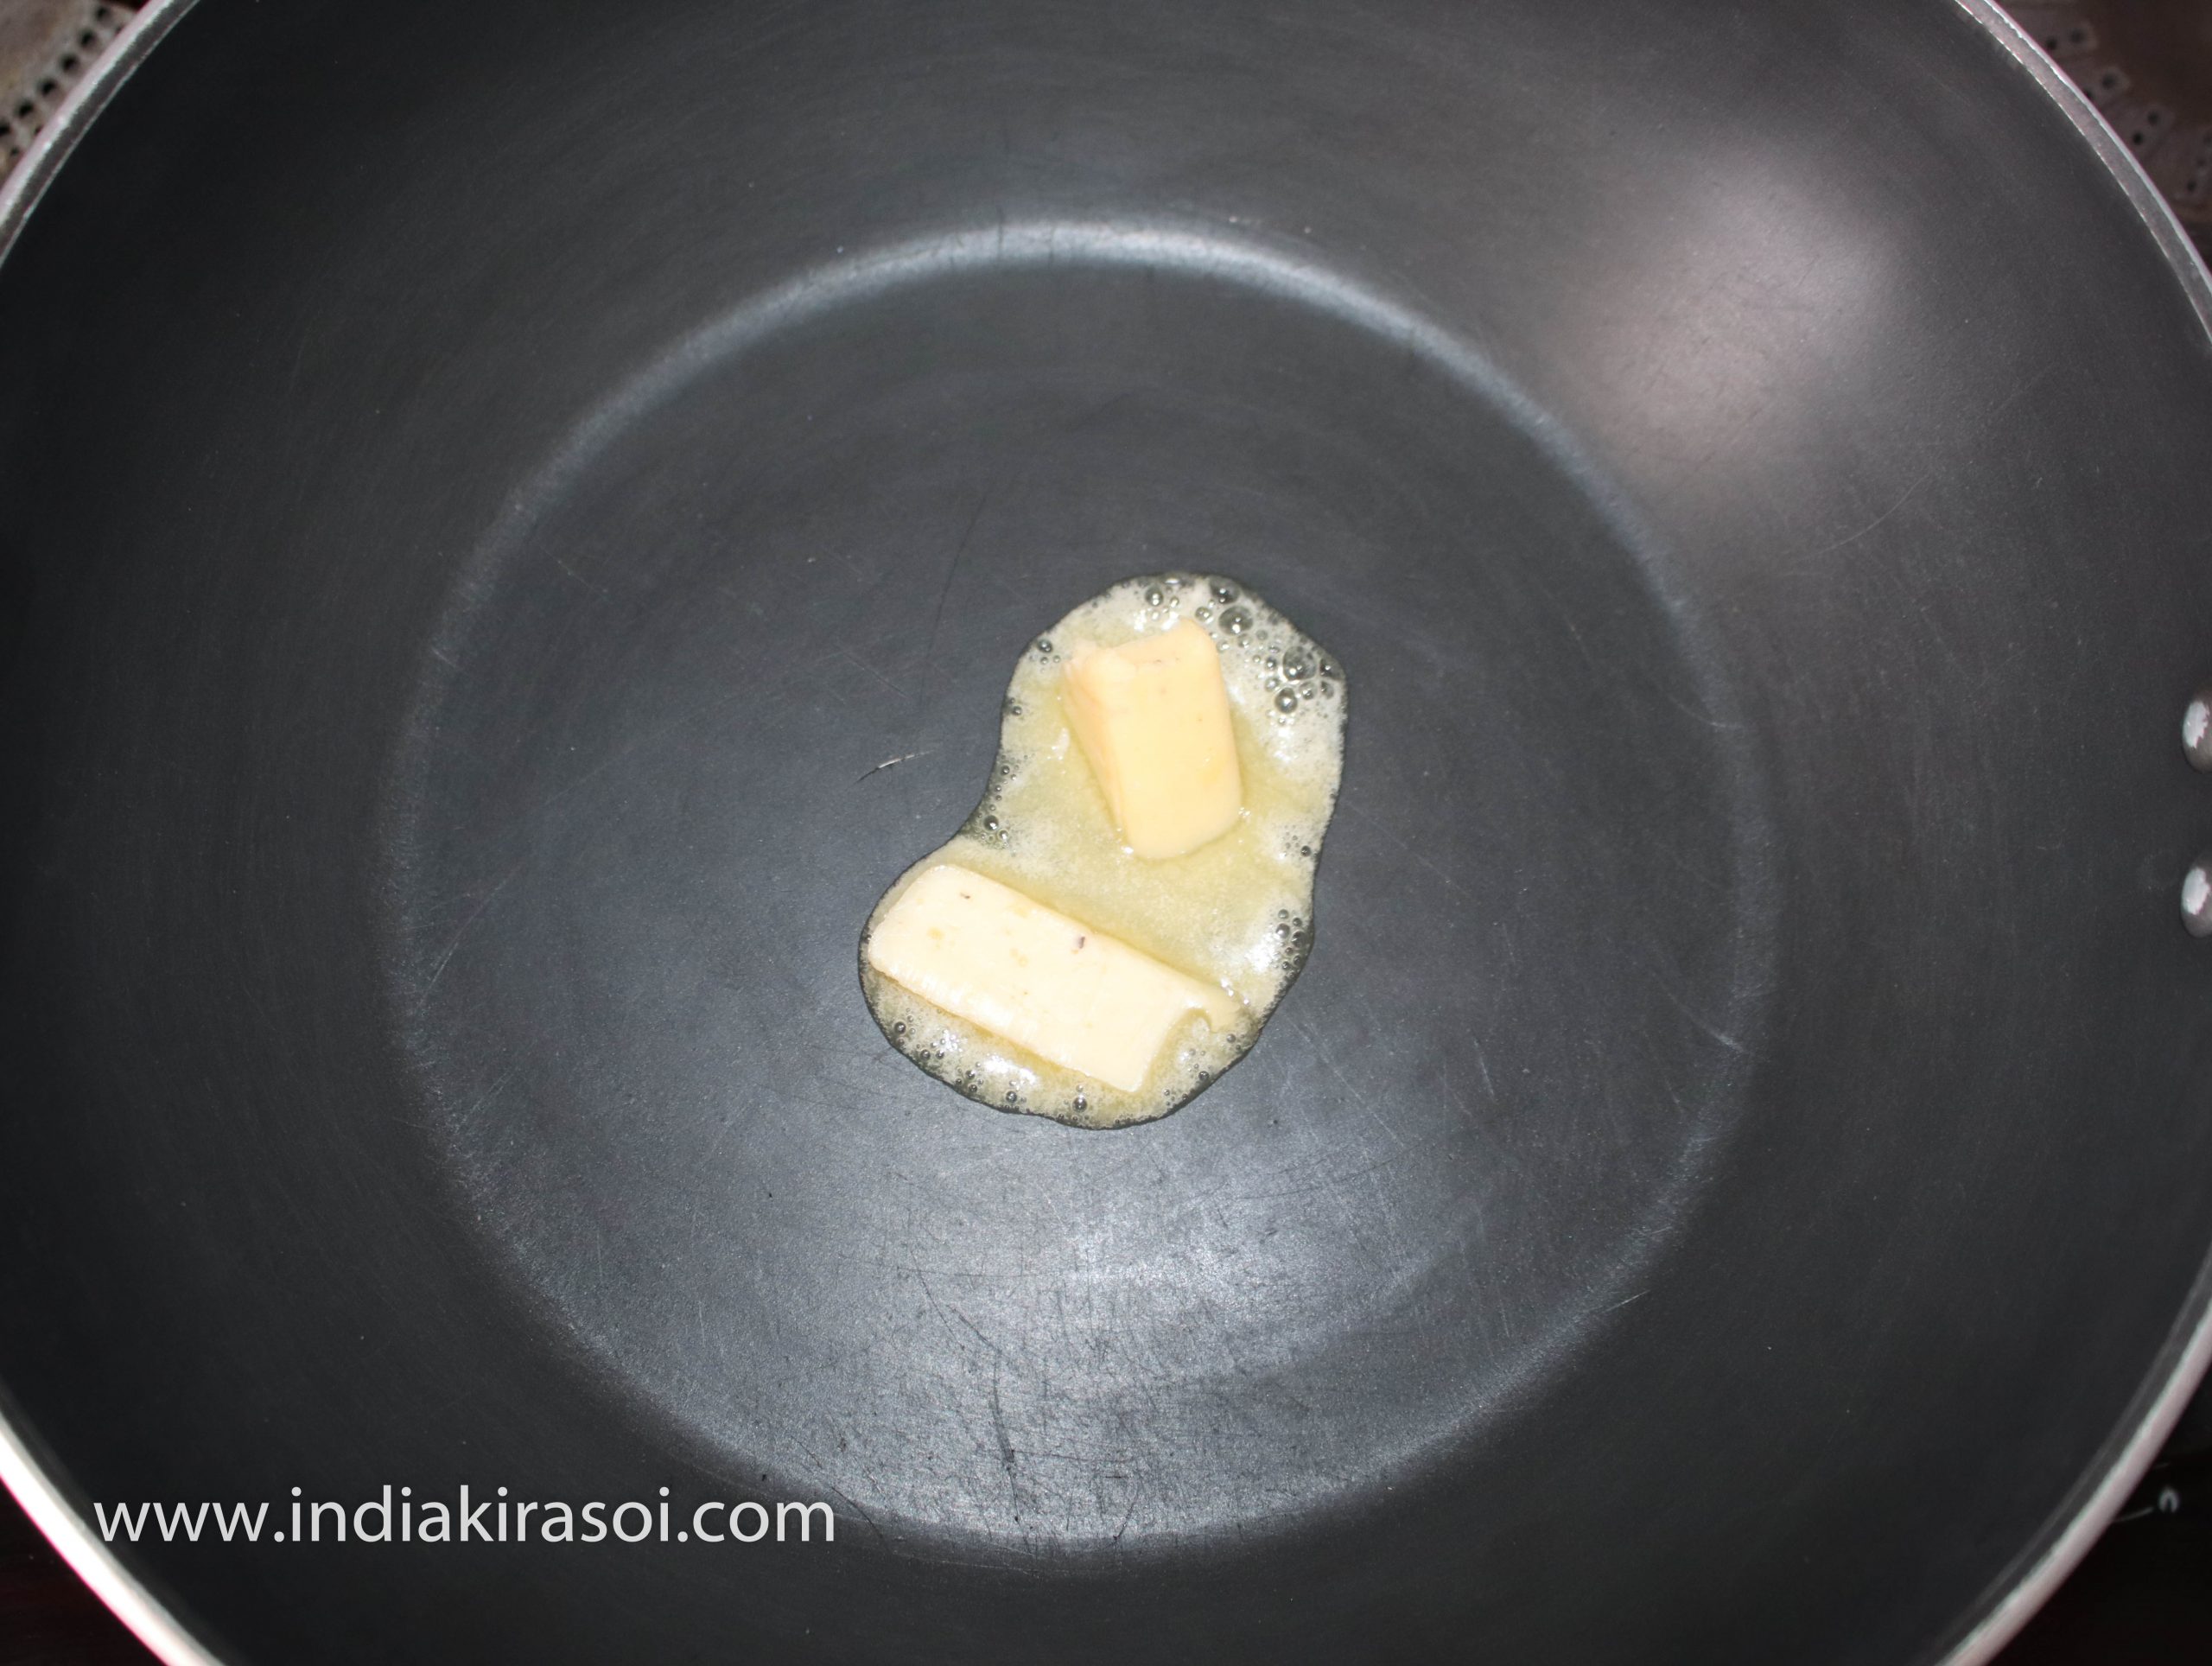
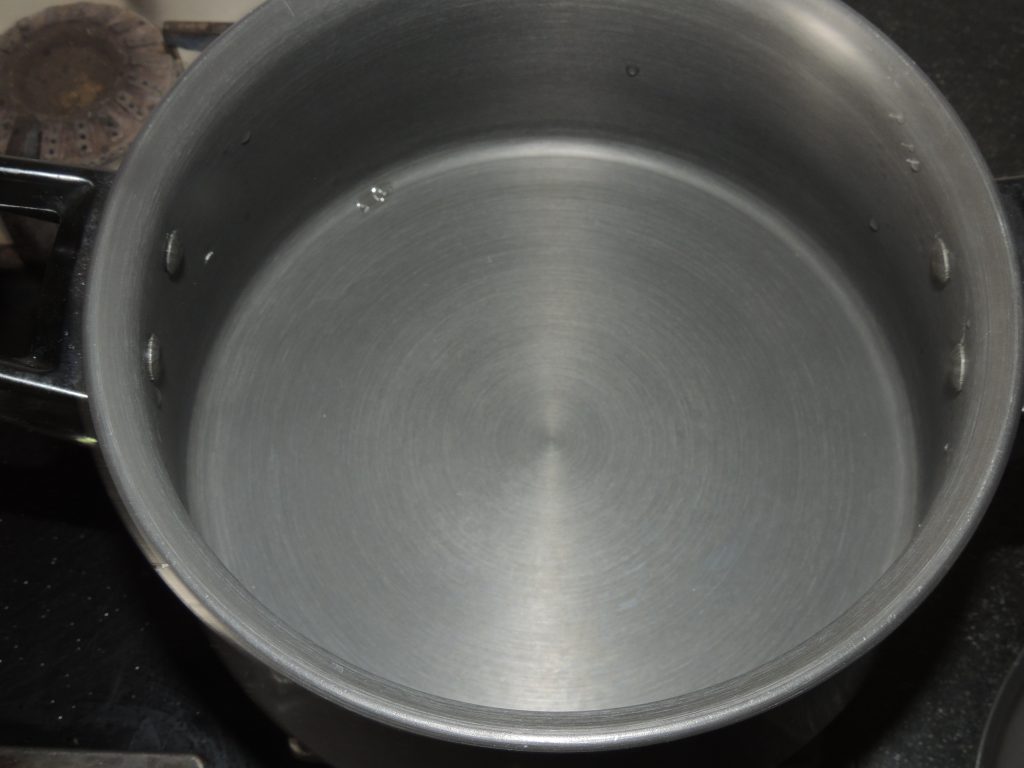
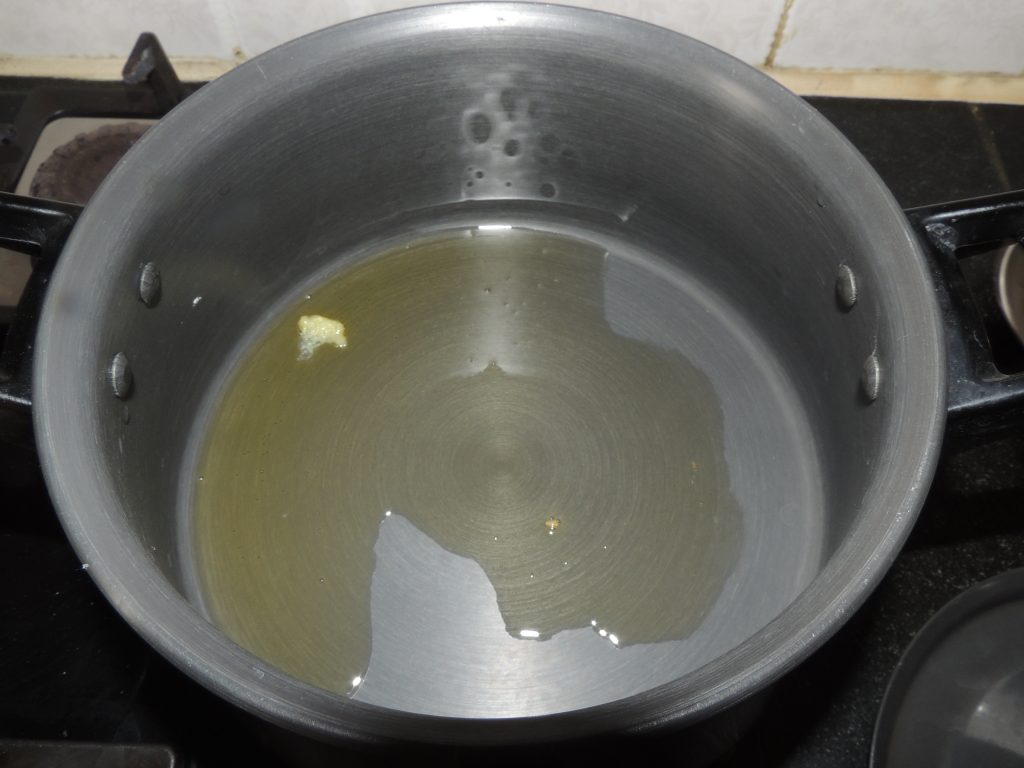
- Place handi / fry pan on the gas stove.
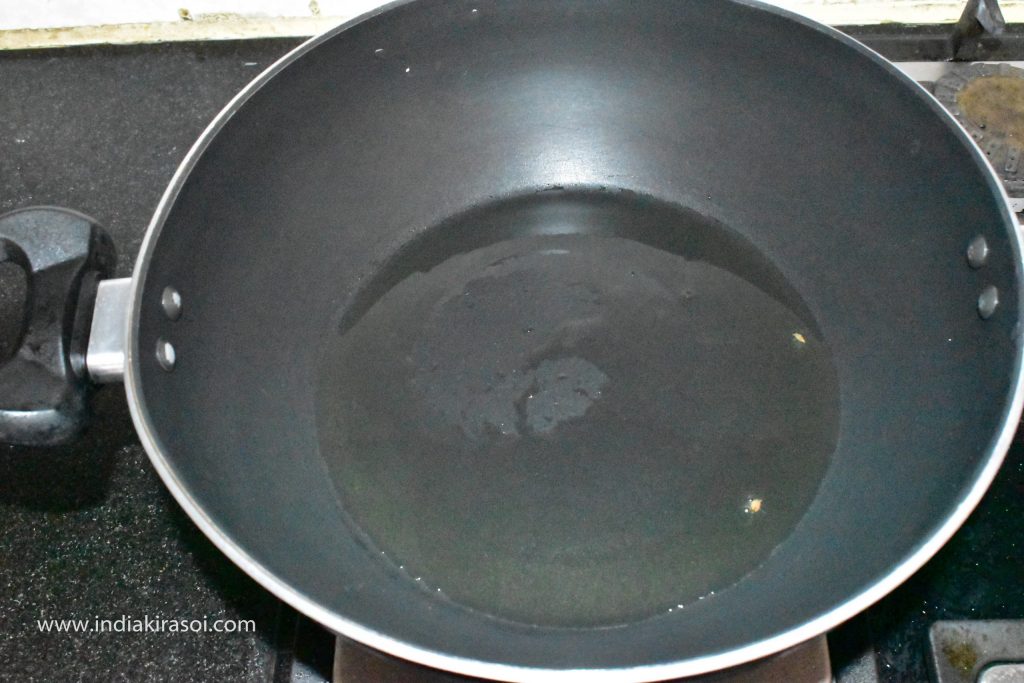
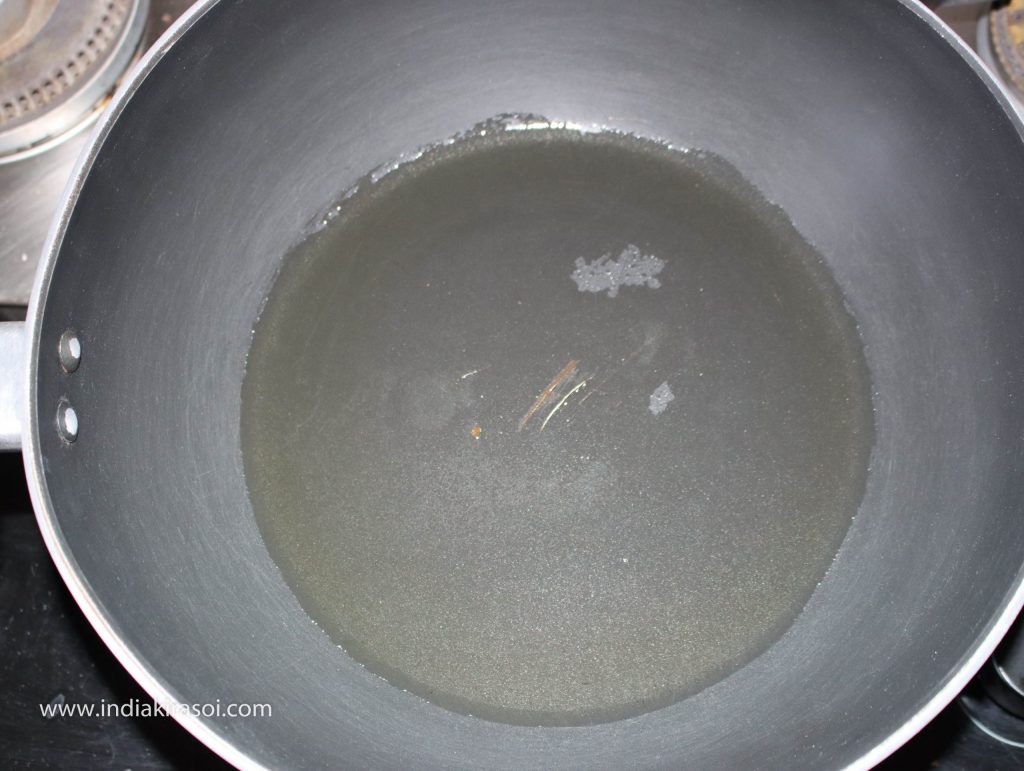
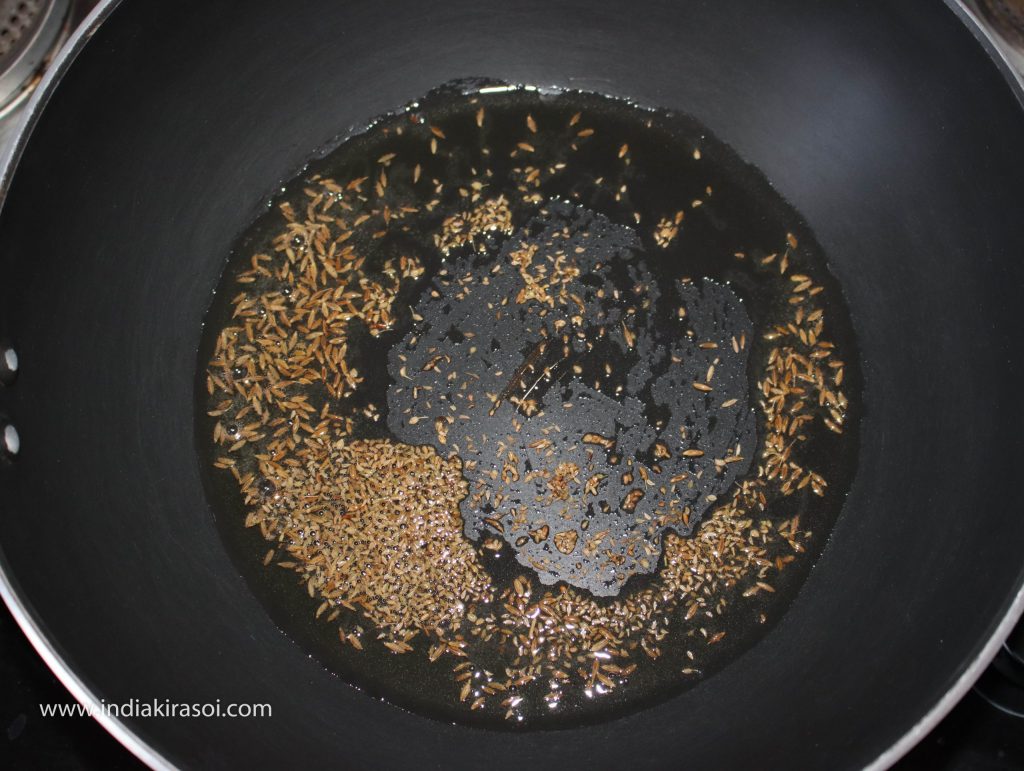
- Put 1 tsp of desi ghee into handi / fry pan.
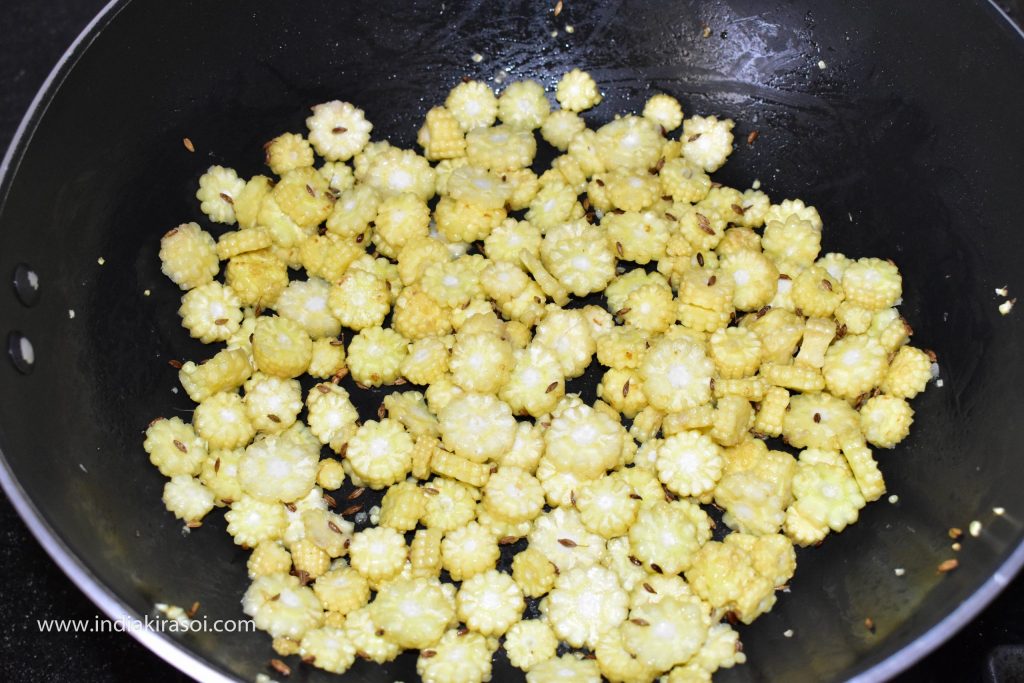
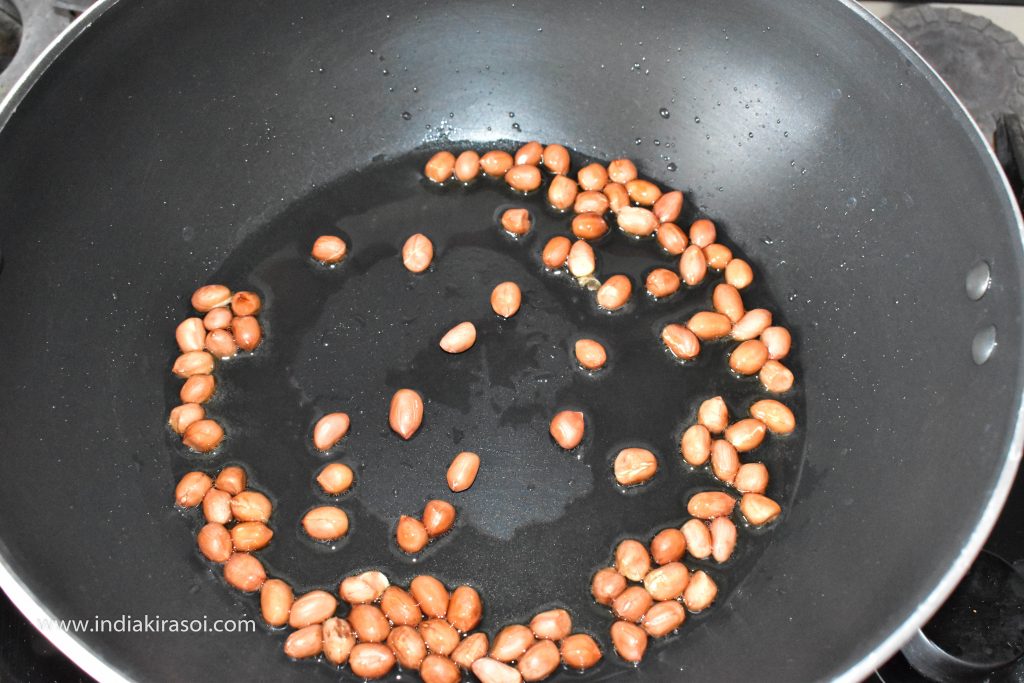
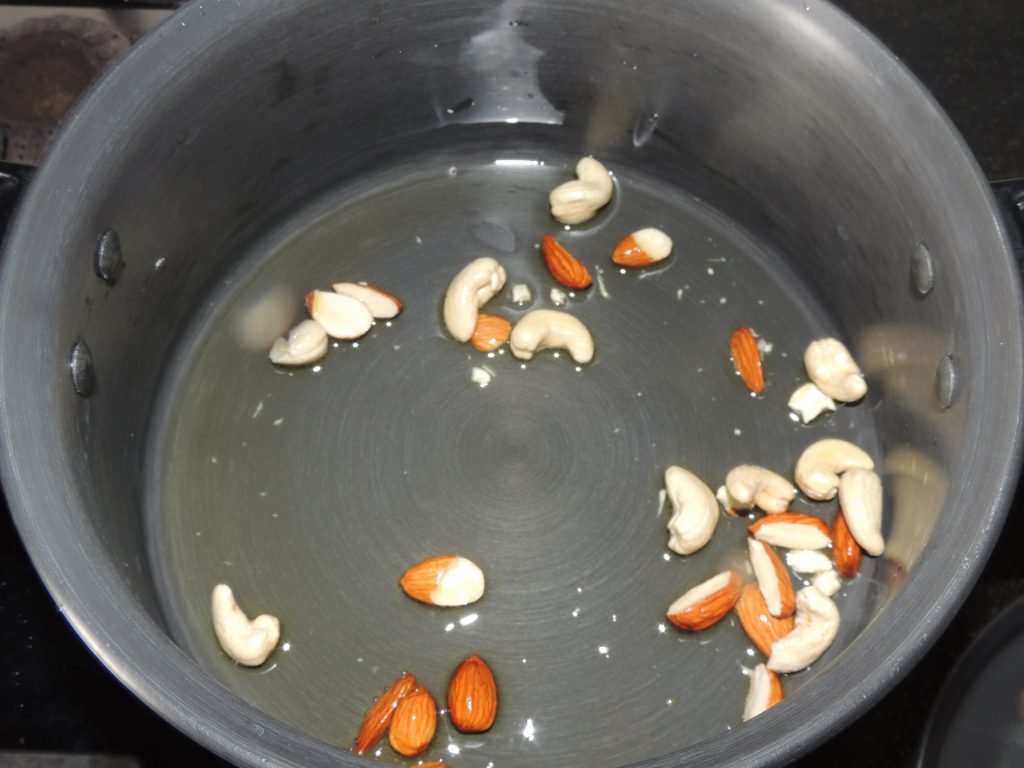
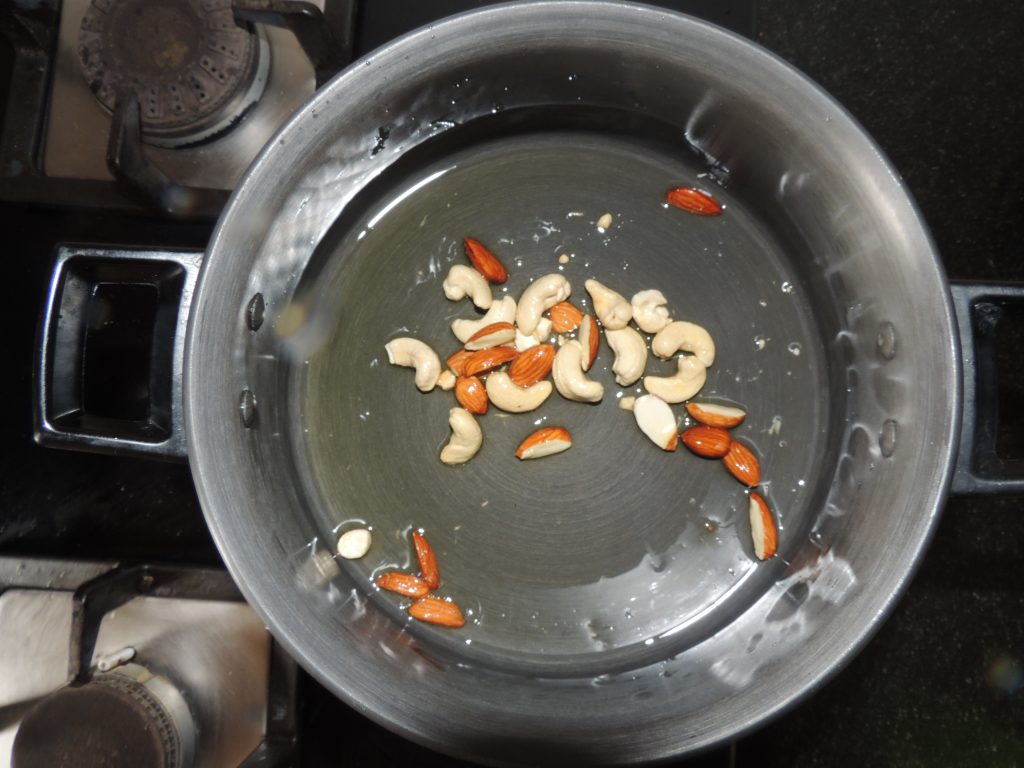
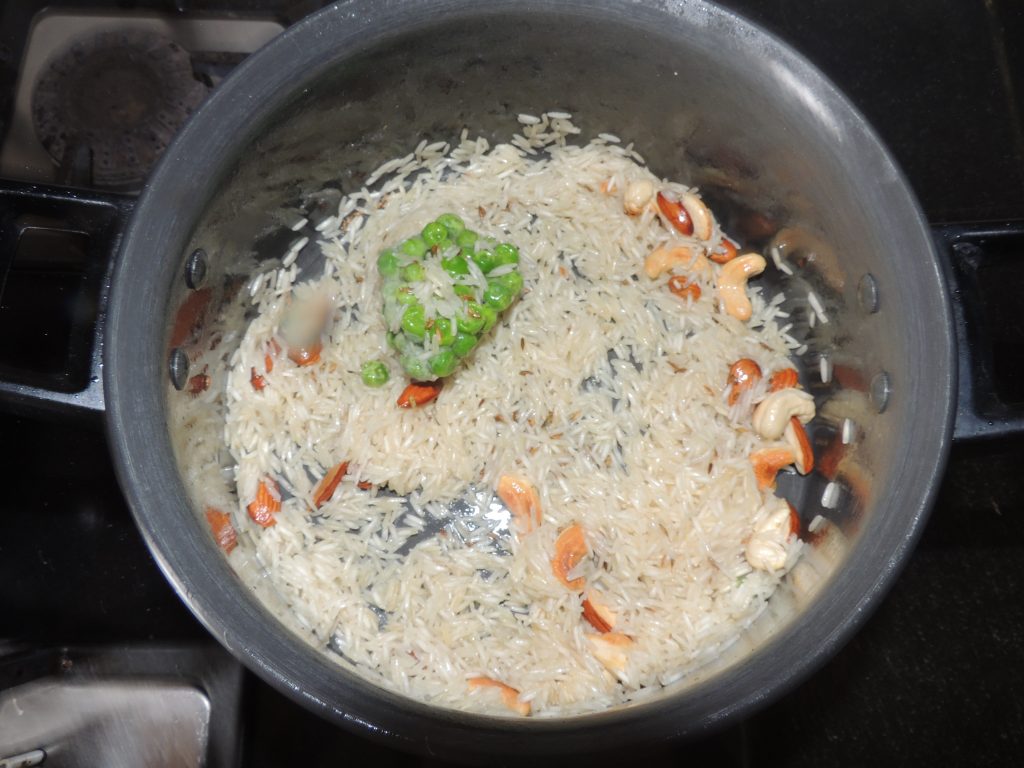
- Put Broken cashew and almond in the handi / fry pan.
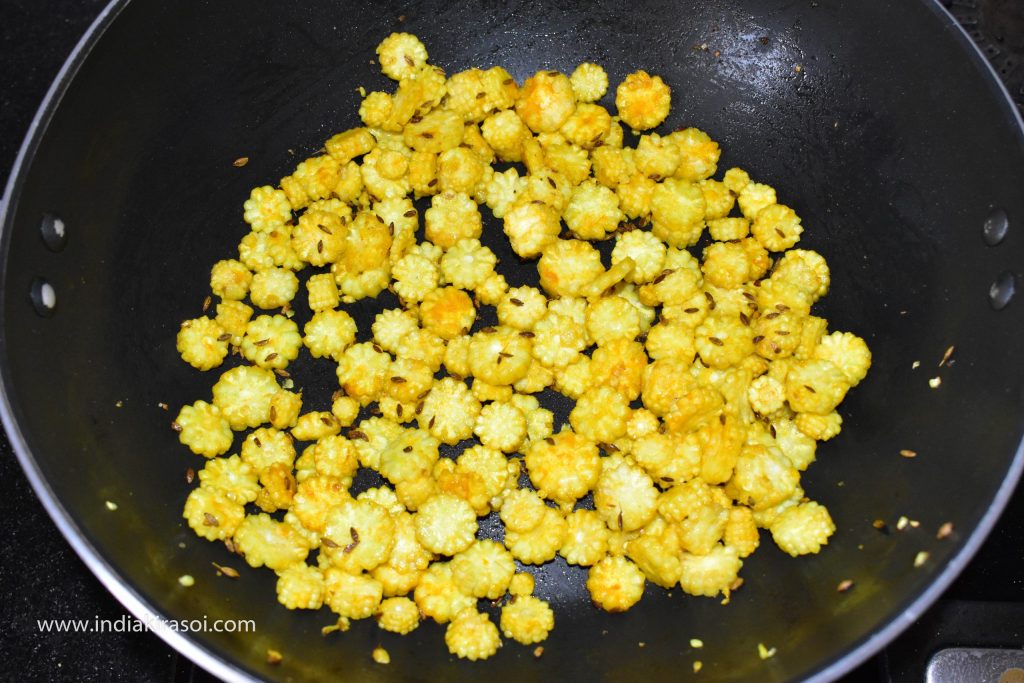
- Fry cashew and almond. Fry till cashew and almond become little brown.
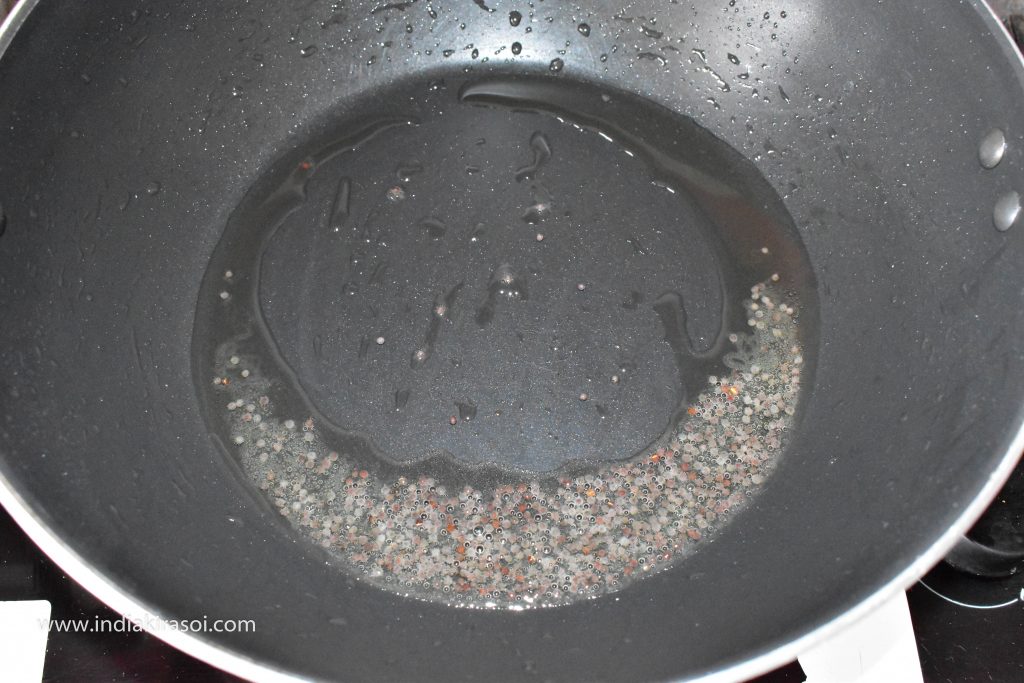
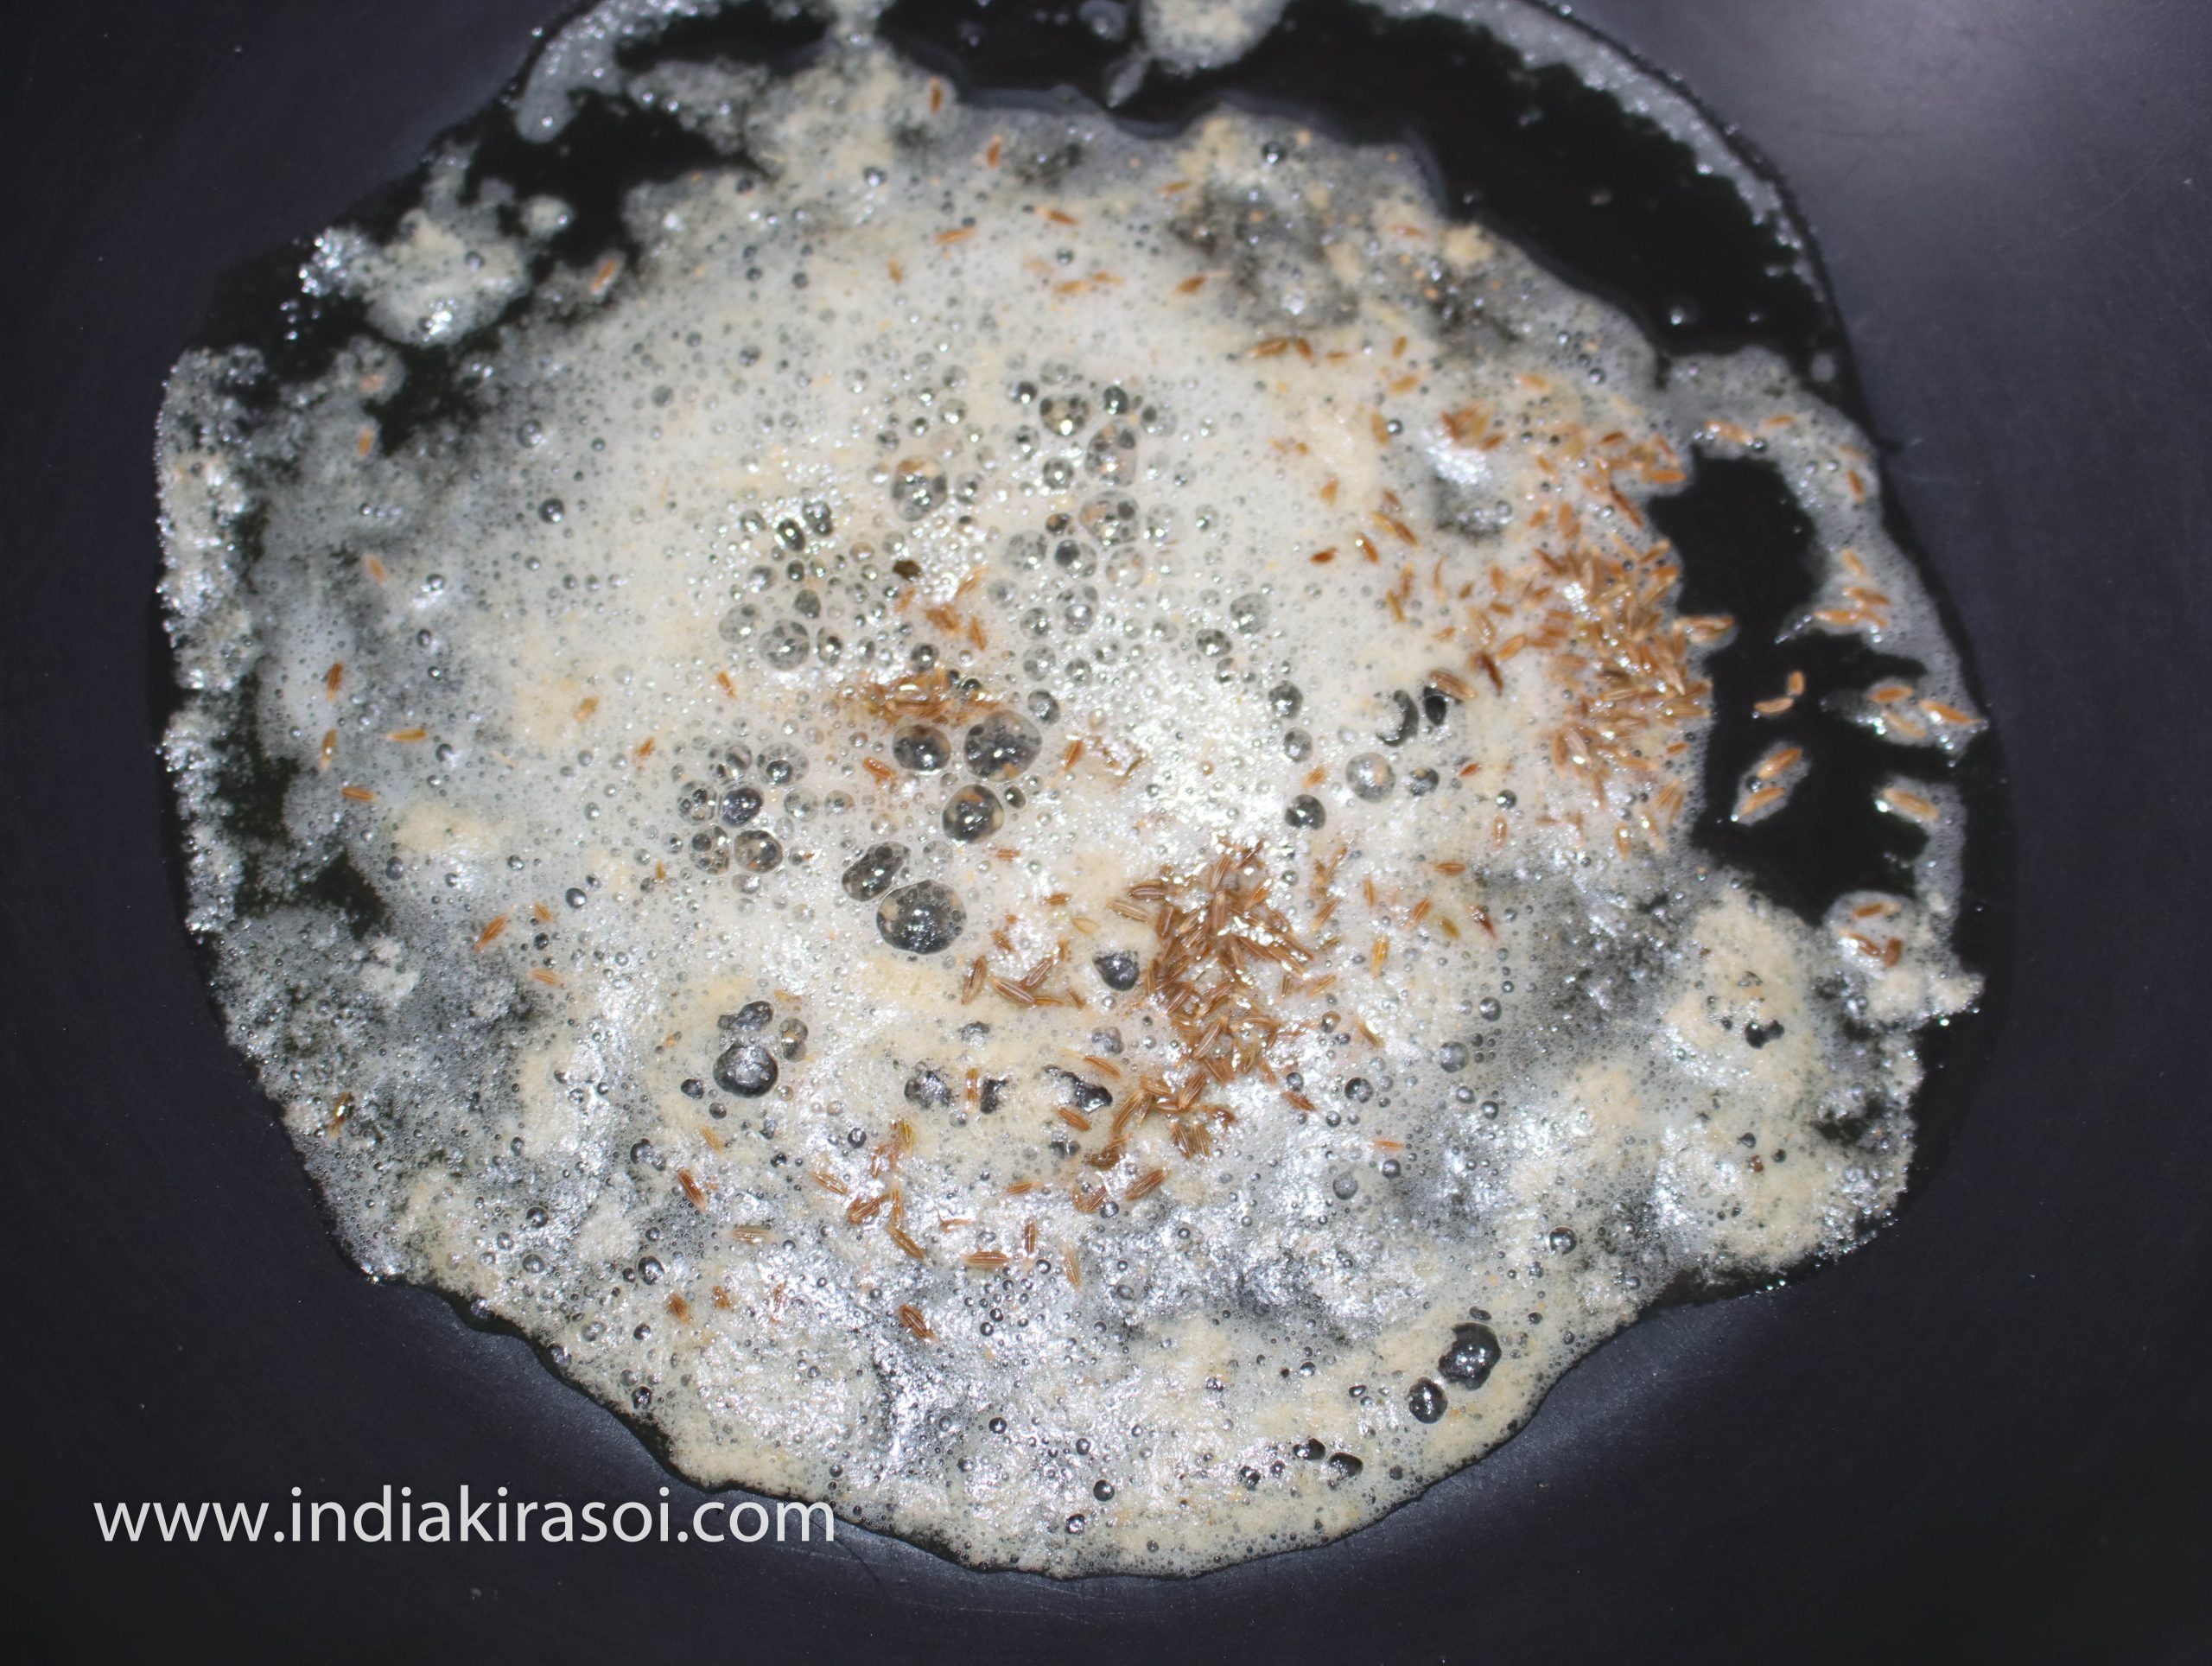
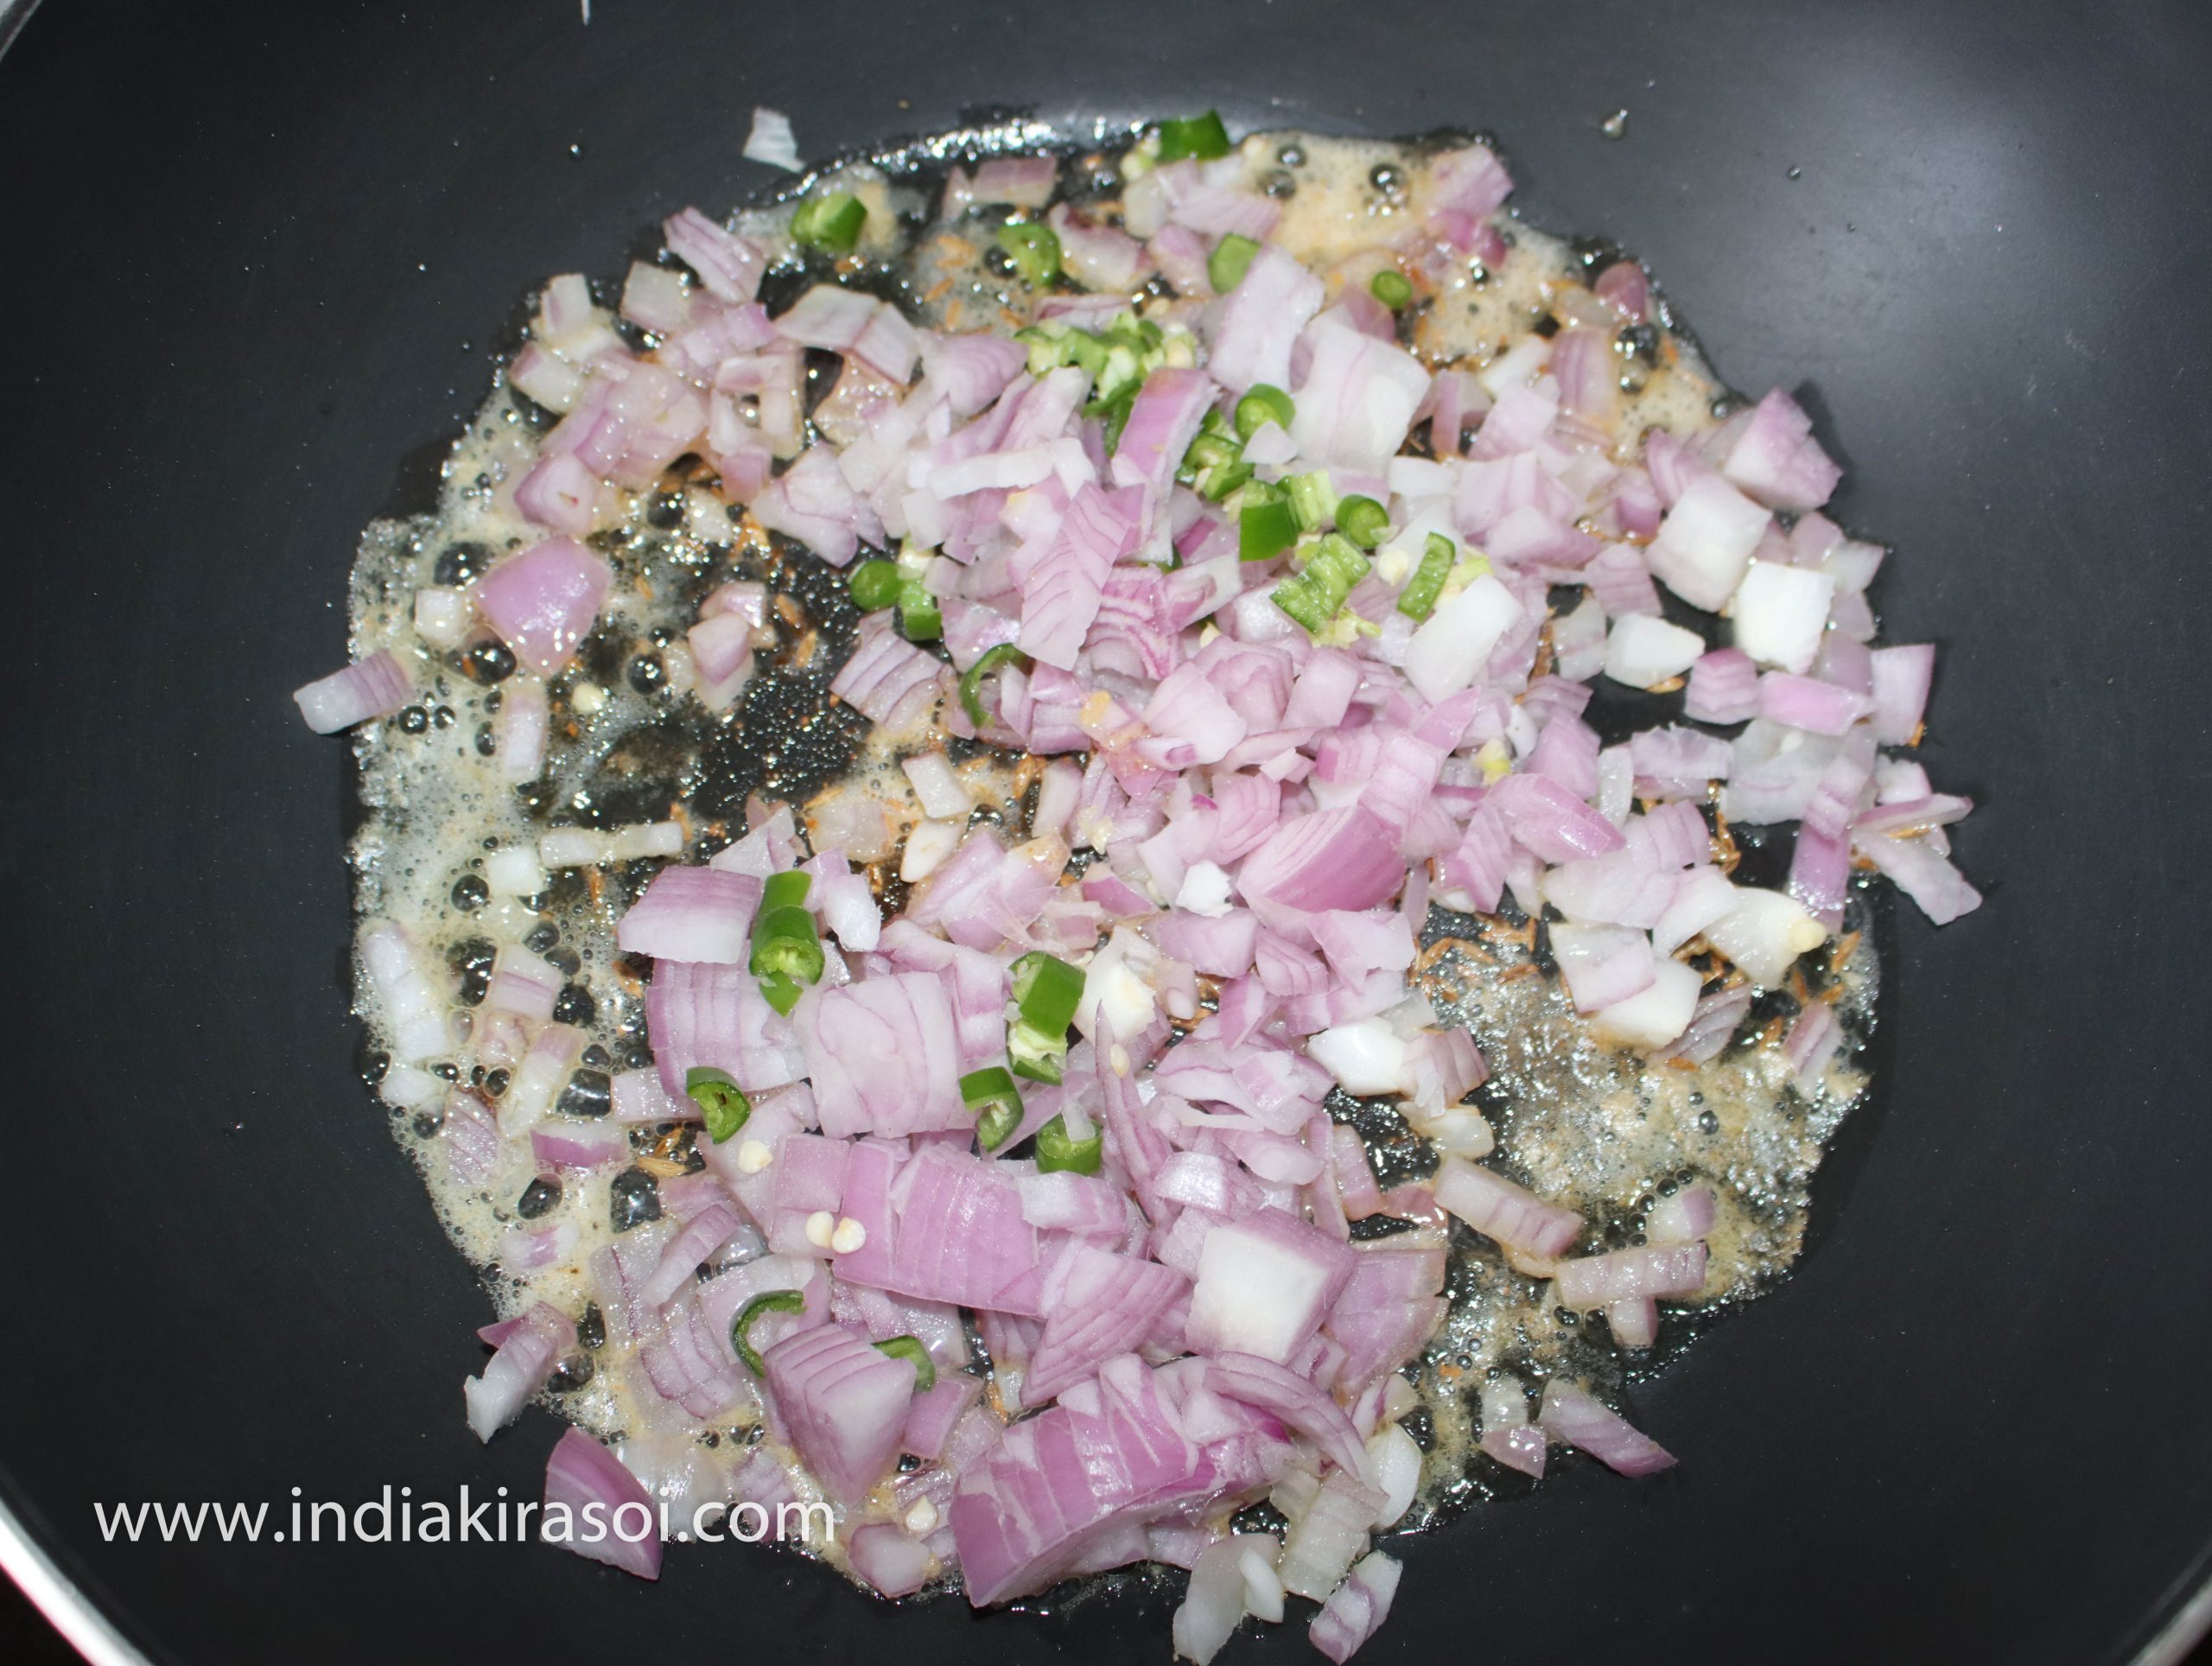
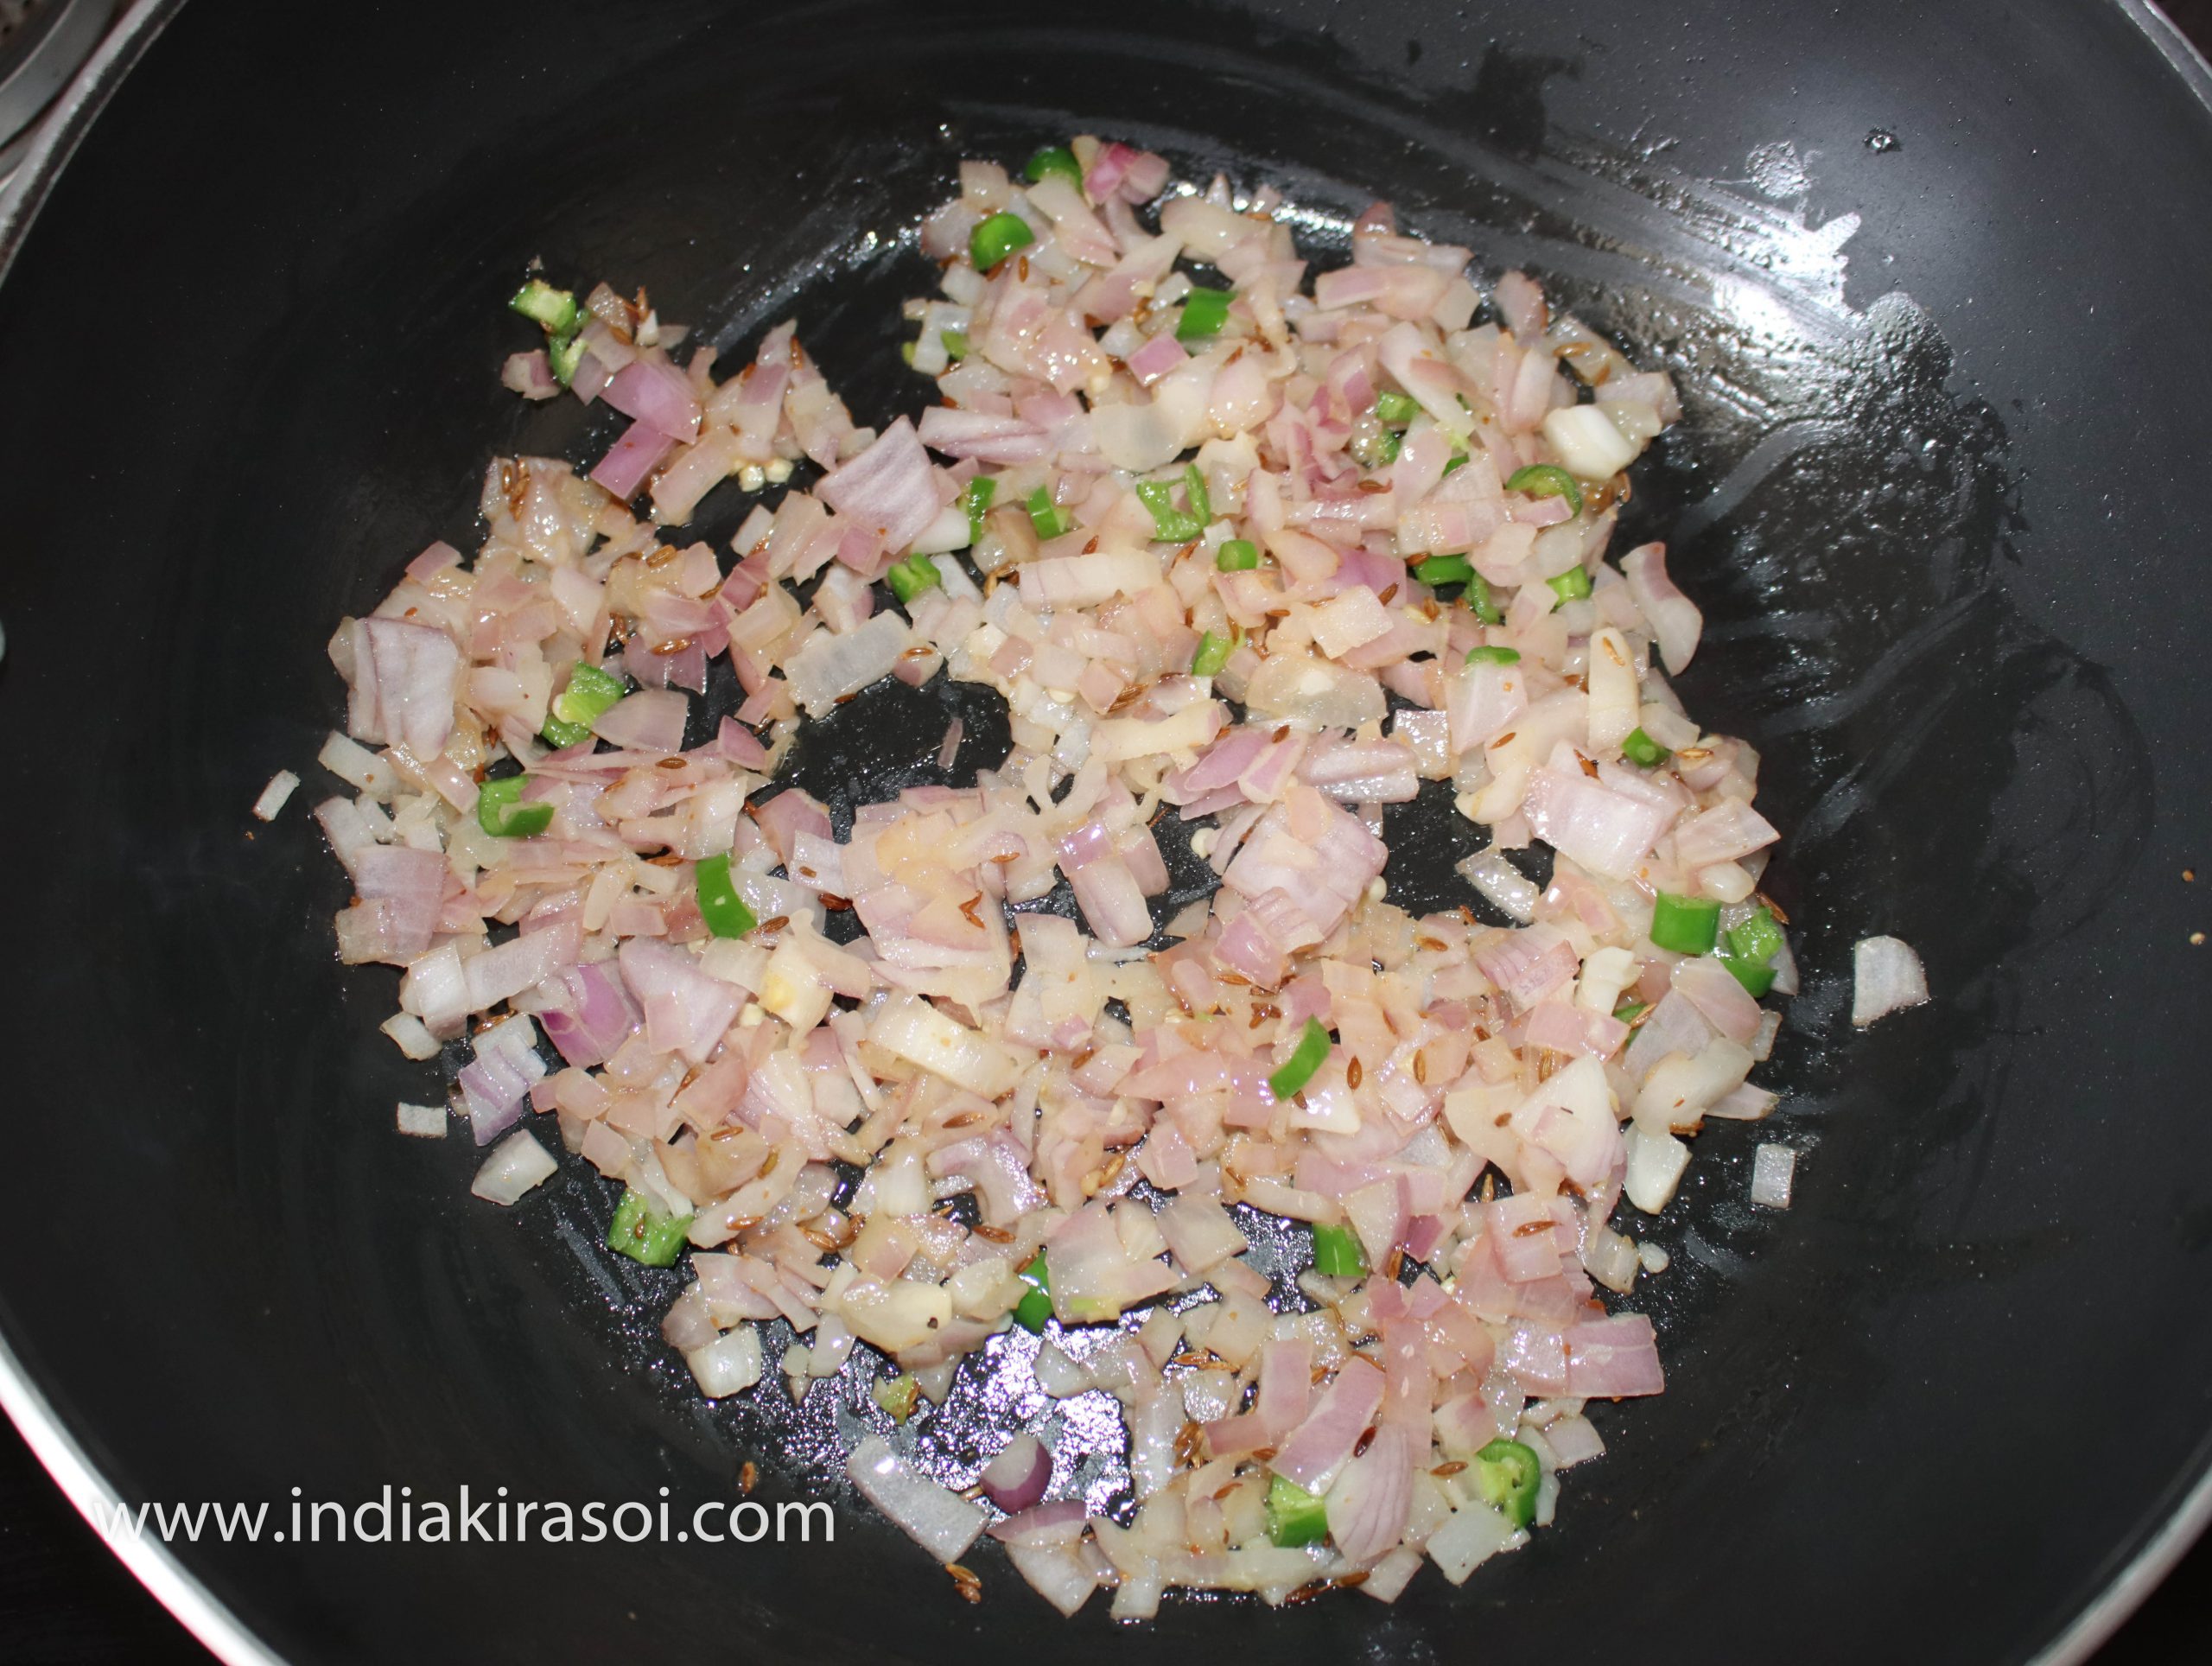
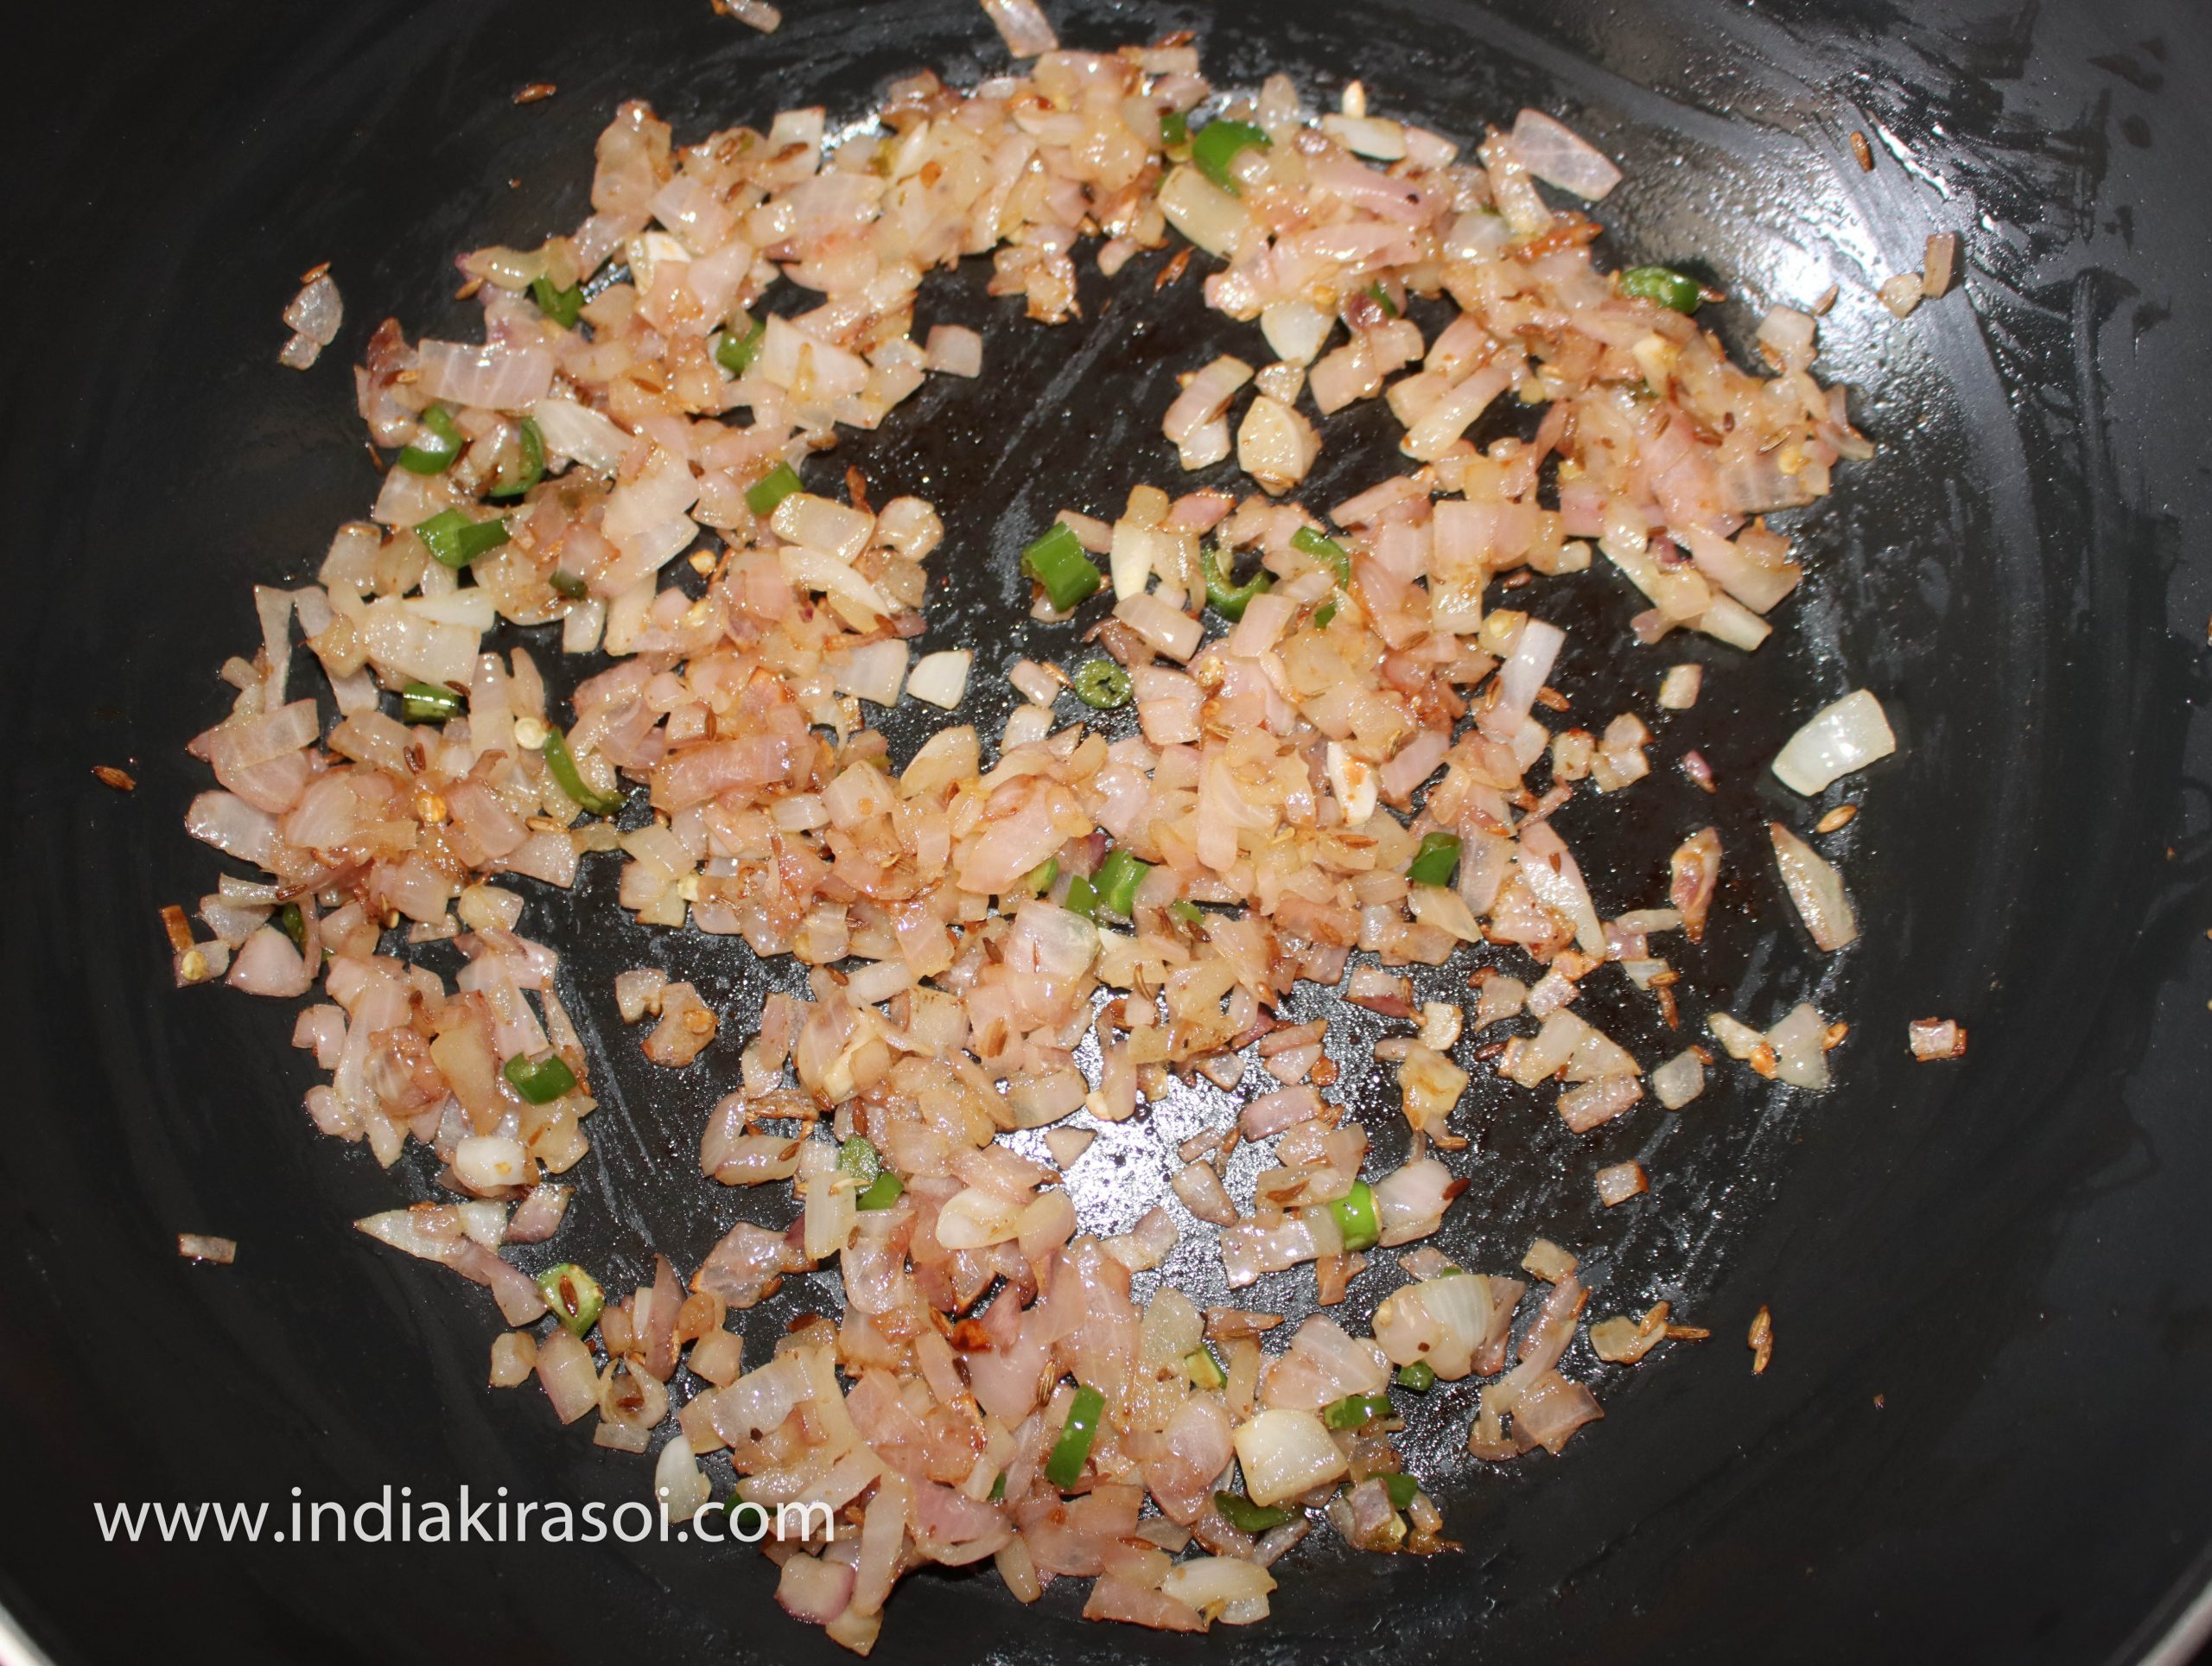
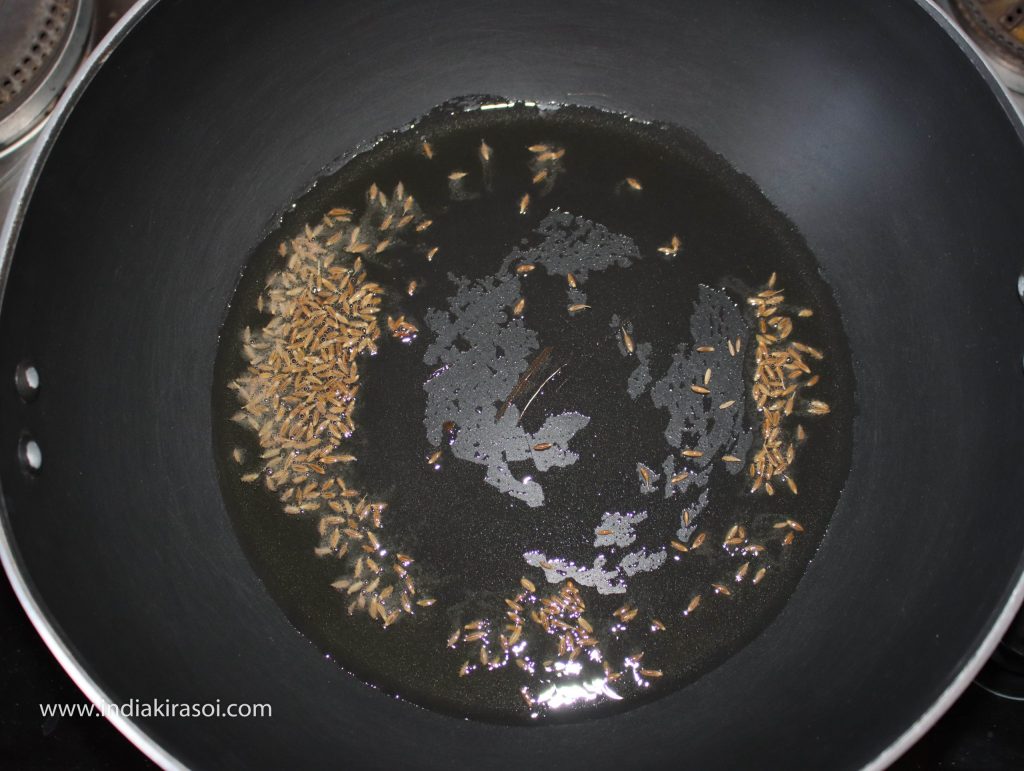
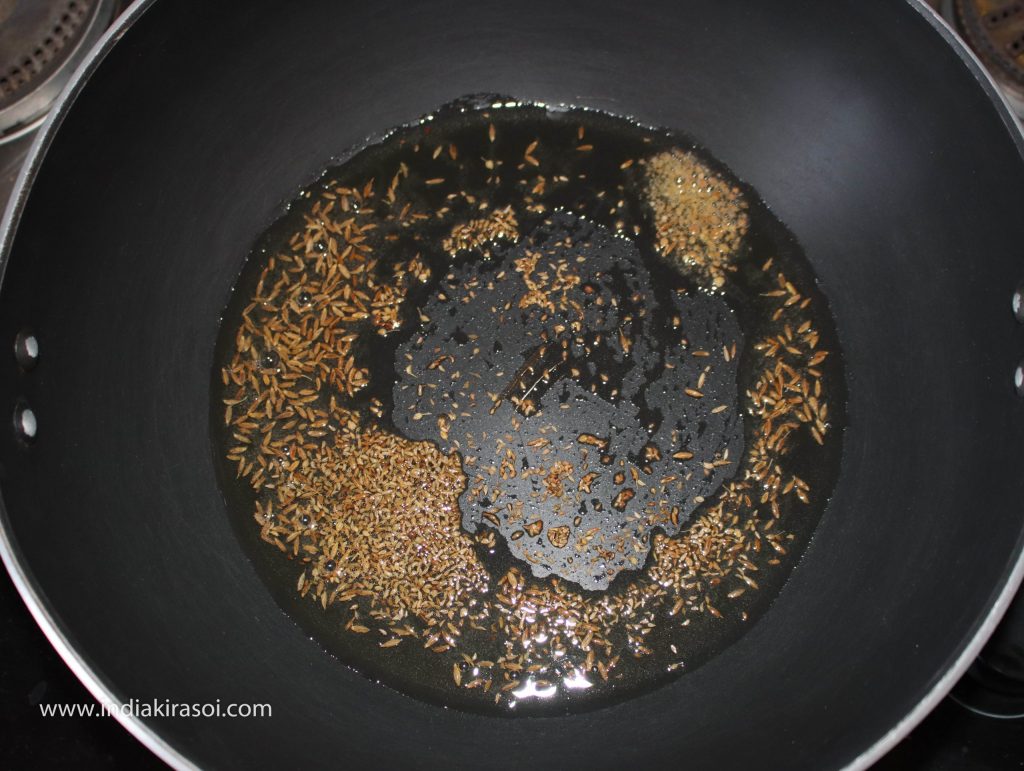
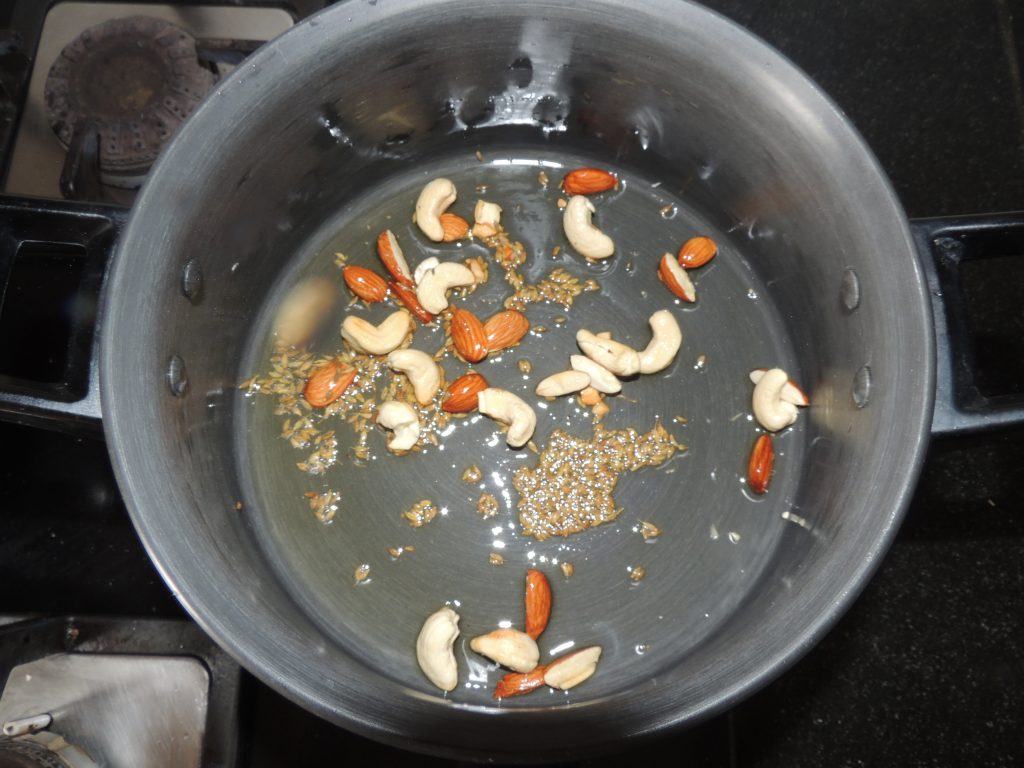
- After that add cumin seed in the handi / fry pan. You can add bay leaf and black pepper seed also.
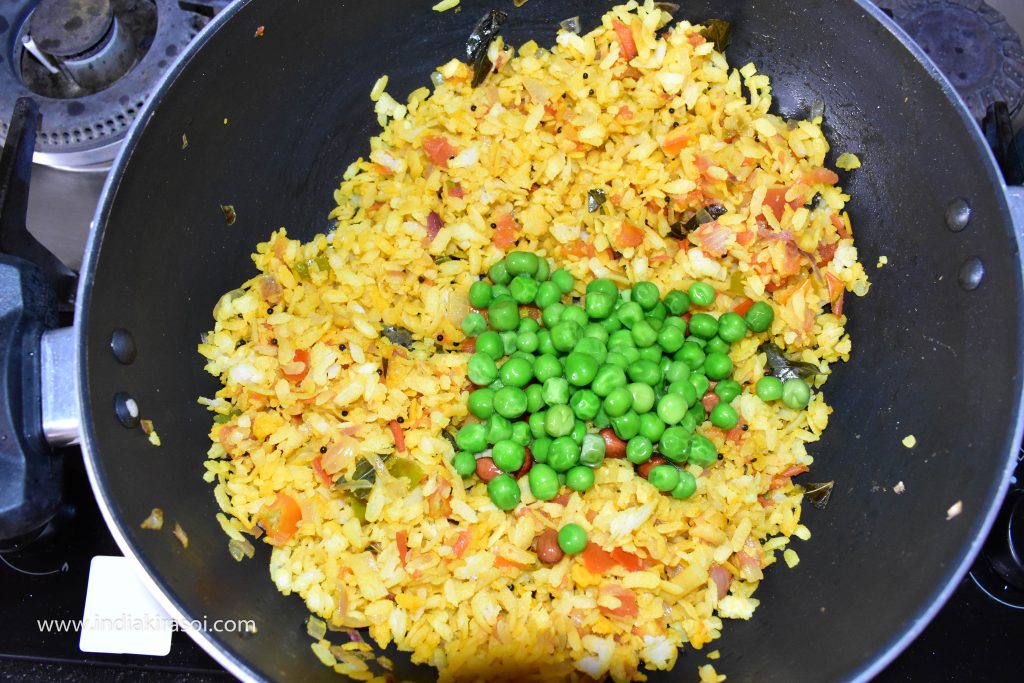
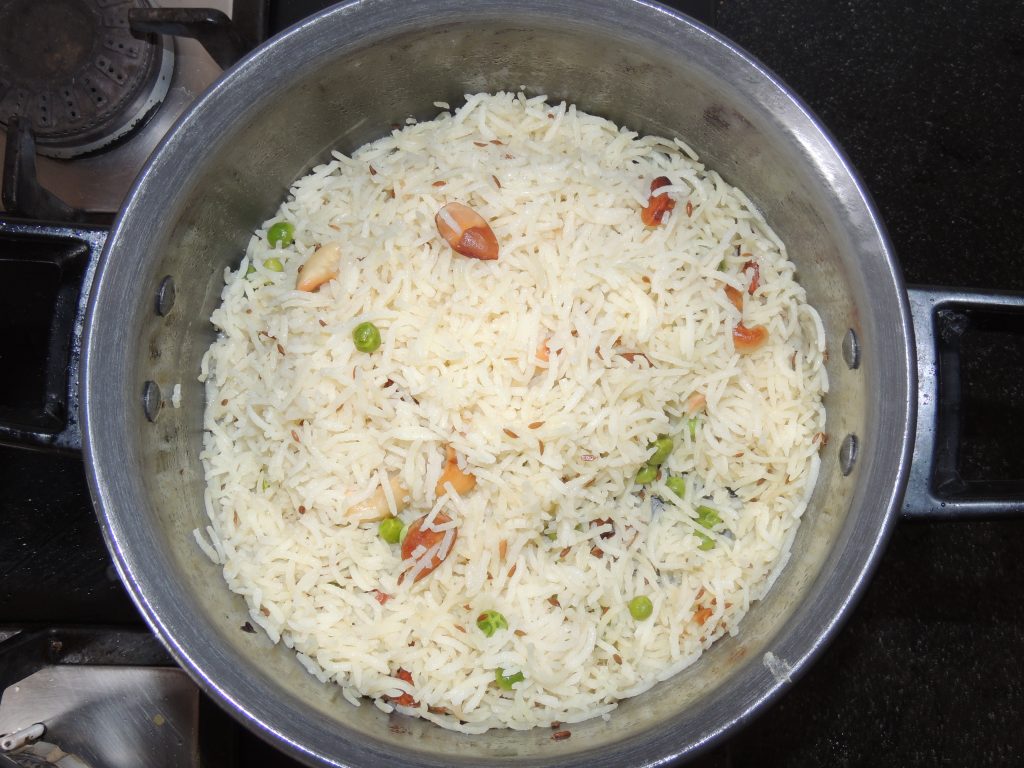
- Once cumin started crackling, after that add basmati rice in the handi / fry pan. Add 2 tsp green peas and little amount of salt. Fry rice for 30 seconds.
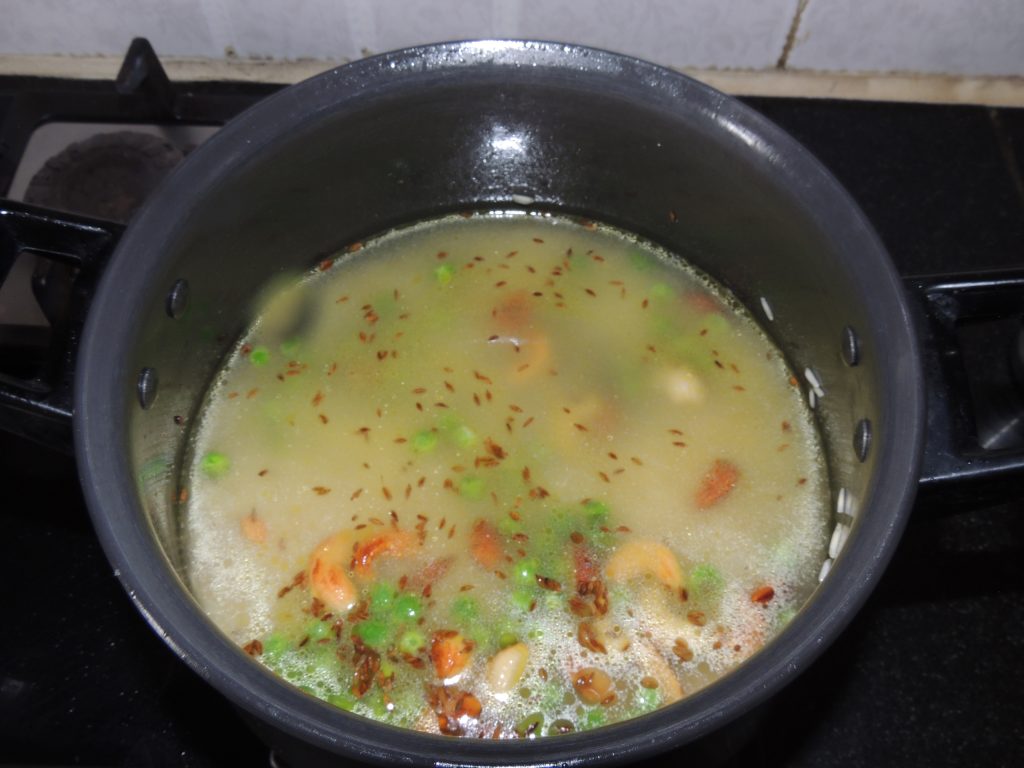
- After that 2 cup of water into handi / fry pan.
- Now let boil the rice in the handi.
- Stir rice periodically so that rice should not stick to vessel bottom.
- Wait for water starts boiling in the handi.
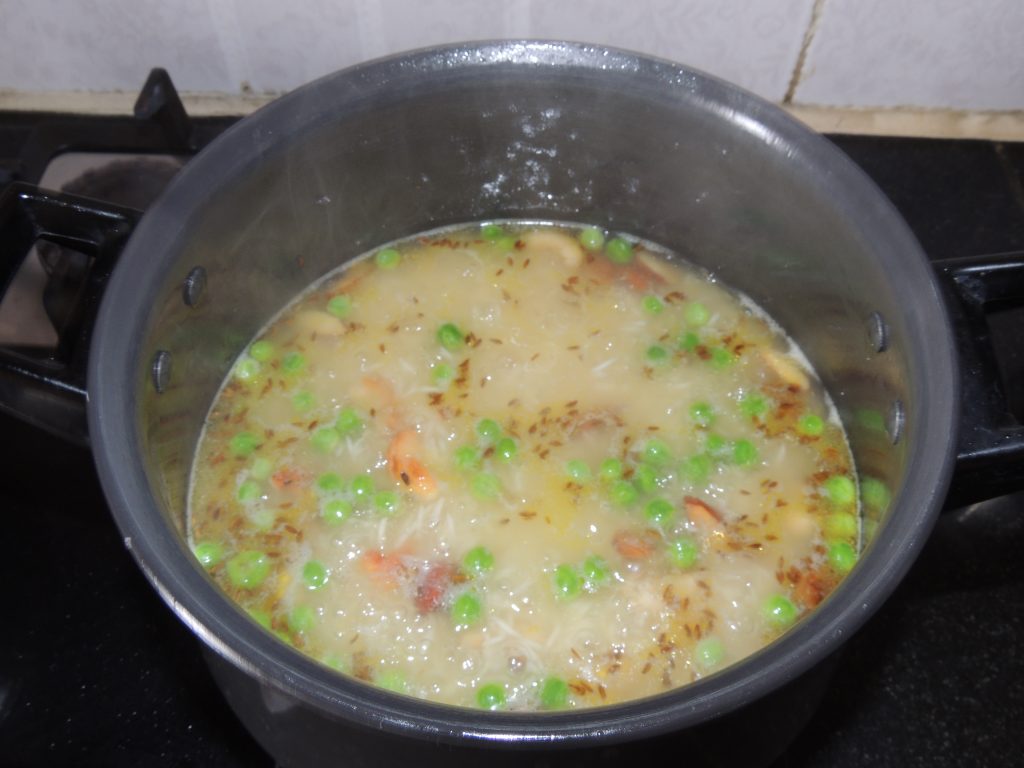
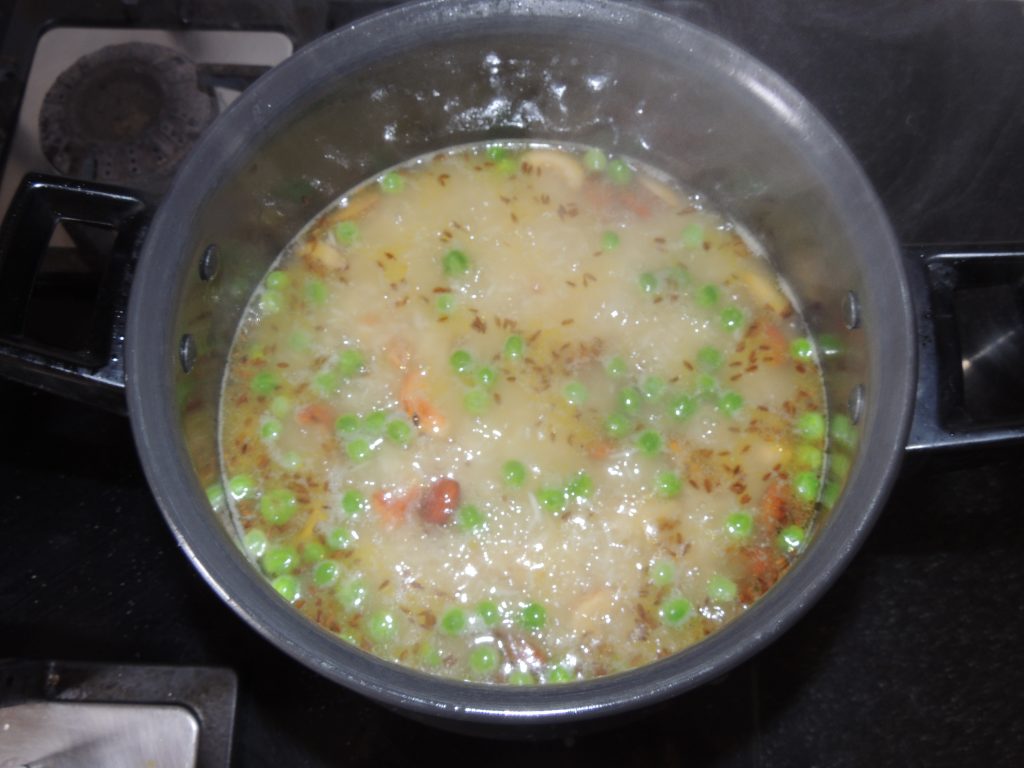
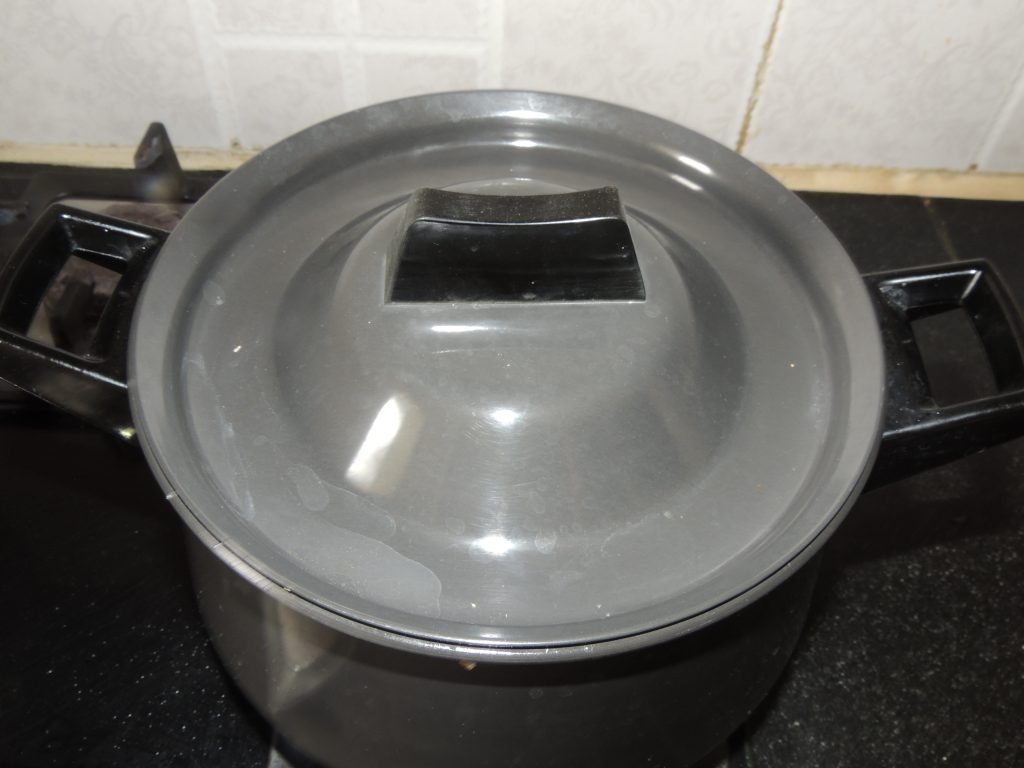
- Once the water starts boiling. Place the lid on the handi / fry pan. Now put the gas flame to medium.
- Let remain the lid close for 5 – 7 minute. After that open the lid and check whether rice is cooked. If its 90 % cooked. Close the gas flame, and close the lid for 10 minute. Do not open the lid before 10 minute. If pulao is not cooked properly. You can add little amount of water in the handi and close for 5 more minute, gas should be on low flame.
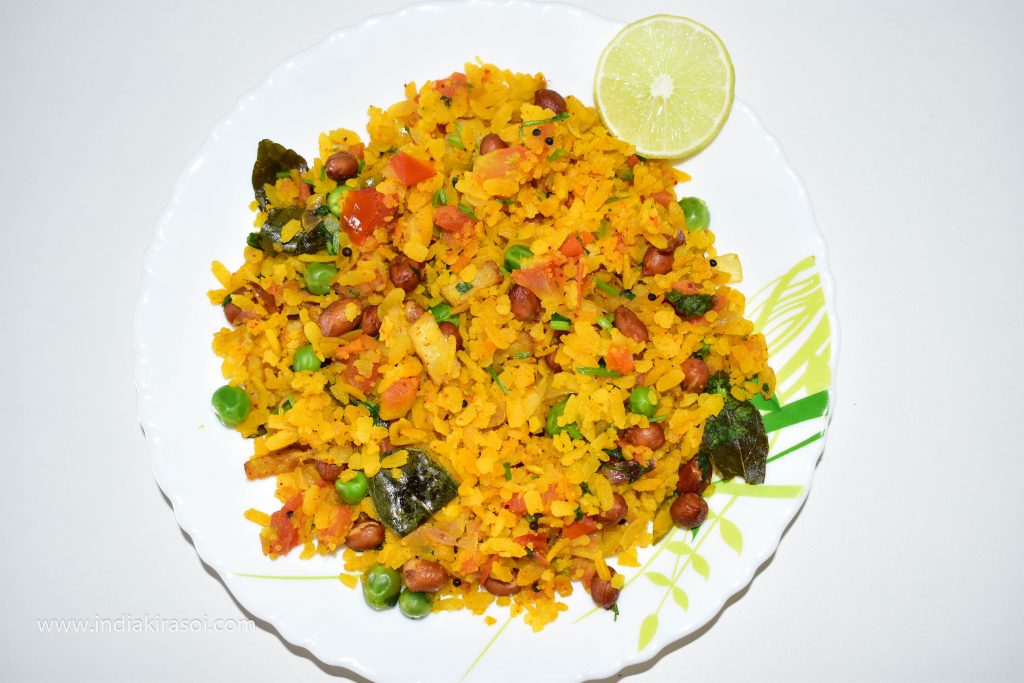
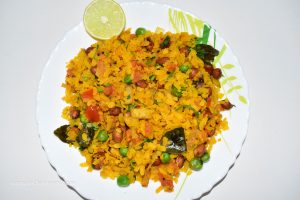
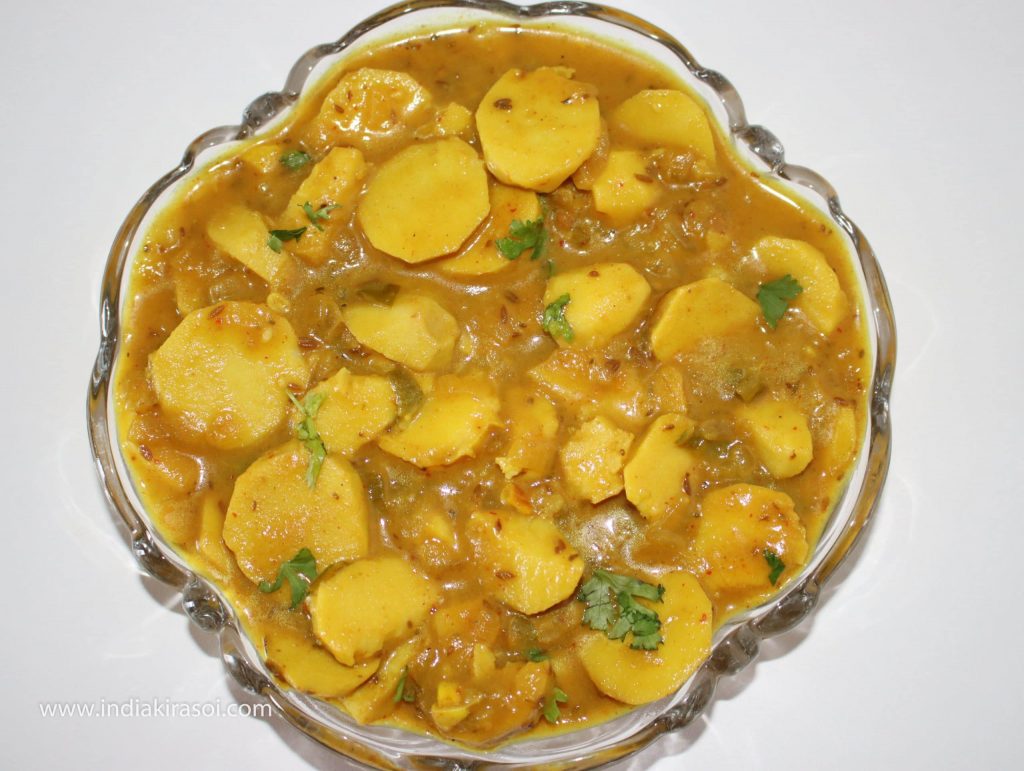
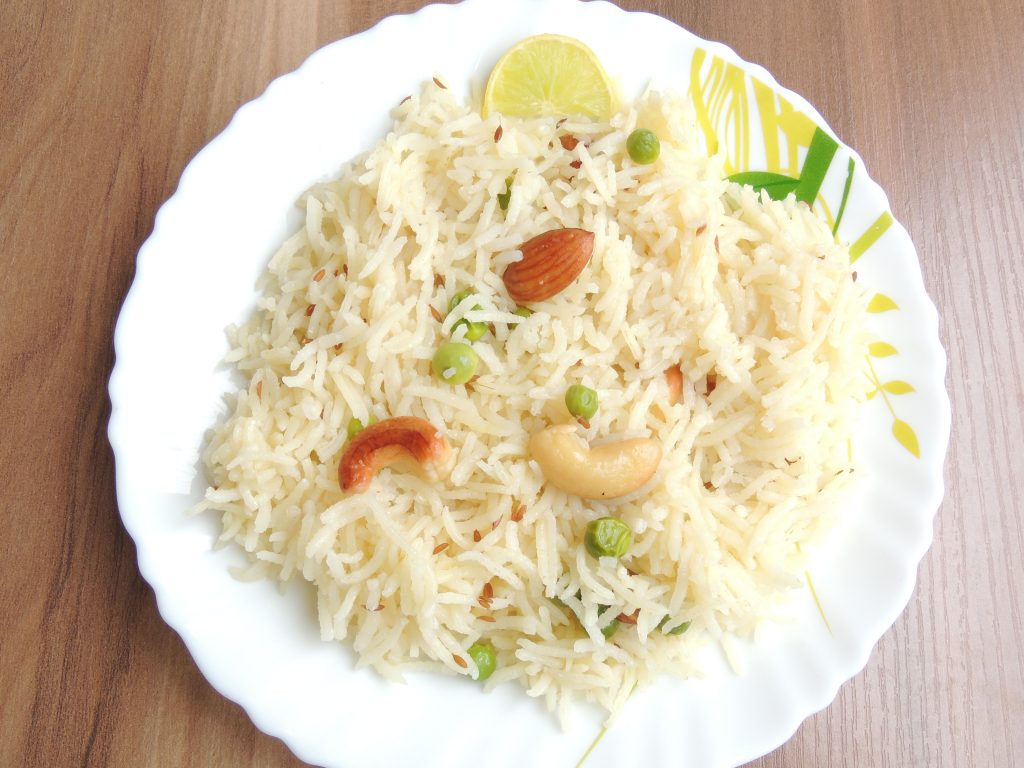
- Now Pilaaf / Pulao is ready Serve hot with curry, choola, kadhi or any other curry recipe.

Notes
- If Pulao is not cooked properly.
- You can add little amount of water in the handi and close for 5 more minute, gas should be on low flame.
- Without side dishes, this vegetable pulao can be served alone. But the meal is complimented by a chhol and raita.
- With egg curry or chicken curry or any grilled dishes such as kababs, non-vegetarians can serve veg pulao.
- But just appreciate it with some simple curd / yogurt and papad if you’re short of moment.
- We serve vegetable pulao with a salan or shorba for unique occasions or when we have visitors at home.