Sabudana Ki Khichadi/ Sago Polenta
Sago/ sabudana is very tasty to eat. It can be eaten in many ways, we can made pudding from this, as well as sago/sabudana dumplings can be made. It is also eaten on a fast and eat sago khichadi in the breakfast or evening snack.Today we will learn how to make sago/ sabudana khichadi,follow the method given below steps…
Servings 4 people
Calories 269kcal
Cost 40 Rupee
Equipment
- Wok/ kadhai/ Fry Pan
- Knife
- Mixer Grinder and Jar
- Knife
- Plate
- Bowl/ Vessel
Ingredients
- 200 grams Sago
- 150 grams Potato
- 50 grams Groundnut
- 50 grams Butter
- 60 grams Tomato
Instructions
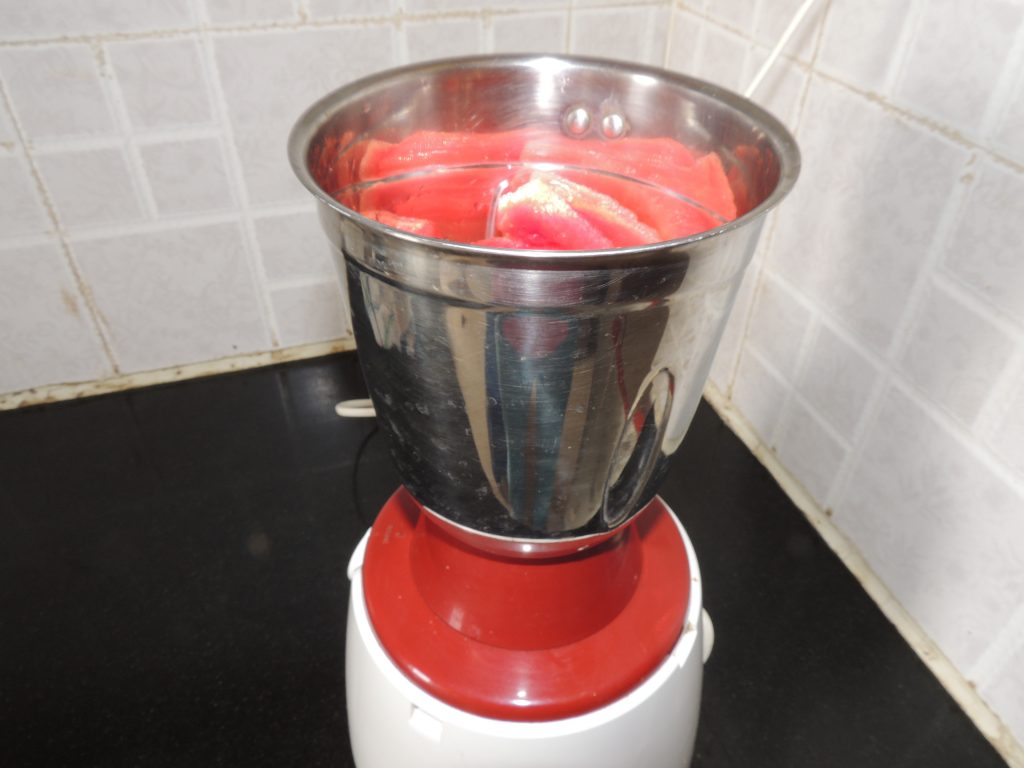
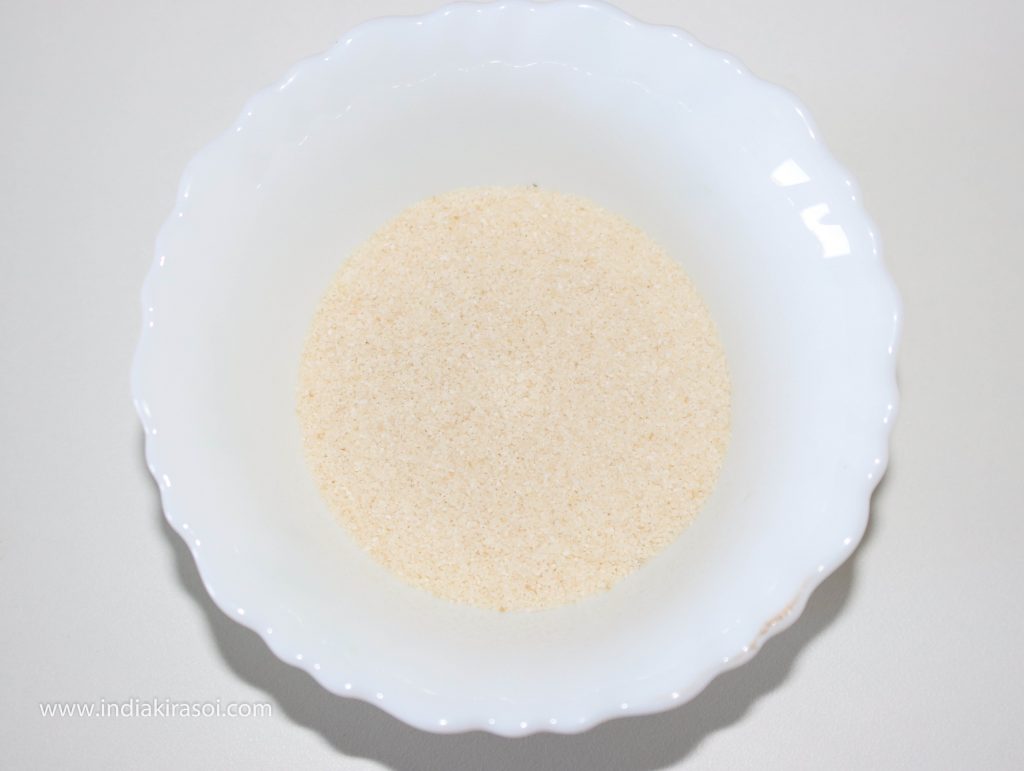
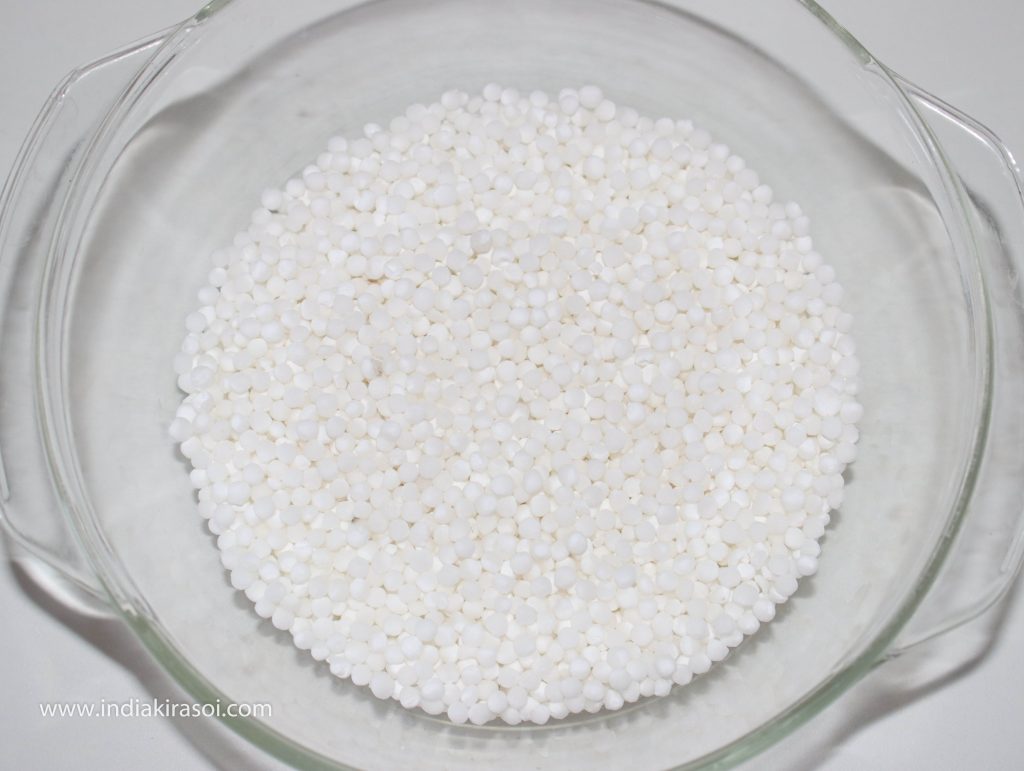
- To make sago/ sabudana khichadi, take 200 grams of sago/sabudana, clean the sago/ sabudana.

- After this, put sago/ sabudana in a bowl and wash the sago/sabudana with clean water.
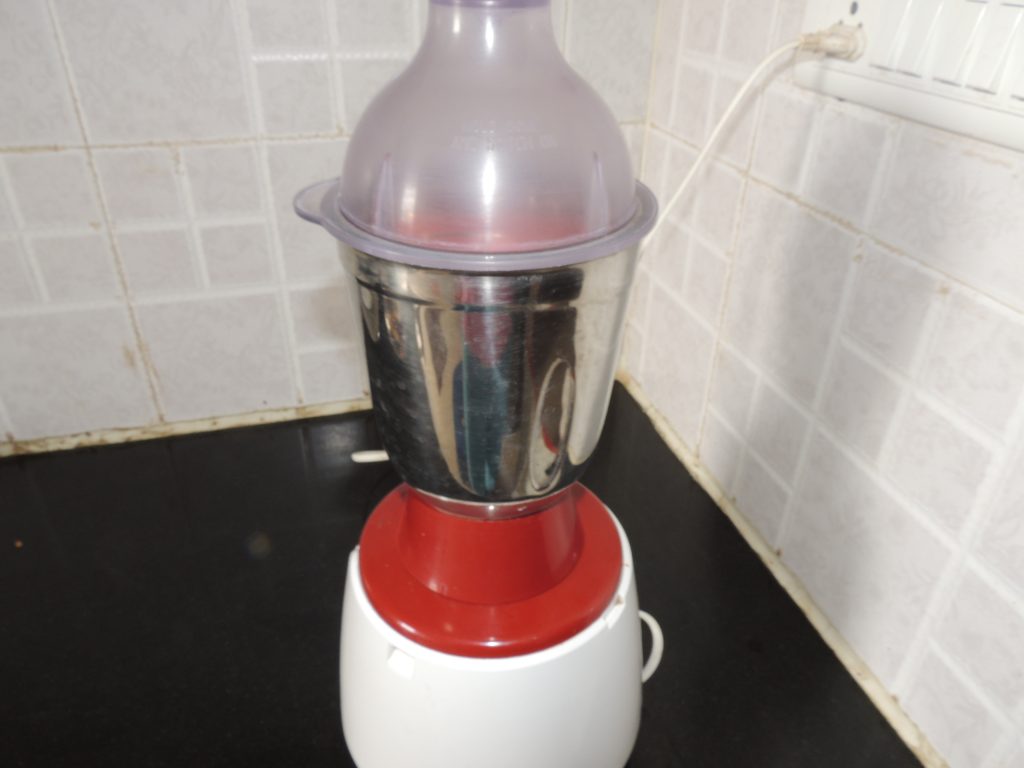
- After this, soak the sago/ sabudana in water, add about 500 grams of water to the sago/ sabudana.
- Here we have to see what kind of sago/ sabudana is, if the sago is dissolving quickly in water, keep it in water for a short time.
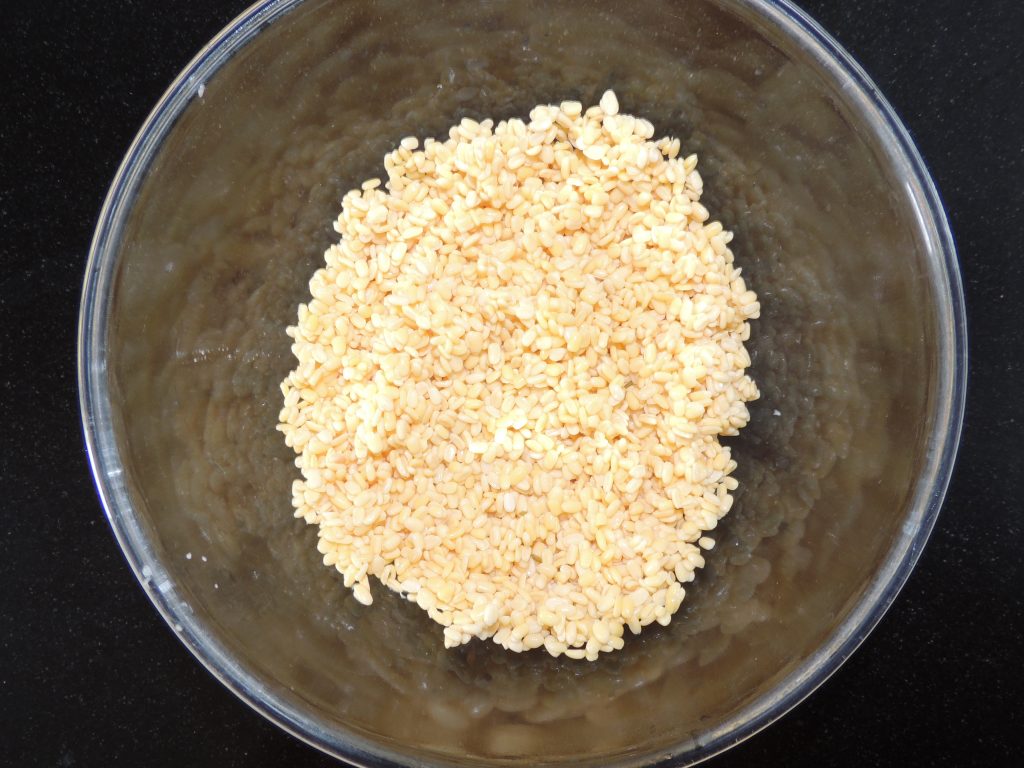
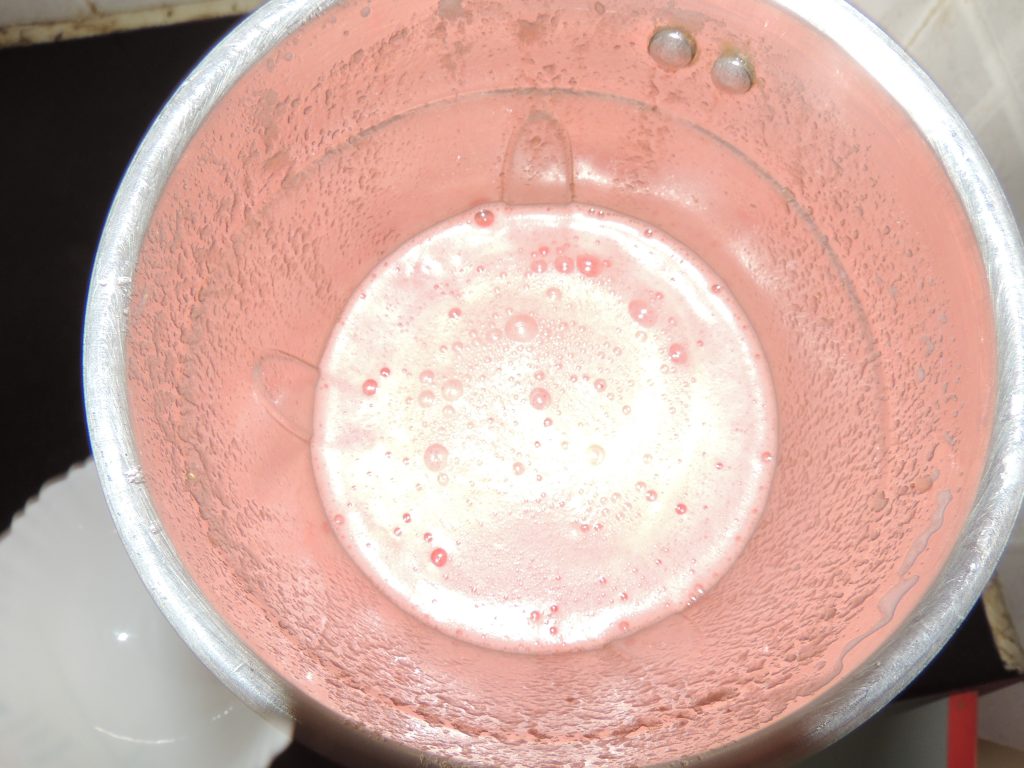
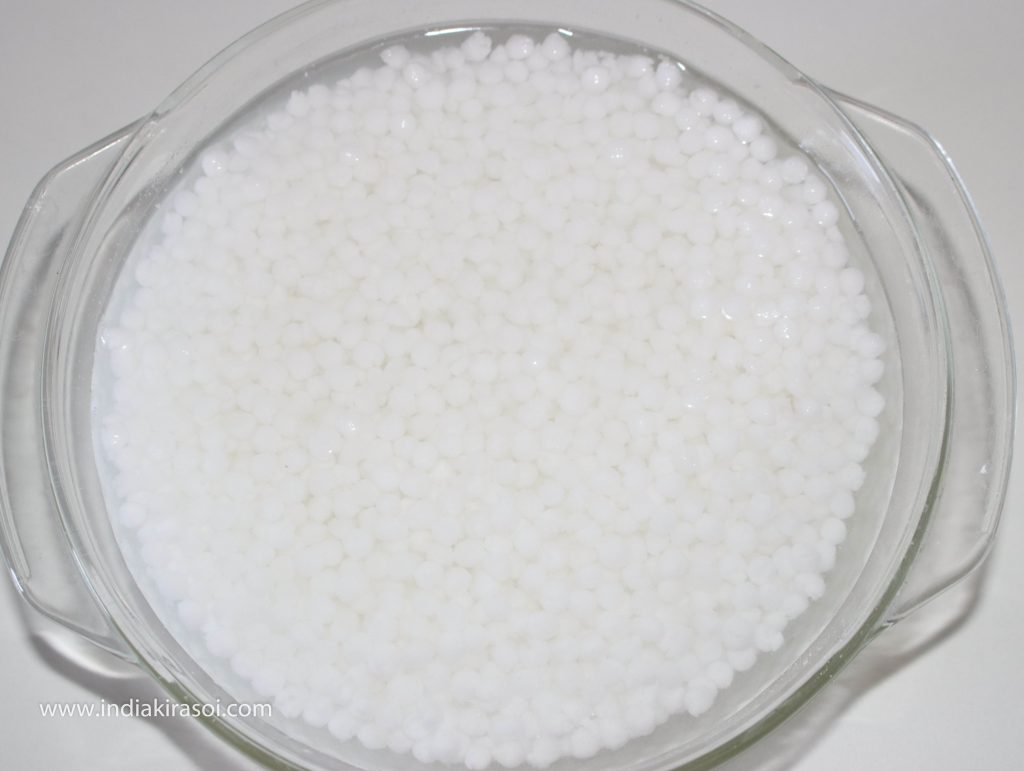
- And if the sago/ sabudana is of good quality, then soak it in water for about 3 hours, press the sago by finger to see if the sago/sabudana is puffed up or not. See a look of sago/ sabudana after 3 hours.
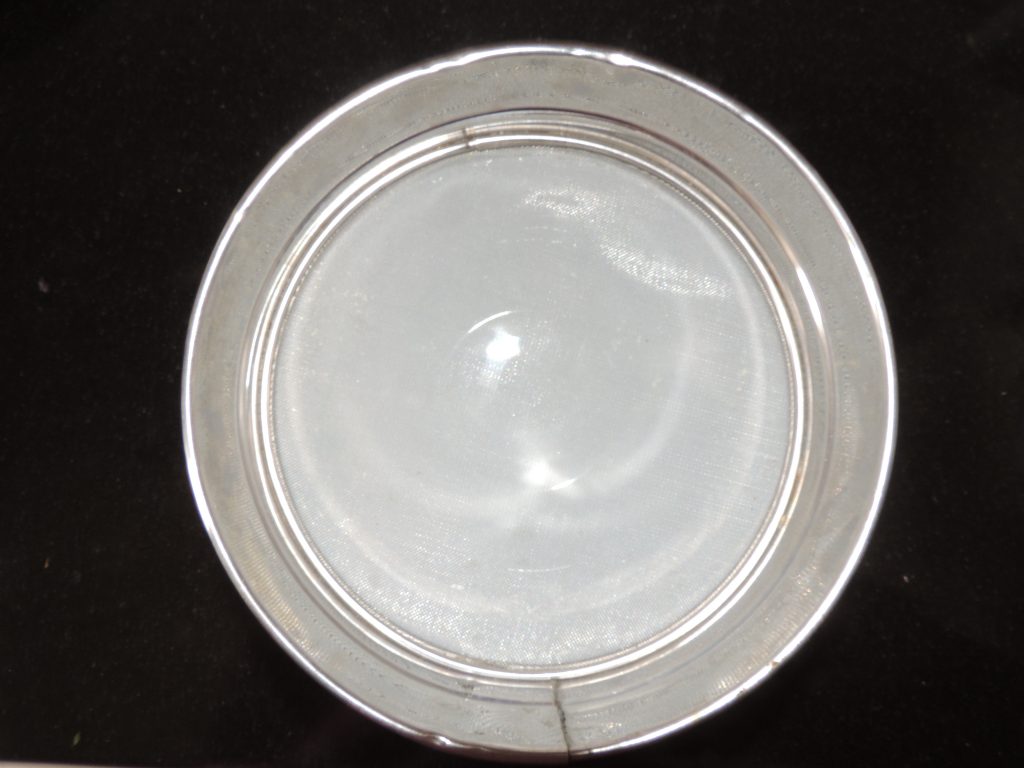
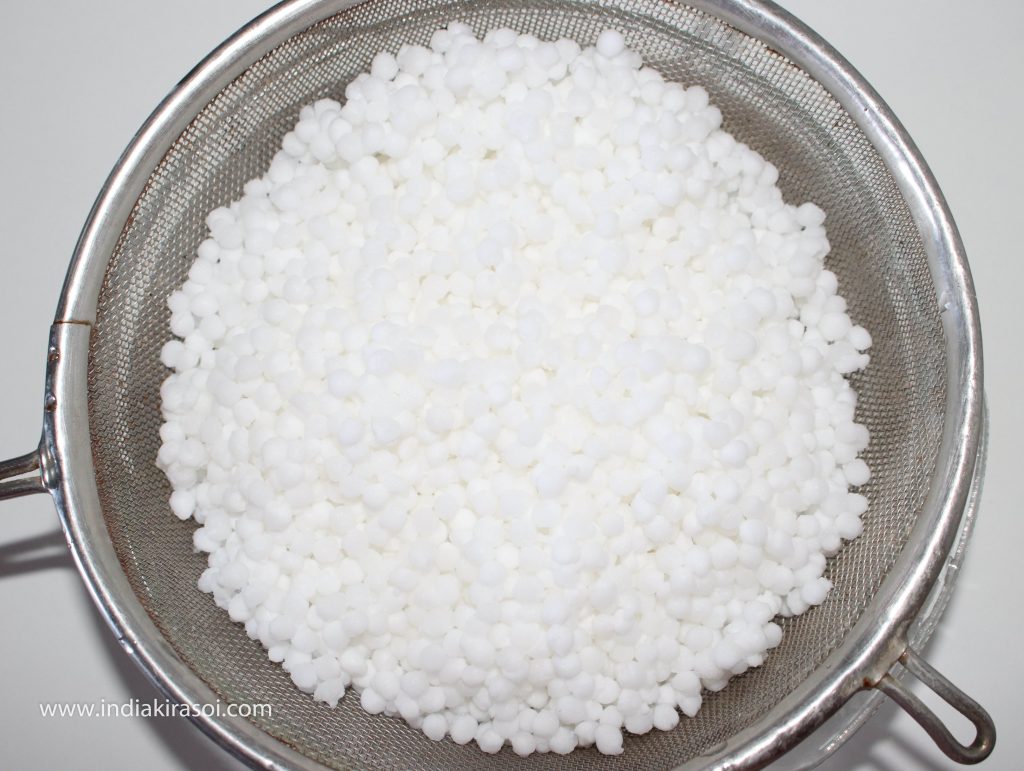
- When the sago/ sabudana puffed swell, sieve the sago/sabudana from the water with the help of strainer.
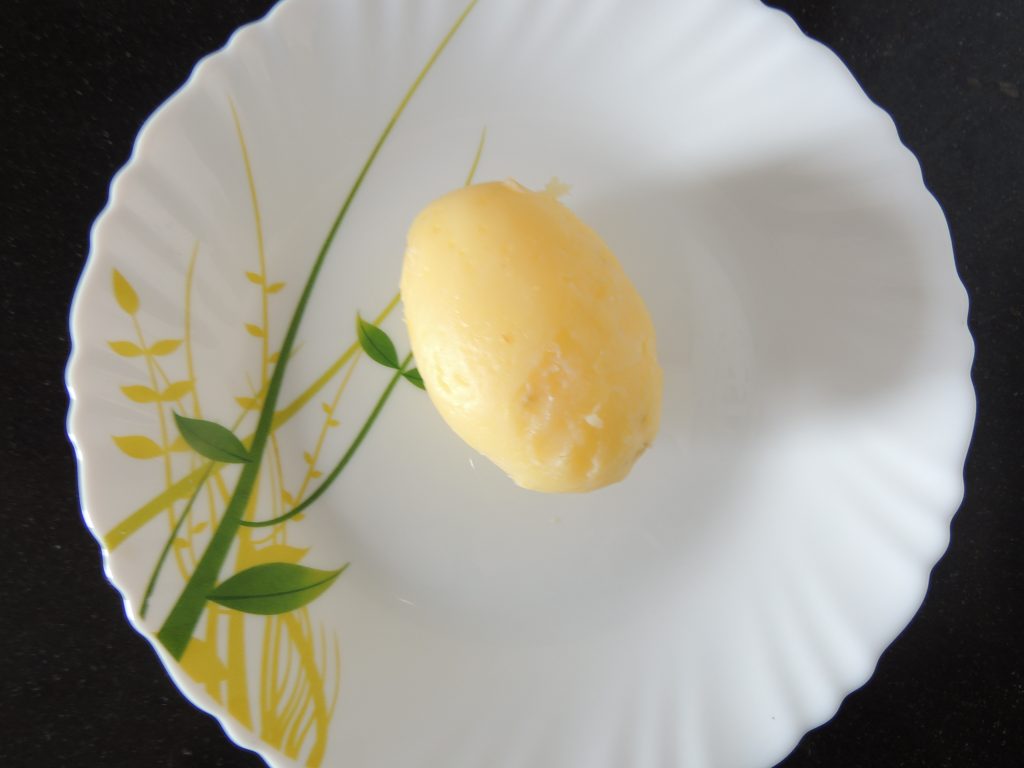
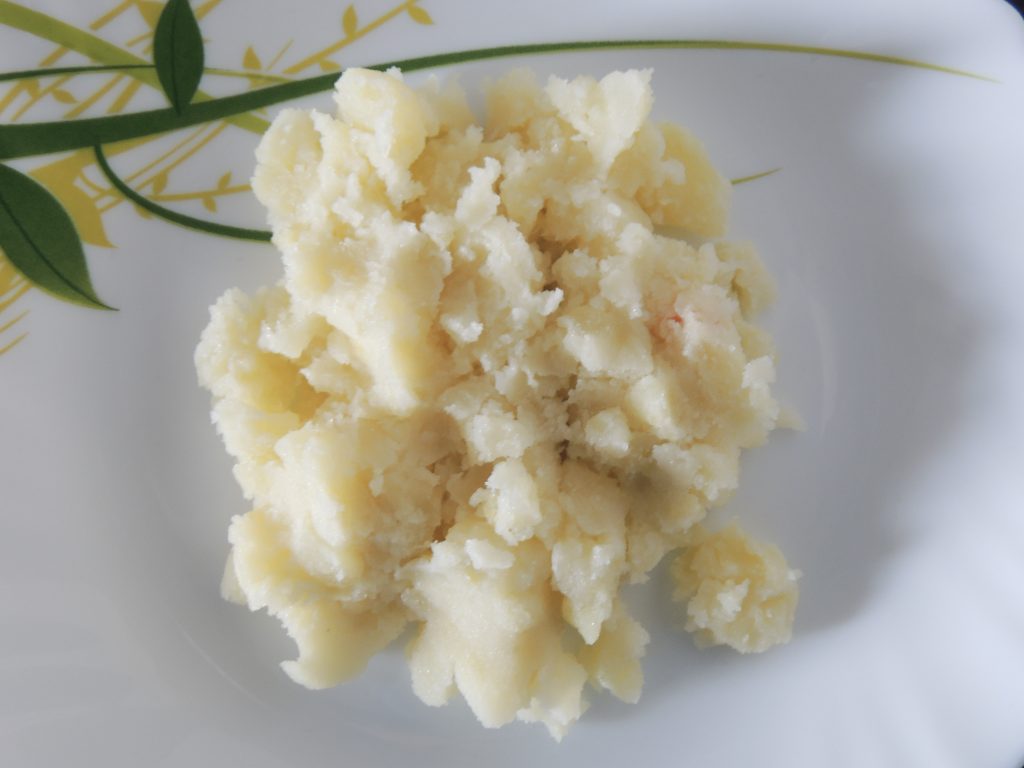
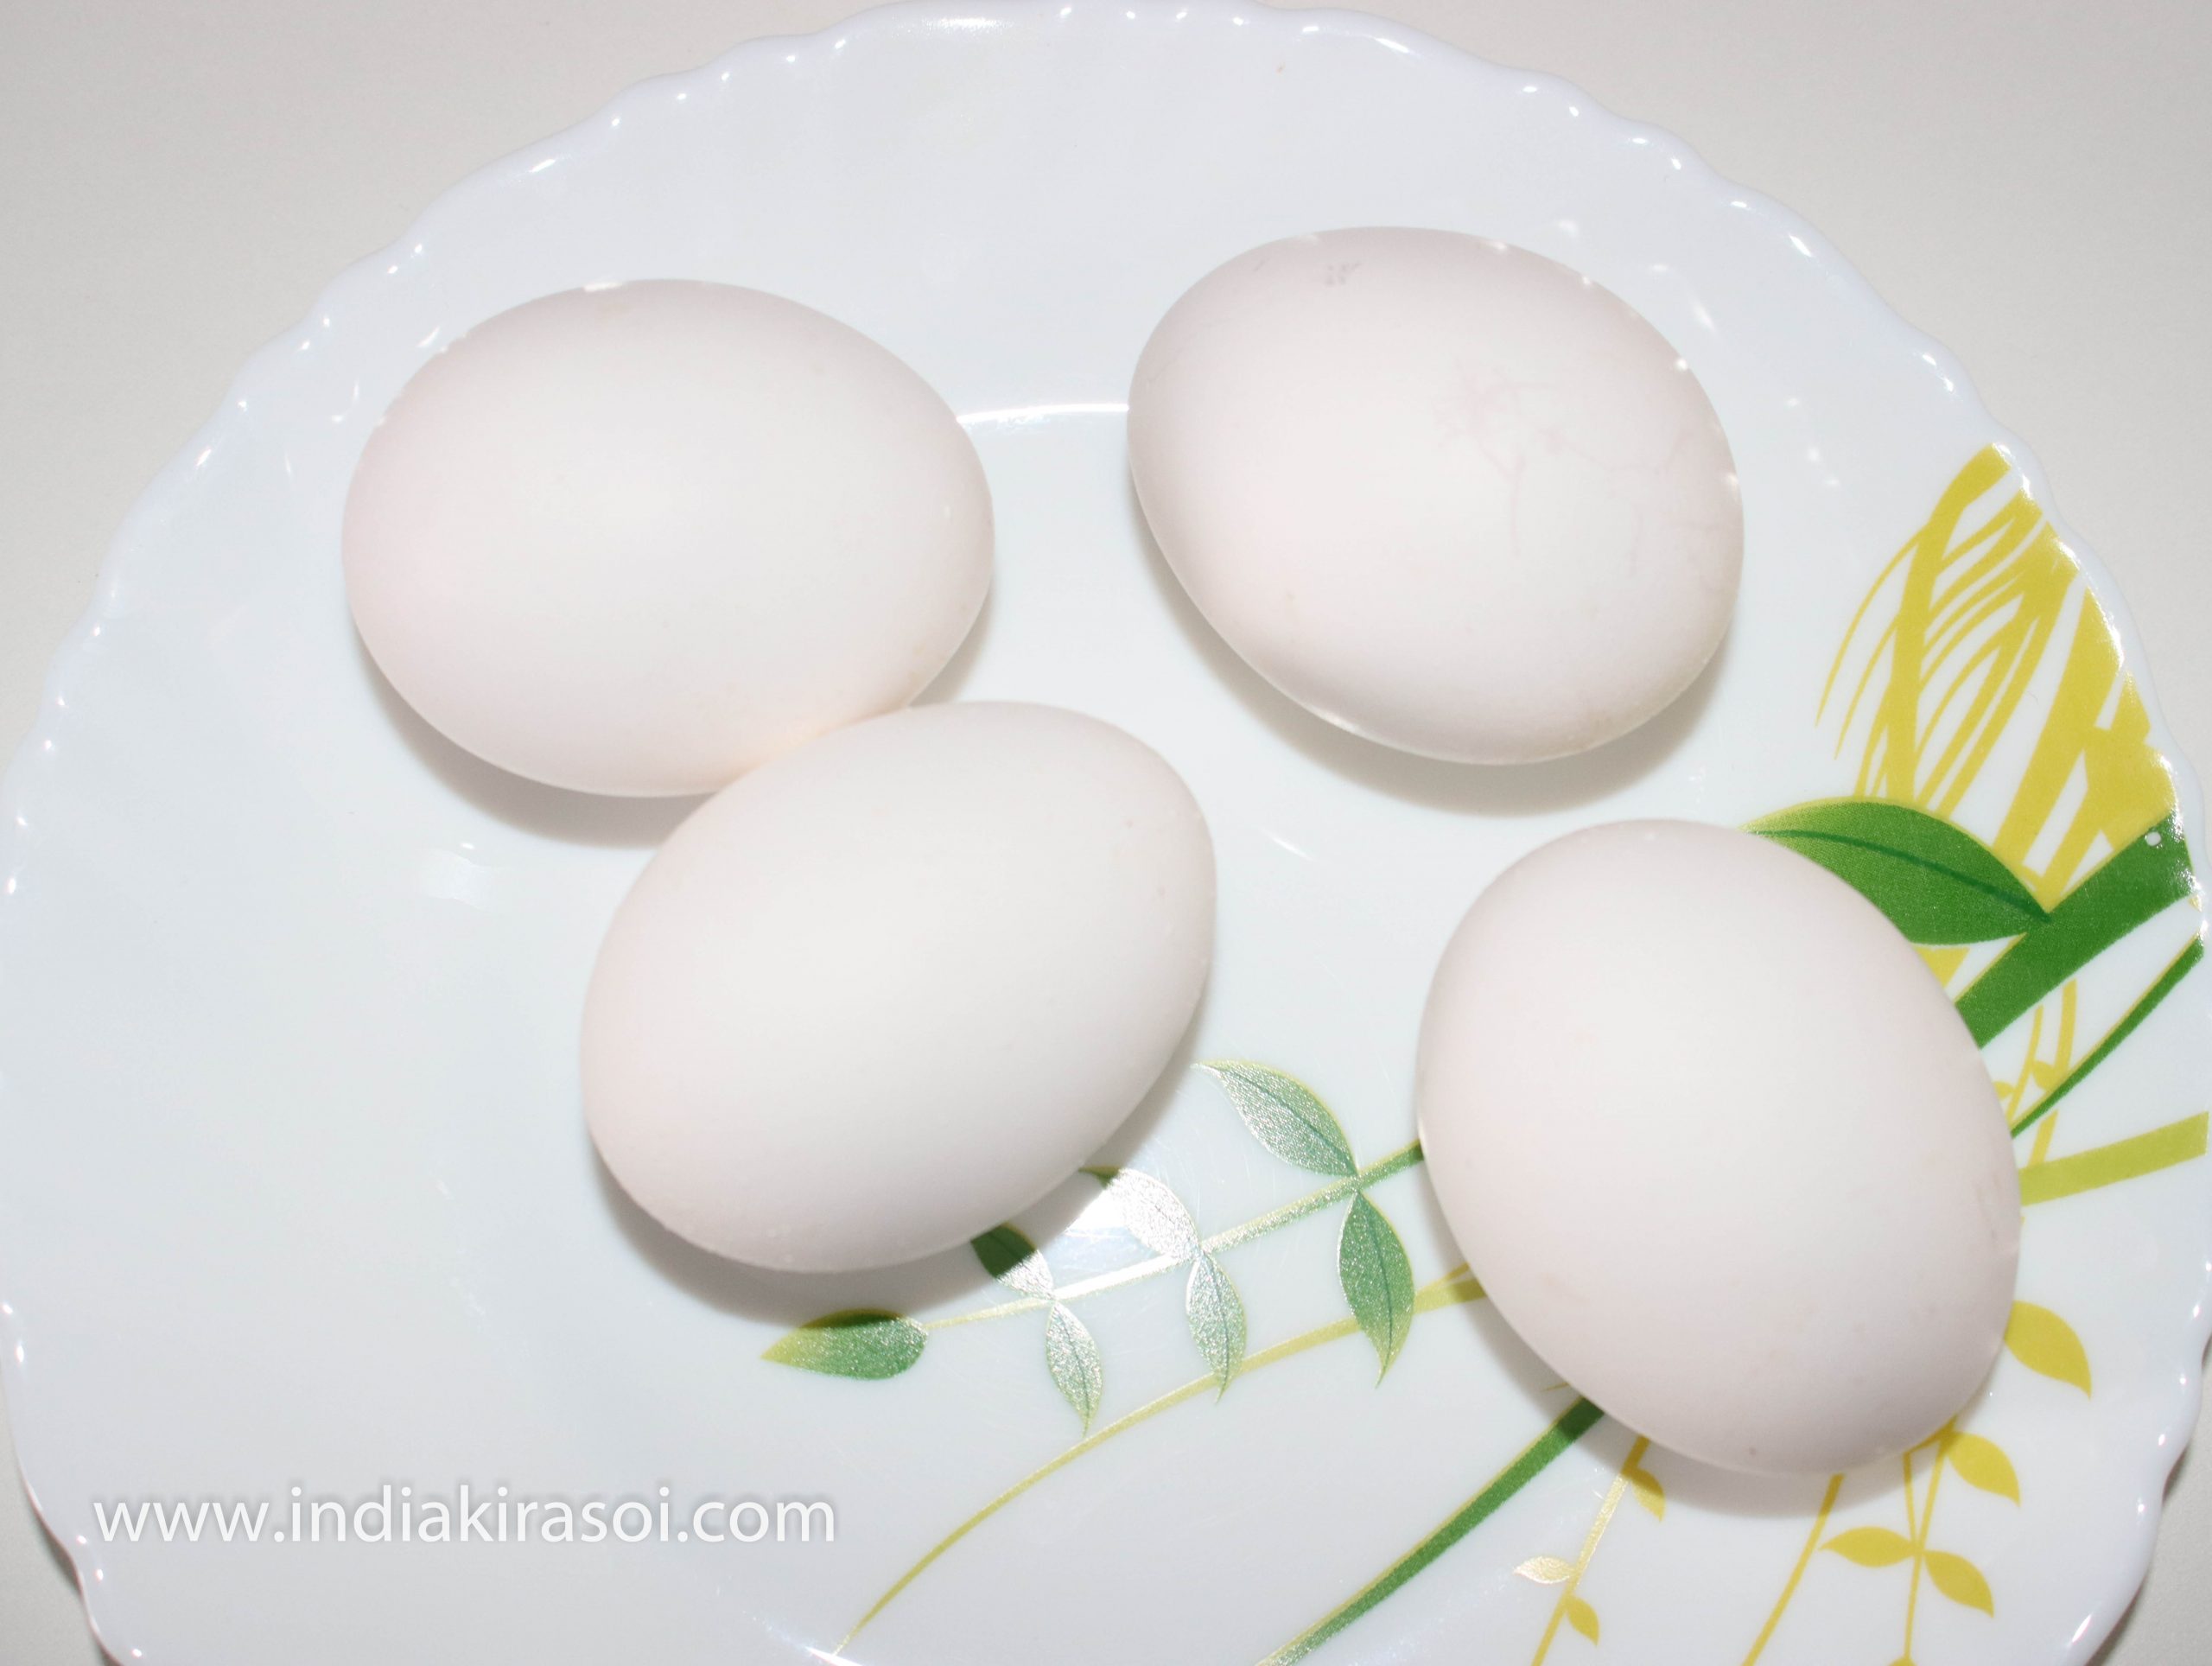
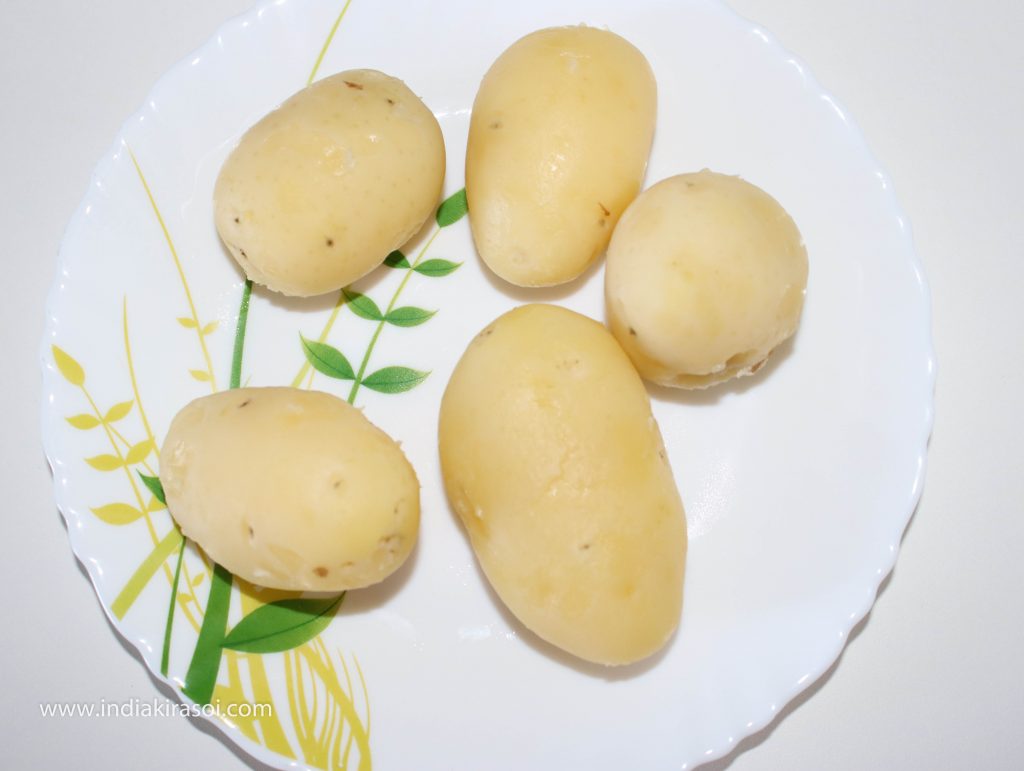
- Simultaneously put 5 medium sized potatoes in the cooker and boil them. Keep in mind that to boil the potato, let it boil for 2 whistles on the high flame and one whistle on low flame, then turn off the gas, peel the potatoes after the pressure of the cooker comes out.
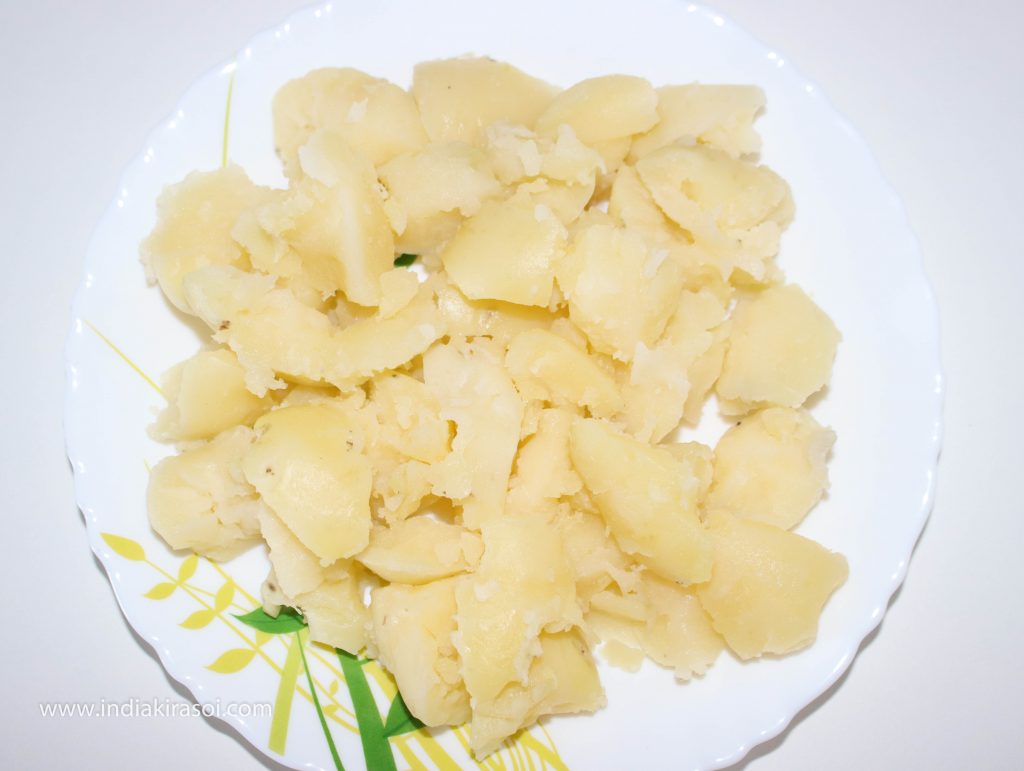
- Break the potatoes by hand into pieces.
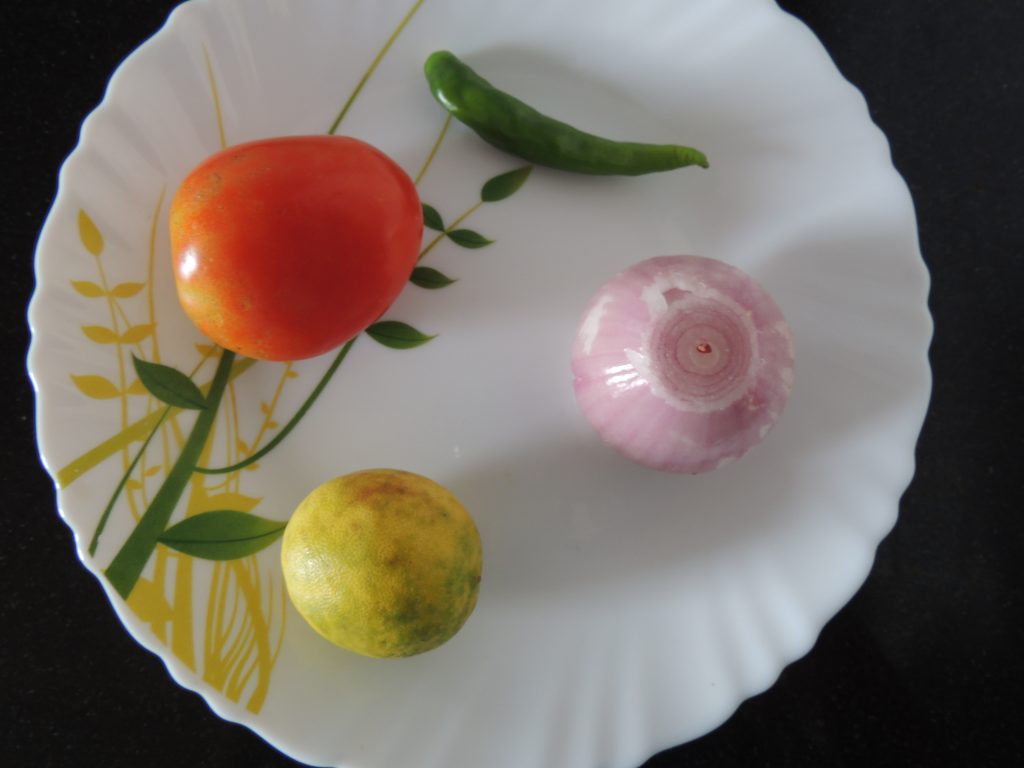
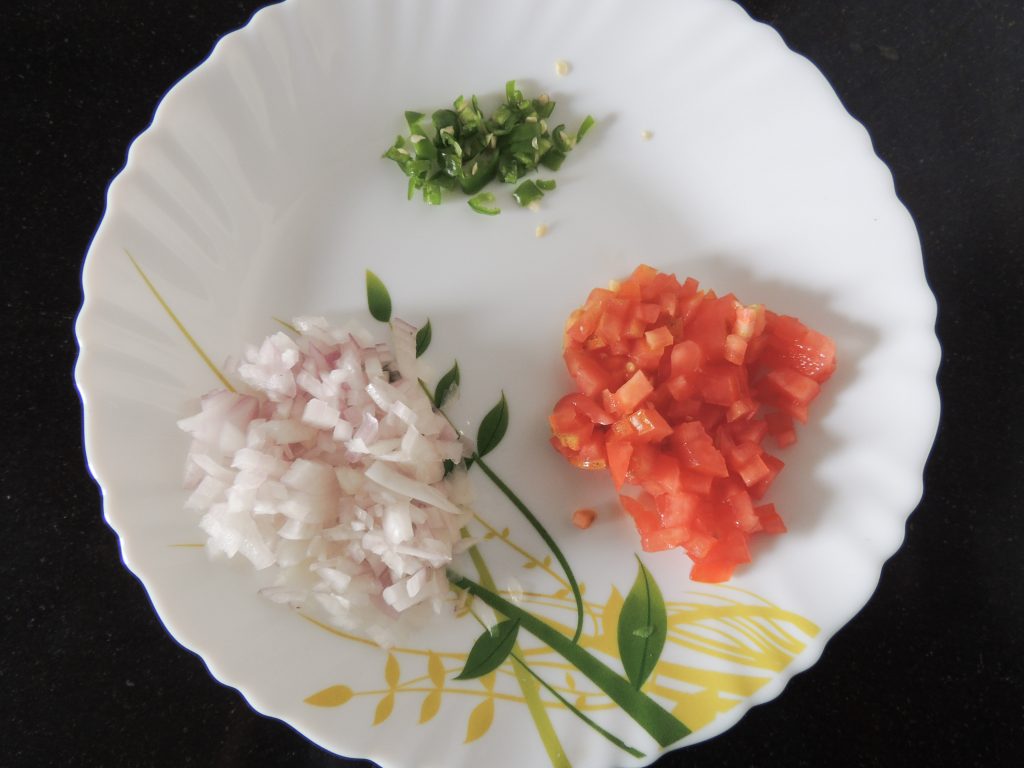
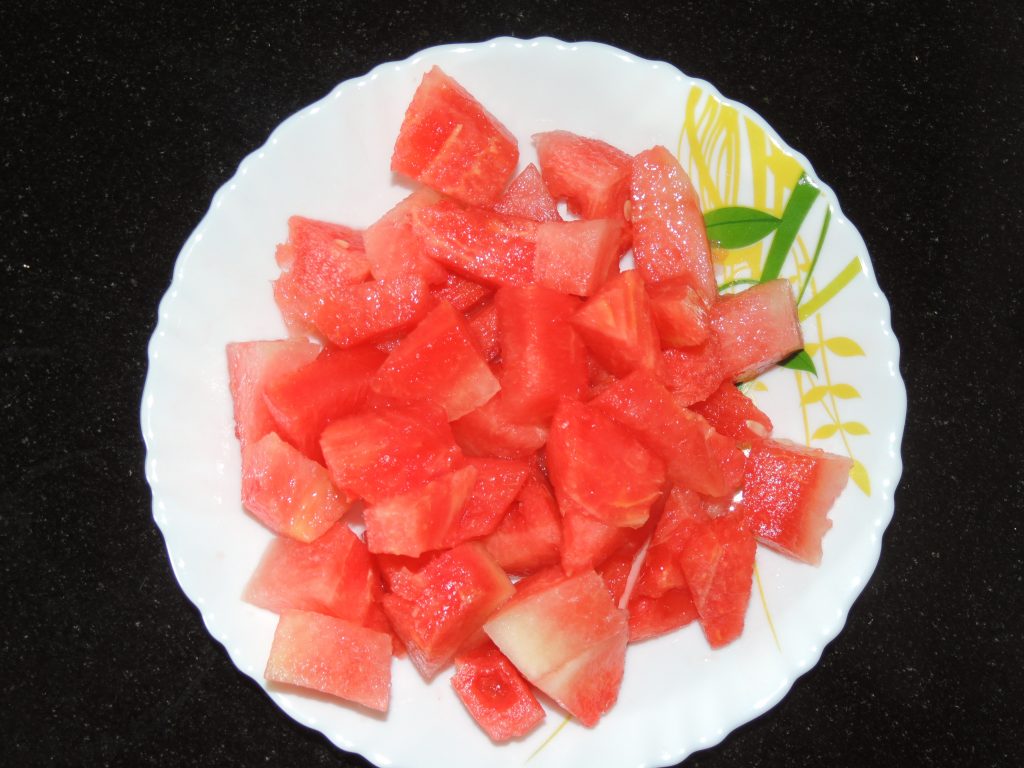
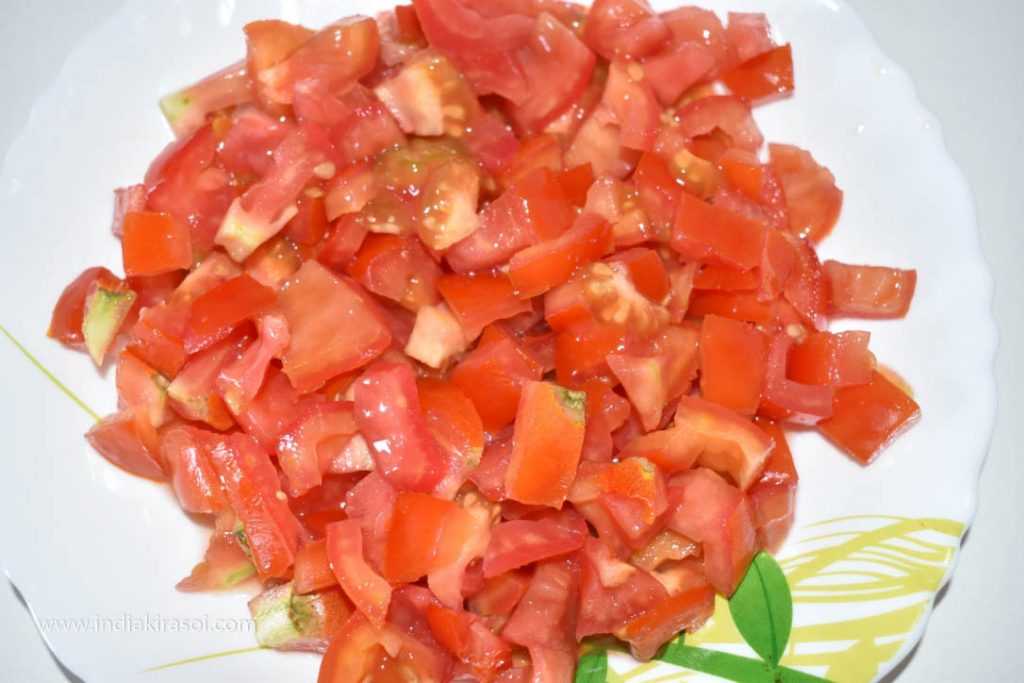
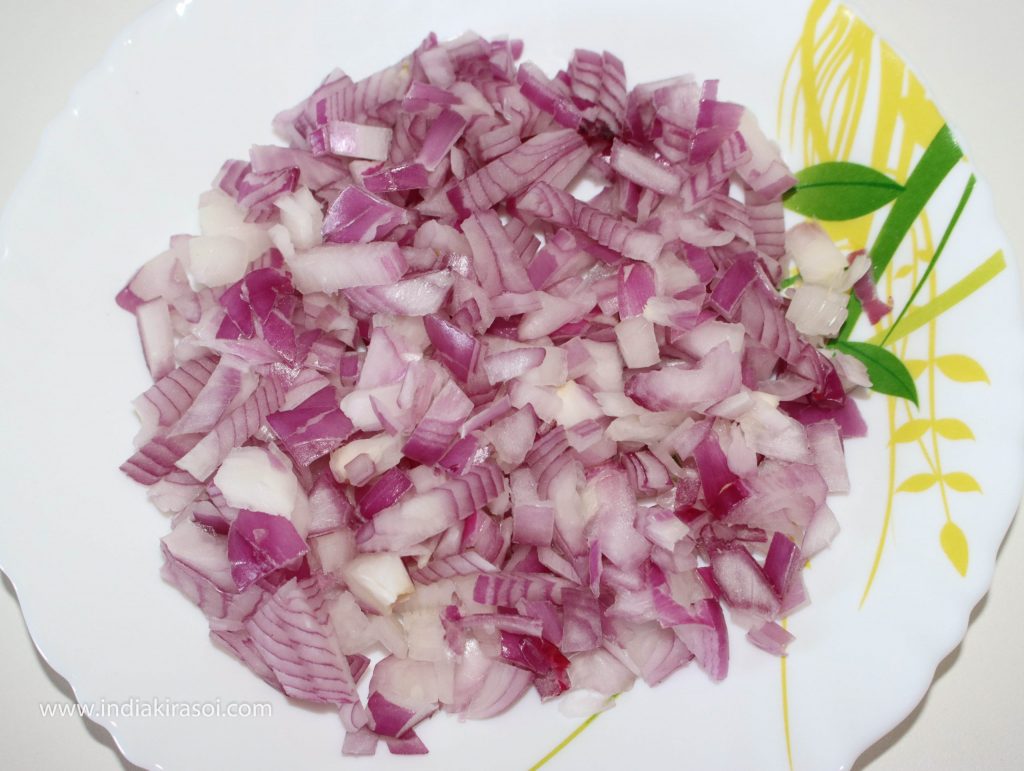
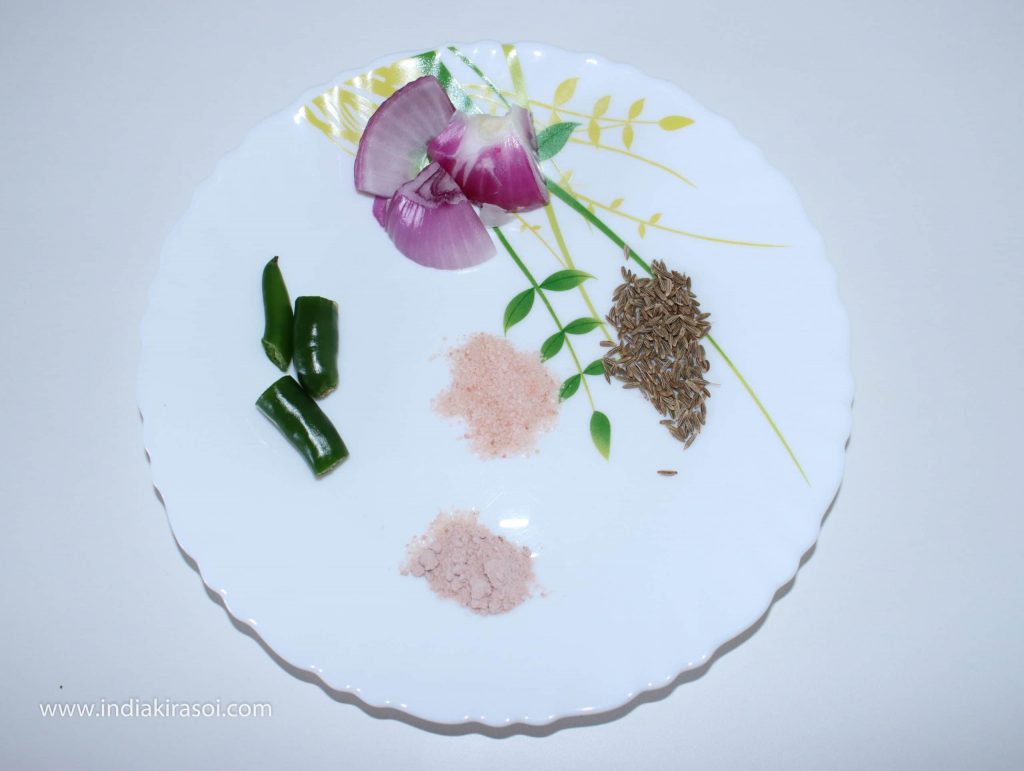
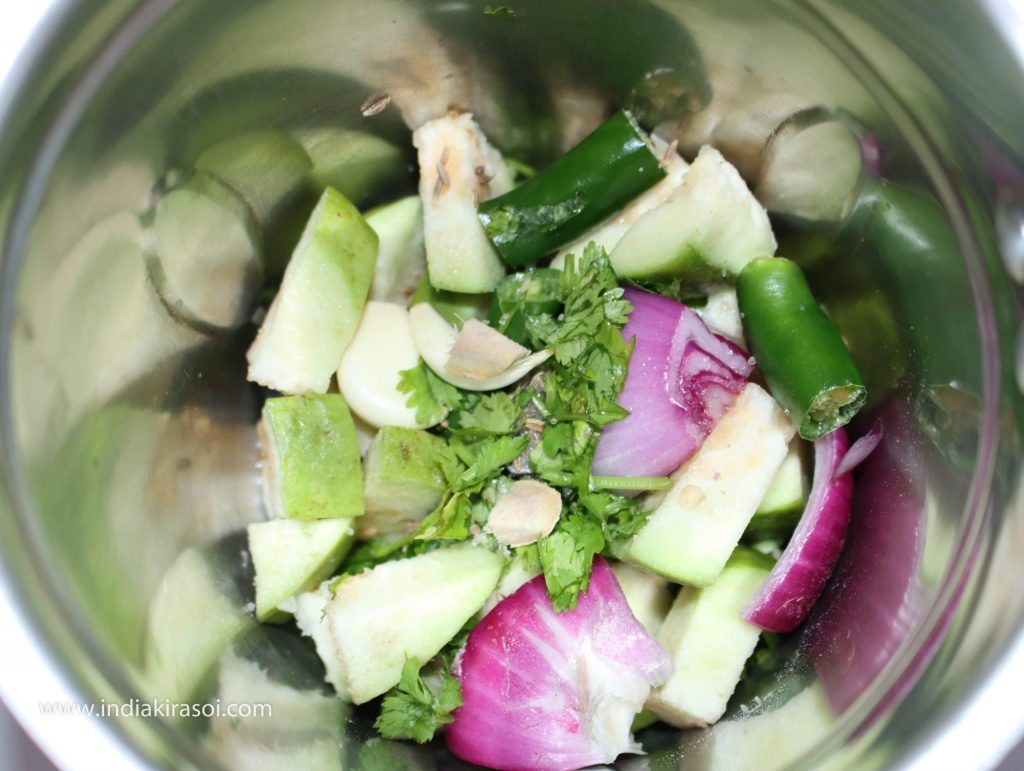
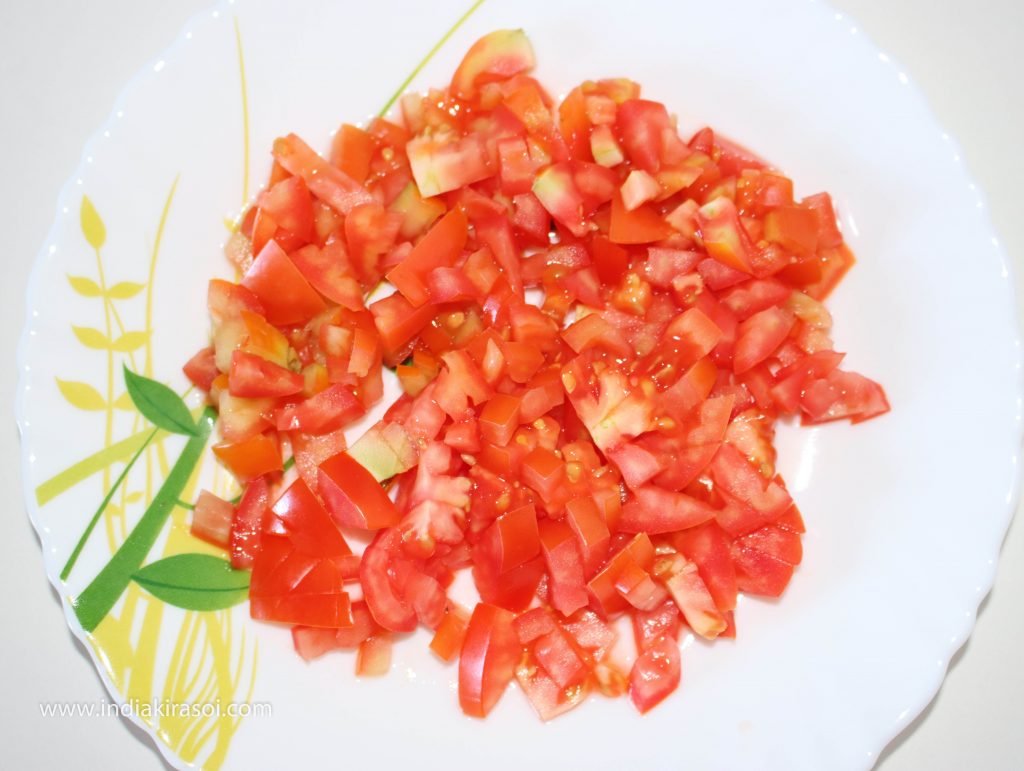
- Cut 2 medium sized tomatoes.
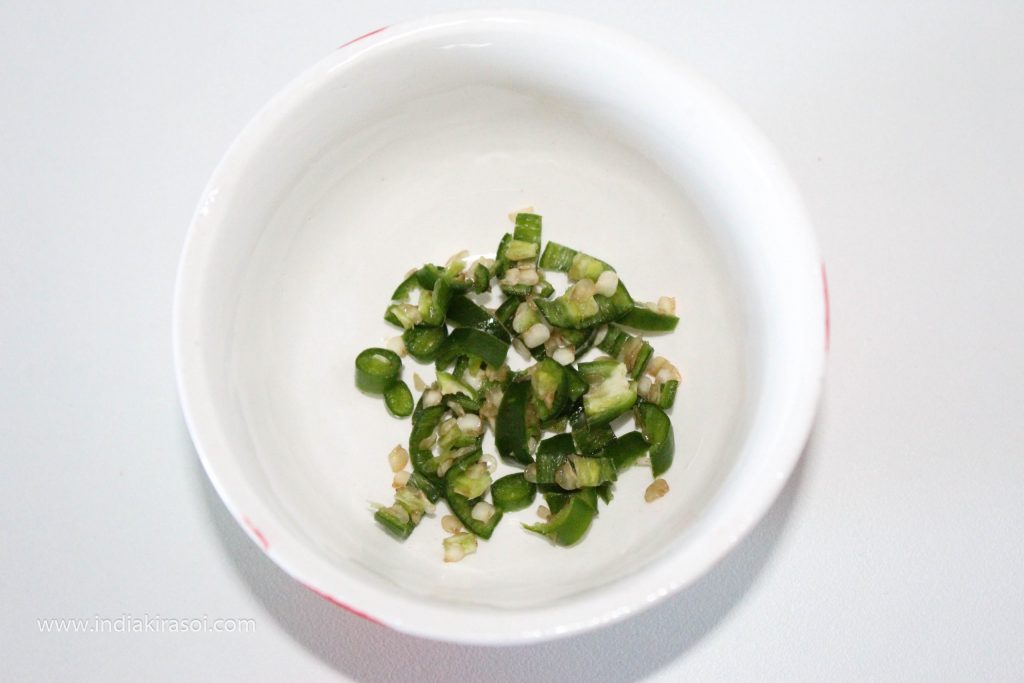
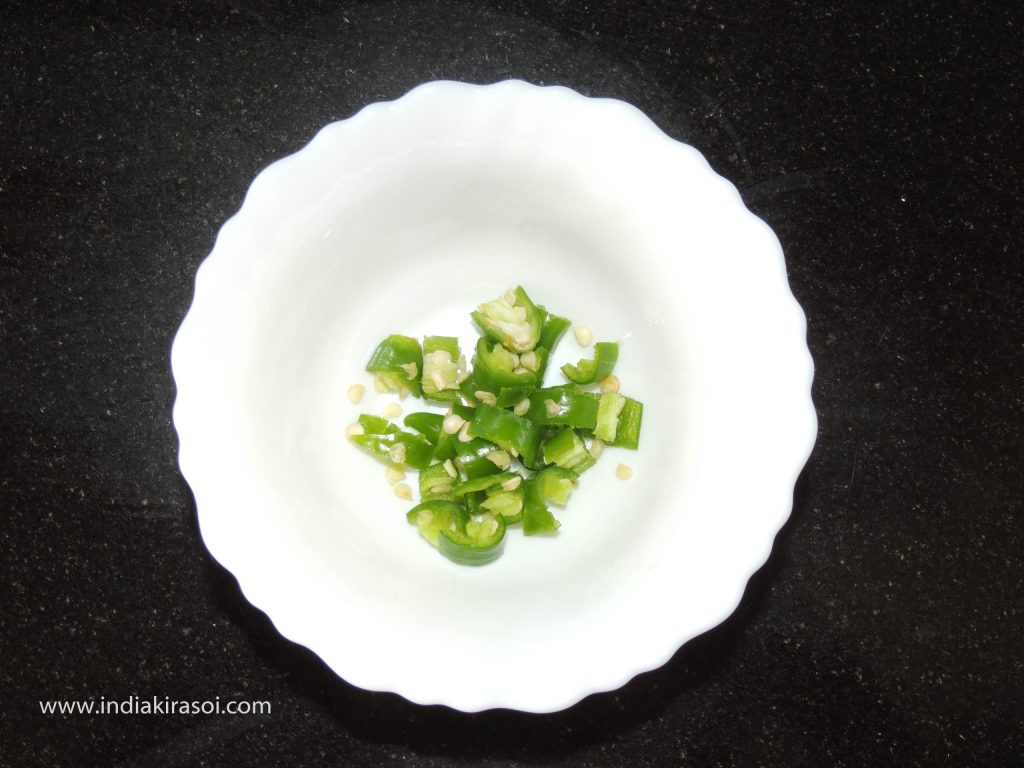
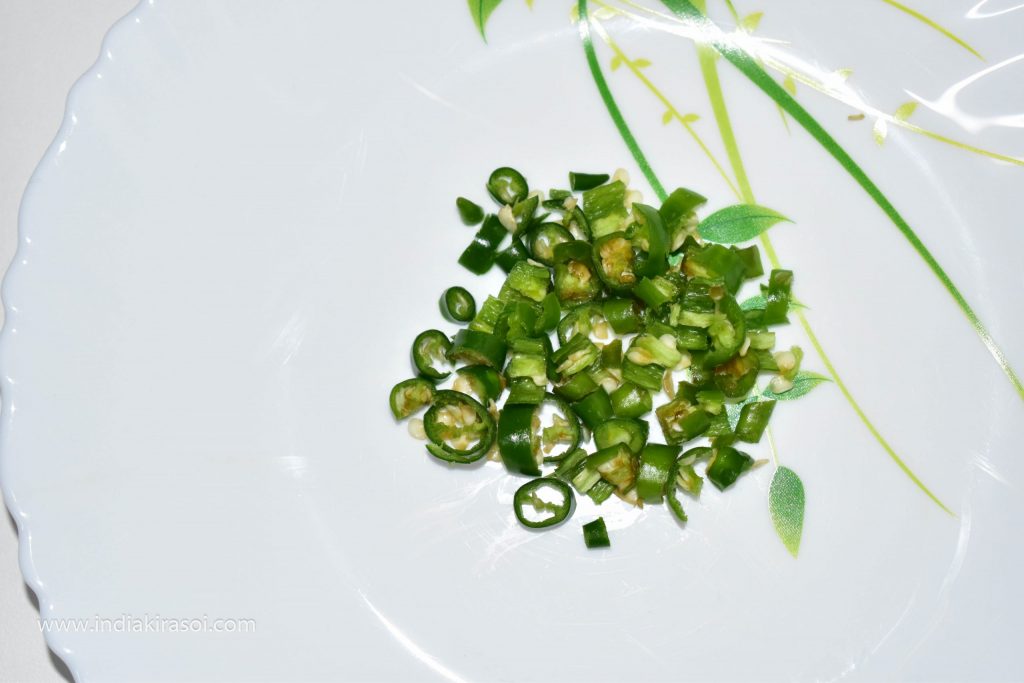
- Cut 2 green chilies, if you eat less chilli then you can take chilli according to your likings.

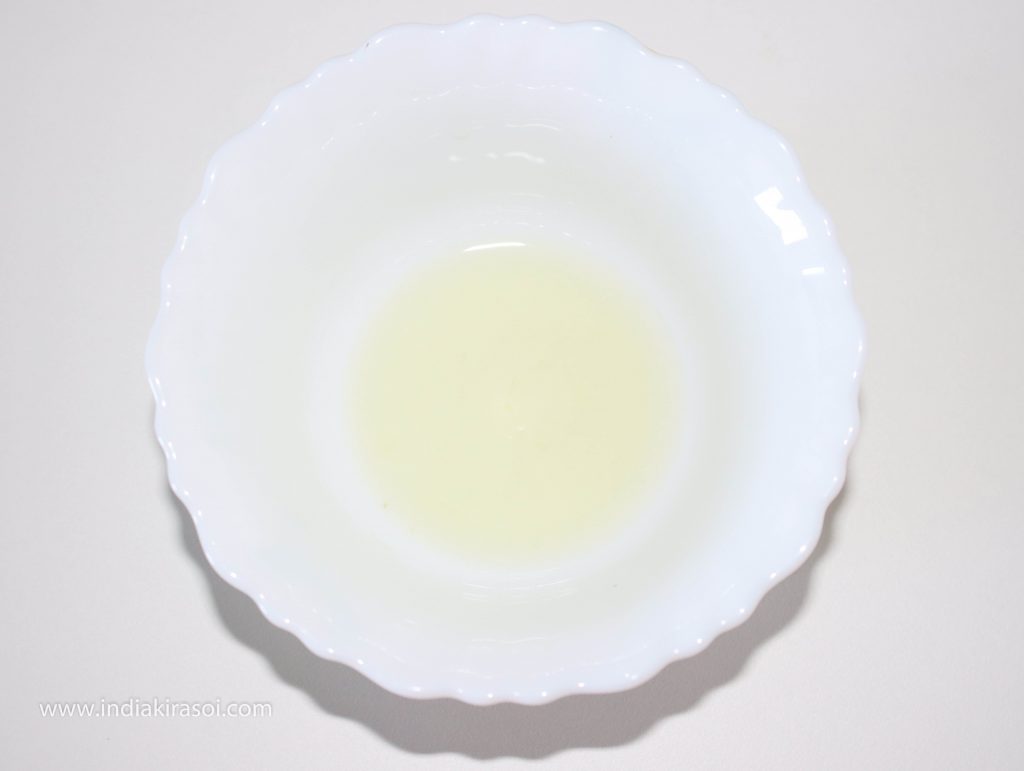
- Take 2 teaspoons of lemon juice.
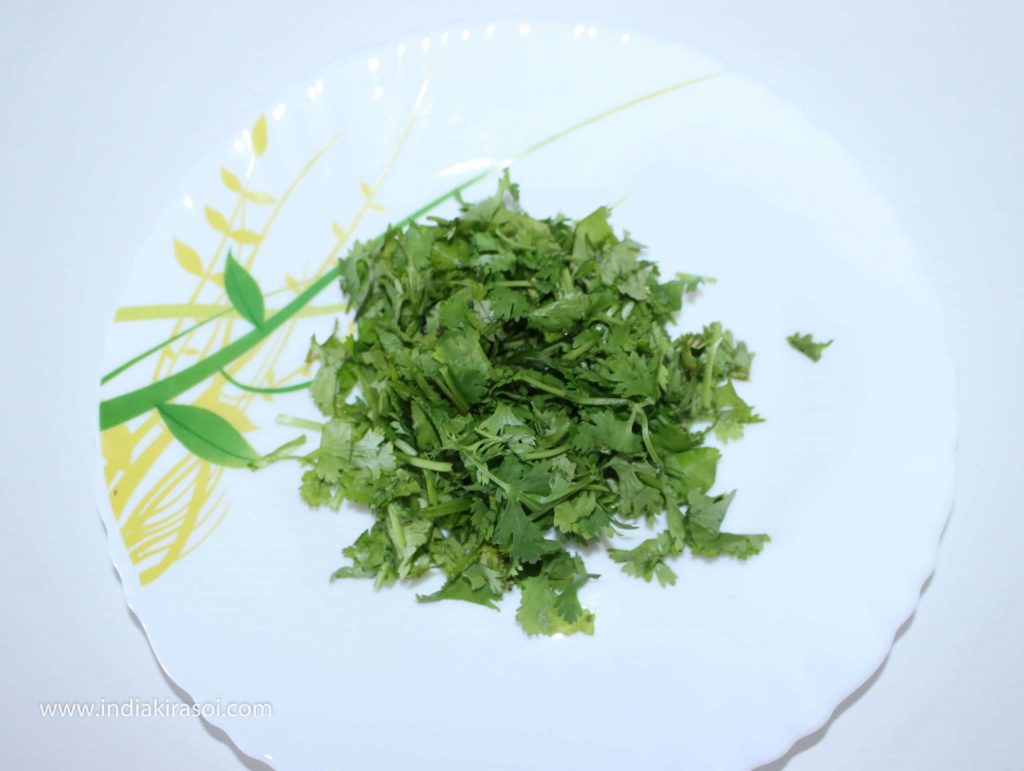
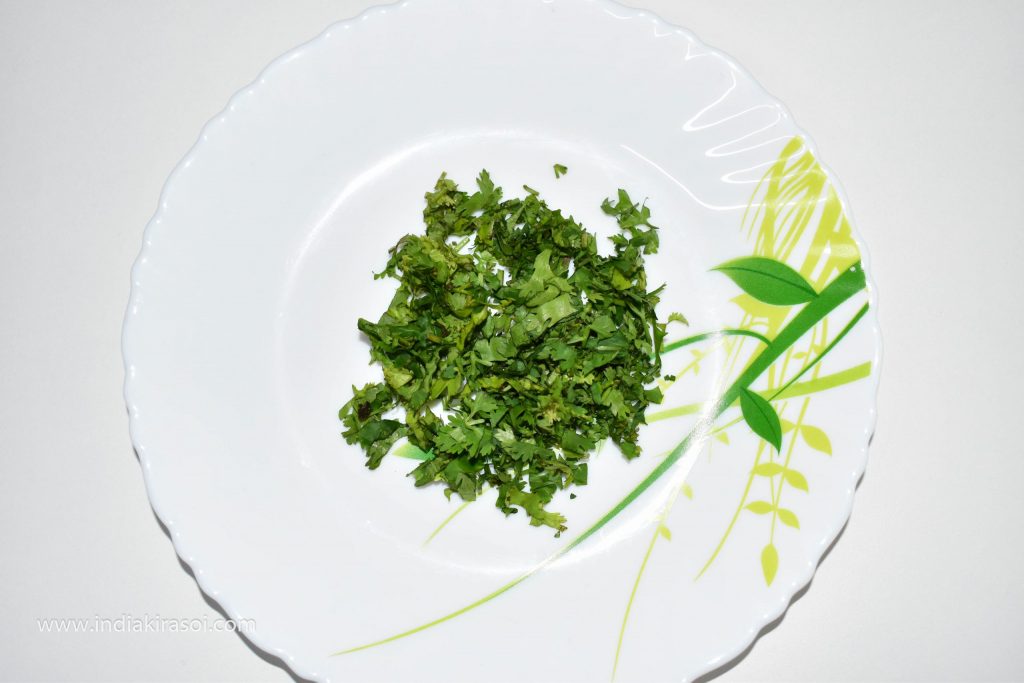
- Take 2 teaspoons chopped coriander.
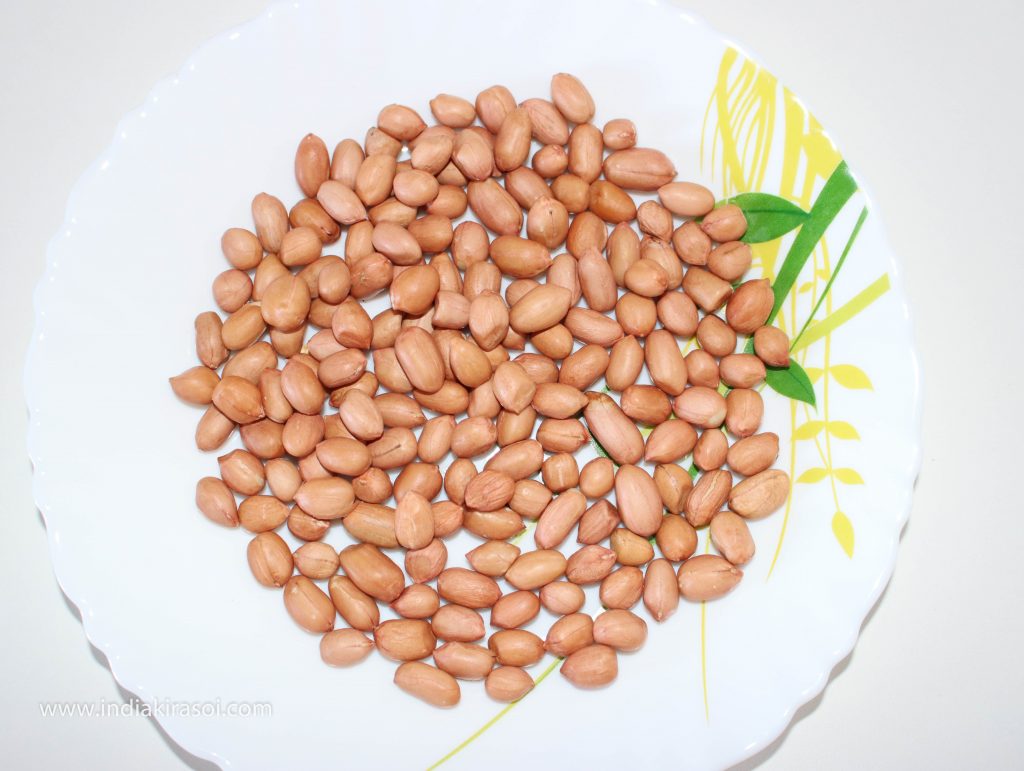
- Take 3/4 cup or 100 grams of peanuts. Clean the peanuts.
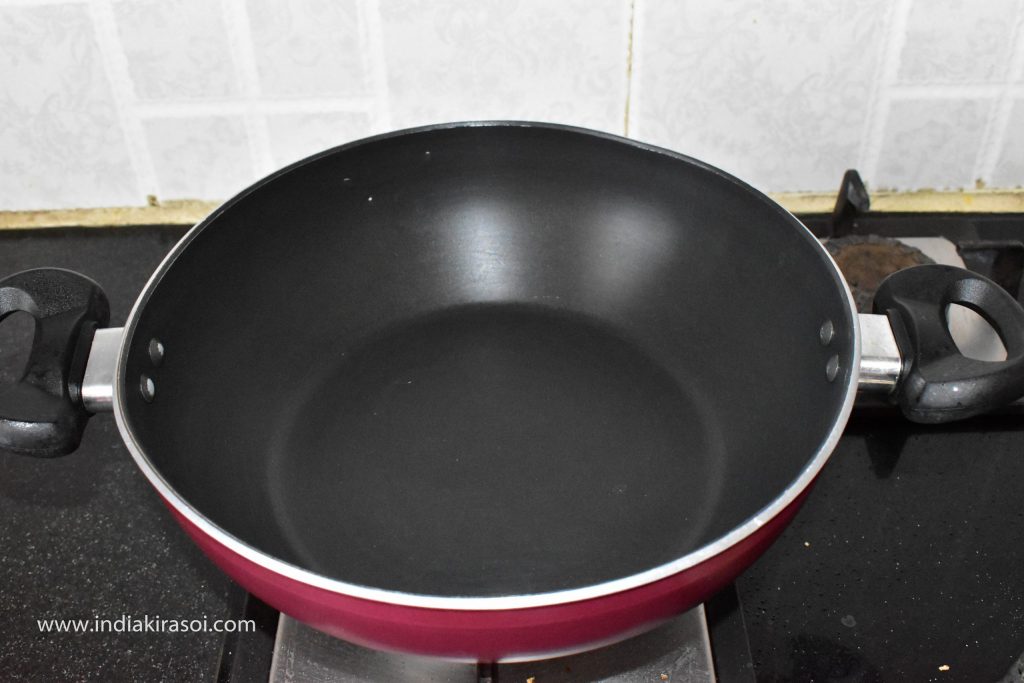
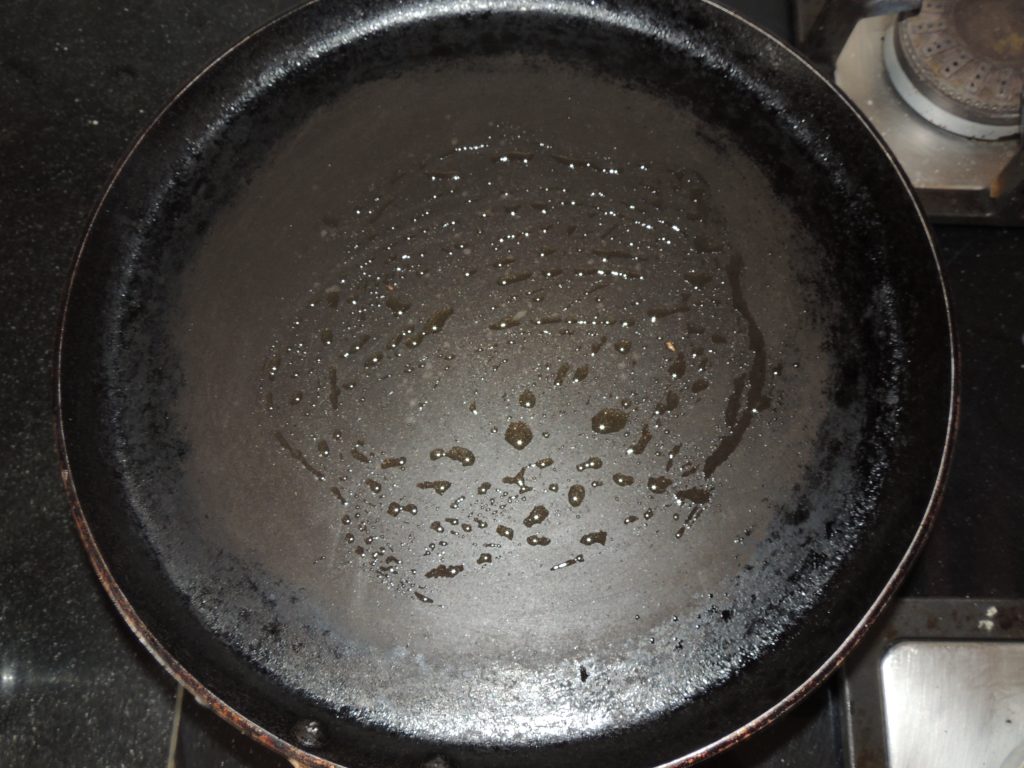
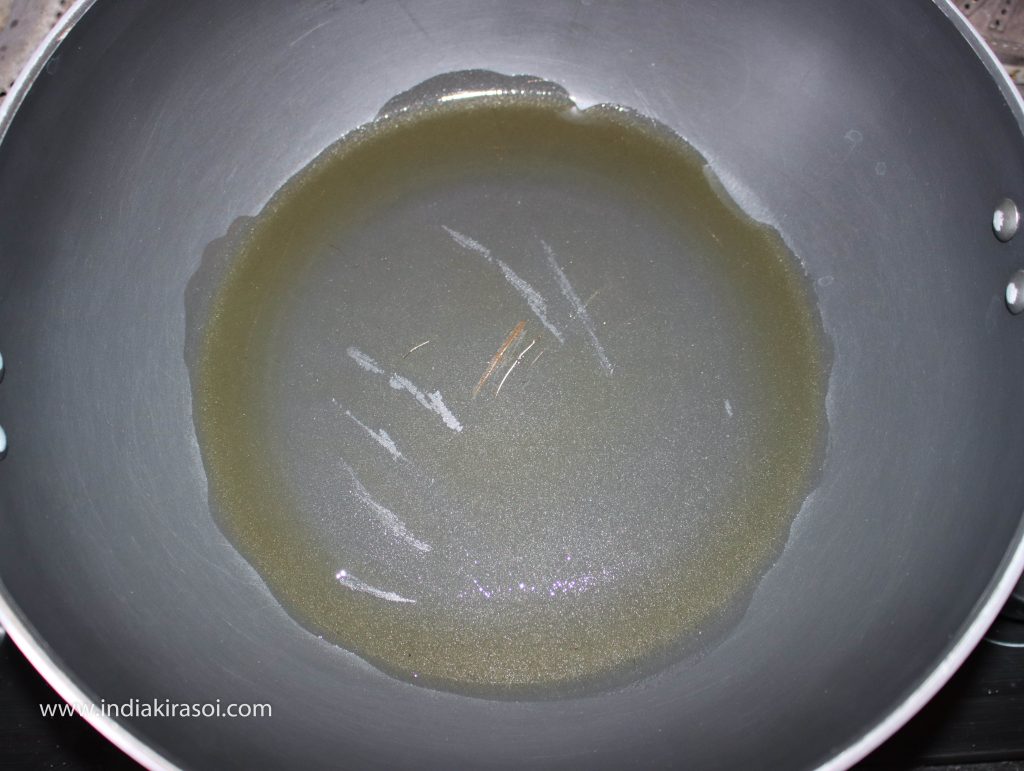
- After this, put the wok (kadhai)/ fry pan on the gas.

- Add 2 teaspoons of desi ghee in the wok (kadhai)/ fry pan,if the ghee is not in liquid form then add one full spoon of ghee/ butter. Keep gas to medium flame.
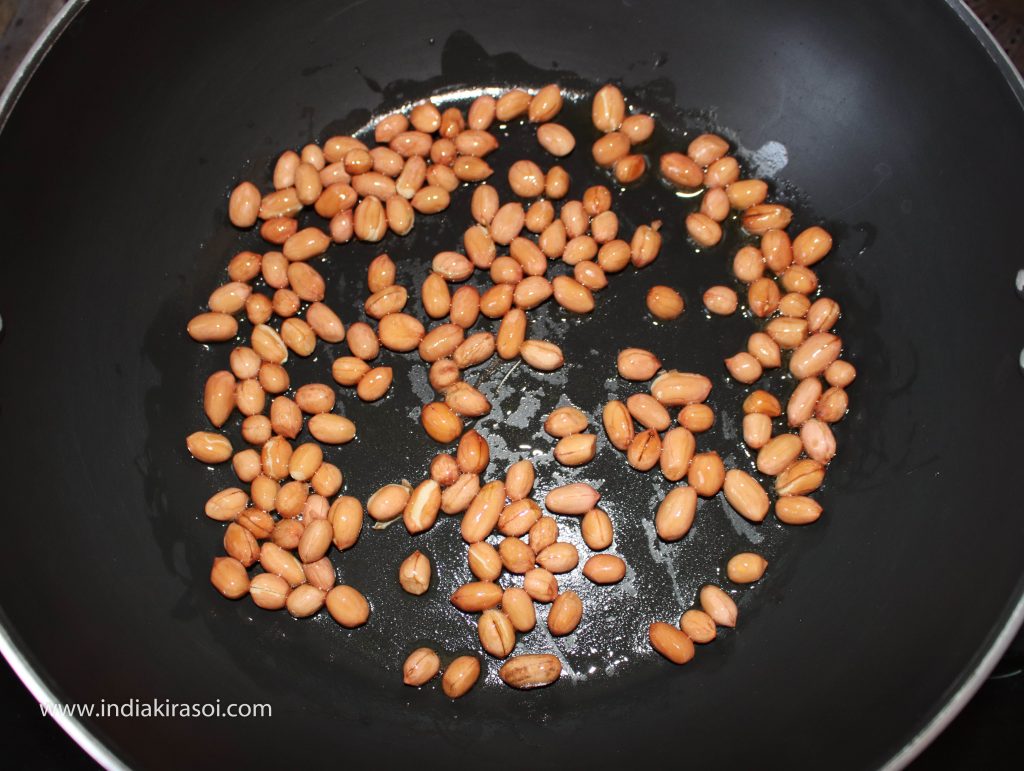
- When the ghee/ butter gets hot, add peanuts to the ghee/ butter. Fry the peanuts with a spatula, taking care that the peanuts should not burn.
- Fry the peanuts on medium heat.
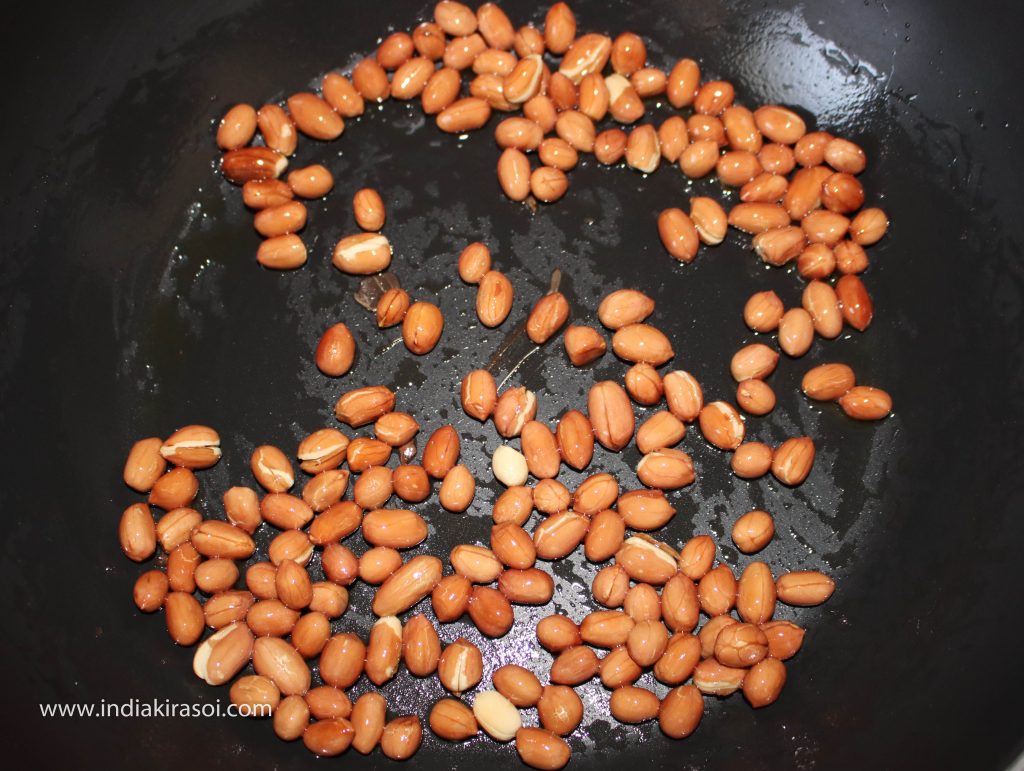
- In a while, the peanuts will start to crackle and become light brown.
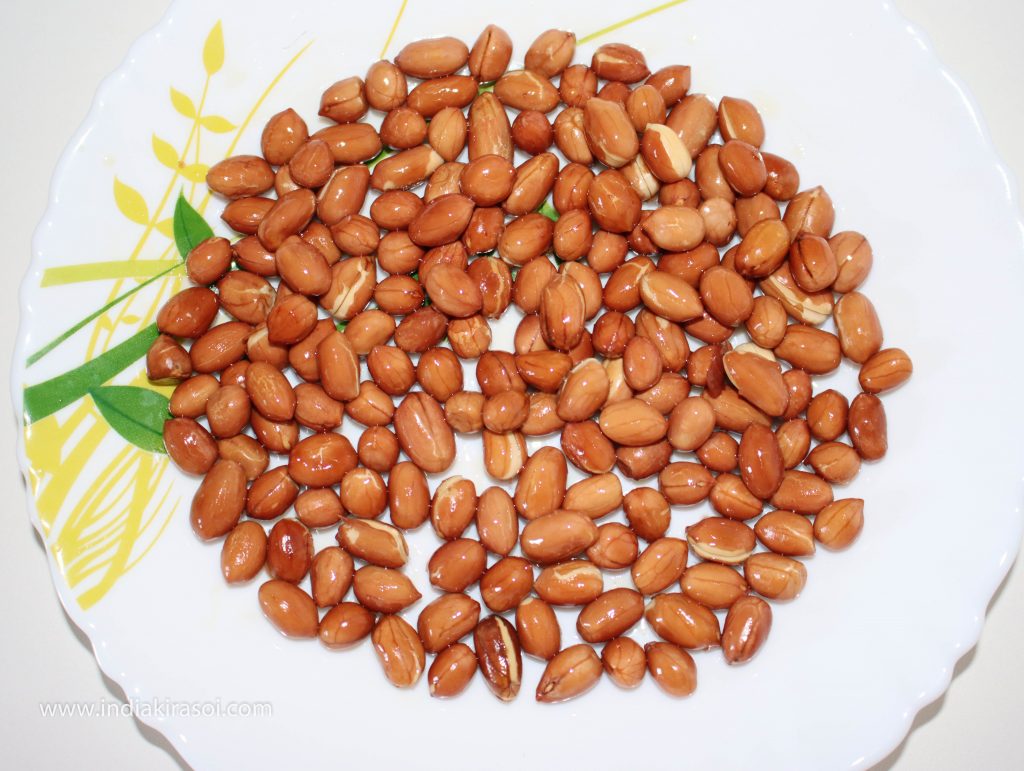
- When the peanuts are fried, take out the fried peanuts in the plate.
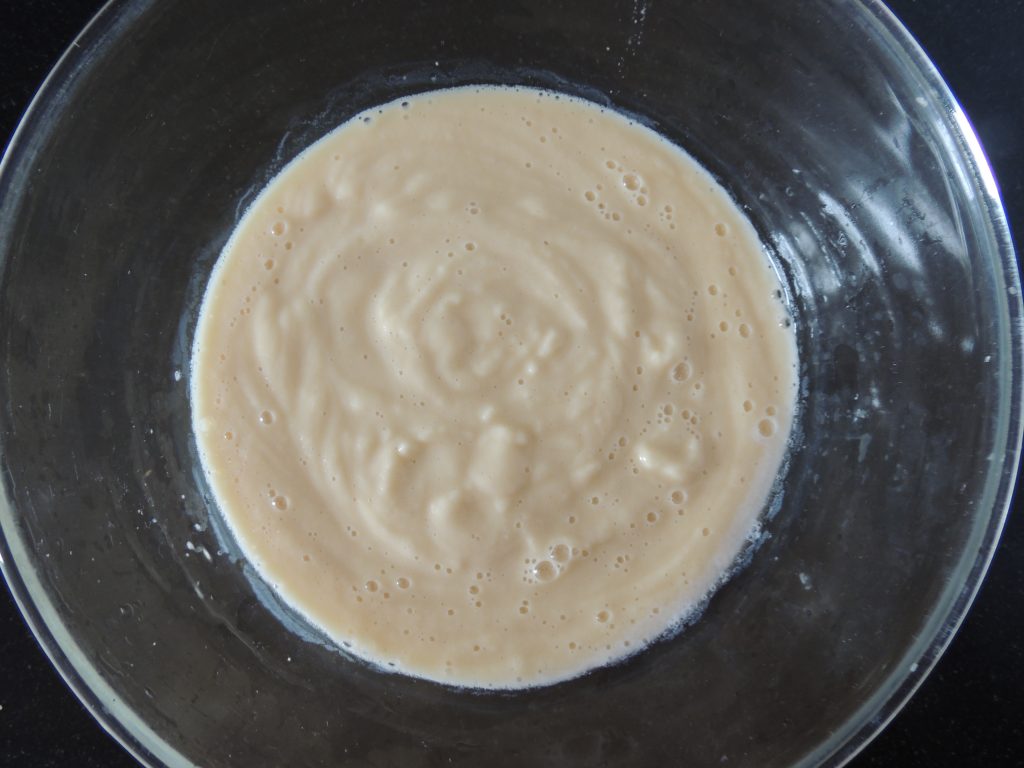
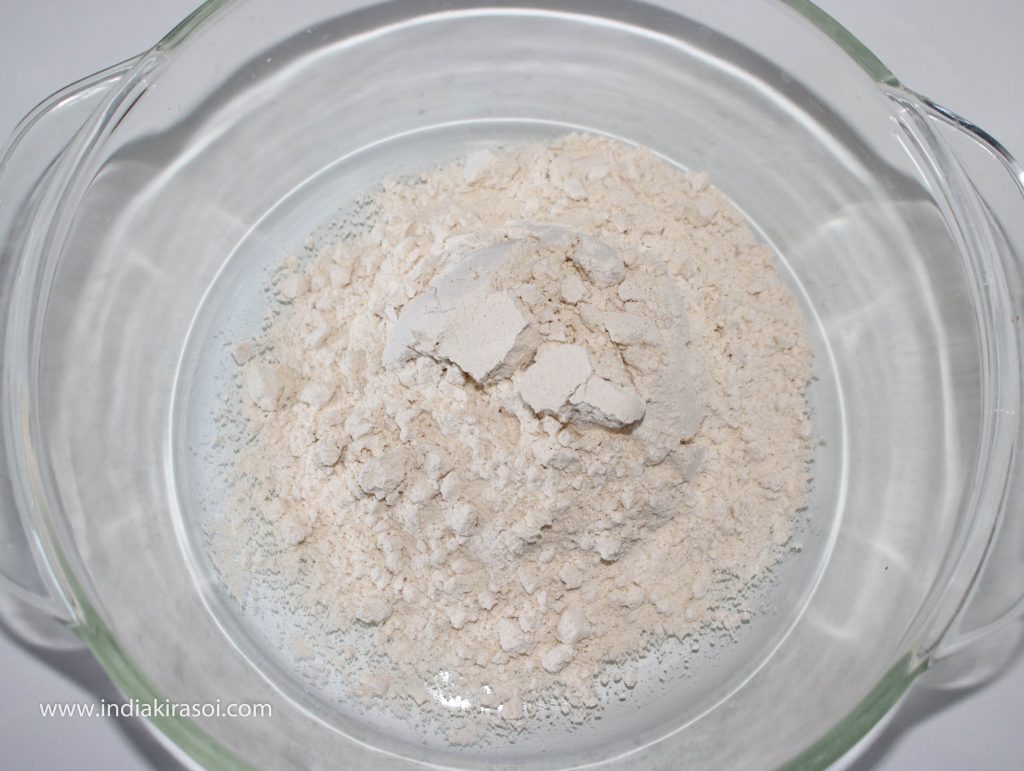
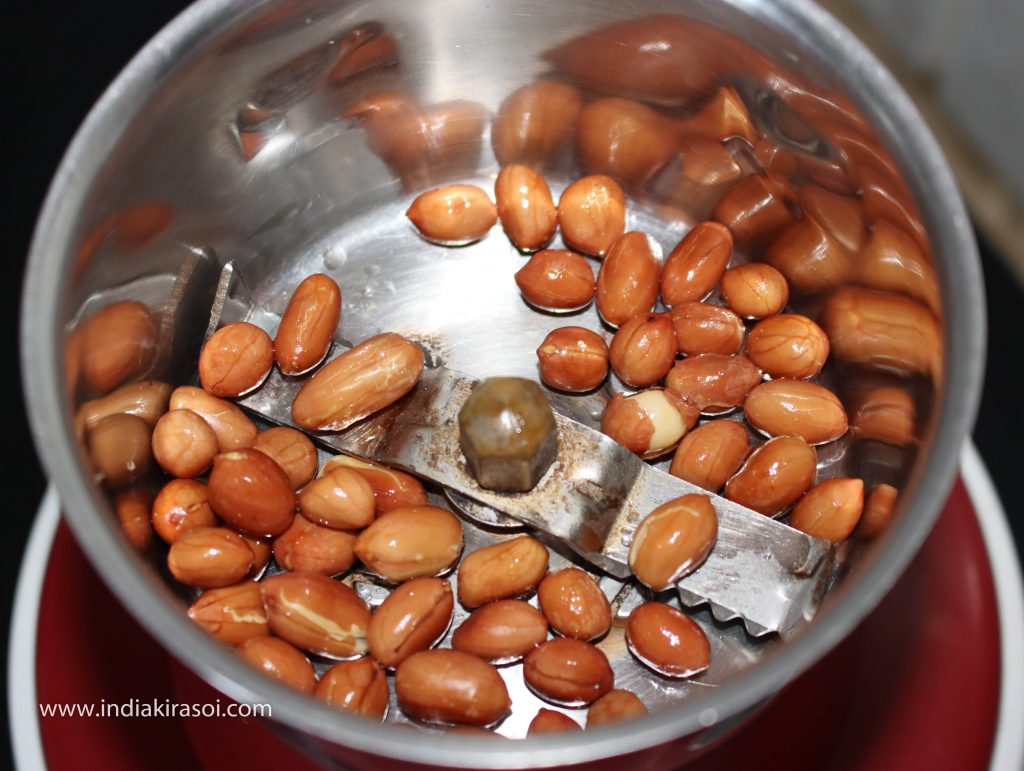
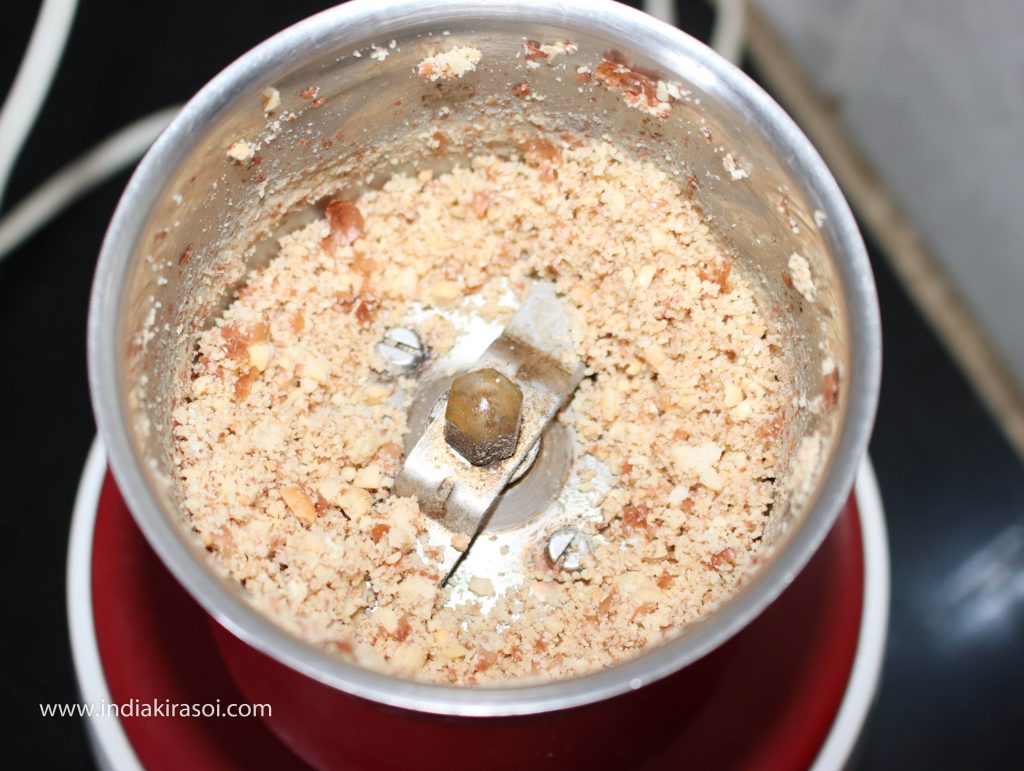
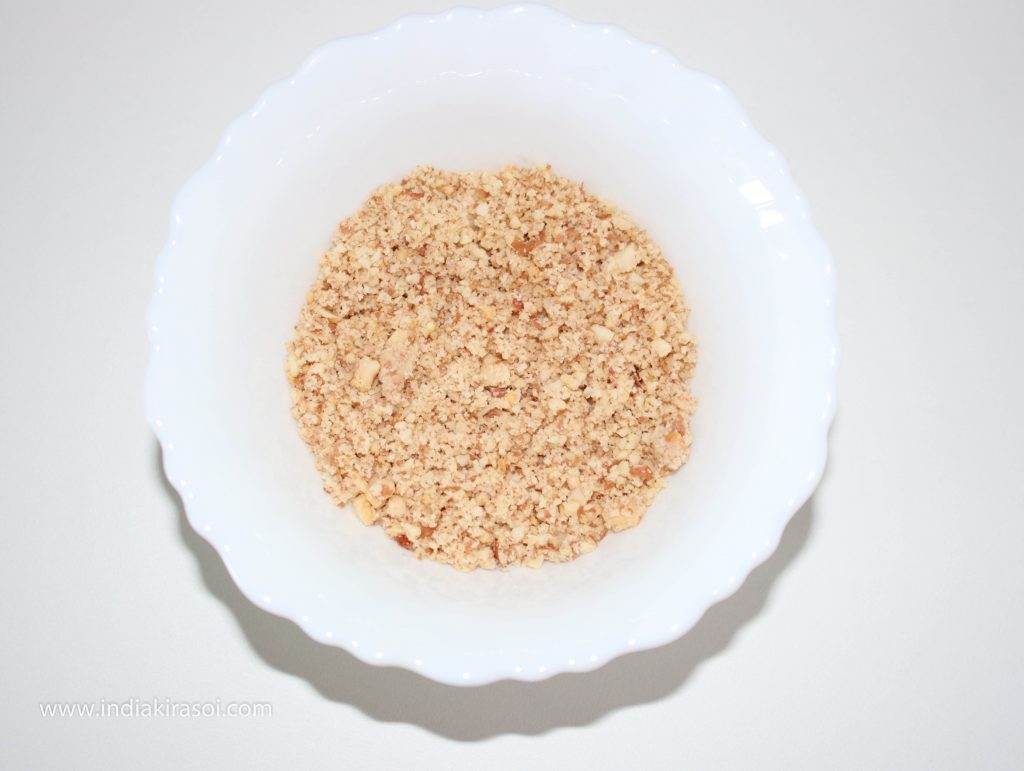
- Take out 2 teaspoons of peanuts/ groundnut separately from the fried peanuts and grind the peanuts in a mixer grinder and make powder.
- If the sago/ sabudana does not stick with each other then you can avoid to make peanut powder, but if the sago is sticky, then it would be better to make peanut powder so that the sago/ sabudana will not stick together.
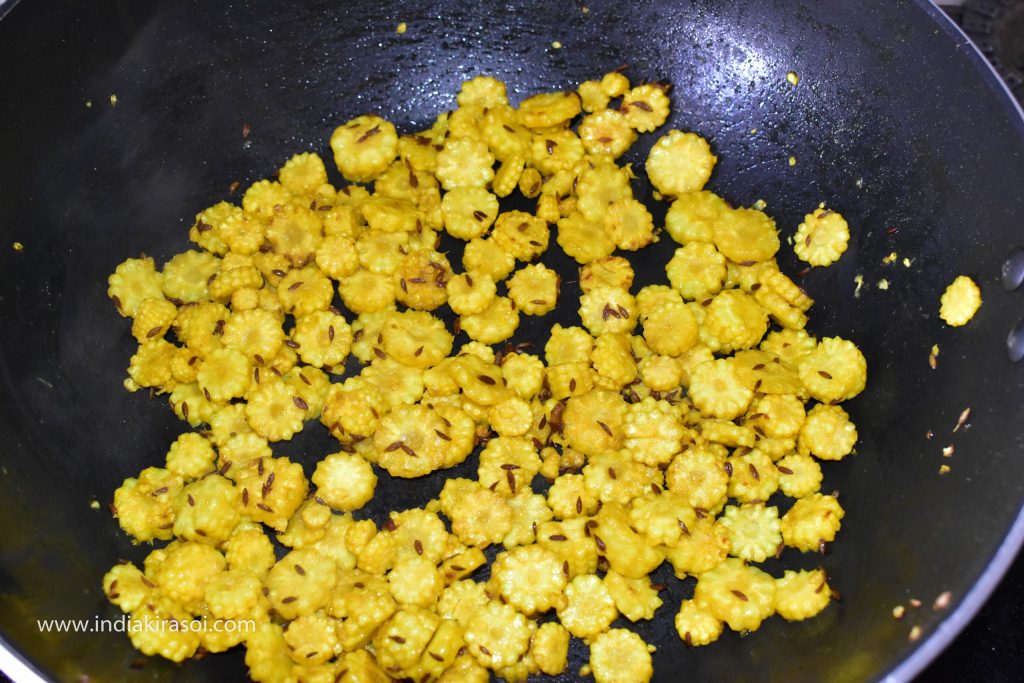
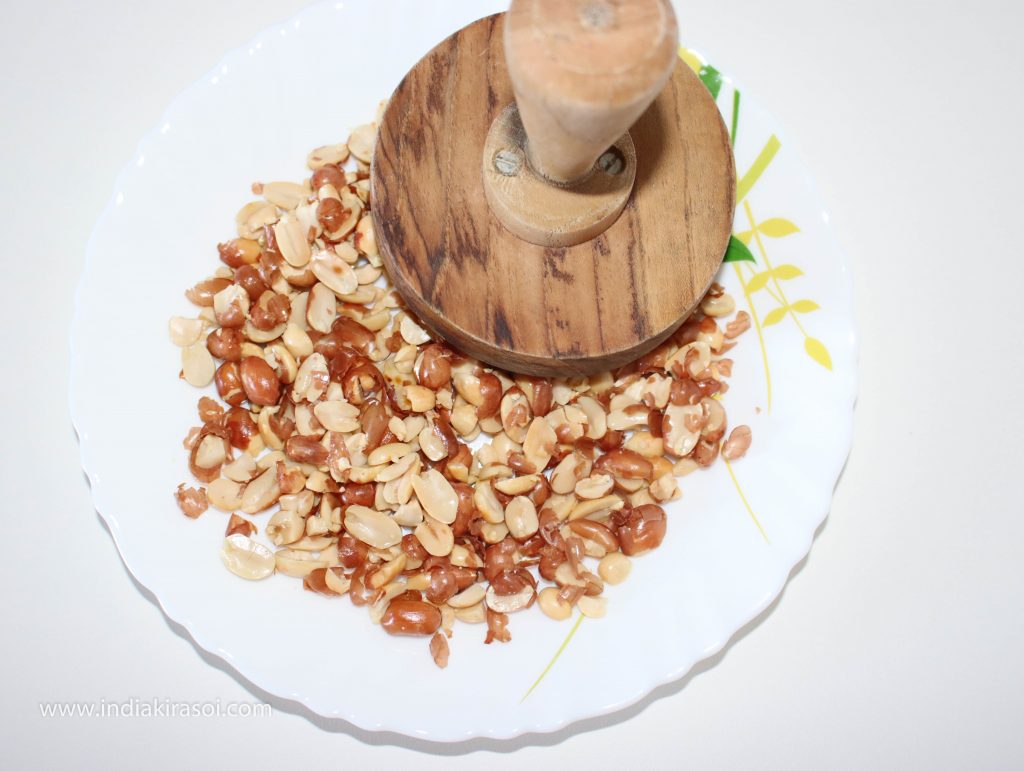
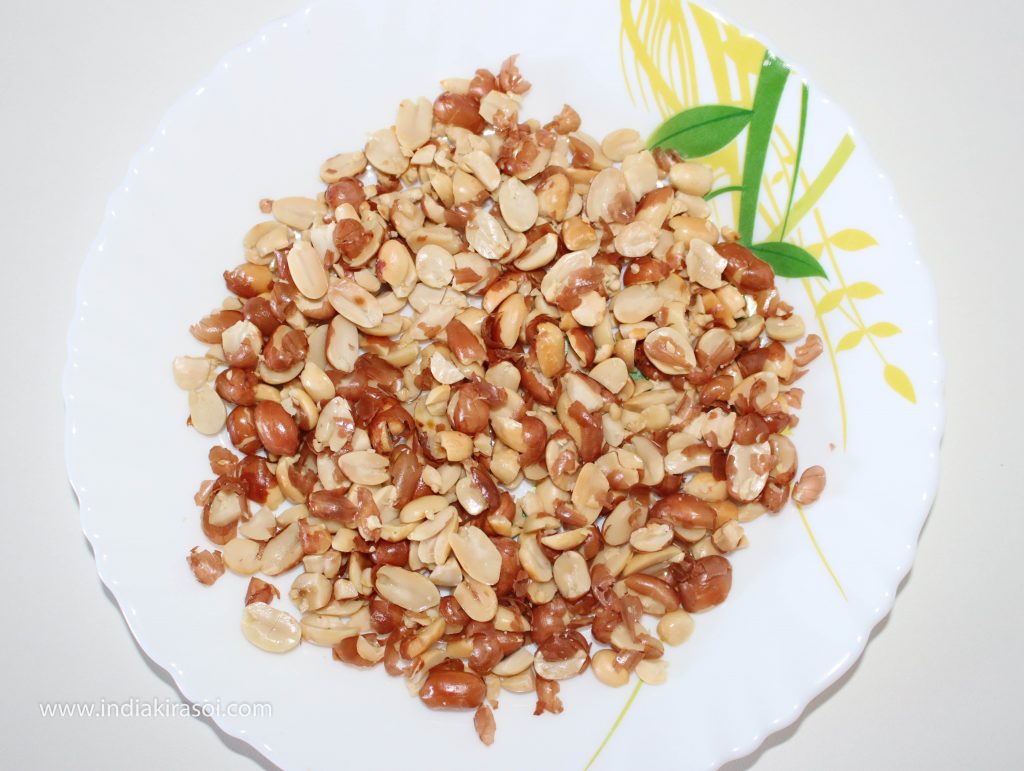
- Break the remaining peanuts with the help of either wooden block or you can also use rolling pin, do not break peanuts in so many pieces.
- Break one peanut in such manner that it should break in 2 or 3 parts.It would be better if the peanuts are broken into 2 parts.
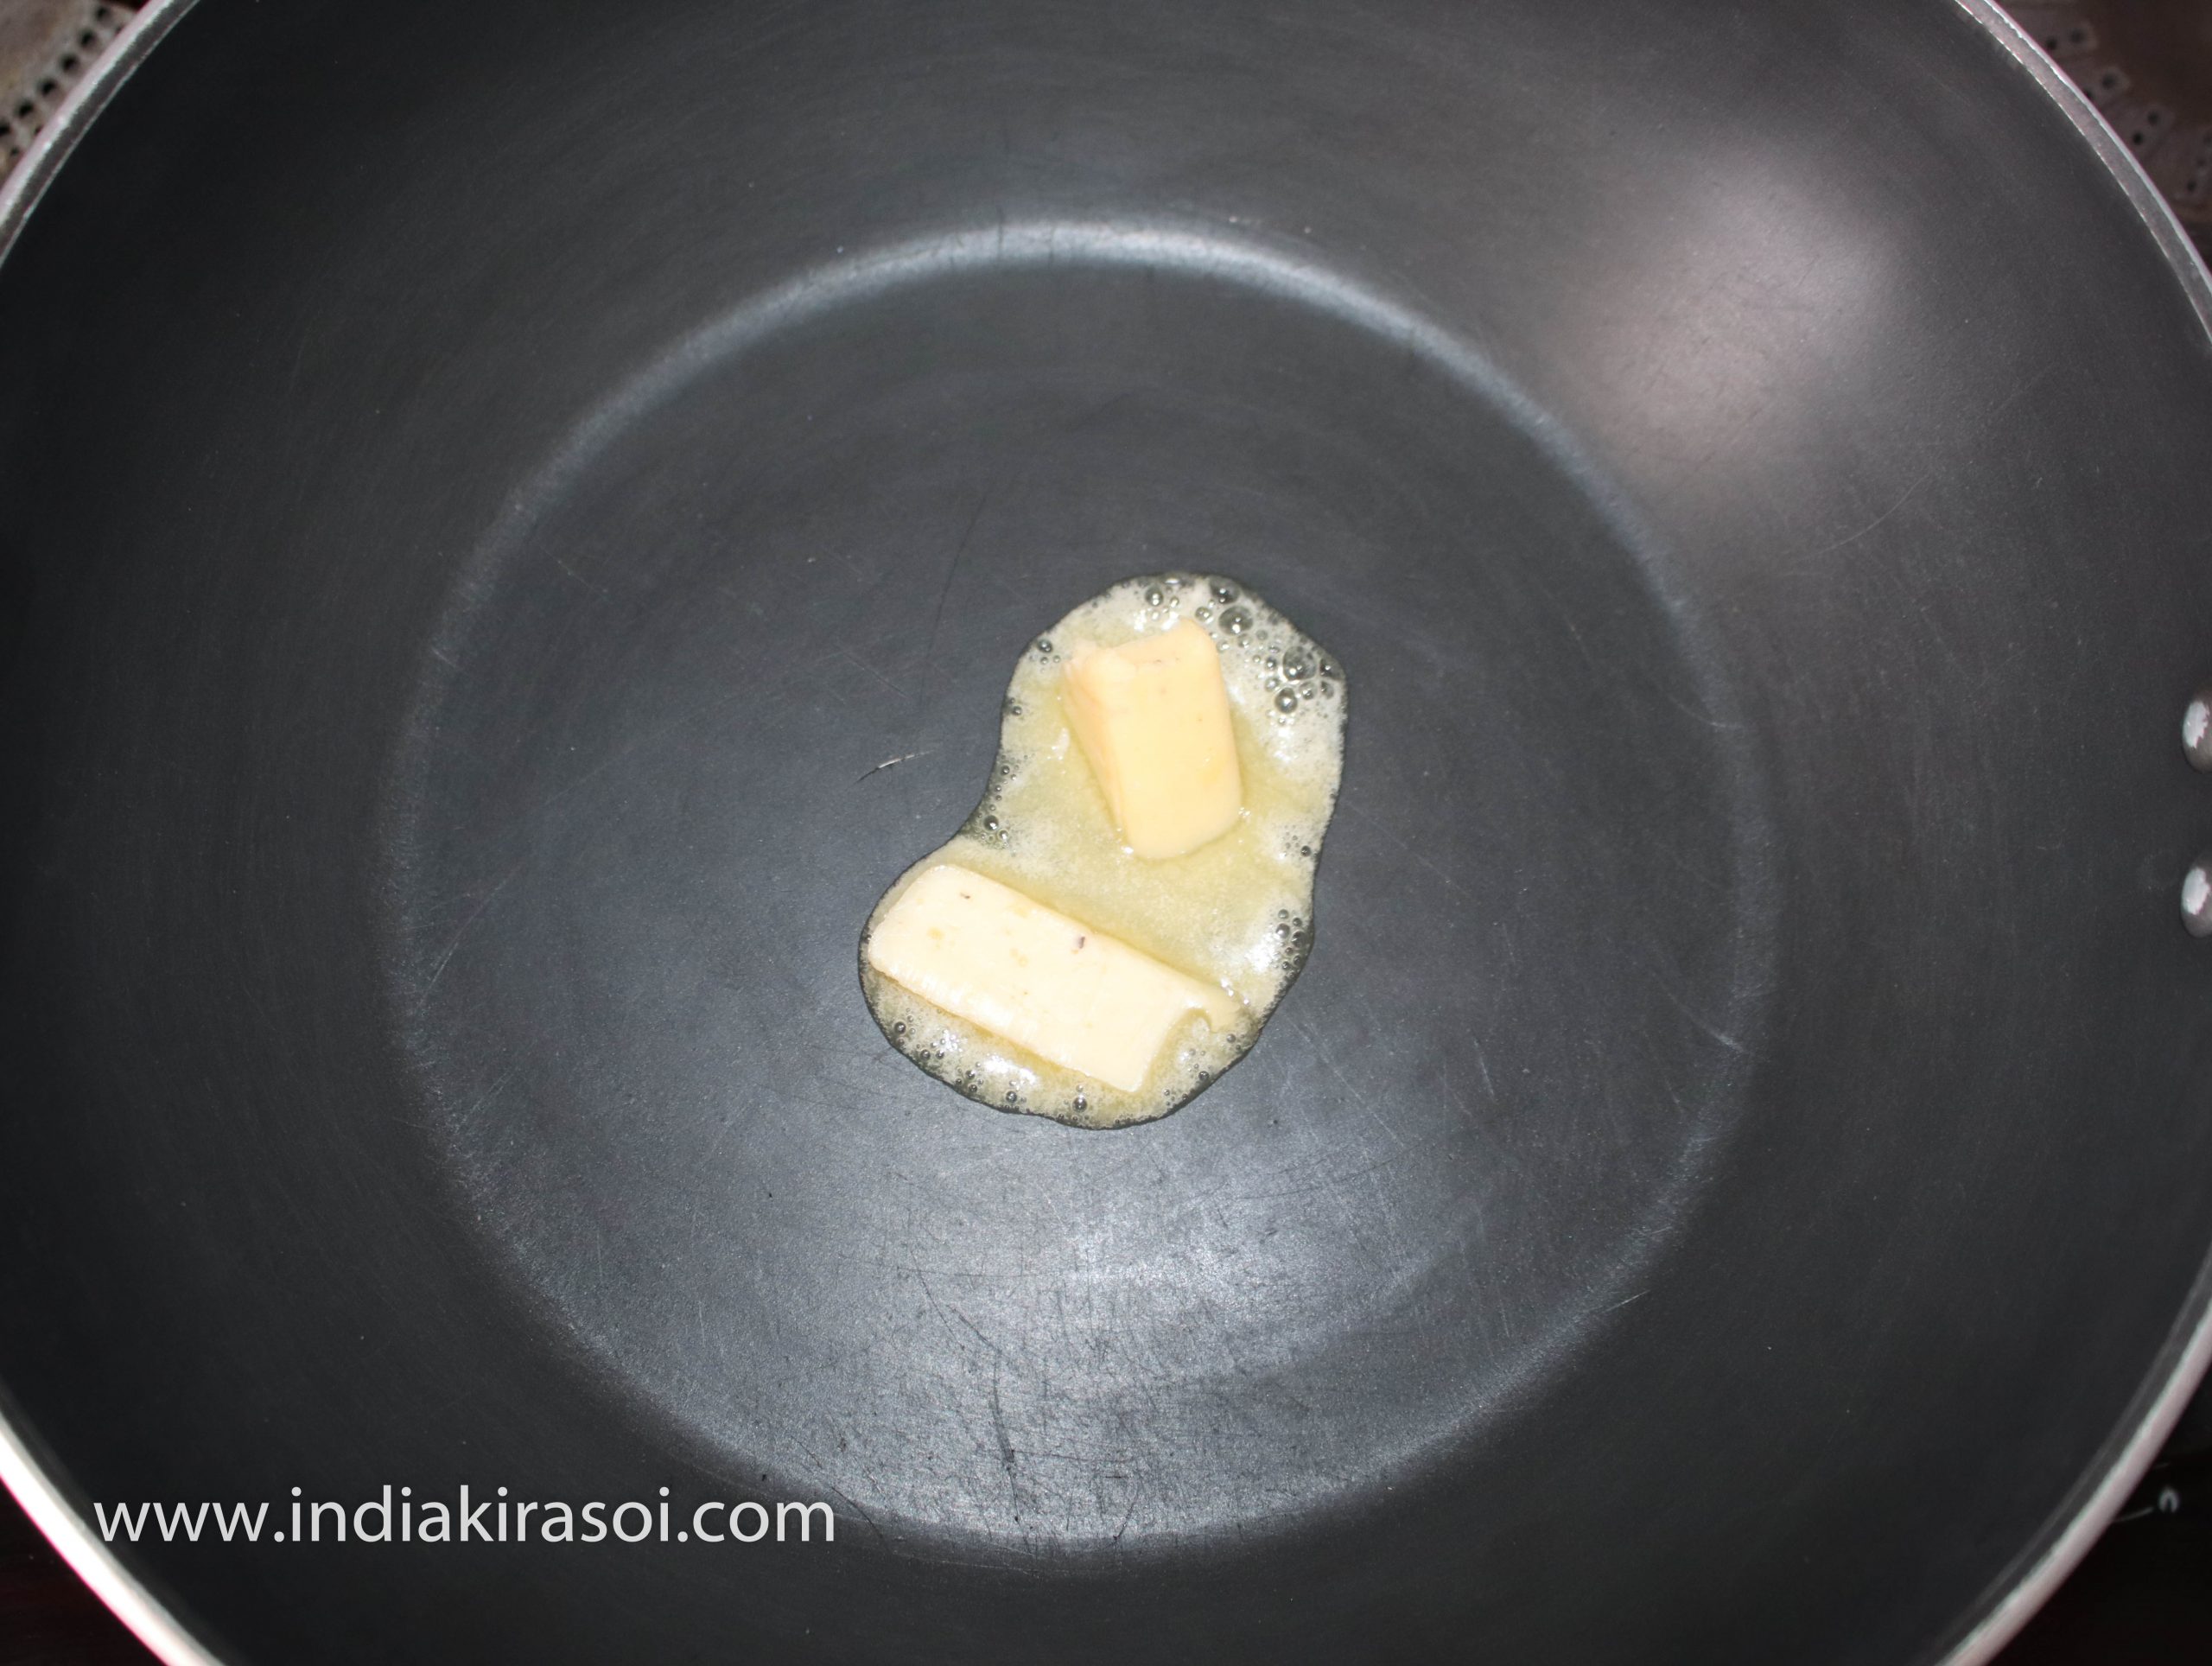
- After removing the peanuts from the wok/ fry pan, a little ghee will be left in the wok/ frying pan, now add one more spoon of desi ghee/butter in the wok/ frying pan.
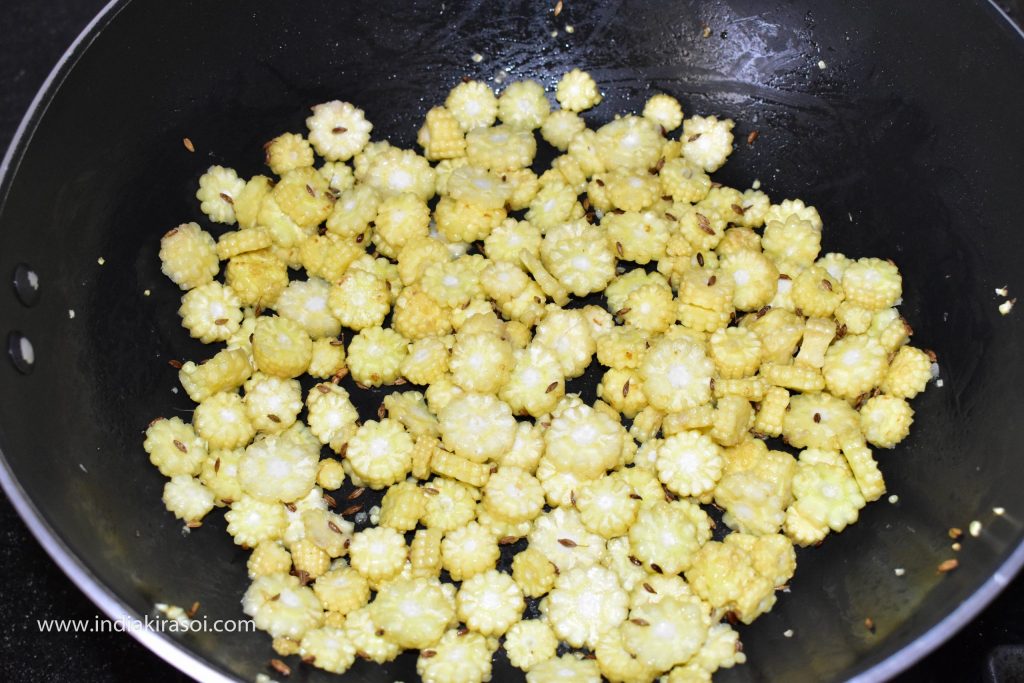
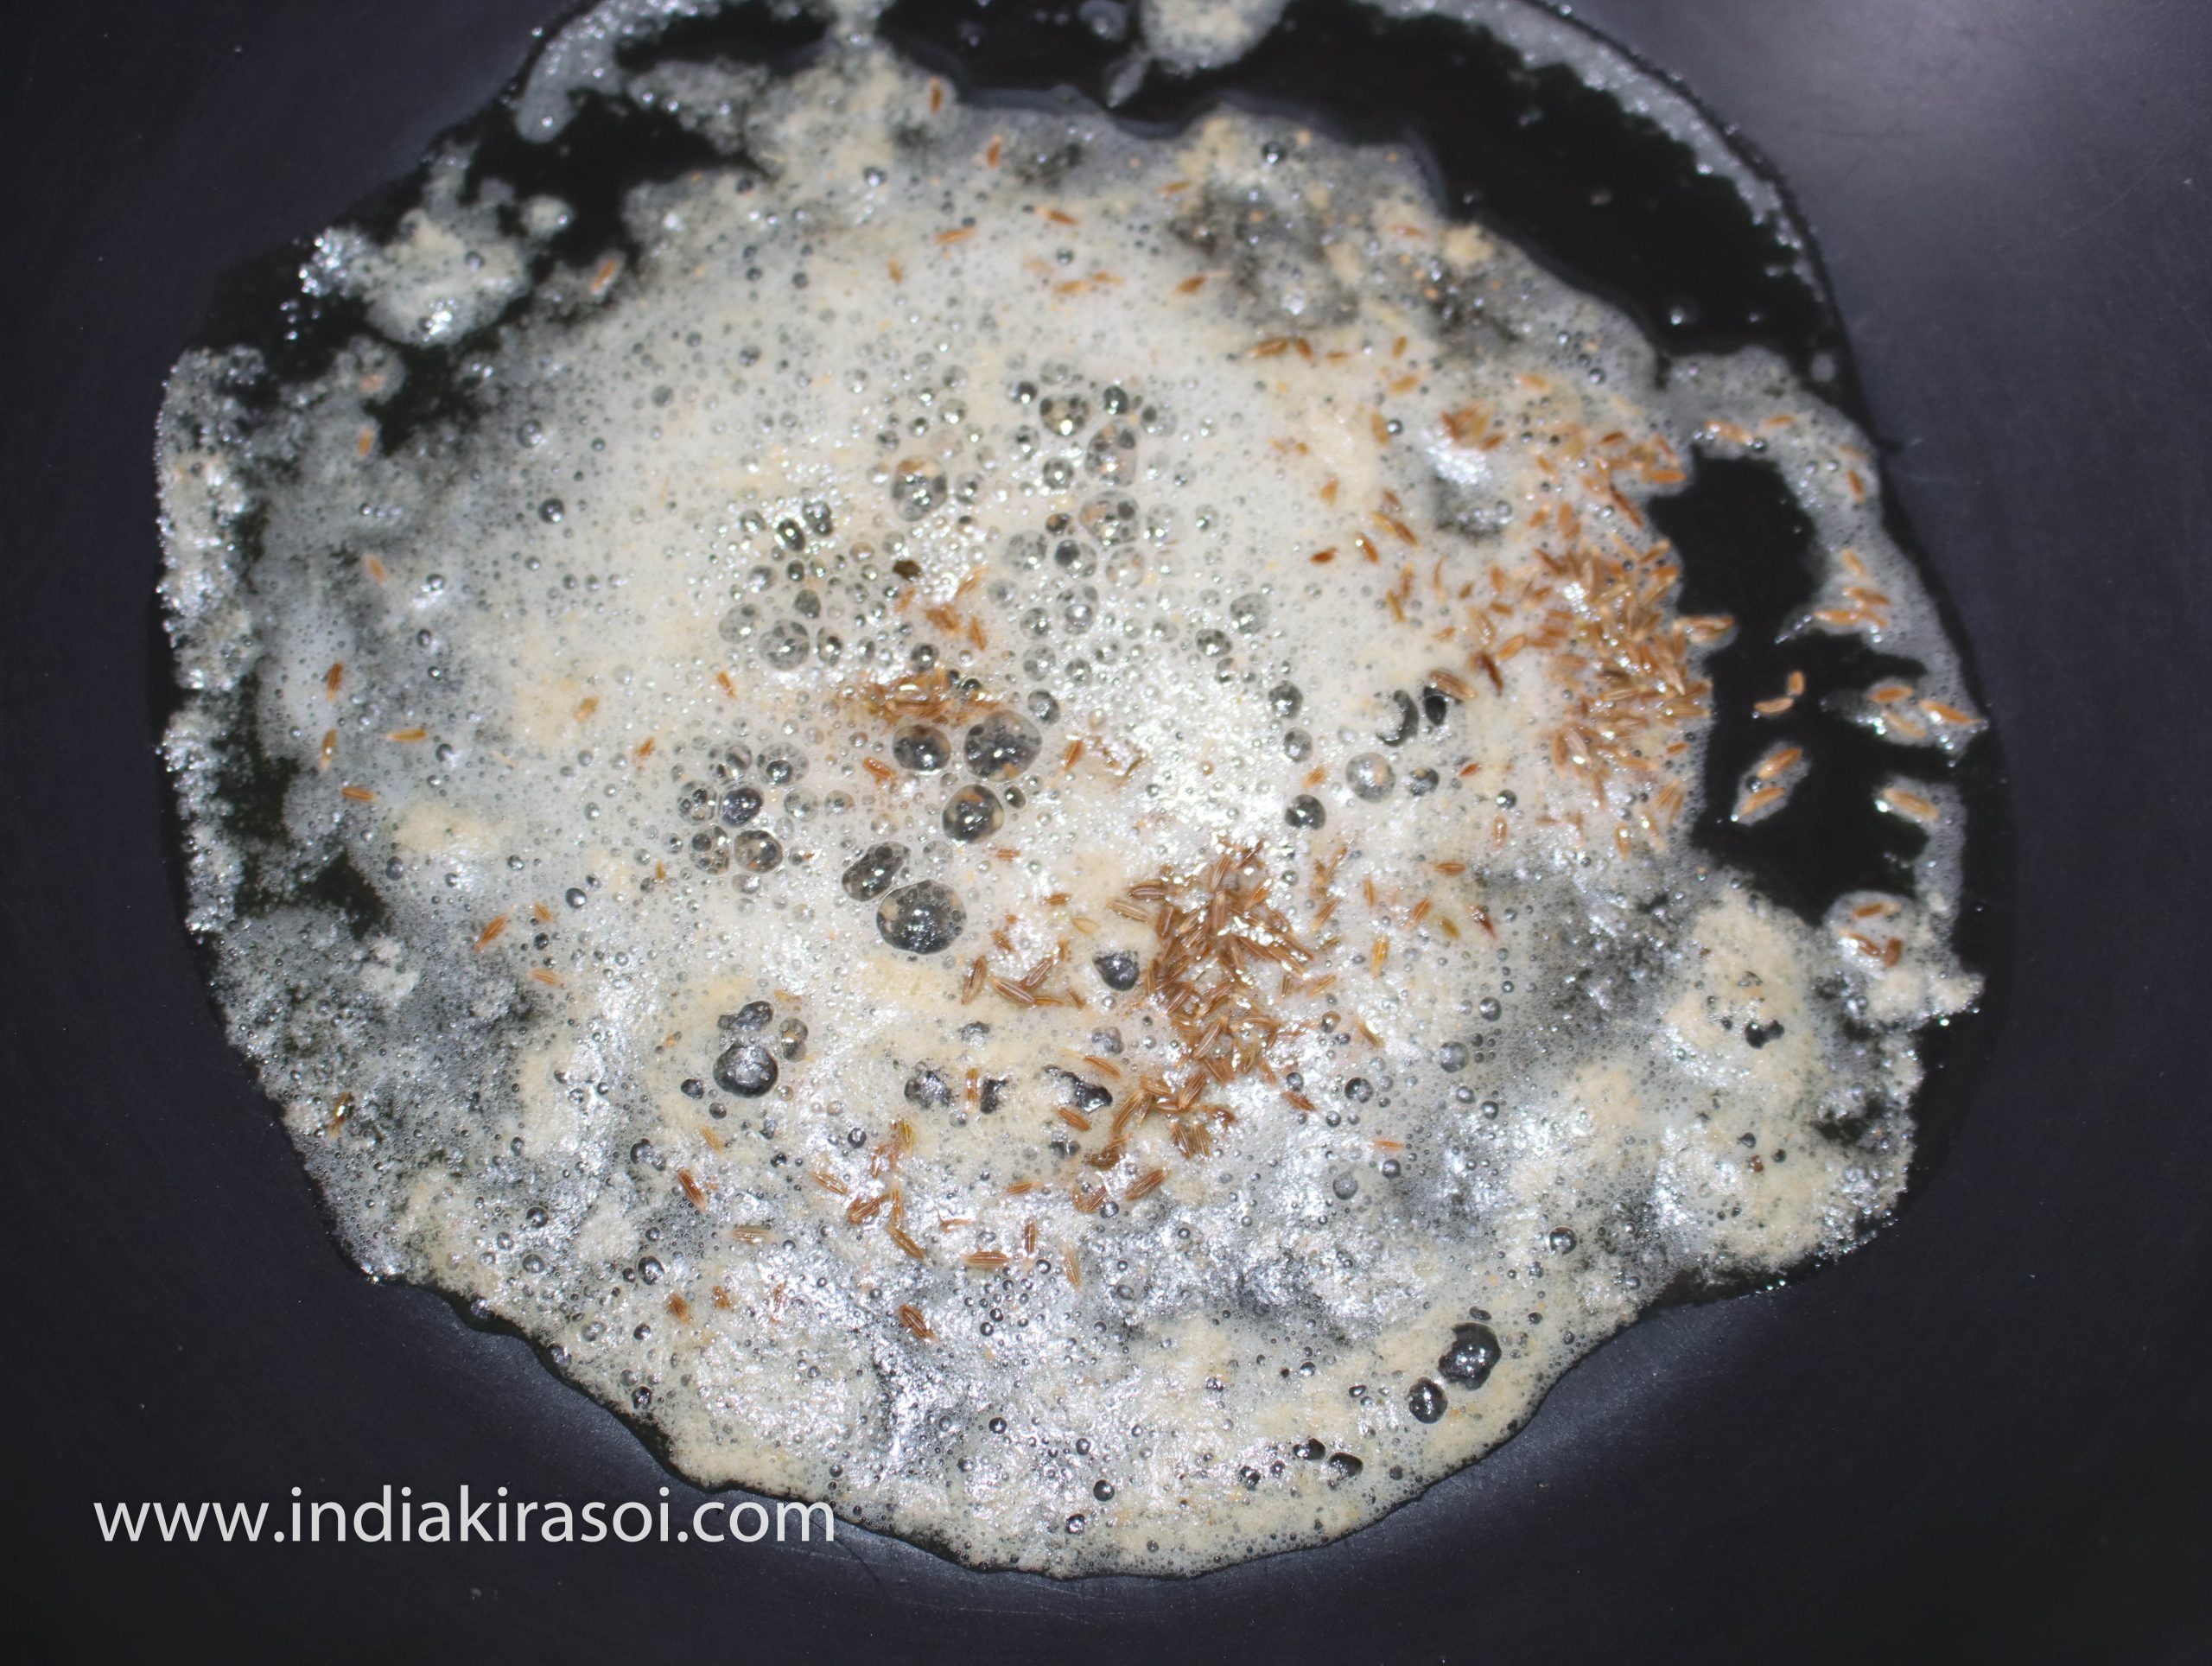
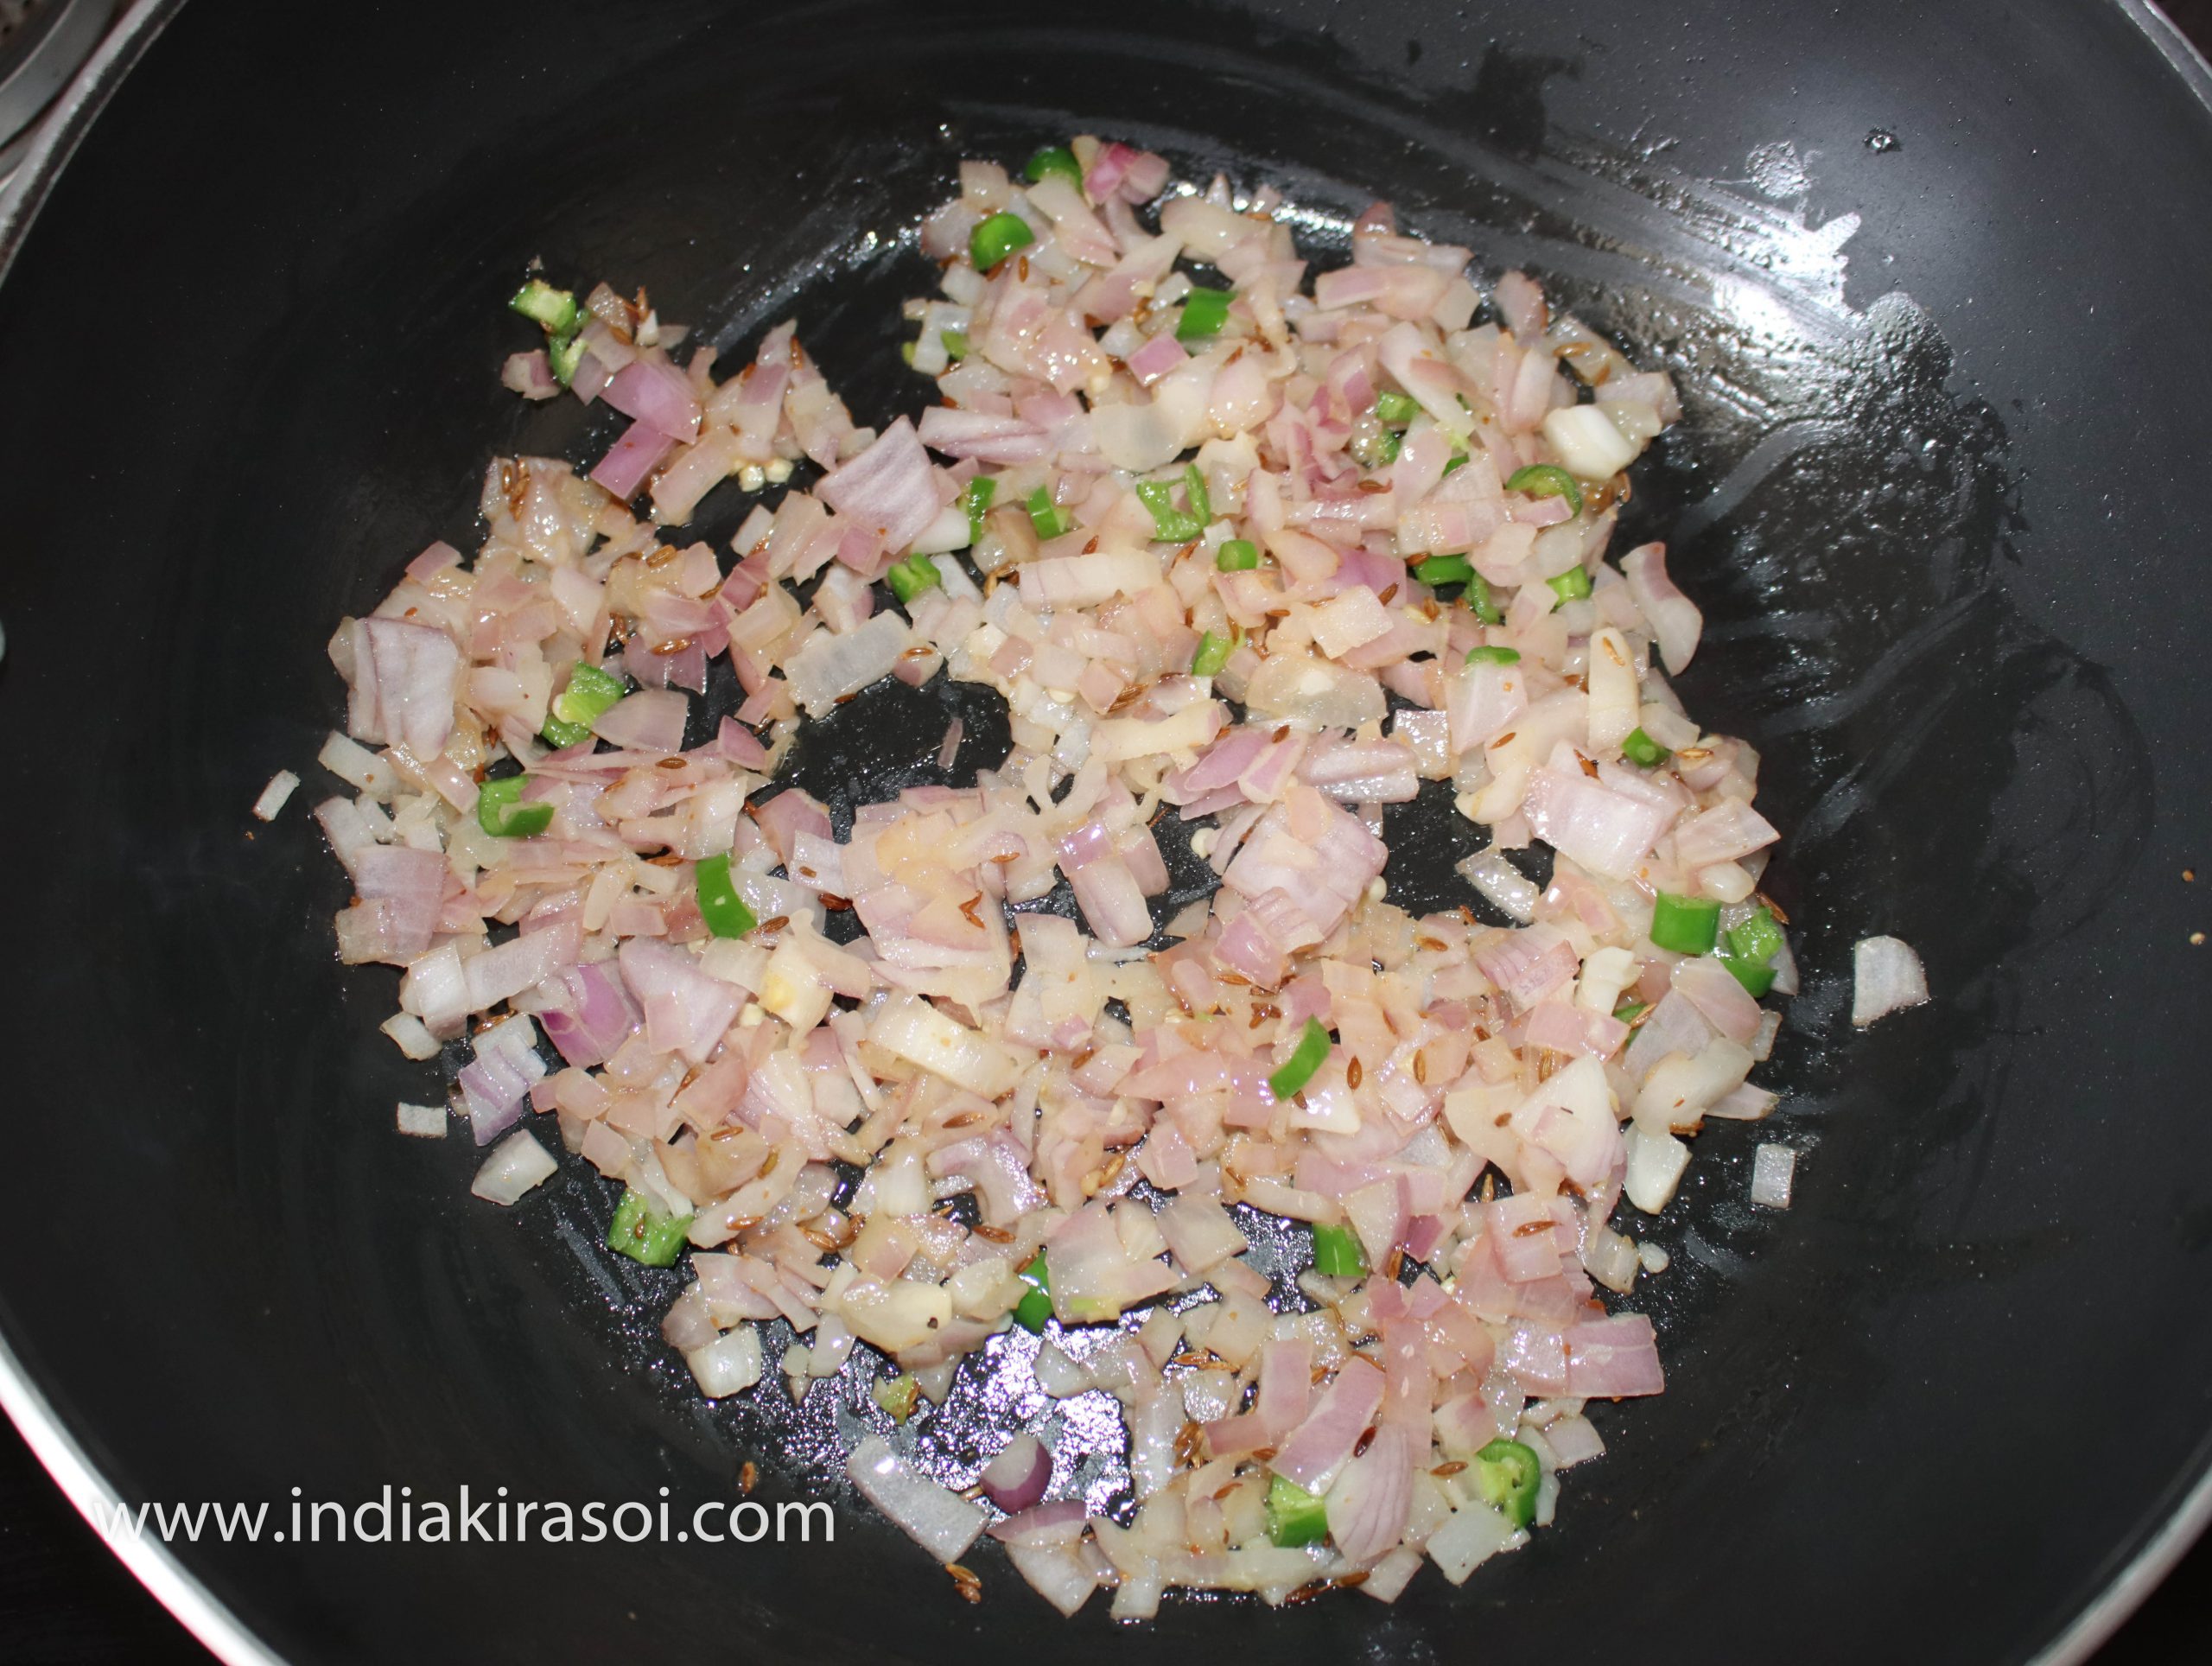
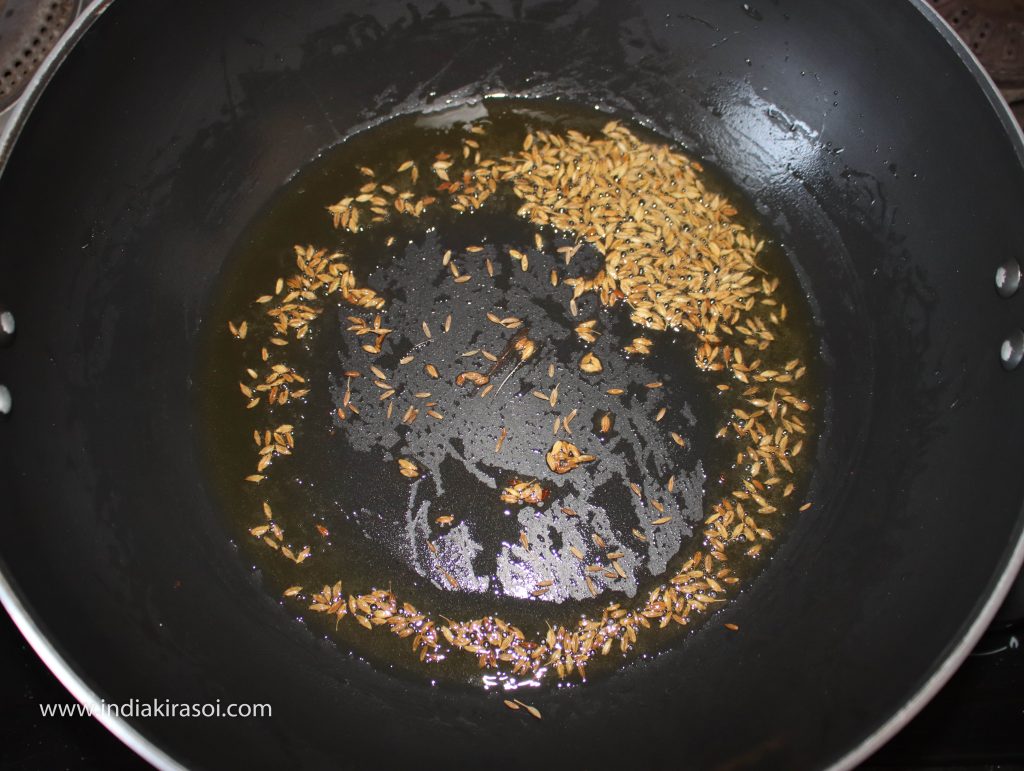
- Turn the flame on high, when the desi ghee gets hot, add one teaspoon of cumin seeds in the wok/ fry pan.
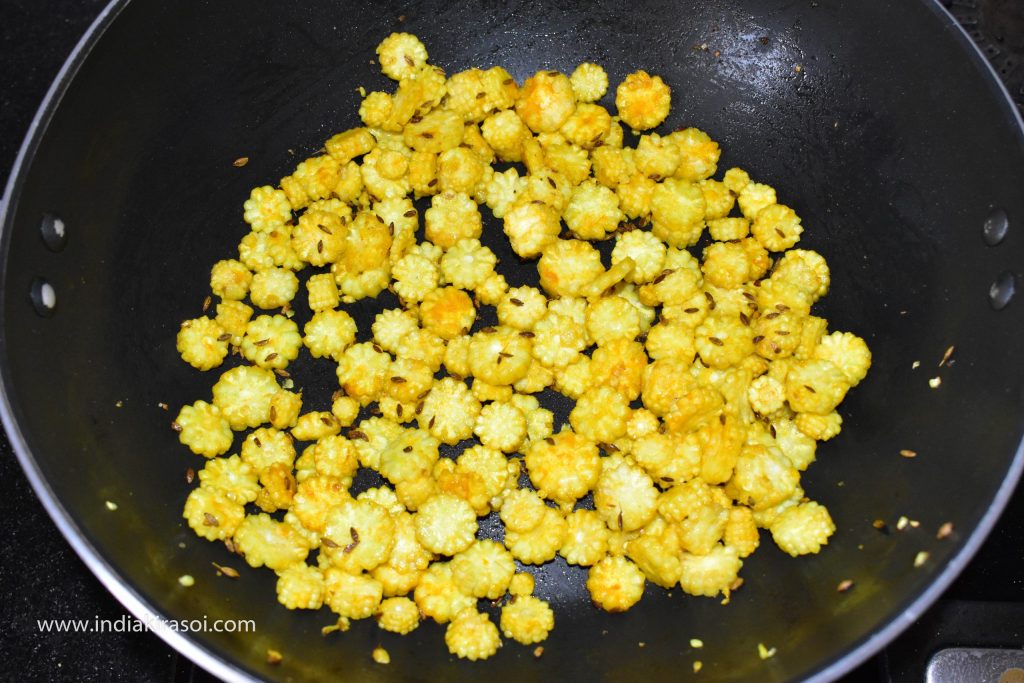
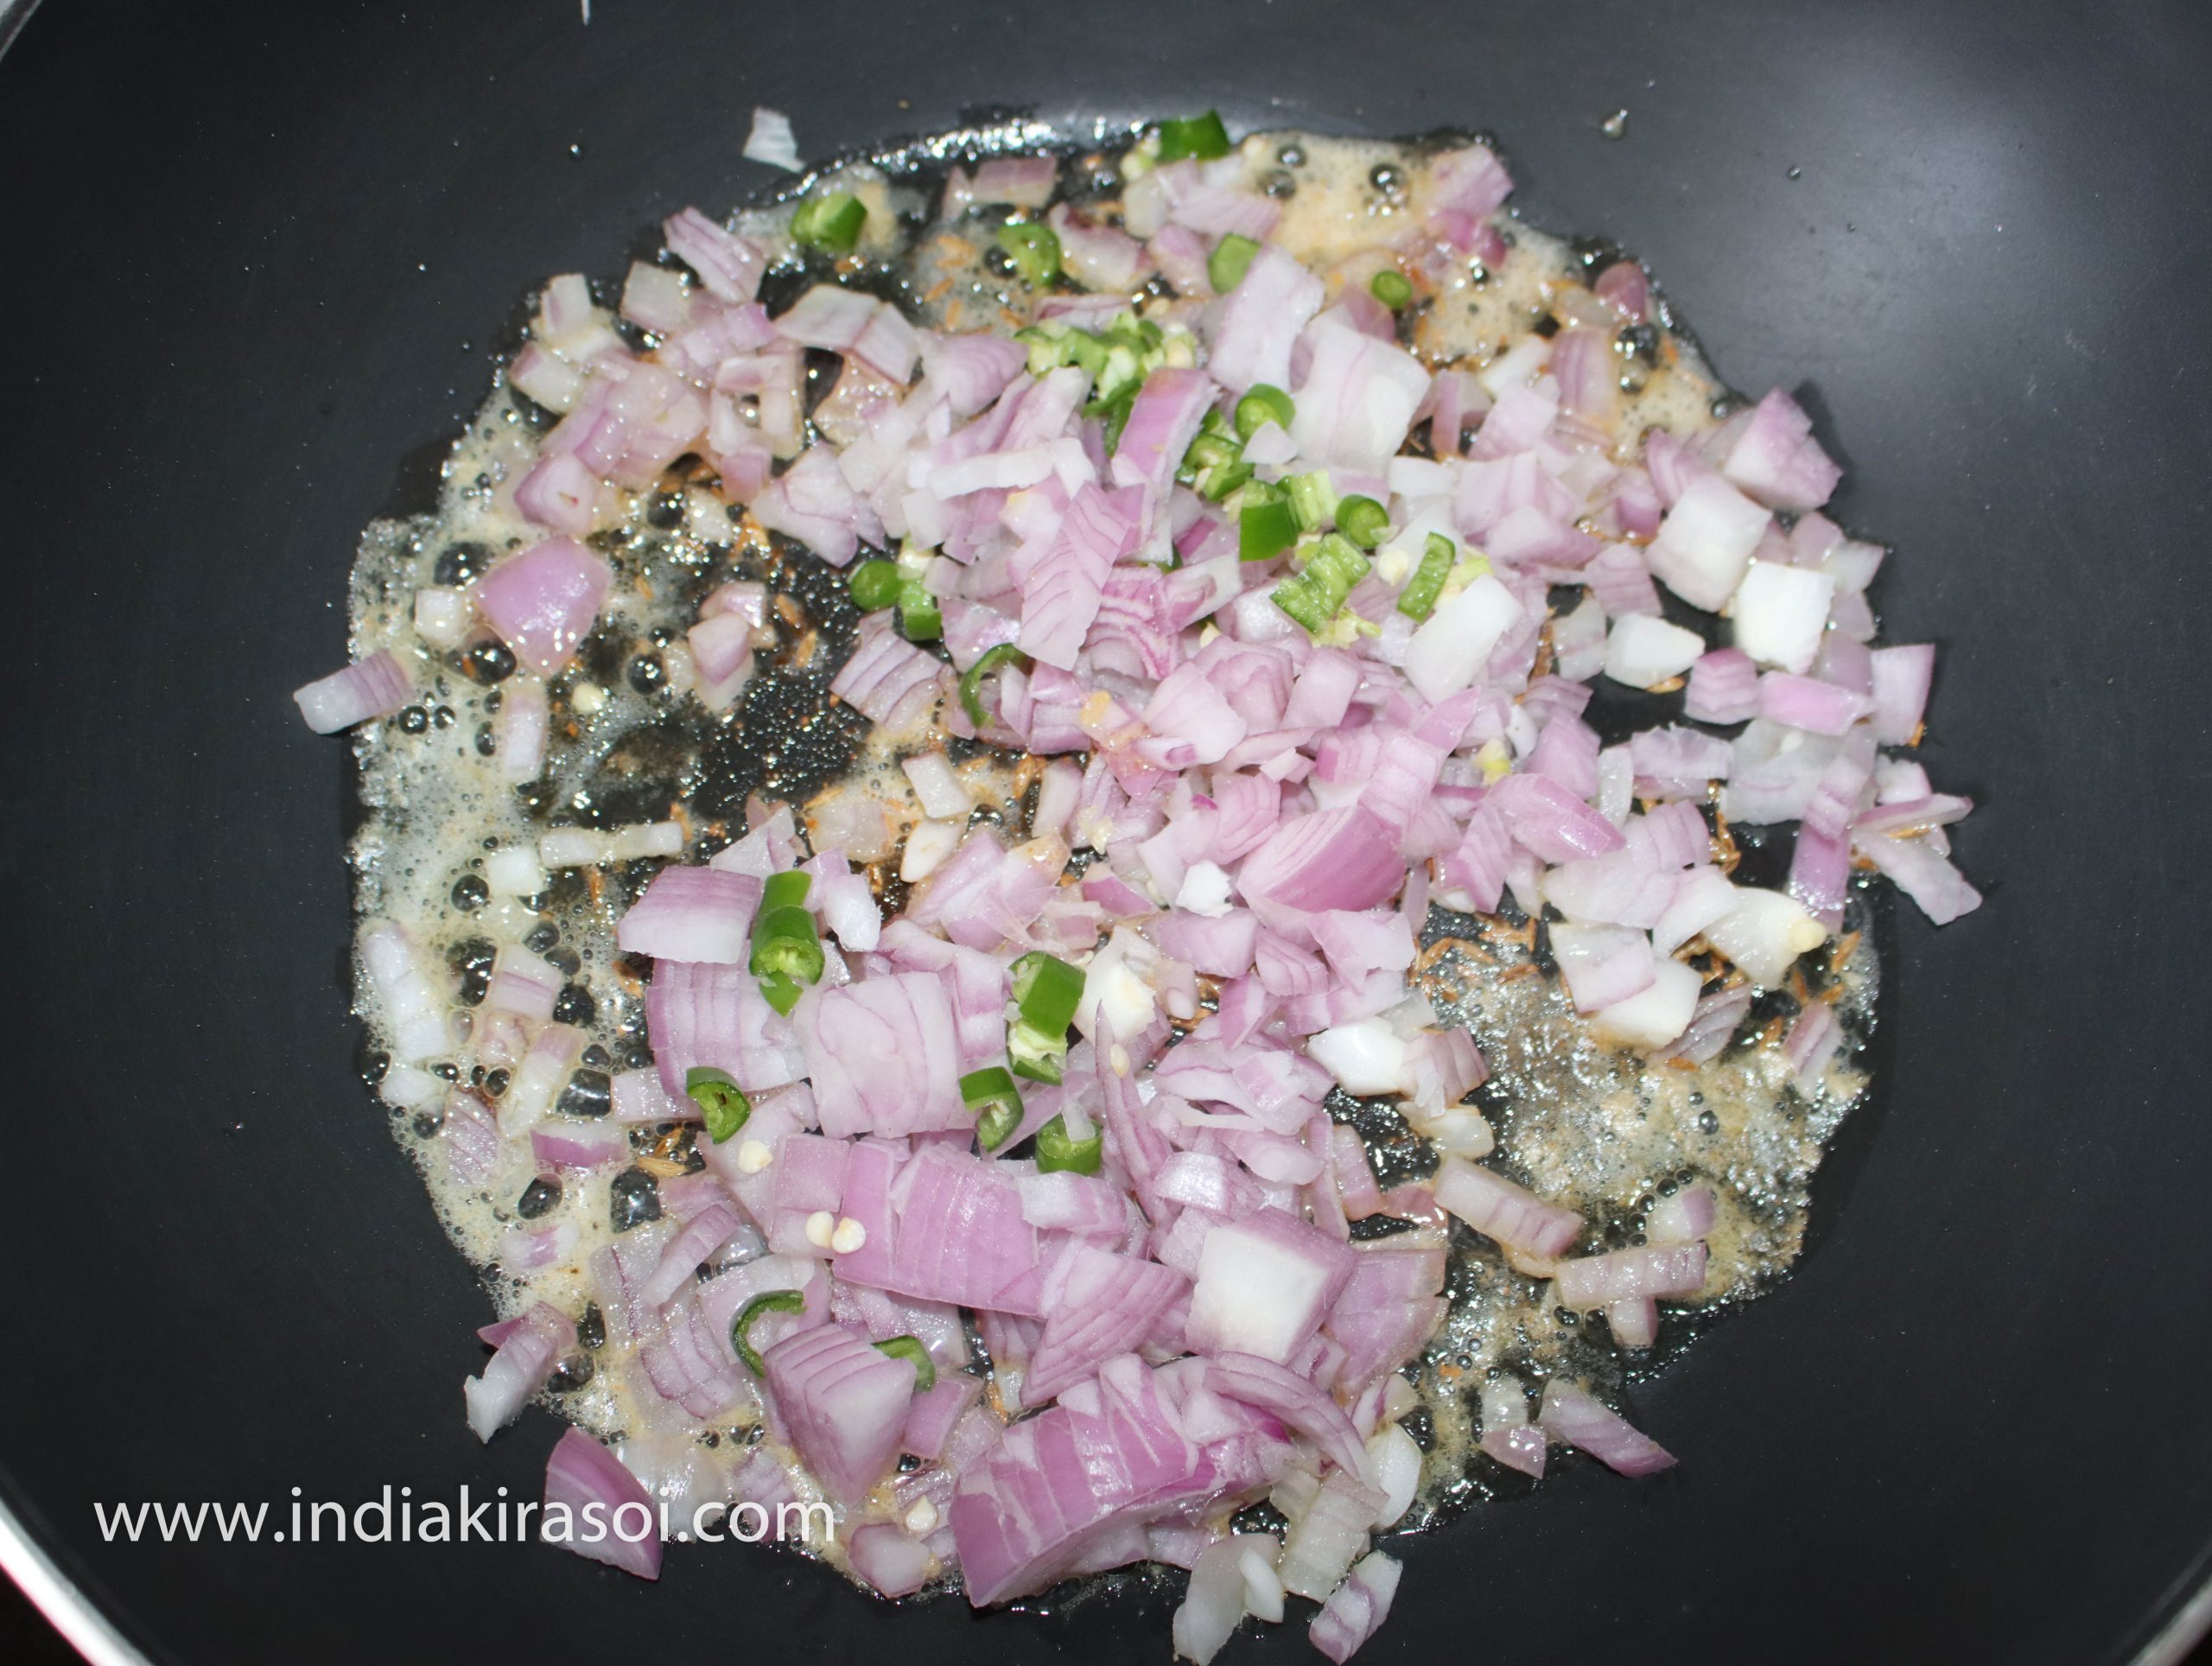
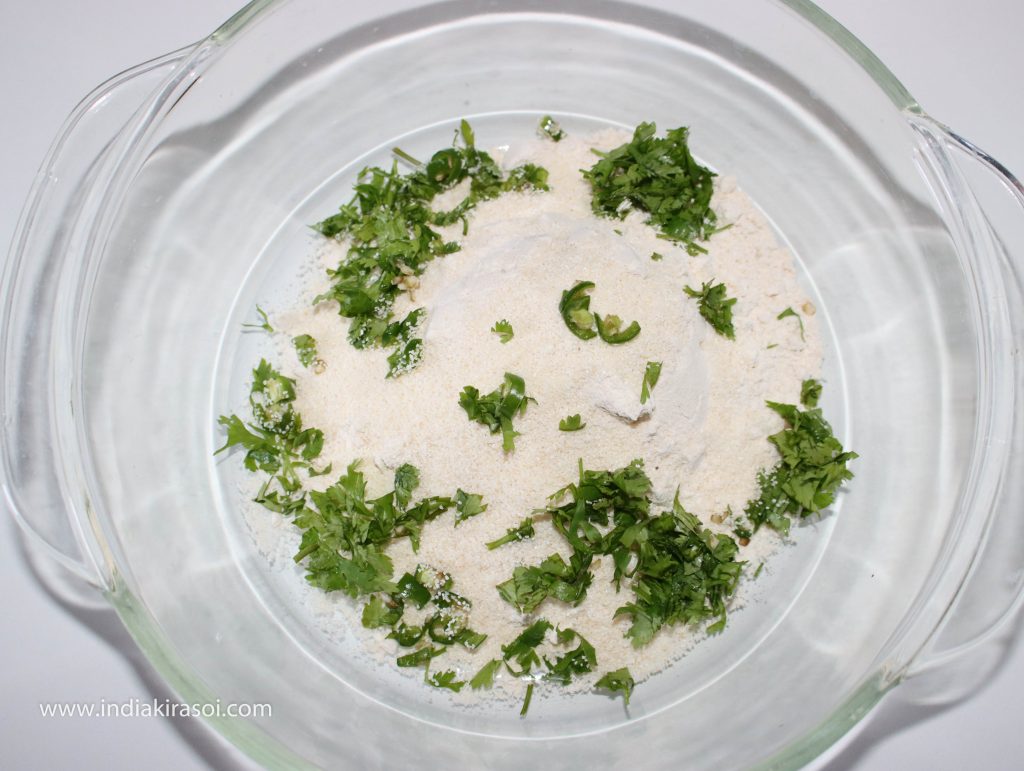
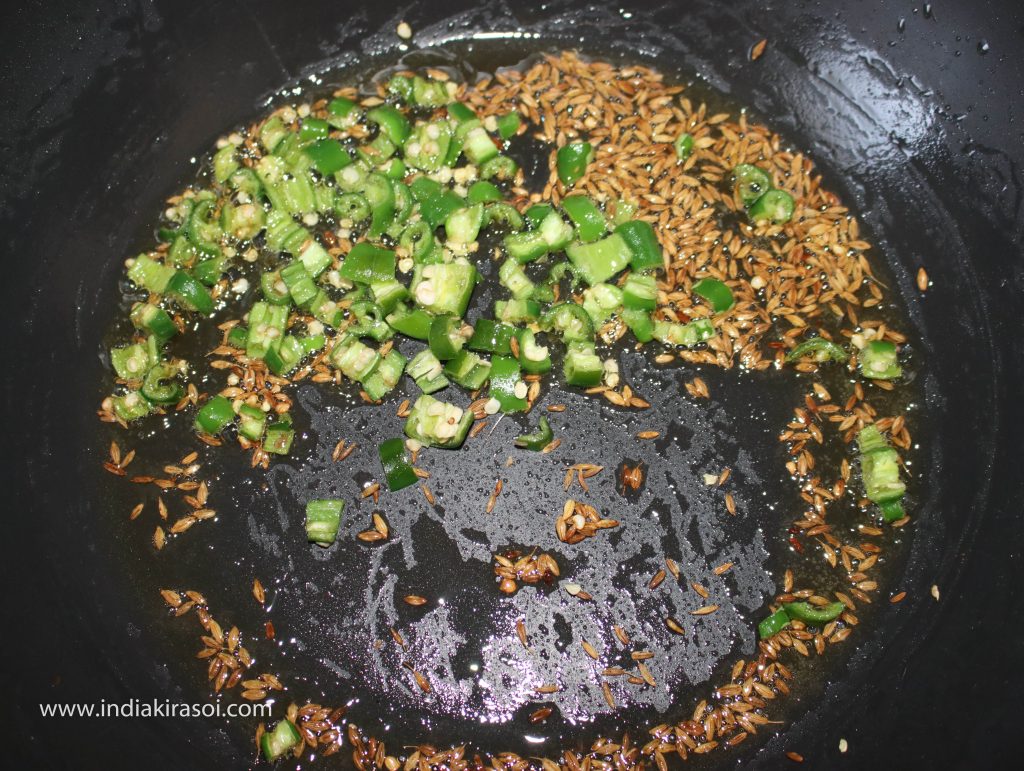
- When the cumin seeds starts crackle, add chopped green chilies.
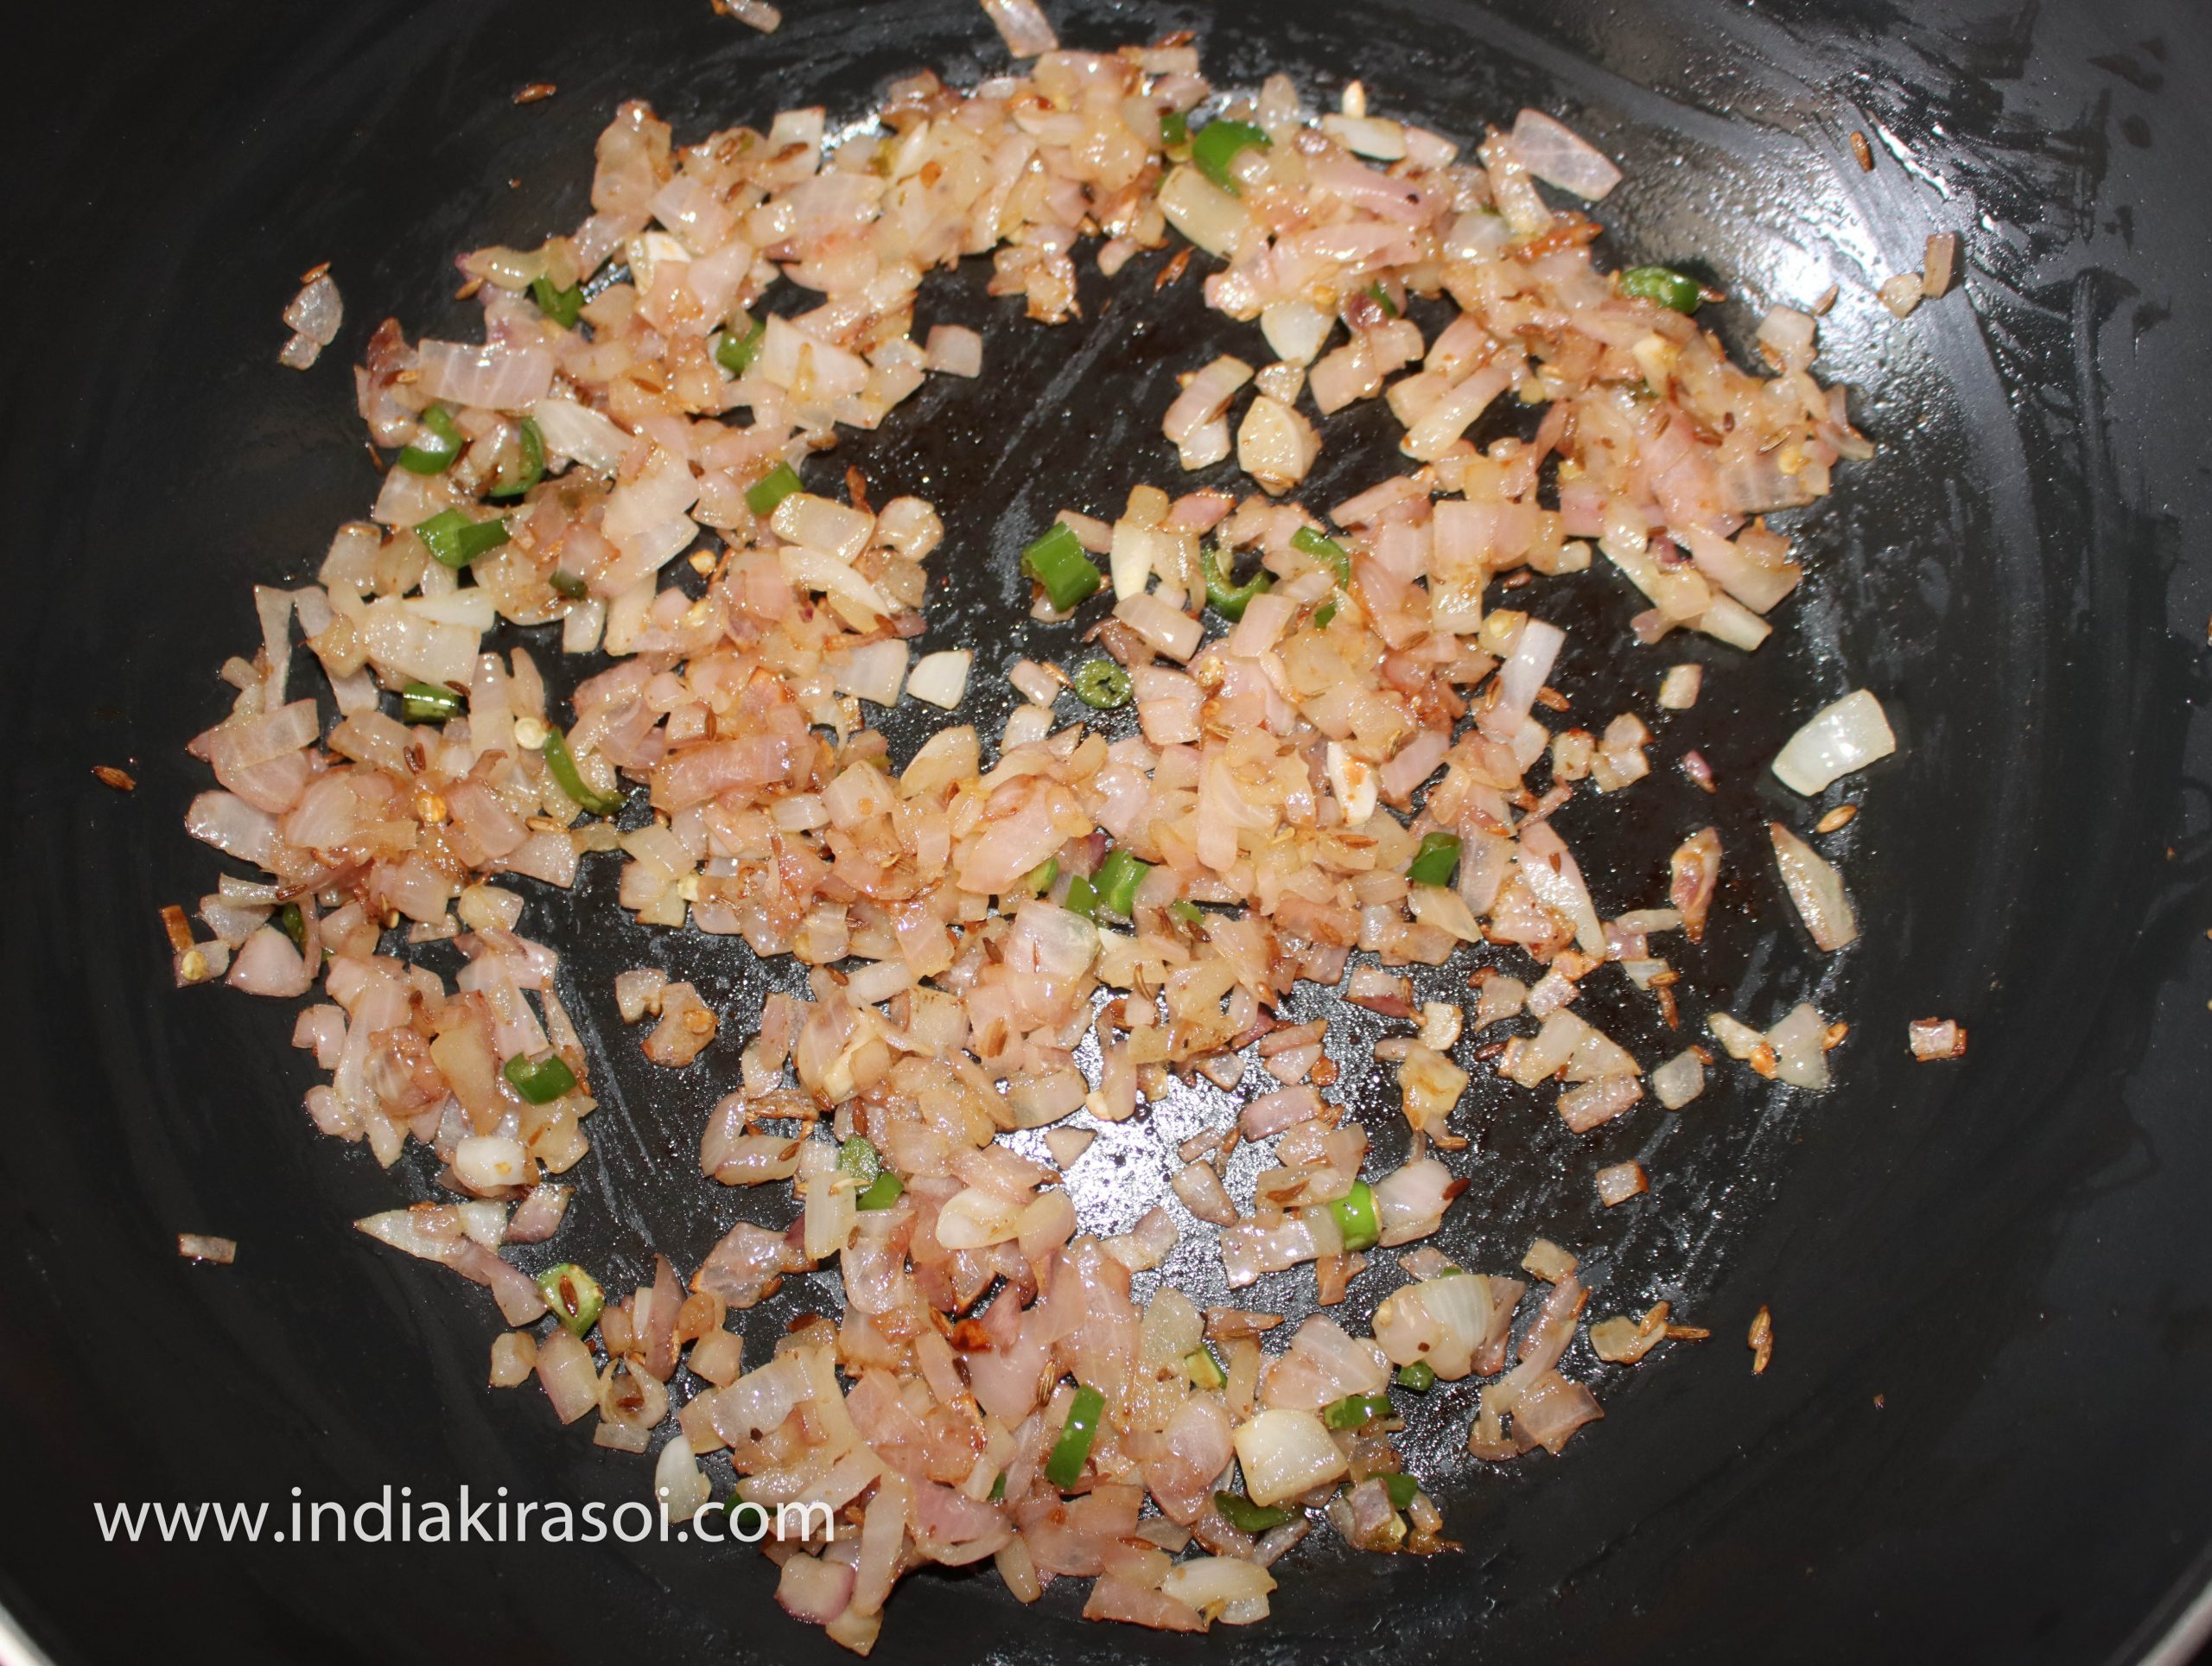
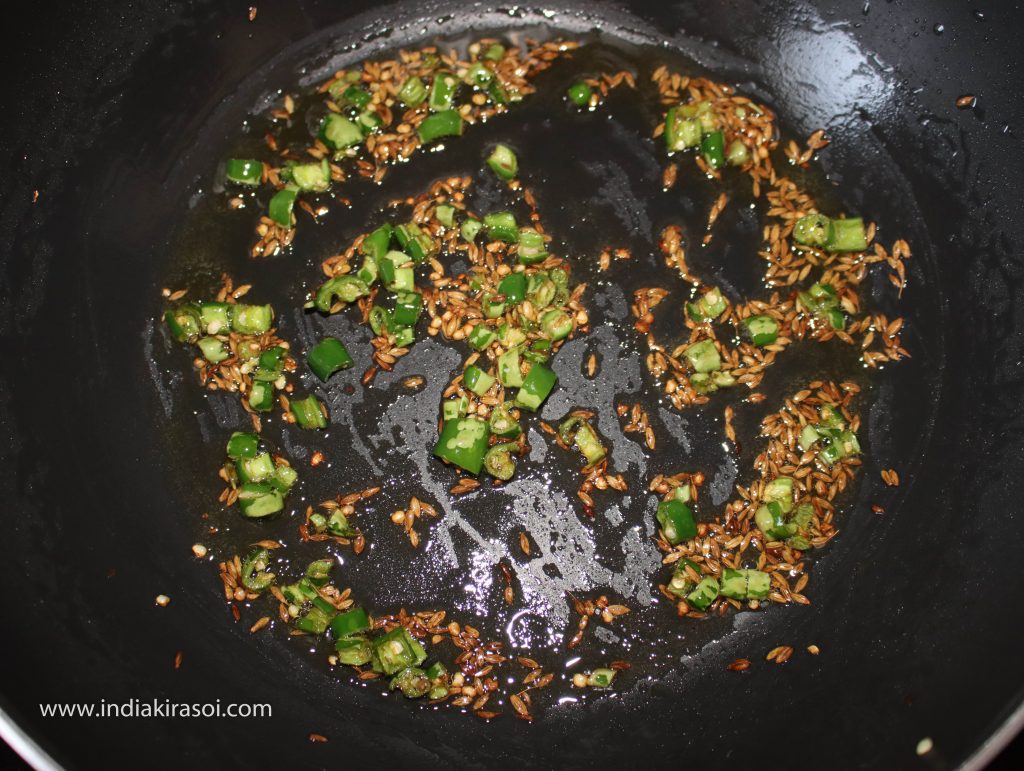
- Fry the green chilies.
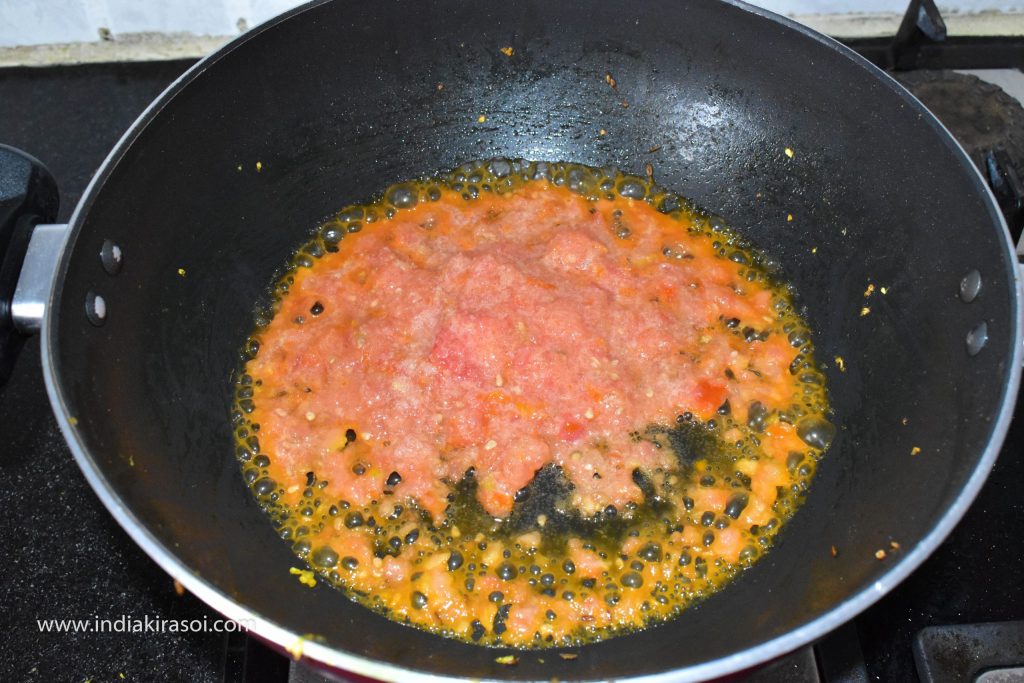
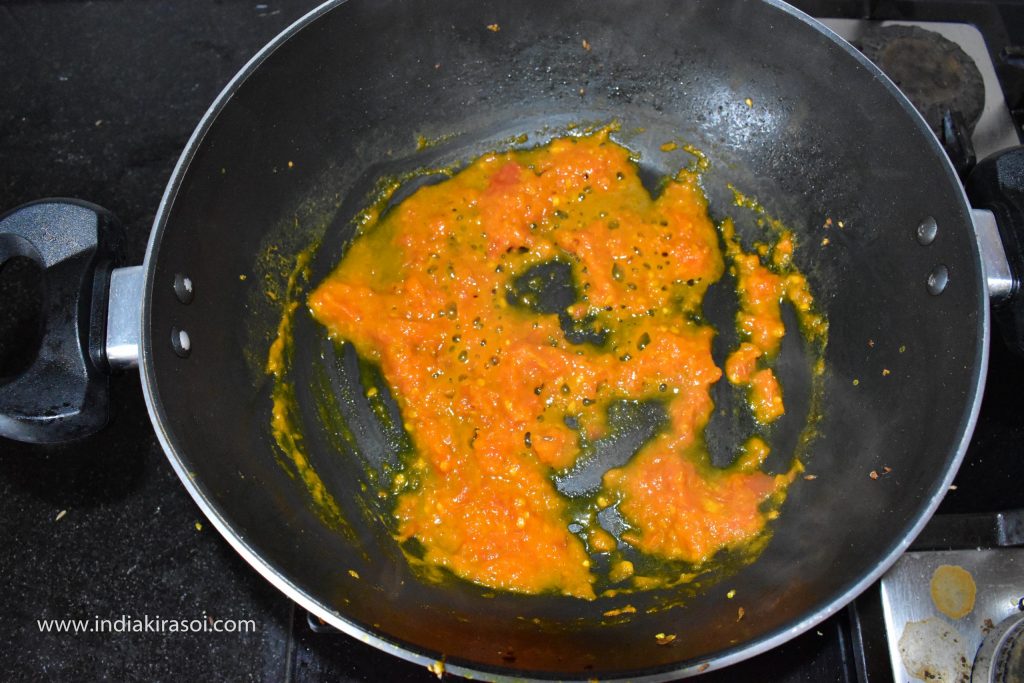
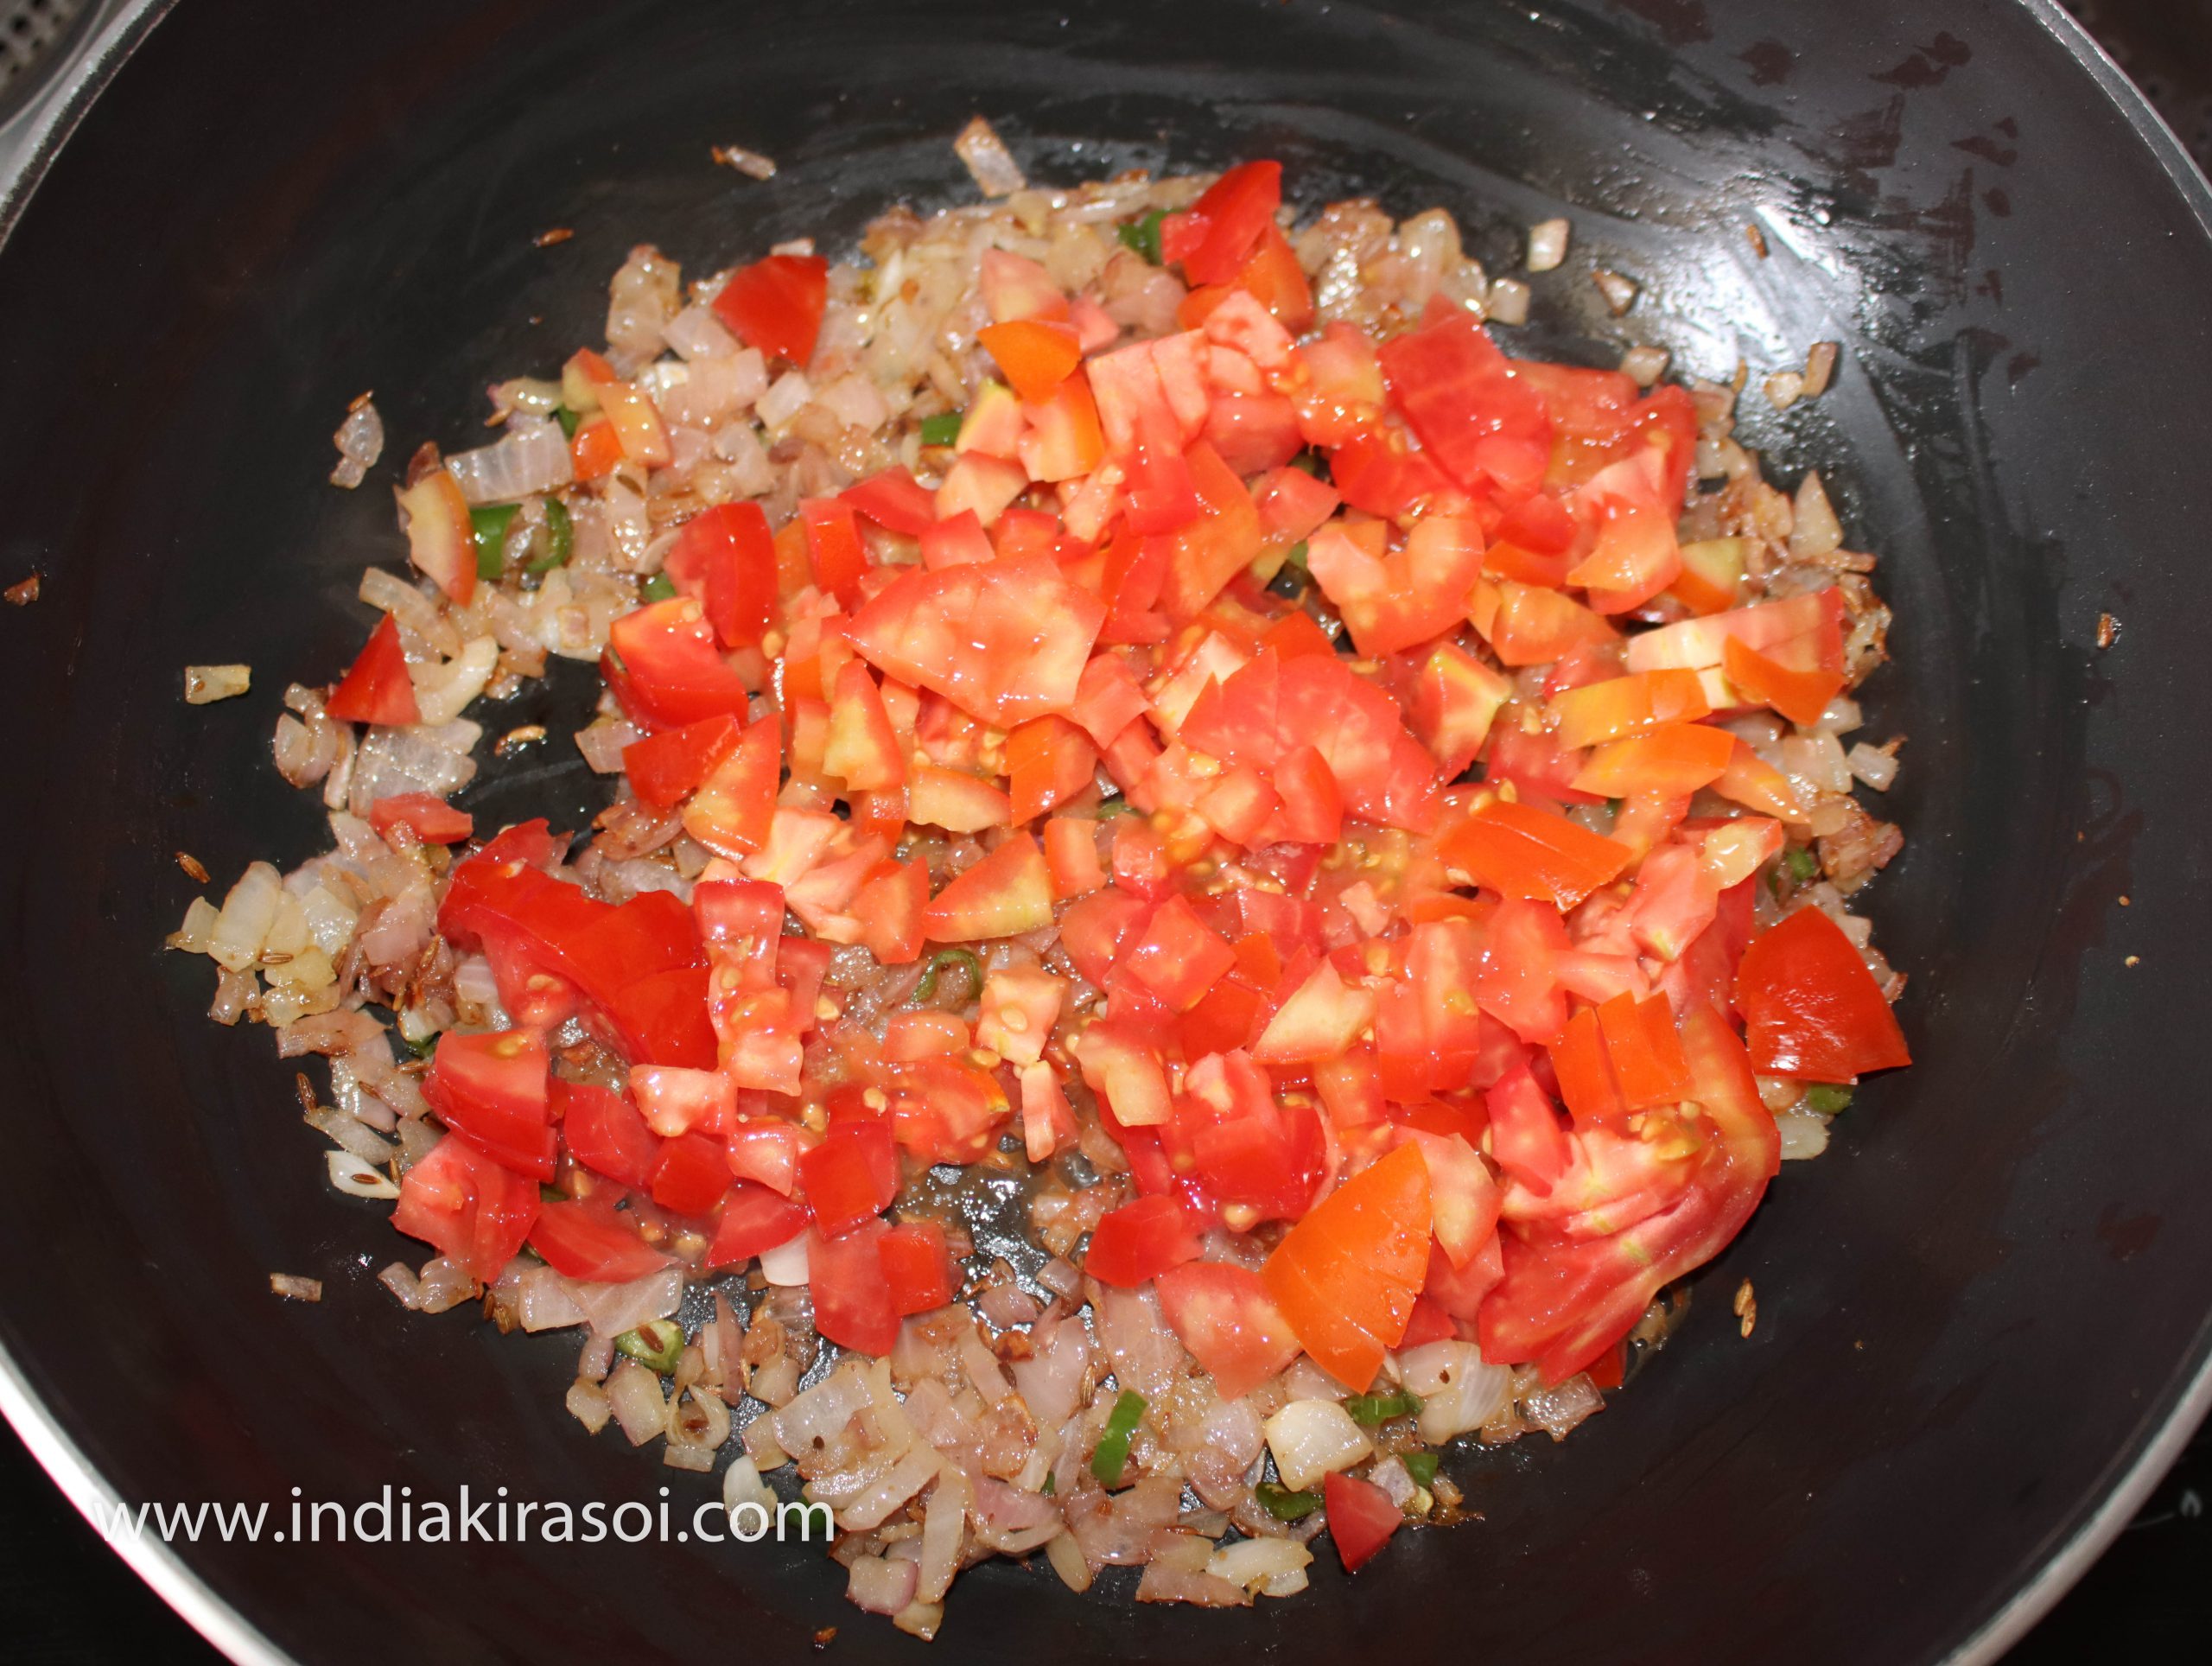
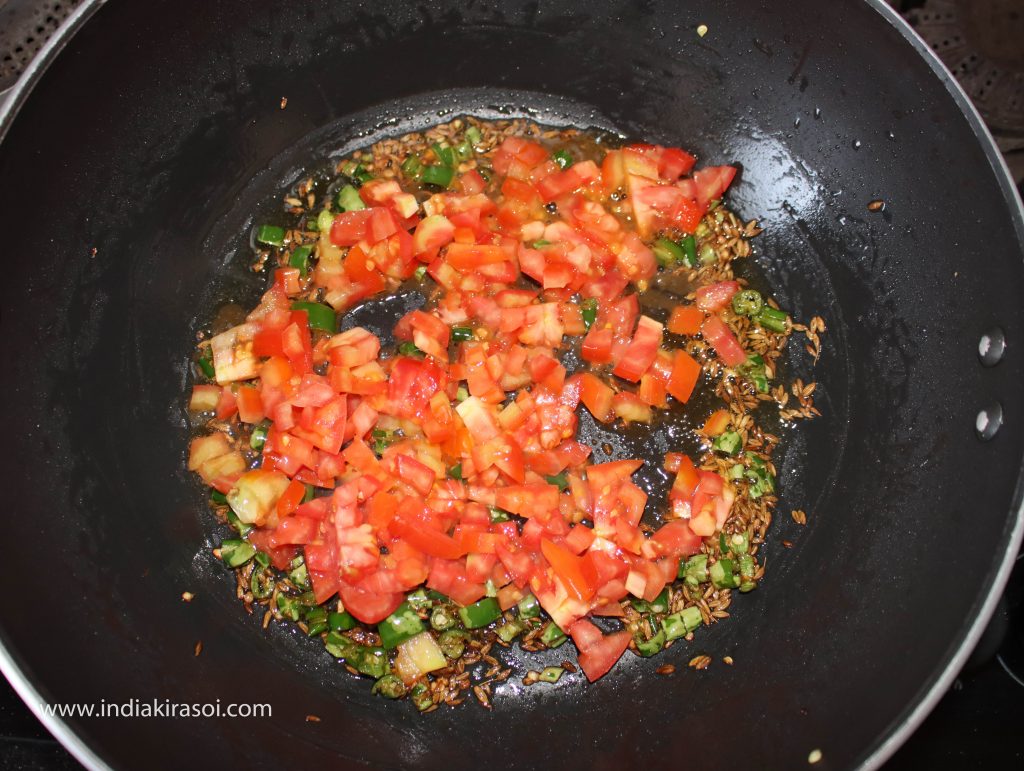
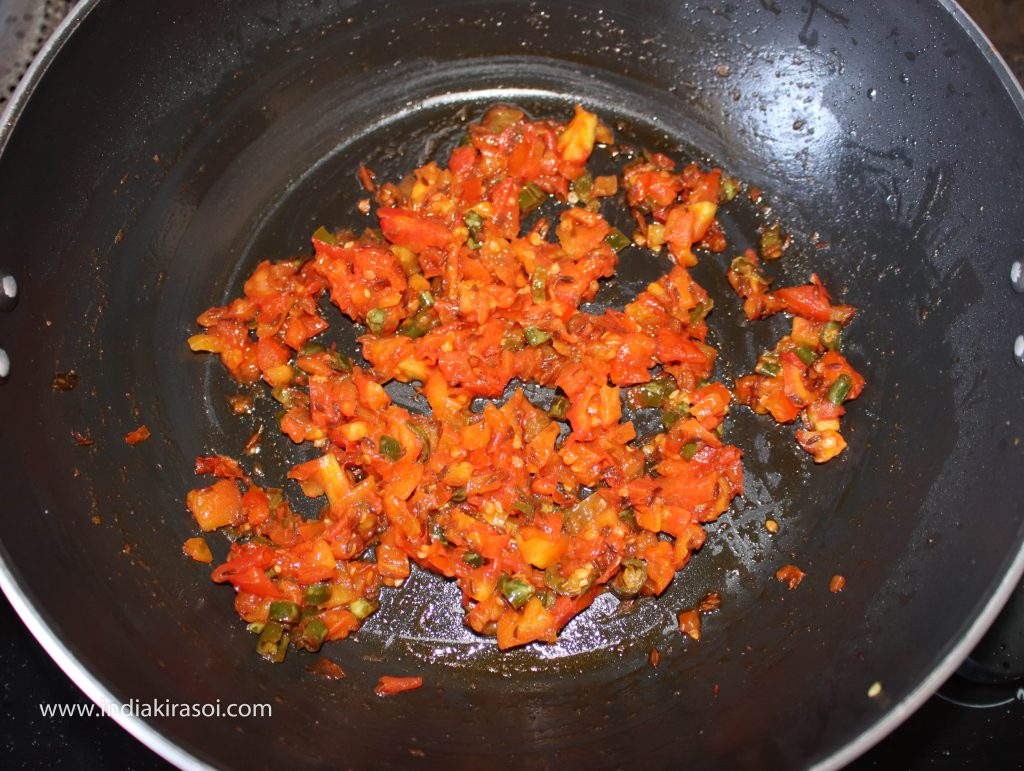
- When the green chilies are fried, add chopped tomatoes.
- Fry the tomatoes with a spatula.
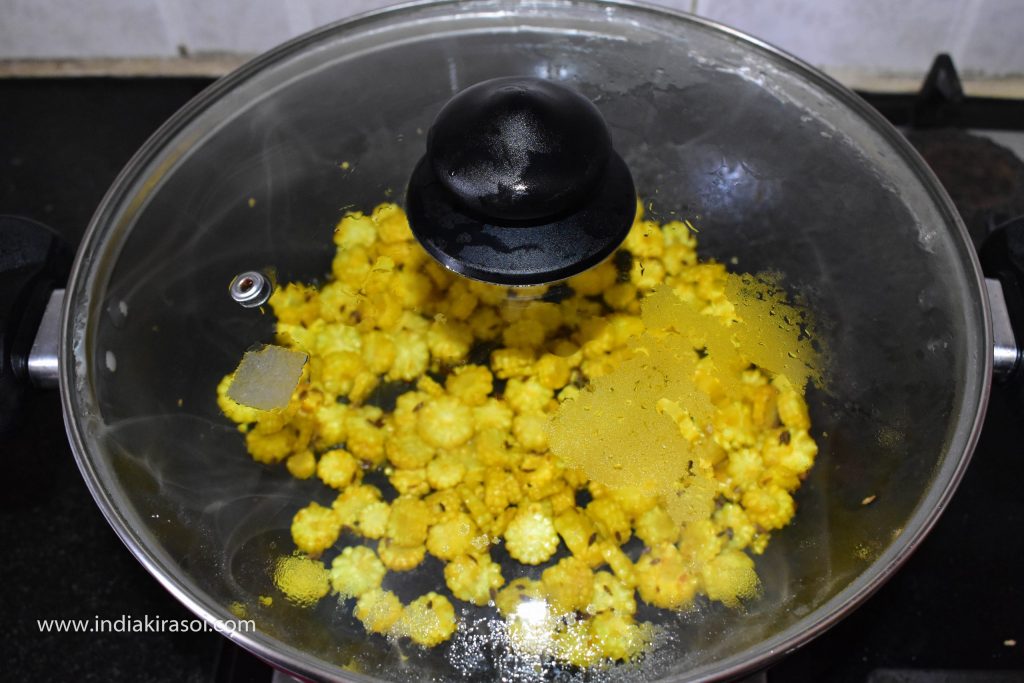
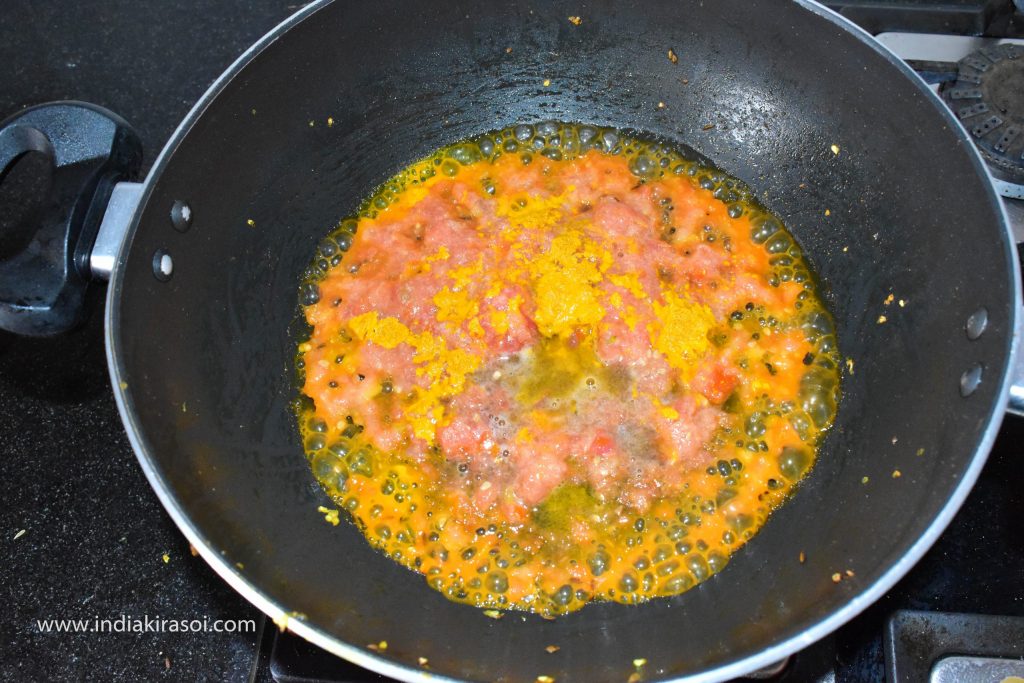
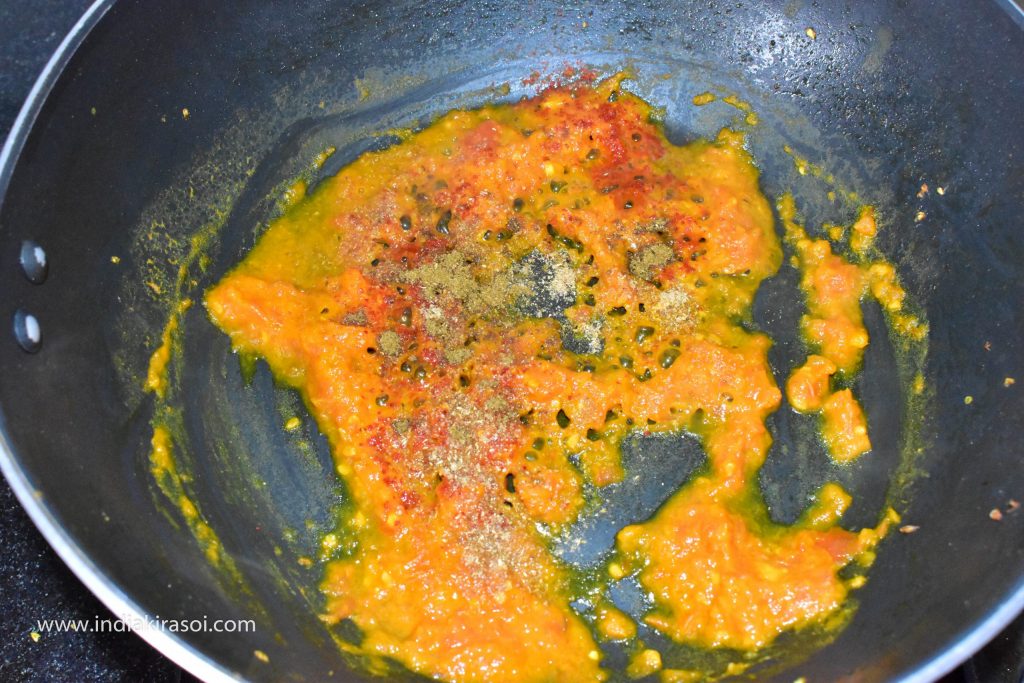
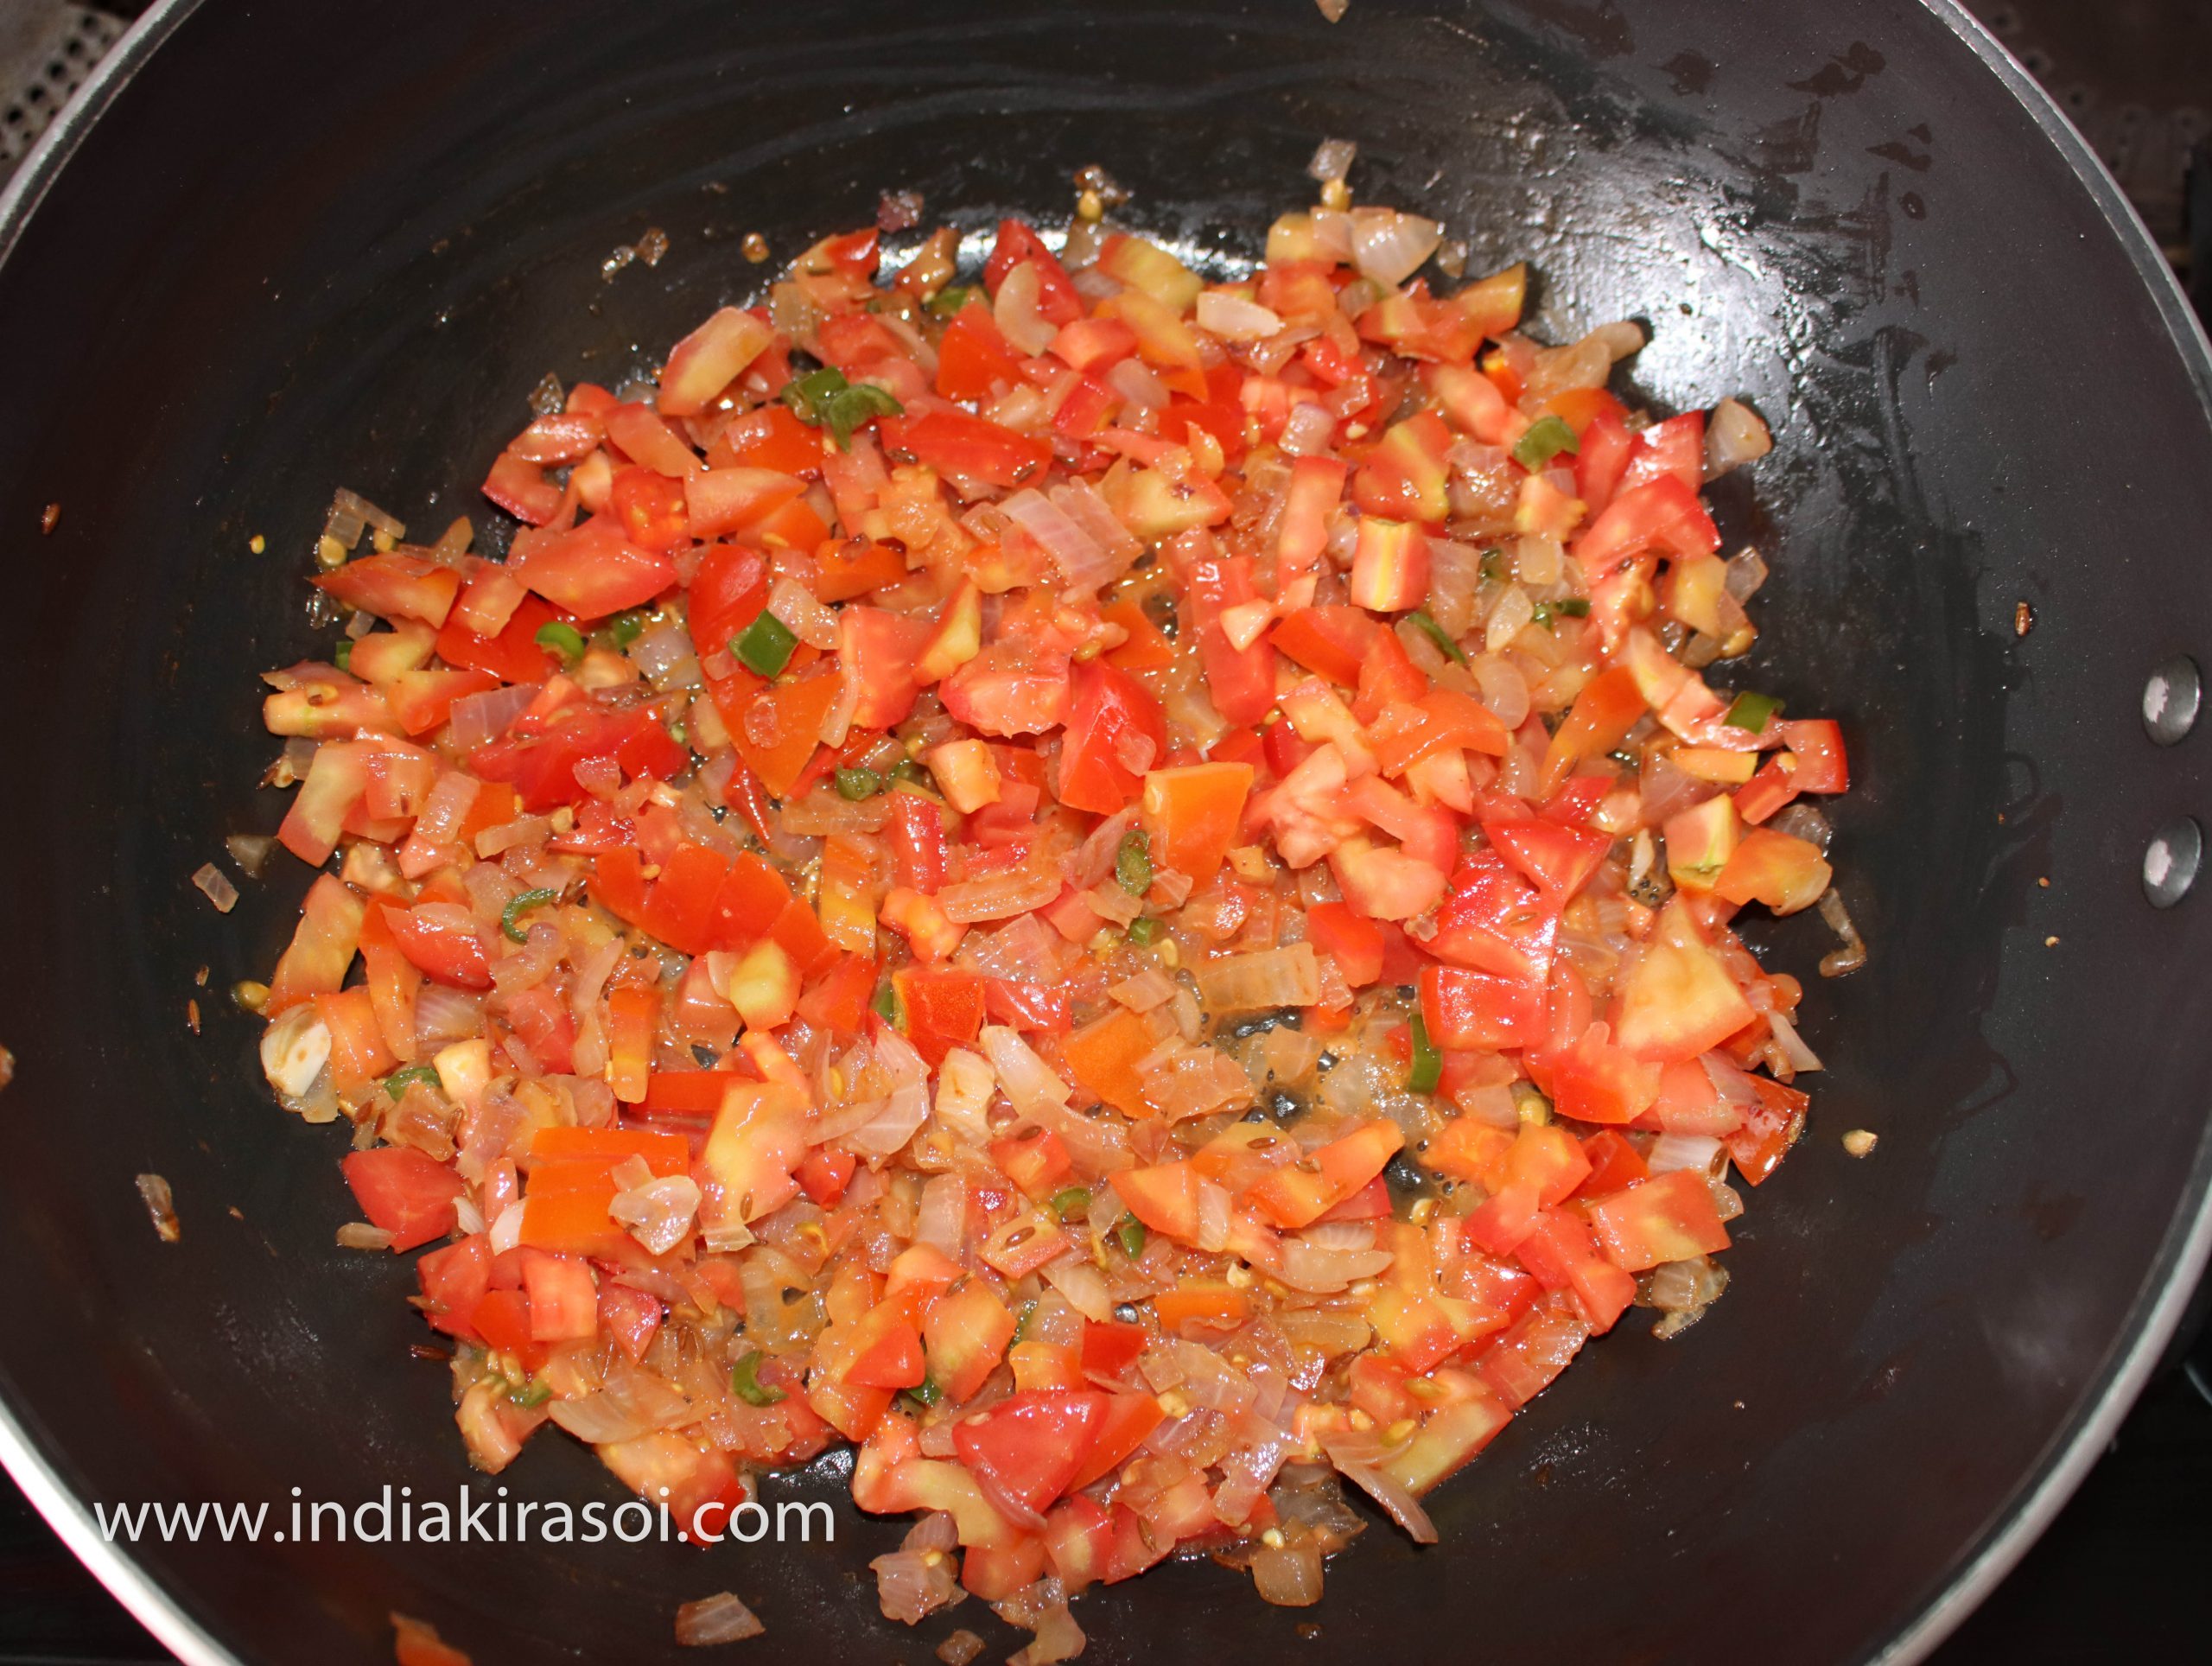
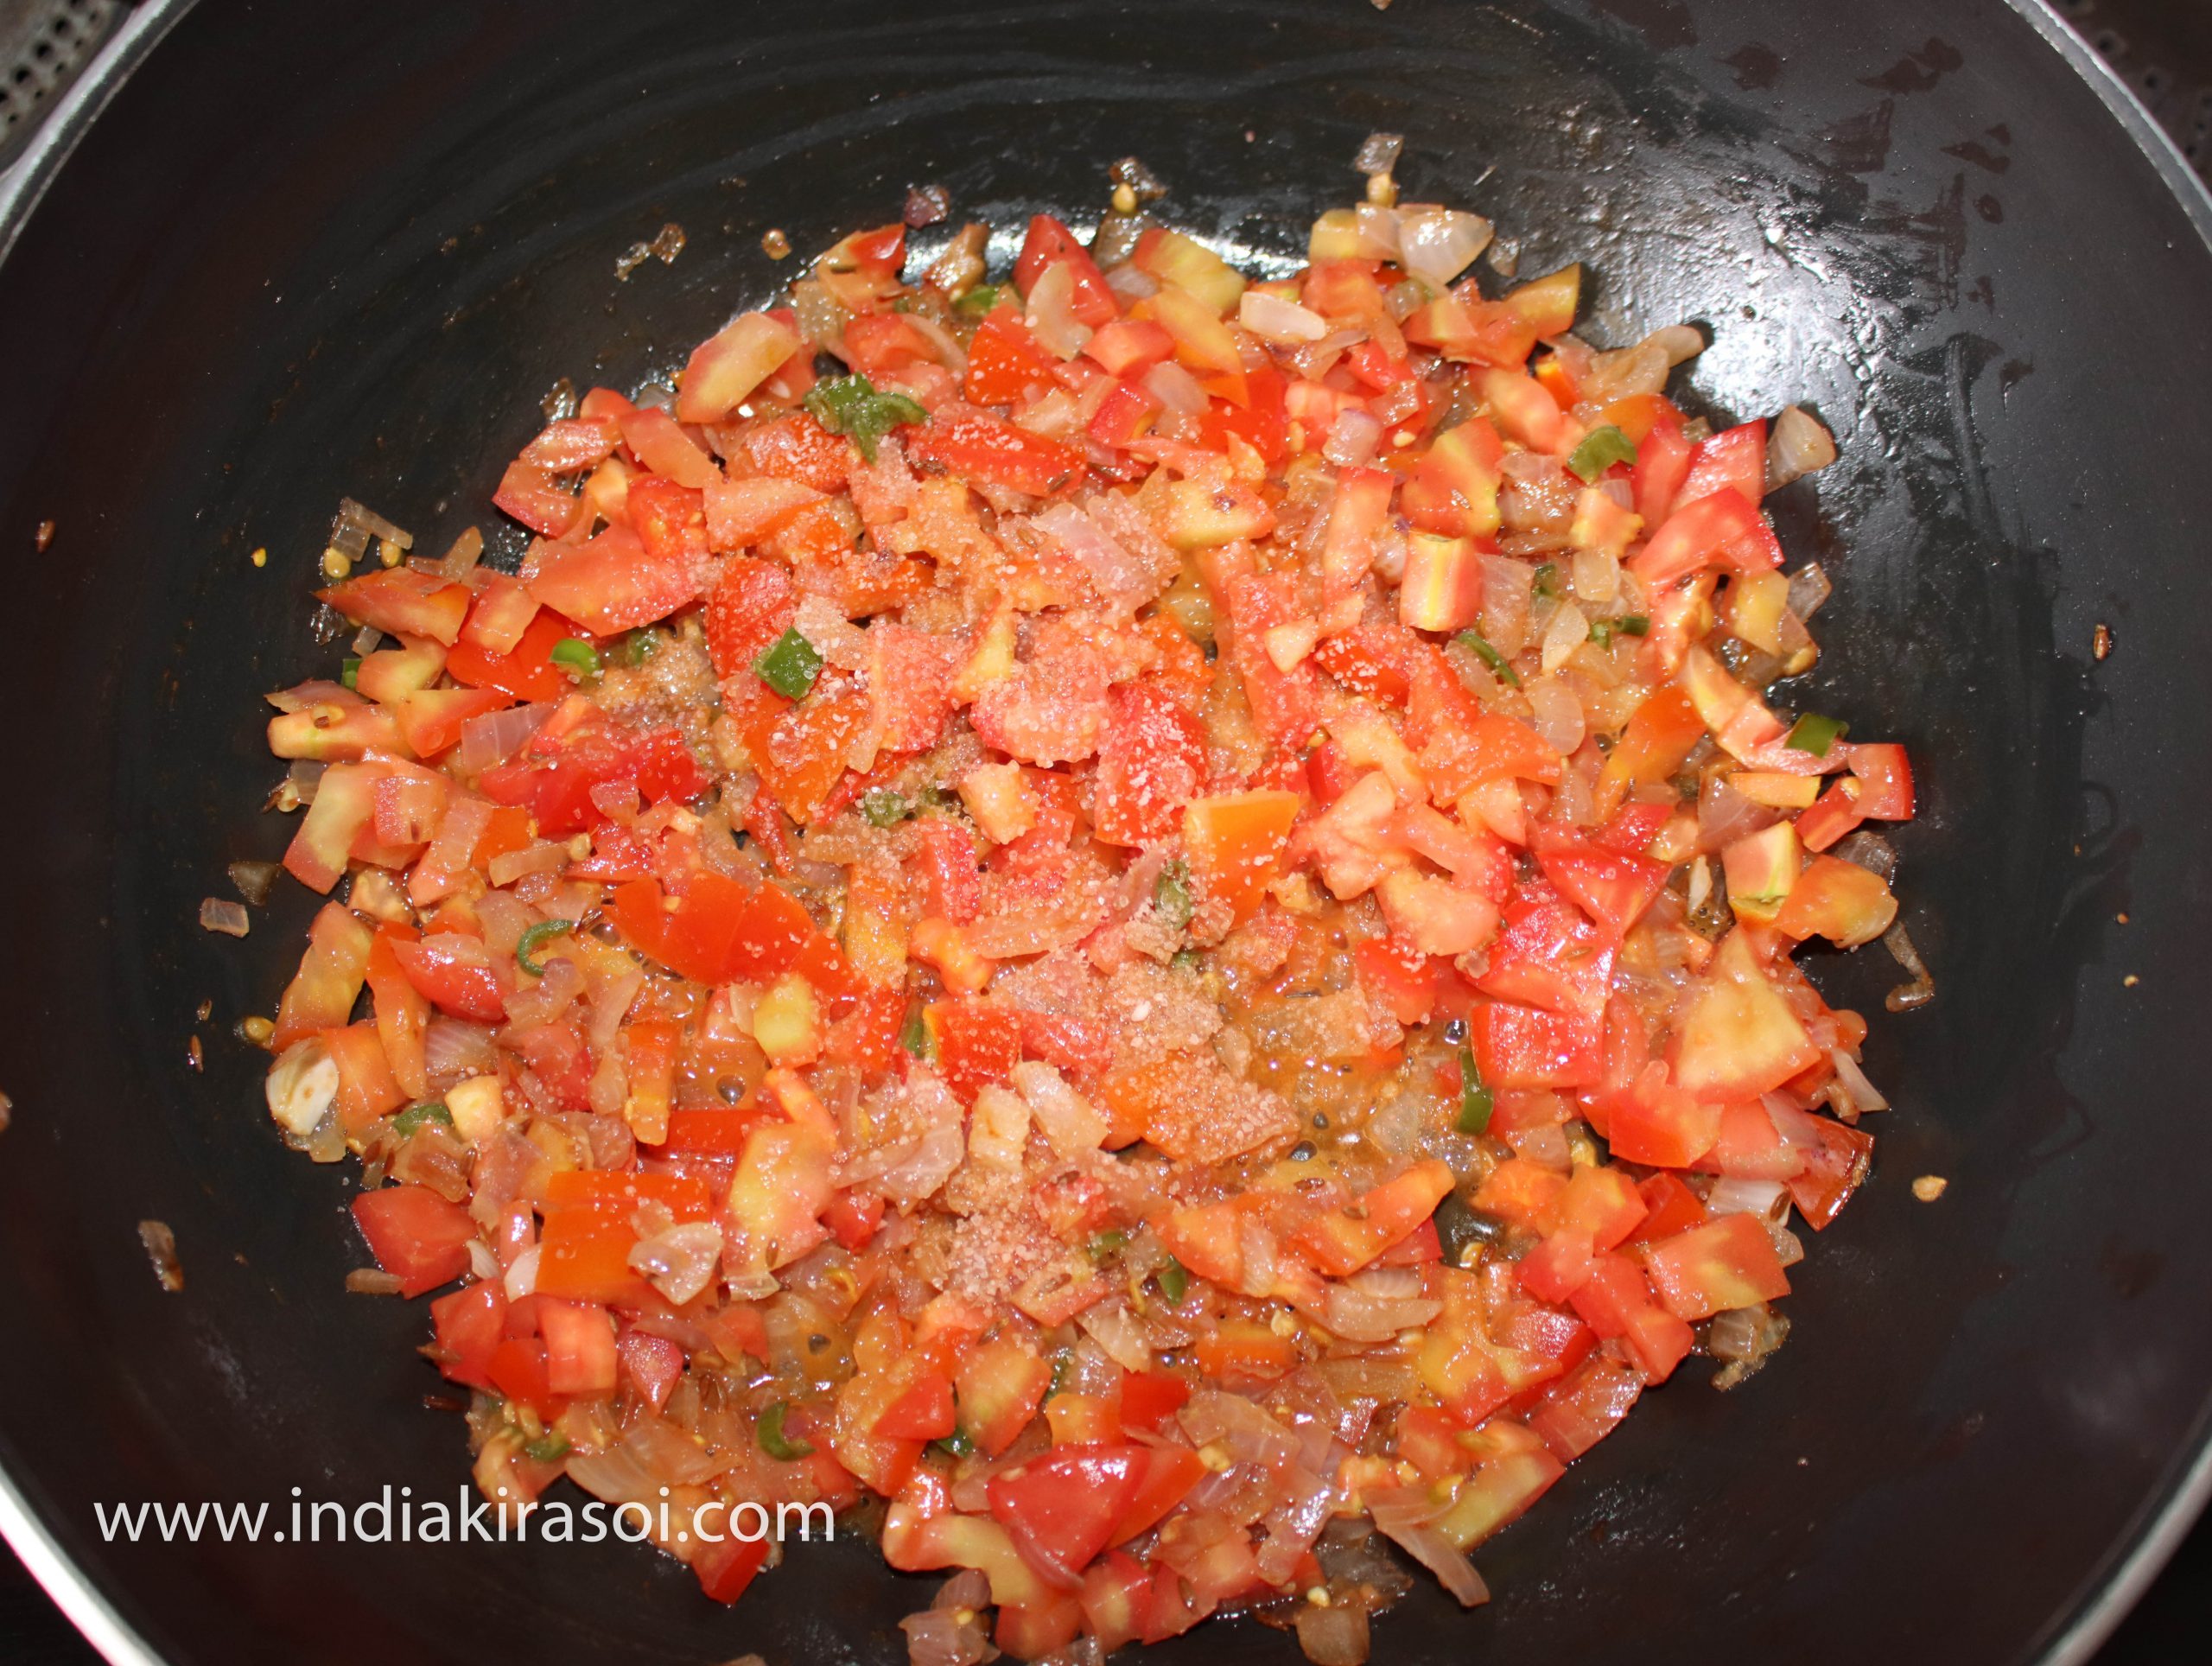
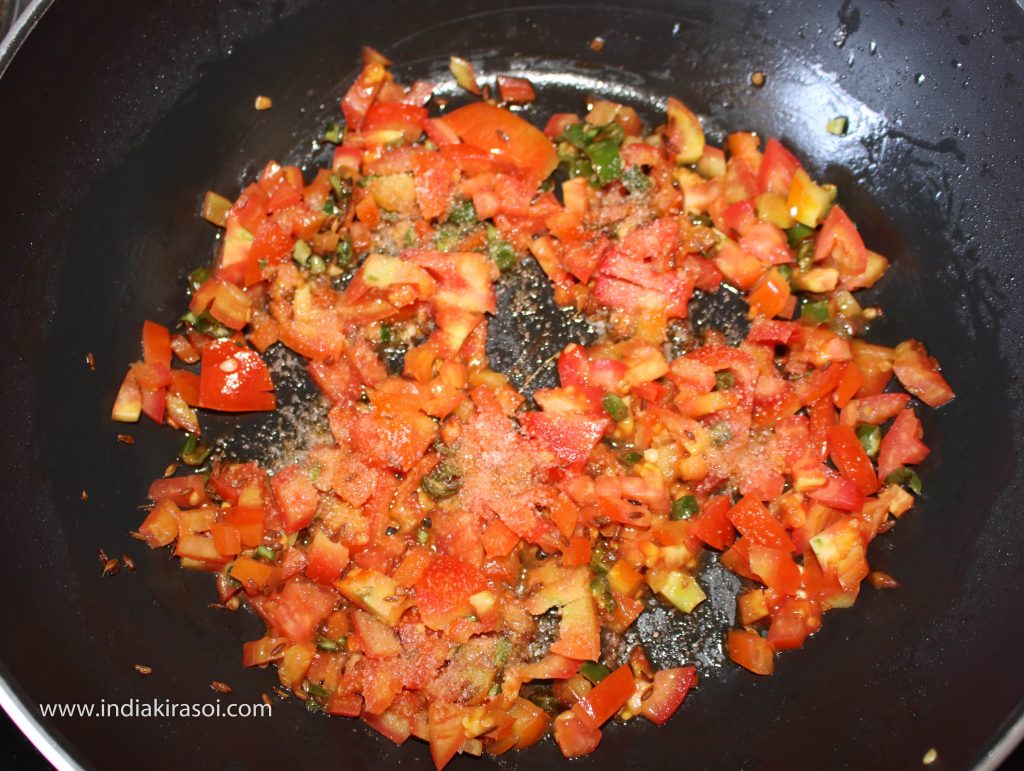
- Add salt to the tomatoes, add salt to the tomatoes and fry the tomatoes,
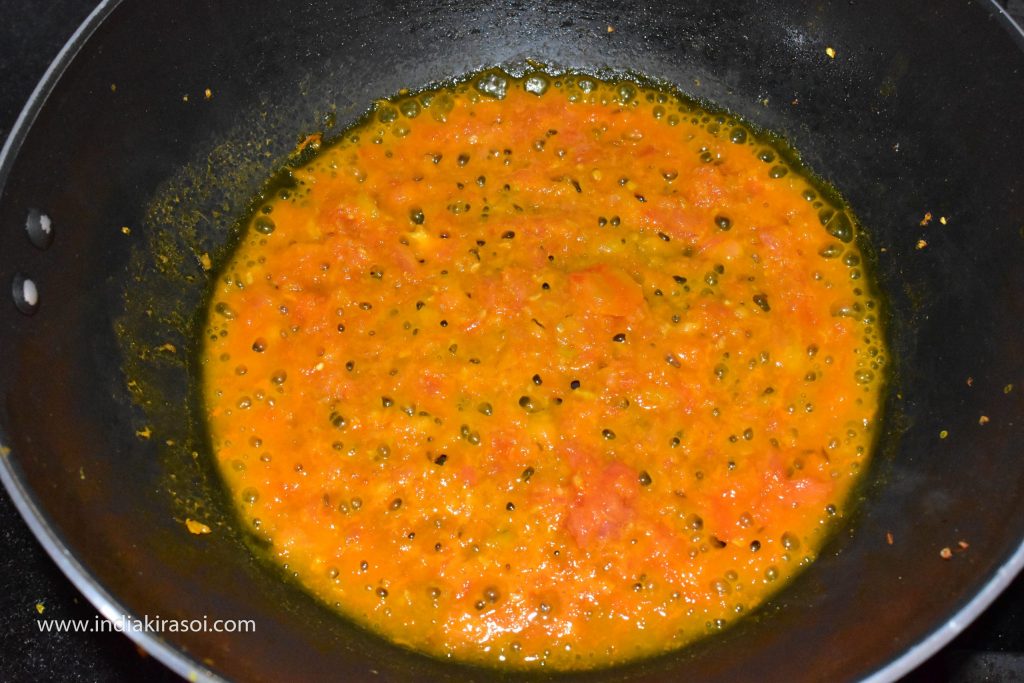
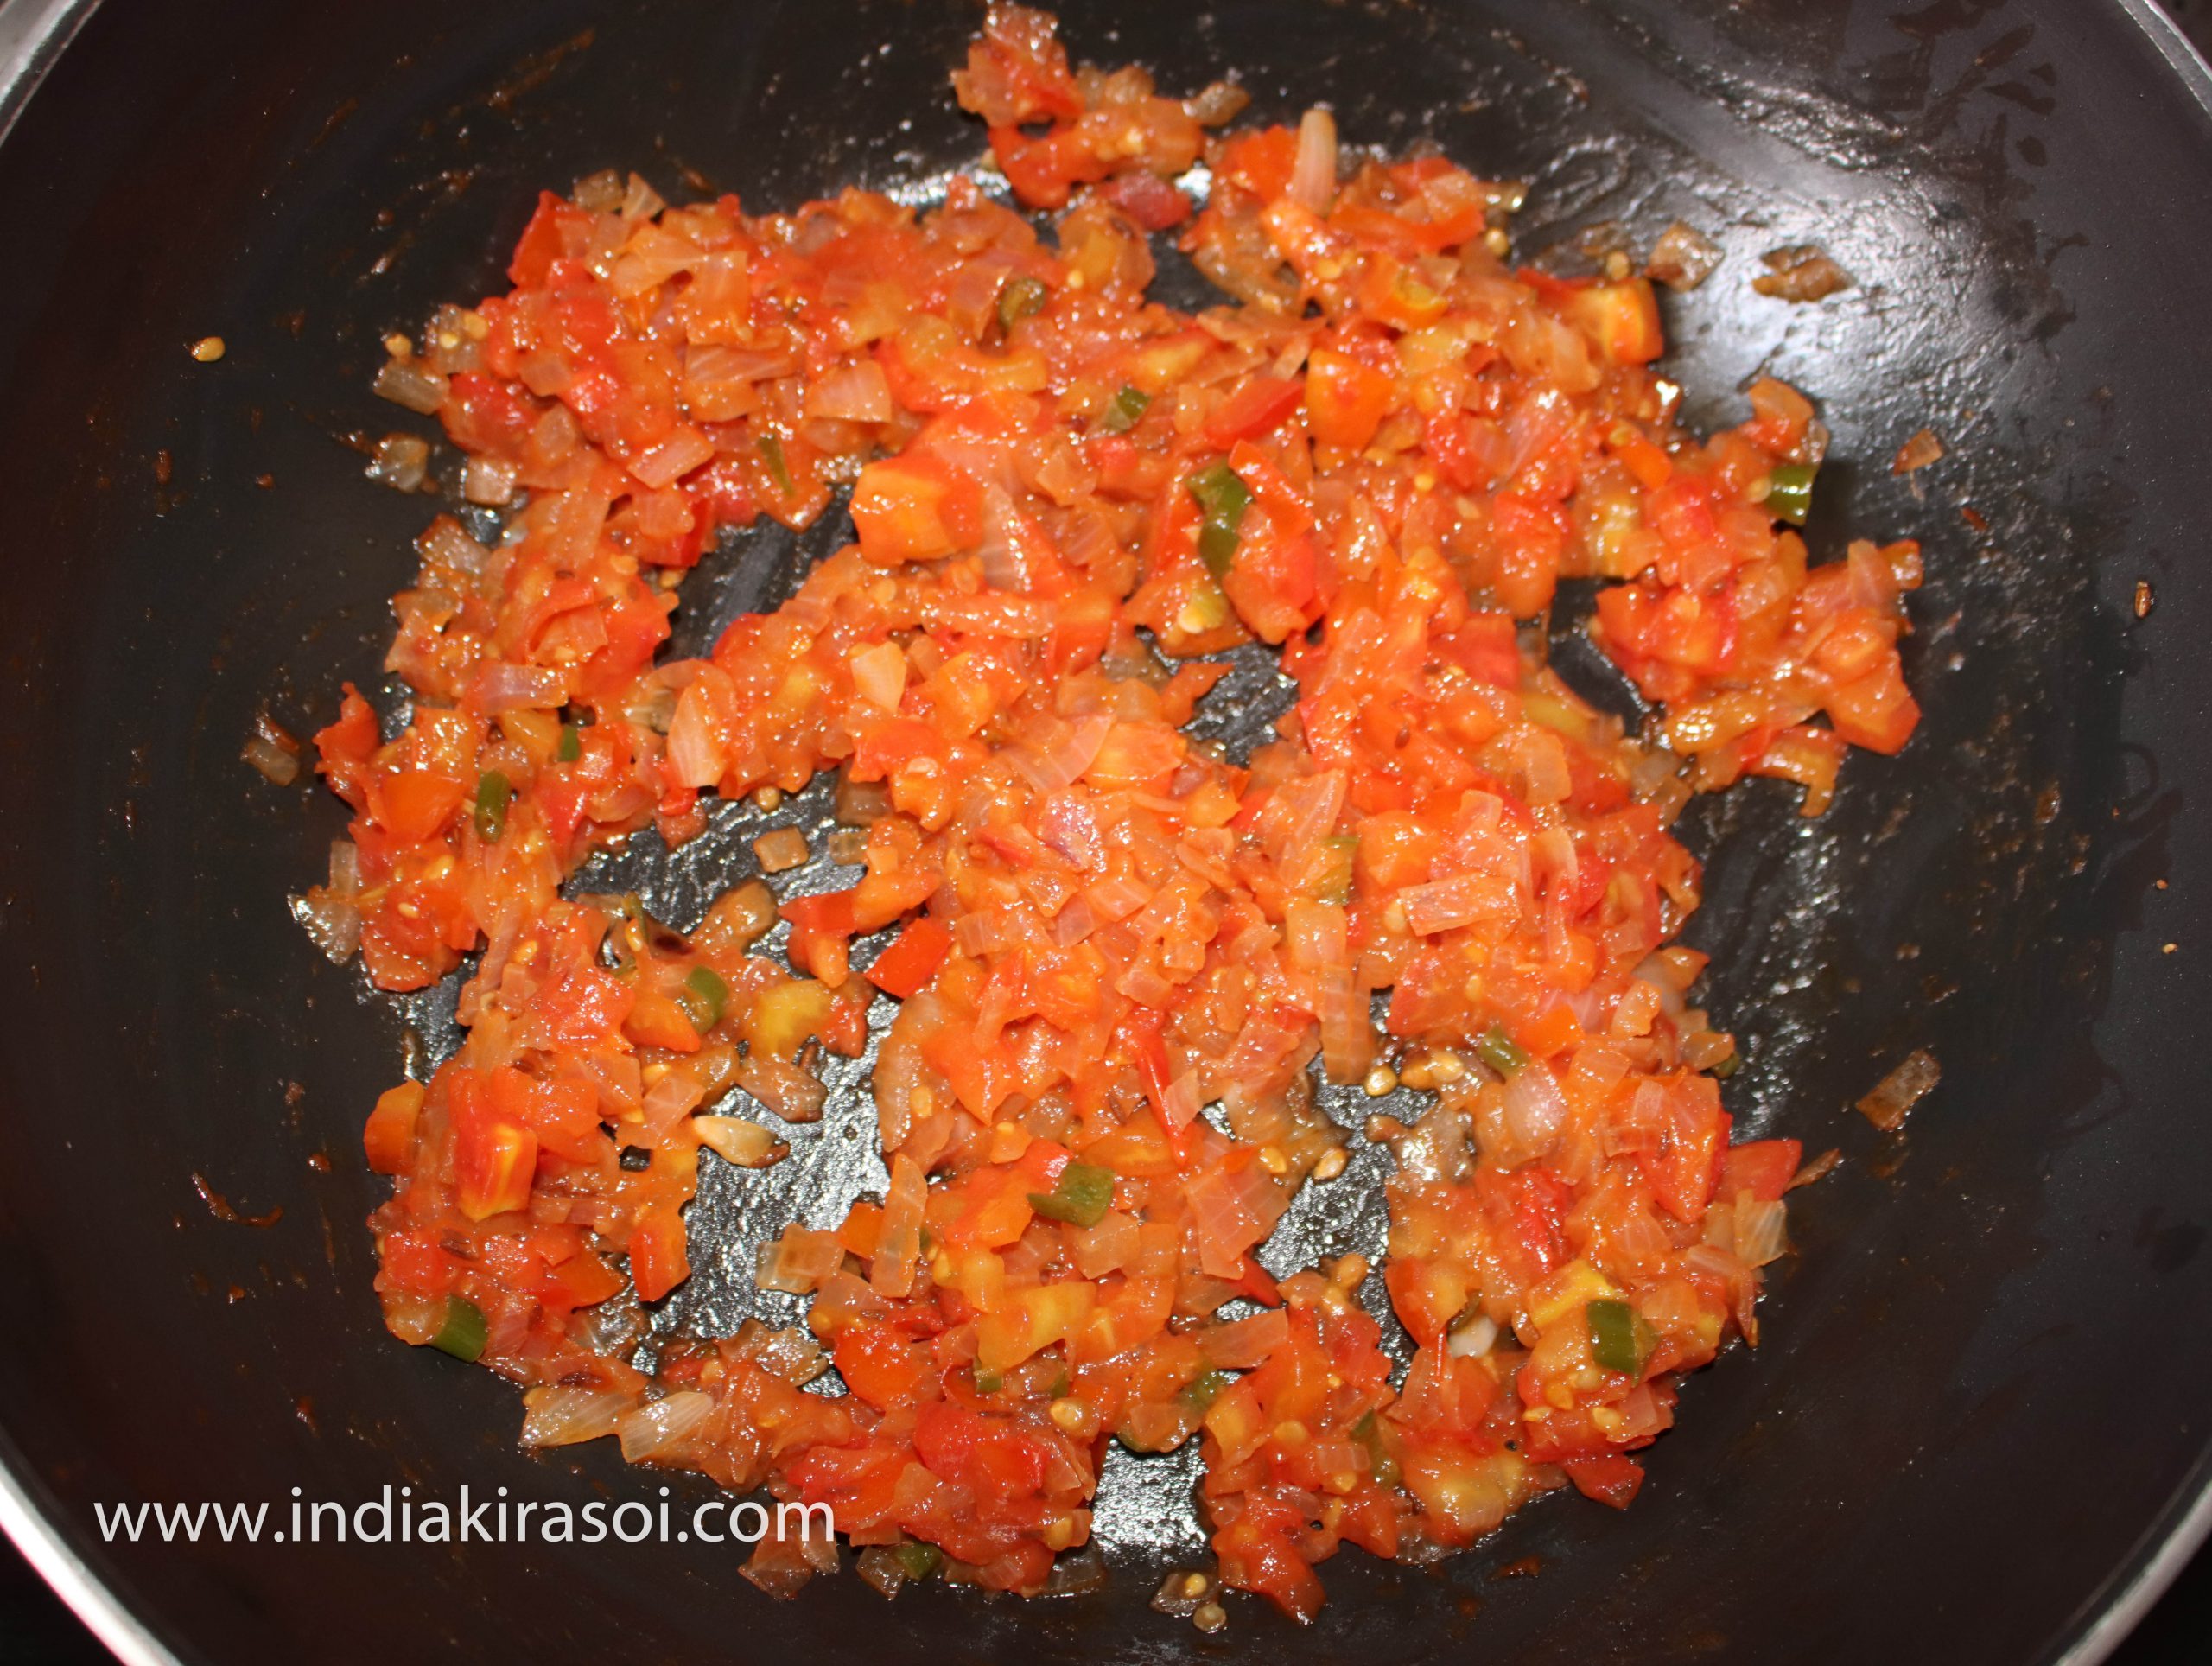
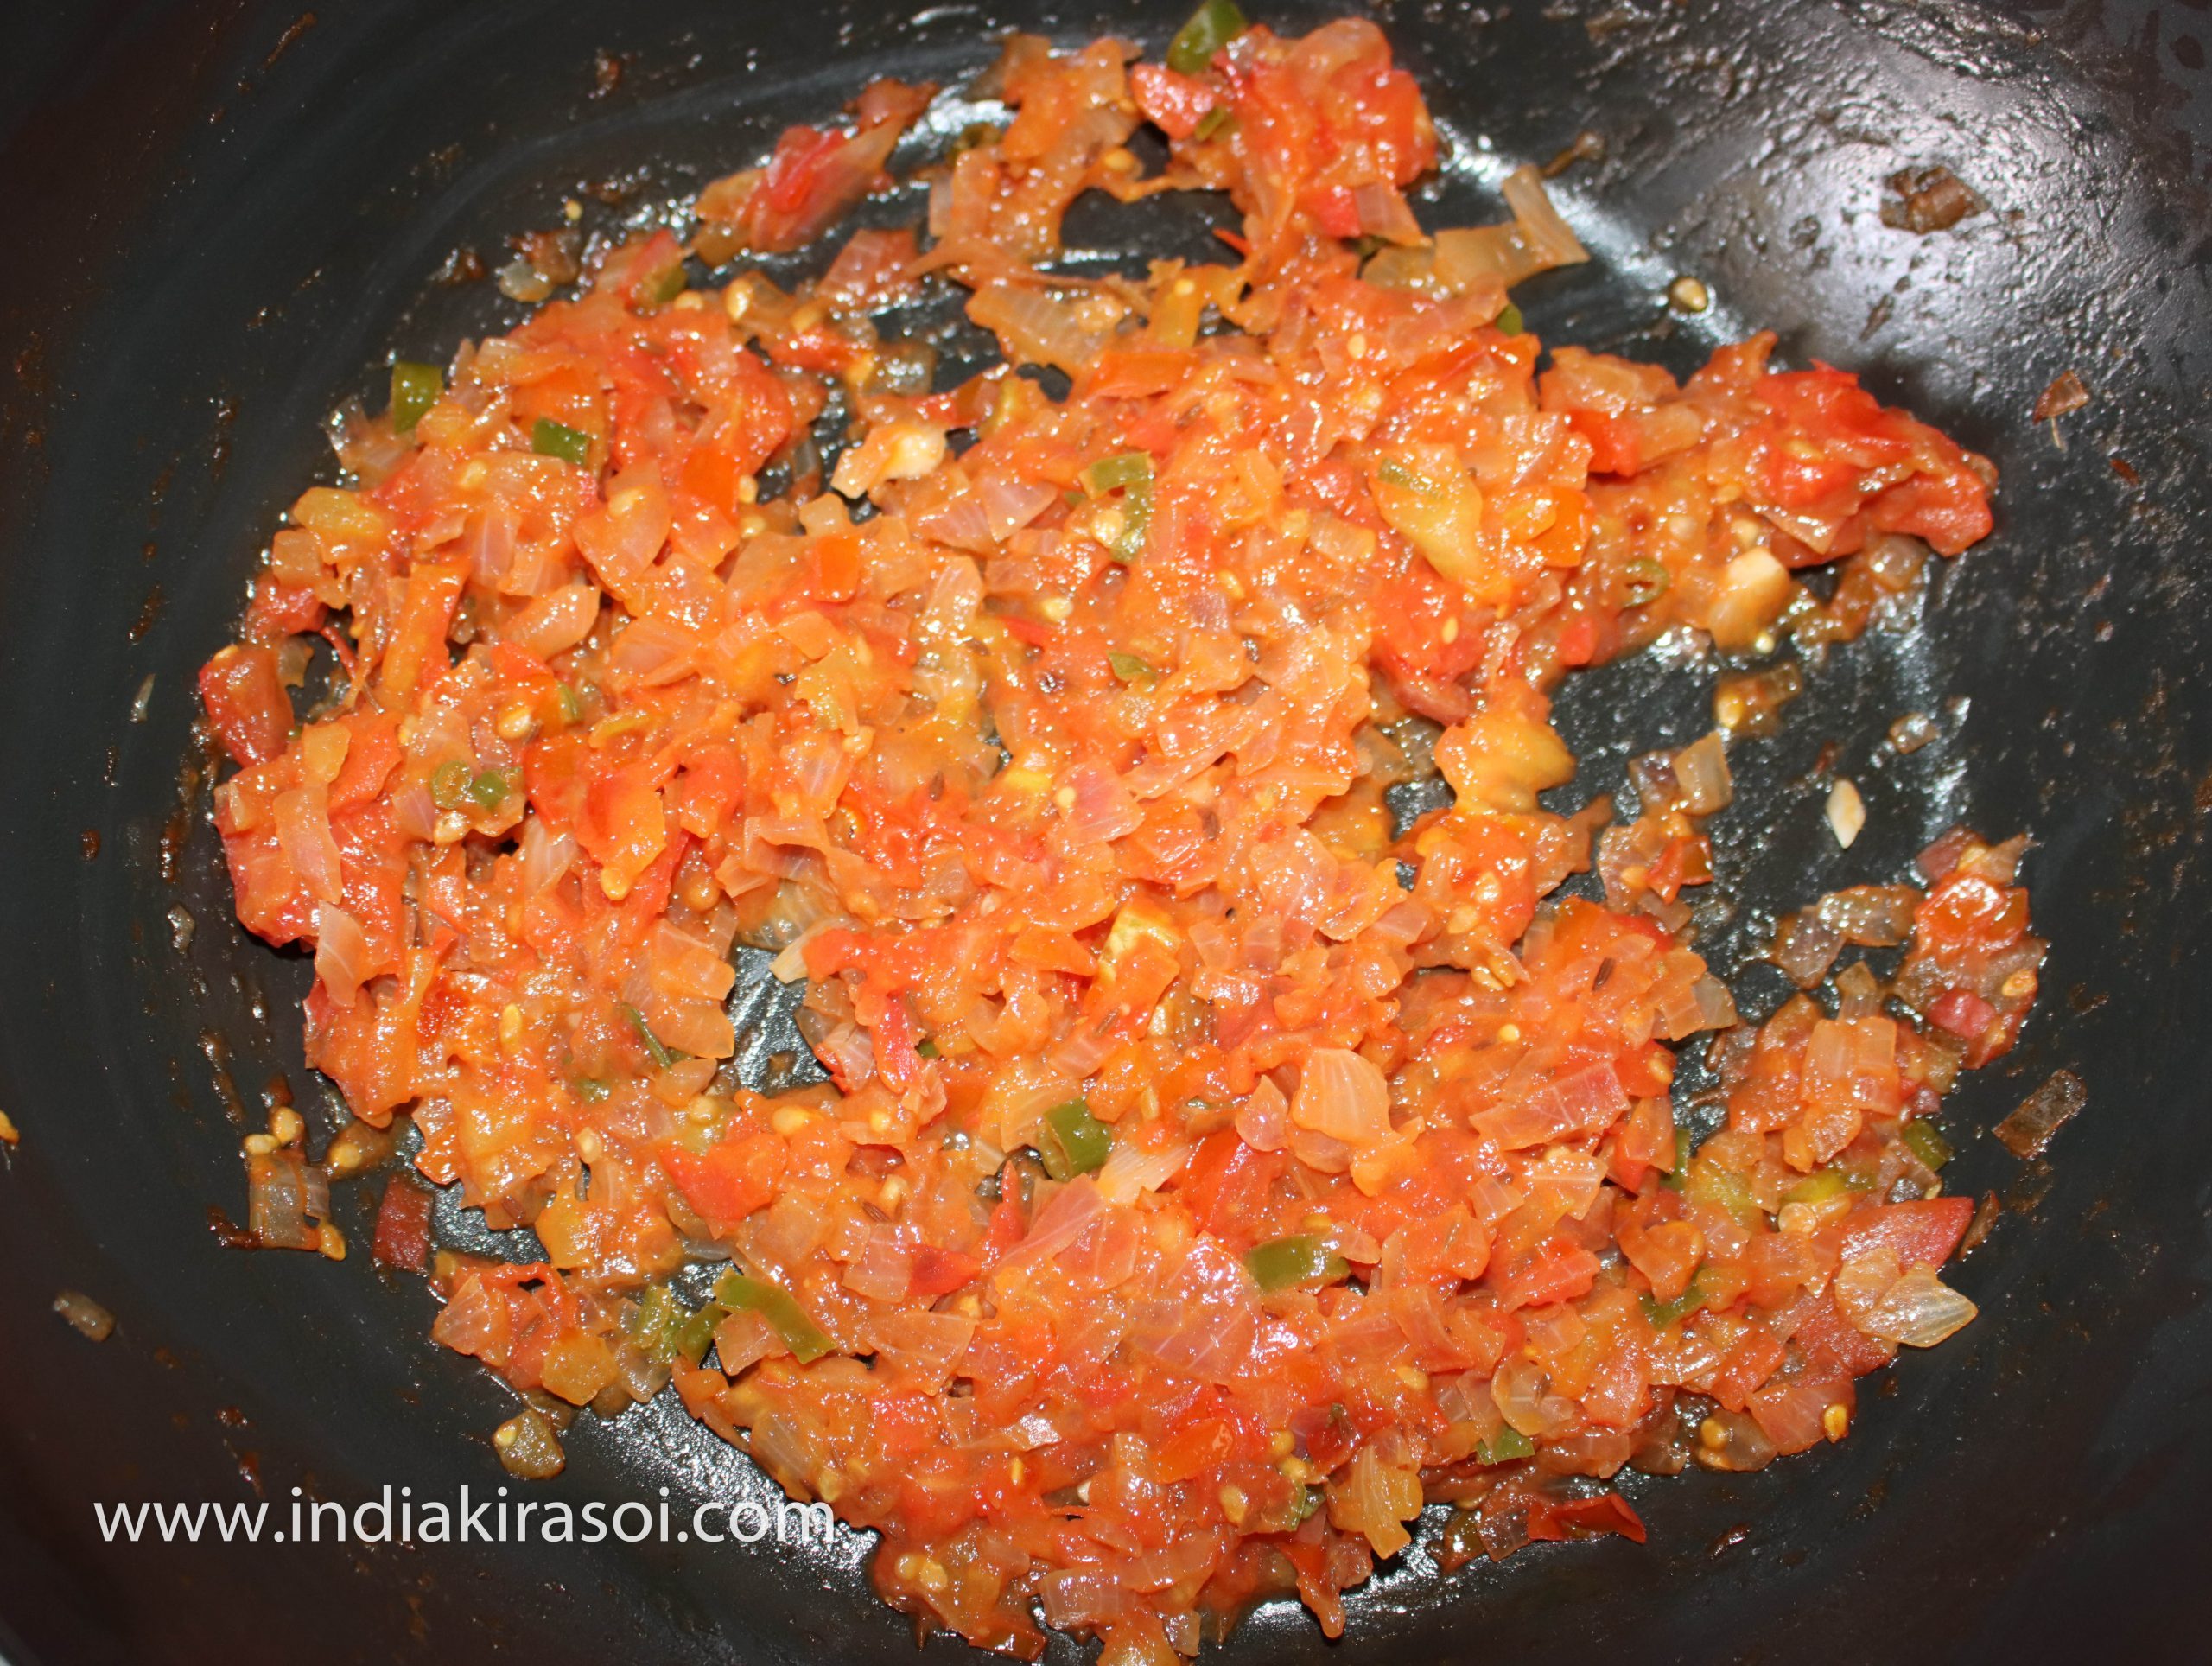
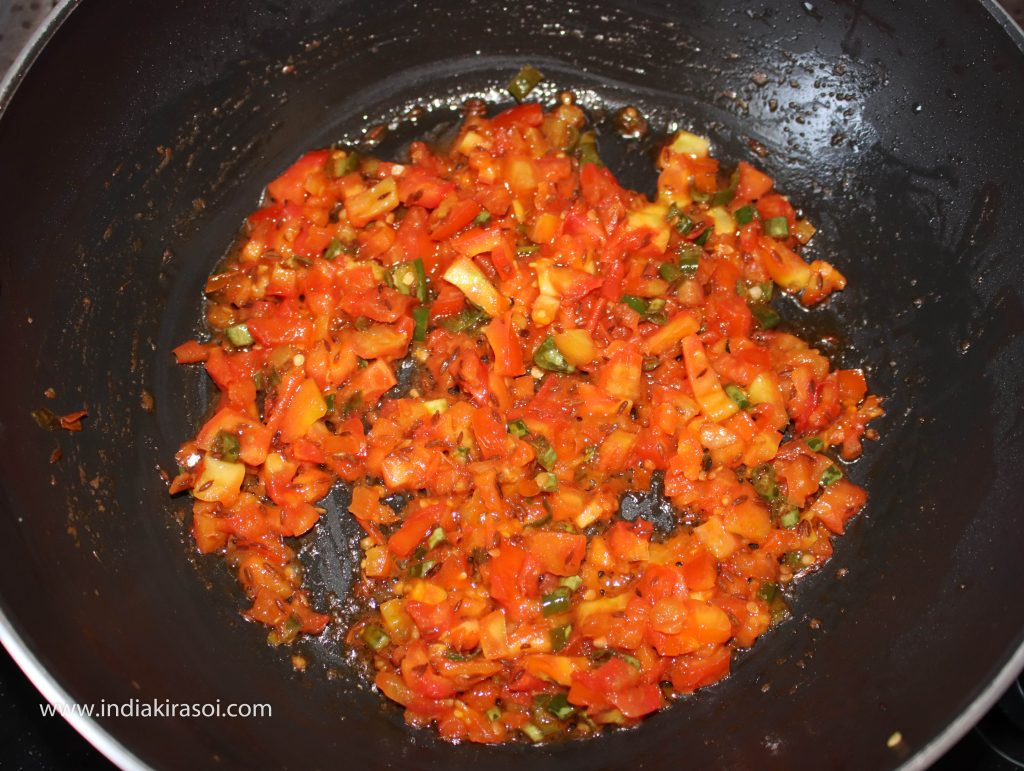
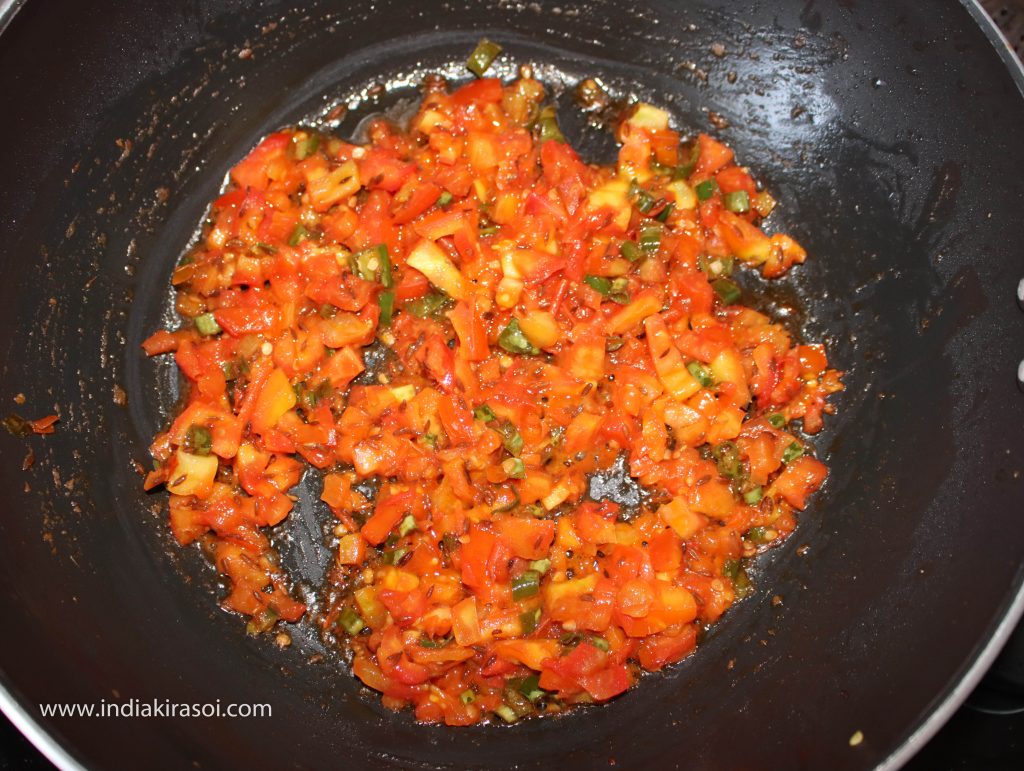
- If you don't like to soft the tomatoes then cook for small time, and if you like soft tomatoes, then cook more, cook the tomatoes for 2 to 3 minutes.
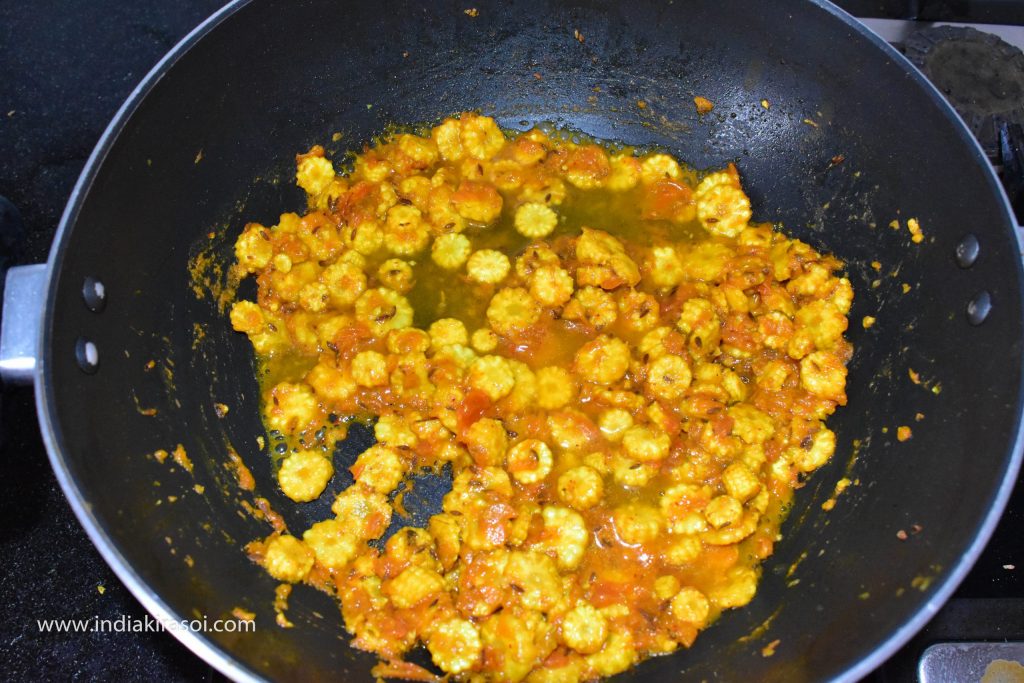
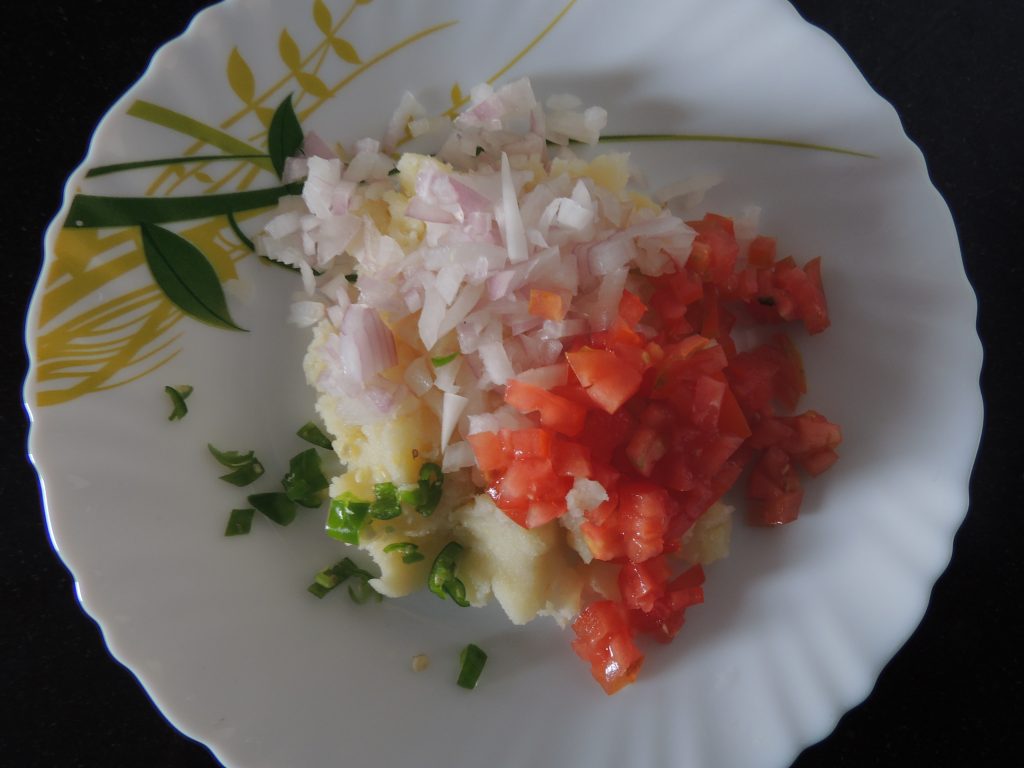
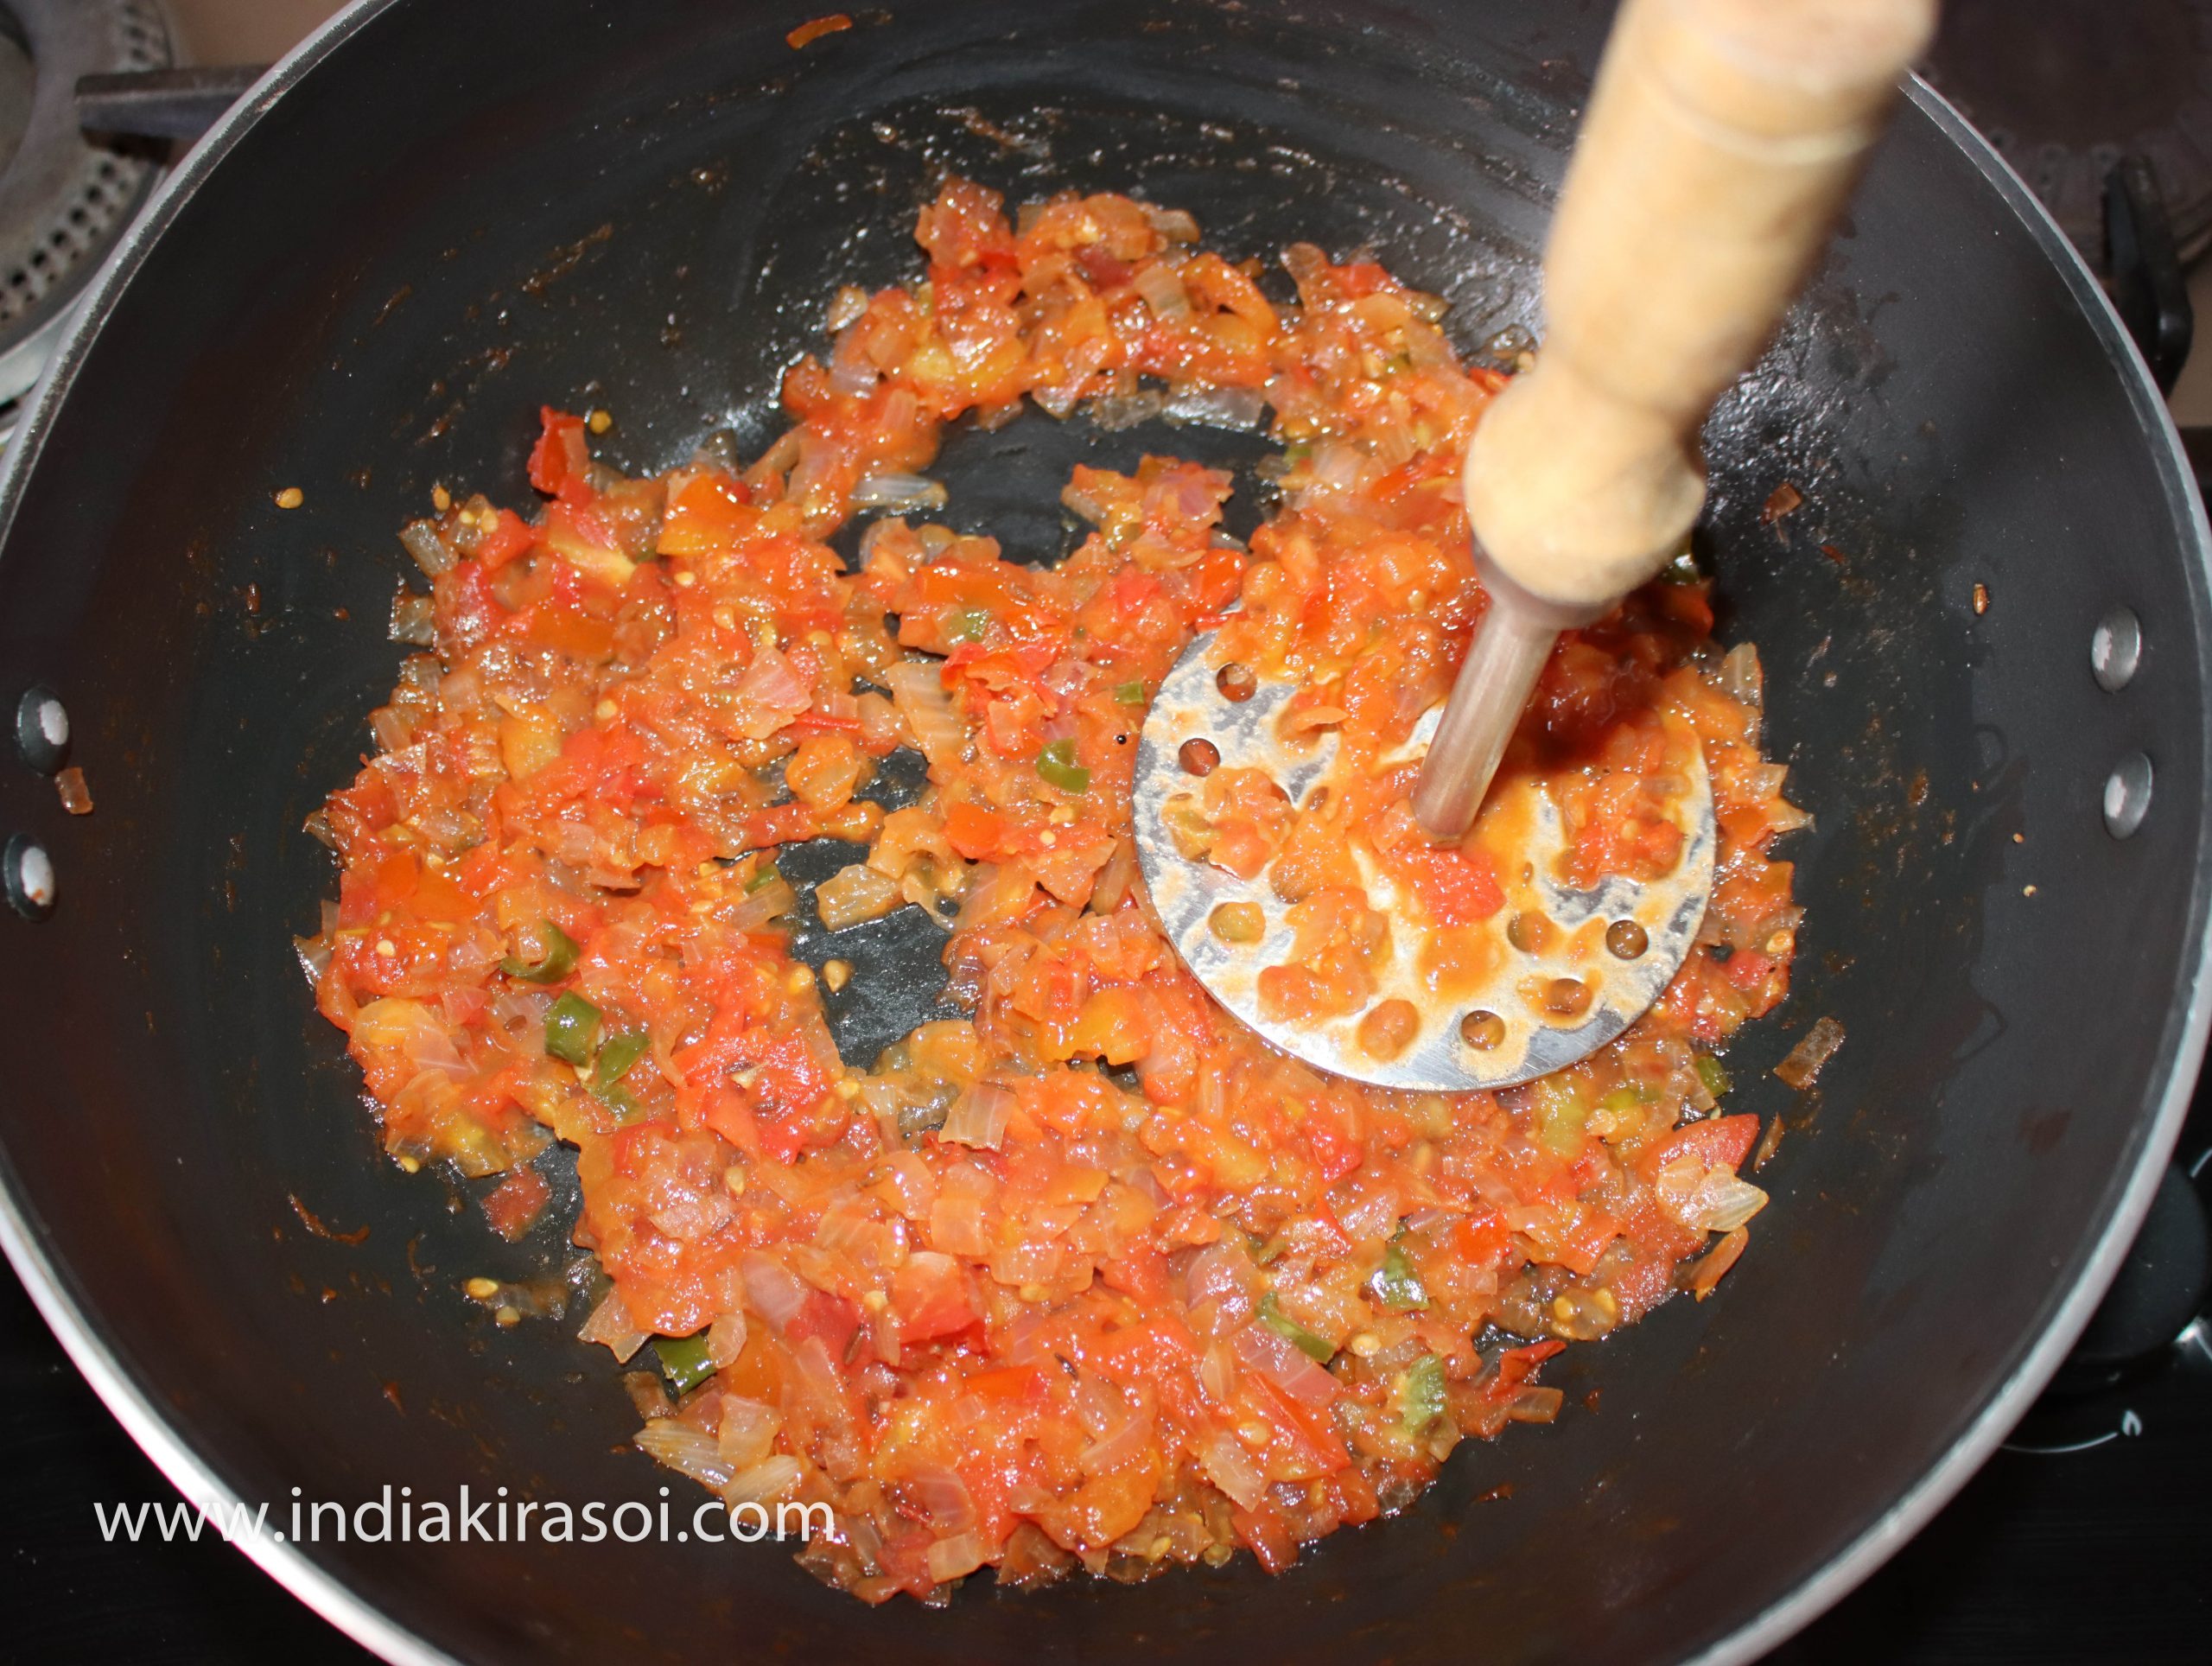
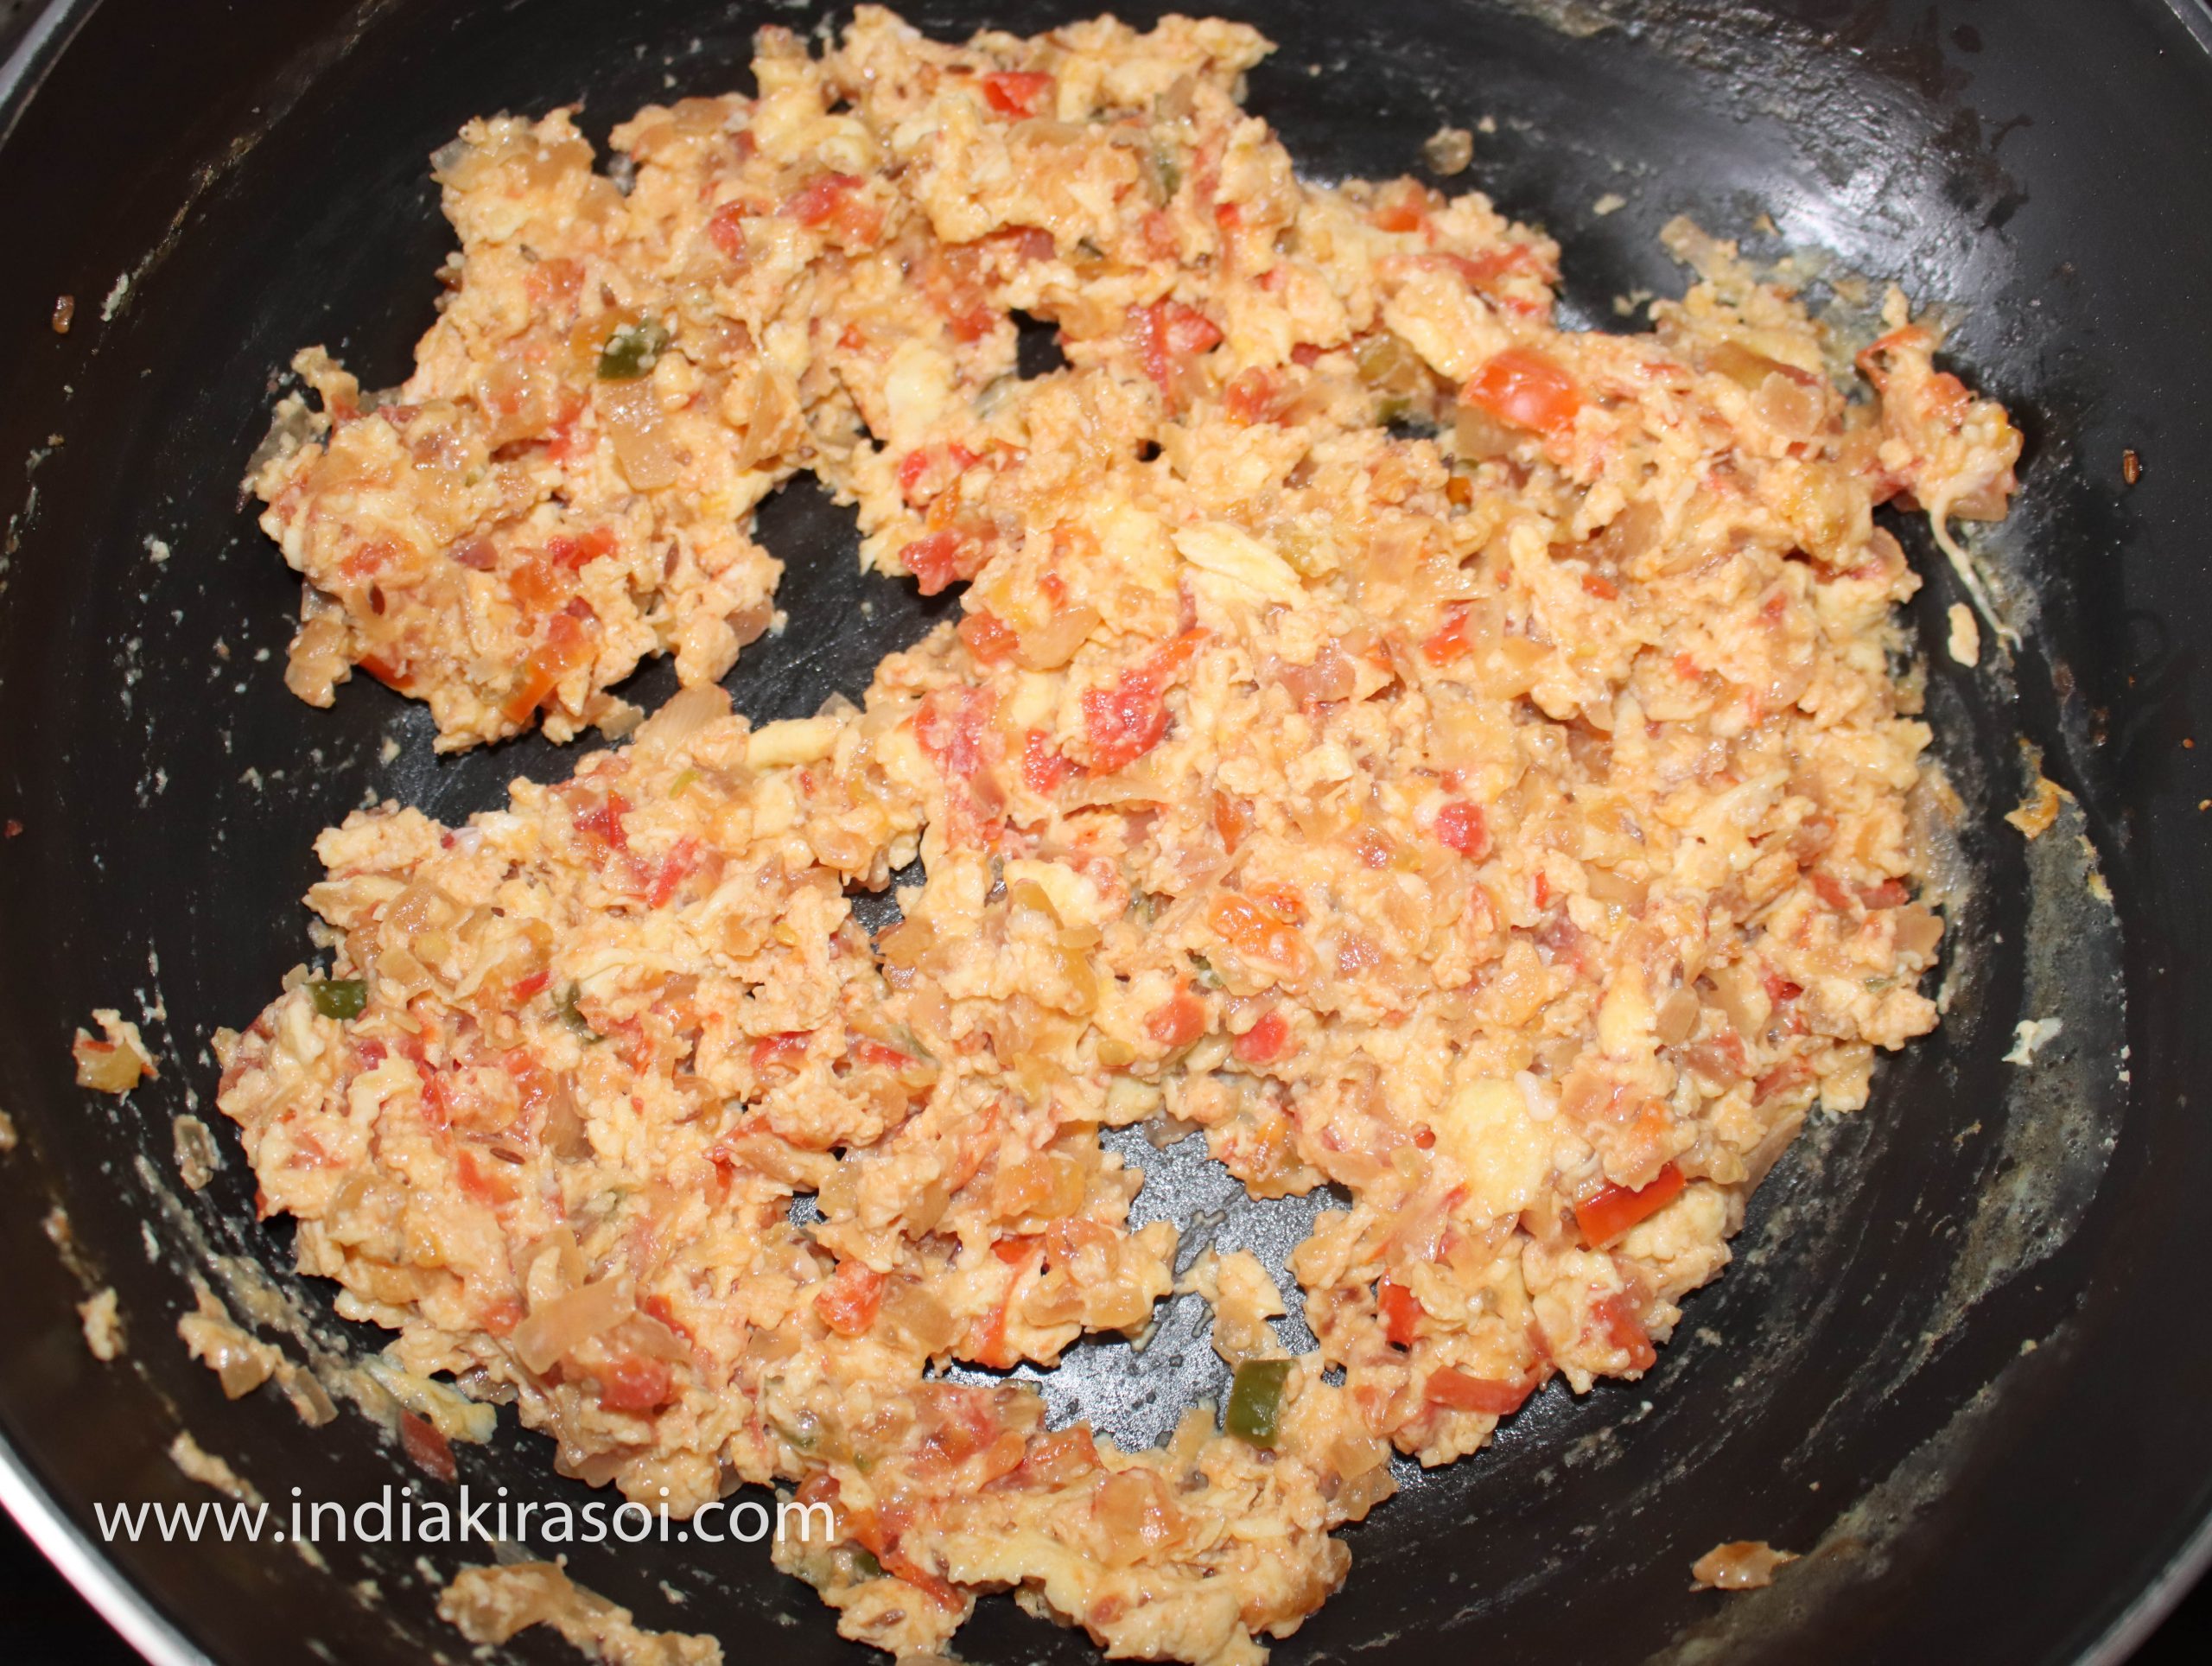
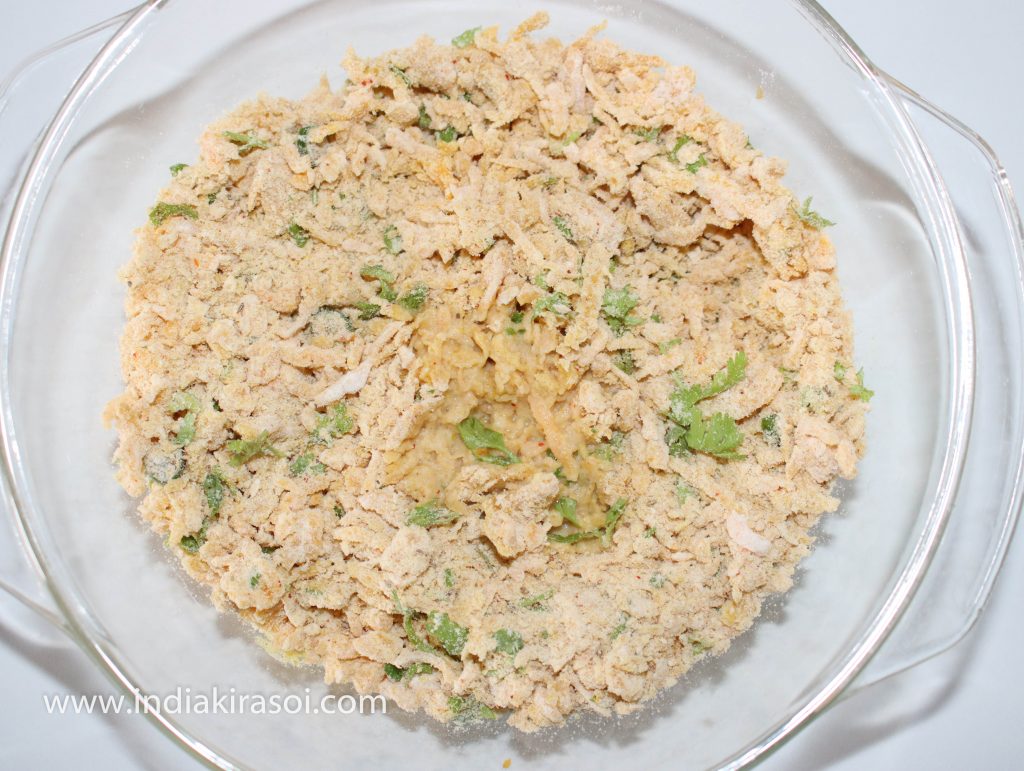
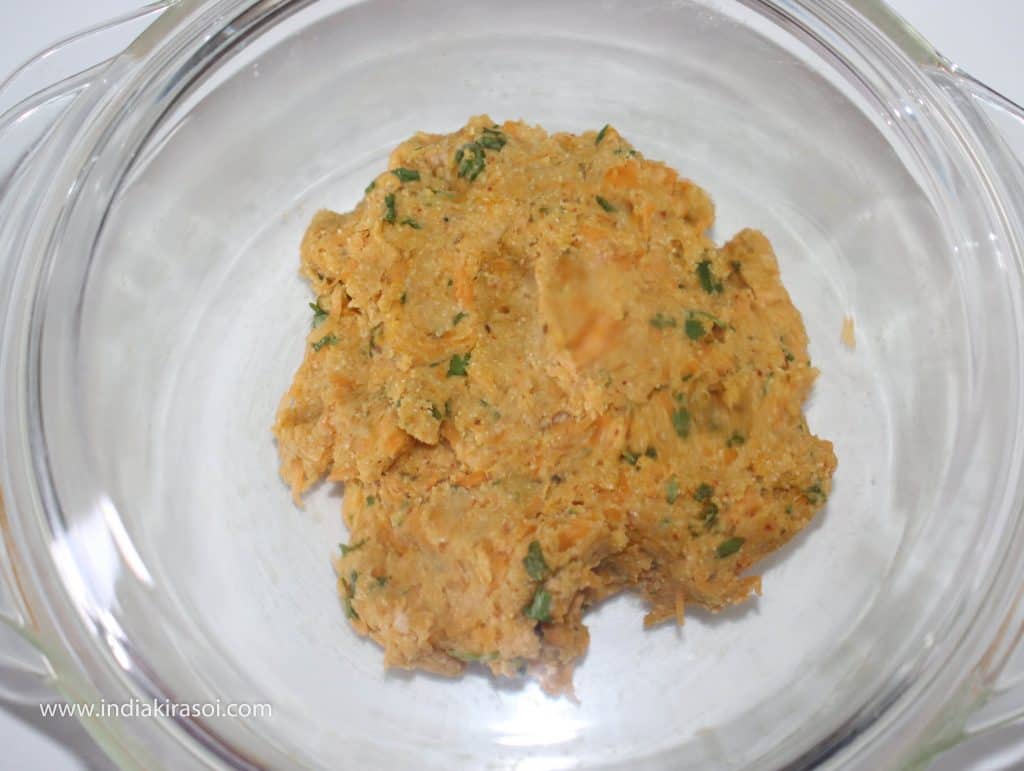
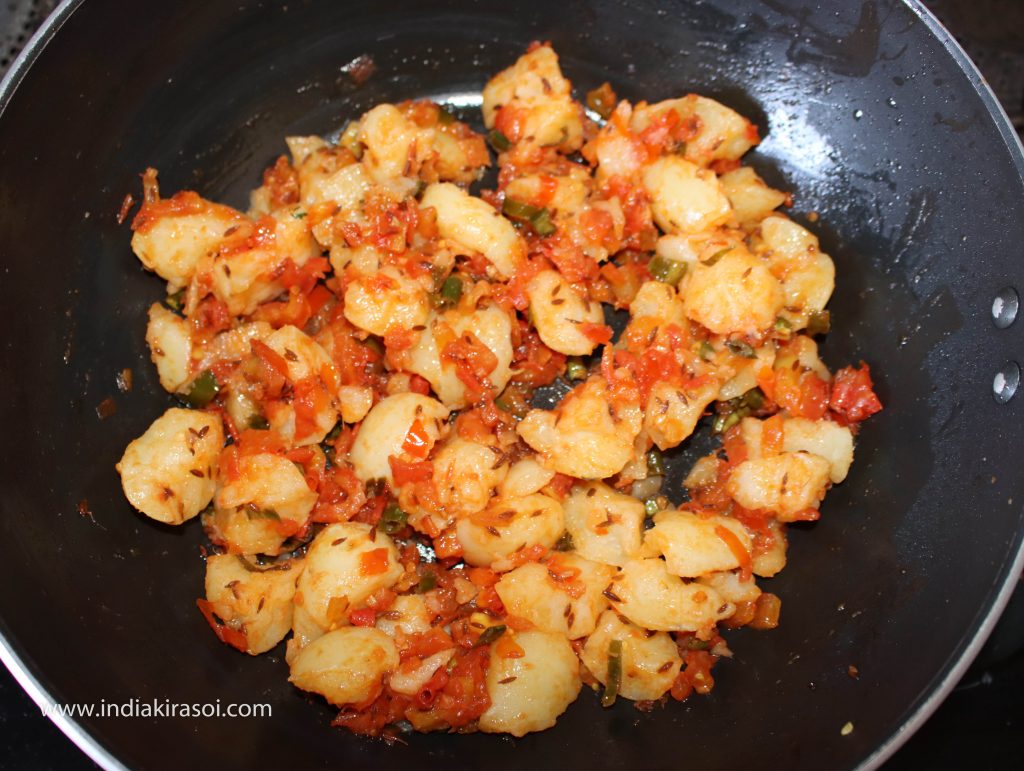
- When the tomatoes are properly cooked, add the mashed potatoes to the tomatoes.
- Mix the potatoes well in the tomatoes.
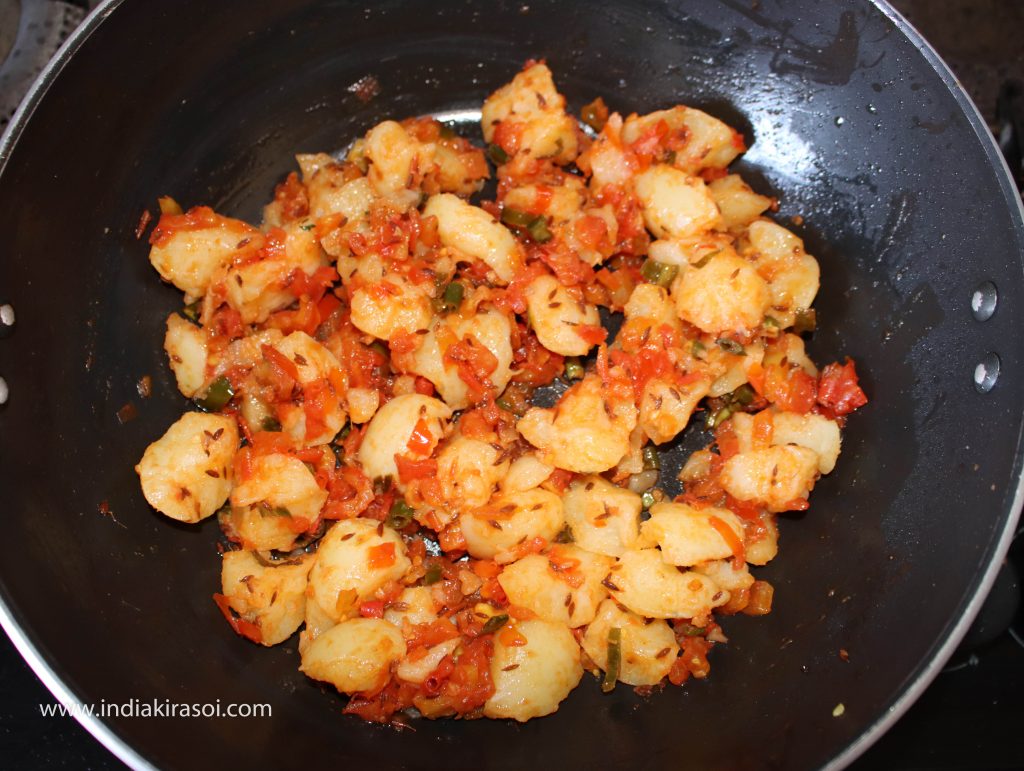
- Fry the potatoes with tomatoes for 2 minutes so that the salt mixes well with the potatoes and potatoes will be little crispy.
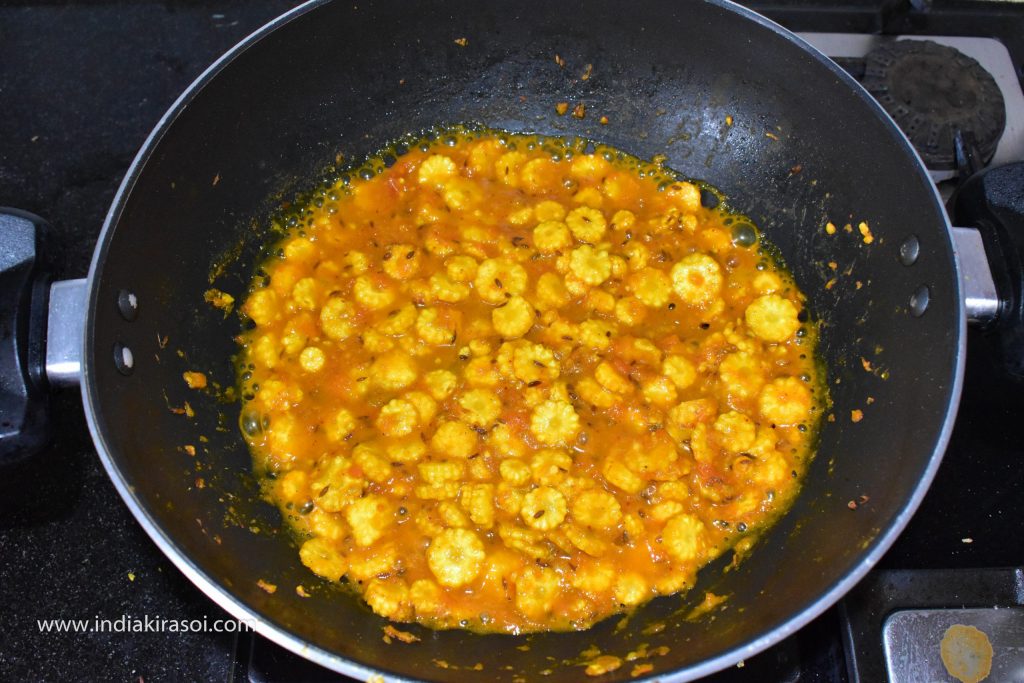
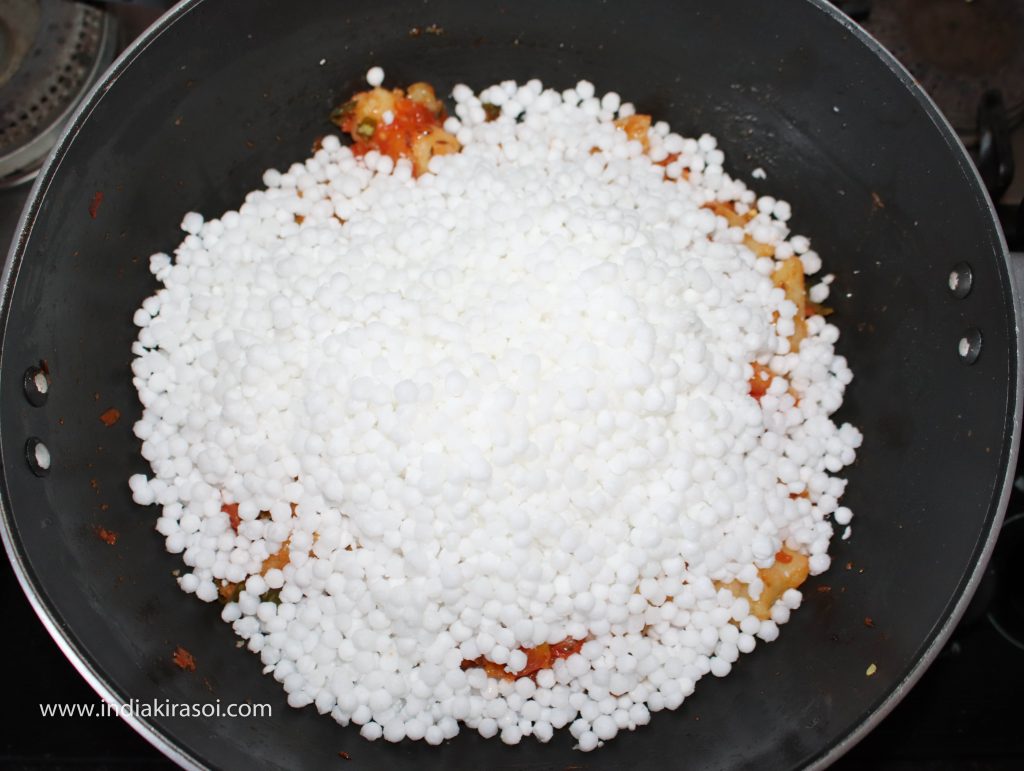
- Add sago/ sabudana after 2 minutes.
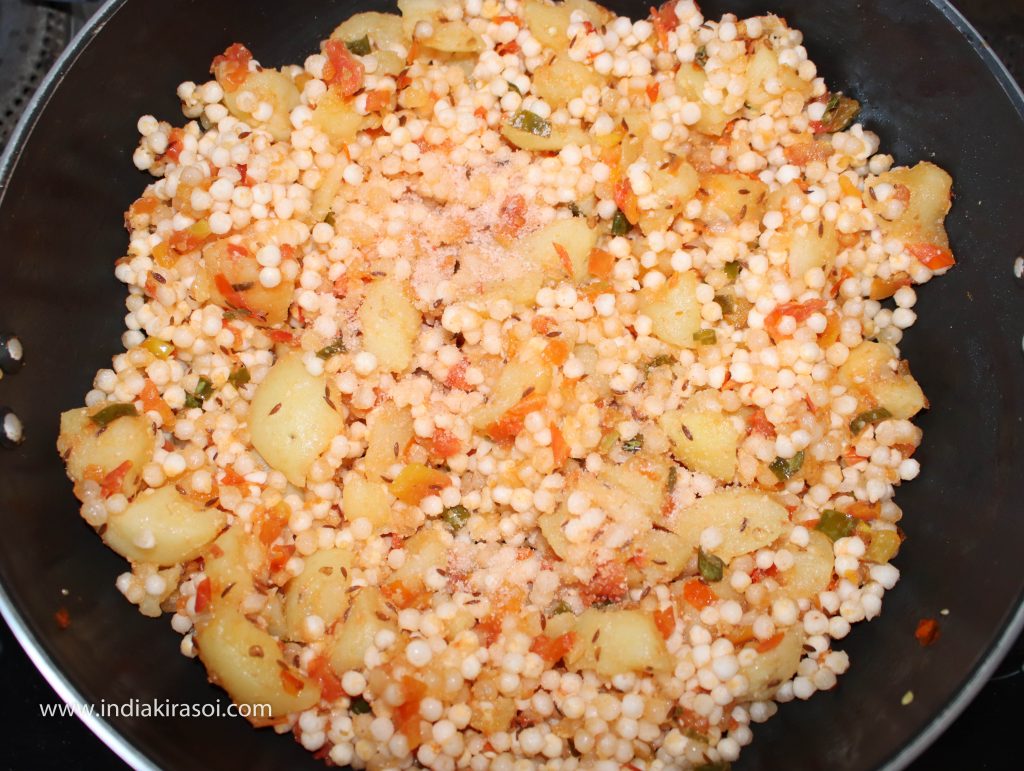
- Mix sago/ sabudana with tomatoes and potatoes.
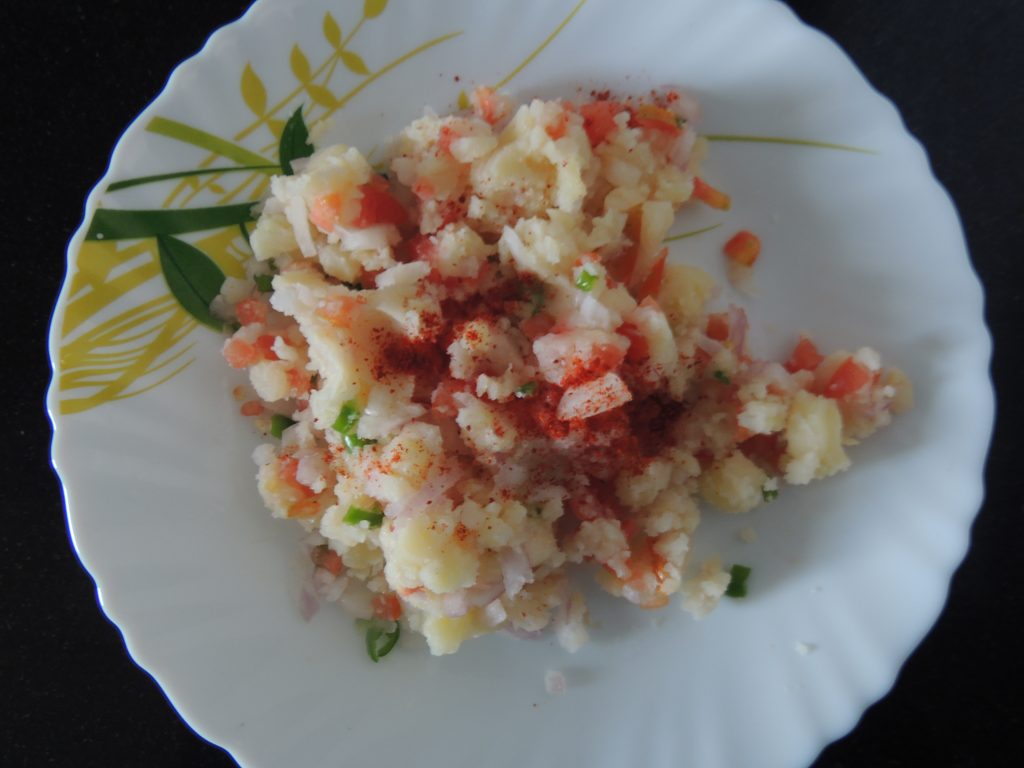
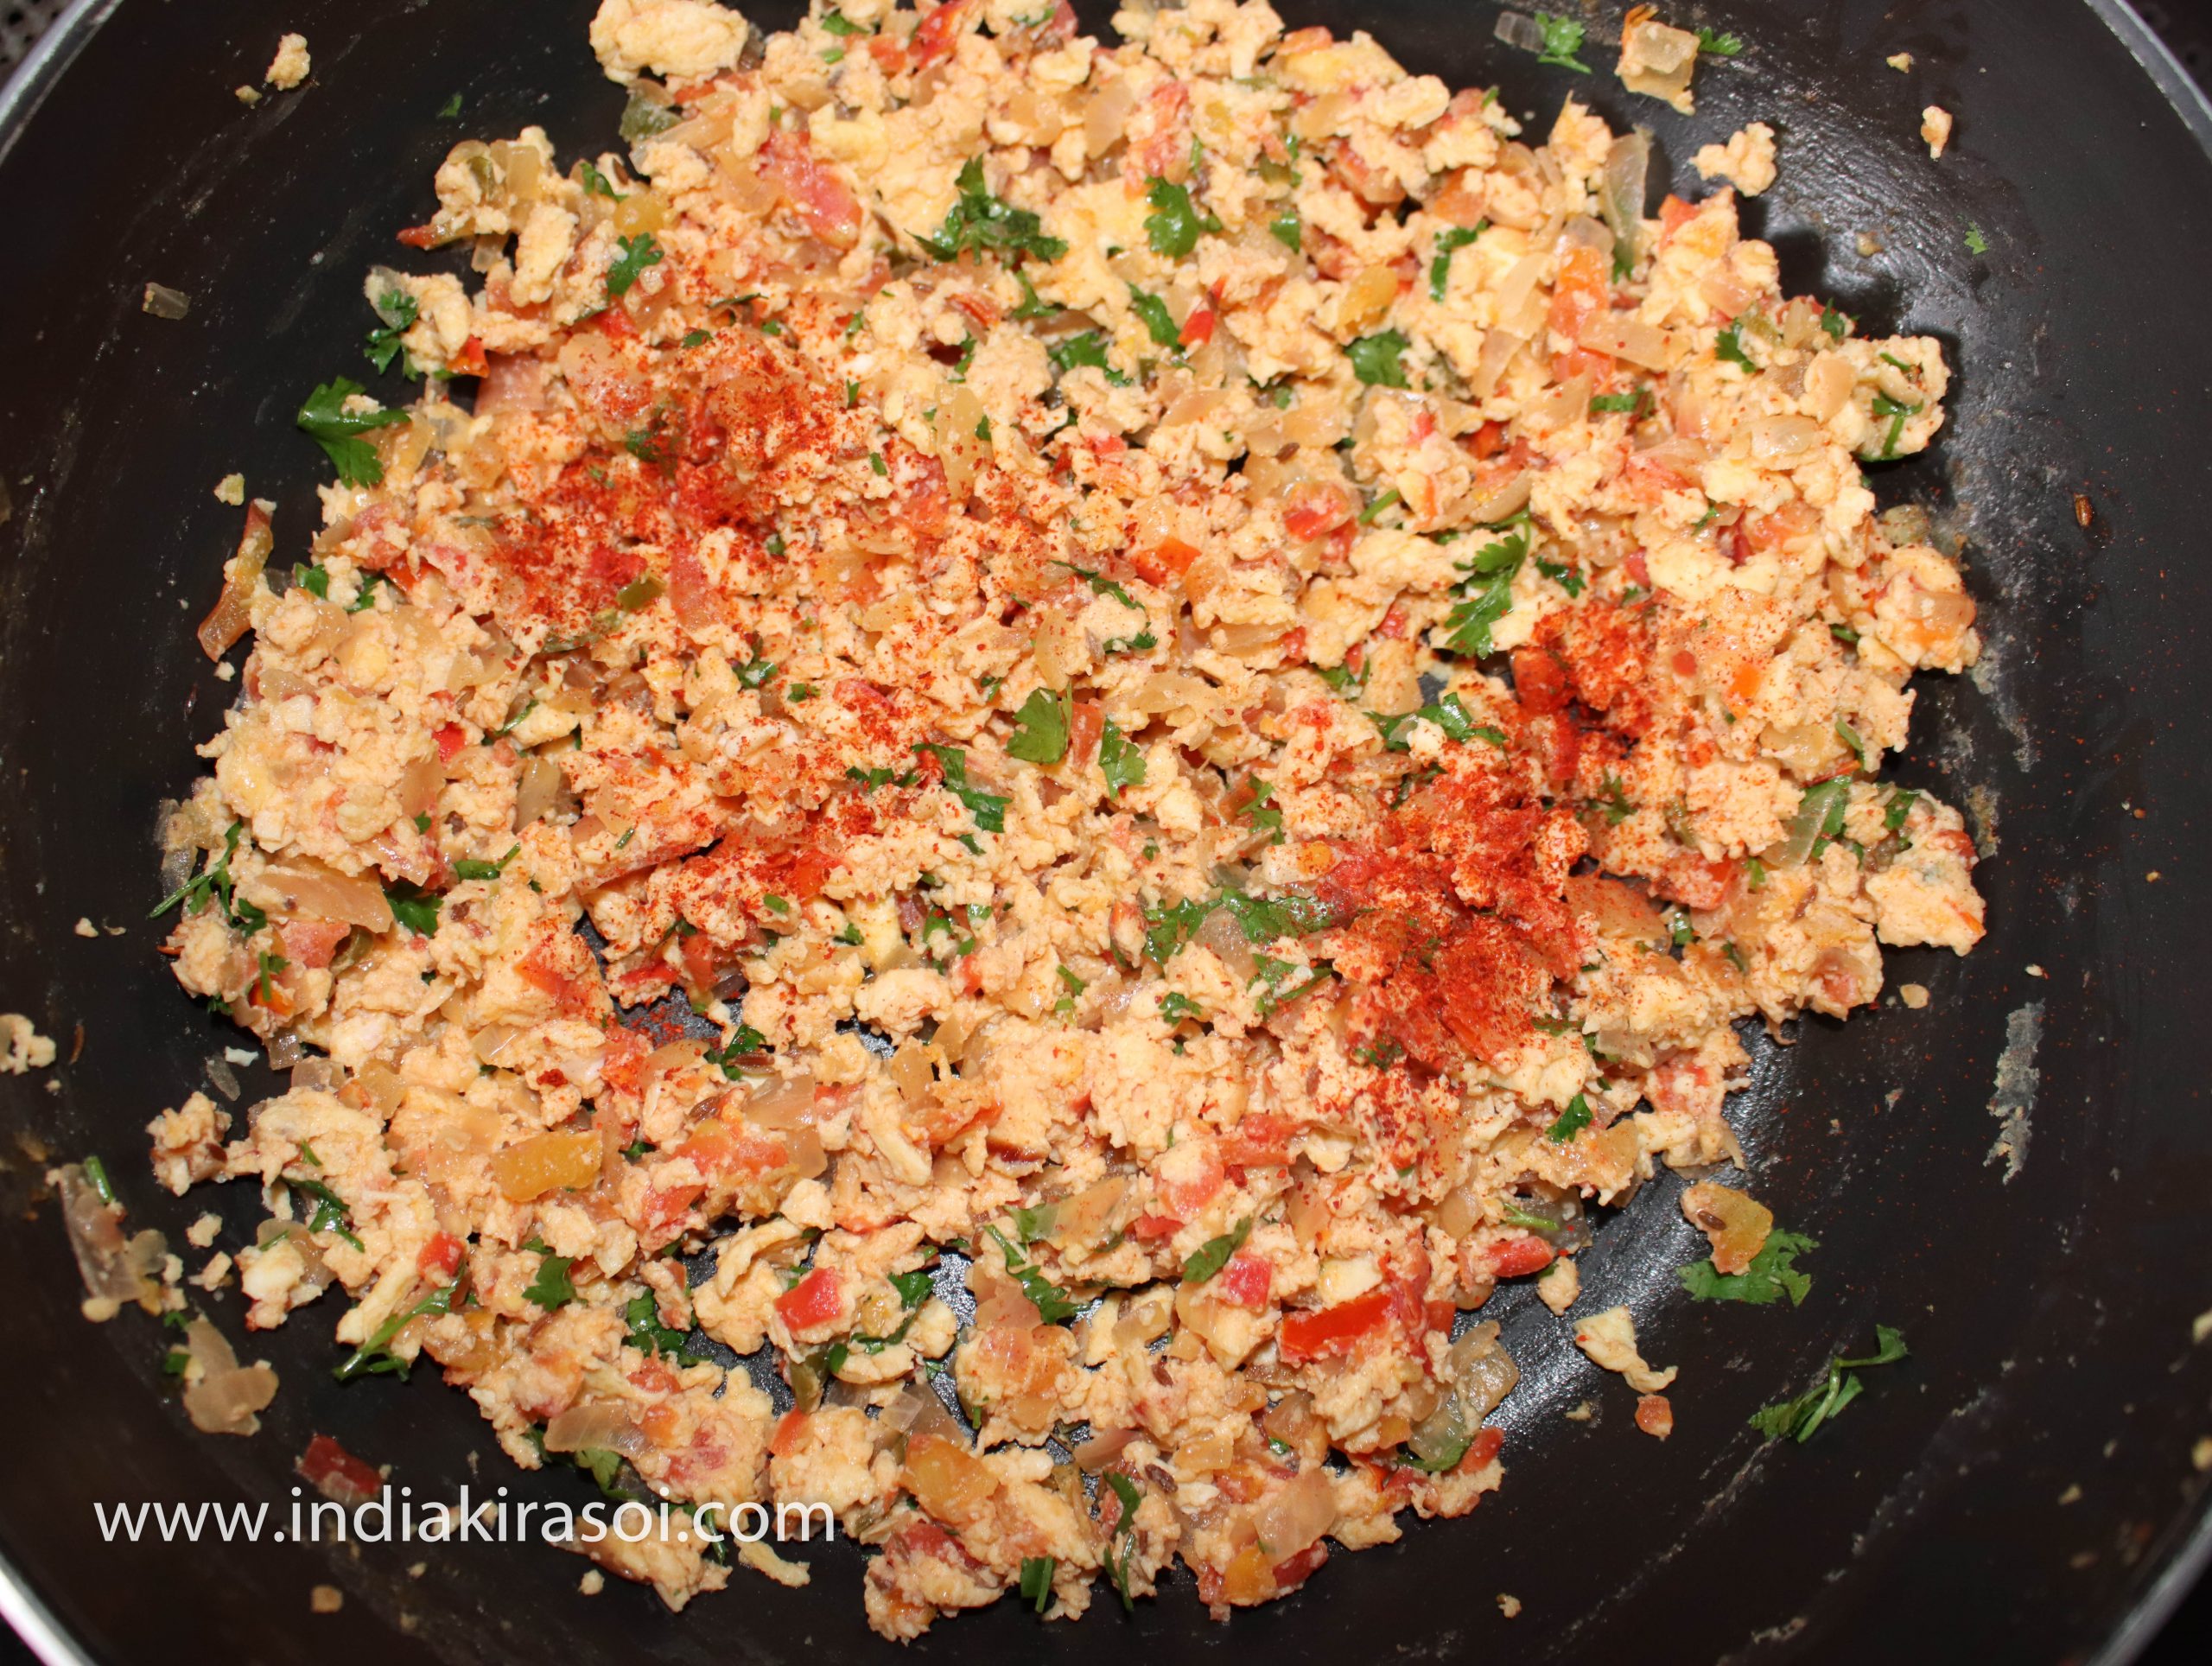
- Also add some salt and mix the salt well and taste a little to check if the salt is right or not. Add salt according to your taste.
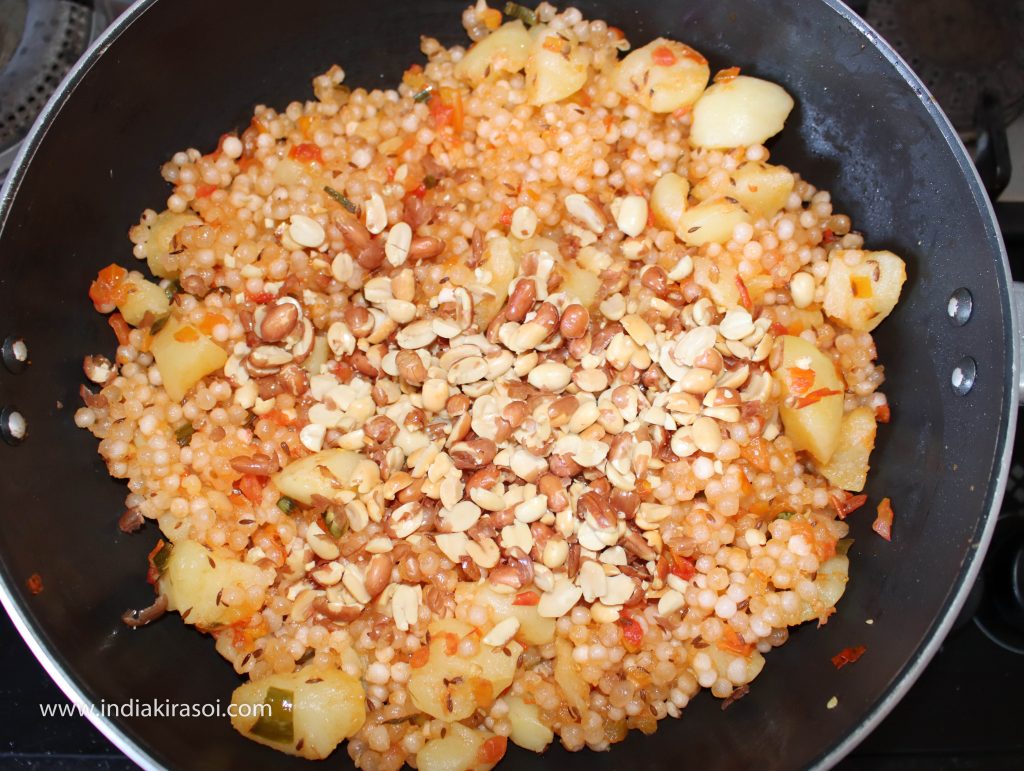
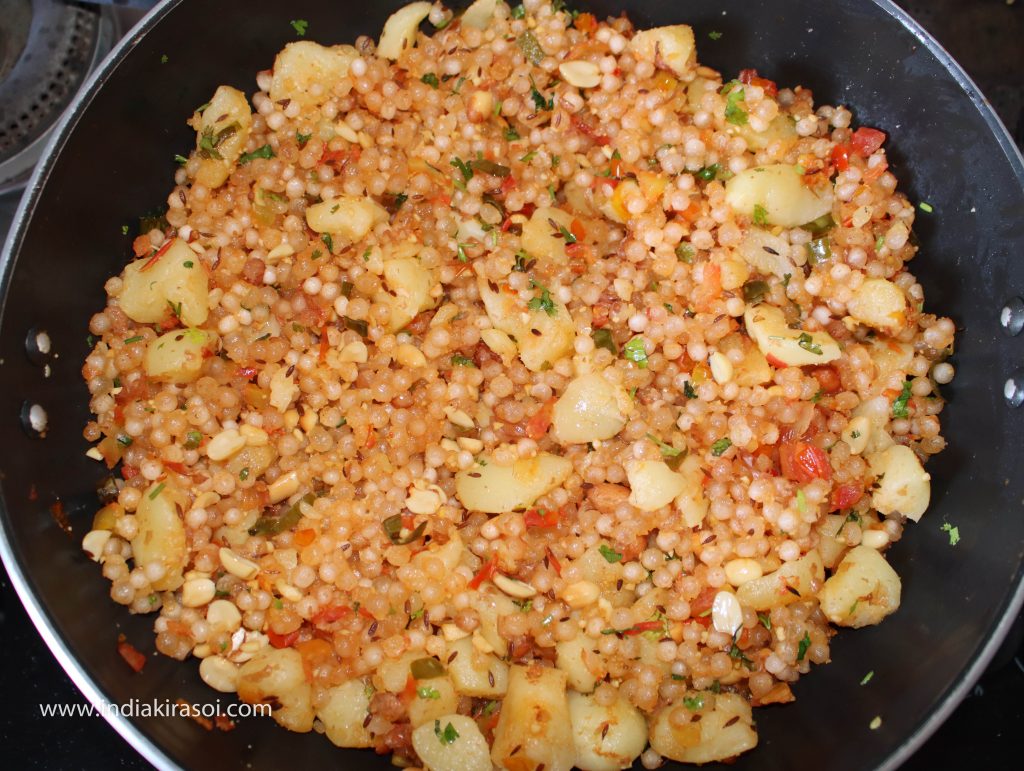
- After this, add the fried peanuts to the sago/ sabudana.
- Mix the peanuts in the sago/ sabudana.
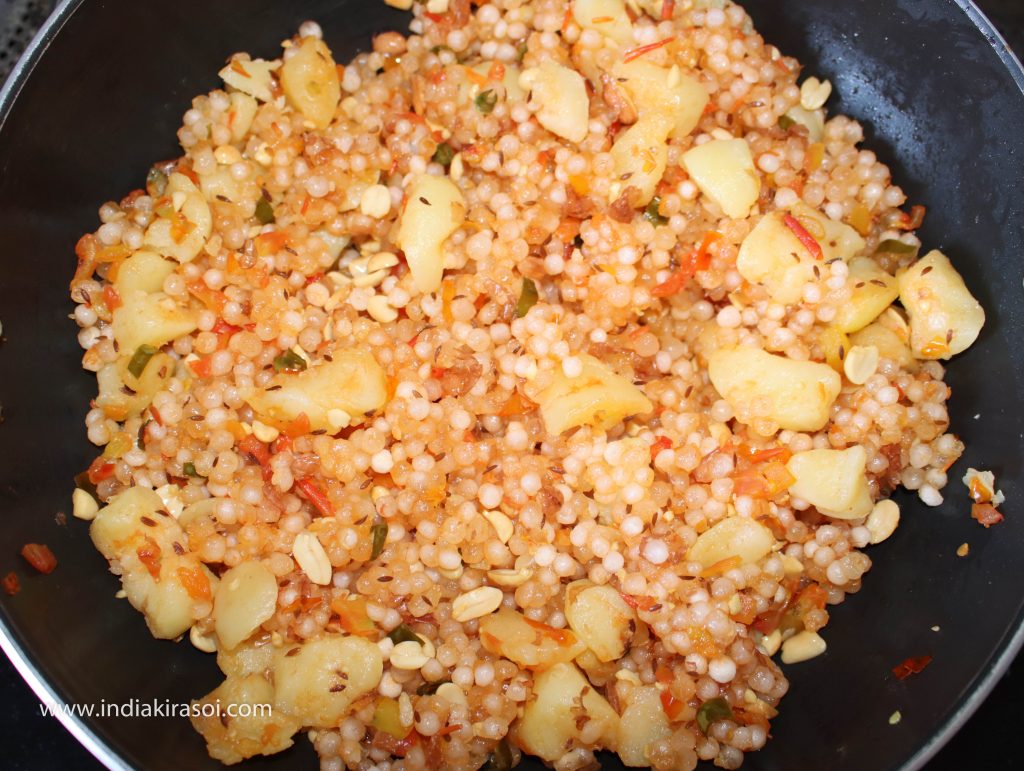
- Then add peanut powder.
- Mix the peanut powder to the sago/ sabudana.
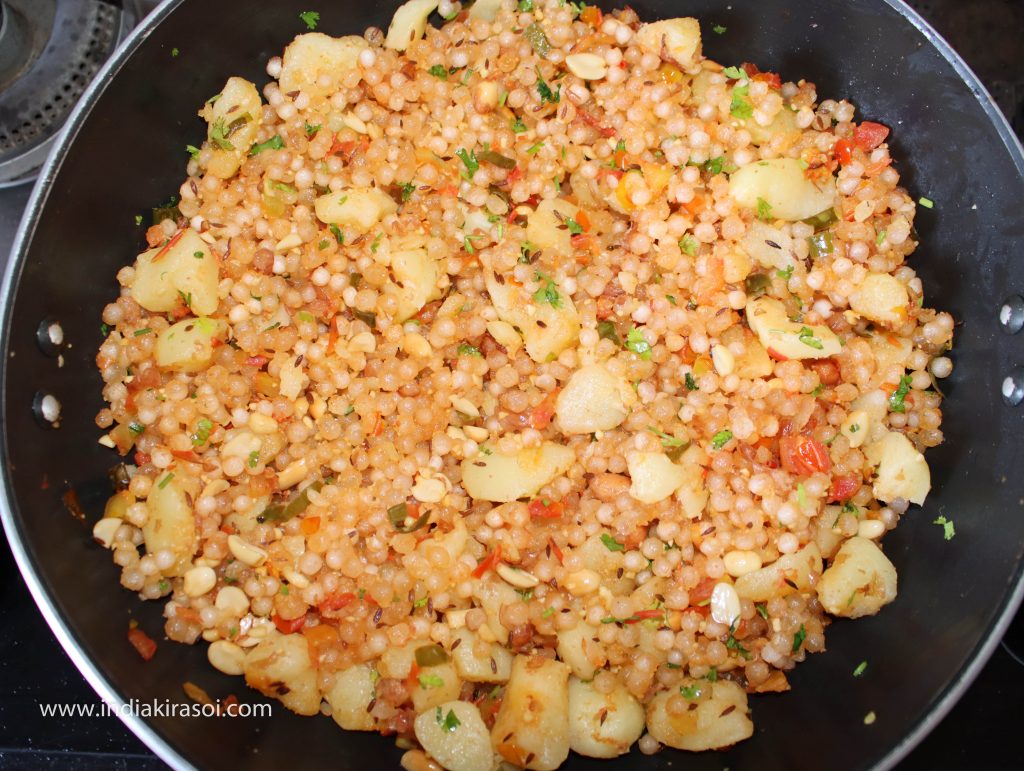
- Fry the sago/ sabudana for 2 minutes, making sure to fry the sago/ sabudana with a light hand. Otherwise sago/ sabudana khichadi/ polenta will be mashed too much.
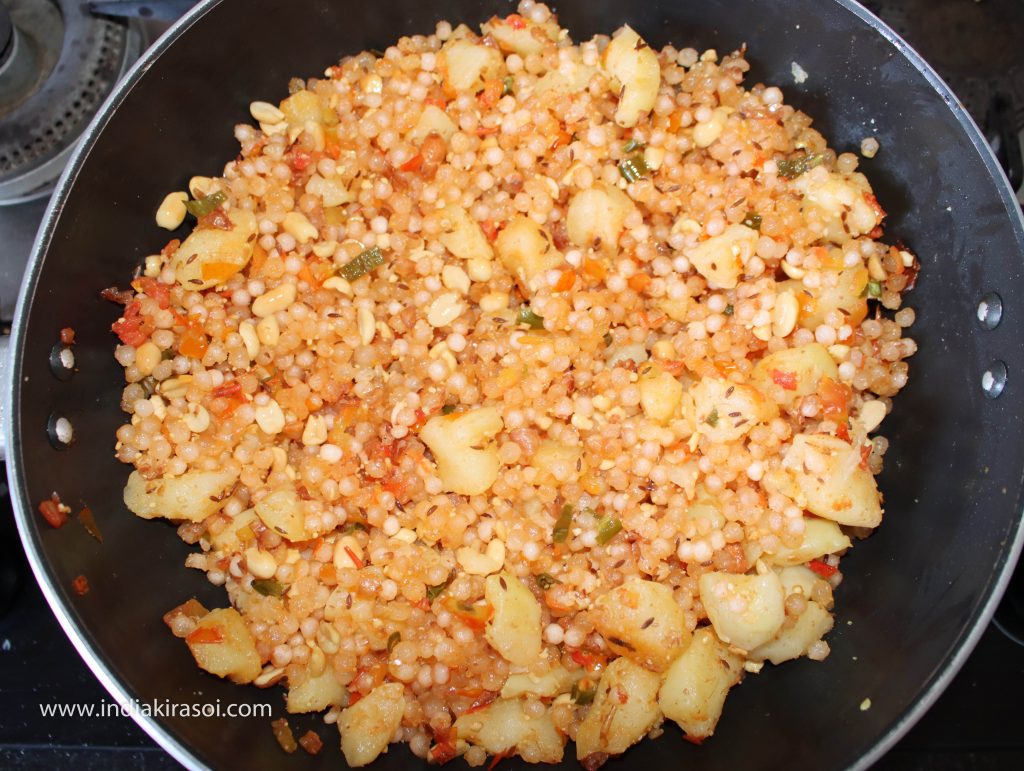
- After this, mix lemon juice in sago/ sabudana khichadi.
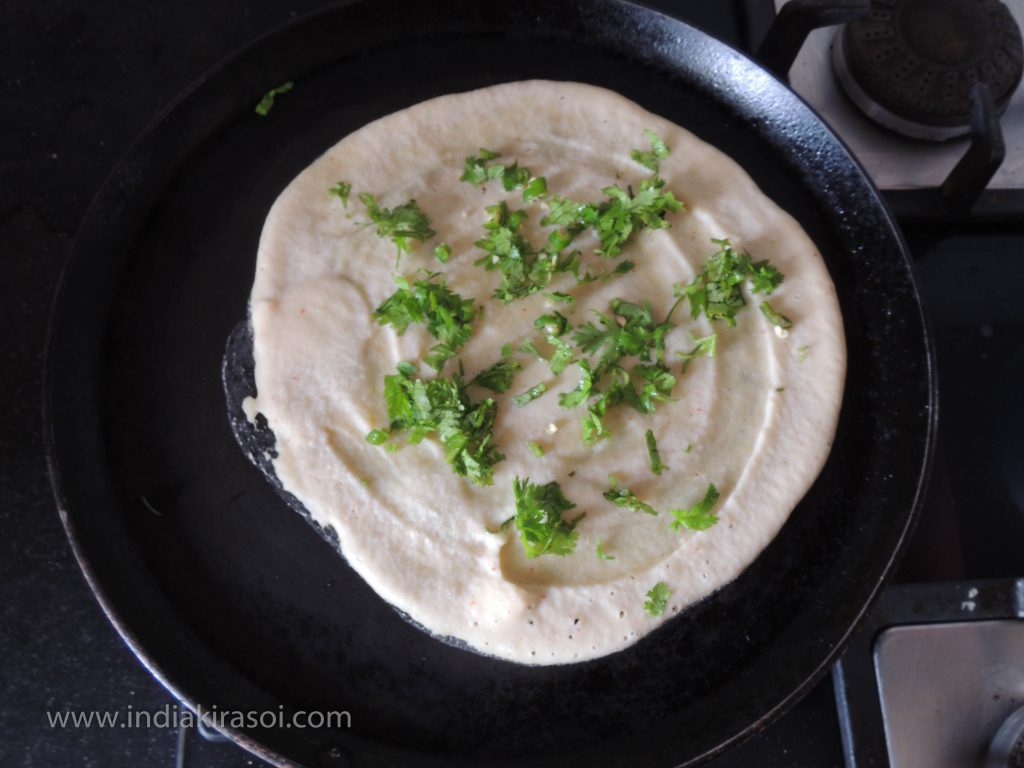
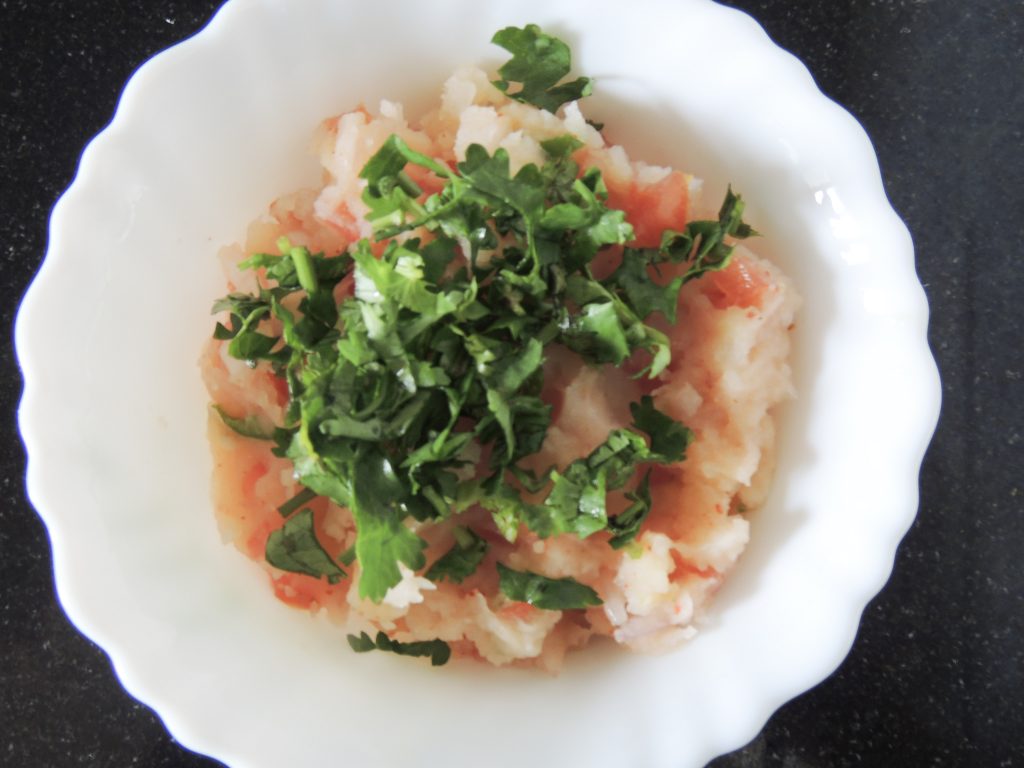
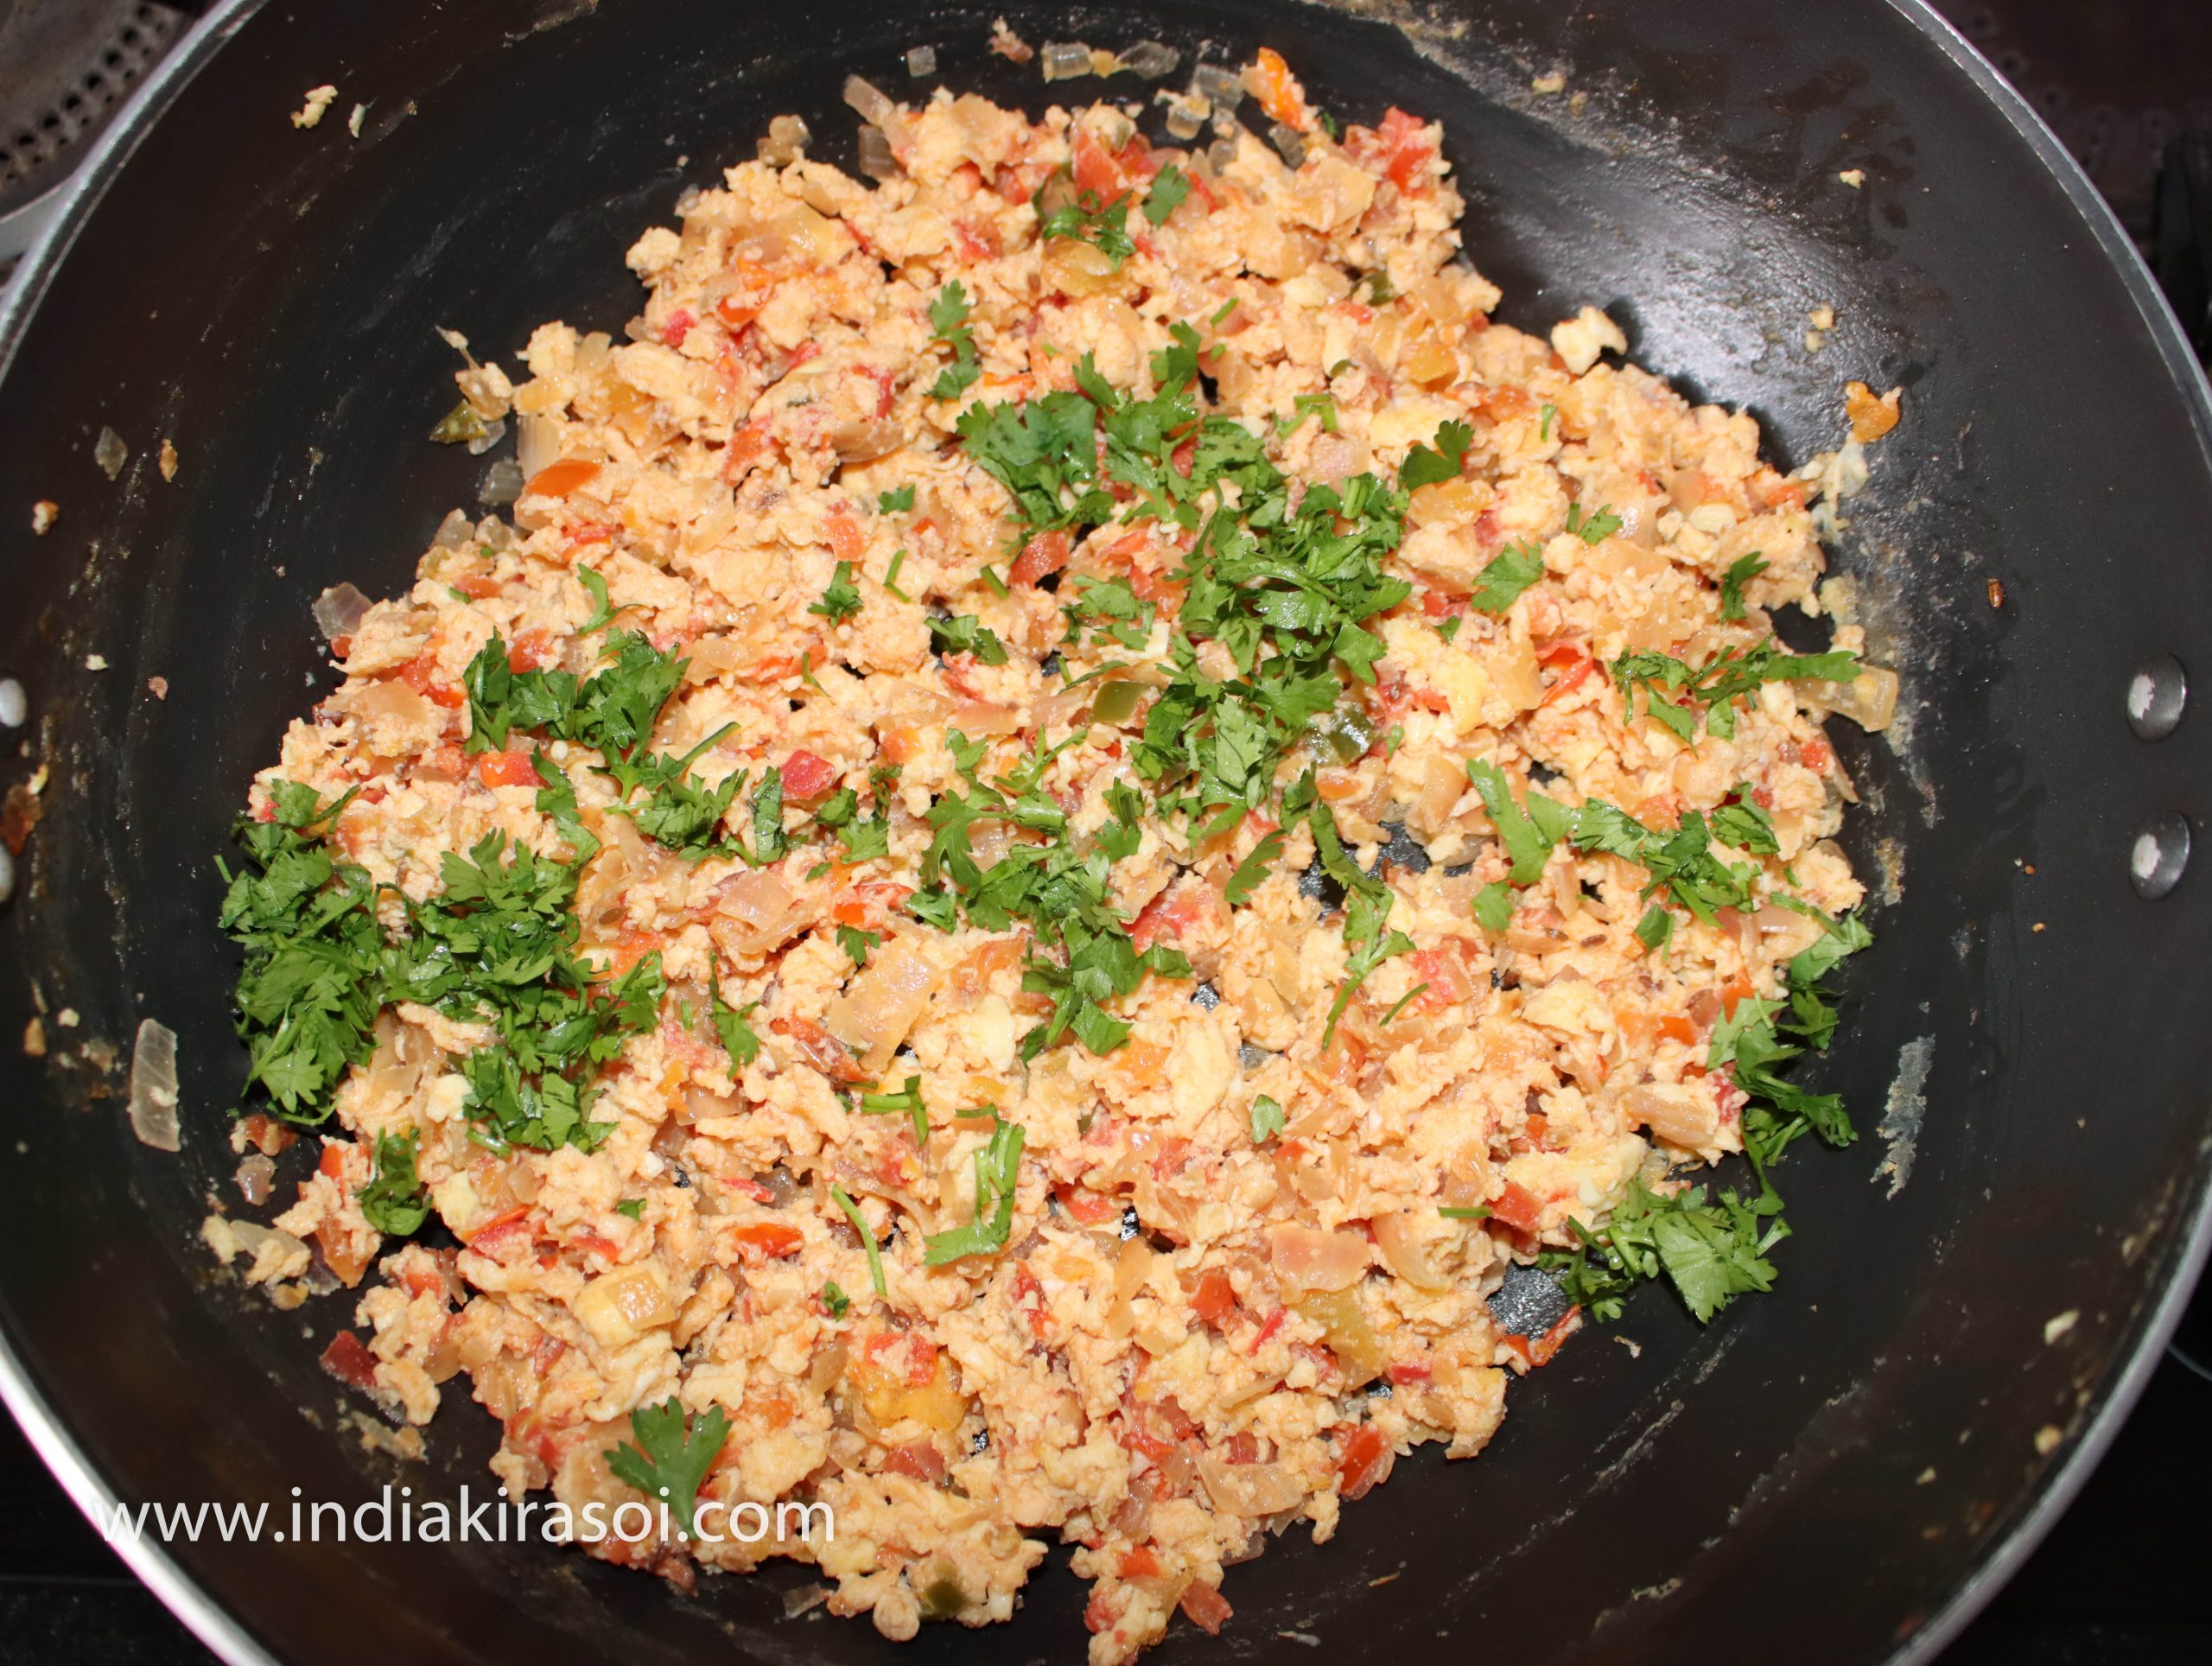
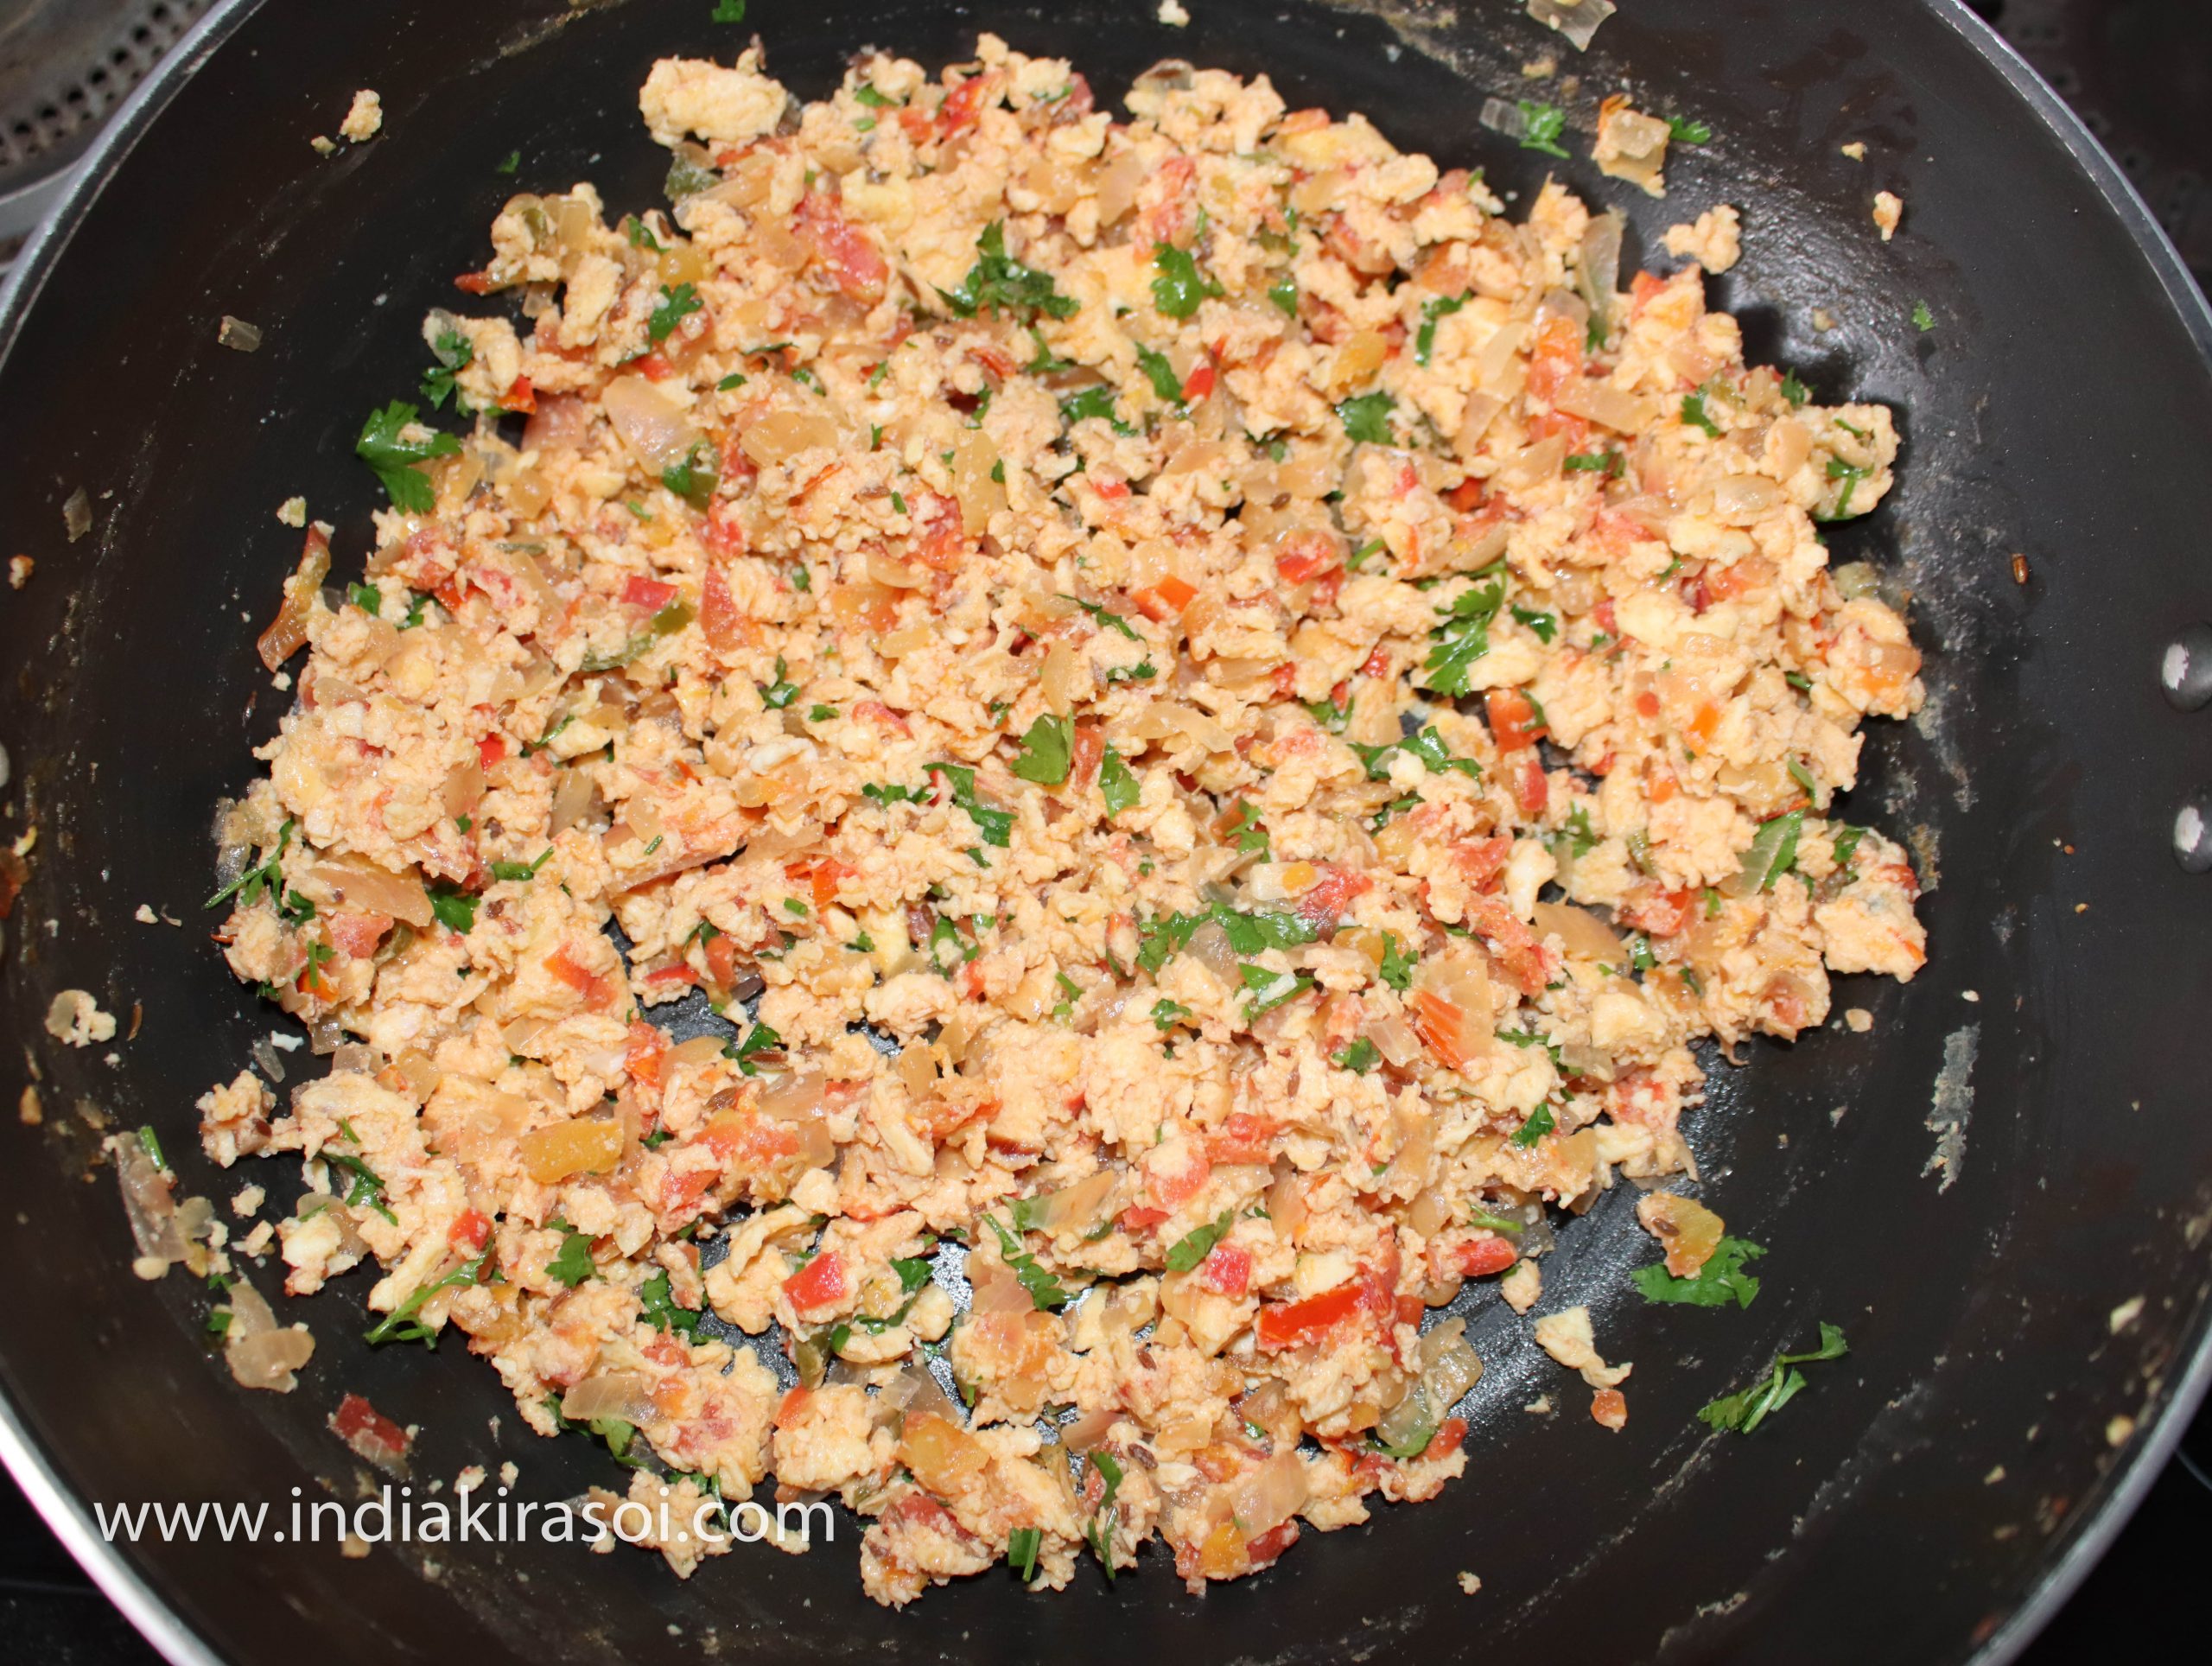
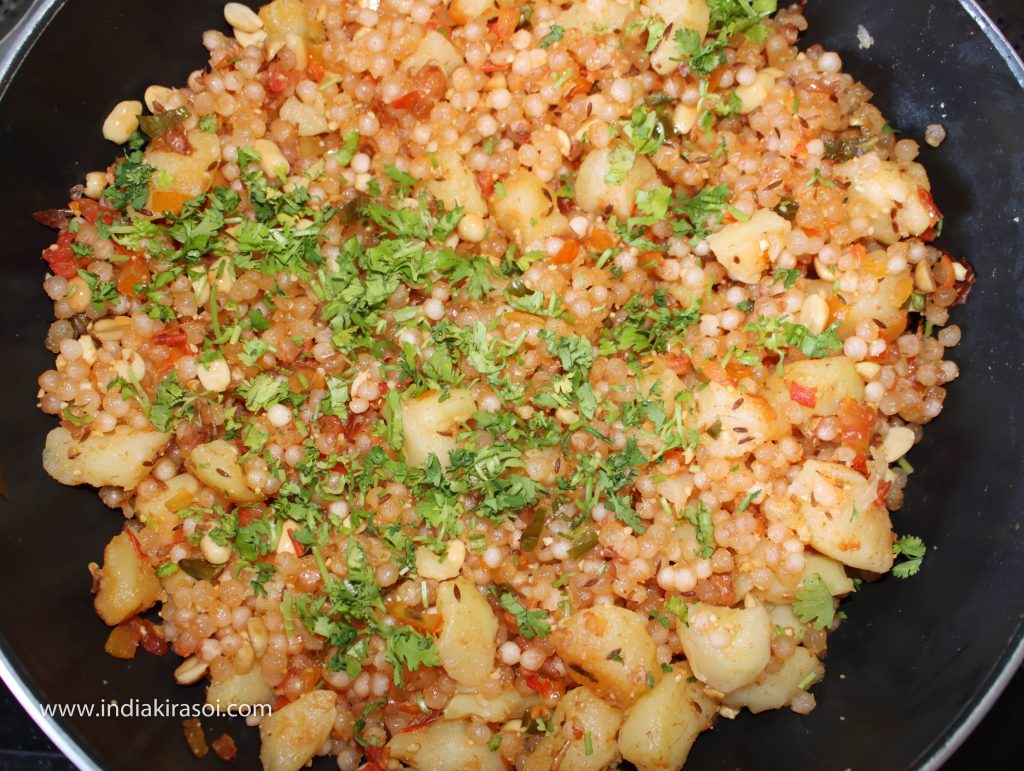
- After this add chopped coriander, mix green coriander with the sago/ sabudana.
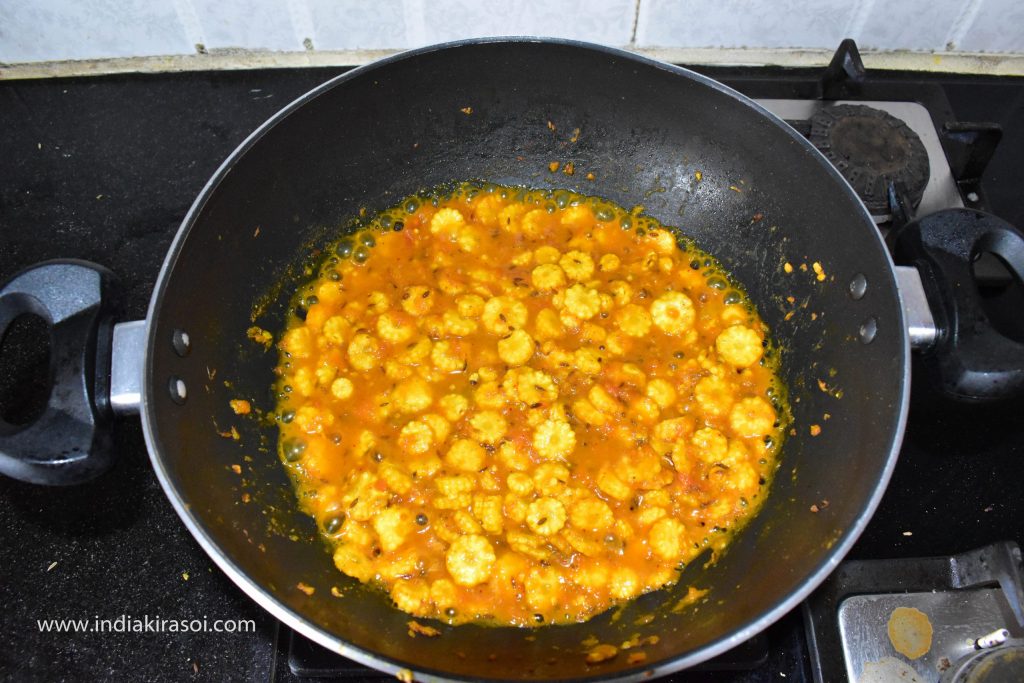
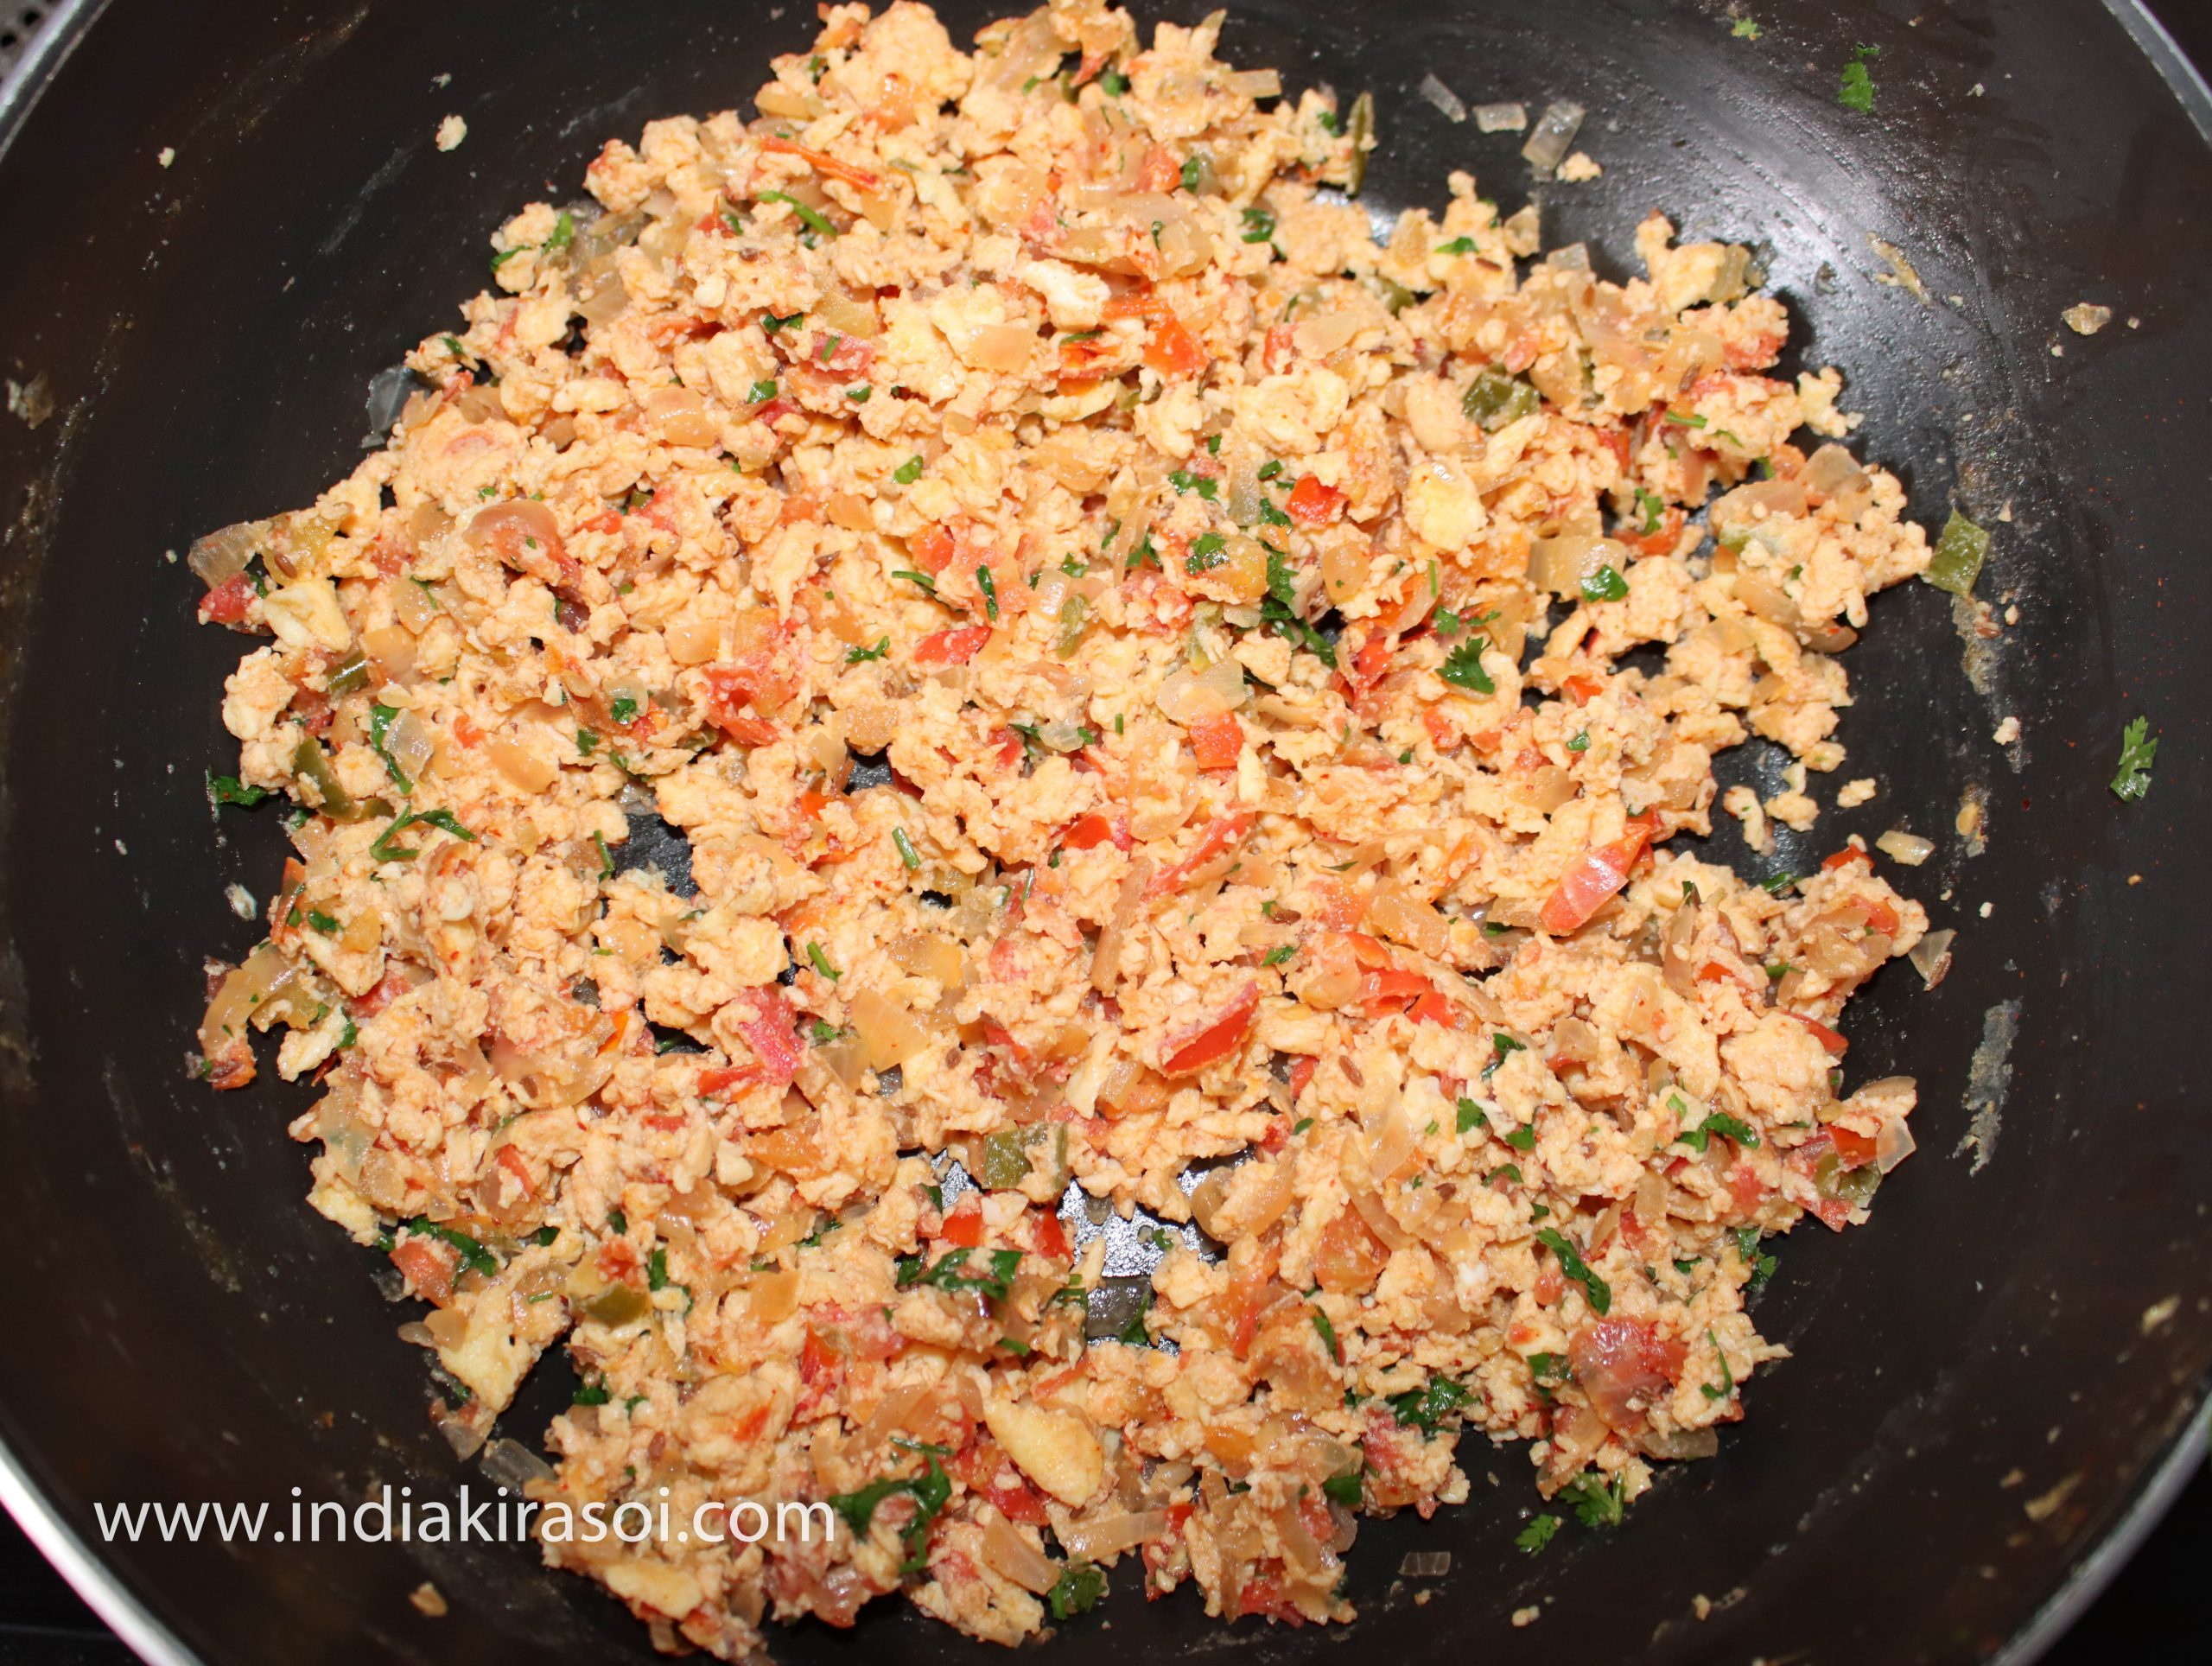
- Fry the sago/ sabudana khichadi/ polenta for a minute.
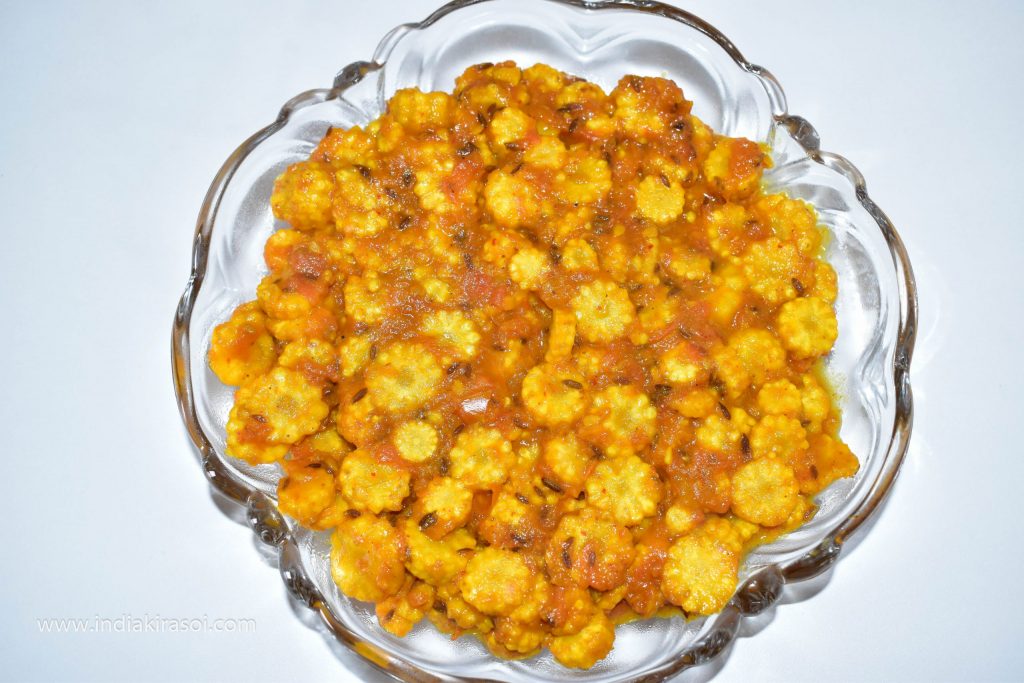
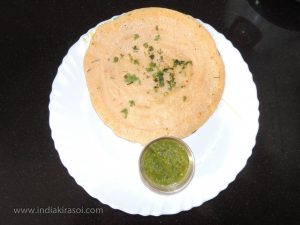
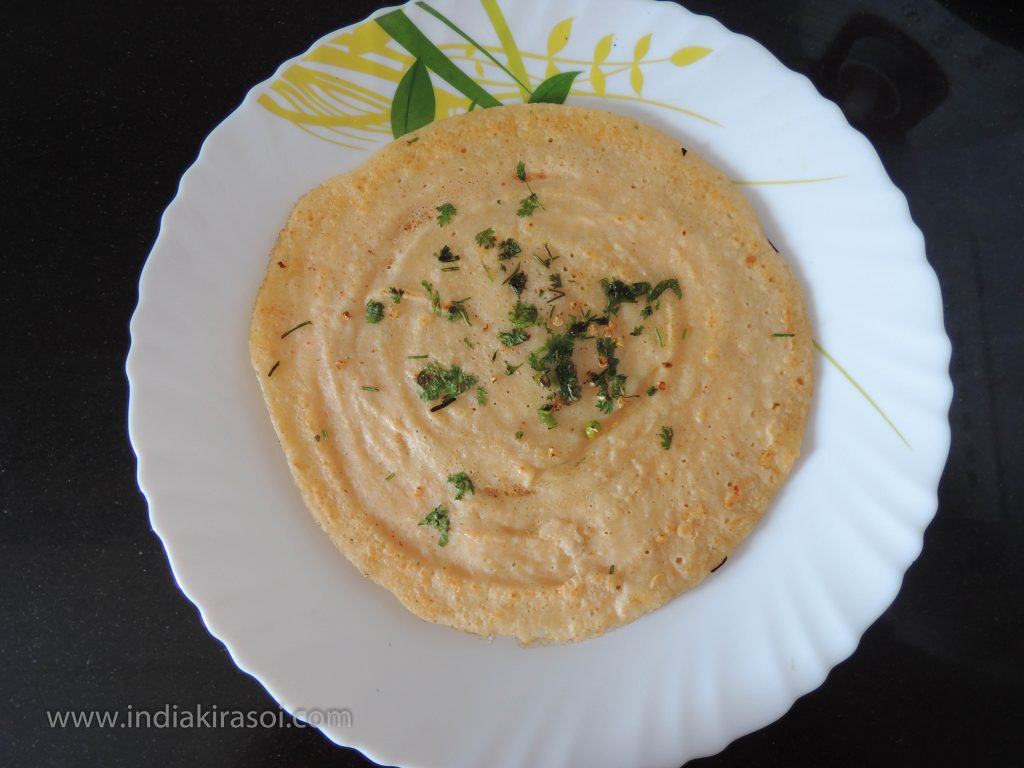
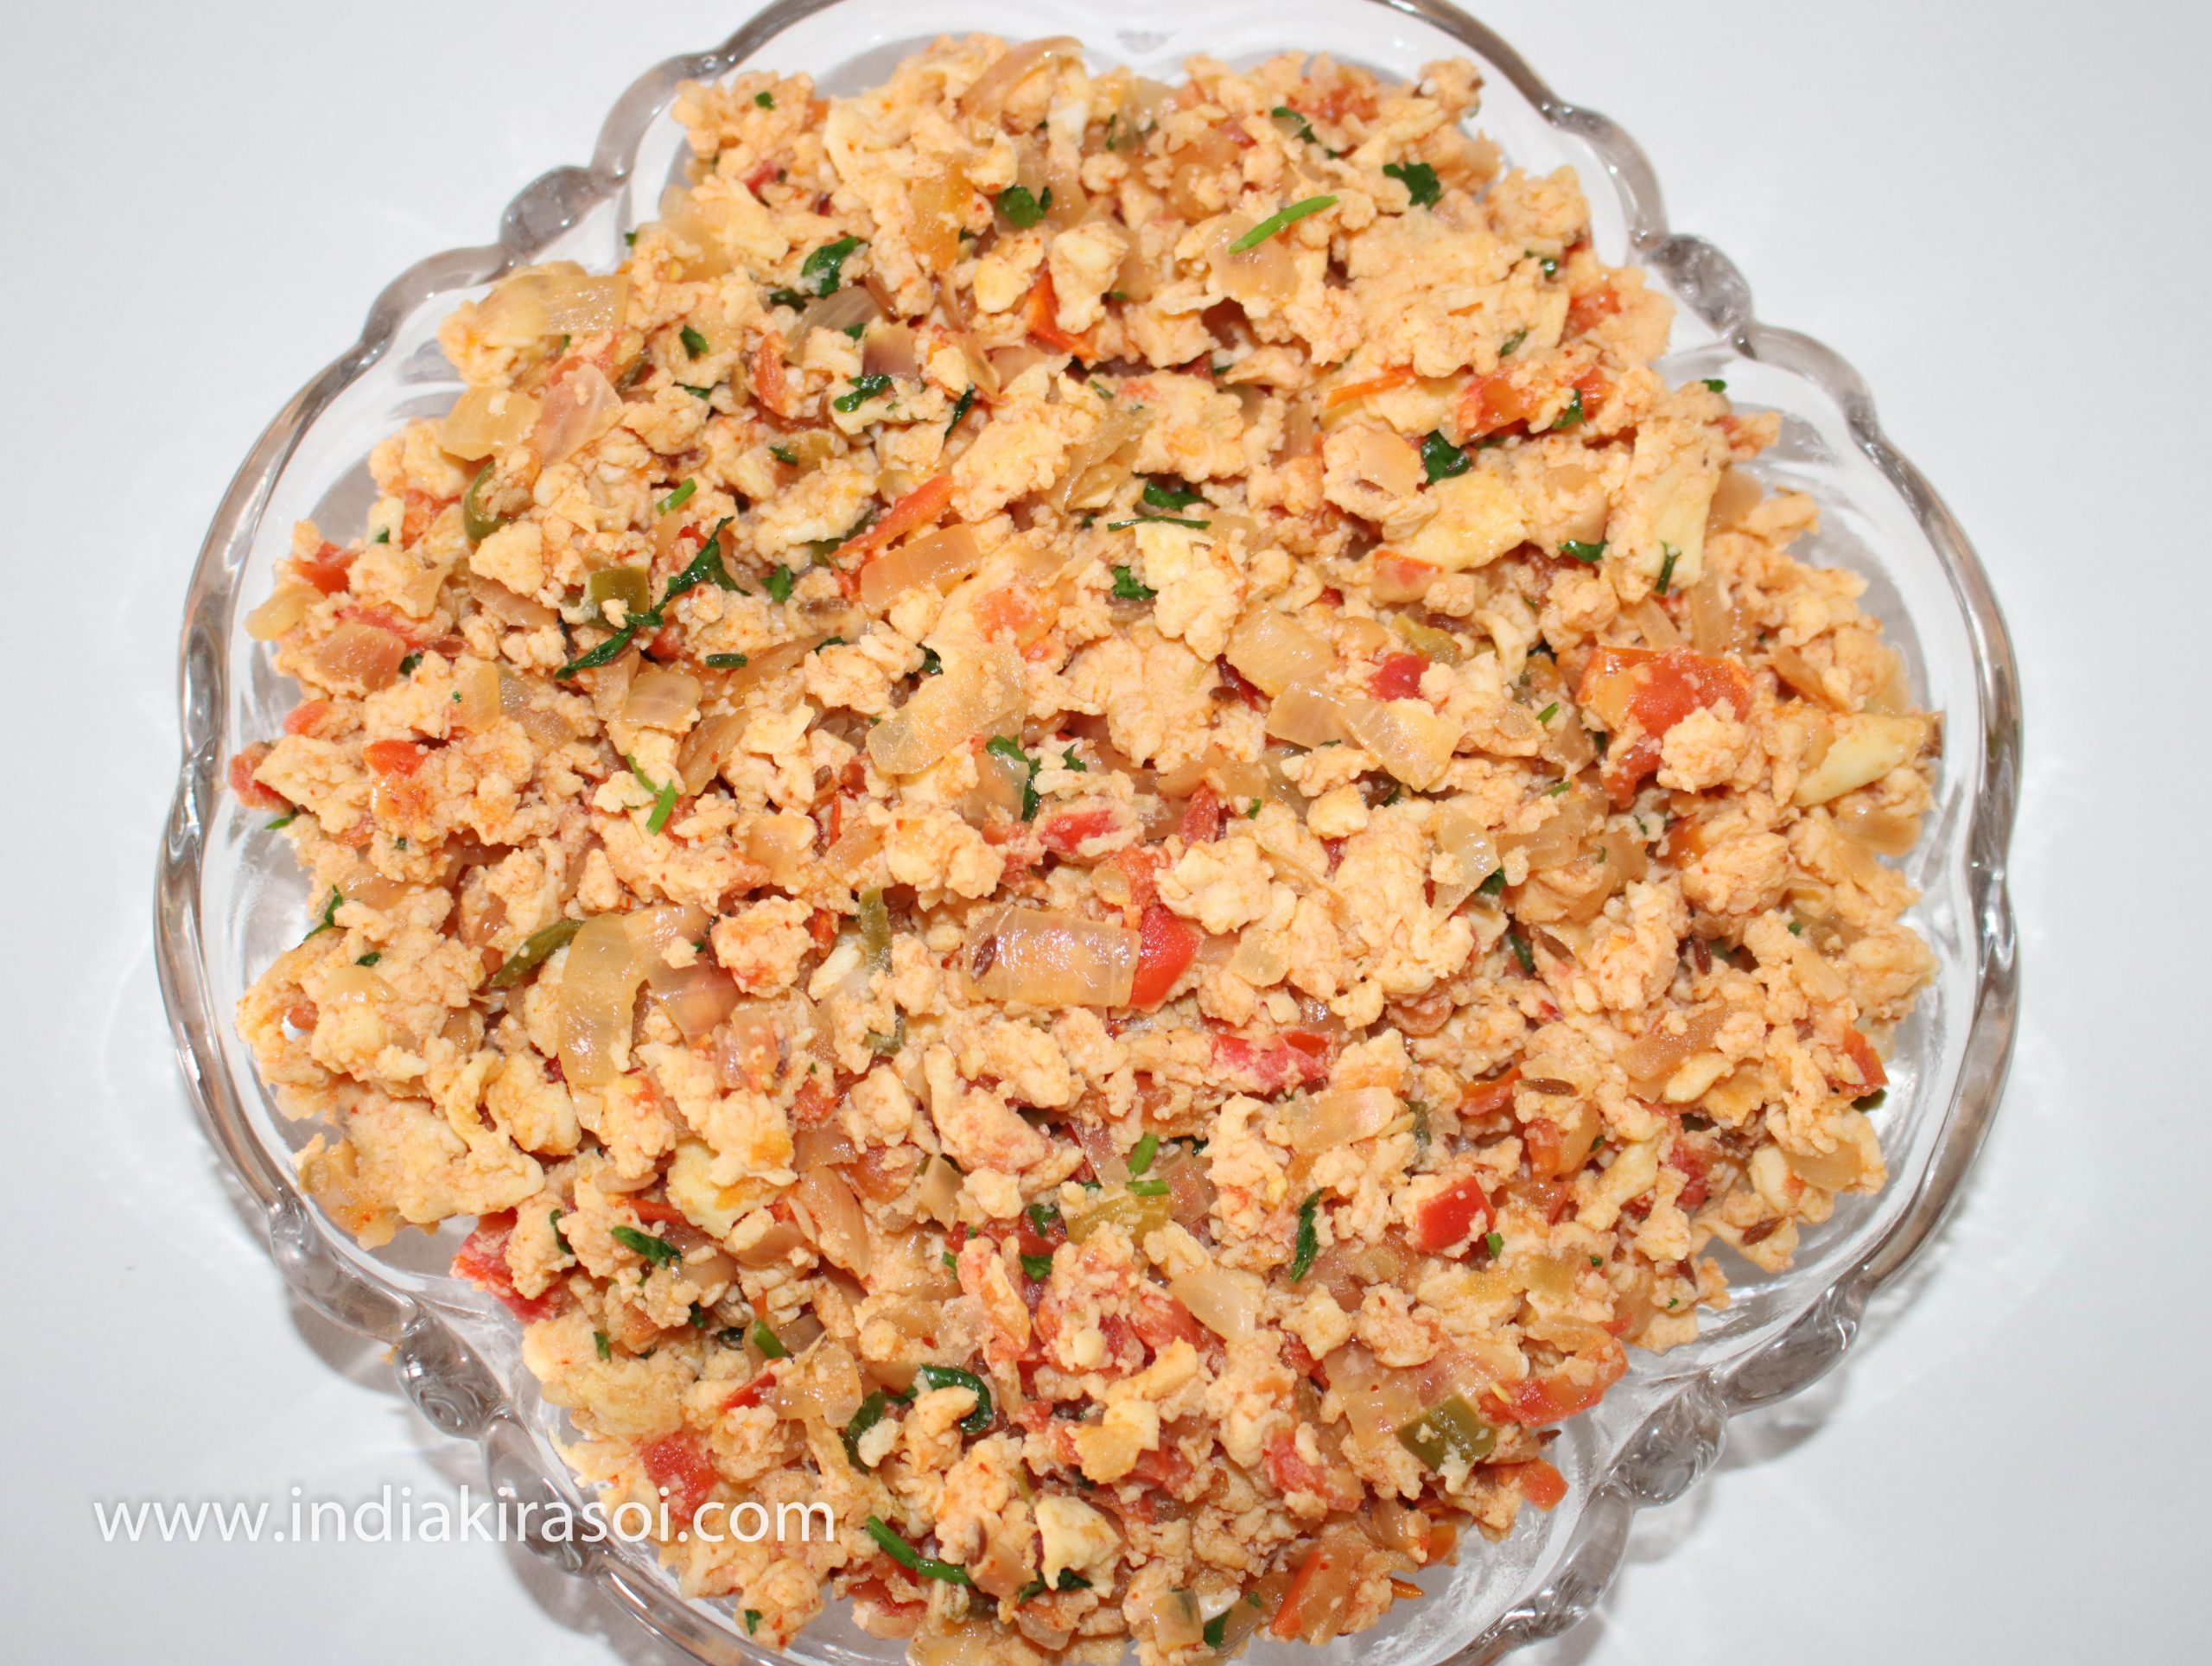
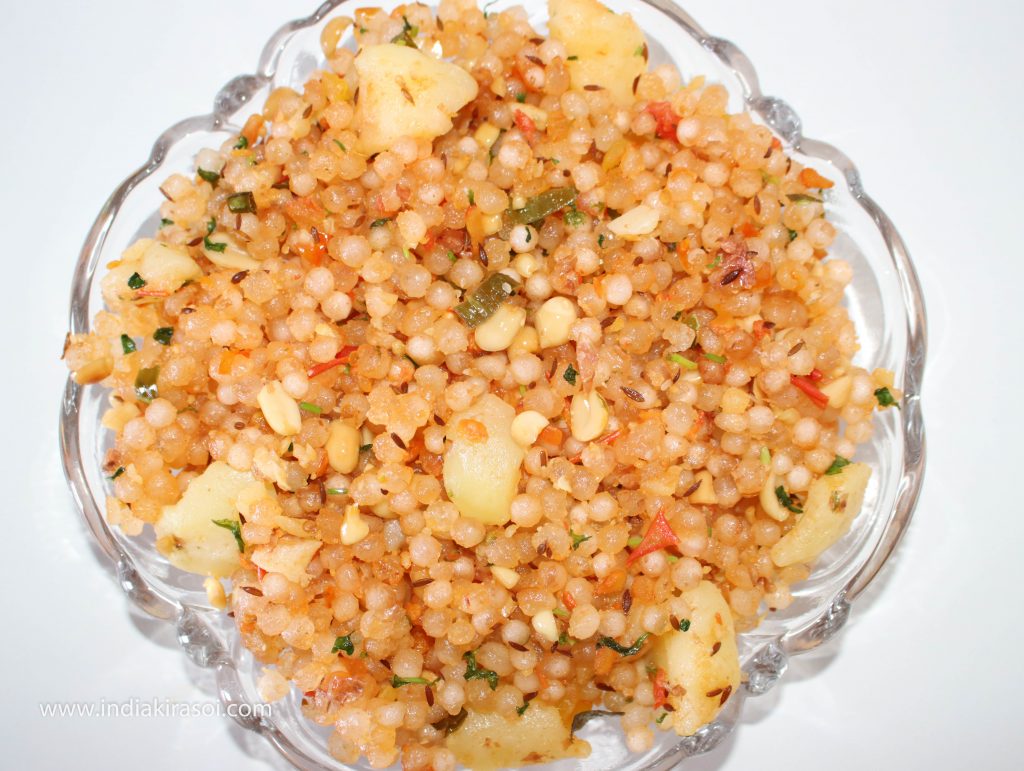
- Take out the sago/ sabudana khichadi in a plate.
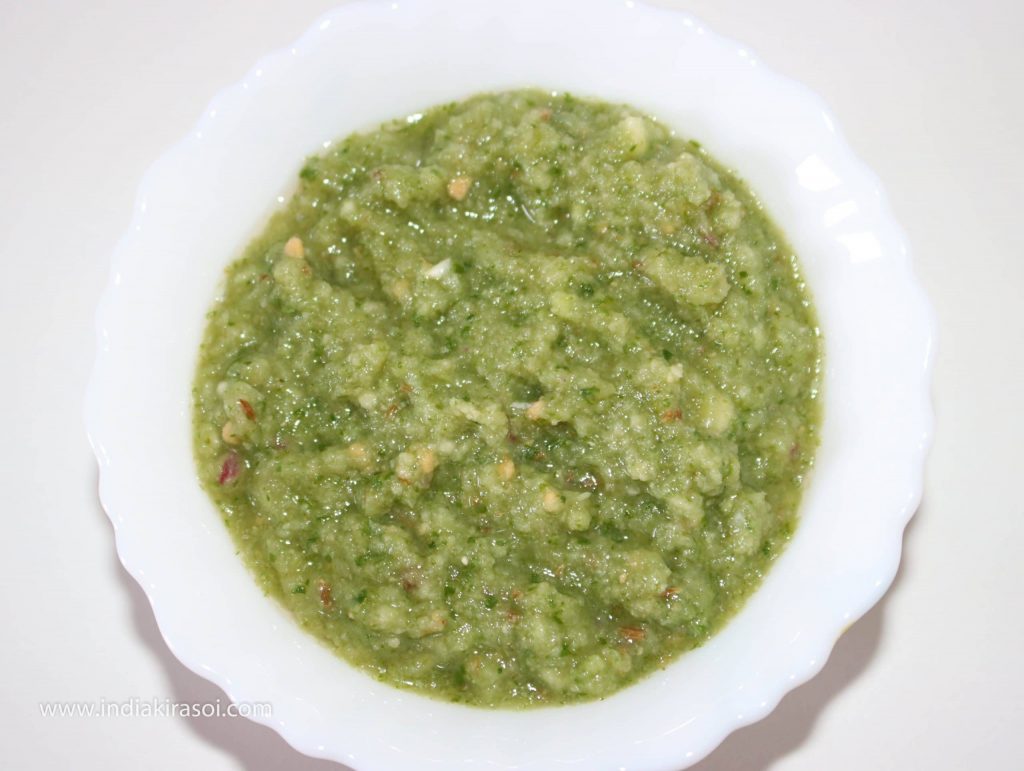
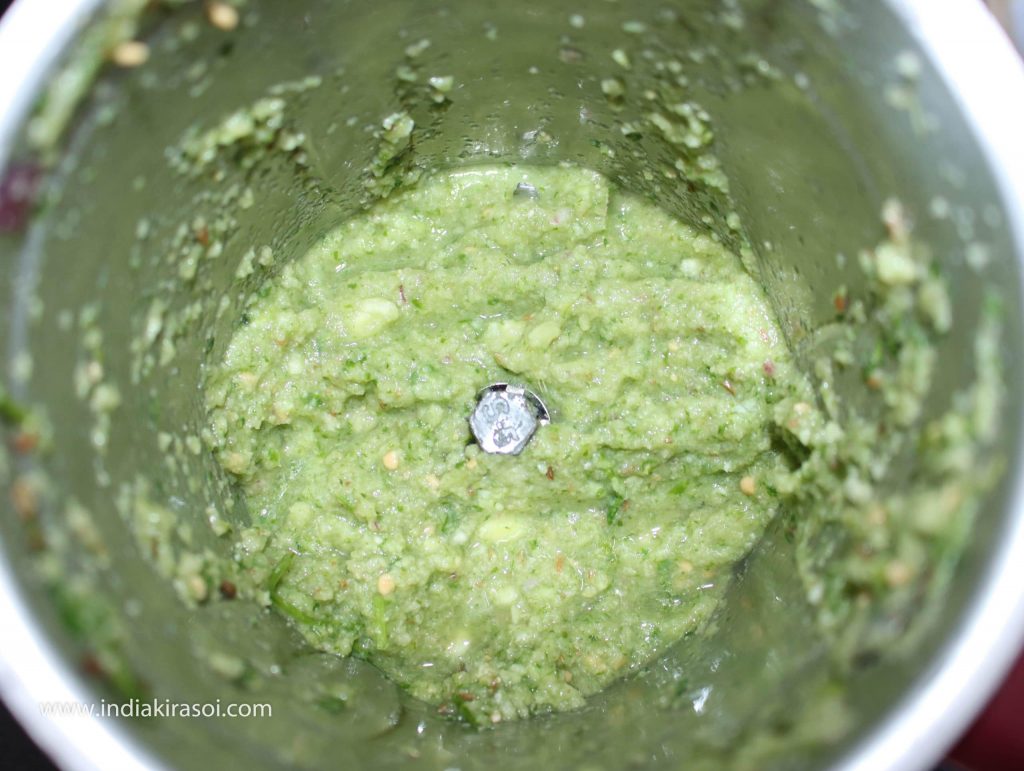
- You can also eat sago/ sabudana khichadi with green chutney or enjoy sago/ sabudana khichadi with tea.


Notes
It is pure carbohydrate recipe with very less protein, vitamins.
Peanuts in the sago/ sabudana adds protein to make it balanced diet, but do not eat this khichadi/ polenta daily otherwise you will end up putting extra body weight.
This recipe contains high calorie as it has starch and fat in its ingredients.