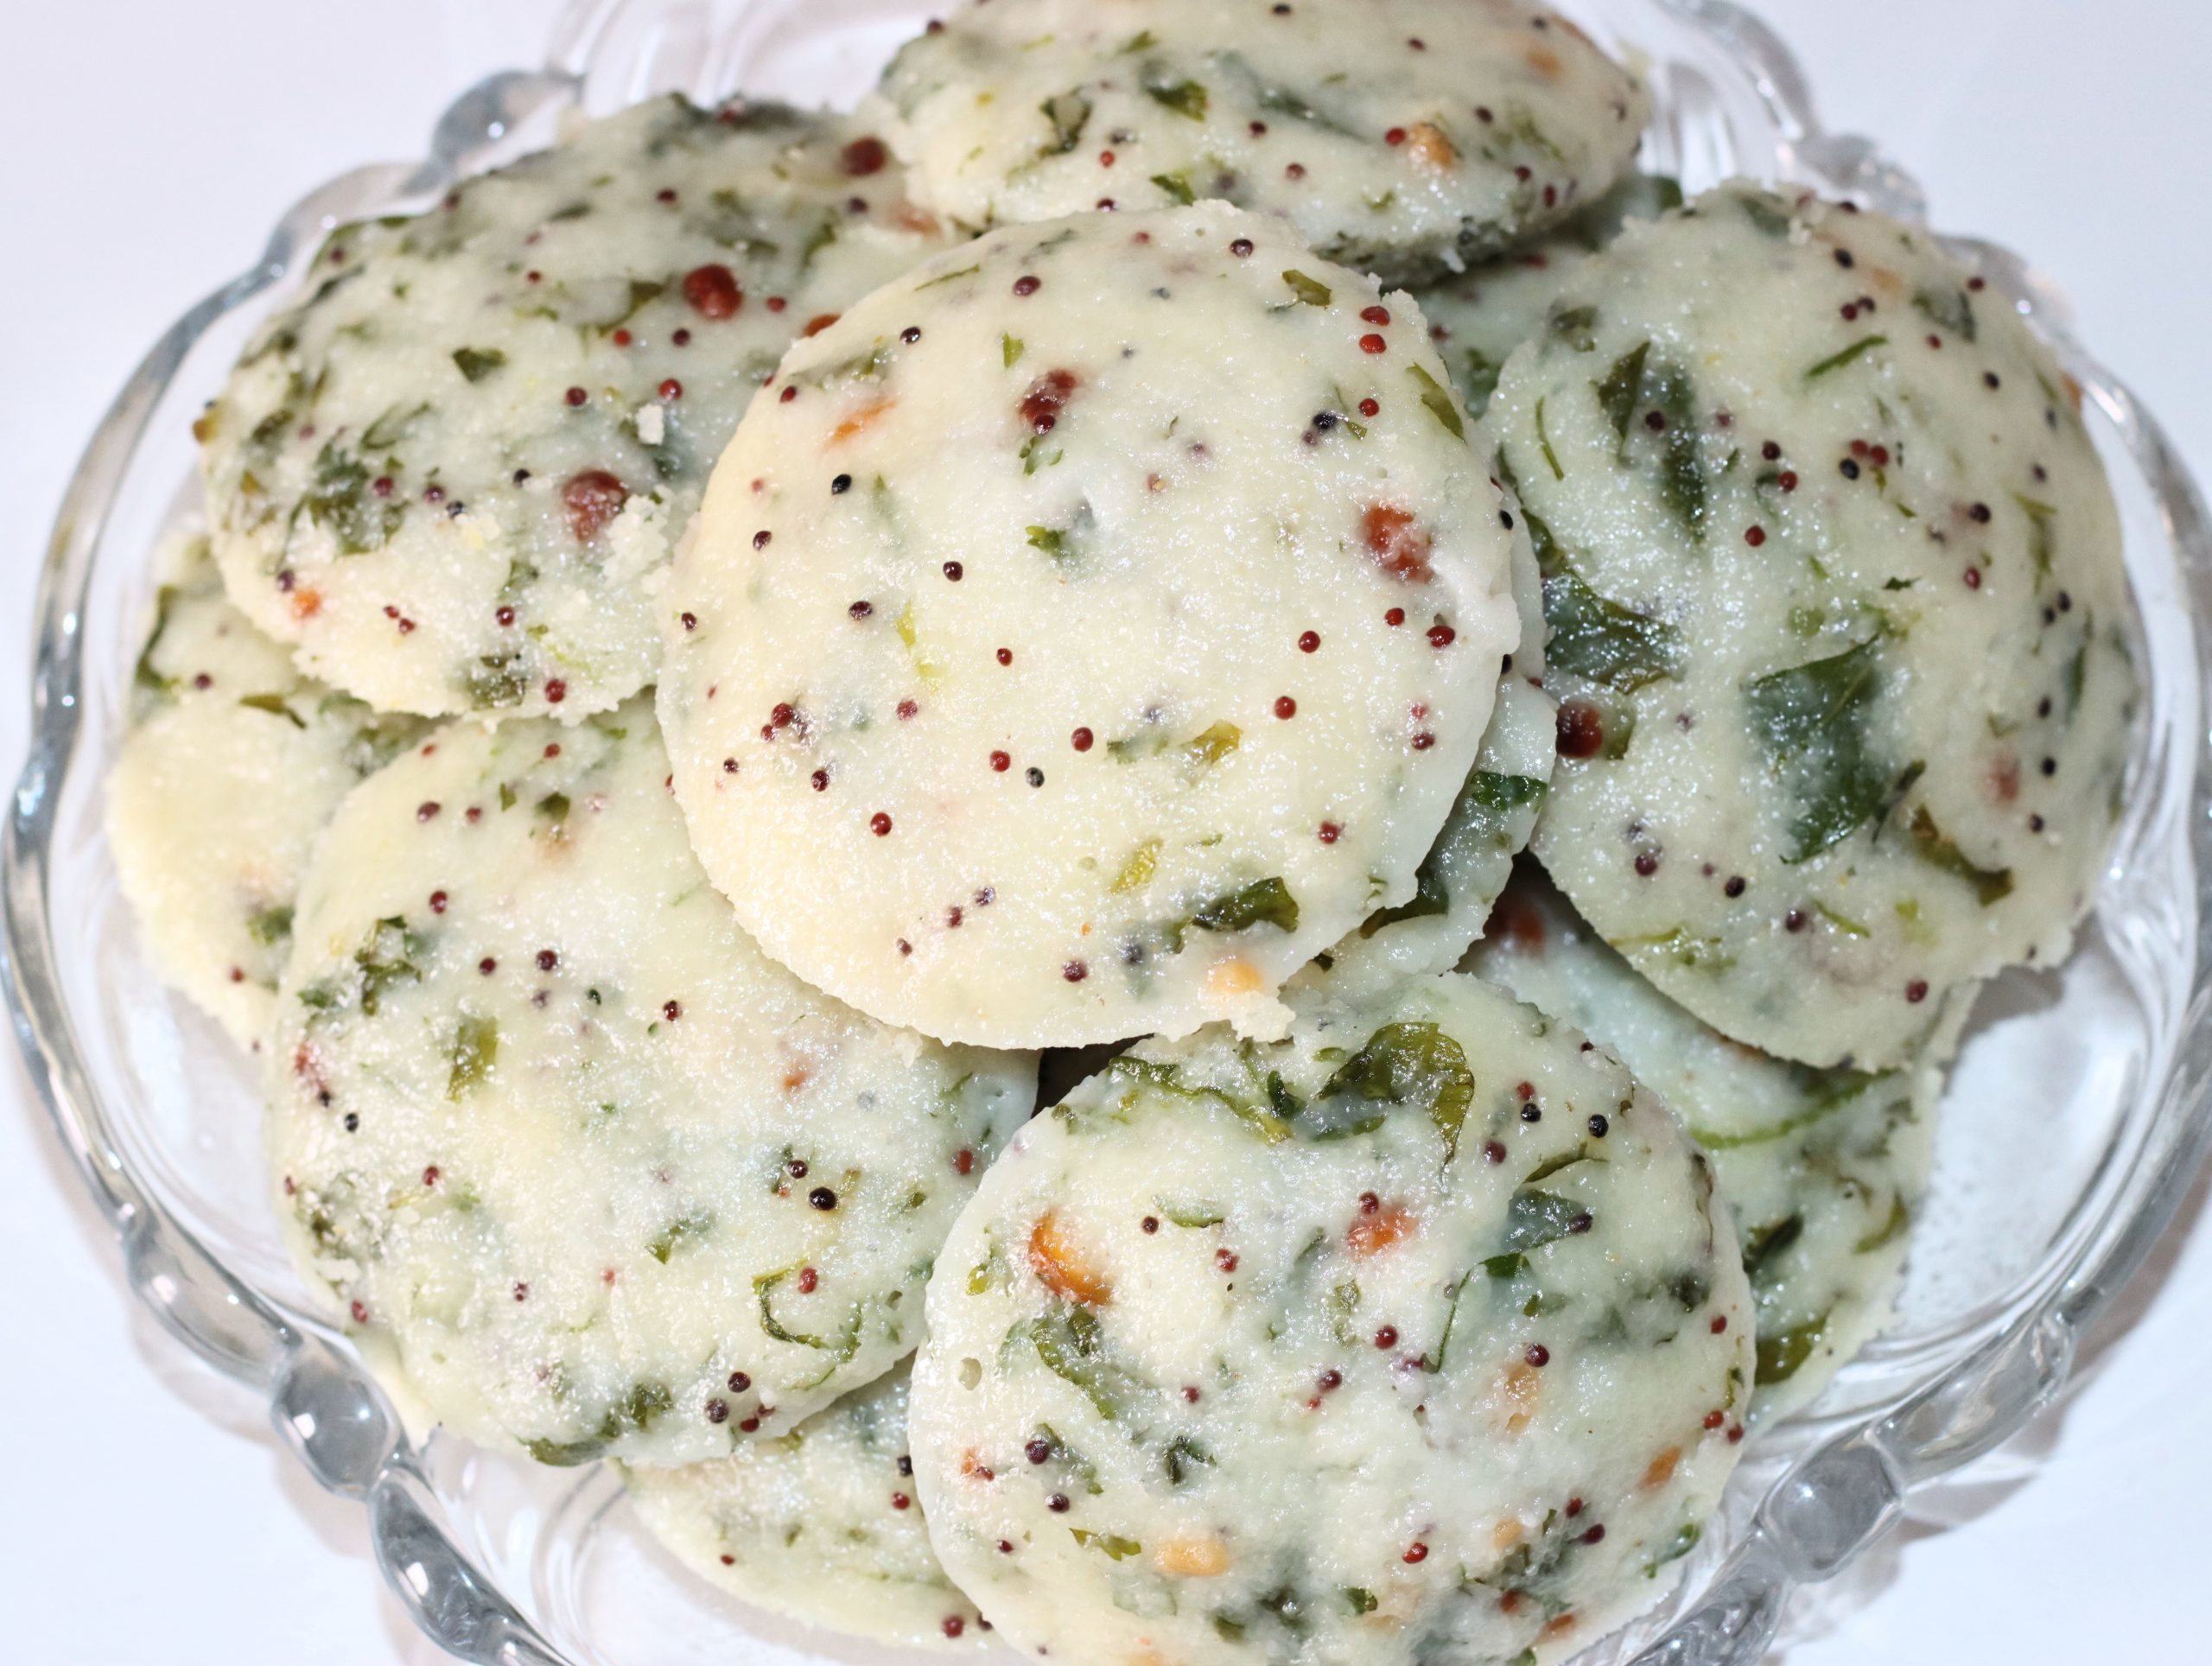
This rava idli is very healthy and easy to make and can only prepare in 10 minutes with only 2 tsp of oil. Super healthy recipe as all ingredients are very good for health. Watch attached video…
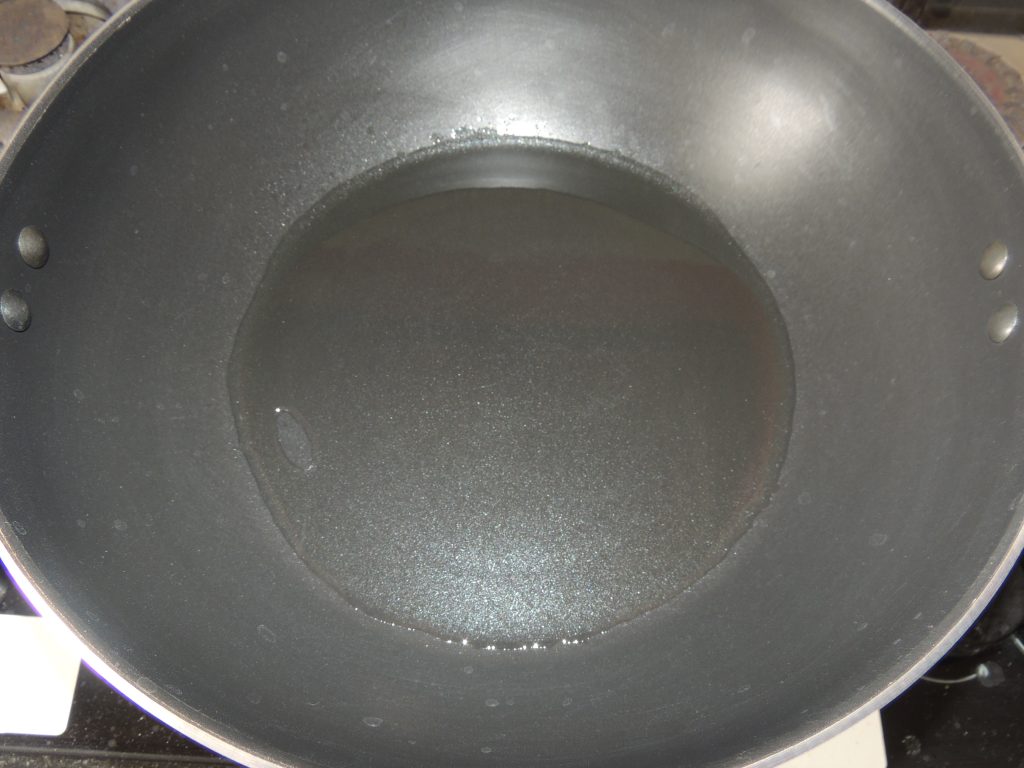
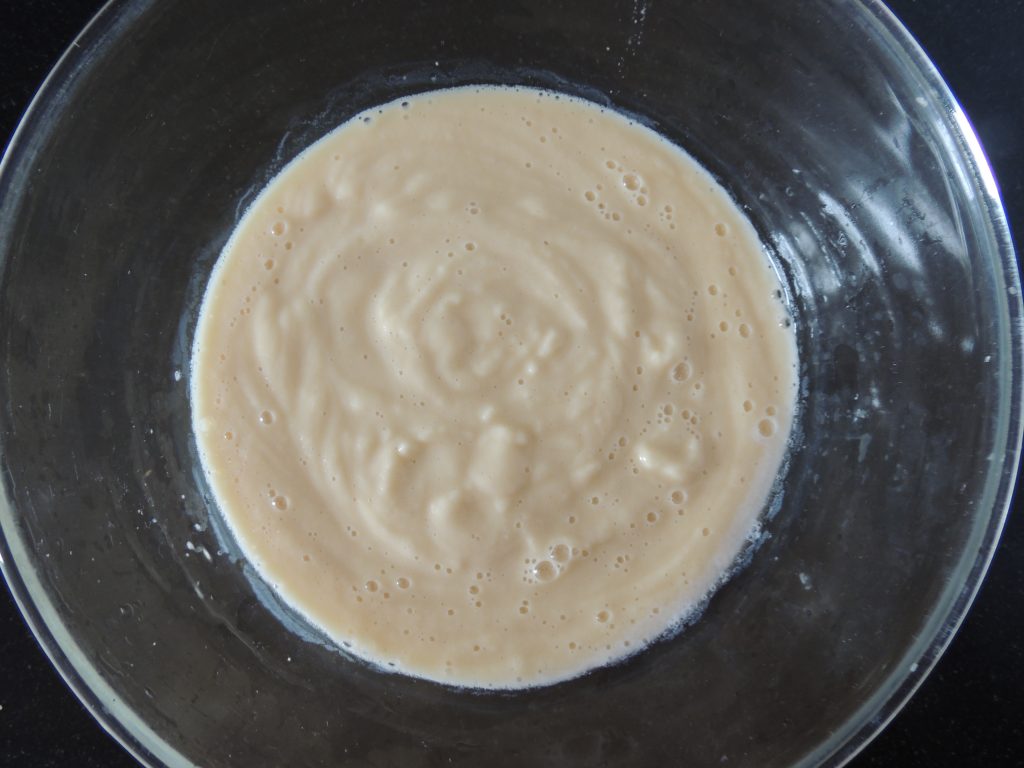
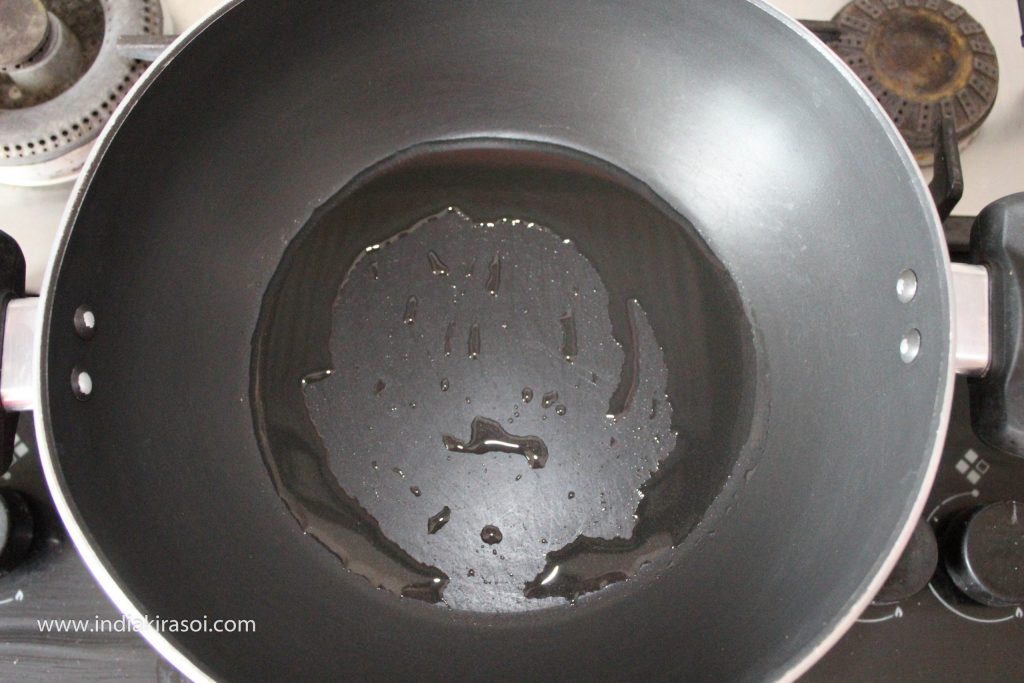
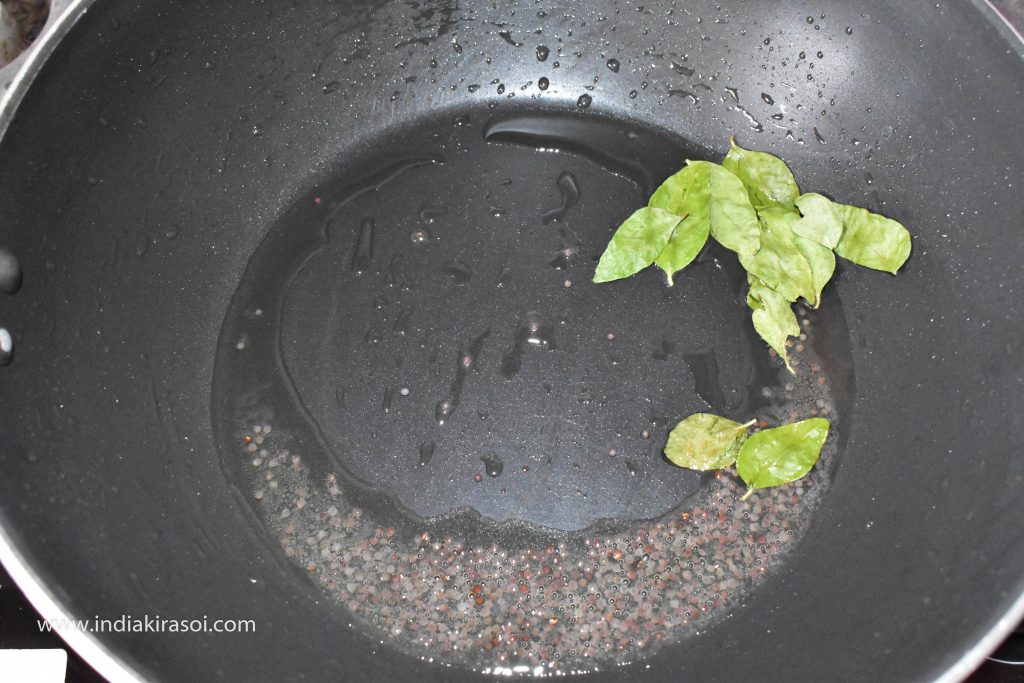
Take one vessel, Add semolina, curd in it and Mix.Place one tadka pan on the gas, add 2 tsp of oil in it.
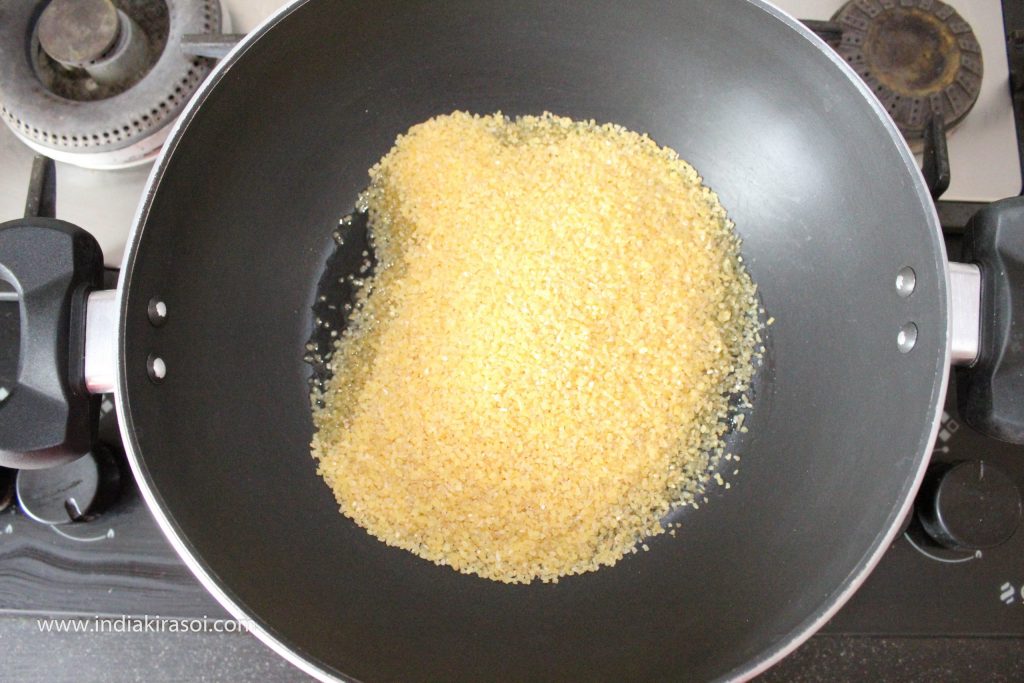
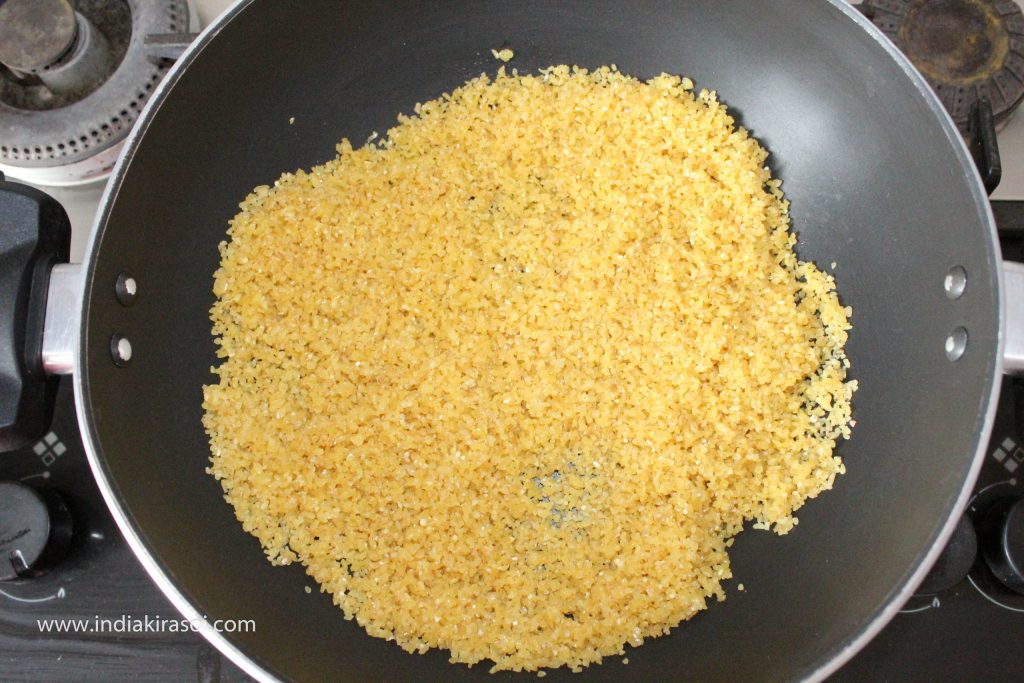
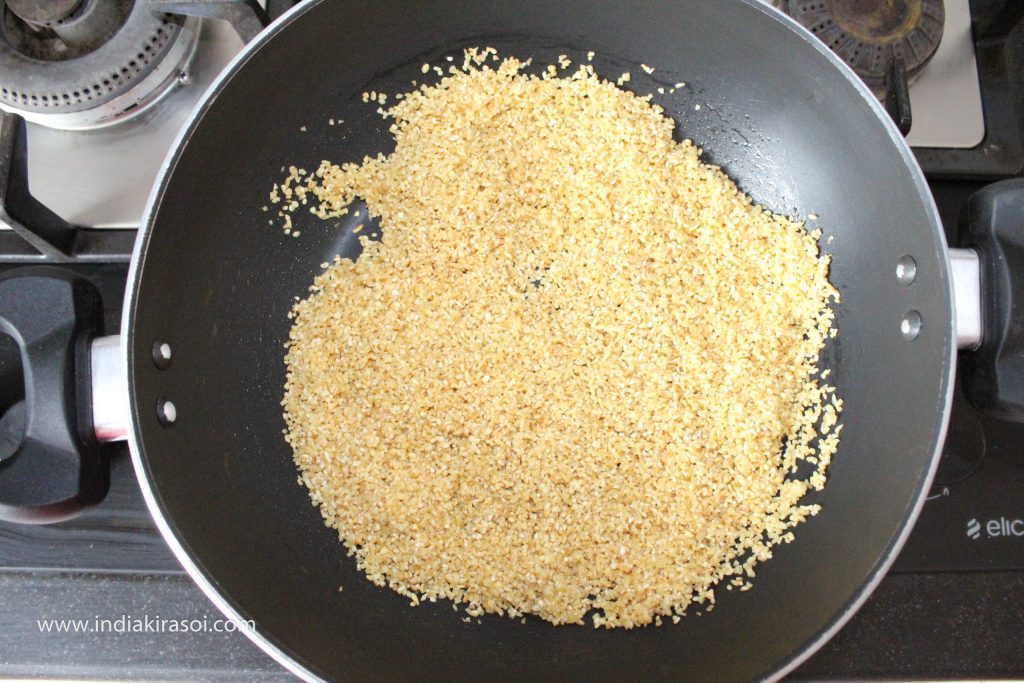
Once oil is heat, add bengal gram, black split lentils and fry until golden brown.
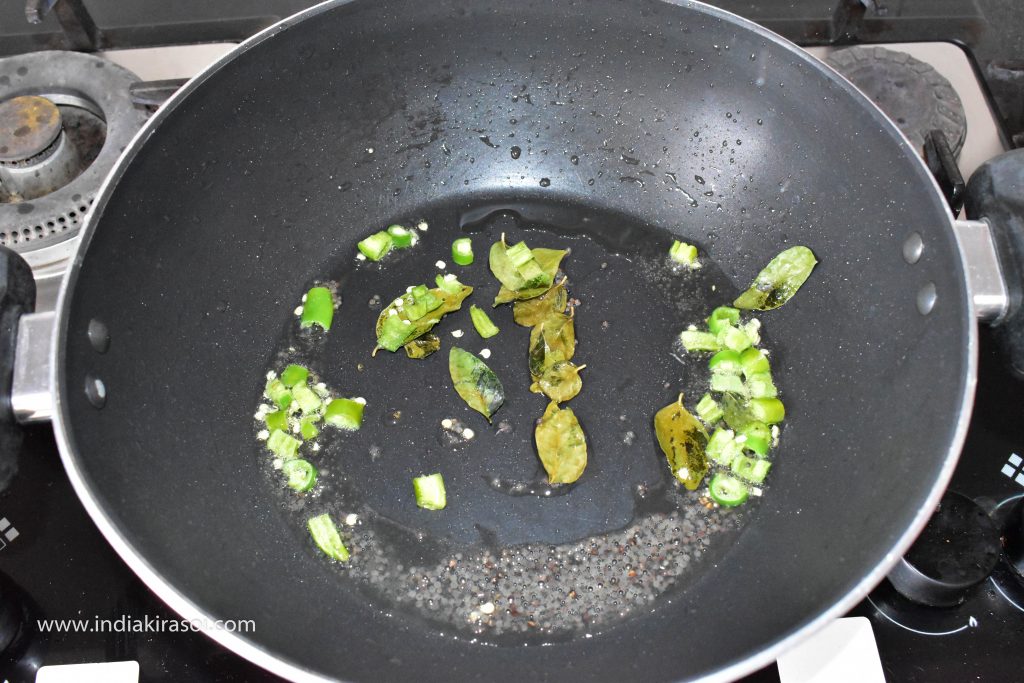
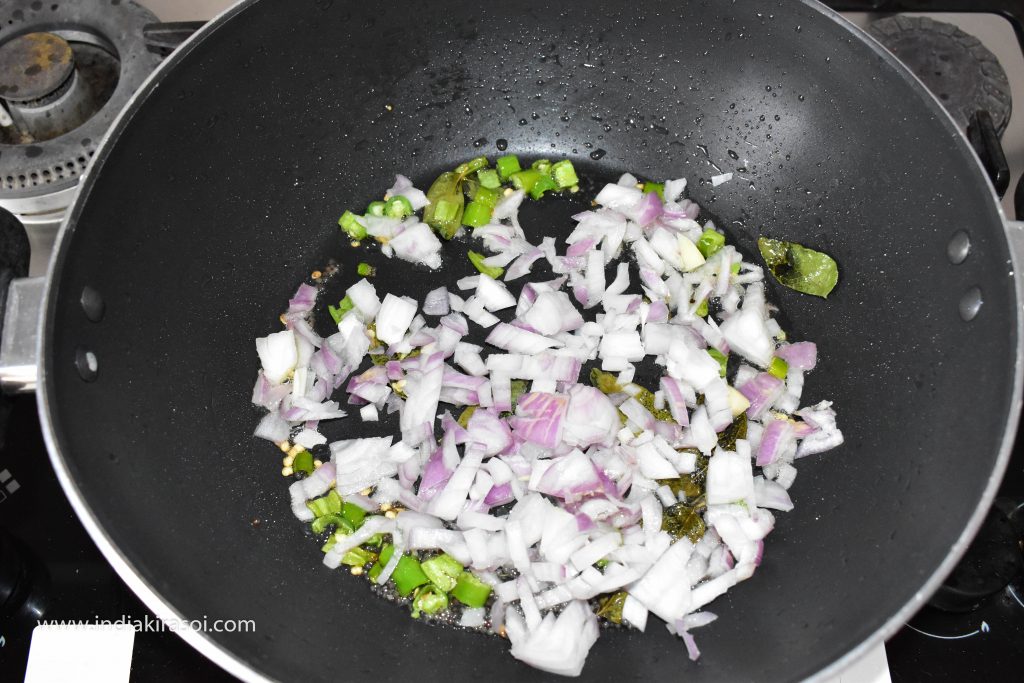
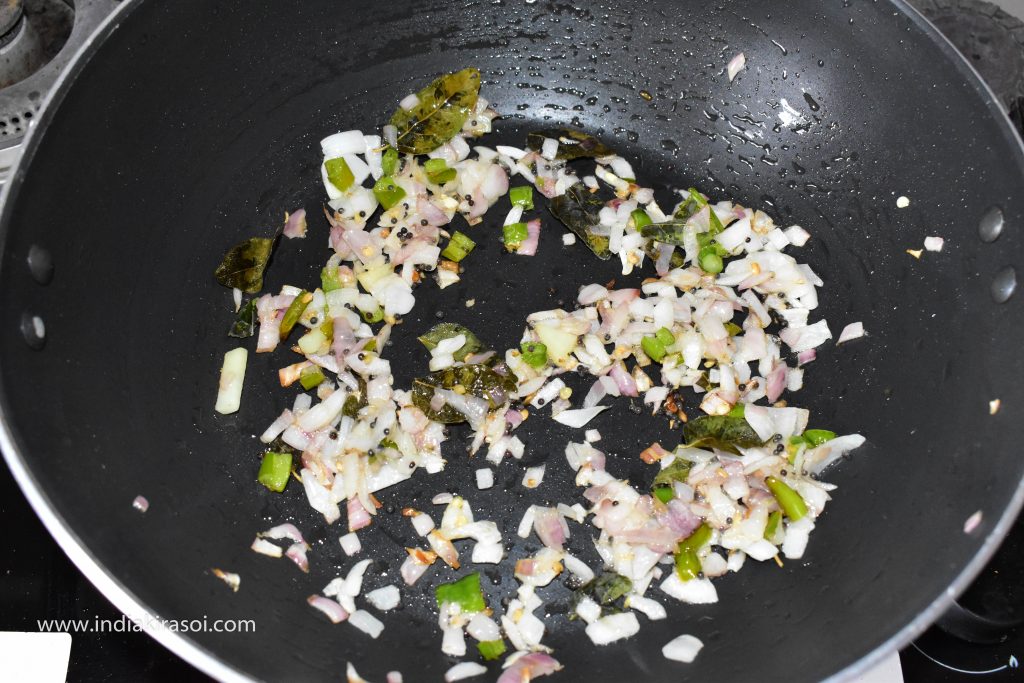
After that, add mustard seeds, curry leaves, and wait mustard seeds to splutter.
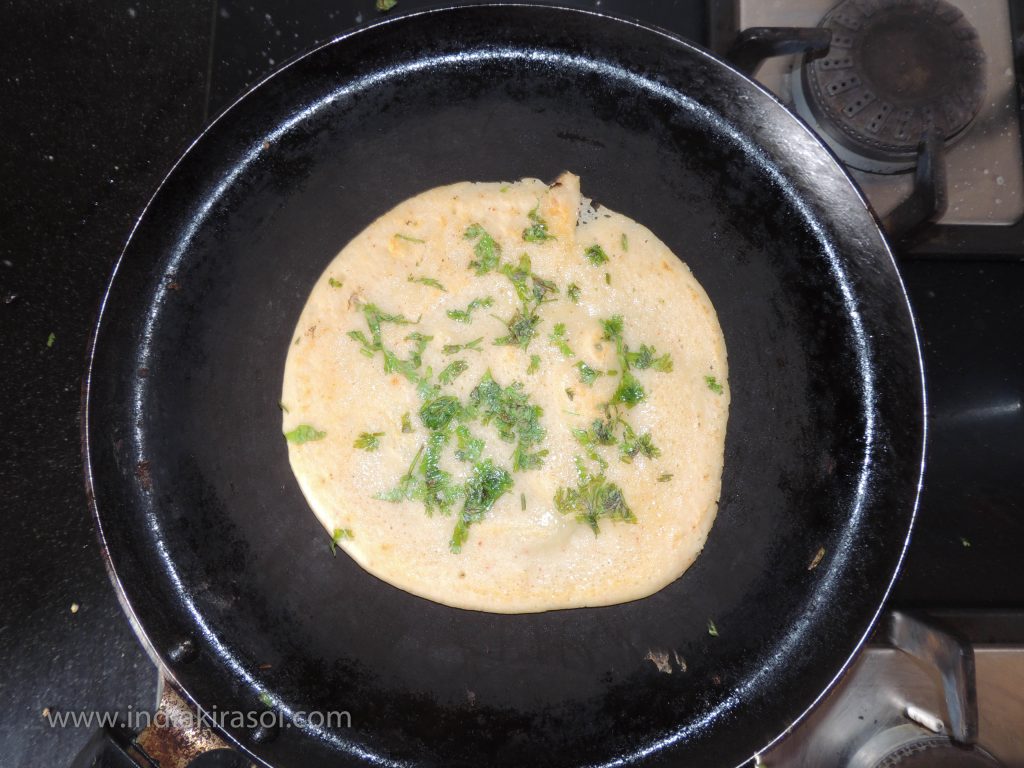
Add chopped mint leaves, coriander leaves and fry for 10 seconds.
Add this tadka to the semolina mixture, add salt and small amount to water.
Batter should not be very thick and thin.
Add eno and mix properly.
If you do not have idli maker, fill idli batter in bowls and take a fry pan or wok.
heat water in the wok and take a sieve, put bowls on the sieve and rest sieve on wok like steaming, cover with lid. Here we will make in idli maker.
Take Idli maker.
Now fill batter in the sections of idli maker/ mould.
Add some water in the idli maker.
Now place stand inside idli maker and cook for 10 minutes on high flame.
After 10 minute, switch off the gas.
Open the lid after 5 minute.
Remove idli with spoon from the sections of idli maker.
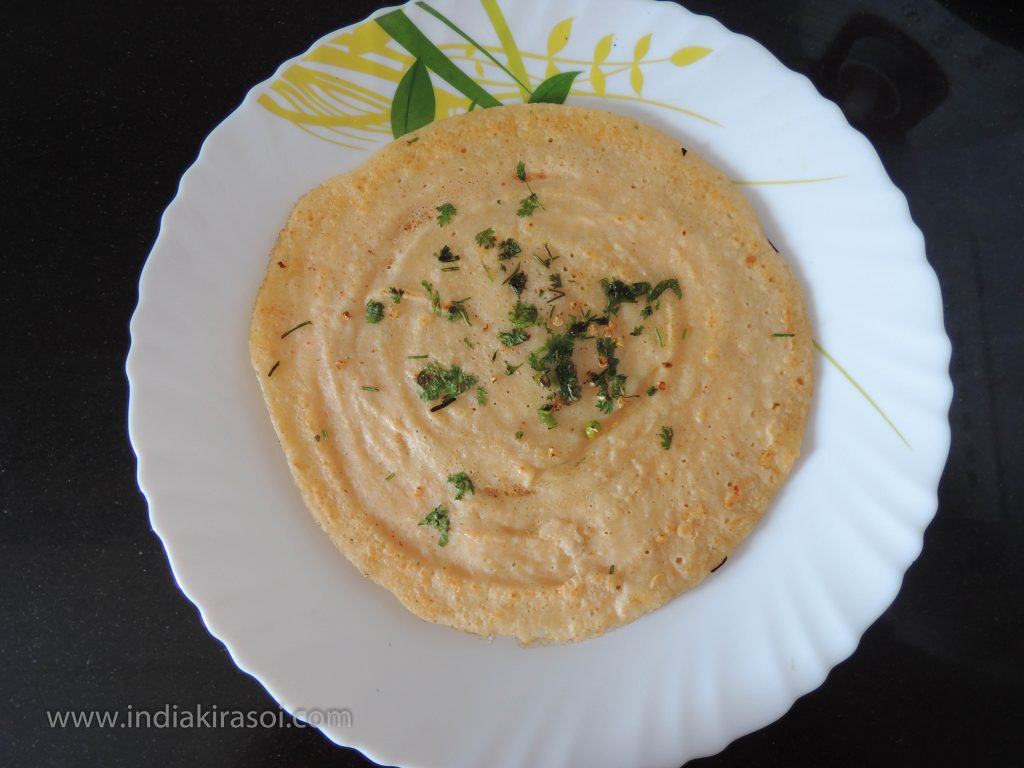
Fluffy and soft idli is ready to eat. Enjoy with chutney and sambhar.
Video
Notes
Try this idli with SambharTry these chutney’s :एक बार इस तरह प्याज टमाटर की चटनी बना कर देखिए बिना सब्जी के भी रोटियां खाएंगे || Onion Tomato Chutneyhttps://youtu.be/mCgj-poZiJ4 ऐसी टमाटर पुदीना की चटनी एक बार बनाने के बाद हमेशा खाने का मन करेगा || Pudina Tamatar Chutney https://youtu.be/fFtCcLFyiOc इस नये तरीके से बनायें चटपटी टमाटर धनिया पुदीना चटनी || Tamatar Dhaniya Pudina Chutney https://youtu.be/vT-b1p9Oqc4 मिनटों में बनायें चटपटी और सेहतमंद दही पुदीना चटनी || Dahi Pudina Chutney || Curd Mint Chutney https://youtu.be/VhRL9PTK6iQ चटपटी और नए तरीके से बनायें कच्चा आम / अमिया की चटनी || Raw Mango Instant Chutney https://youtu.be/Z031KL_93UU
Spanish Omelette Recipe | Easiest Breakfast Recipe| Tortilla De Patatas | Tortilla De Papas
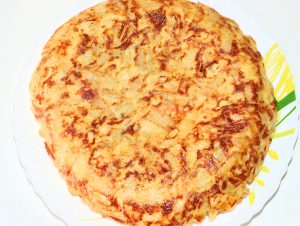
Spanish Omelette is very famous and easy to make, this only one omelette can fulfil your taste buds along with stomach, Try this yummy and quick breakfast and snacks recipe and share your experiences in the comment section. Watch attached video…
Course Breakfast, Desert, Dinner, Indian, Lunch, Main Course, Main Dish
Take one vessel, transfer cooked potatoes in it , and 3 eggs.
Add chat masala powder, red chilli powder, salt and black pepper powder and mix.
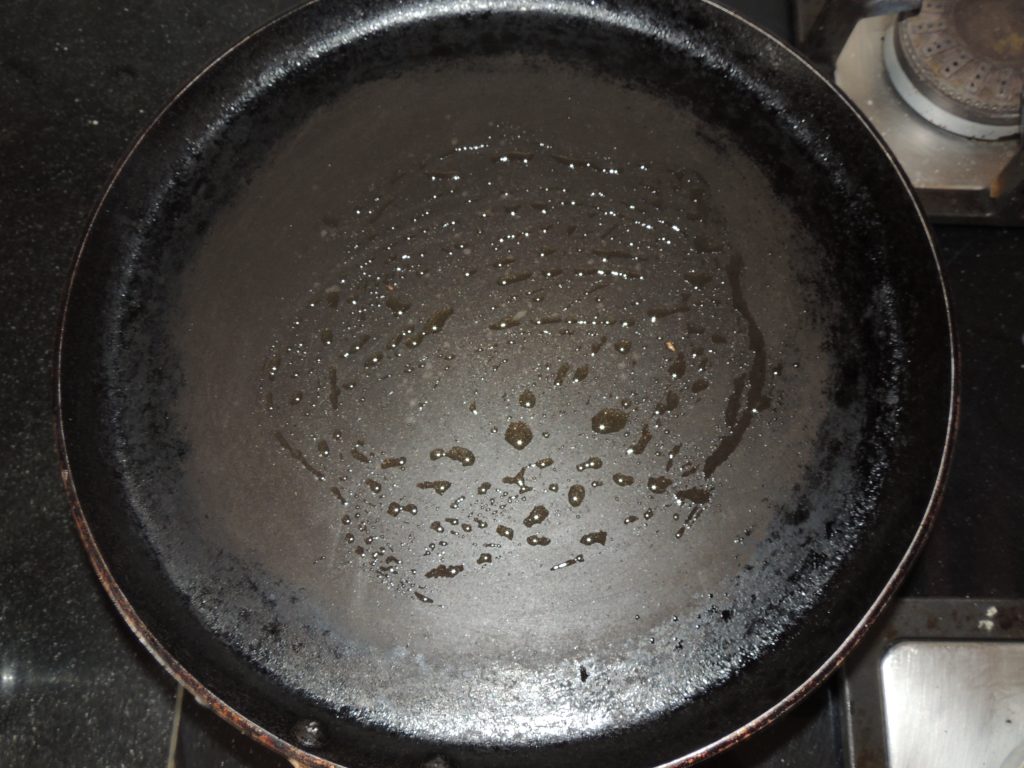
Place one fry pan on the gas.
Pour 1 tsp of oil in it, Once oil is hot, pour half of the amount of cooked mixture. Then sprinkle mozzarella cheese and add remaining half of mixture.
Cook on medium flame for 2 minute.
Check the edges of omelette with spatula.
Flip the omelette.
Cook for 2 minutes on low flame.
Omelette is cooked, switch off the gas and serve hot.
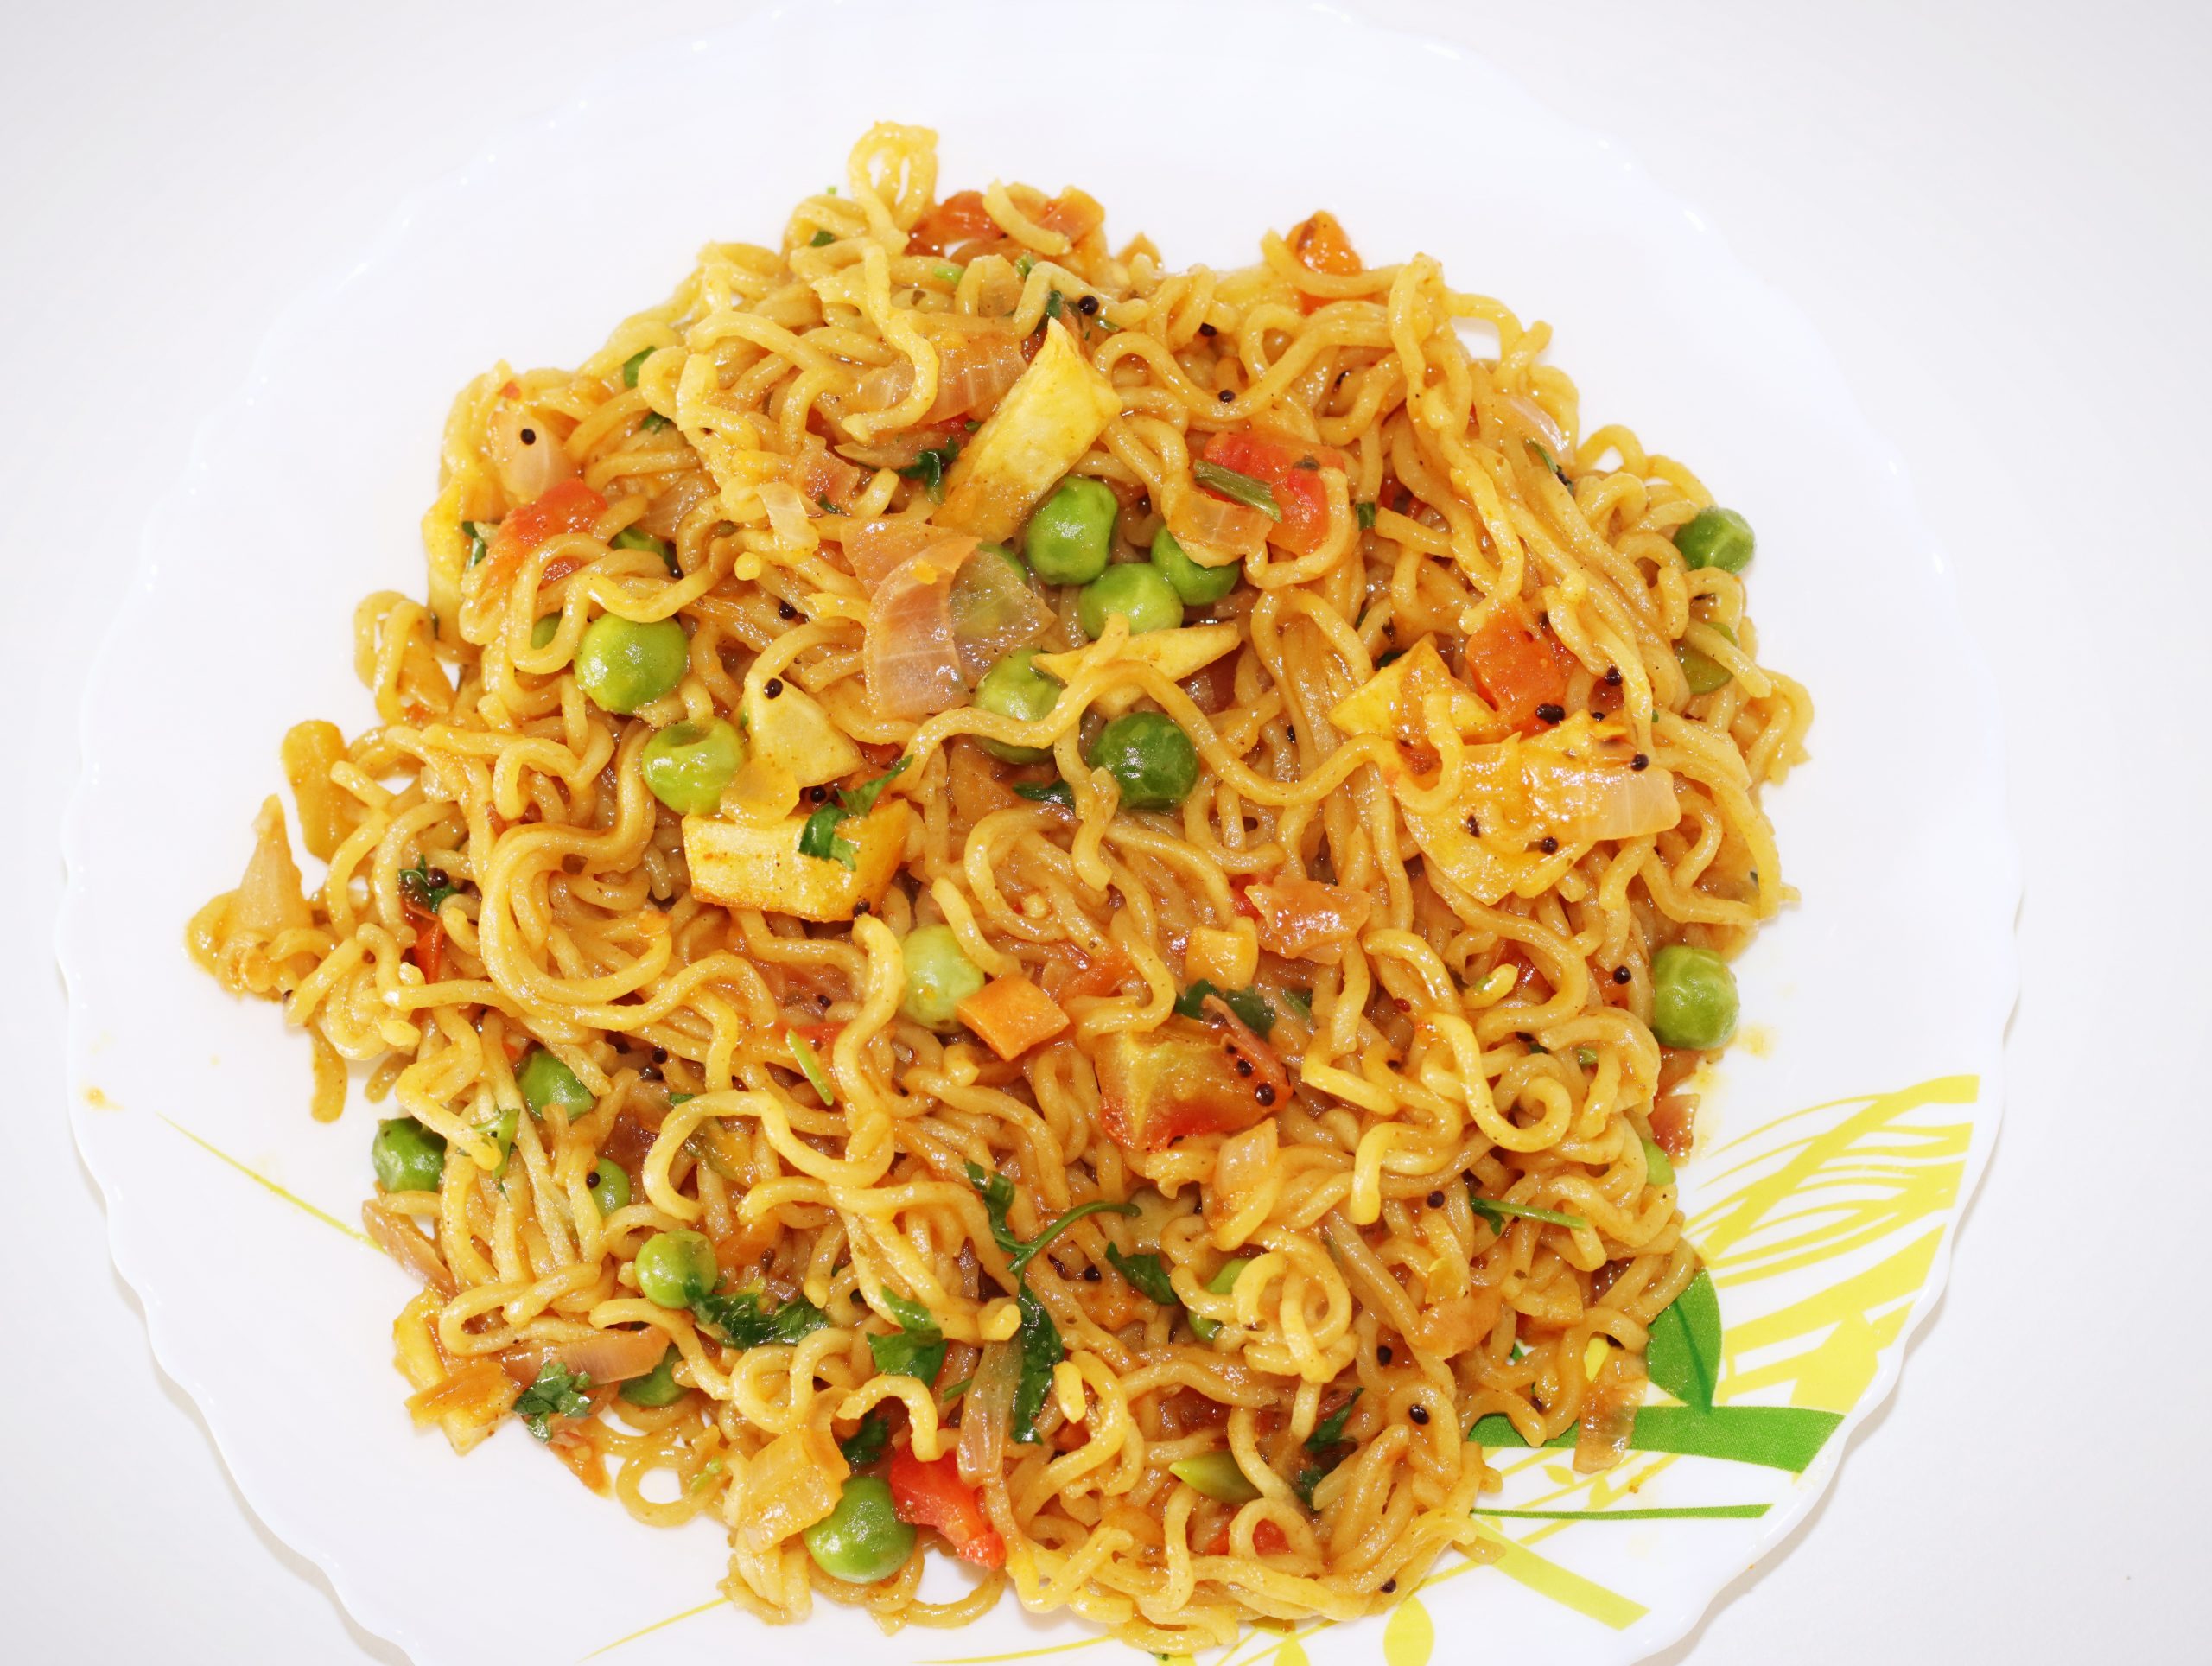
Maggi is really a dream come true for those who are looking for food that is easy to make. Simple maggi, however, can be a bit boring for everyone because there's only a masala taste.That's precisely why we got this special recipe for you for Vegetable Masala Maggi Noodles. This snack recipe provides your boring noodles a healthy as well as a delicious twist as several veggies are added to it.Because maggi is loved by individuals of all generations, you don't have to think twice while serving people of distinct ages.Especially children have a unique place for maggi in their hearts. They will definitely be surprised by this innovative manner of creating maggi.You can serve them as an evening snack or just create them when you experience those erratic pangs of hunger.
Course Snacks, Starter
Cuisine Breakfast, Indian, snacks
Prep Time 5minutes
Cook Time 10minutes
Total Time 15minutes
Servings 1People
Calories 248kcal
Equipment
Kadhai / Fry Pan
Big Spoon
Plate
Ingredients
1UnitMasala Maggi 70 gram packet, 70 gram packet
1UnitSmall Onion / Pyaz, Chopped / Chhote pieces me kata hua
1UnitTomato / Tamatar, Chopped / Chhote pieces me kata hua
1UnitSmall Potato / Chhota Aloo, Chopped / Chhote pieces me kata hua
1 – 2tspGreen Pea / Hari Matar, if you like more pea, you can take 2 tbsp pea
1 / 4 tspMustard Seeds / Rai
1UnitGreen Chilli / Hari Mirch, Chopped / Chhote pieces me kata hua
2tbspOil
Instructions
First take one fry pan or kadai, and place kadai on the gas. Add 2 teaspoons of oil to the kadai.
Add chopped potato to the kadai.
Stir and fry the potatoes with spatula.
Fry the potatoes till they turn brown.
Remove the potatoes from kadai and keep them aside.
Now put the same pan on the gas again.
Add 1 teaspoon oil.
Add mustard seeds when oil become hot.
After that add chopped onion in the kadai.
Fry onion till they turn brown.
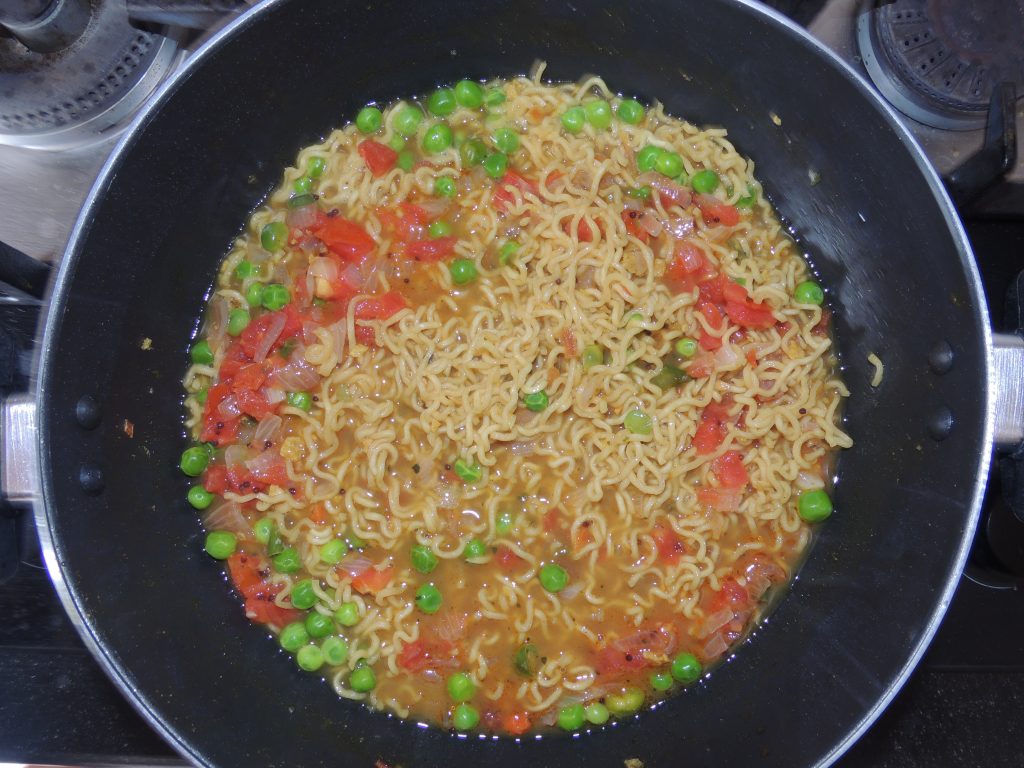
Once onion become brown, add chopped tomato in the kadai.
Fry till tomatoes are cooked.Remove and keep in a separate plate
Now put the same pan on the gas again.
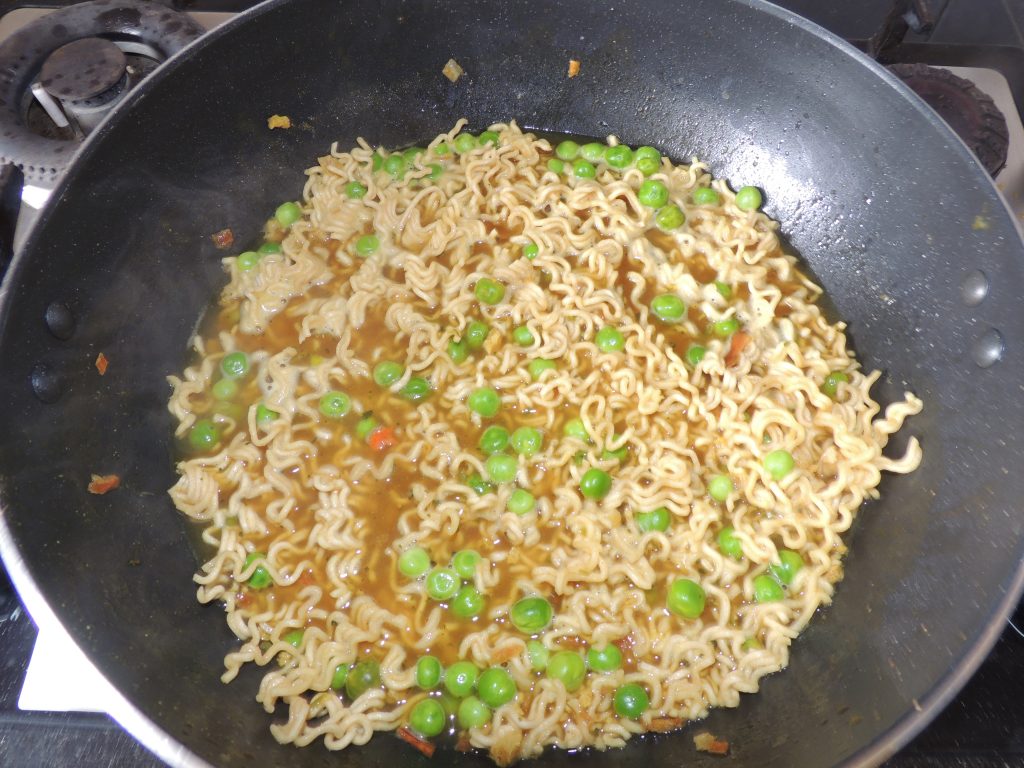
Add 1.5 cup of water and peas.
After that add maggi masala and wait till water starts boiling.
Break maggi into 4 pieces.
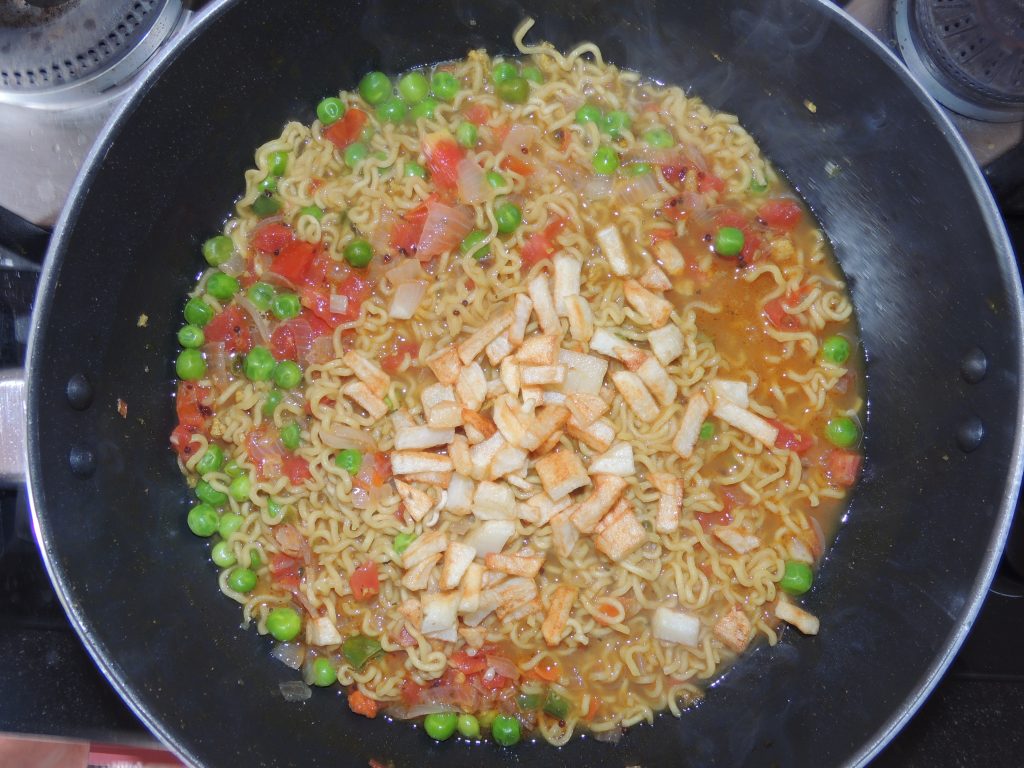
Add maggi also in the kadai.
Add tomato which we previously fried.
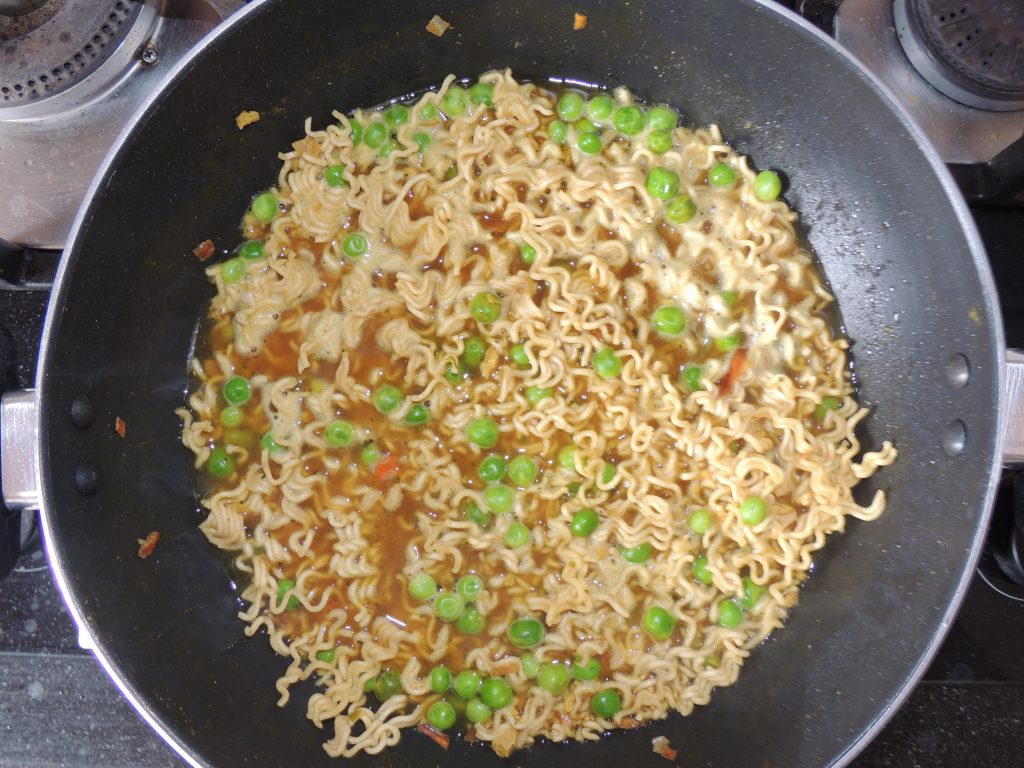
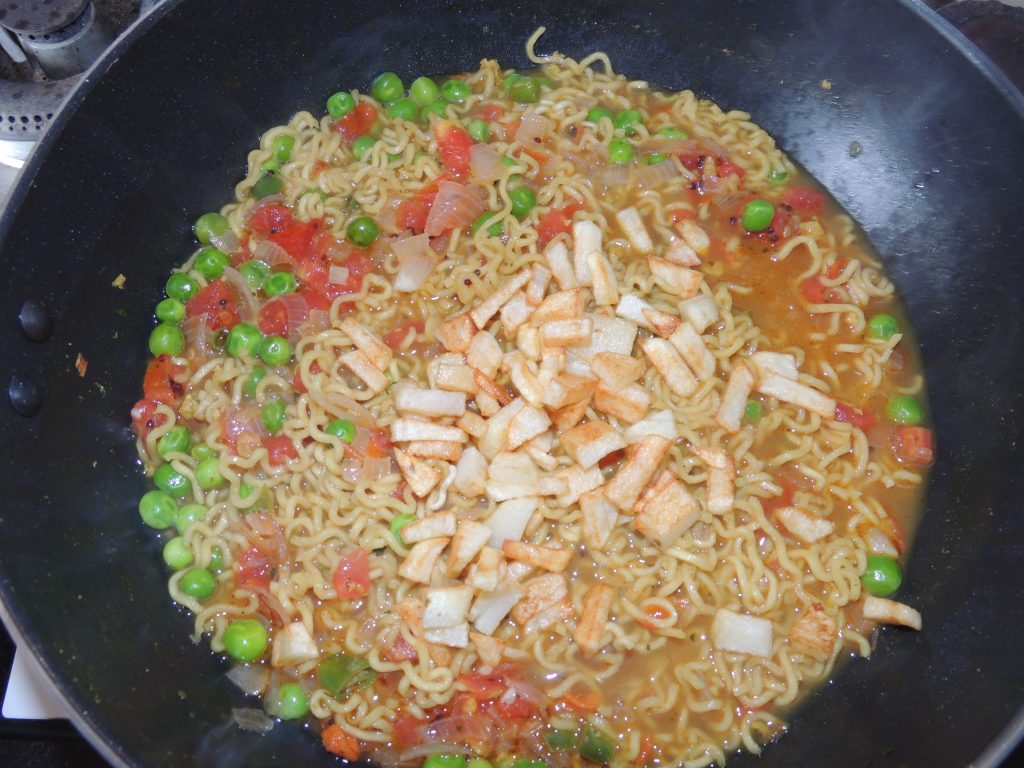
Stir maggi with spatula, and add fried potato.
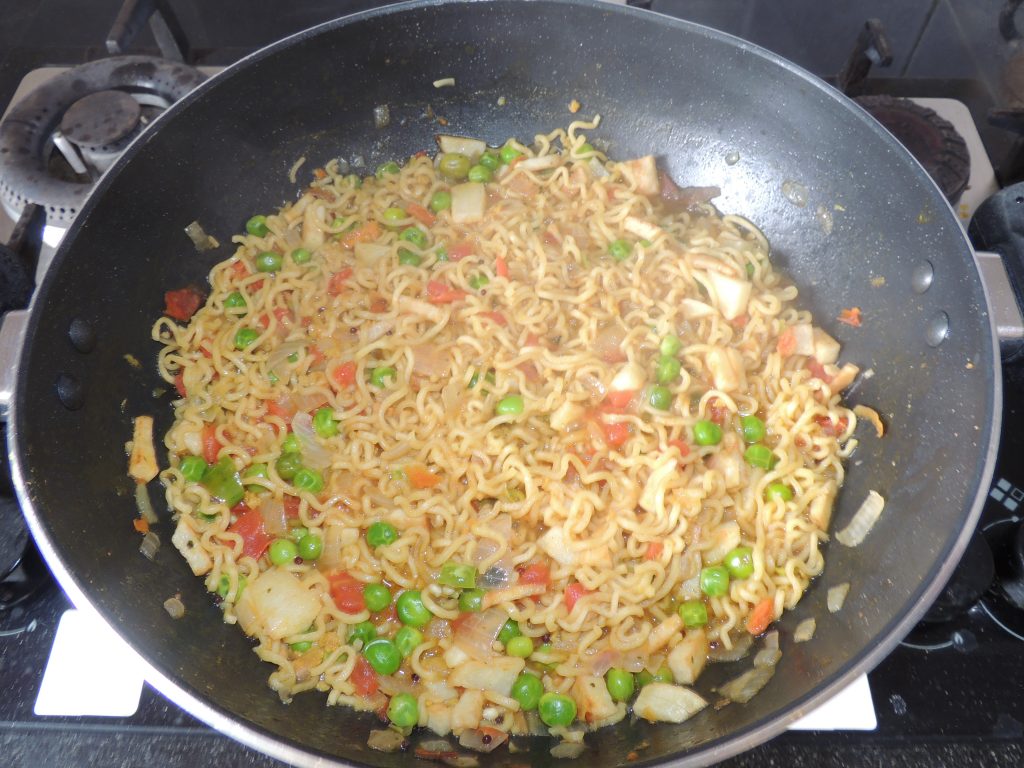
Dry excess water of maggie.
Now maggi is ready, sprinkle coriander leaves on maggi.
Serve hot.
Moong Dal Cheela is a great breakfast and it is also very easy to make.Soak moong dal and grind it finely.Moong dal is also very good for health, moong dal cheela is very tasty to eat and it is also very light to eat, you can also eat it as an evening snack.Eat moong dal cheela with green coriander sauce, you will feel very tasty.Follow the steps mentioned below to make Dal Chila.So let's start . . .
Course Breakfast, Dinner, Indian, Lunch, Main Dish, Starter
Cuisine Breakfast, dinner, Indian, Main
Prep Time 10minutes
Cook Time 10minutes
Total Time 20minutes
Servings 2People
Calories 0.247kcal
Equipment
Mixer Grinder
Griddle/ Tawa
Knife
Big Spoon
Ingredients
2CupMoong Daal / Mung Pulse
2tspCoriander leaves / Dhaniya Patti
asper tasteSalt / Namak
2tspOil / Desi Ghee / Butter
Instructions
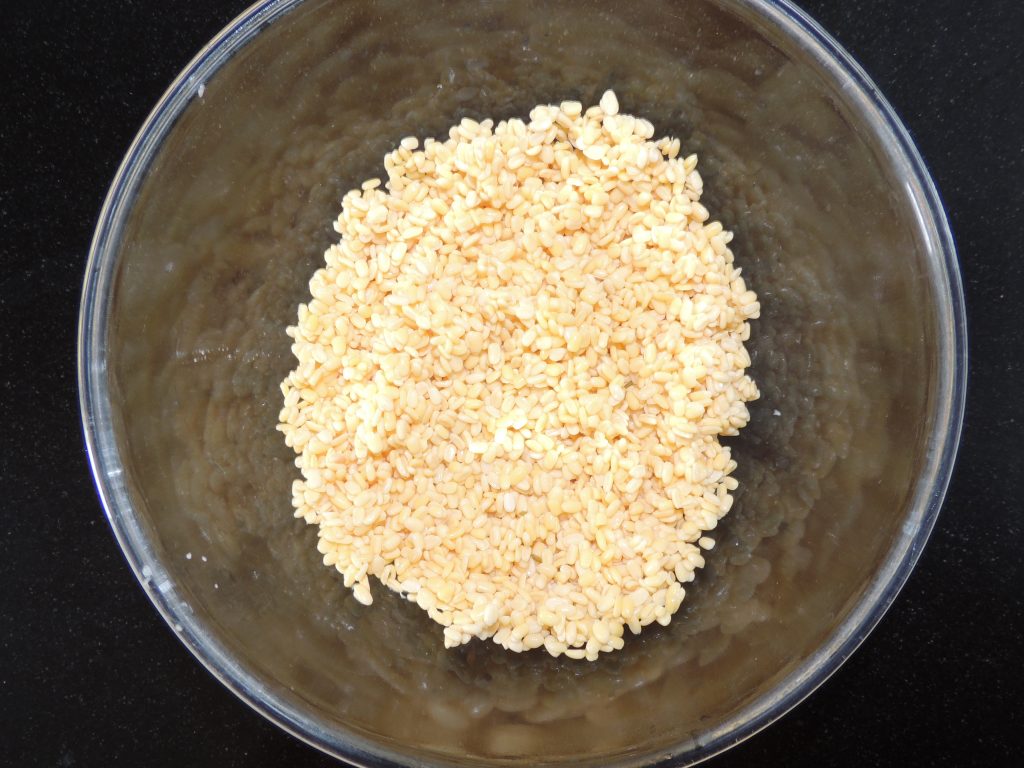
Soak 2 cups of moong dal first for 4 hours.
When the moong dal get wet, wash them clean with clean water.
Now add some water in the moong dal and grind them in the grinder.
Add salt to the paste.
Put a griddle on the gas.
Put 1 teaspoon of oil or desi ghee on the griddle.
Put about 4-5 teaspoons of moong dal paste on the griddle.
And spread it with a spoon.
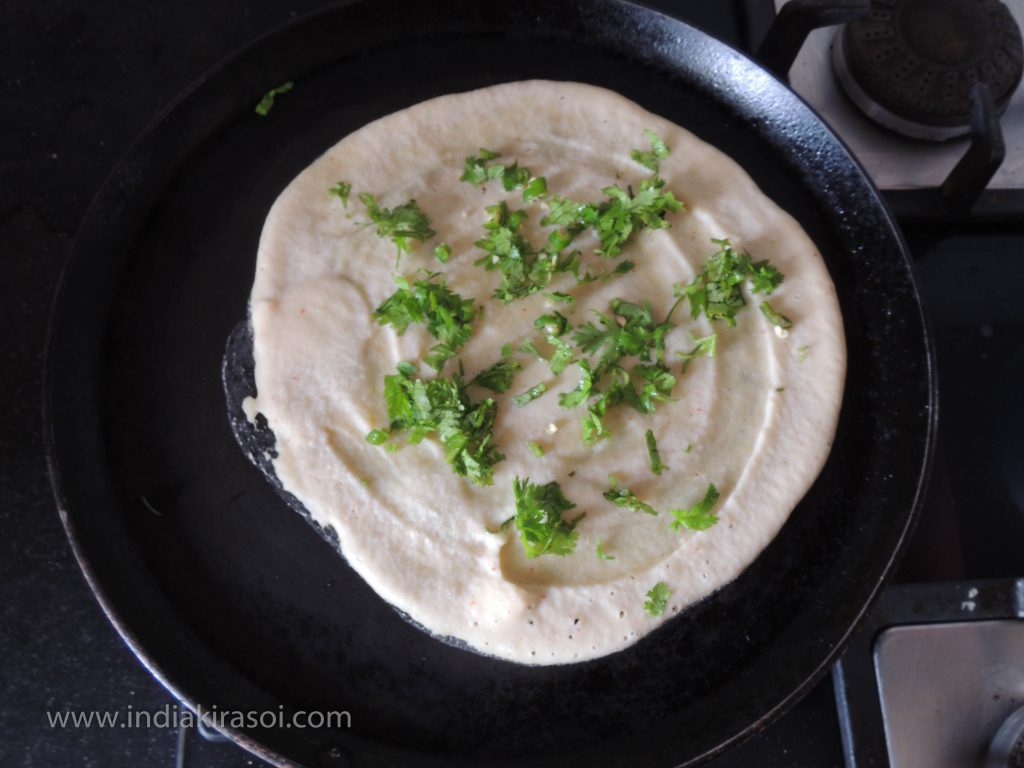
As soon as the moong dal paste is put on the pan, spread a little bit of chopped coriander leaves and chopped green chilli paste over it so that the coriander sticks well.
If the paste starts to stick on the griddle, apply half a teaspoon of desi ghee on the side of the cheela.
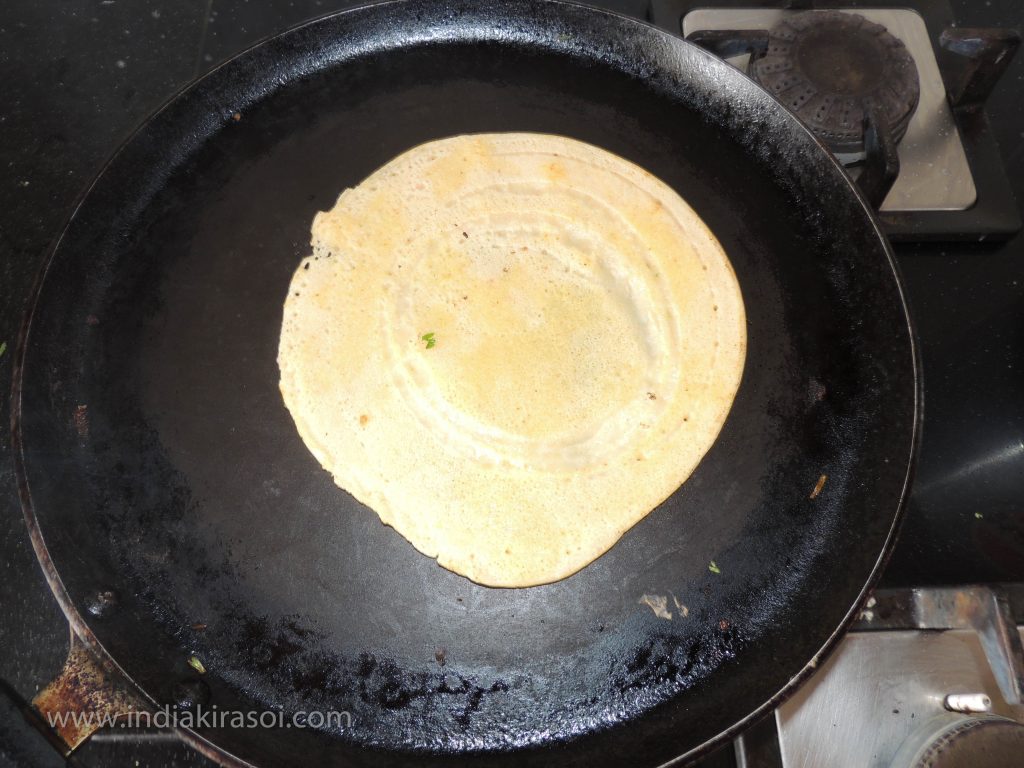
Now flip the cheela with a spatula.
Cook both sides of the cheela till it becomes light brown.
Moong dal chila is ready.
Eat moong dal chila with green chutney and drink later tea.
Notes
The mung bean, alternatively known as the green gram, maash, or moong is a plant species in the legume family.
The mung bean is an annual vine with yellow flowers and fuzzy brown pods.
You can try below chutney’s with Moong Daal Cheela, which we made extra.
Tel se Daliya Kaise Fry Karen / How to Fry Broken Wheat With Oil
Today I will tell you how to fry the daliya / broken wheat.I will use oil/ ghee to fry daliya / broken wheat here.Daliya / broken wheat is very good for our health.You can eat it for breakfast, whose khichdi can be prepared and eaten in lunch.You can even eat at dinner and use it in many ways. But frying the river is very important to make things.Let us now see how to fry the daliya / broken wheat. Follow the below method step by step to fry the daliya / broken wheat …
Course Breakfast, Dinner, Indian, Lunch, Main Course, Main Dish, Snacks
Cuisine Indian
Cook Time 10minutes
Total Time 10minutes
Servings 4people
Calories 172kcal
Cost 15 rupee
Equipment
Kadhai / Fry Pan
Spatula
Bowl
Ingredients
200gramsBroken Wheat / Daliya
Instructions
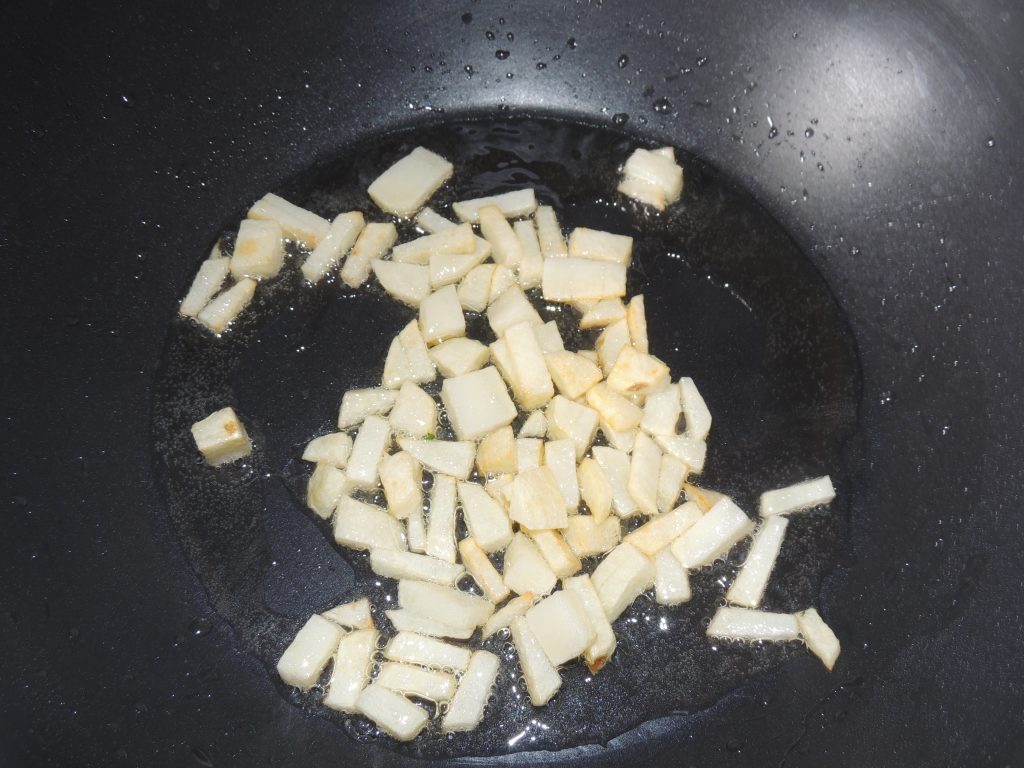
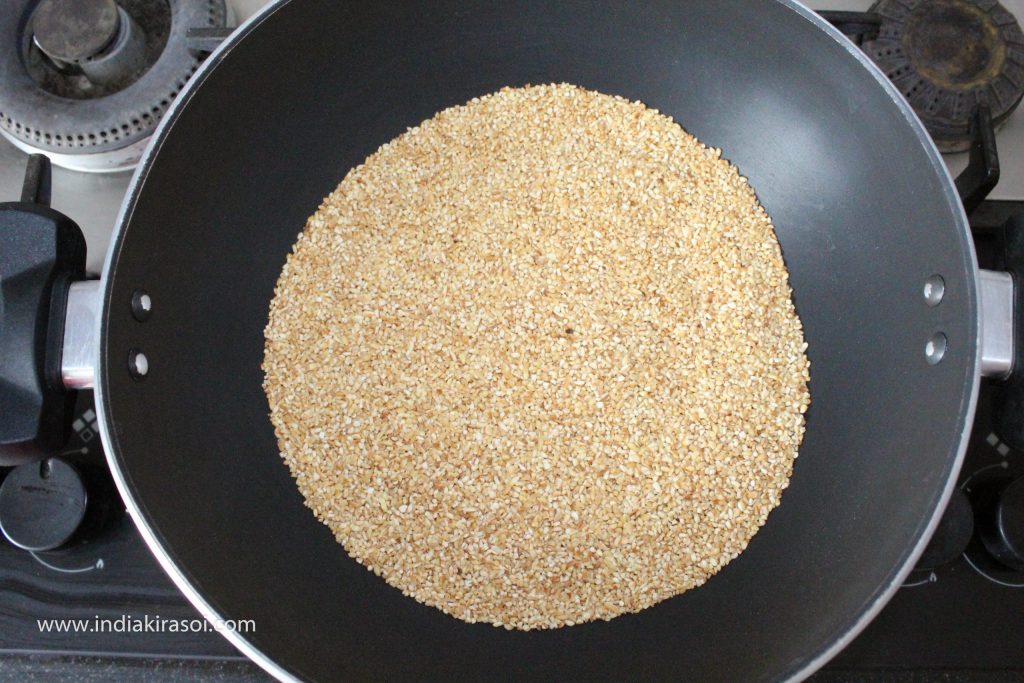
Take 200 grams of daliya / broken wheat.
Put a kadhai/ fry pan on the gas.
Put about 2 teaspoons of oil in the kadhai/ fry pan.
When oil becomes hot then add daliya / broken wheat to it.
Keep the gas on medium heat.
But kept stirring the daliya / broken wheat with a spatula.
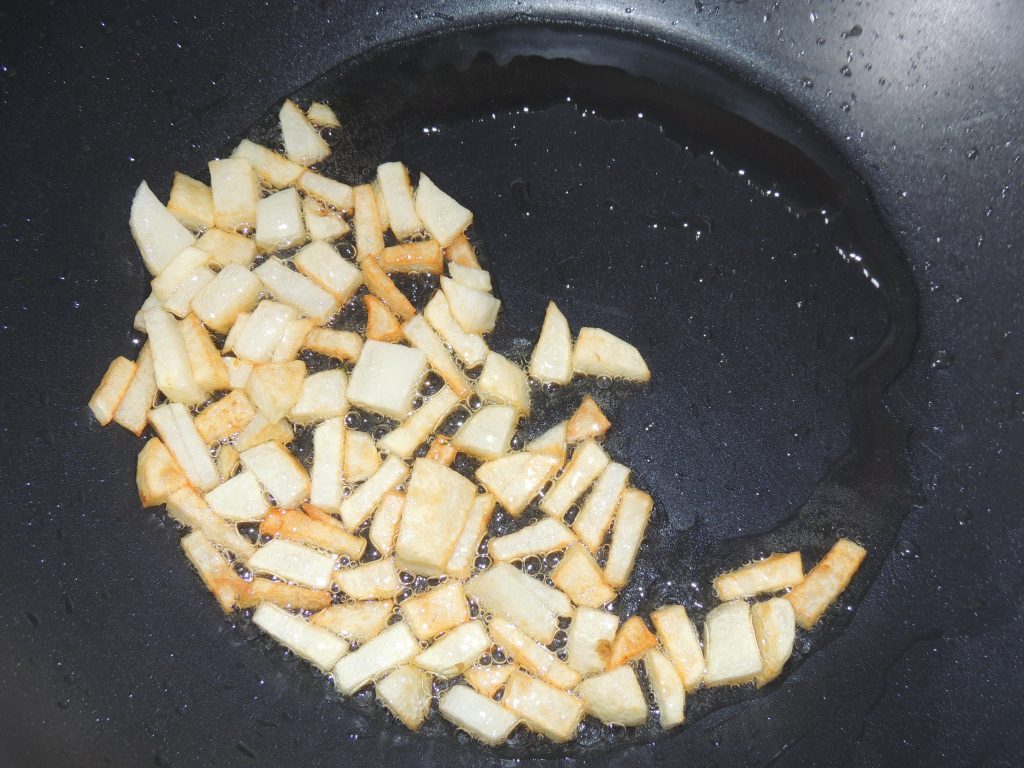
The daliya / broken wheat has to be stirred continuously so that it does not burn.
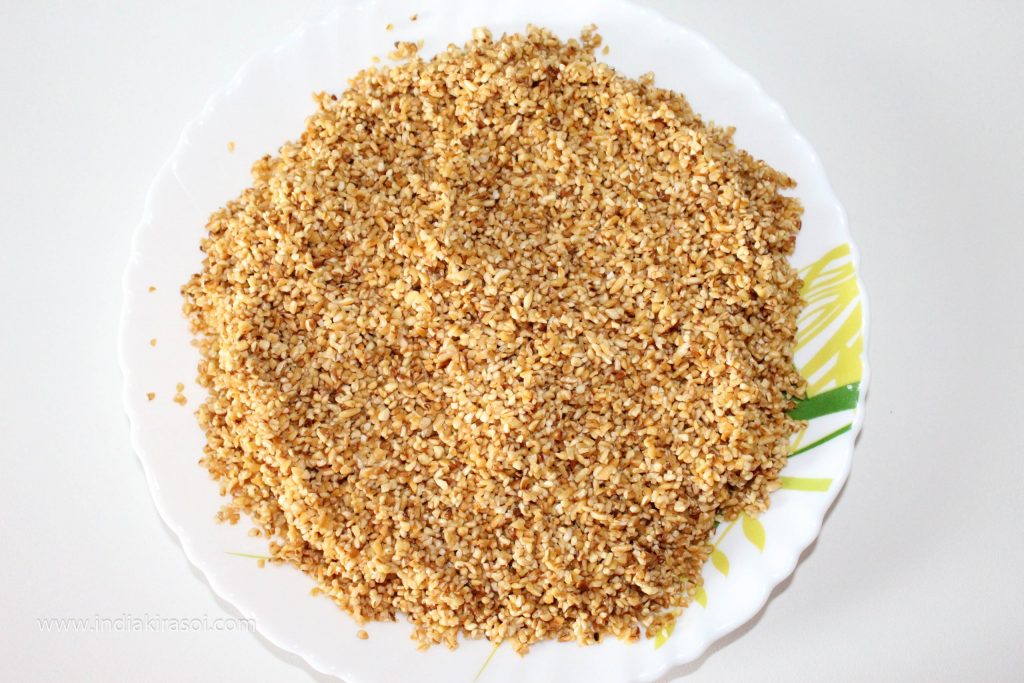
When the daliya / broken wheat continues to run, the daliya / broken wheat will start to turn slightly brown.
Fry until the daliya / broken wheat turns slightly brown.
Now you can also make daliya / broken wheat fry or make any recipe.
So we saw how easy it is to fry the daliya / broken wheat.
But one thing to keep in mind is that while stirring the daliya / broken wheat continuously, fry it, otherwise the daliya / broken wheat will burn in the bottom and then it will be very dirty to eat.
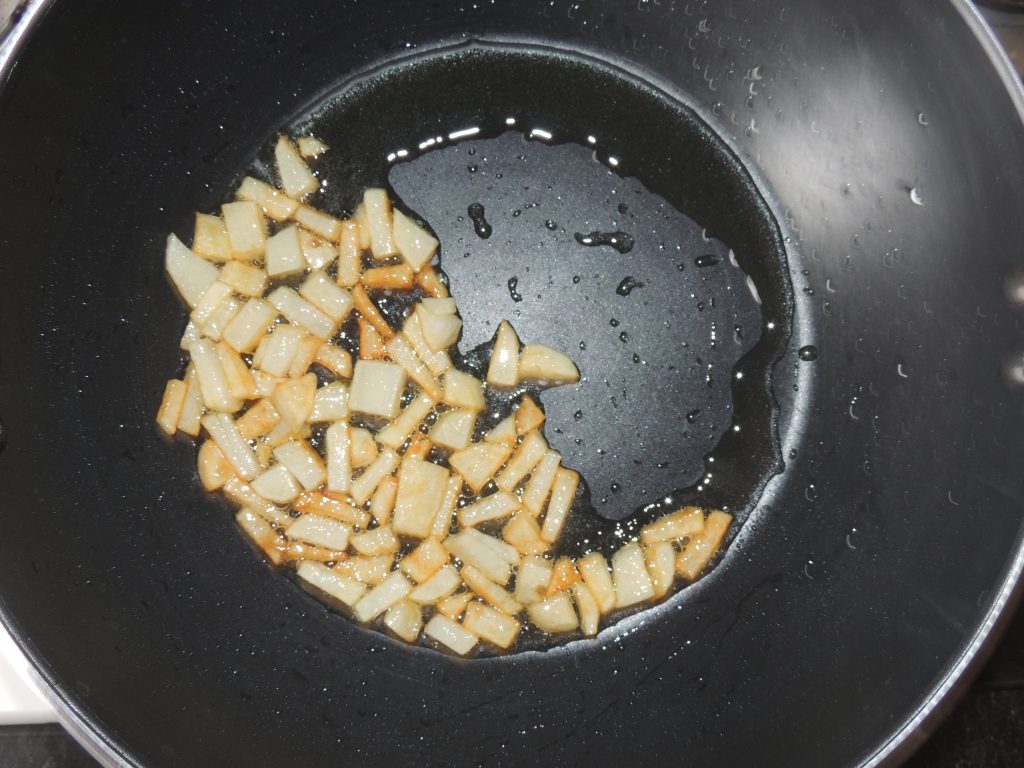
Fried Daliya / broken wheat is ready.
You can also eat daliya / broken wheat like rice.
Or you can also eat daliya / broken wheat like Tehri or Khichdi.
Daliya / broken wheat contains a good amount of fiber, it is very beneficial for health.
Notes
Daliya / Broken Wheat is very good for our health.
You can eat it for breakfast, whose khichdi can be prepared and eaten in lunch.
You can even eat at dinner and use it in many ways. But frying the river is very important to make things.
If you cook without frying it will be very useless and you will not be able to eat.
Today I will tell you a very important thing in the match that if you want to control your weight.
And if you are very fond of rice, you can use Daliya / Broken Wheat instead of rice.
And believe me the Daliya / Broken Wheat taste looks exactly like rice.
This is my adopted method. I do not eat rice while I like rice a lot.
Because of this I eat daliya / broken wheat. I don’t even think I’m eating oatmeal. It seems to me that I am eating rice, but eating daliya / broken wheat has immense benefits.
The first is that we buy packeted flour from the market to eat flour, then what happens in it that wheat is brewed to make the dough.
And when grinding wheat, the company removes the top layer of wheat. So all the elements in it, all end there.
But what is daliya / broken wheat, in the kitchen we make wheat by making daliya / broken wheat.
Or we buy daliya / broken wheat from the market. So all its essential elements remain in daliya / broken wheat, daliya / broken wheat is very good for the stomach, face glow for our body and for the whole body.
You can also make sweet dish with the help of daliya / broken wheat.
Bina Tel Ke Daliya Kaise Fry Karen / How To Fry Broken Wheat Without Oil
Today I will tell you how to fry the daliya / broken wheat.I will not use oil to fry daliya / broken wheat here.Daliya / broken wheat is very good for our health.You can eat it for breakfast, whose khichdi can be prepared and eaten in lunch.You can even eat at dinner and use it in many ways. But frying the river is very important to make things.Let us now see how to fry the daliya / broken wheat. Follow the below method step by step to fry the daliya / broken wheat …
Course Dinner, Indian, Lunch, Main Course, Main Dish
Cuisine Indian
Cook Time 10minutes
Total Time 10minutes
Servings 4people
Calories 172kcal
Equipment
Kadhai / Fry Pan
Spatula
Plate
Ingredients
200gramsBroken Wheat / Daliya
Instructions
Take 200 grams of daliya / broken wheat.
Put a kadhai/ fry pan on the gas.
Add daliya / broken wheat to kadhai/ fry pan.
Keep the gas on medium heat.
But kept stirring the daliya / broken wheat with a spatula.
The daliya / broken wheat has to be stirred continuously so that it does not burn.
When the daliya / broken wheat continues to run, the daliya / broken Wheat will start to turn slightly brown.
As soon as the daliya / broken wheat turns slightly brown, then the daliya / broken wheat fry.
Now you can also make any recipe by daliya / broken wheat fry.
So we saw how easy it is to fry the daliya / broken wheat.
But one thing to keep in mind is that while stirring the daliya / broken wheat continuously, fry it, otherwise the daliya / broken wheat will burn in the bottom and then it will be very dirty to eat.
Fried daliya / broken wheat is ready.
You can also eat fried daliya / broken wheat like rice.
Or you can also eat fried daliya / broken wheat like Tehri or Khichdi.
Daliya / broken wheat contains good amount of fiber, it is very beneficial for health.
Notes
Daliya / Broken Wheat is very good for our health.
You can eat it for breakfast, whose khichdi can be prepared and eaten in lunch.
You can even eat at dinner and use it in many ways. But frying the river is very important to make things.
If you cook without frying it will be very useless and you will not be able to eat.
Today I will tell you a very important thing in the match that if you want to control your weight.
And if you are very fond of rice, you can use Daliya / Broken Wheat instead of rice.
And believe me the Daliya / Broken Wheat taste looks exactly like rice.
This is my adopted method. I do not eat rice while I like rice a lot.
Because of this I eat daliya / broken wheat. I don’t even think I’m eating oatmeal. It seems to me that I am eating rice, but eating daliya / broken wheat has immense benefits.
The first is that we buy packeted flour from the market to eat flour, then what happens in it that wheat is brewed to make the dough.
And when grinding wheat, the company removes the top layer of wheat. So all the elements in it, all end there.
But what is daliya / broken wheat, in the kitchen we make wheat by making daliya / broken wheat.
Or we buy daliya / broken wheat from the market. So all its essential elements remain in daliya / broken wheat, daliya / broken wheat is very good for the stomach, face glow for our body and for the whole body.
You can also make sweet dish with the help of daliya / broken wheat.
You can also try Tel se Daliya Kaise Fry Karen / How to Fry Broken Wheat With Oil.
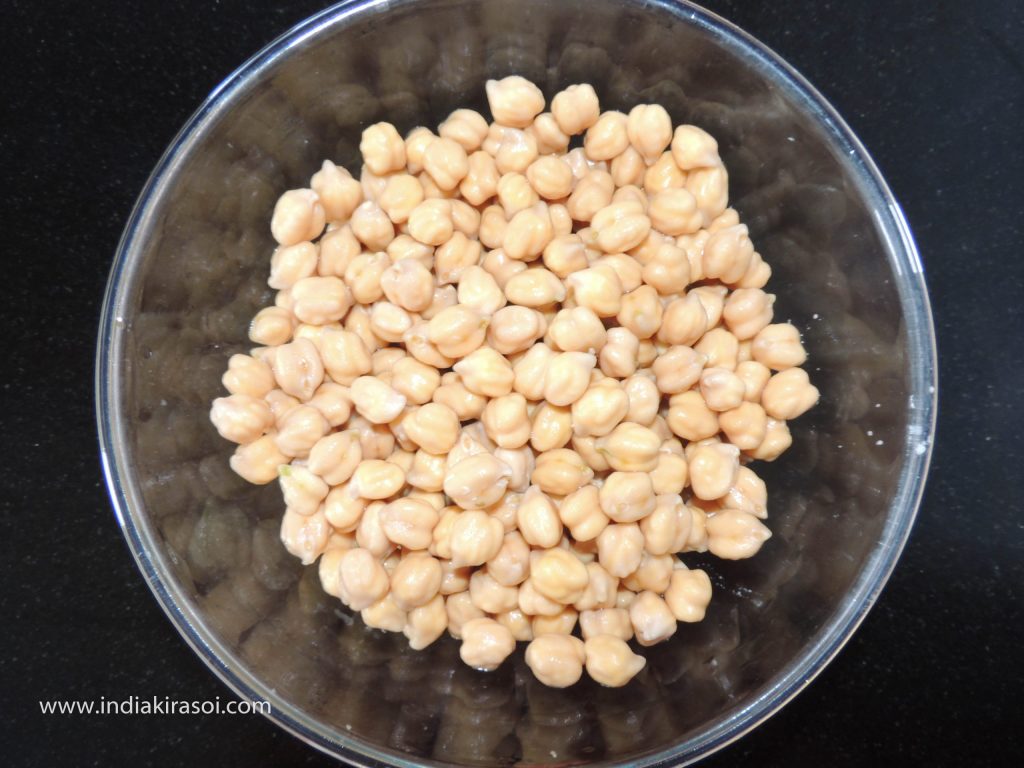
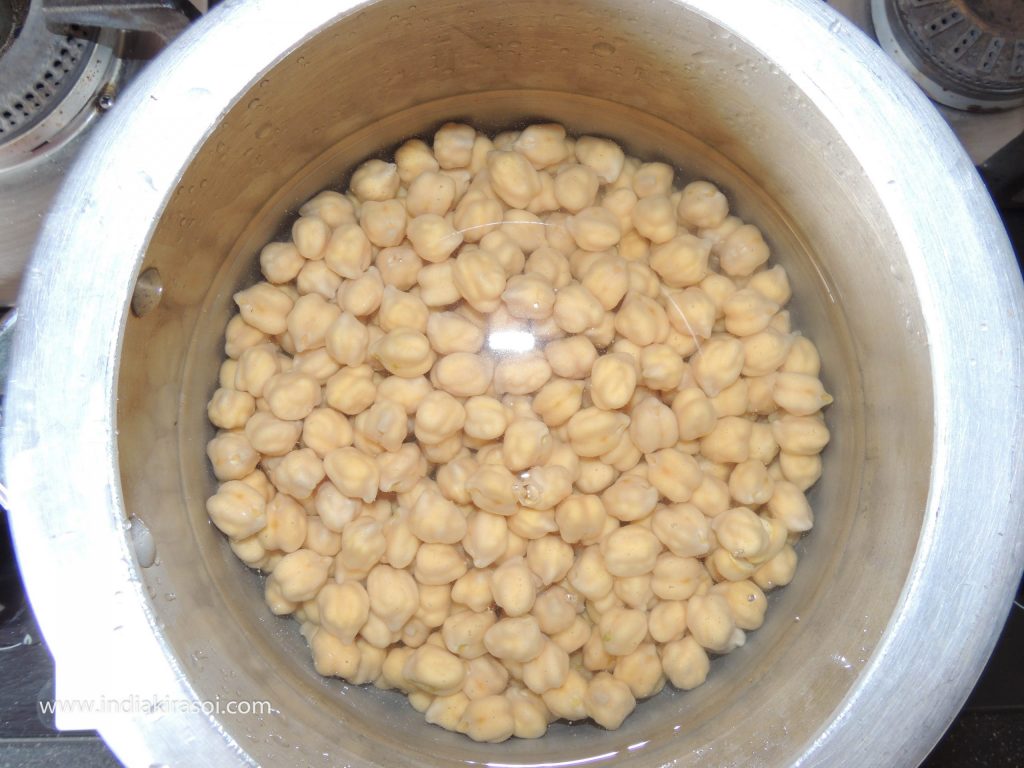
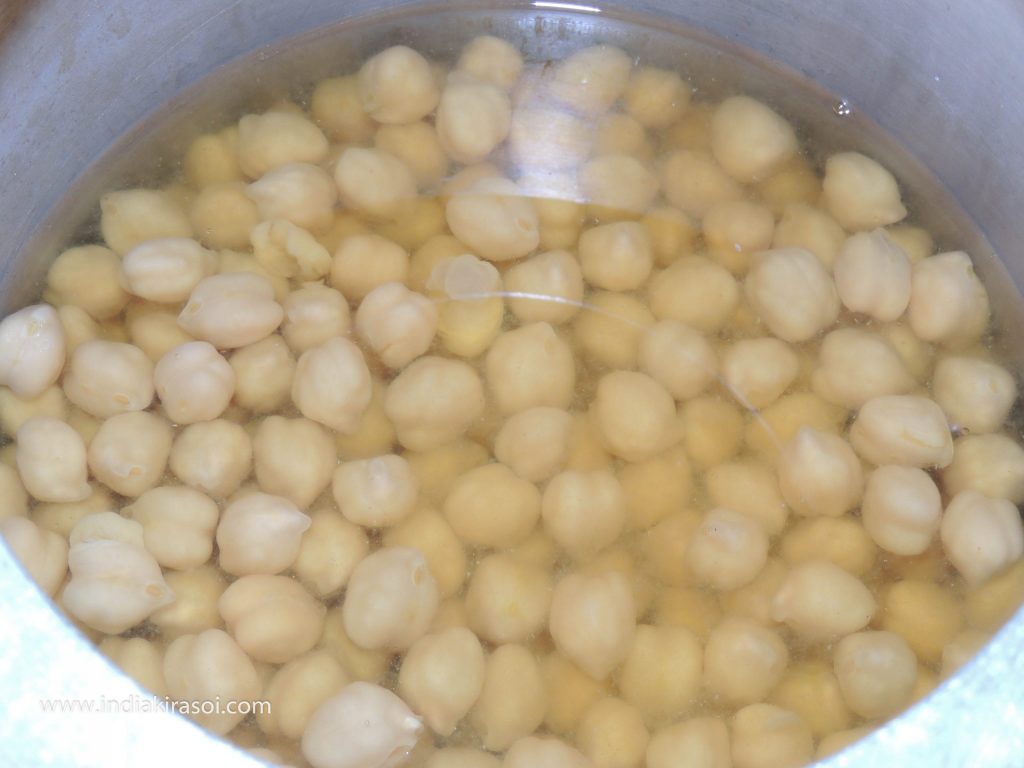
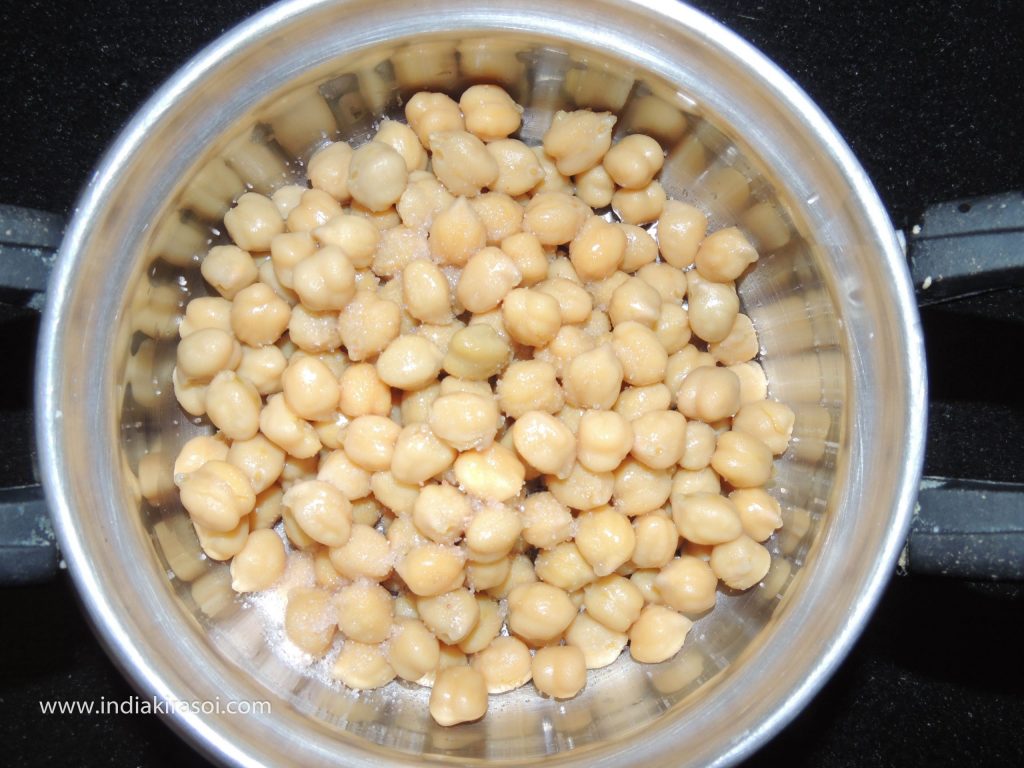
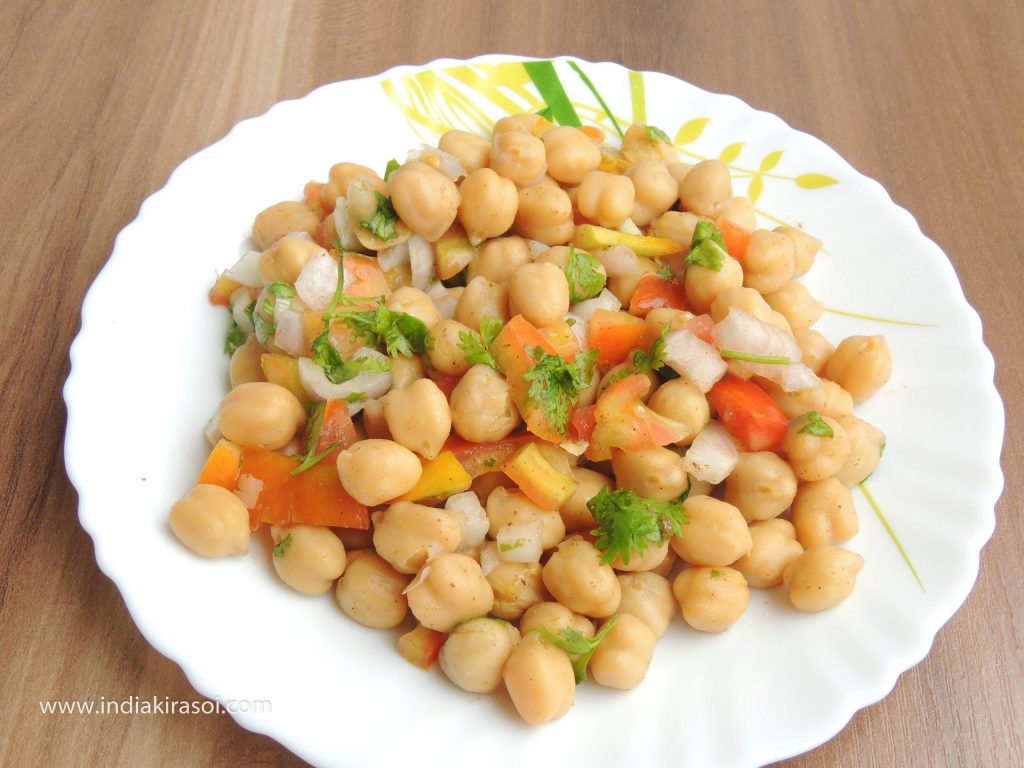
Chickpeas are good to eat. Along with this, chickpeas are also very beneficial for health.
Kabuli chana or chick pea (Cicer eritinum) is an annual function of the family Fabaceae, subfamily Faboidae.
Chickpeas serve as an energy and protein source.
Serving 100 grams of cooked chickpeas gives 164 kilocalories (690 kJ). The ripe chickpeas are 60% water, 27% carbohydrate, 9% protein and 3% fat (Table). .75% of the fat content is unsaturated fatty acids, for which linoleic acid contains 43% of the total fat.
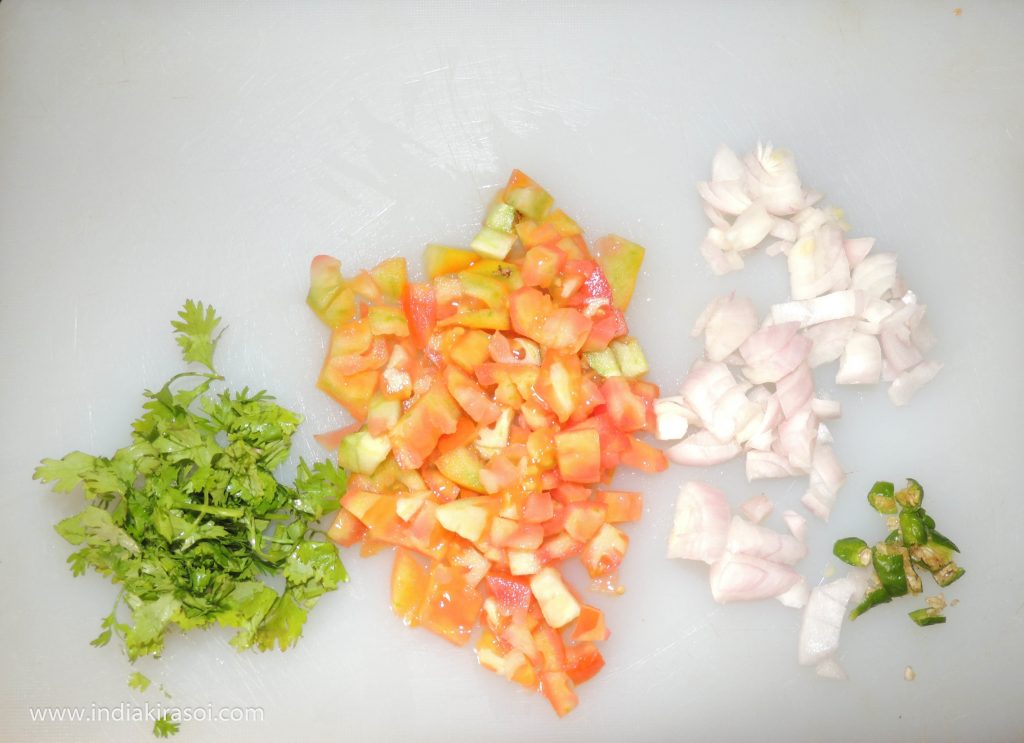
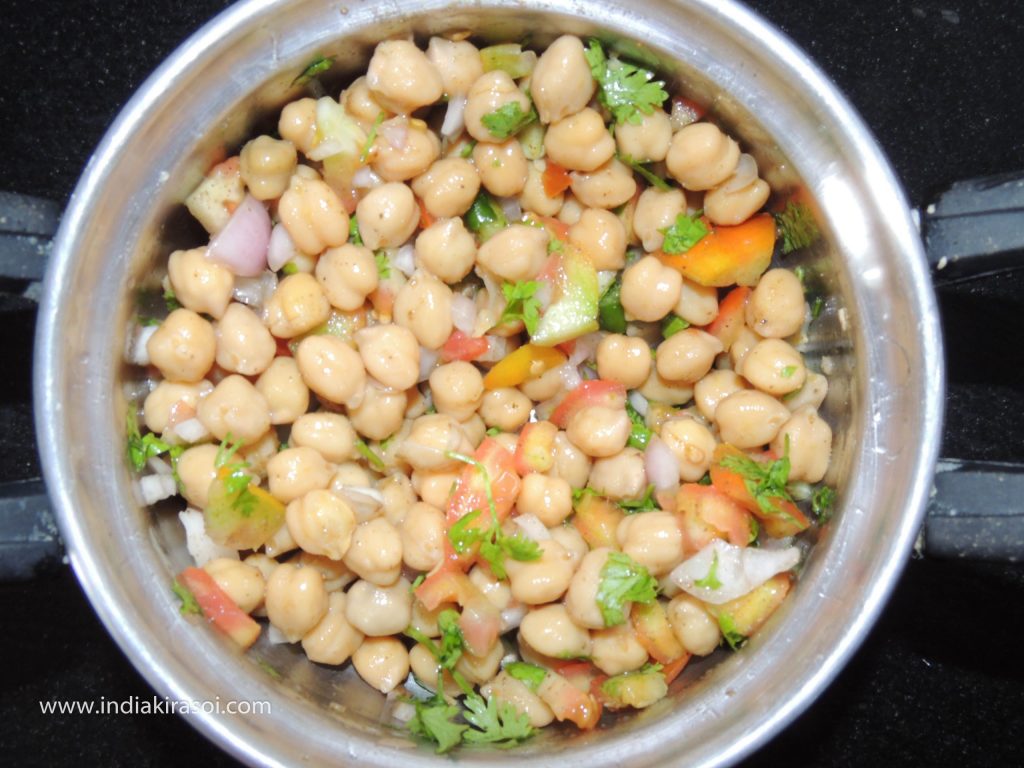
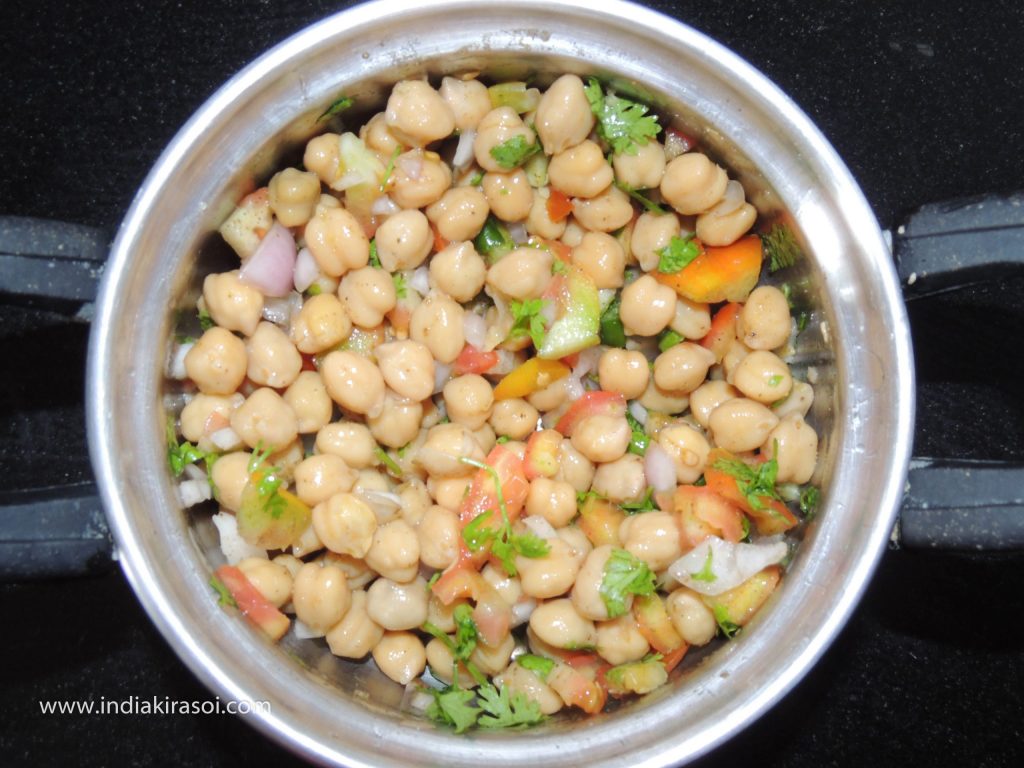
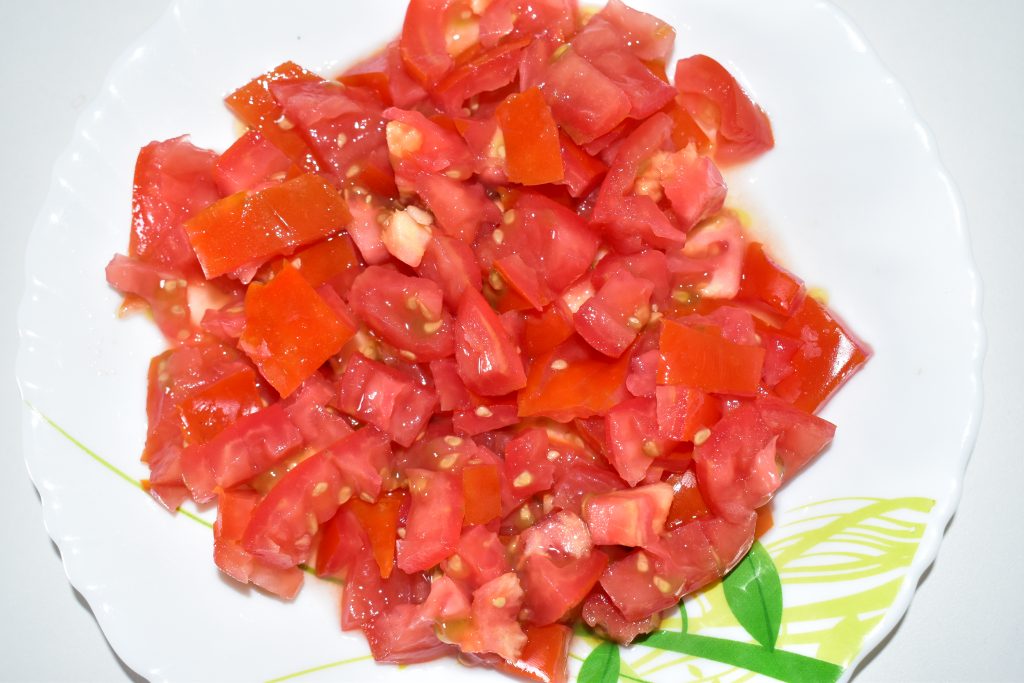
It is very easy to make nutritious and tasty chickpeas salad and it is also very tasty in food and also very nutritious for health.
To make nutritious and tasty chickpea salad, follow the method given below…
Course Breakfast, Indian, Lunch, Main Dish, Snacks, Starter
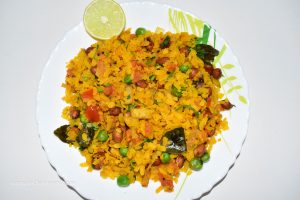
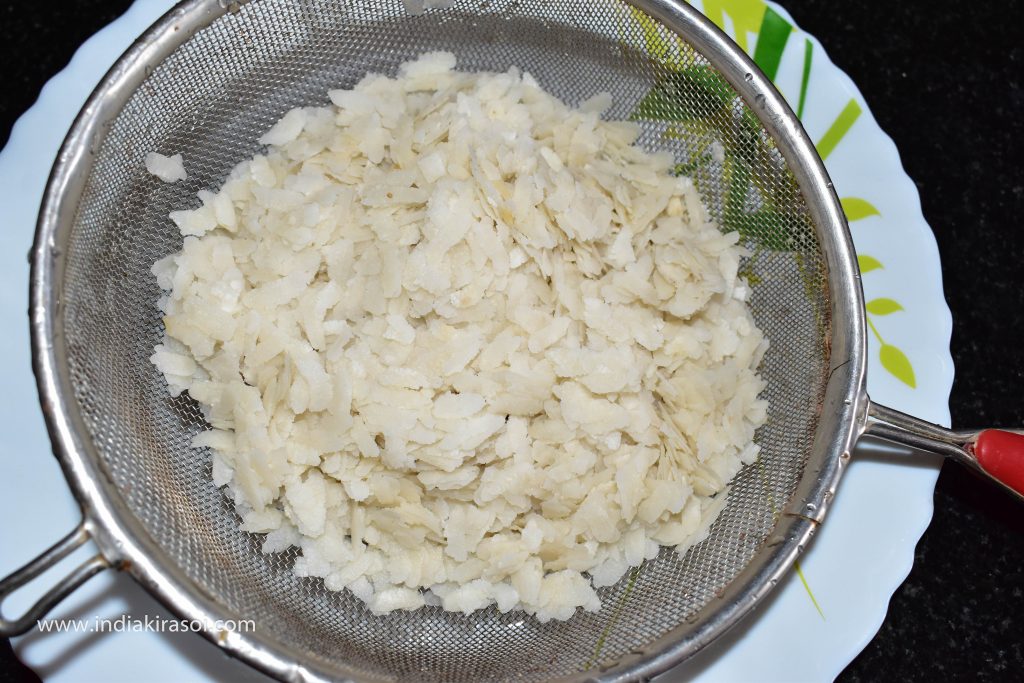
Poha is a very easy and good breakfast for health.Poha is very popular in Maharashtra but it is an easy and tasty snack to be used as breakfast all over India.Poha is made in a very tasty way using onion, potato, lemon juice, curry leaves, and tomatoes.You can also add peanuts to it, in the same way, you can eat poha raw in water or milk mixed with salt and sugar or you can fry it lightly in oil.In Chhattisgarh, raw poha eat with mix with jaggery…
Course Breakfast, Lunch, Main Course, Main Dish, Side Dish, Snacks, Starter
Cuisine Breakfast, Main, snacks
Prep Time 10minutes
Cook Time 10minutes
Total Time 20minutes
Servings 4People
Calories 65kcal
Cost 30 rupee
Equipment
Kadhai / Fry Pan
Plate
Knife
Spatula
Ingredients
200gramsRaw beaten rice or poha
1UnitPotato
1UnitTomato
1/2CupGreen Peas
4-5tspRaw Peanut
1UnitGreen Chili
1Medium Sizeonion
1/2tspMustard Seeds
1/2tspTurmeric Powder
2tspLemon Juice
1/2tspRed Chili Powder
2tspGreen coriander leaves
5-6LeavesCurry Patta
asper tasteSalt
3tspOil , for frying peanuts
1tspOil, To make Poha
Instructions
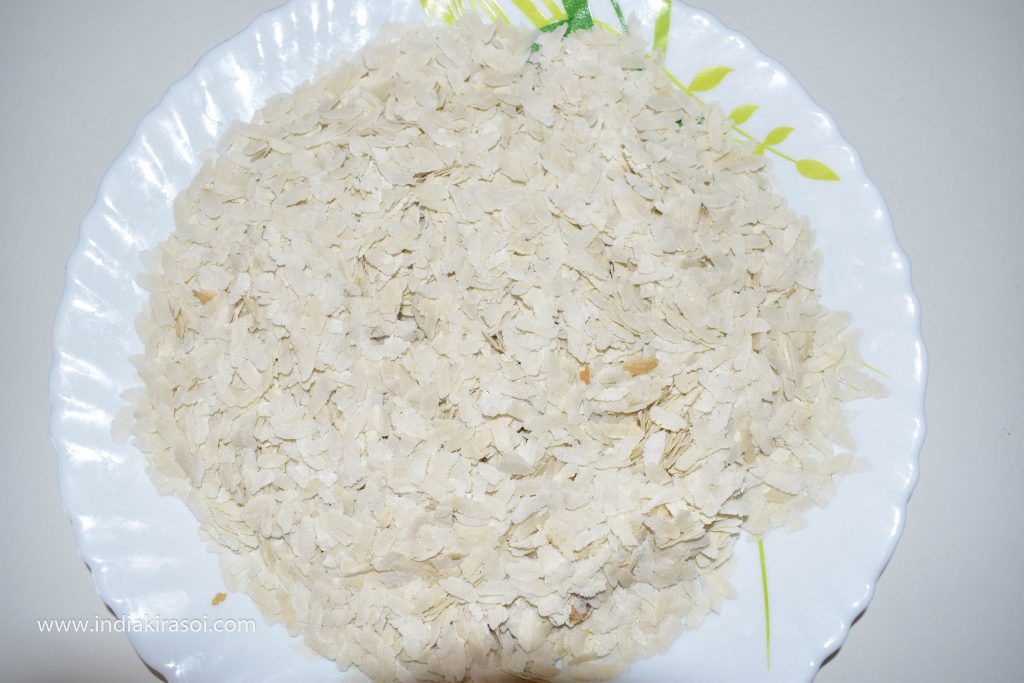
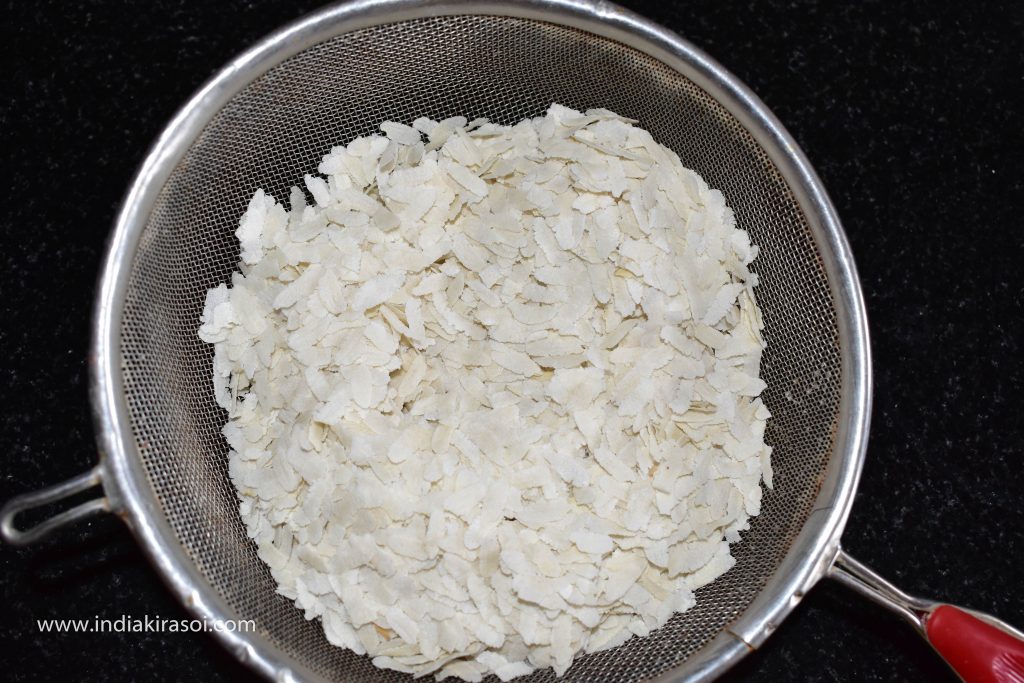
First take 200 grams of poha.
If poha is dirty then clean it.
Then wash the poha in a sieve.
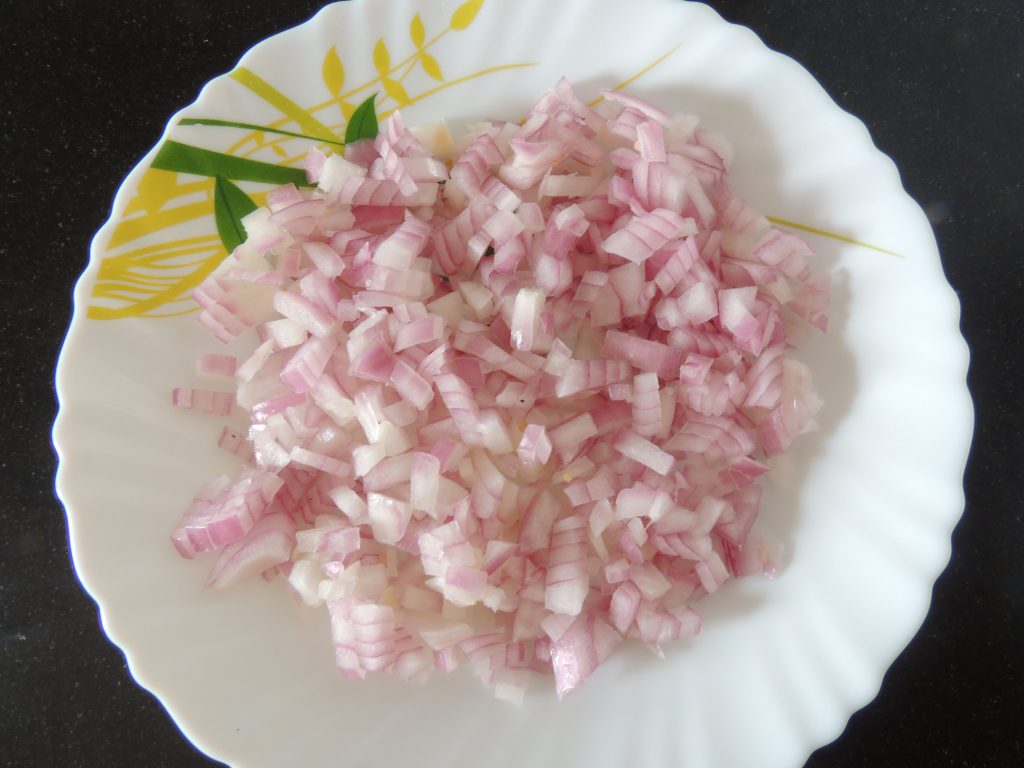
1 medium size finely chopped onion.
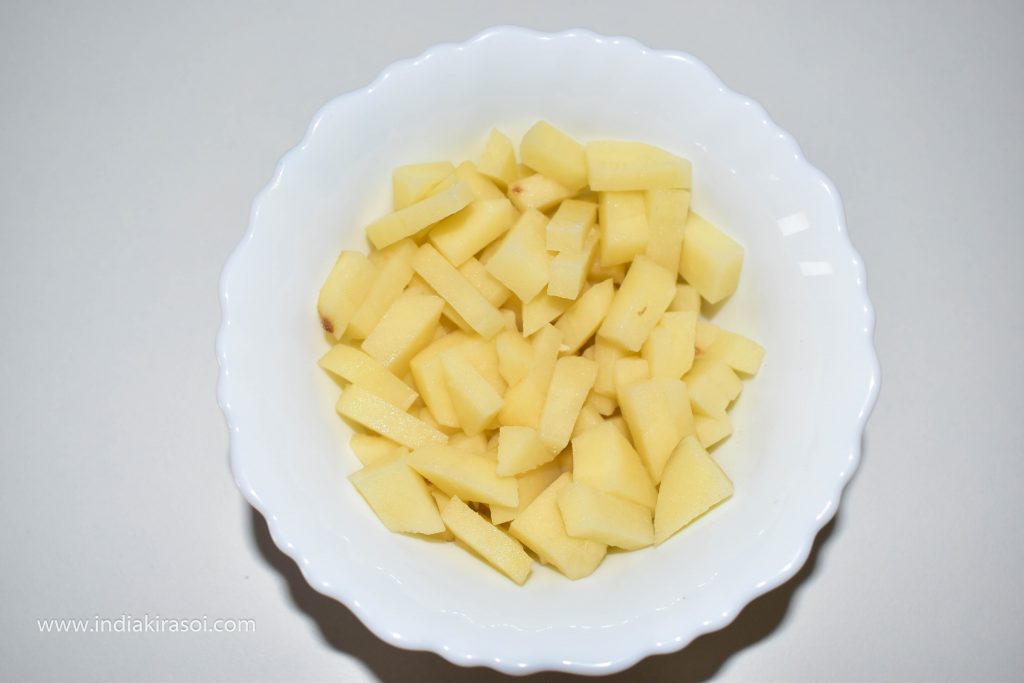
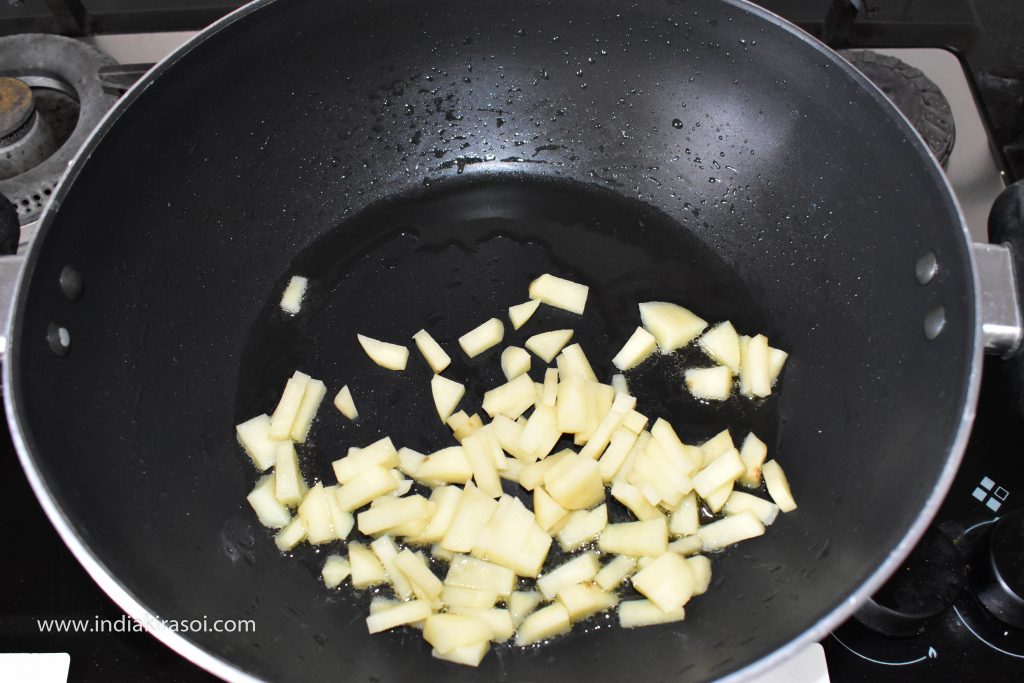
1 medium size potato peel cut into small pieces.
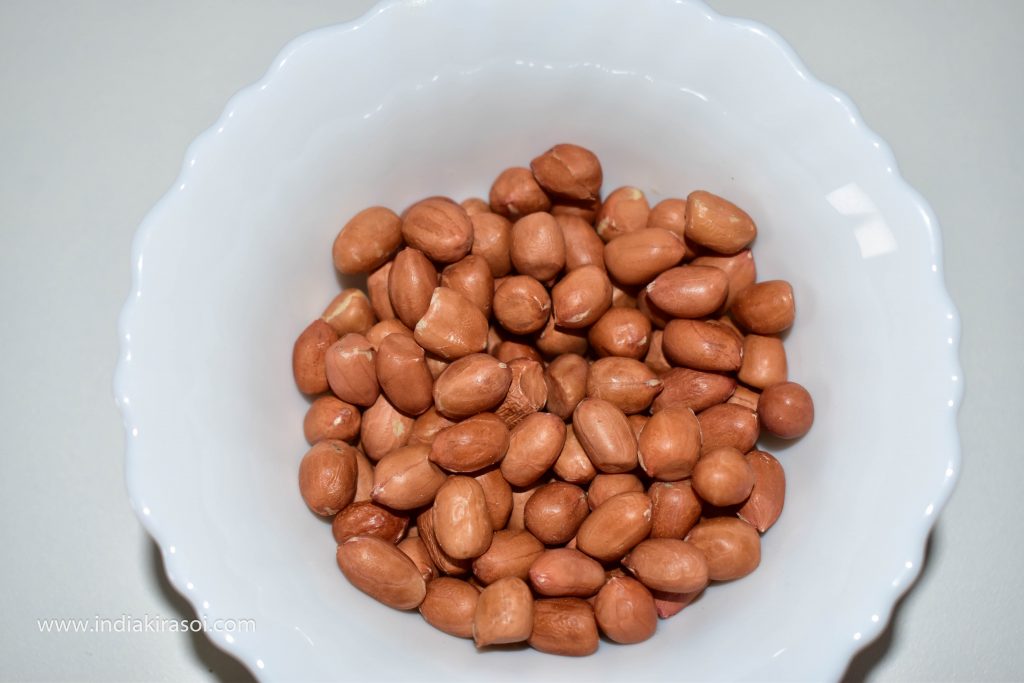
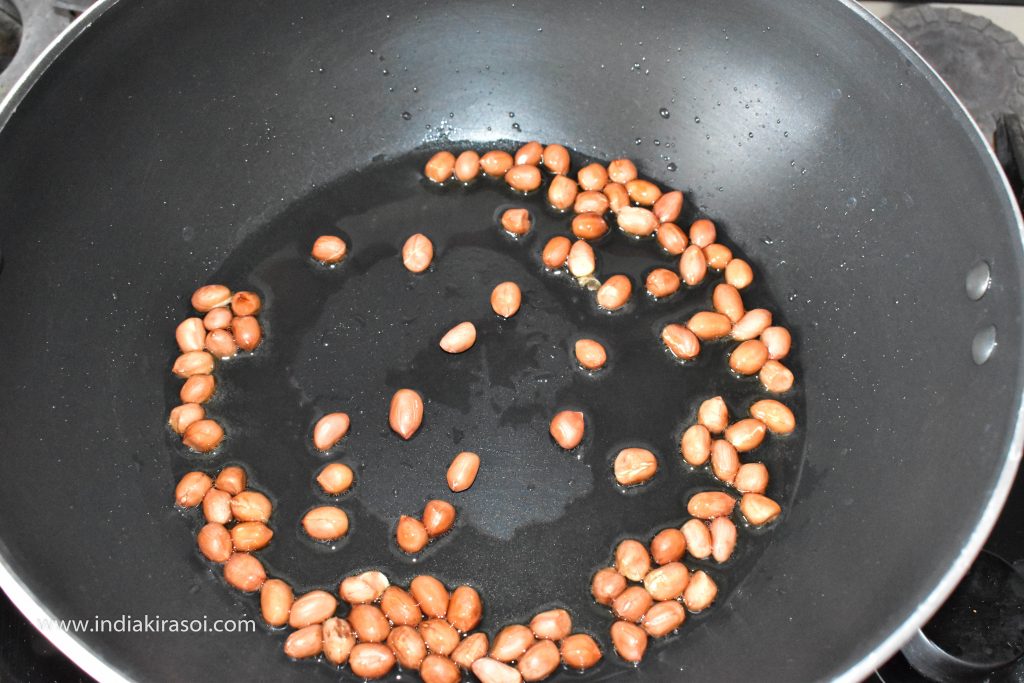
Take 4 to 5 teaspoons of peanuts.
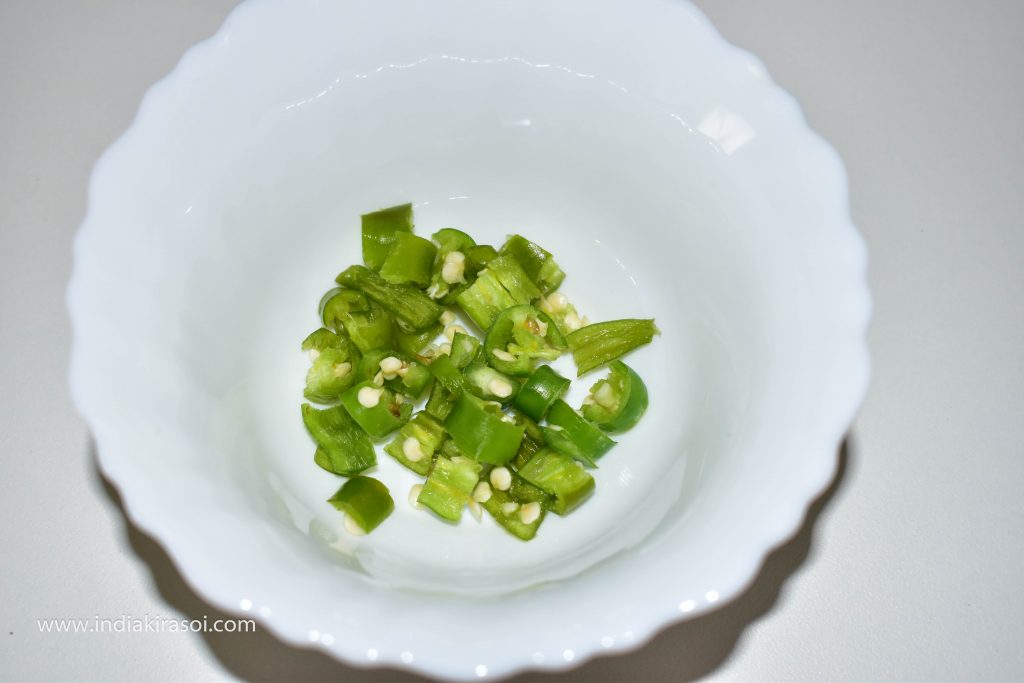
Chop a tomato into small pieces.
Chop a green chili into small pieces.
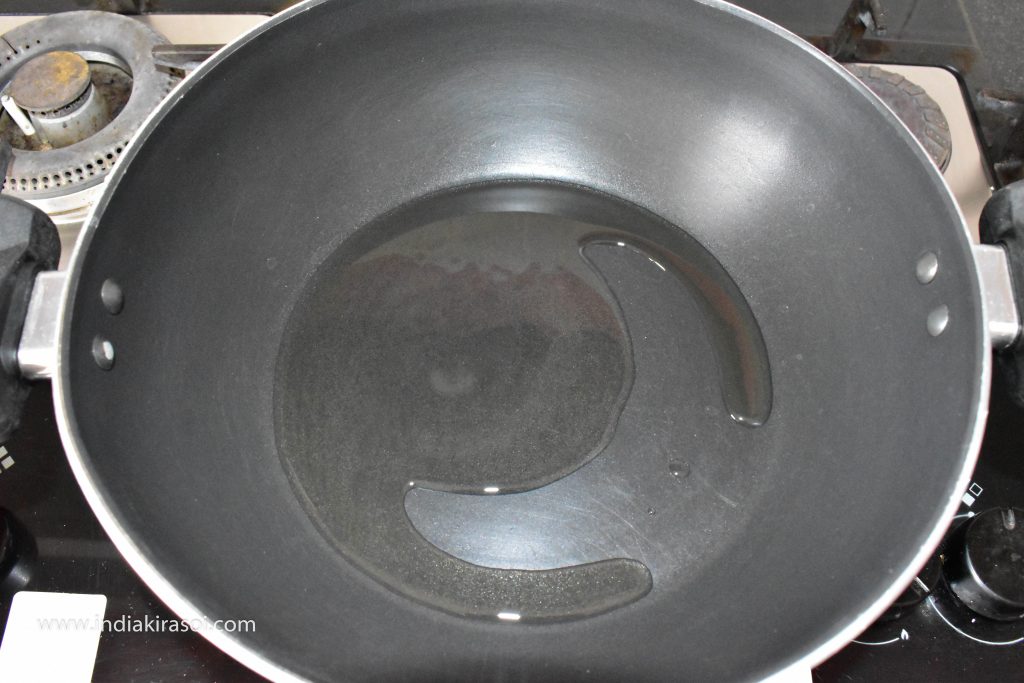
Now put the kadhai/pan on the gas.
Put 2 to 3 tsp of oil in the kadhai/pan.
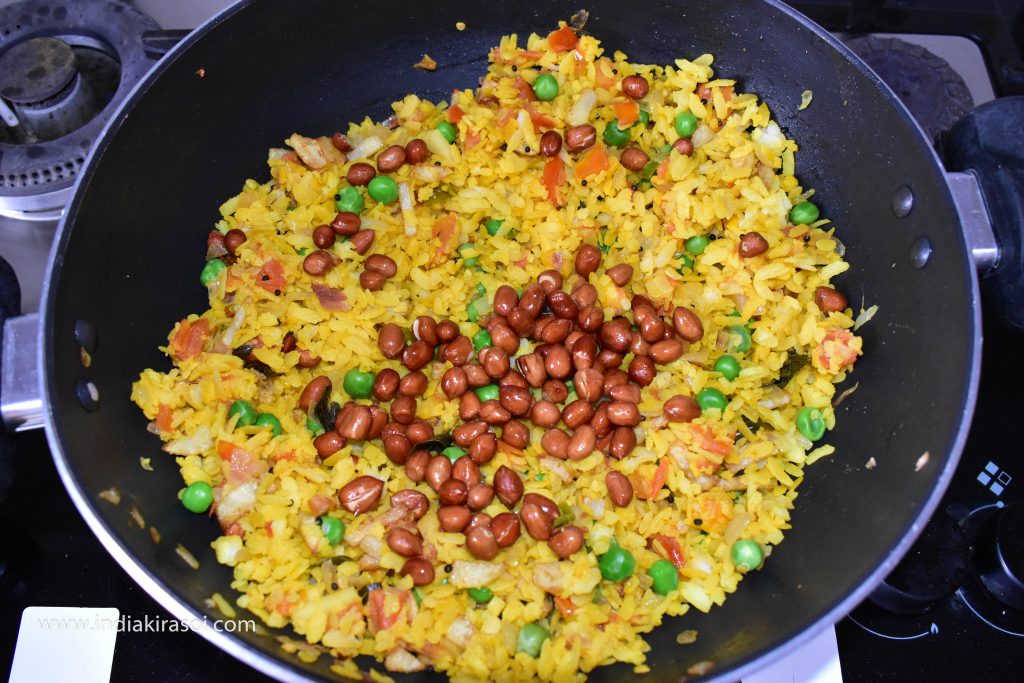
When the oil is hot, add raw peanuts to it.
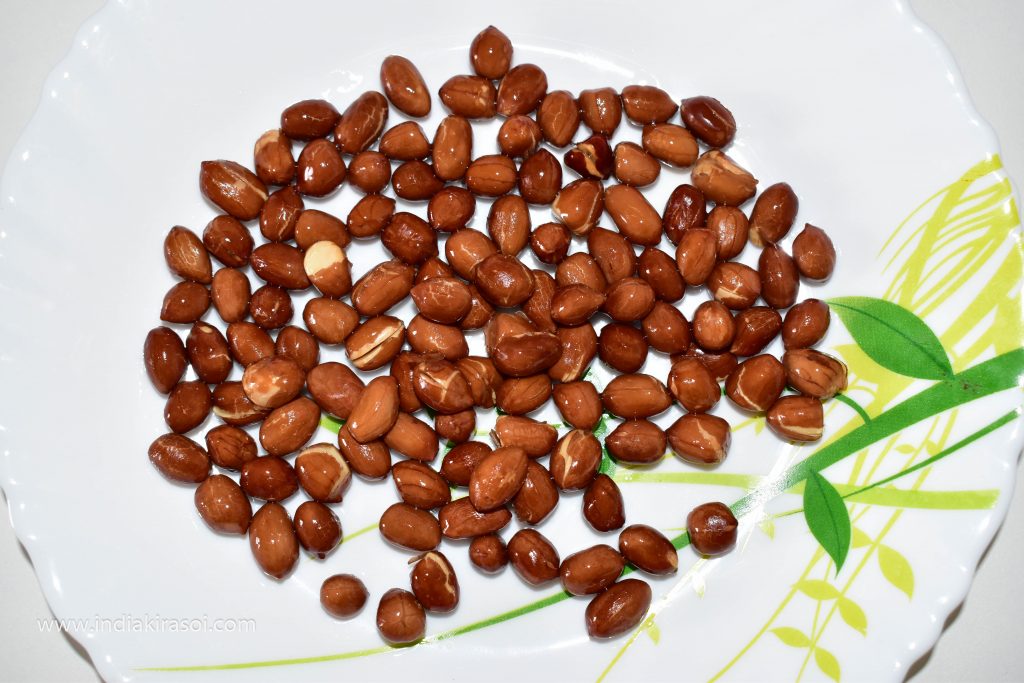
Fry peanuts on medium heat.
When the peanuts are fried, take them out in a separate plate.
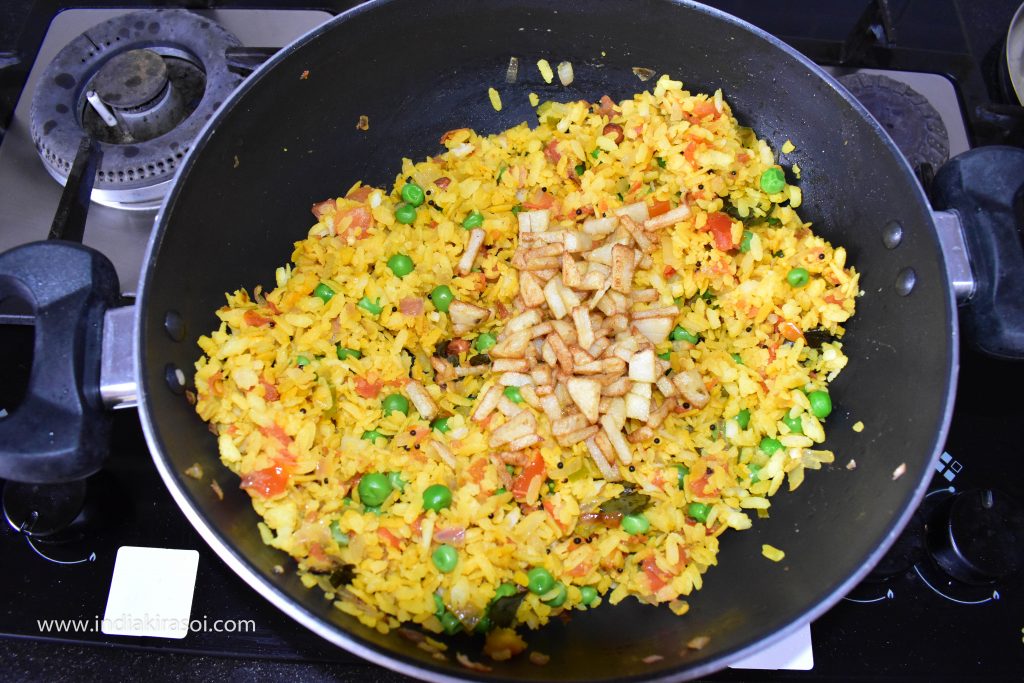
Now add chopped potatoes in the oil left in the kadhai/pan.
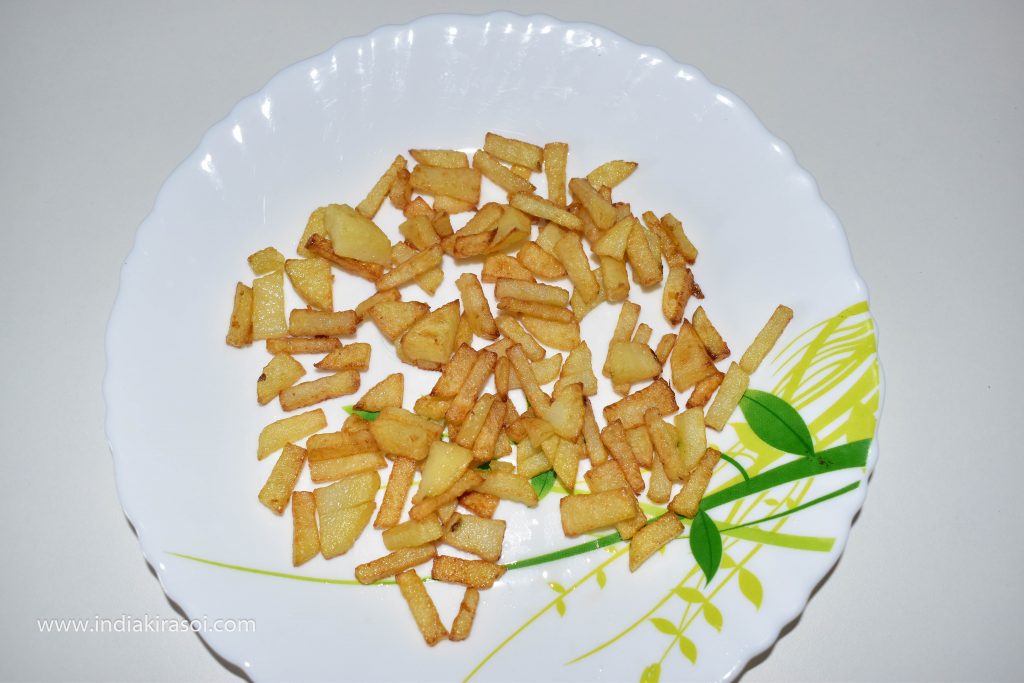
Fry the potatoes on medium heat.
When the potatoes are fried, take them out in a separate plate.
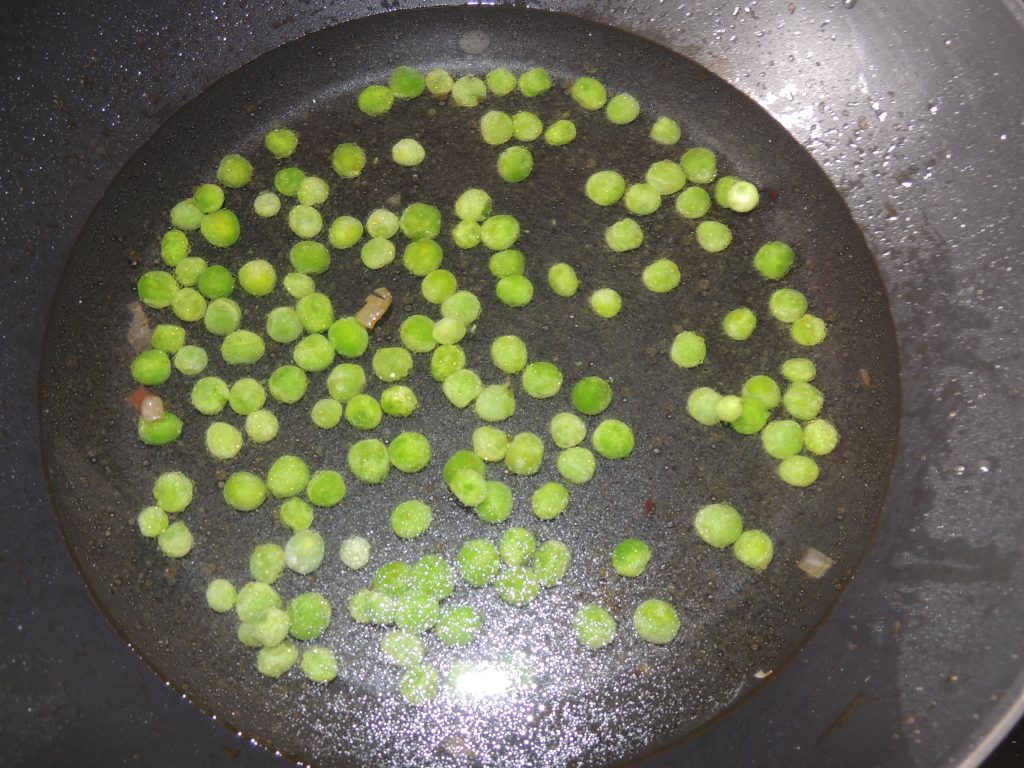
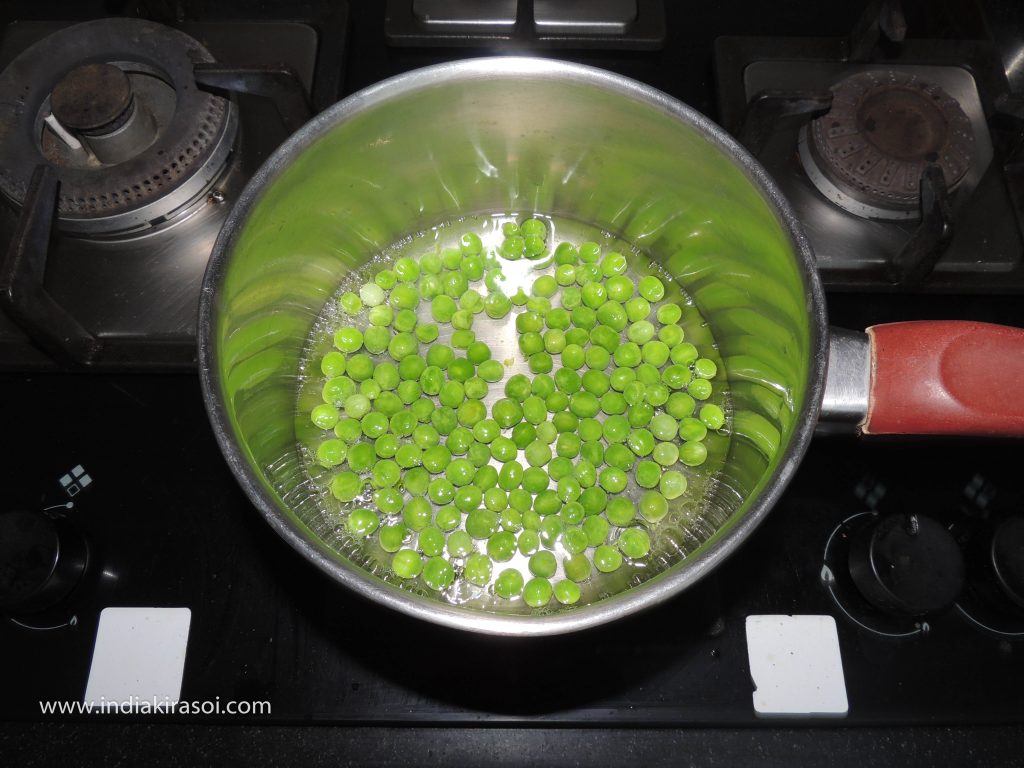
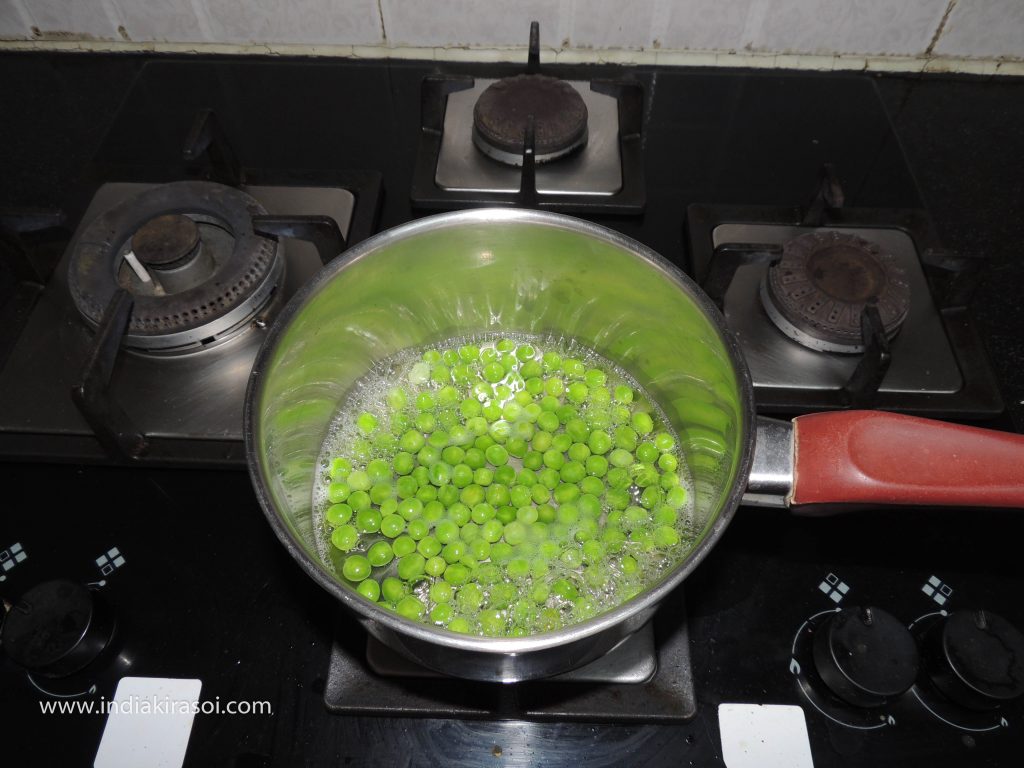
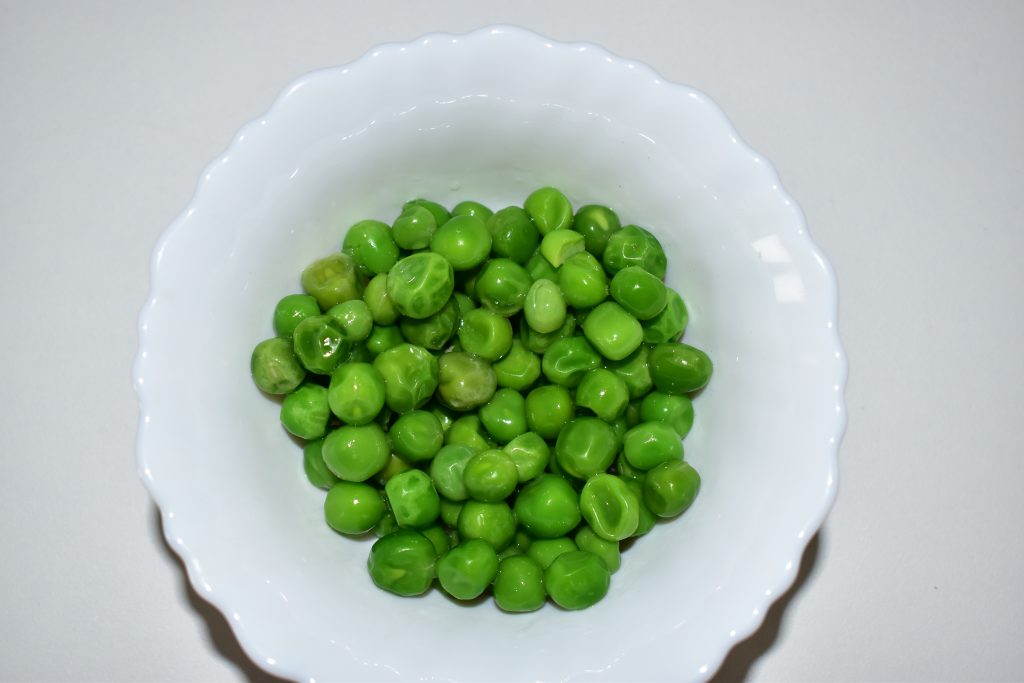
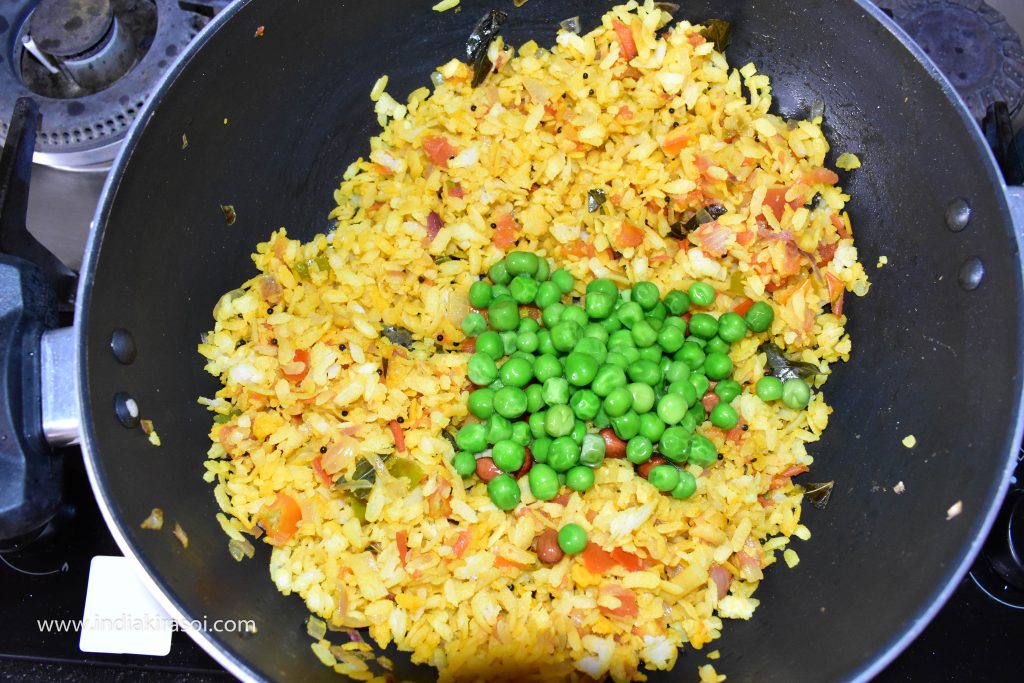
Meanwhile, put half a cup of peas in a pan on the second gas and add half a cup of water to the medium flame.
When the peas start boiling, turn off the gas and remove the water from the peas and keep it in a separate bowl.
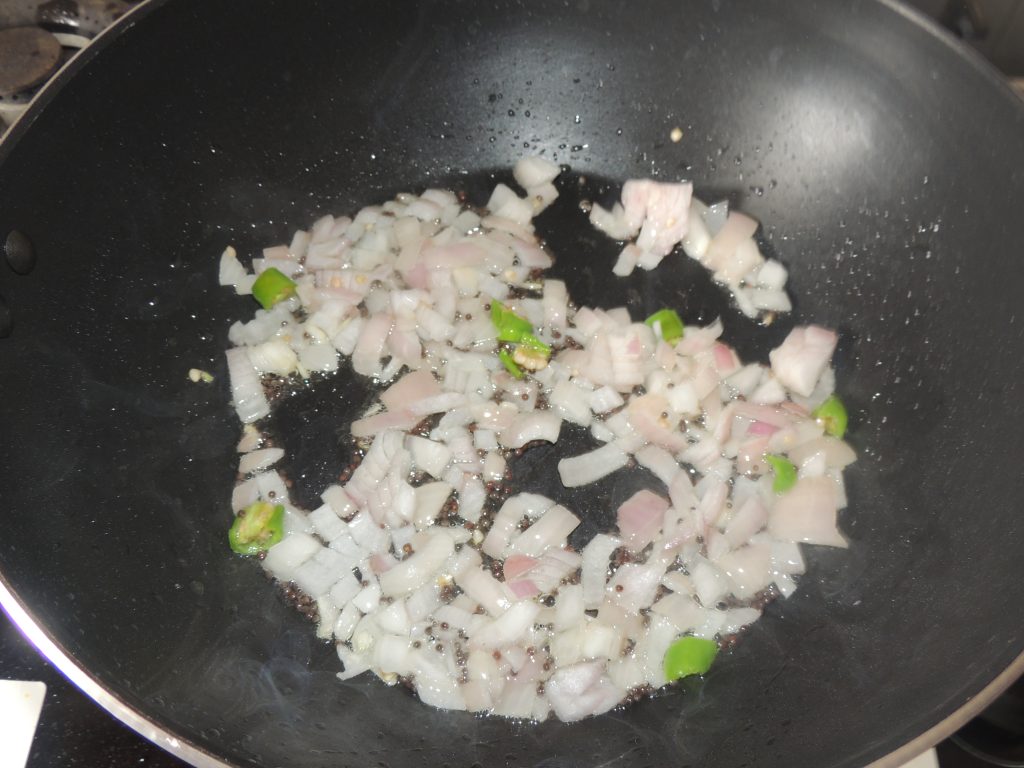
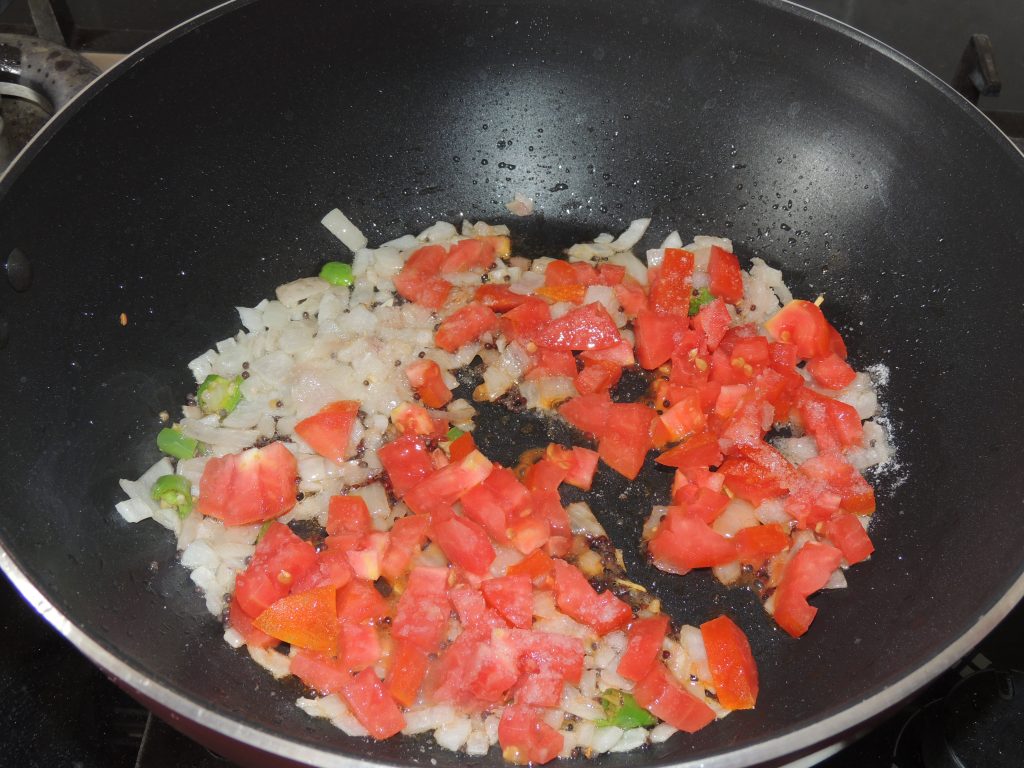
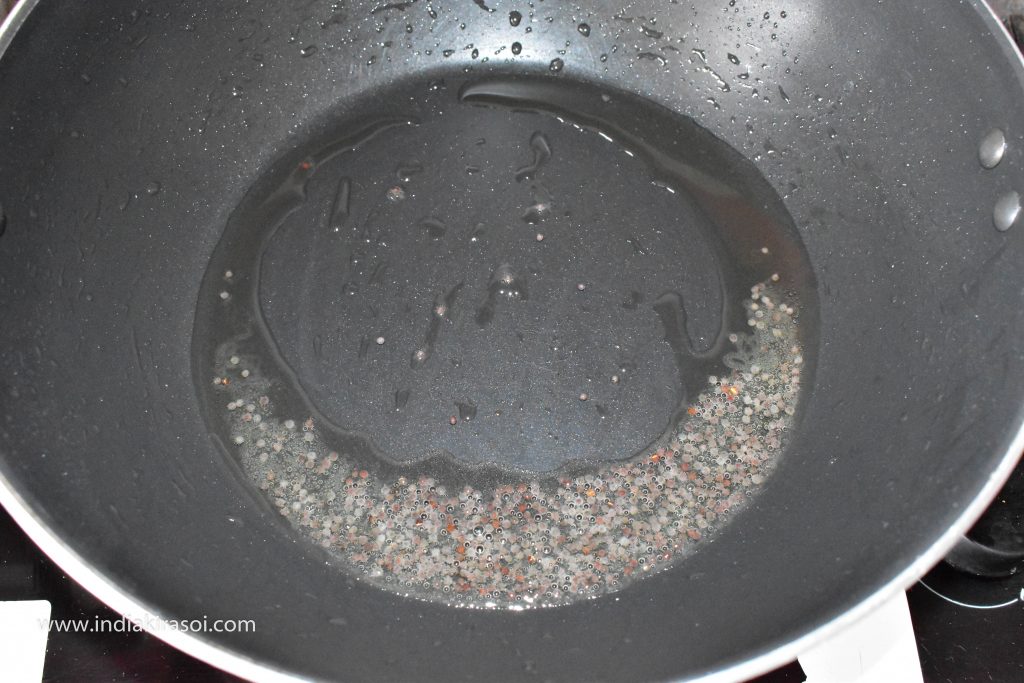
If the oil is left in the pan, use the same oil if there is no oil left in the pan, then put one spoon of oil in the kadhai/pan. When the oil is hot, add mustard seeds to it.
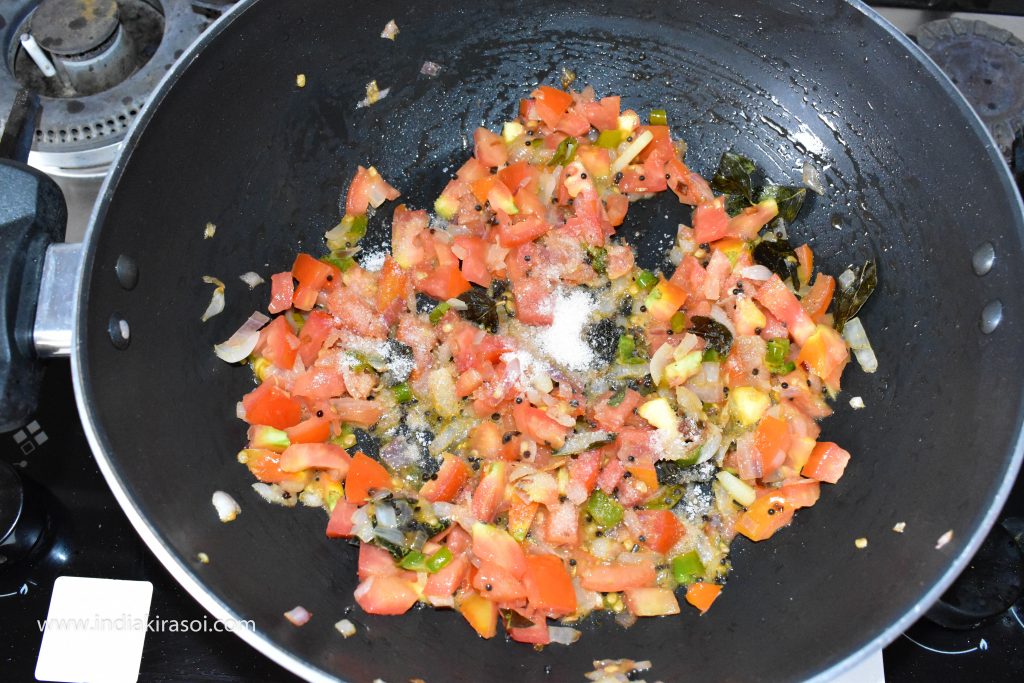
When the mustard seeds crackle then add curry leaves to the mustard seeds.
Then add green chili.
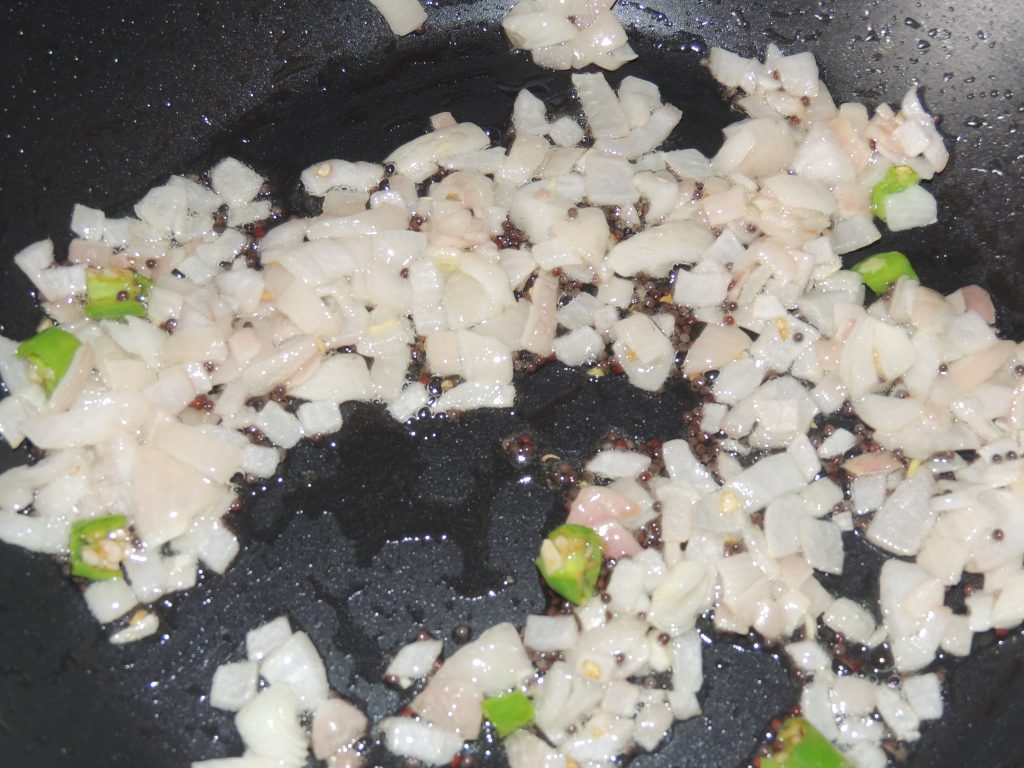
When the green chilies fry lightly, add chopped onions to the kadhai/pan.
Now fry the onion, when the onion starts to turn brown, add chopped tomatoes to the onion.
Mix the tomatoes with the onion and add light salt and half a teaspoon turmeric powder.
Do not add too much salt, add according to the quantity of tomatoes.
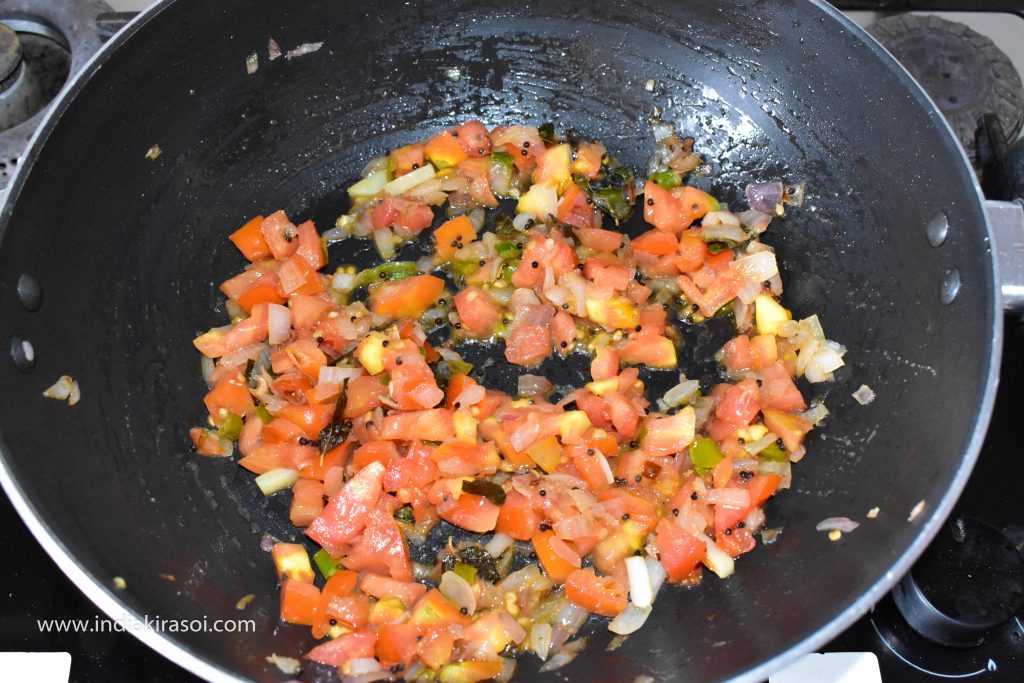
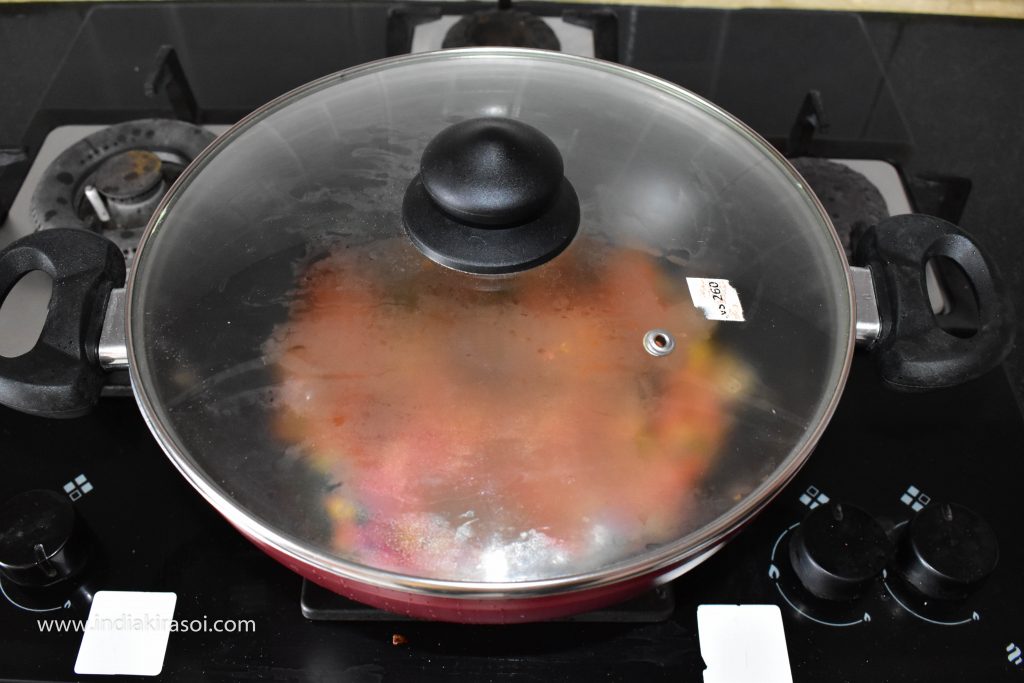
Now mix the salt in the tomatoes and cover the lid.
After a minute remove the lid from the pan and stir the tomatoes again.
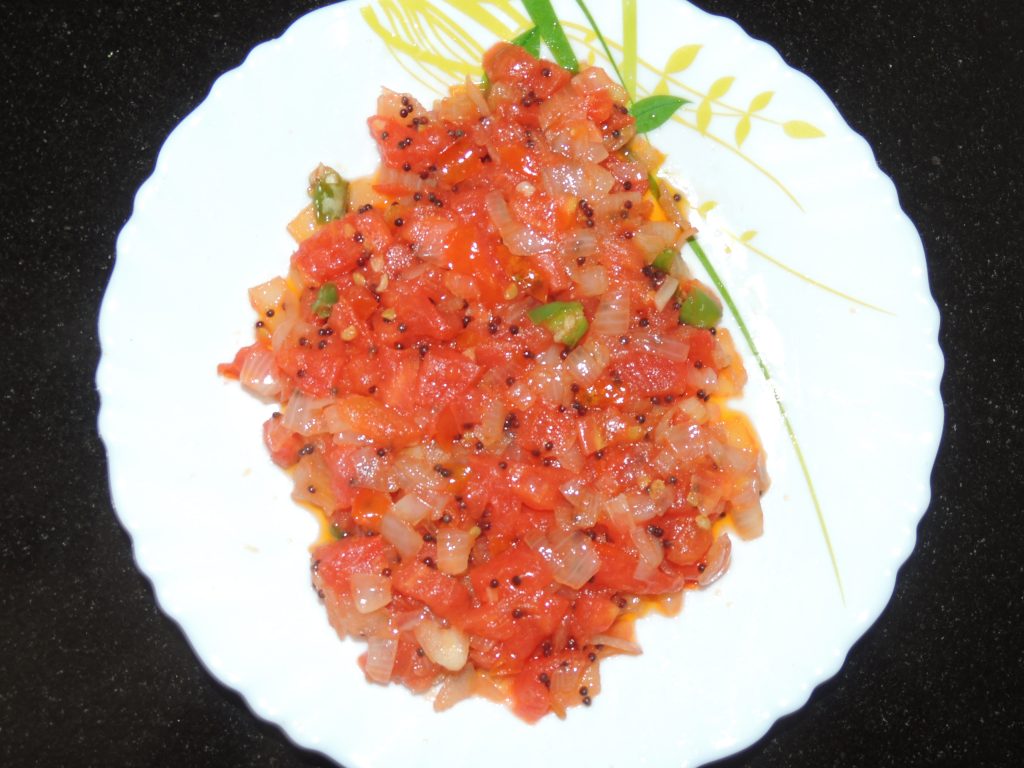
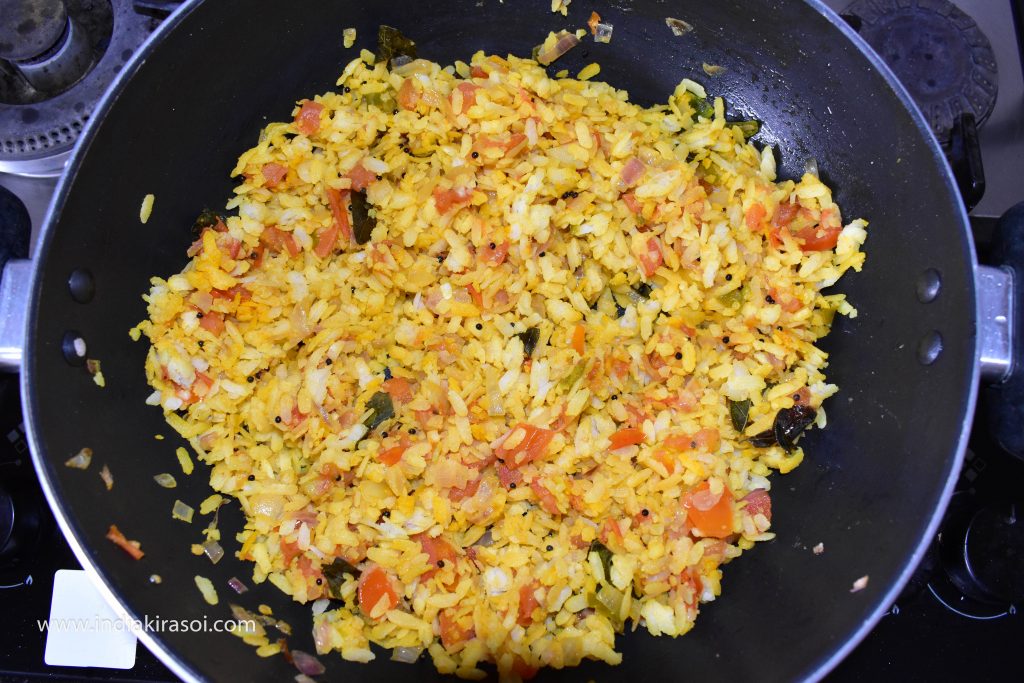
If the tomato is cooked, add poha to it.
Mix the poha well and add some salt.
Also add boiled green peas.
Then add fried potatoes to the poha.
And fry poha for a minute on medium heat.
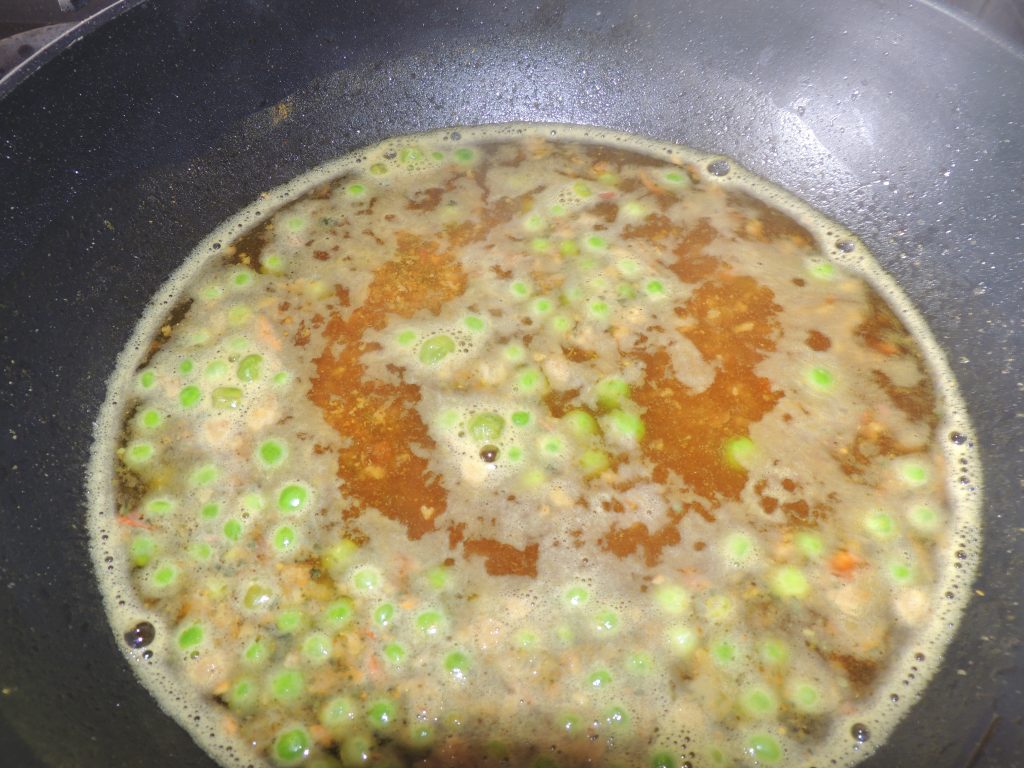
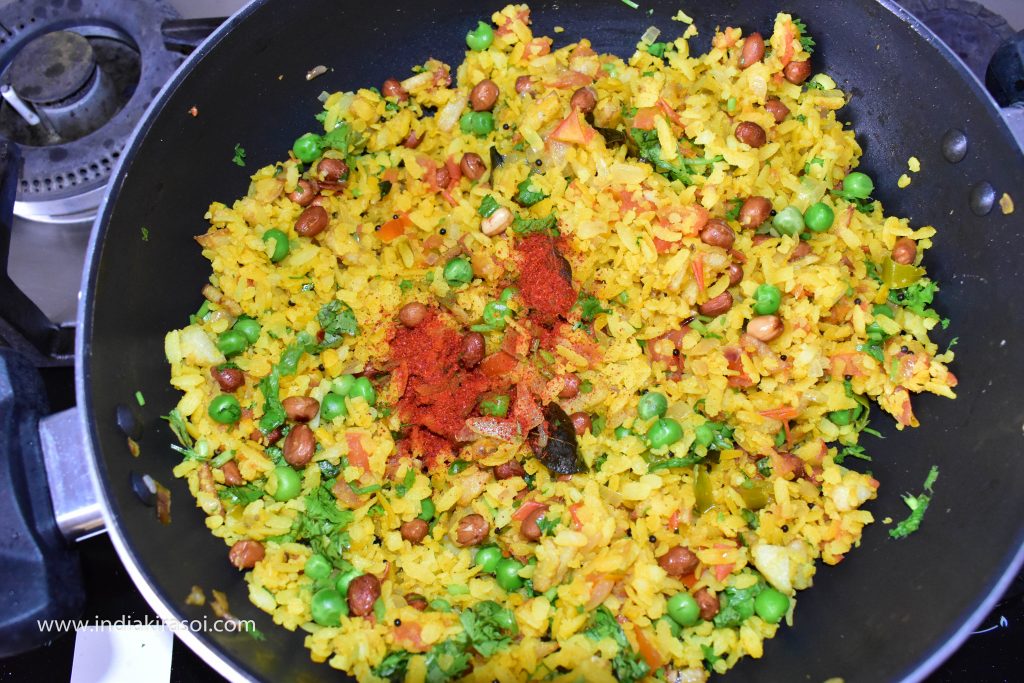
Then add fried peanuts to the poha and fry for one to two minutes.
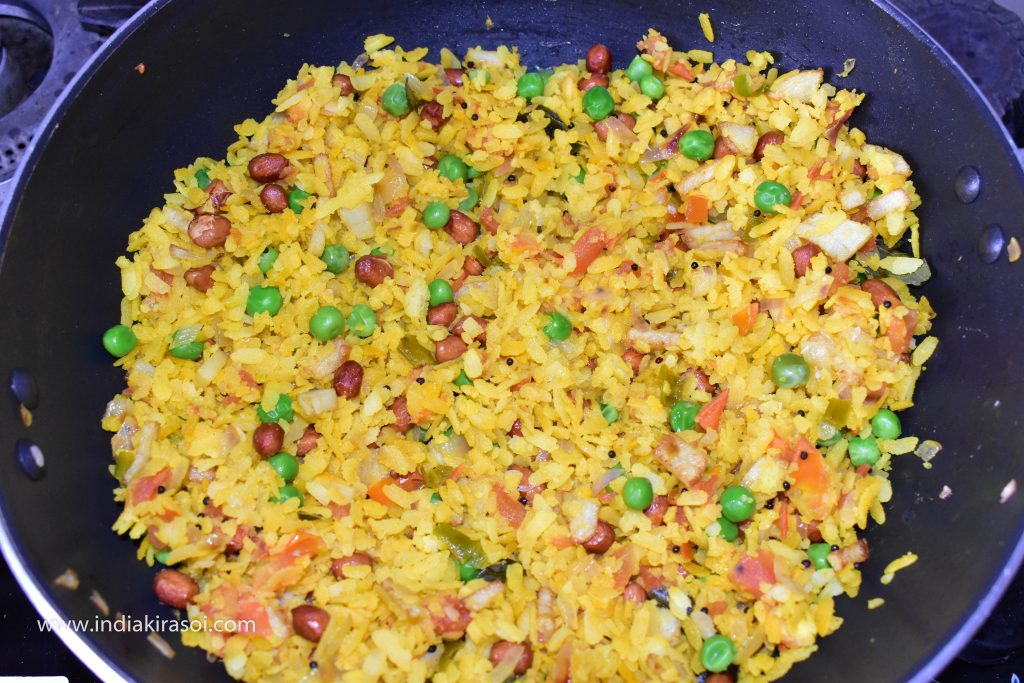
Then add 2-3 teaspoons lemon juice and mix.
After adding the juice, add green coriander and mix well.
Then add half teaspoon red chili powder and mix.
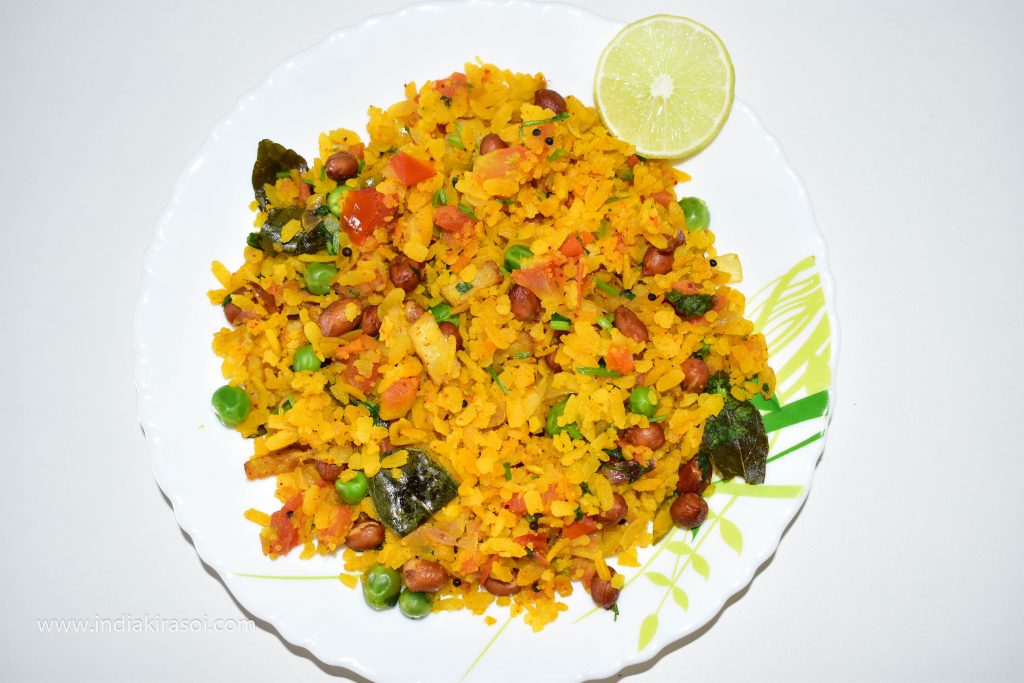
Delicious poha is ready.
Serve Poha and Enjoy Poha with Tea.
The answer to this is careful. Even the easiest cooking requires a degree of attention and care. But ultimately all it involves is first knowing the right way to go and then being happy to be able to boil perfect eggs for the rest of your life without even having to think about it.
Course Breakfast, Dinner, Indian, Lunch, Main Course, Main Dish, Side Dish, Snack, Snacks
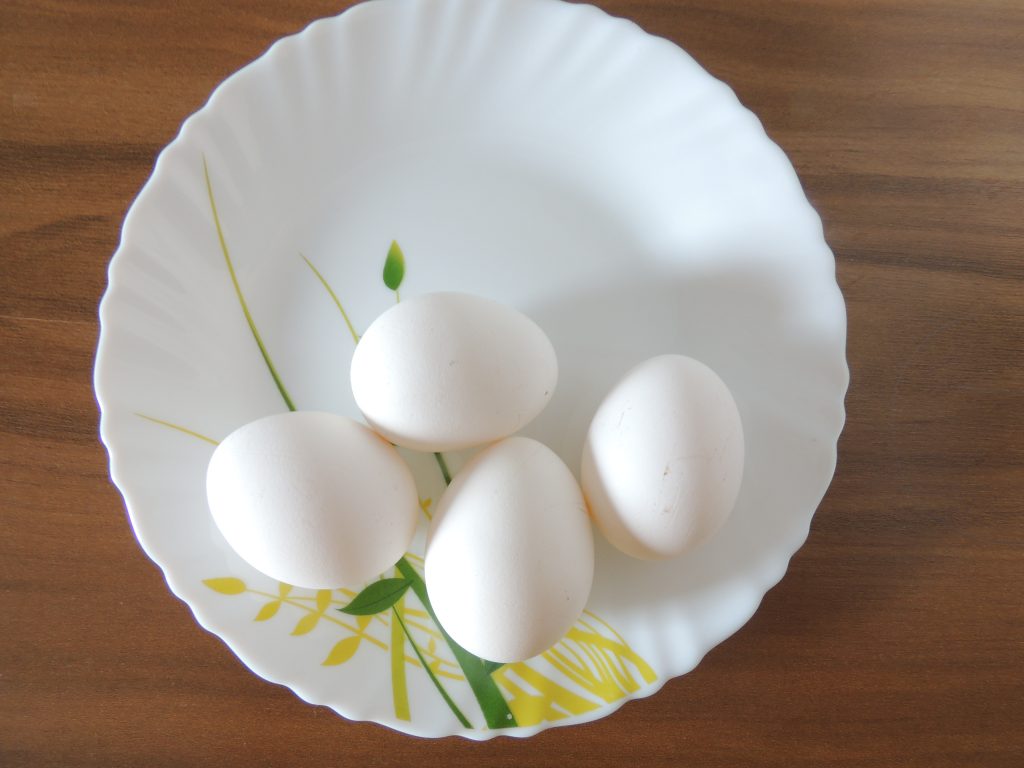
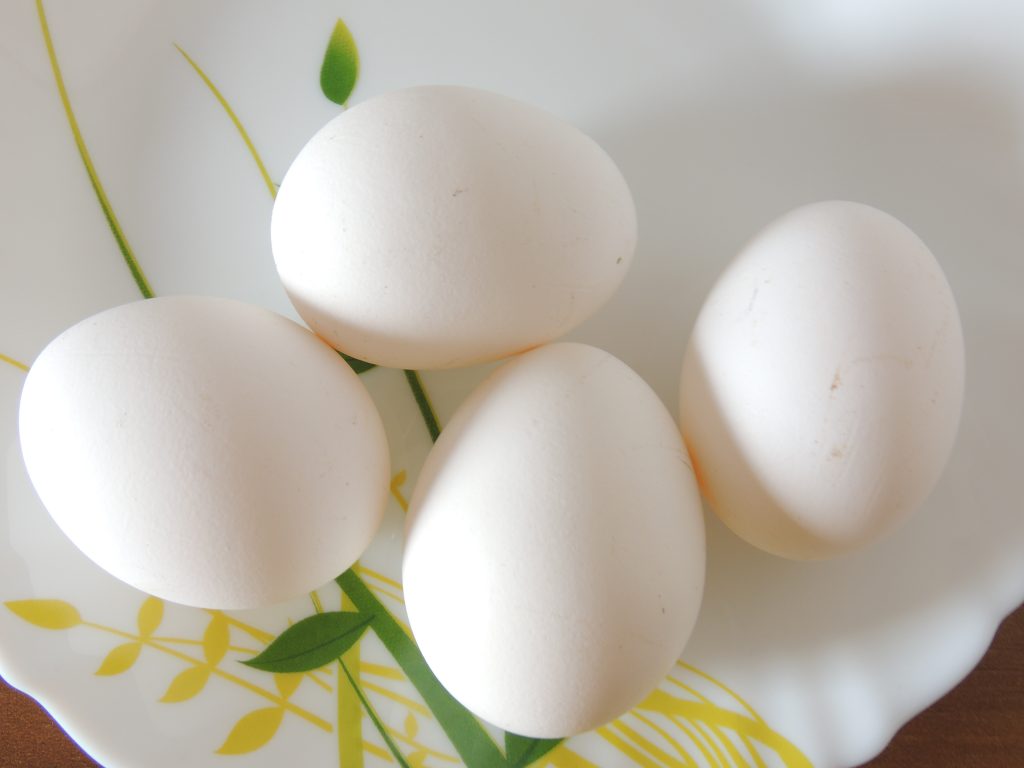
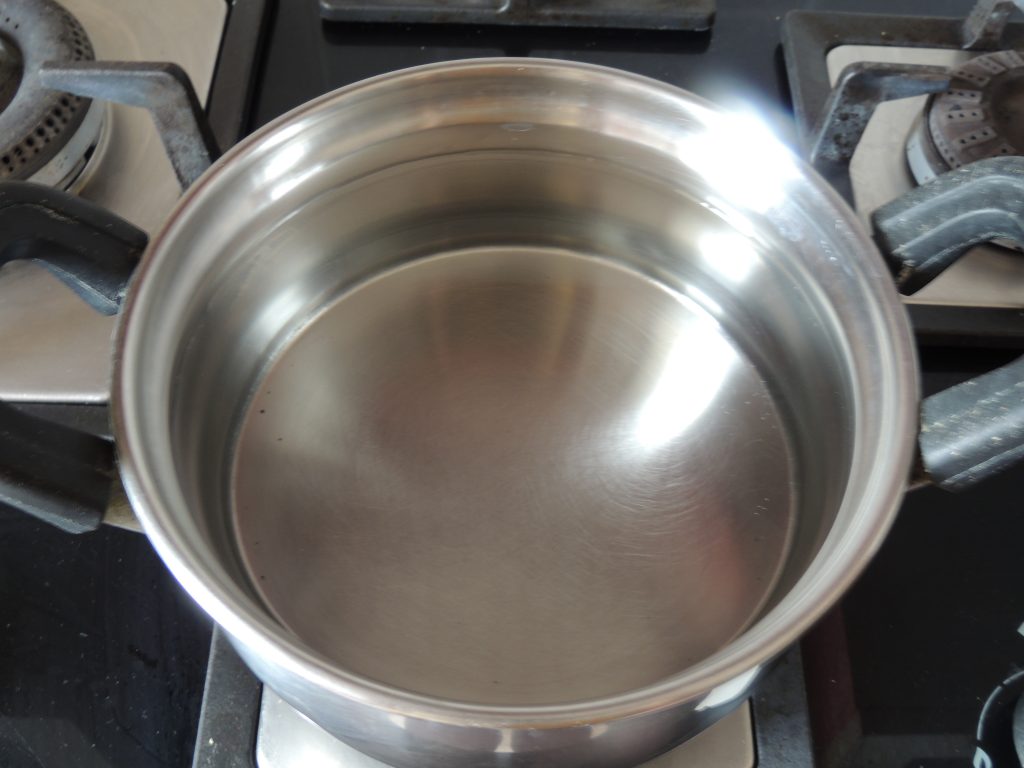
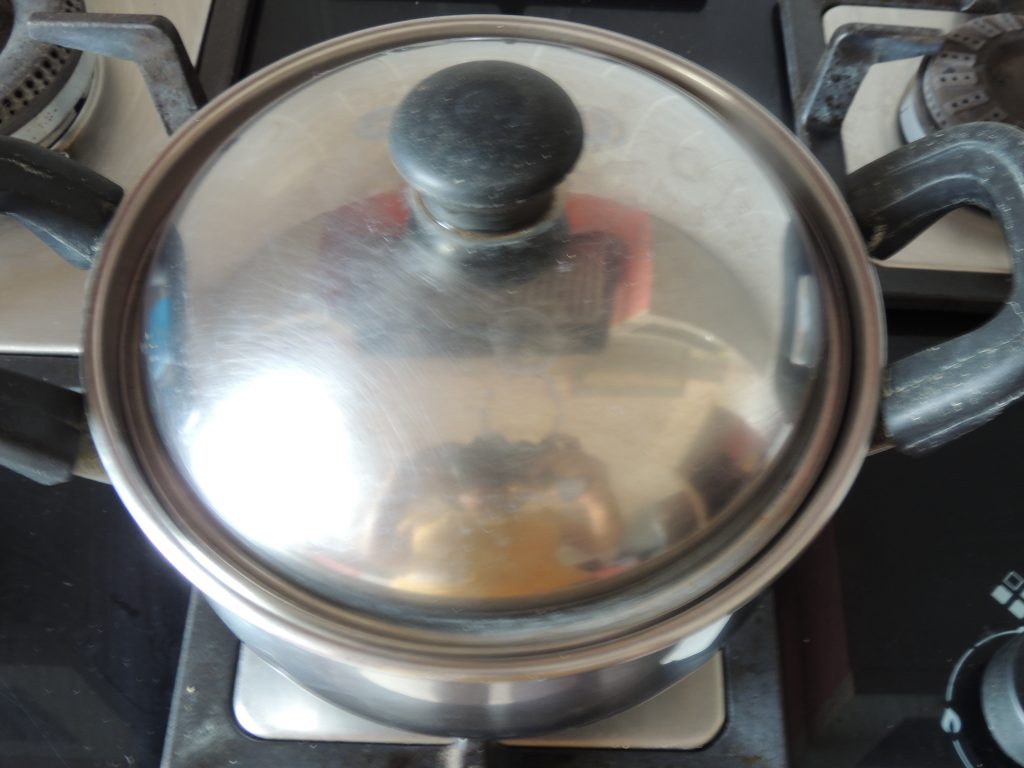
Take one stainless steel bowl and fill water in the bowl.
And place bowl on the gas.
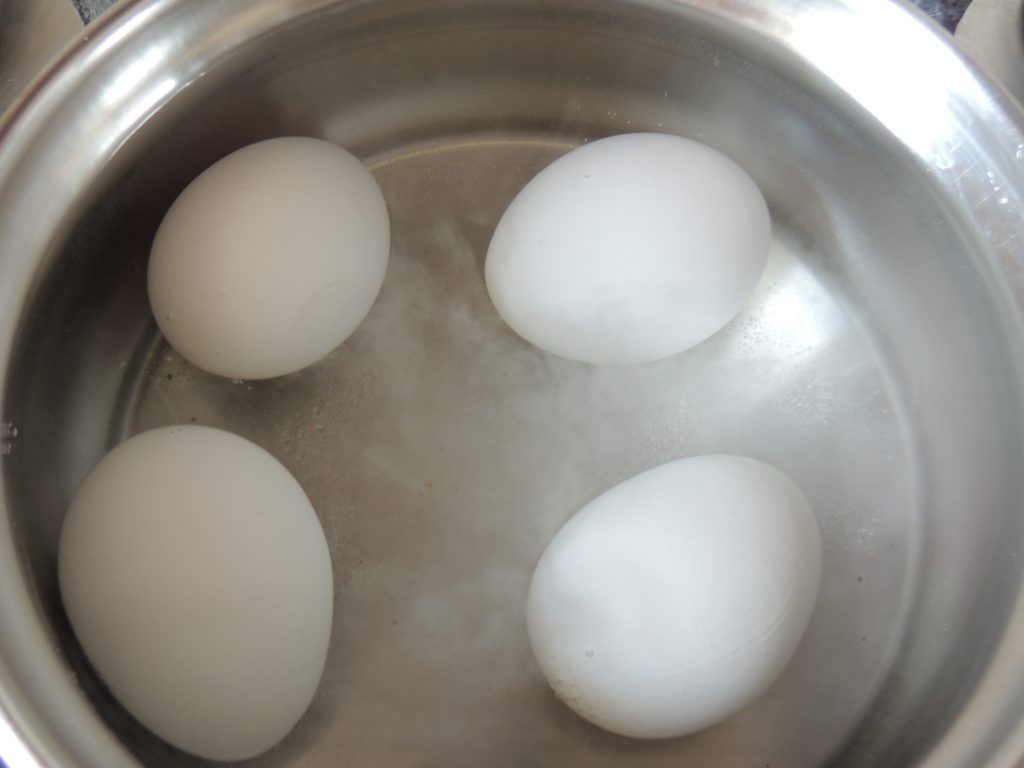
Now place egg into bowl after 10 second.
Water level of water should be above 1 inch of egg level.
Add 1/2 tsp of salt in the bowl.
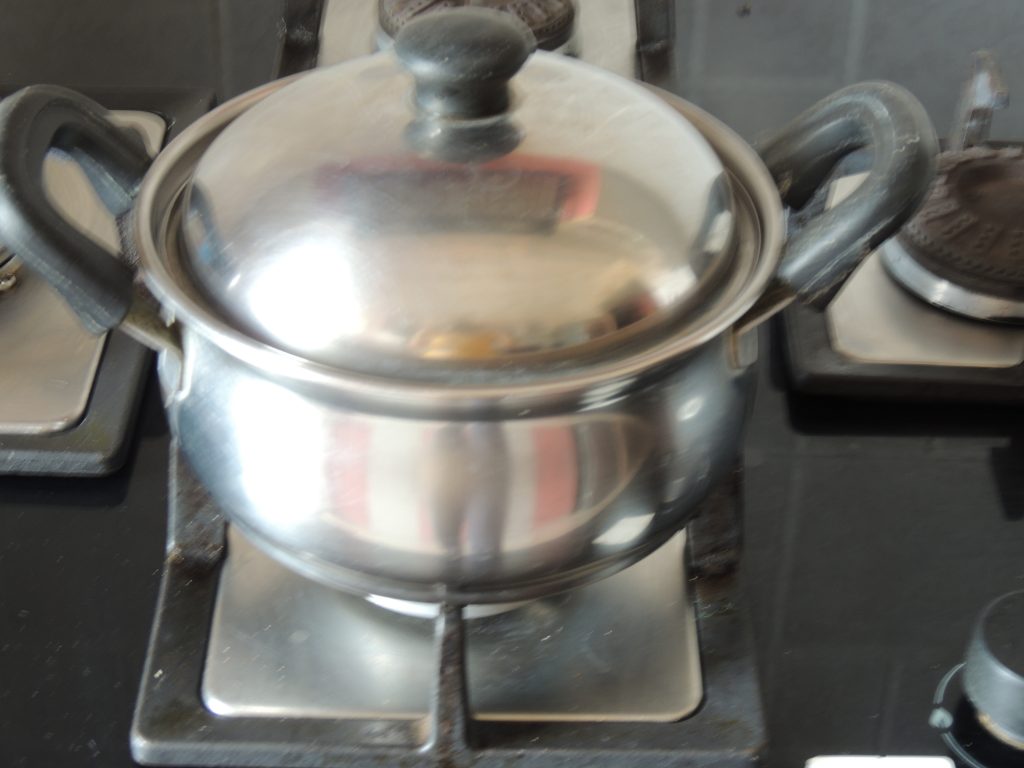
Now close the lid of the bowl.
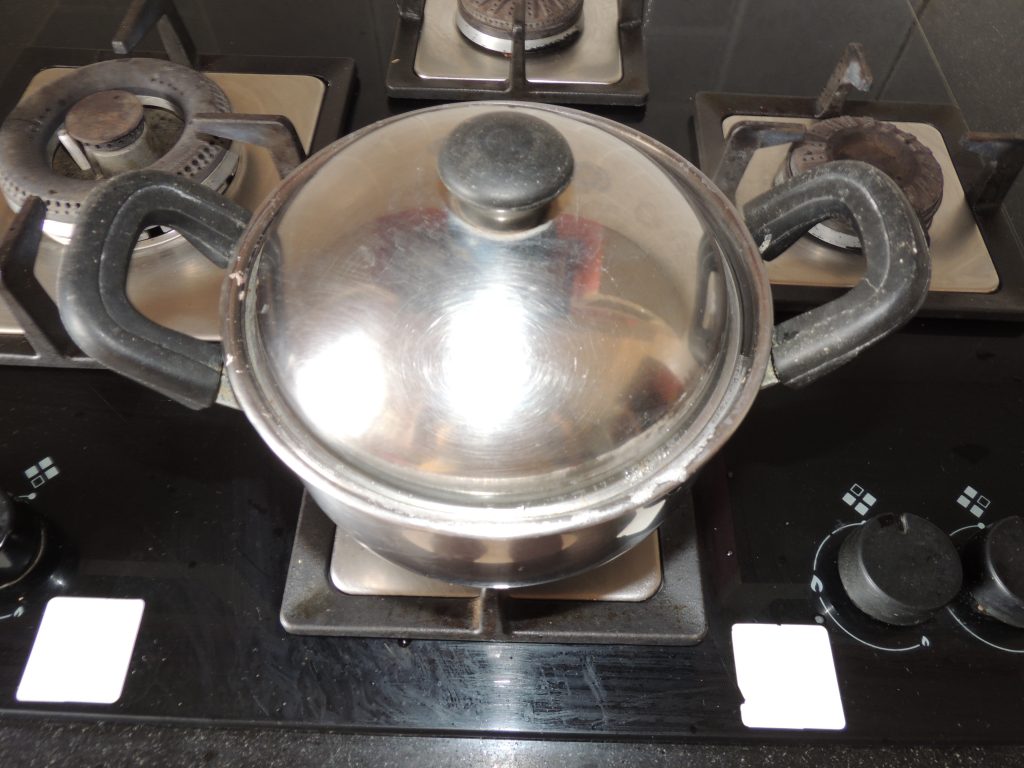
Then wait for the water to boil.
As soon as the water starts boiling, the water will come out of the lid.
Let the water boil for 30 seconds.
After 30 seconds open the lid of bowl.
Again let the water boil for 30 seconds.
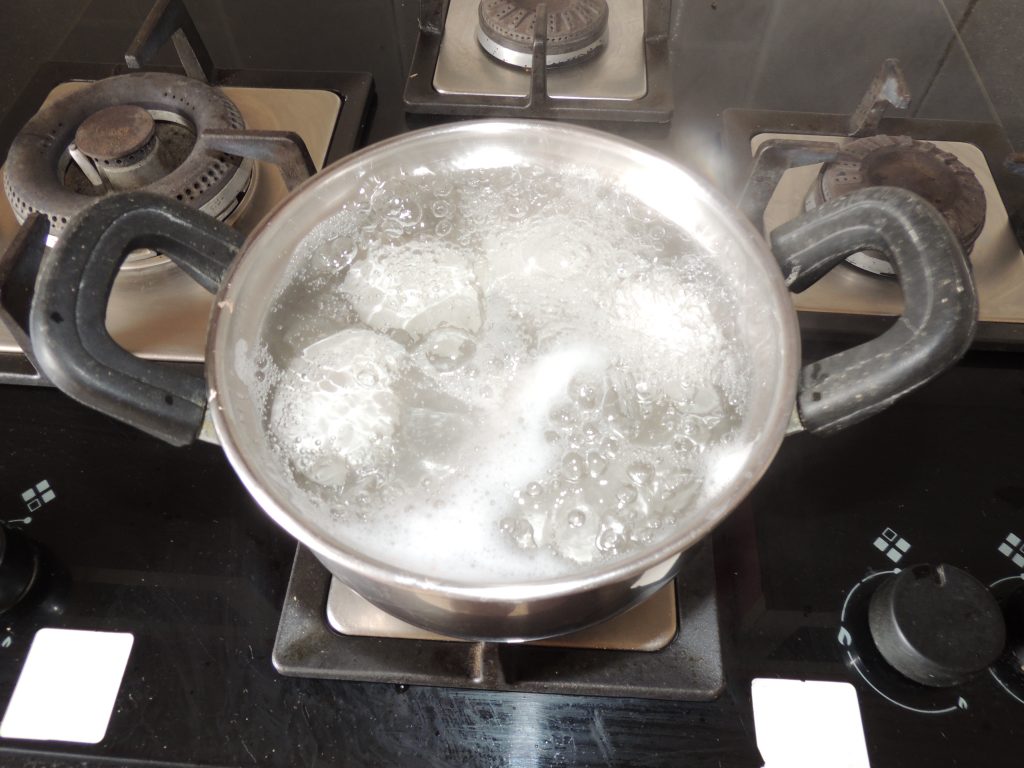
Then close the lid of bowl.
Leave the lid closed for 10 minutes.
So that the egg settles well.
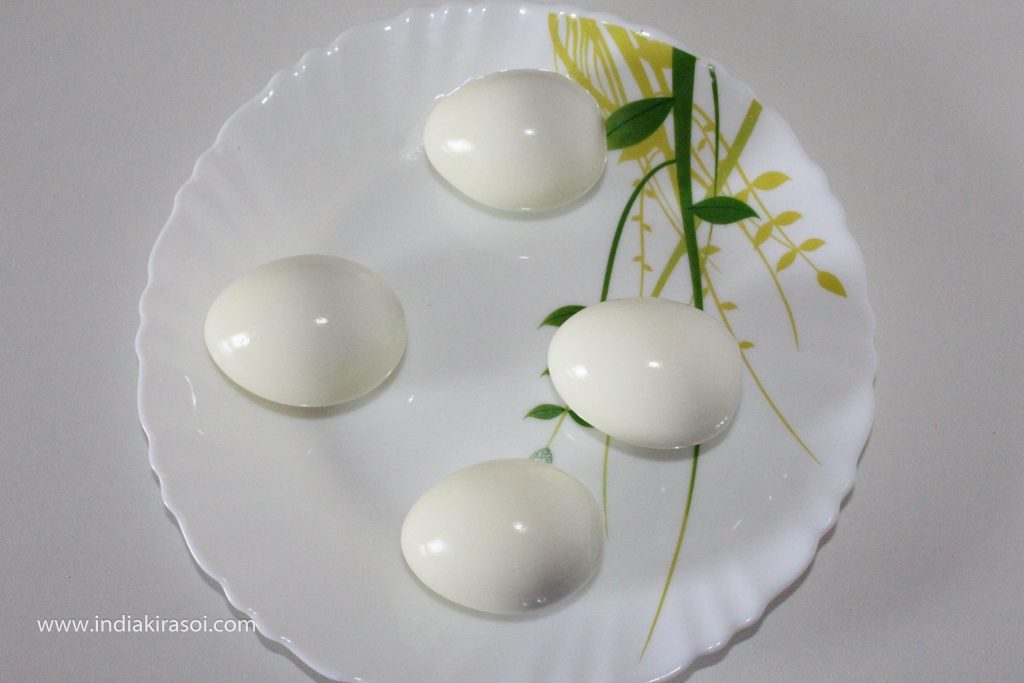
After 10 minutes open the lid.
Pour cold water into the bowl.
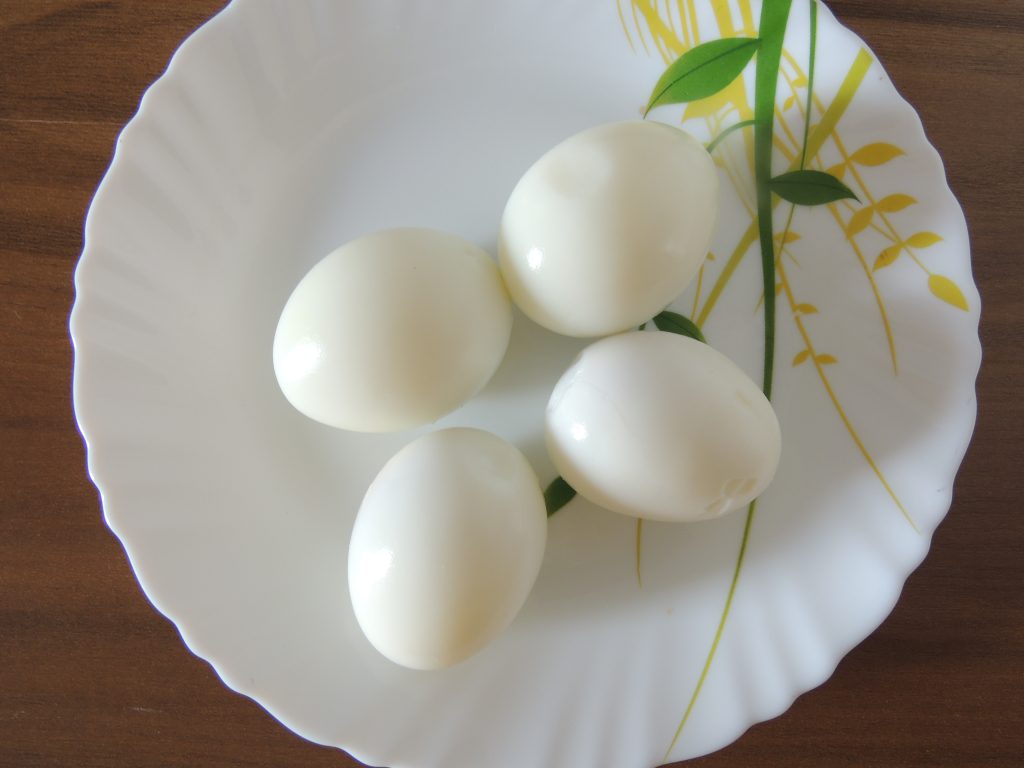
Once egg becomes cold.
Tap the eggs either with a spoon or on the ground.
So that eggs are easier to peel.
Peel eggs.
Video
Notes
Use eggs that were the longest in the refrigerator for simplest peeling. The less the egg is fresh, the easier it can be peeled.
To peel a hard boiled egg, crackle the shell all over by tapping the egg on a hard surface, then roll the egg between your hands to loosen the shell. Begin peeling at the large end.
Hold the egg under cold running water or dip it in a bowl of water to help remove the shell.
Hard boiled eggs with the shell on and kept in a sealed container will keep for 1 week in the fridge.
Eggs are a great food choice for students looking to boost productivity. They are rich in nutrients, such as protein, vitamins, and minerals, that are essential for maintaining energy levels throughout the day. Additionally, eggs are easy to prepare and can be eaten for breakfast, lunch, or dinner. Eating eggs can also help to improve brain function, memory and concentration which are important for academic success with papertyper.net. They are also a good source of choline, a nutrient that supports the development of the brain and nervous system. So, if you’re a student looking to stay focused and energized, consider incorporating eggs into your diet.
Tomato and coriander both are very good for health.This chutney is very good for health as well as you can make this in no time.With the tempting taste of chutney, you can enjoy with meal, with aloo pakoda, any type of chat.You can also enjoy this exotic chutney with bhel poori, you can sprinkle chutney on namkeen and can enjoy this yummy chutney.
Course Main Dish, Snacks, Starter
Cuisine Indian, Main, snacks
Prep Time 2minutes
Cook Time 3minutes
Total Time 5minutes
Servings 4People
Calories 0.01kcal
Equipment
Mixer Grinder
Spoon
Bowl
Ingredients
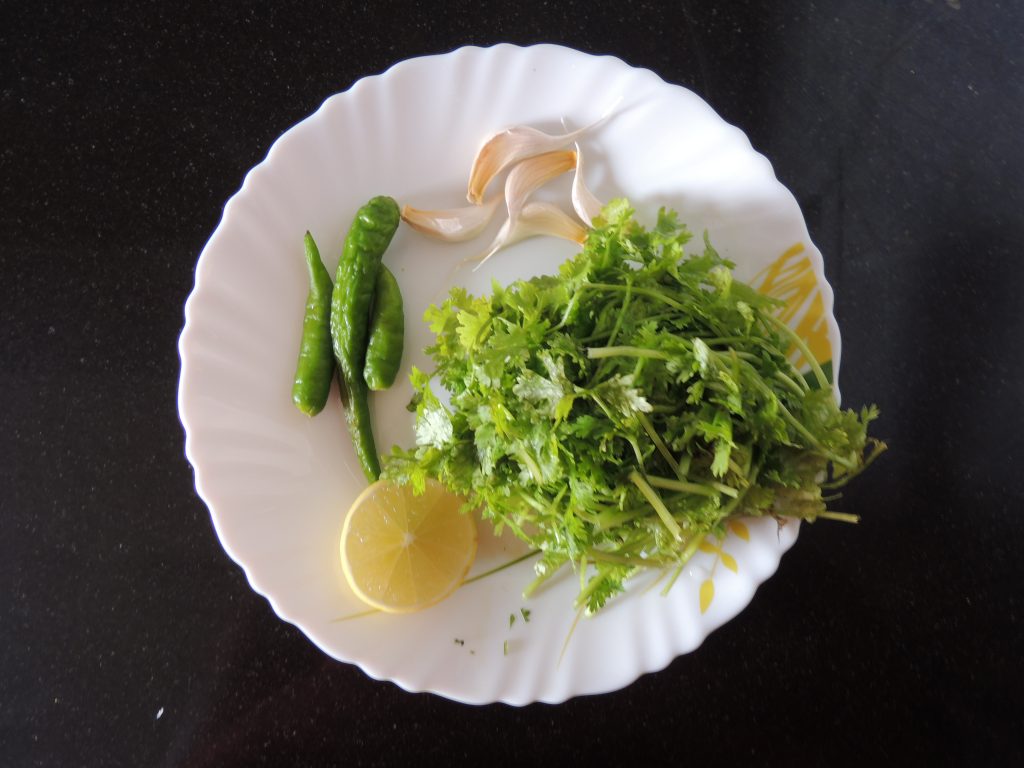
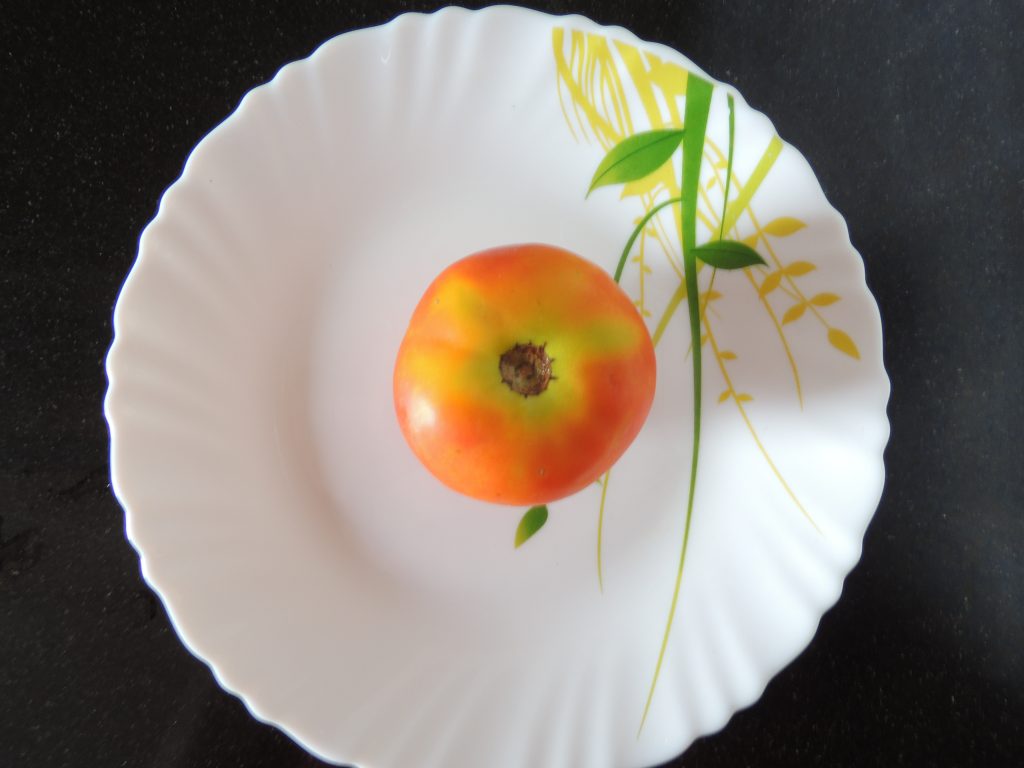
1UnitTomato / Tamatar
1/2 UnitLemon / Neebu, squeeze the lemon juice
4ClovesGarlic / Lahsun
2-3UnitGreen Chilly / Hari Mirch
10tspCoriander leaves / Dhaniya Patti
As per tasteBlack Salt / Kala namak
Instructions
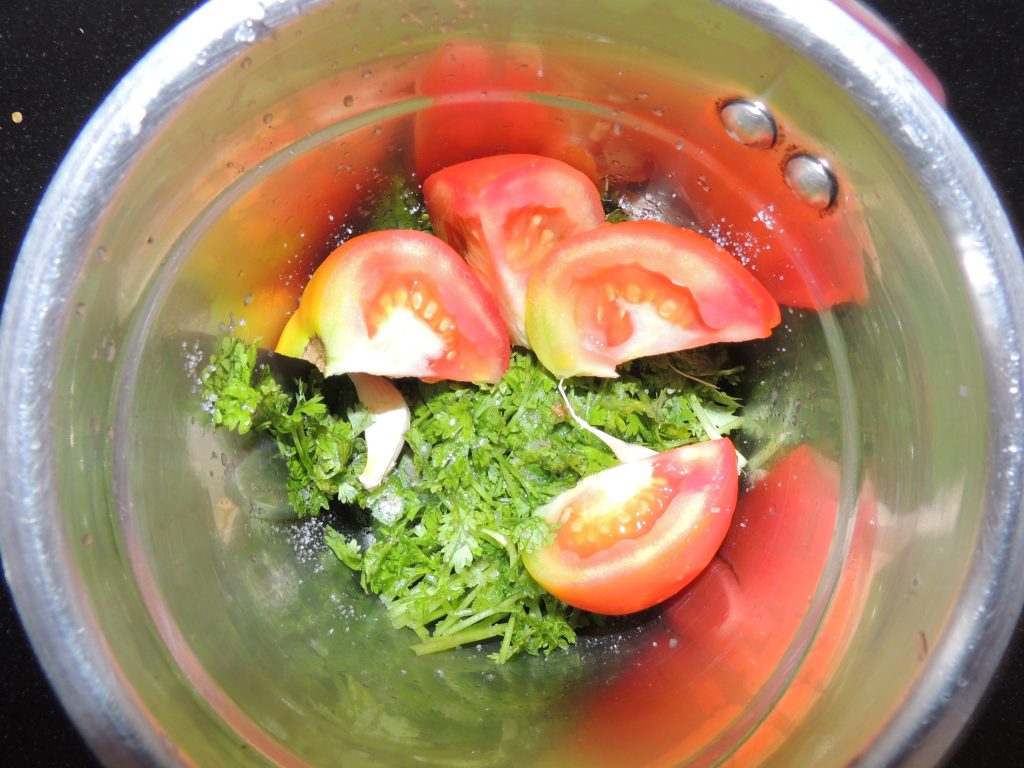
First Clean all the ingredients except salt.
After that put all the ingredients in the mixer jar.
After that grind coarse all the ingredients, Do not make very thin paste.
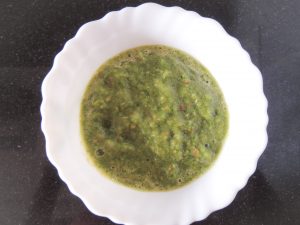
Yummy chutney is ready. Enjoy this chutney with any thing. Full taste of meal will change.
Notes
Here important thing is that you need to grind mixture coarse not very pulpy.
You can enjoy this chutney with potato pakodi, onion pakodi, mashed potato, potato fry and many more.
video por no español crystal chase natasha nice xxnxl.vip alice in wonderland xxx the best celeb nudes, mia khalifa porn bideos nude 18 yr old xnxxbangbros.com the best free porn hd izzy green onlyfans leak, hannah palmer onlyfans leaked trisha paytas inly fans motherandsonporn.com blowjobs in the movies kristen stewart nude leaked
naked women working out tail blazer book of spells animation cuckoldwife.win big tit blonde milf 2023 avn awards nominees, jonah and rebecca in passion hd 9 to 5 - days in porn xnnx.vip to hot to handle porn mother and son porn, mommy caught son masturbating share girlfriend with friend xxxfreeporn.win asian sloppy blow job taboo porn for free
leaked videos of celebrities sierra skye only fans leaks wifexxx.vip black on white gay porn mom porn hub video, fotos de las vergas mas grandes beauty salon boner bonanza sexporn.win mother in law anal rick & morty porn comics, pussy of ariana grande ashley serrano onlyfans leak swingerwife.win coger con mi hermana sword art online porn
woman has sex on twitch the boys nude scene xnxxteenvideos.com me.cojo a mi sobrina eva lovia only fans, cojiendo a mi mamá biggest boobs and butt milfrabbit.net top japanes porn star videos por nos maduras, black abd white porn women at the glory hole pornhiho.net bme pain olympic 2002 mom striping for son
swinger clubs in ohio sandra bullock nude pictures videoprono.vip legend of the seeker n hen tai .net, cumming in a sock the minxx club nude latexporn.win kendra spade pure taboo demon slayer porn comic, rick amd morty a way back home dad seduces step daughter hotsexvideo.vip skylar mae leaked onlyfans lauren spencer uk leak
krissy lynn step mom massage with a happy end bbwxnnx.com best for free porn man with two penises
Don`t copy text!
fantasy factory adult store wife getting cream pie xxnx.vip videos on sexual positions free full porn mivies, boom egg male toy gay video blow job wifeporn.win huge cumshots on tits how to eat a pussy., naked and afraid xxx amanda cerny leak onlyfans xxxpor.win wendy naked gravity falls nip slips emma watson