
Garlic Desi Ghee Tadka / Lehsun Desi Ghee Tempering
Today I will tell you how to make chilli garlic tempering / lehsun lal mirch tadka.
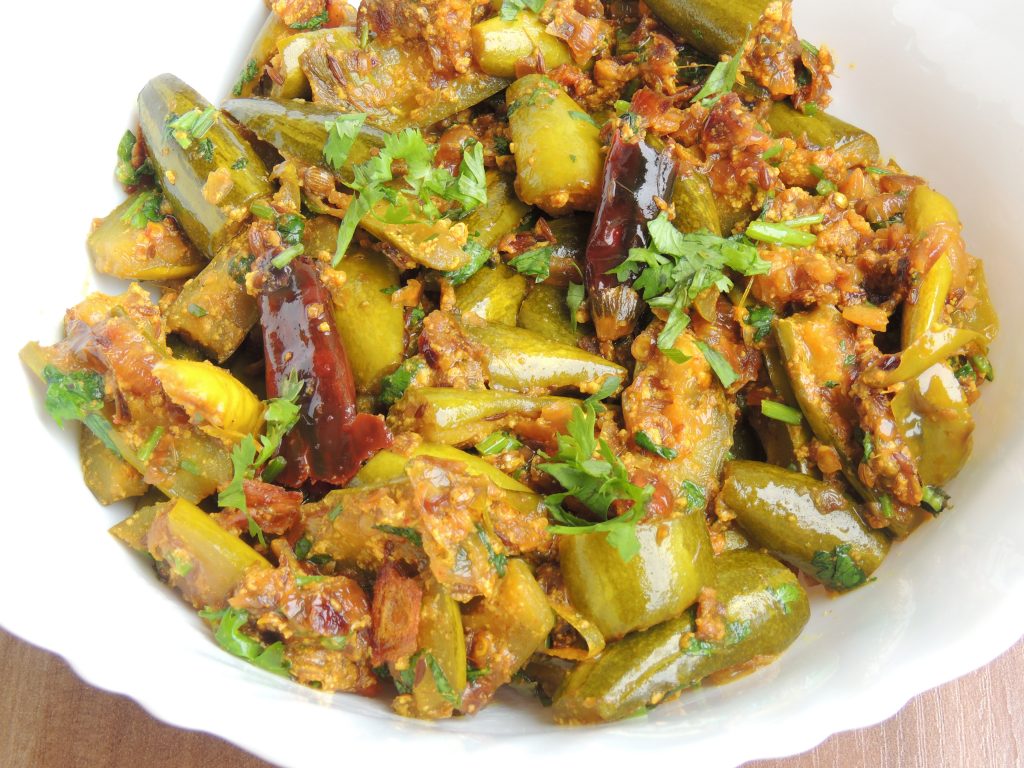
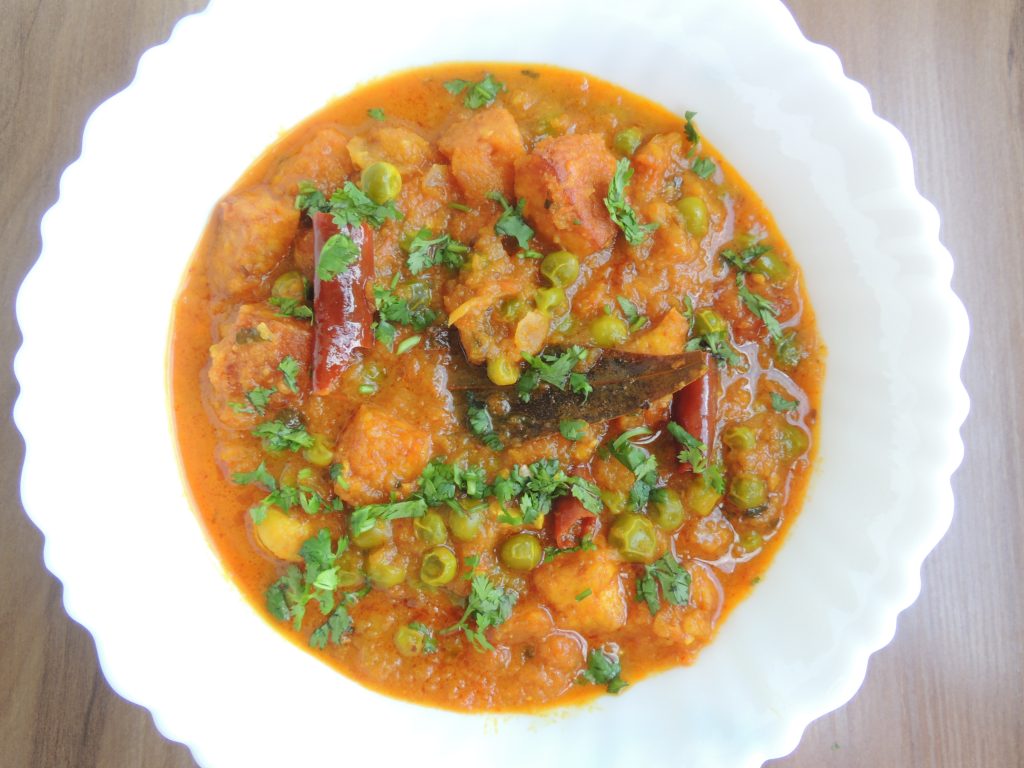
Garlic is very good for health, stomach, in joint pain and garlic tempering adds extra flavour to any recipe.
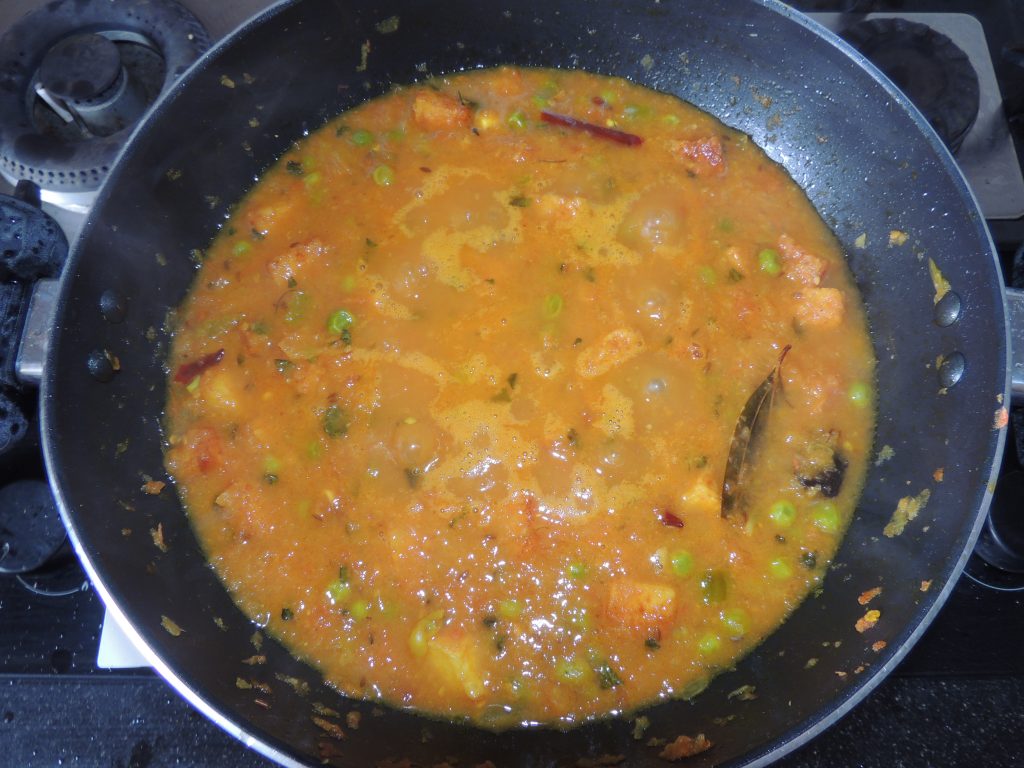
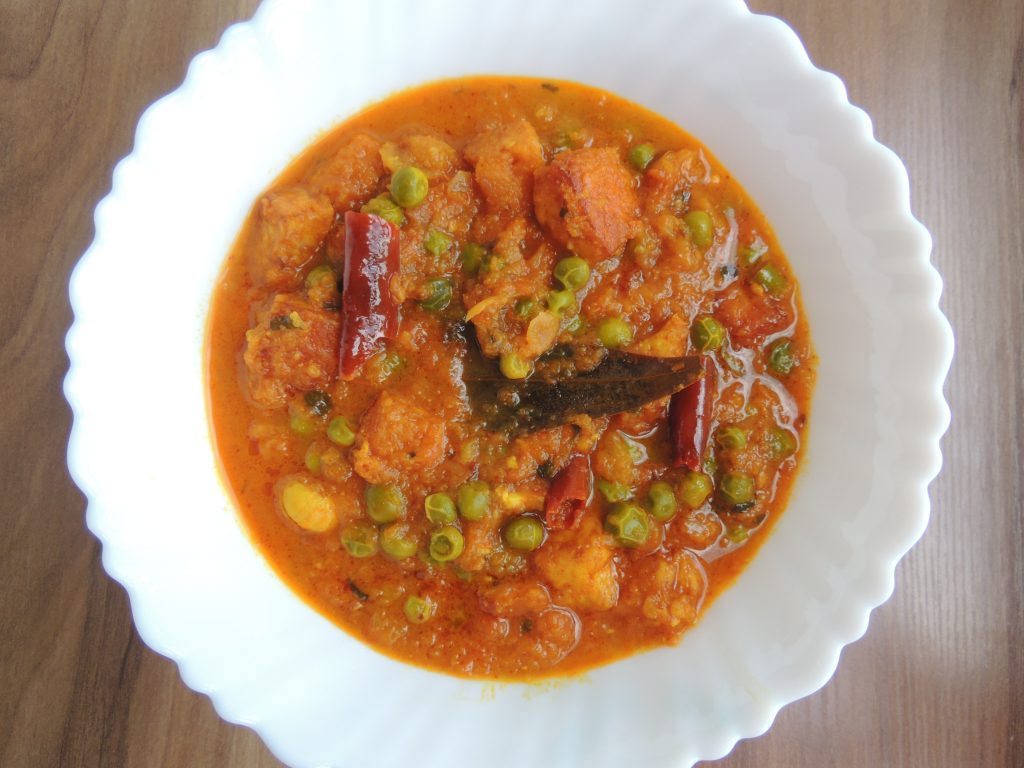
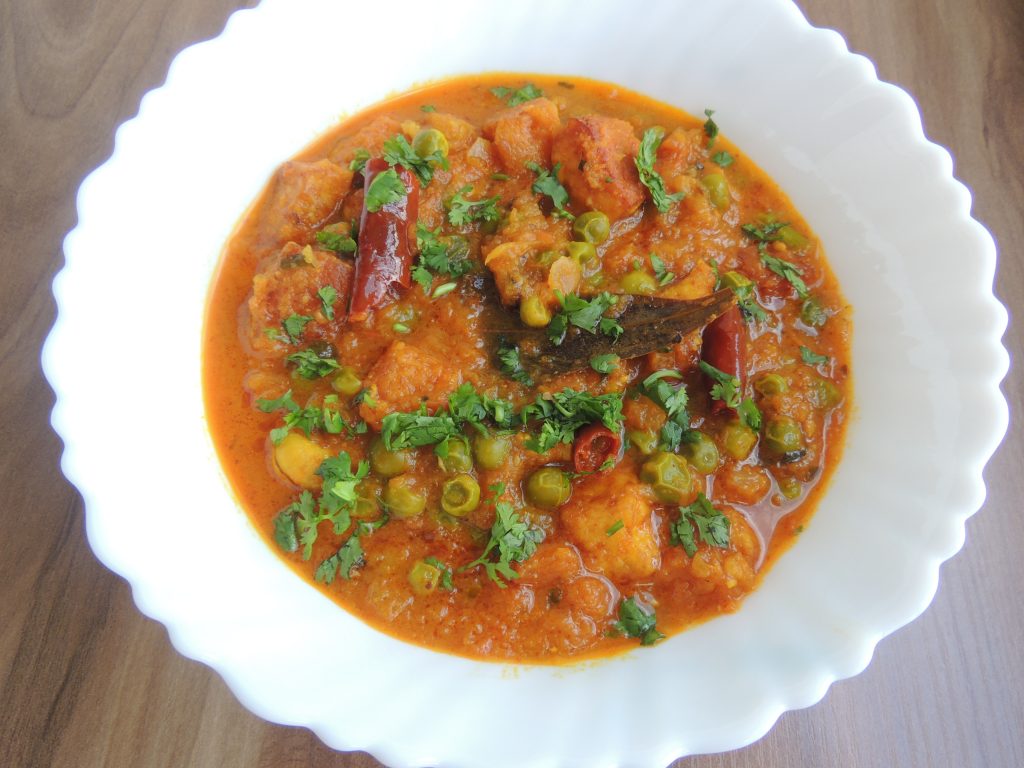
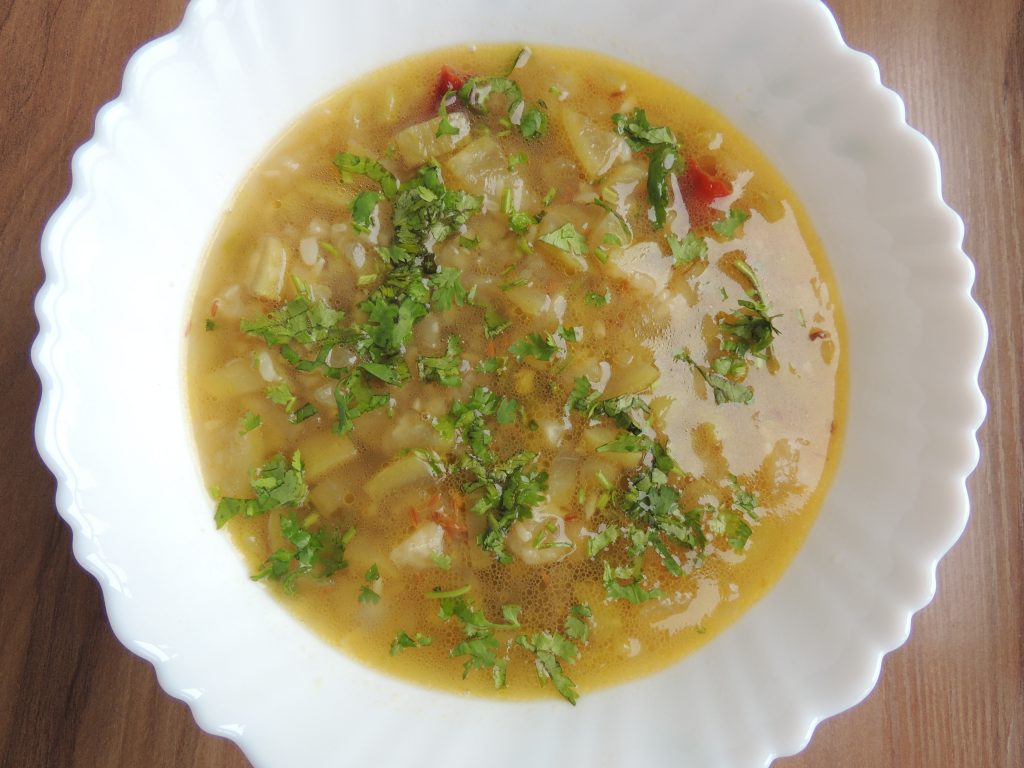
You can add garlic tempering to any recipe, add to dal or any vegetable or curry.
If ever your recipe has become a little bad taste then add garlic tempering to the recipe, your recipe will be amazingly delicious.
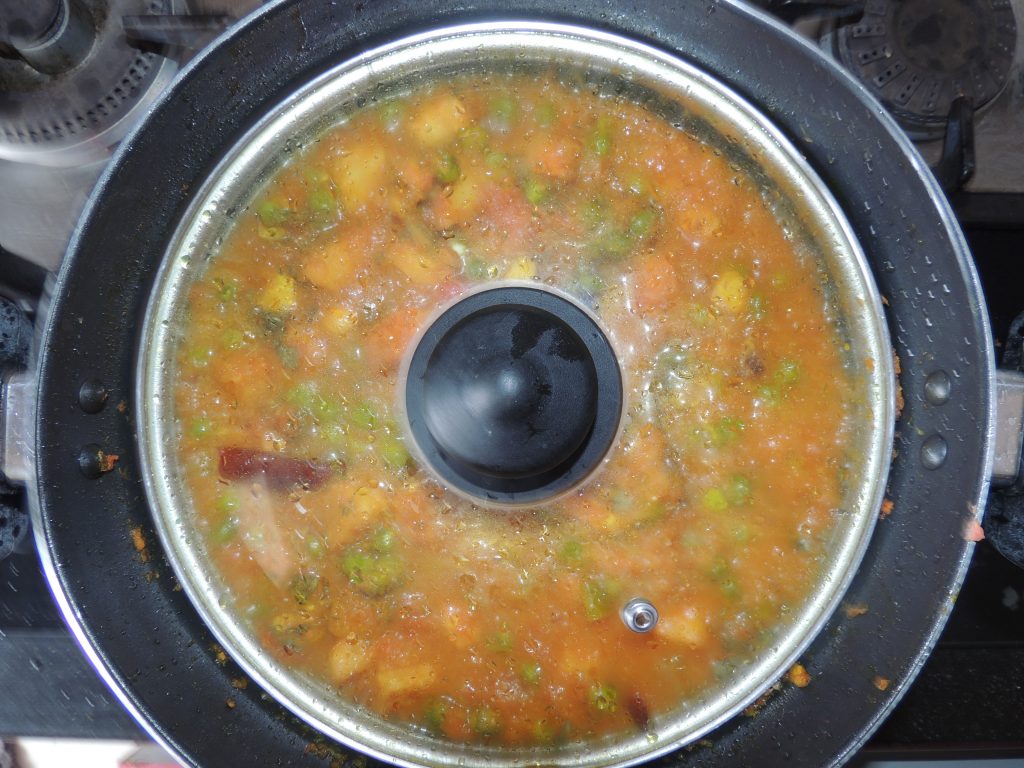
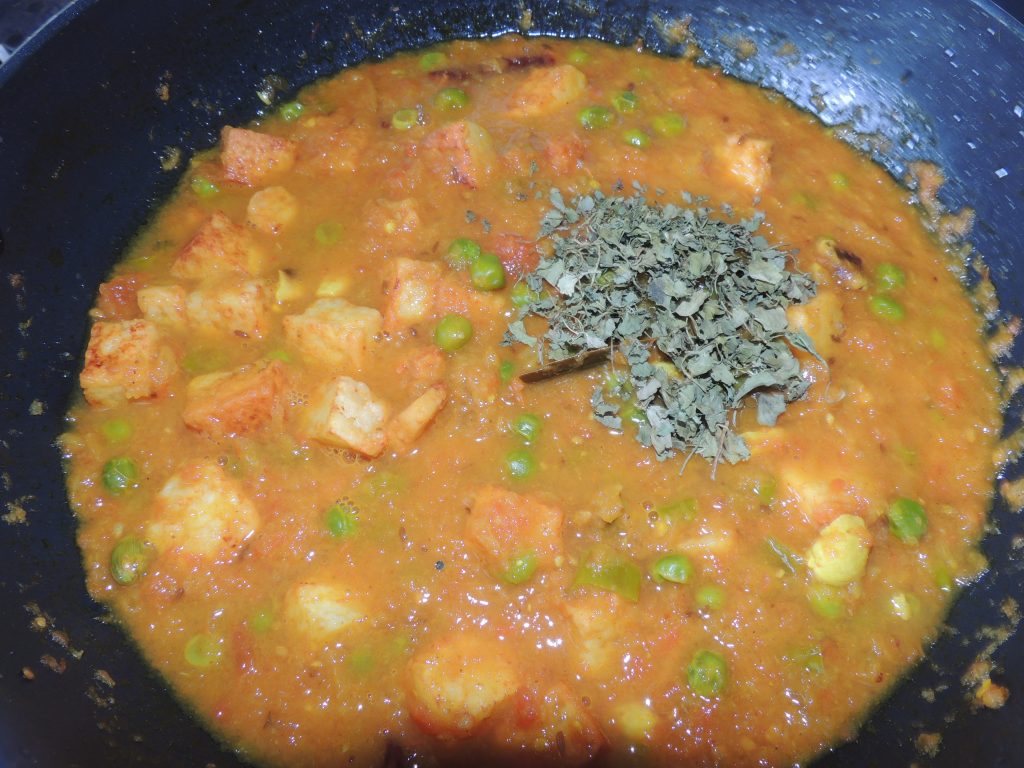
Add garlic tempering to the vegetable and enjoy the recipe.
Follow the steps given below to make a delicious Tadka of garlic…
Servings 4 People
Calories 27kcal
Equipment
- Tadka Pan
- Spoon
- Knife
- Bowl
Ingredients
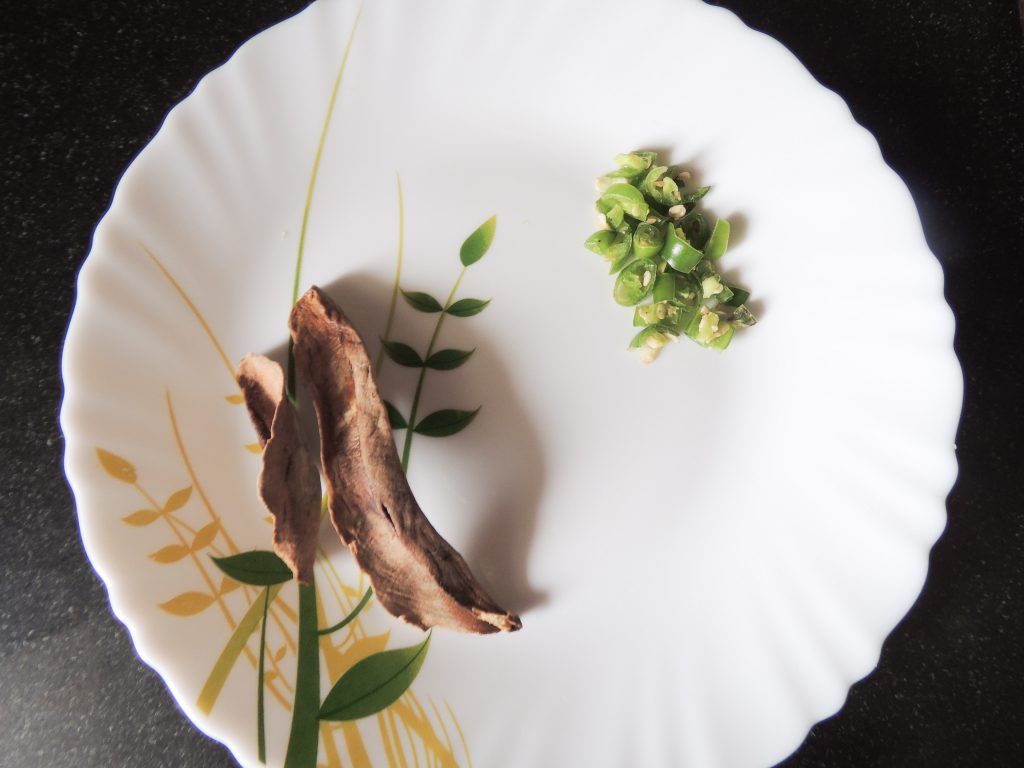
- 3-4 Cloves / Kali Garlic / Lehsun, Cut in 3 to 4 pieces
- 2 Unit Red Chilli / Lal Mirch
- 3 tsp Butter/ Desi Ghee
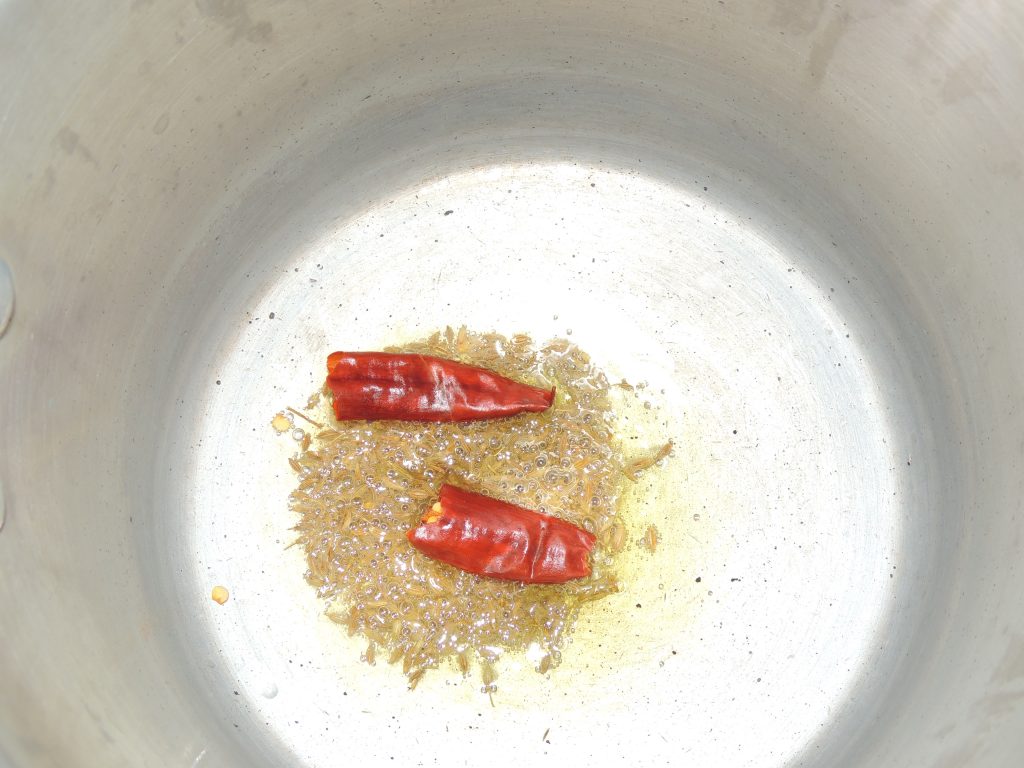
- 1 tsp Cumin / Jeera Seeds
- 1/2 tsp Red Chilli / Lal Mirch Powder
Instructions
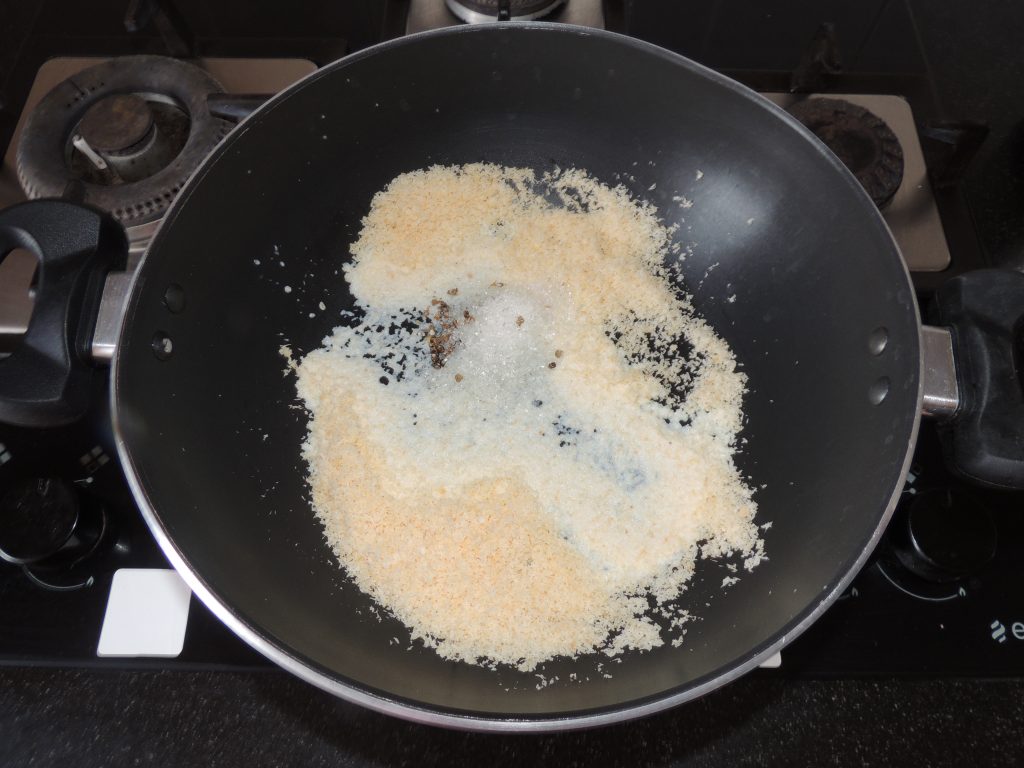
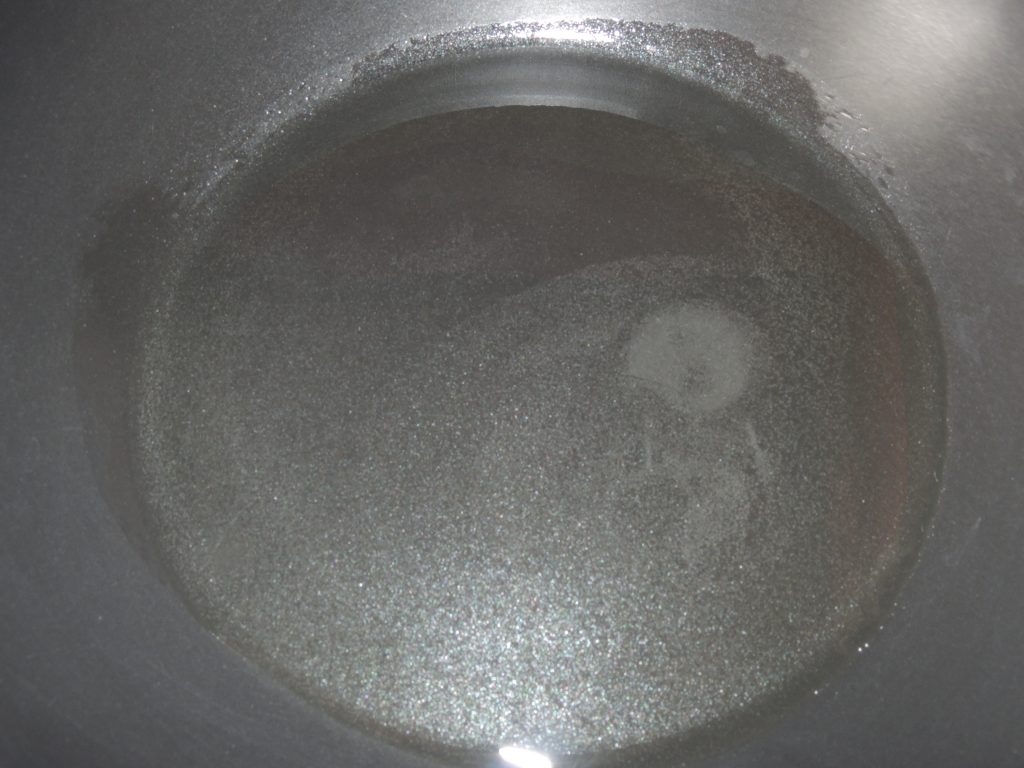
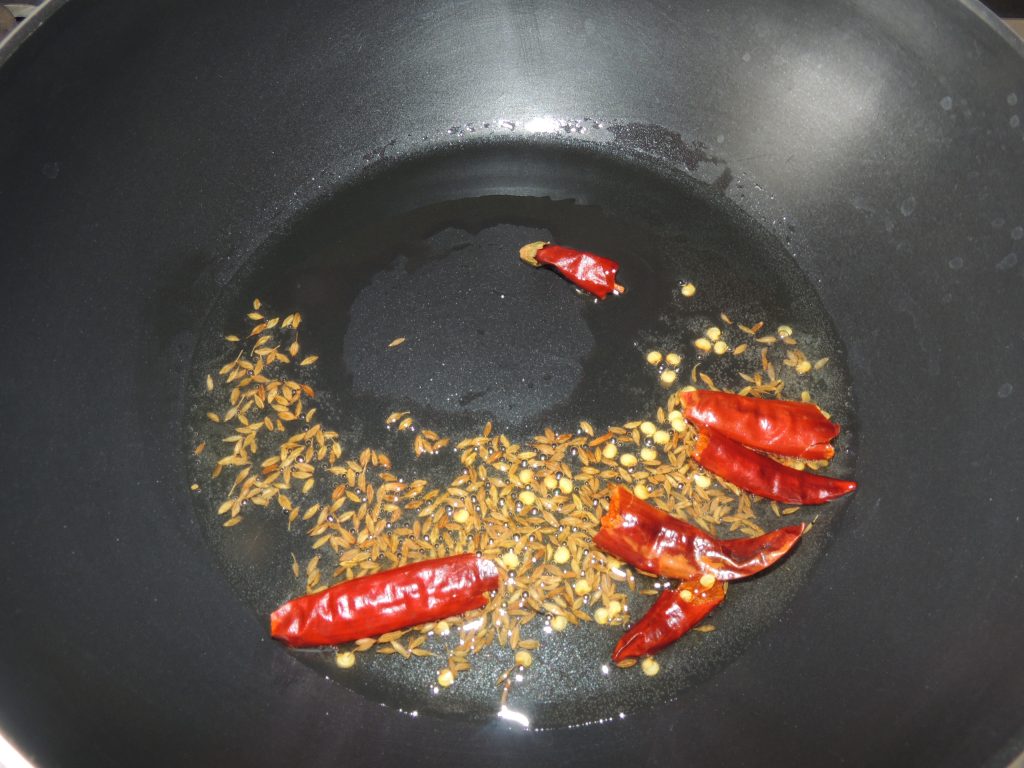
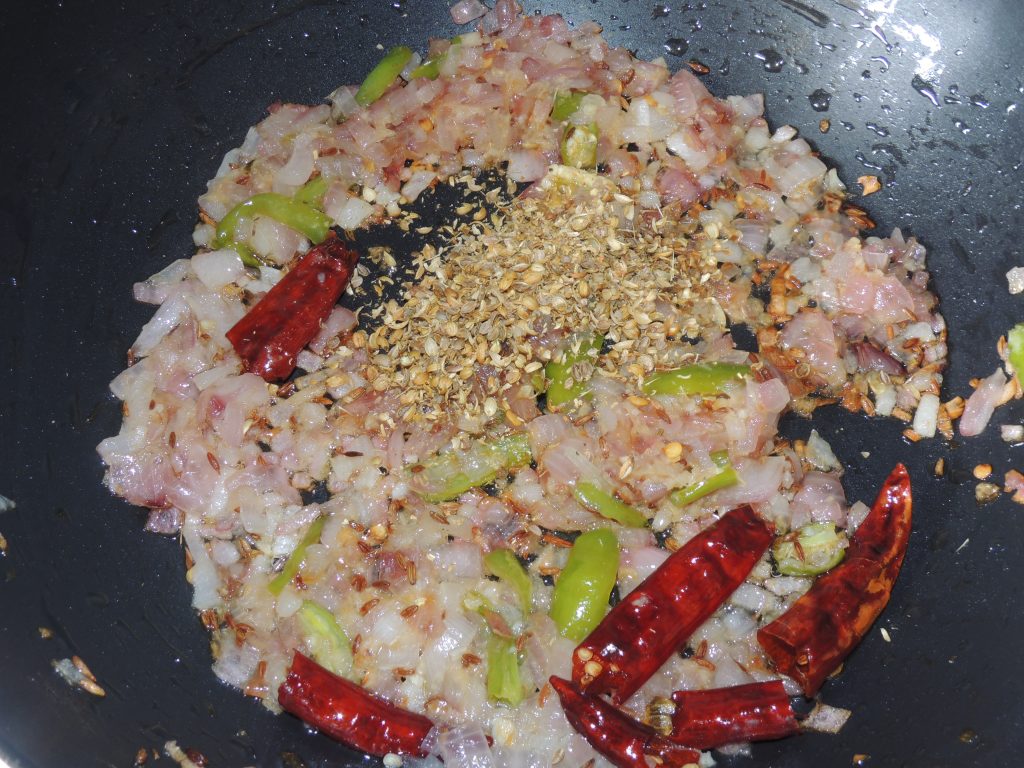
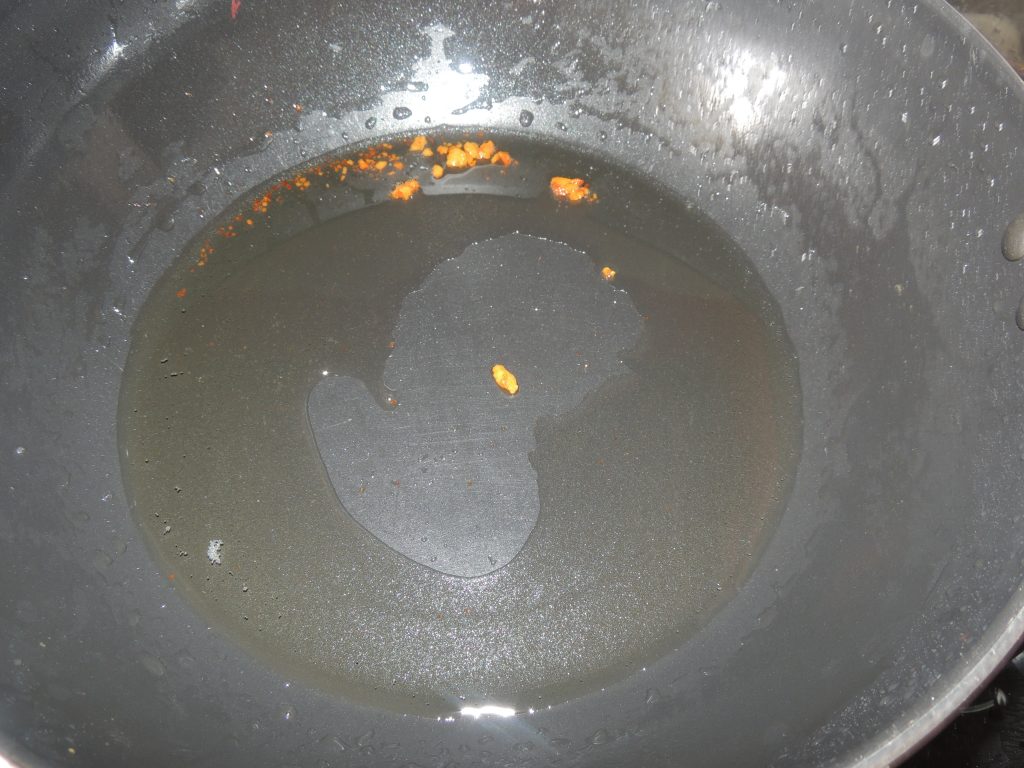
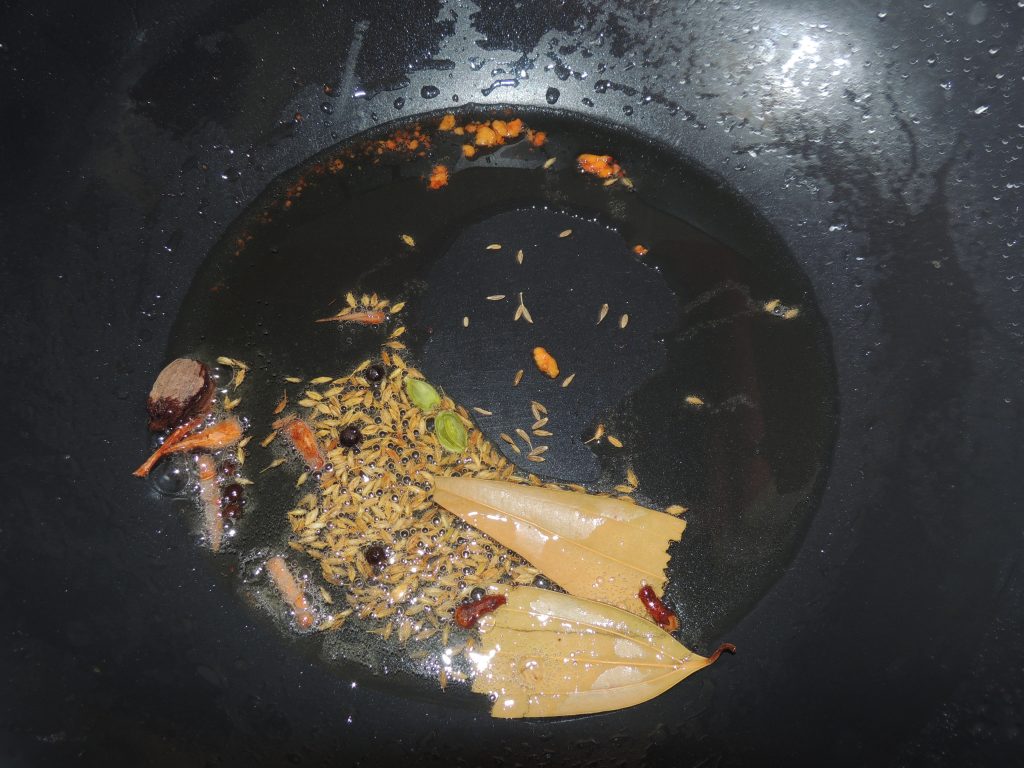
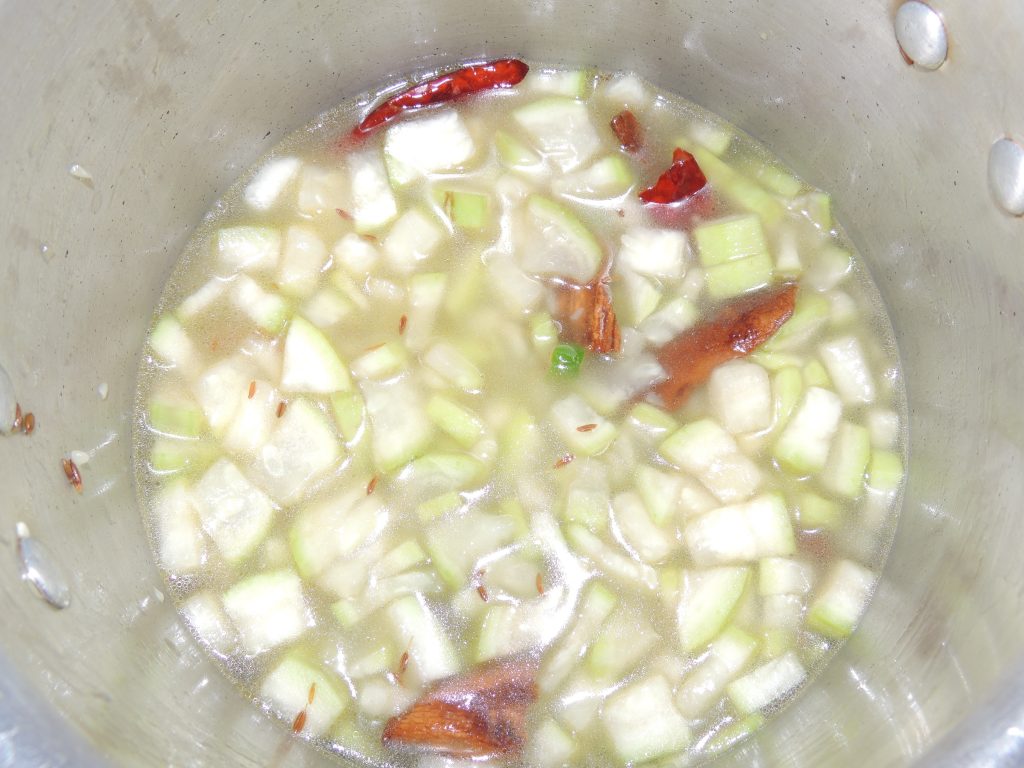
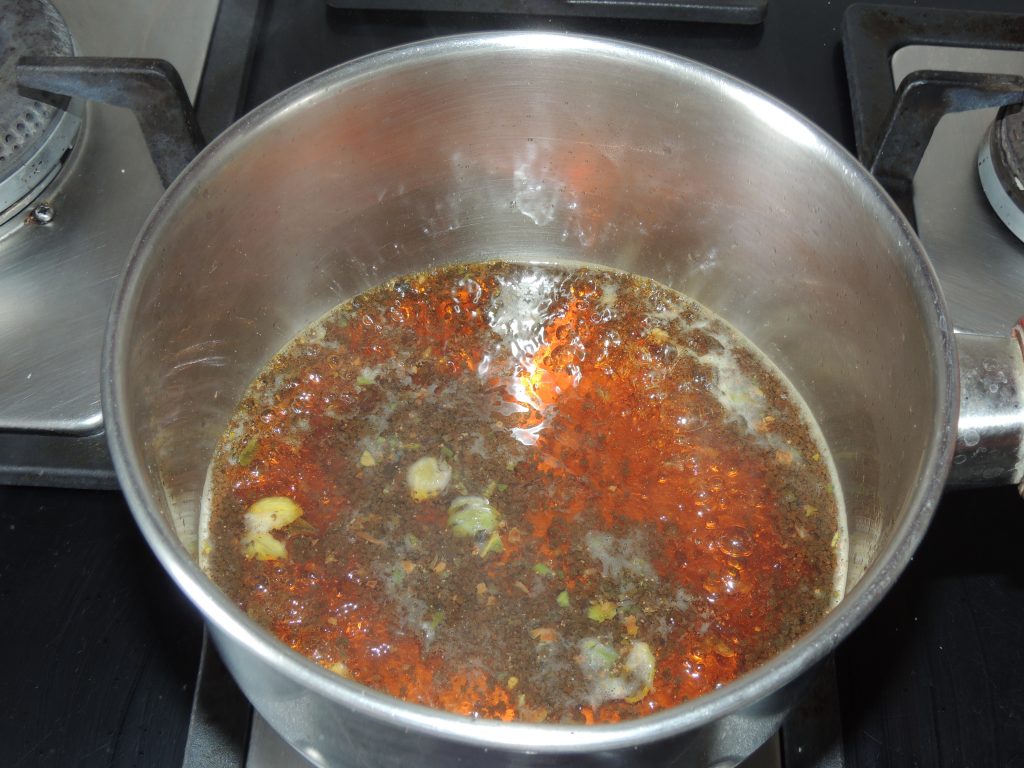
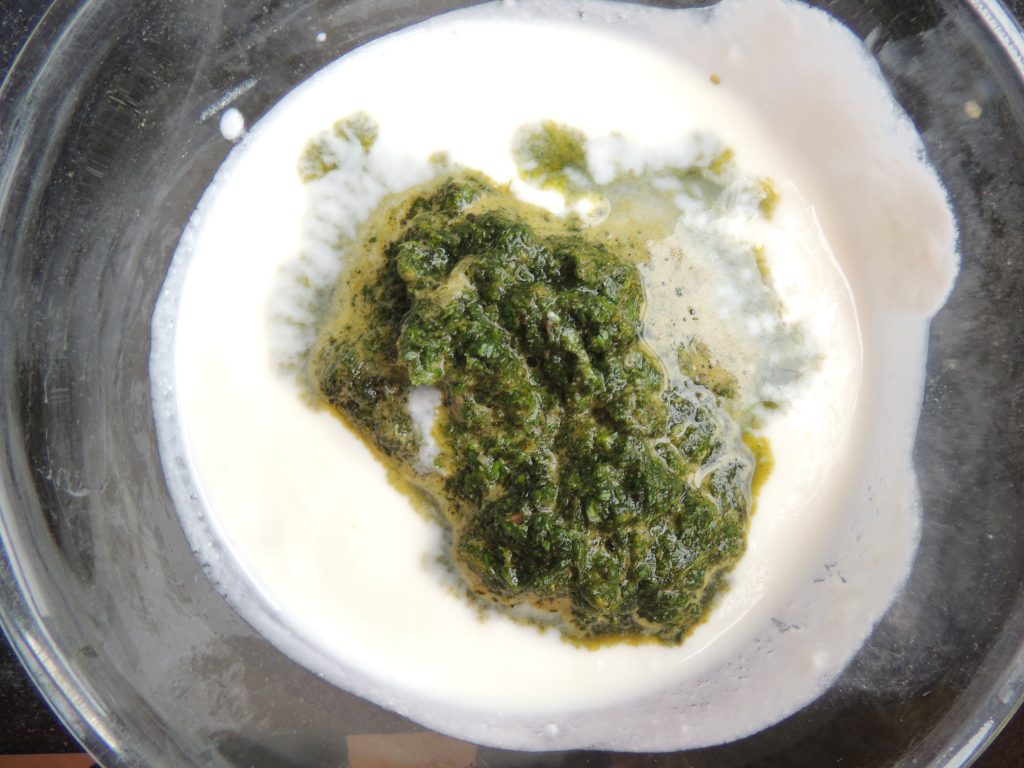
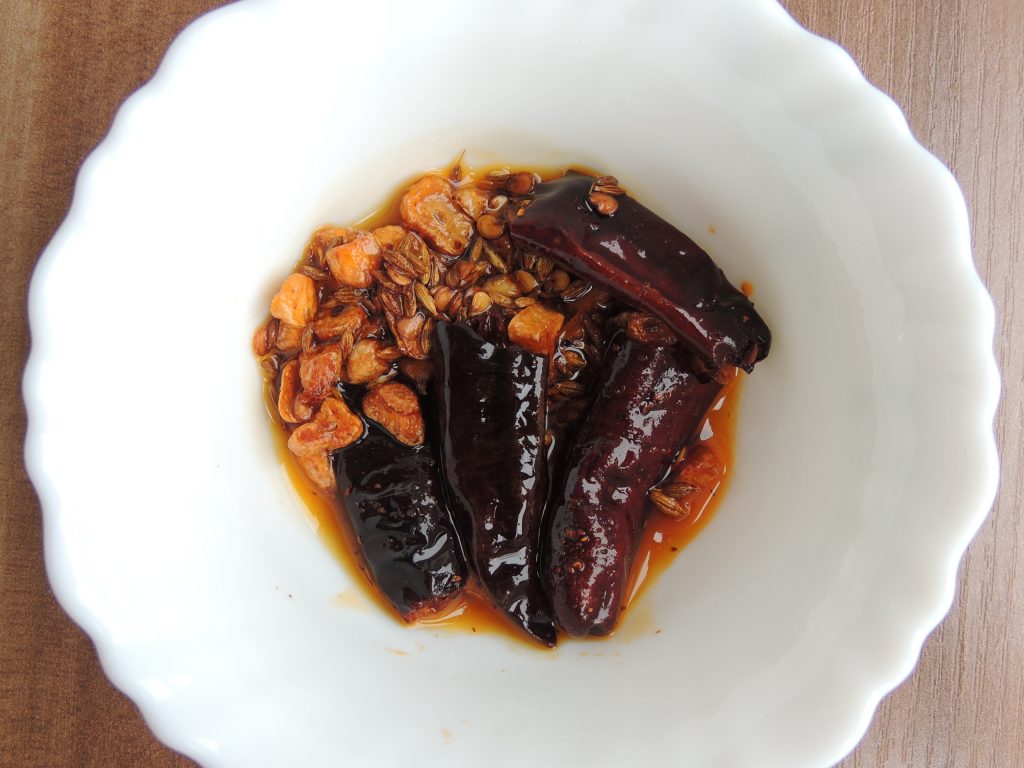
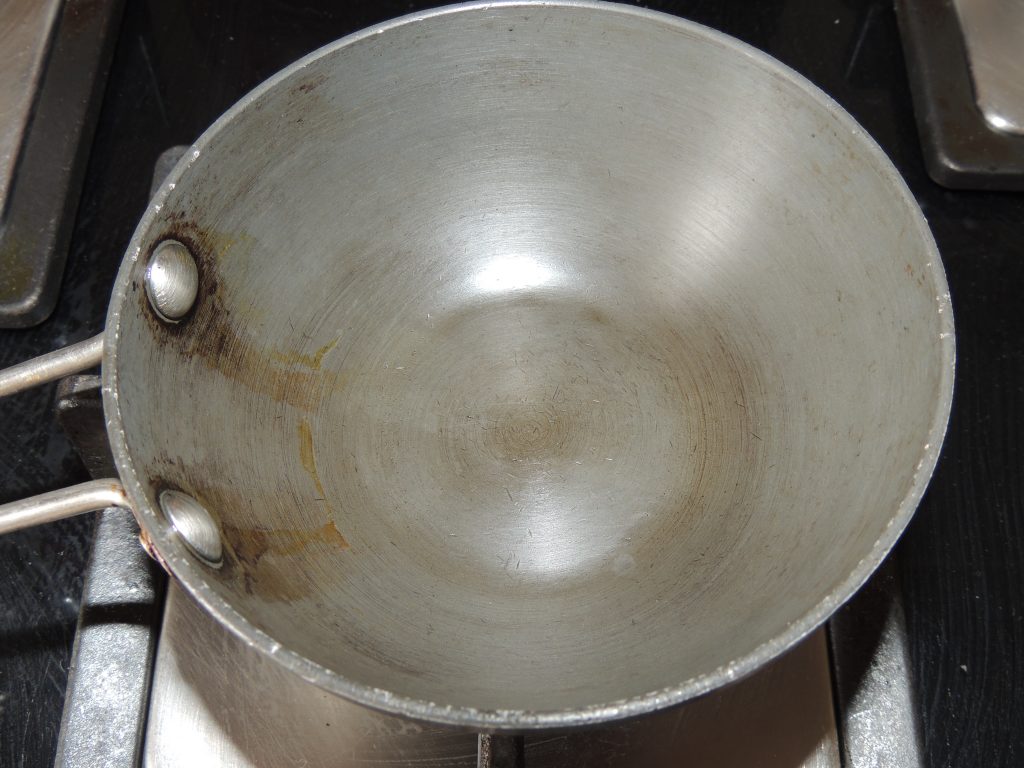
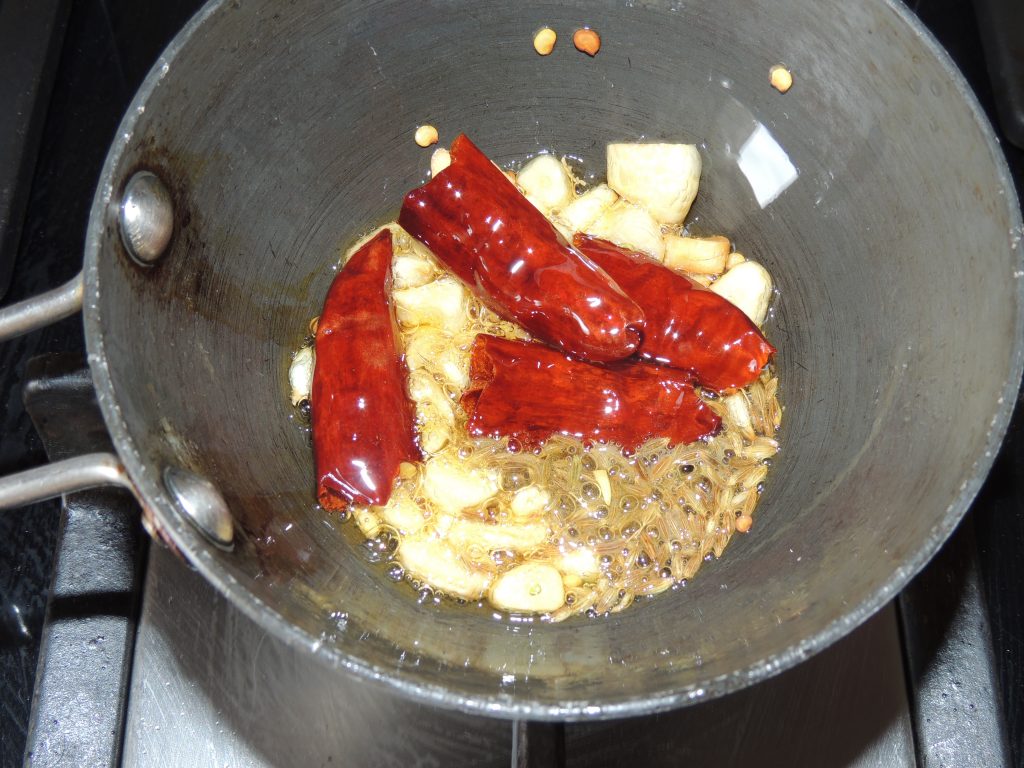
- First take one tadka pan and place on the gas. Switch on the gas on medium flame.

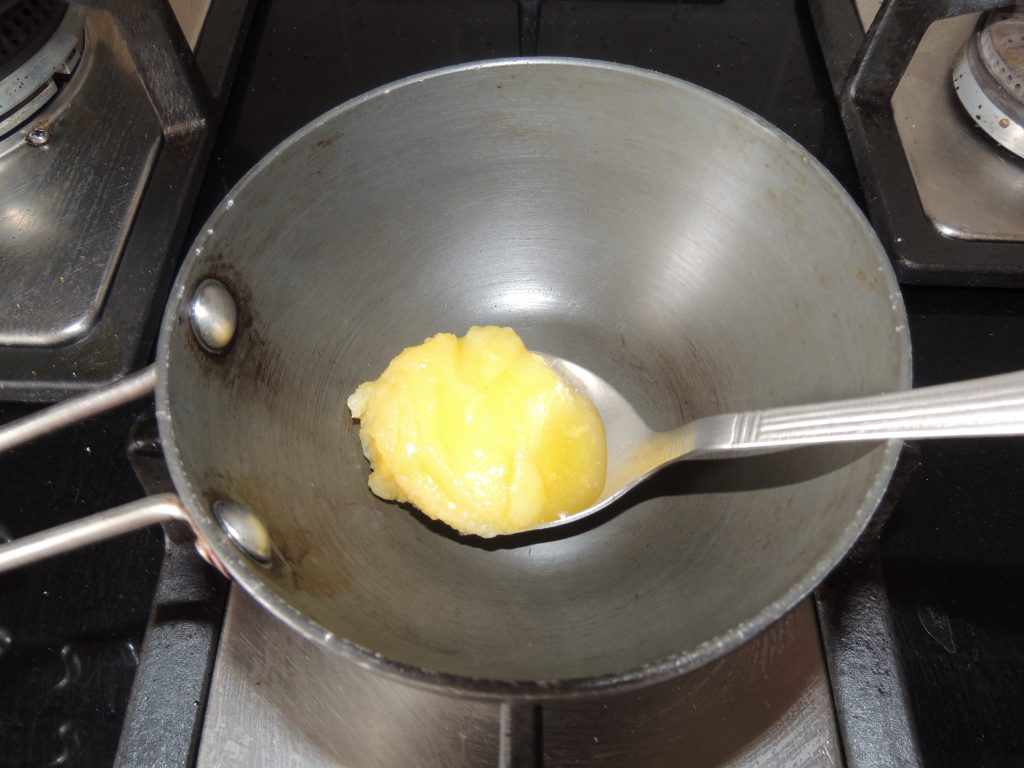
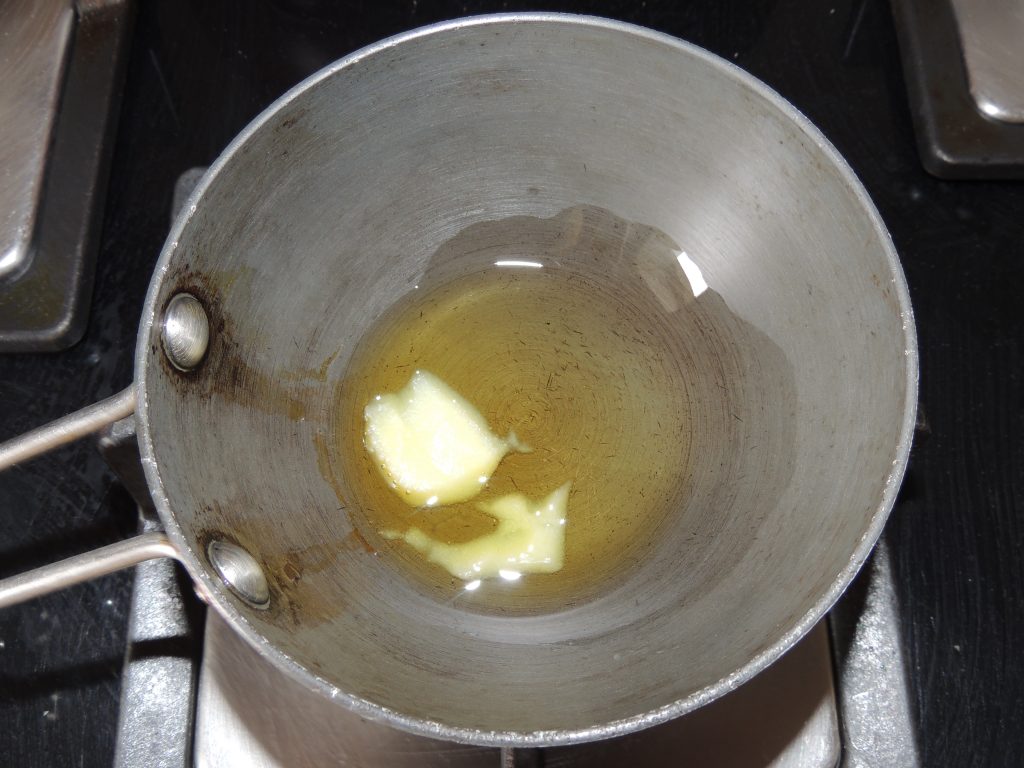
- Add 3 tsp of desi ghee / country ghee in the pan.
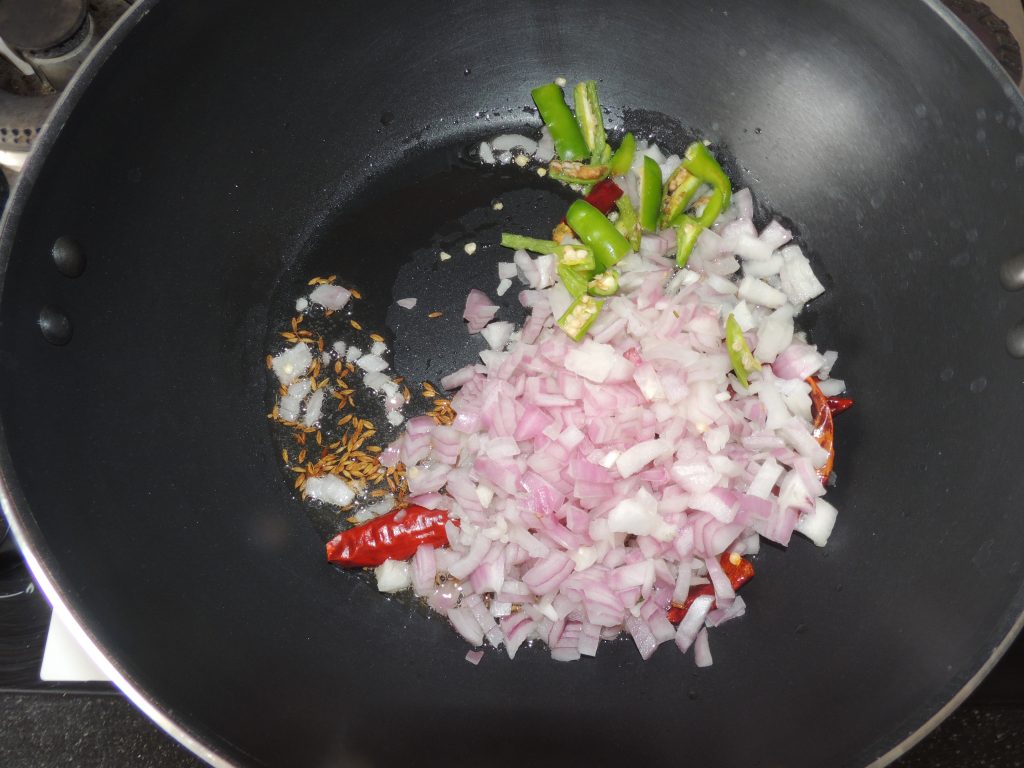
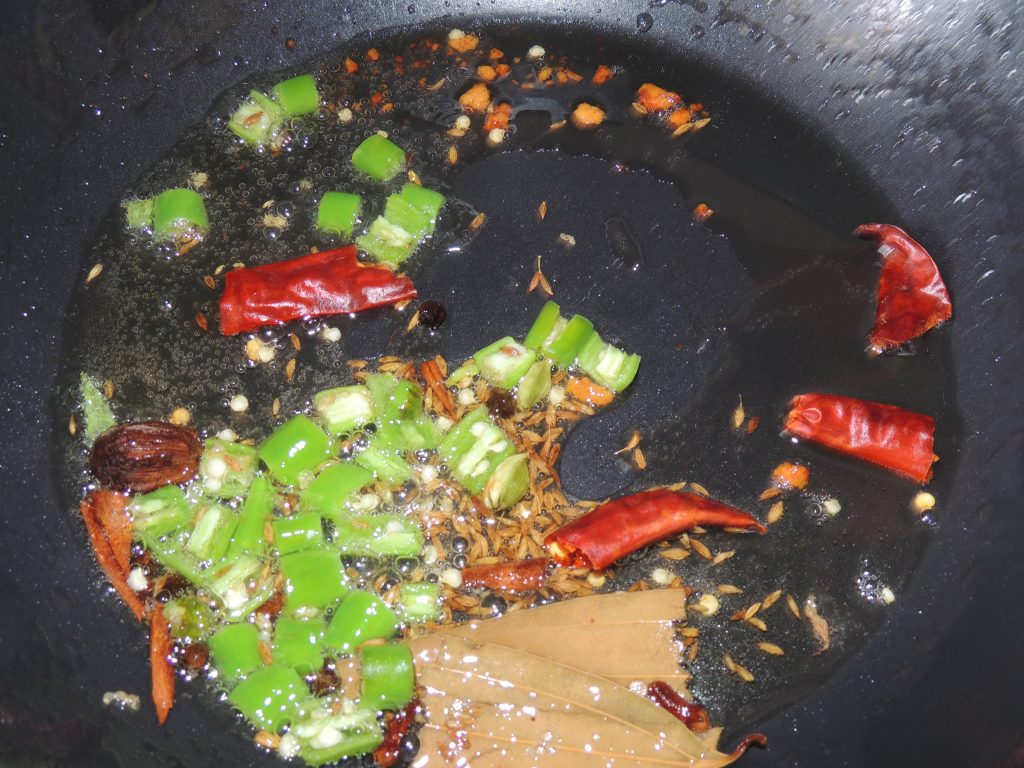
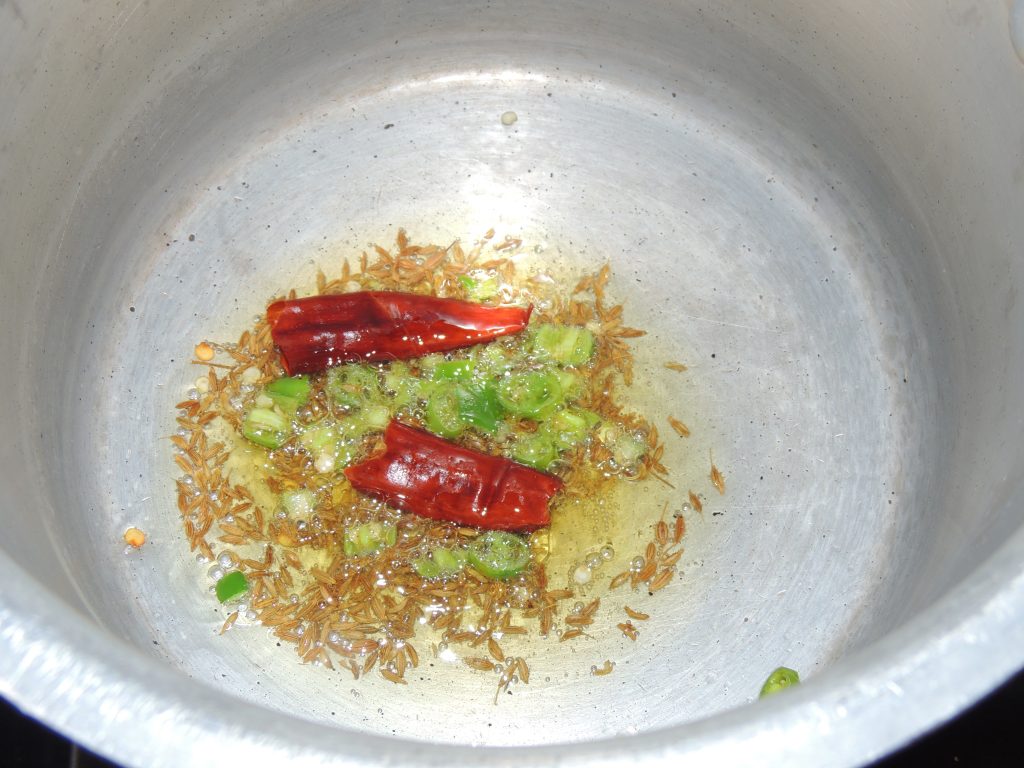
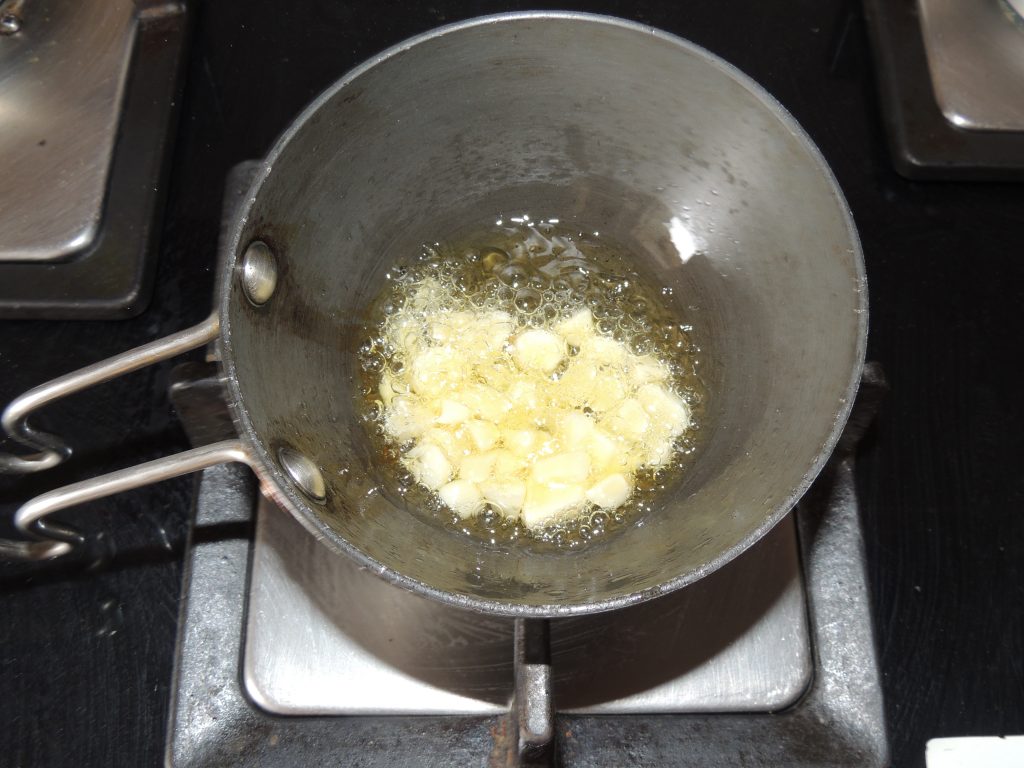
- Allow ghee to heat. When smoke starts blowing from the ghee, add chopped garlic into desi ghee.
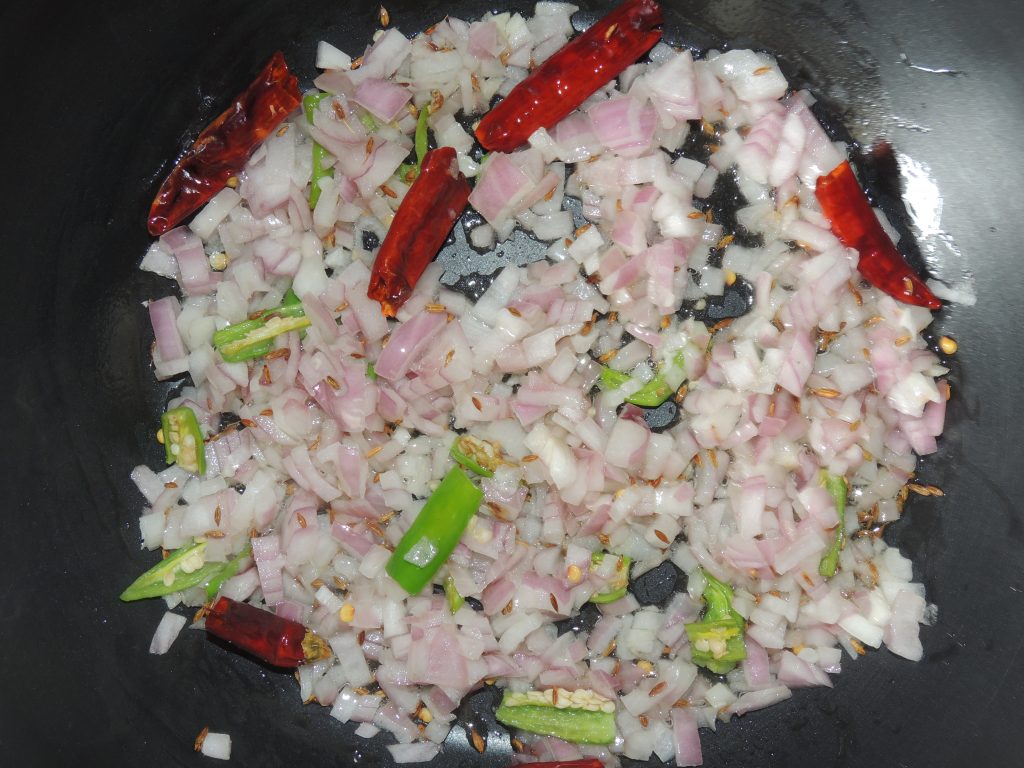
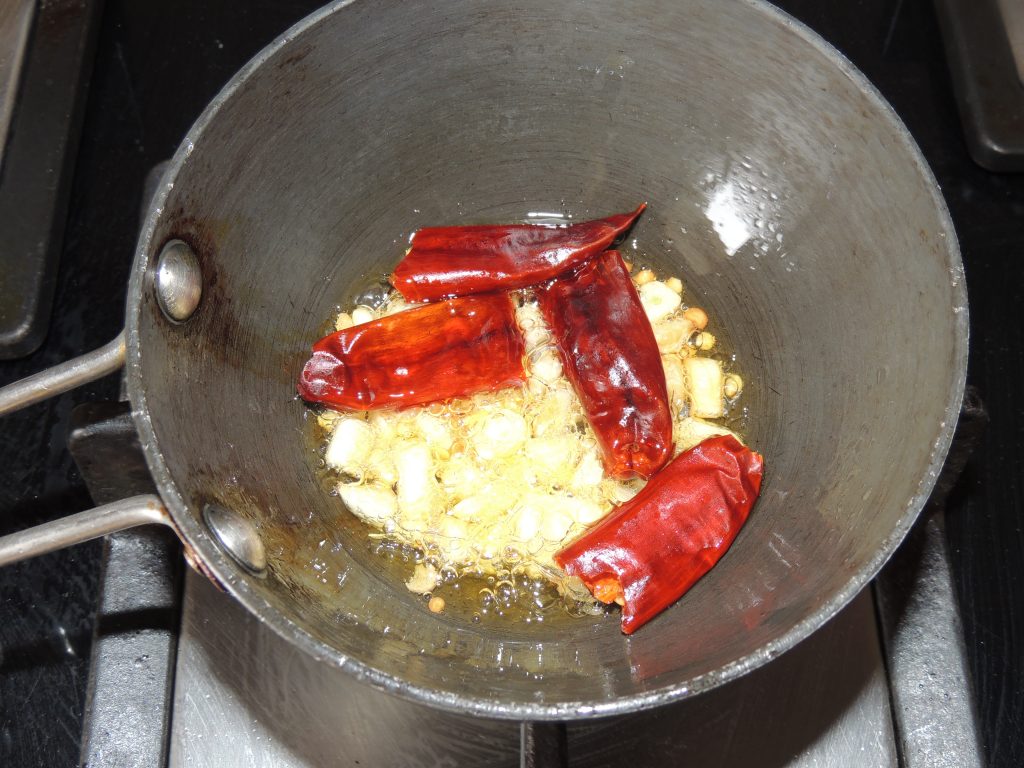
- Stir garlic with spoon. Let fry garlic for 20 seconds. After that add pieces of red chilli.
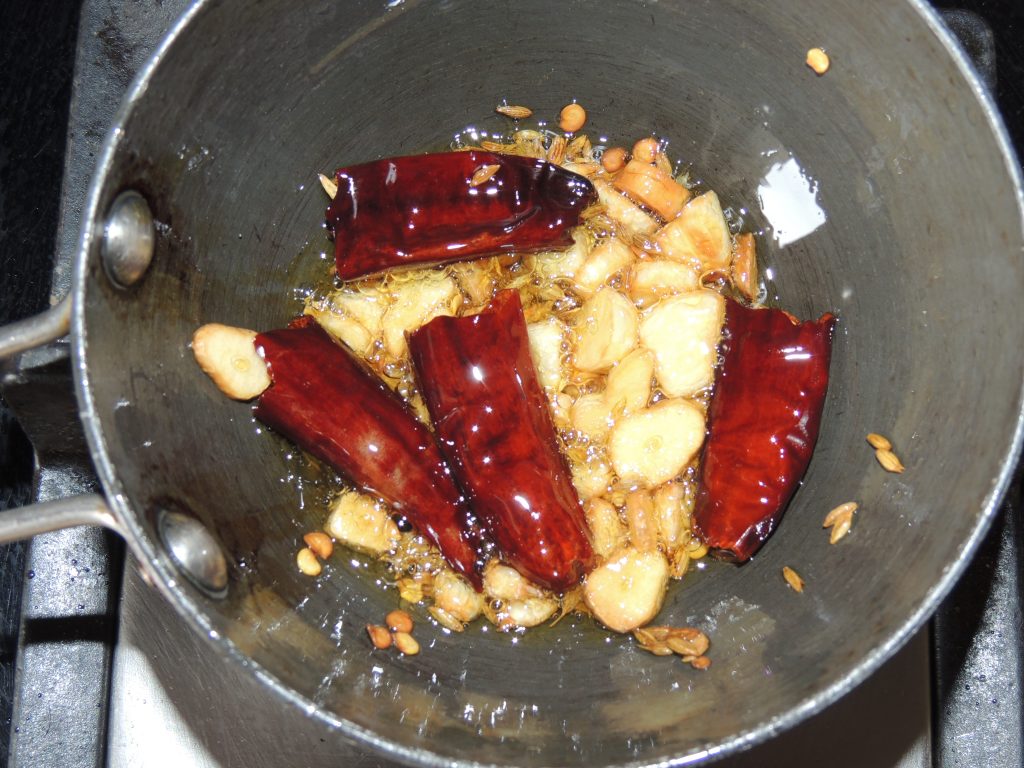
- Add cumin seeds after 10 seconds. Roast cumin.
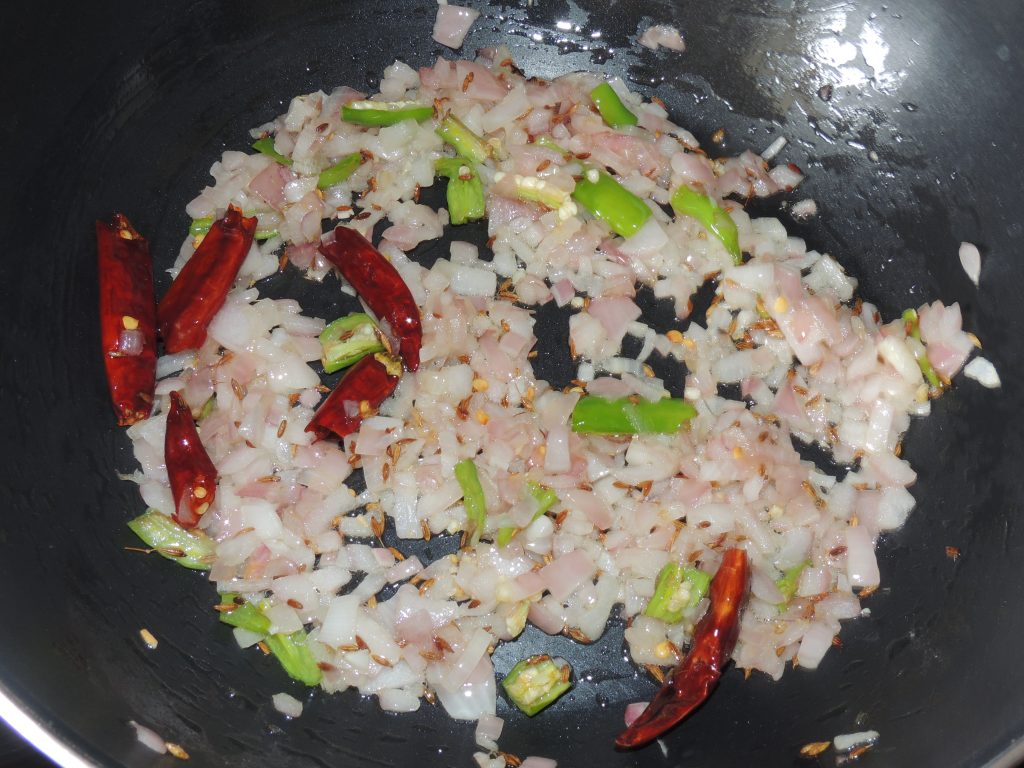
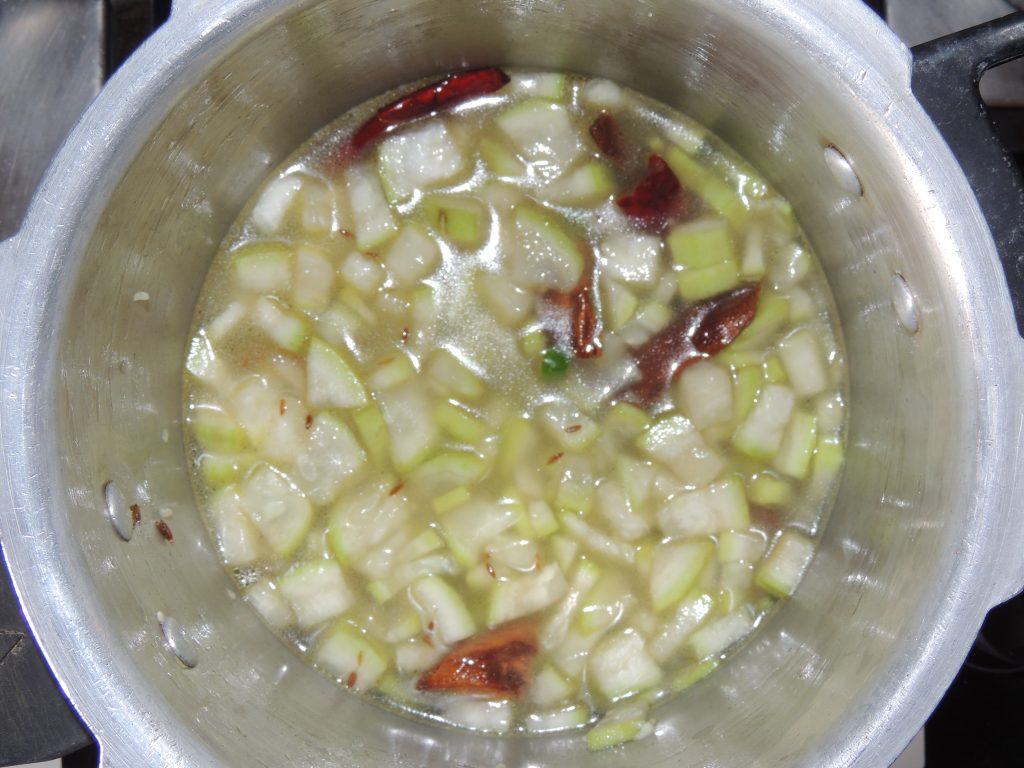
- Fry the garlic till light brown.
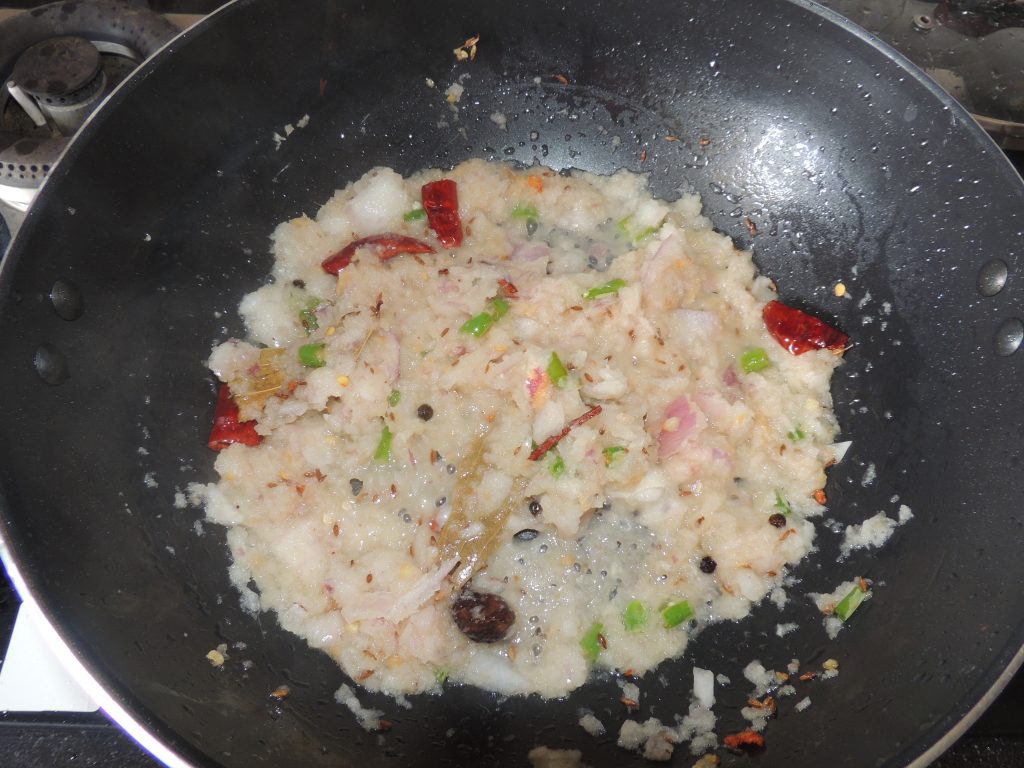
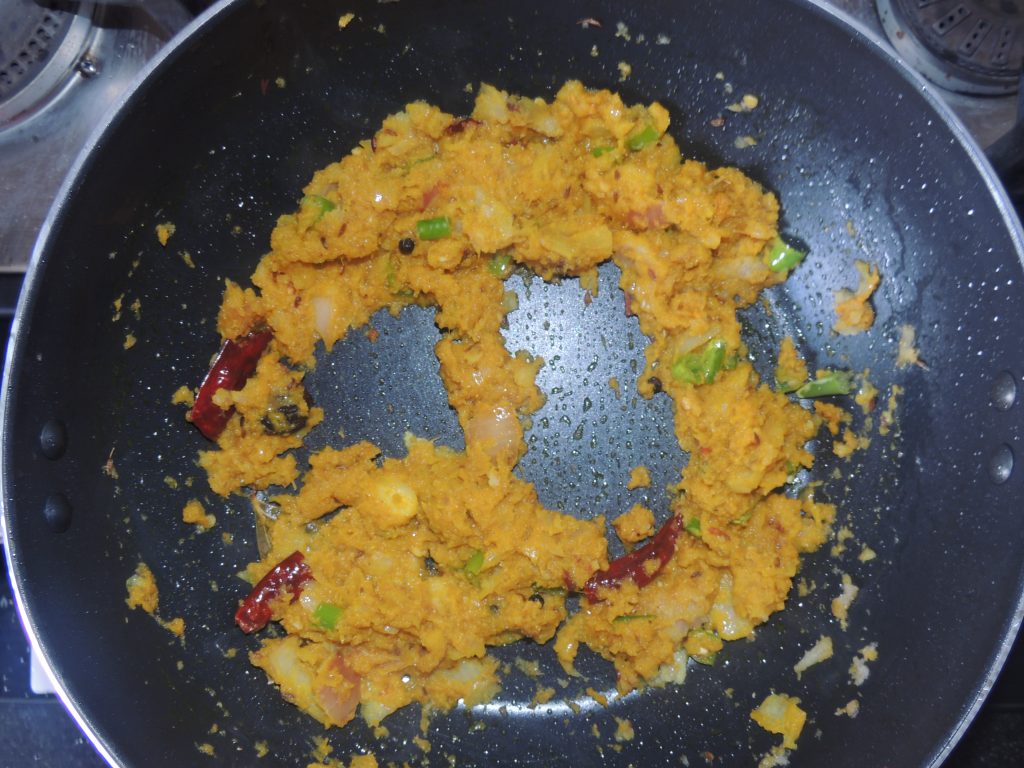
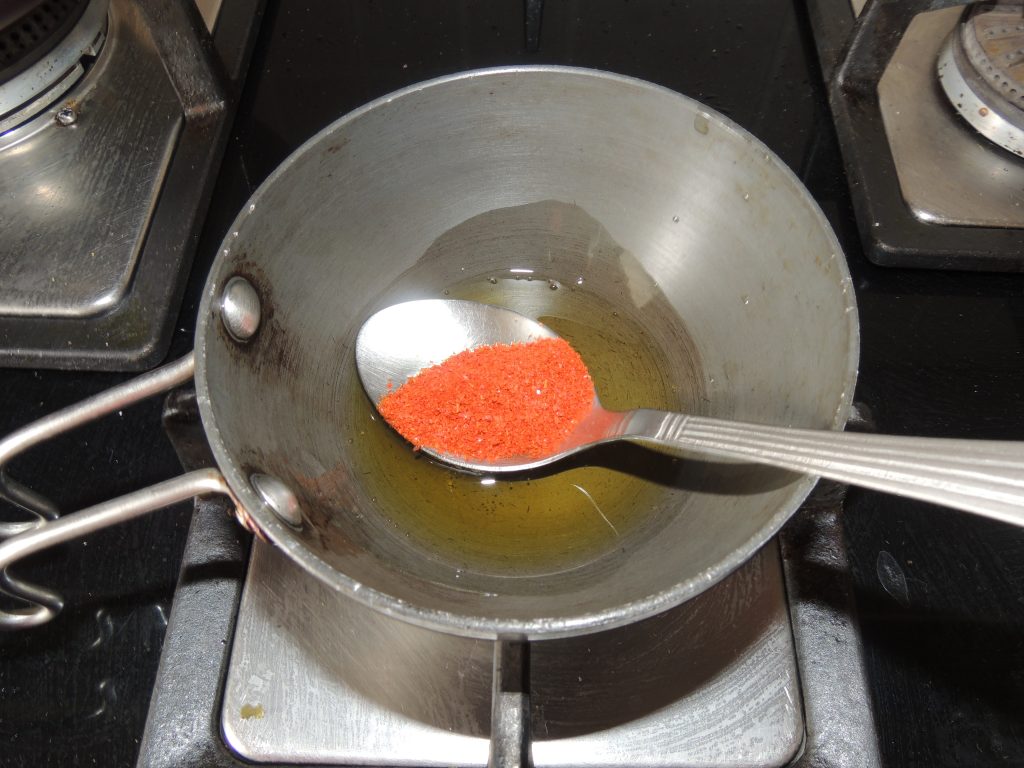
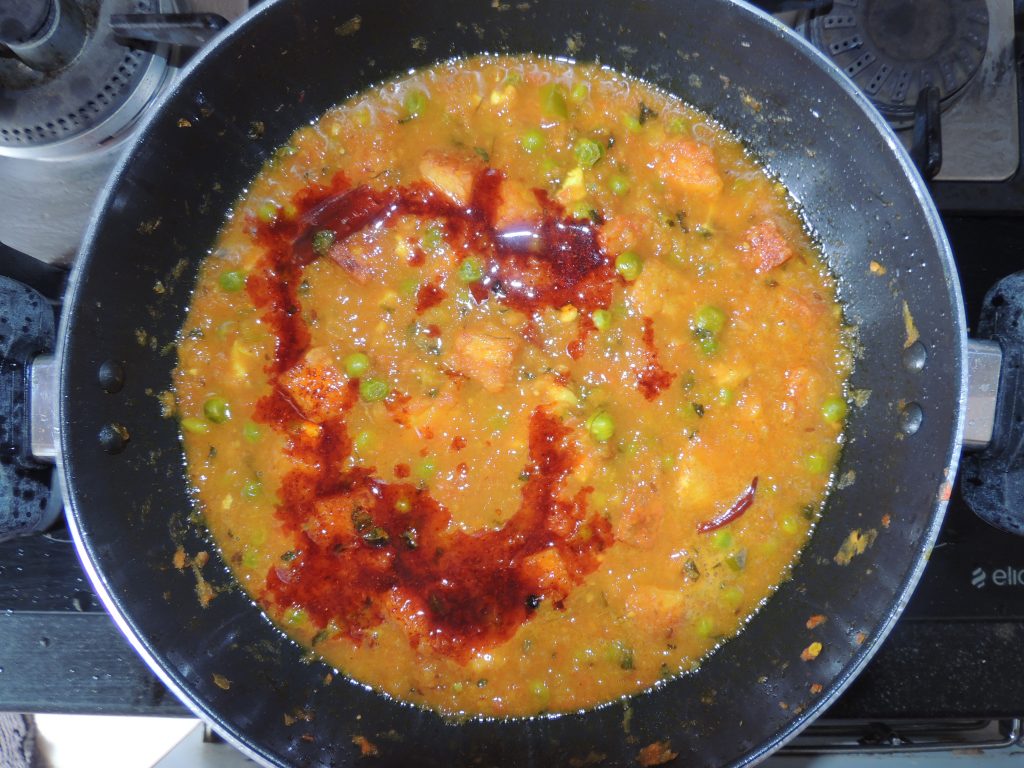
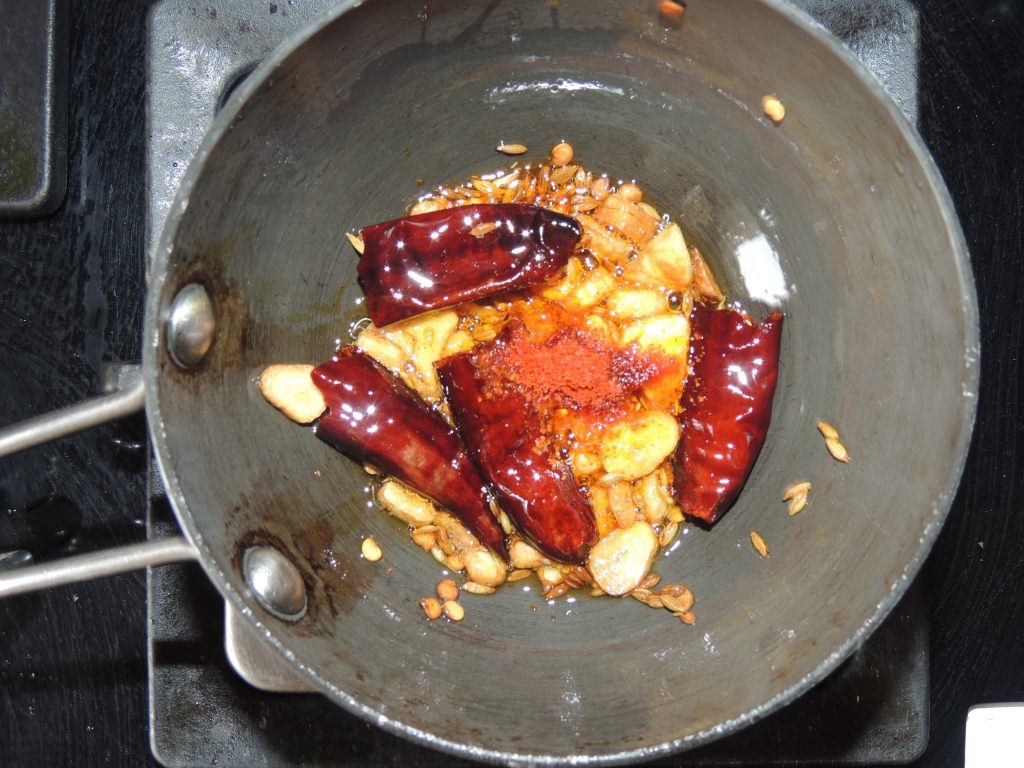
- Turn off the gas and add red chilli powder.
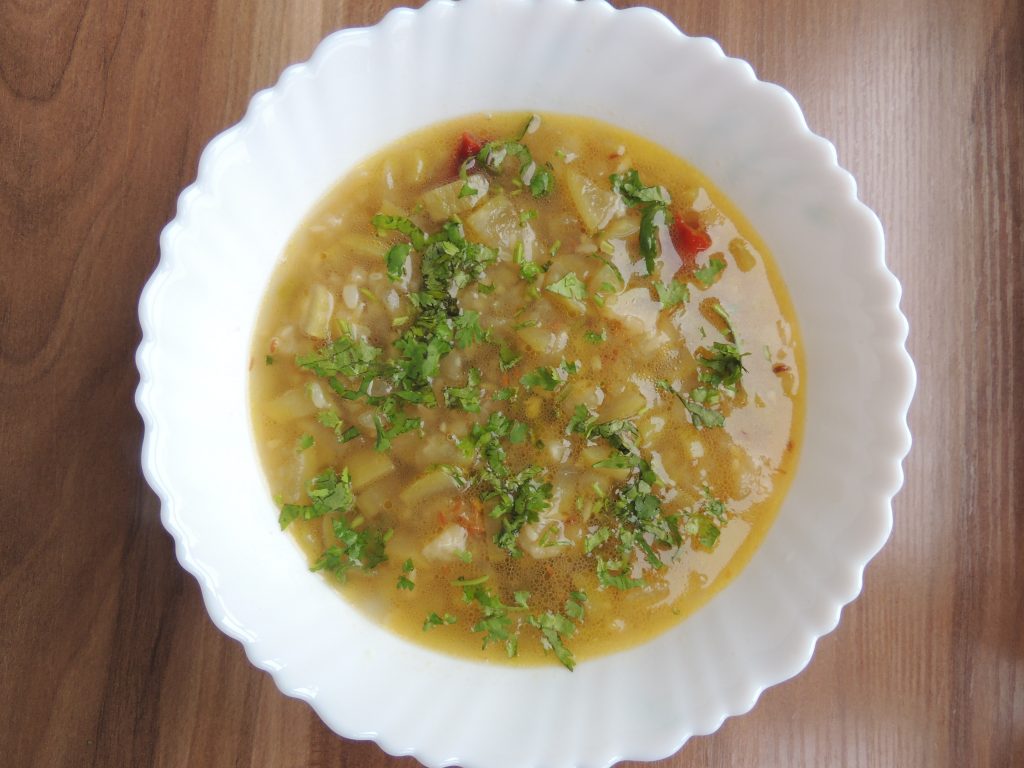
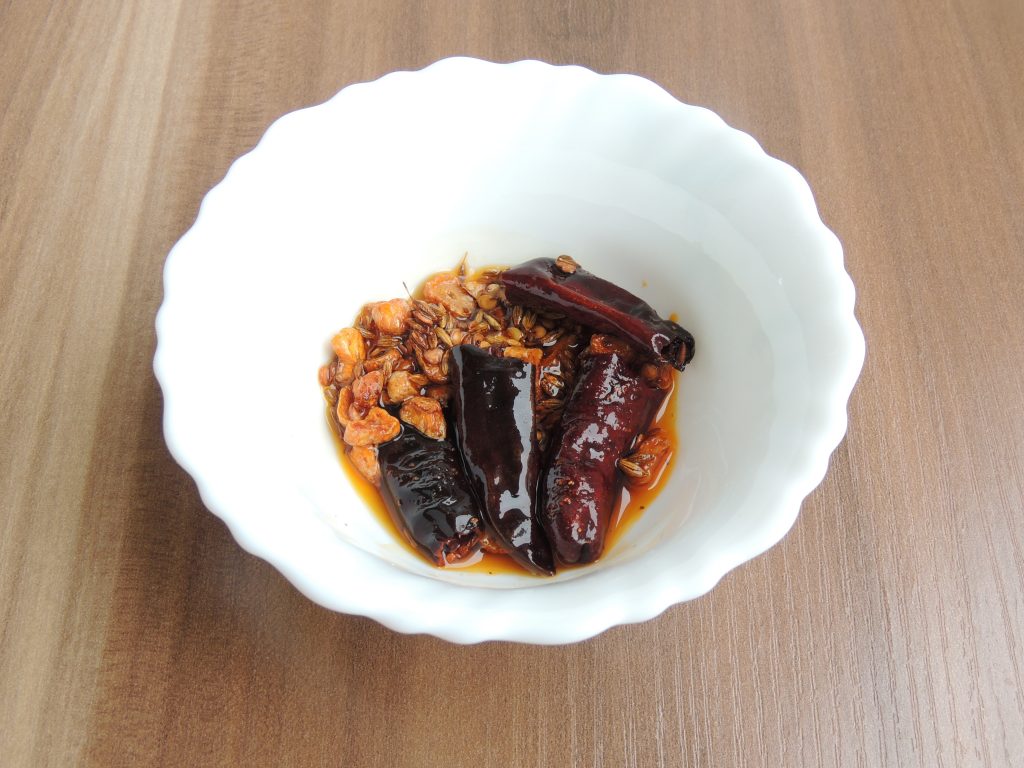
- Now garlic red chilli / lehsun lal mirch tadka is ready.
Video
Notes
Garlic is very good for health, stomach, in joint pain and garlic tempering adds extra flavour to any recipe.