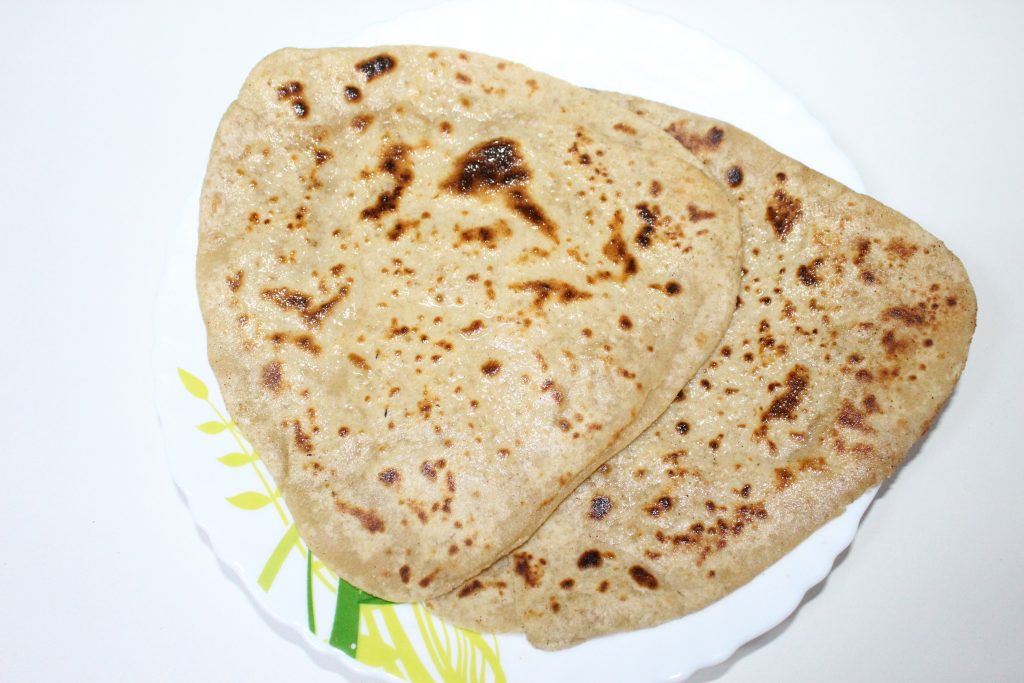
Paratha | Flat Bread

A paratha is a flatbread that originated in the Indian subcontinent prevalent throughout areas of India, Sri Lanka, Pakistan, Nepal, and Bangladesh where wheat is the traditional staple.
Paratha is an amalgamation of the words paratha and atta, which literally means layers of cooked dough.
Parathas can be eaten as a breakfast dish or as a tea-time (tiffin) snack.
The flour used is finely ground wholemeal (atta) and the dough is shallow fried.
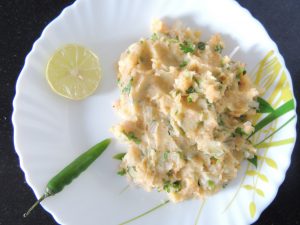
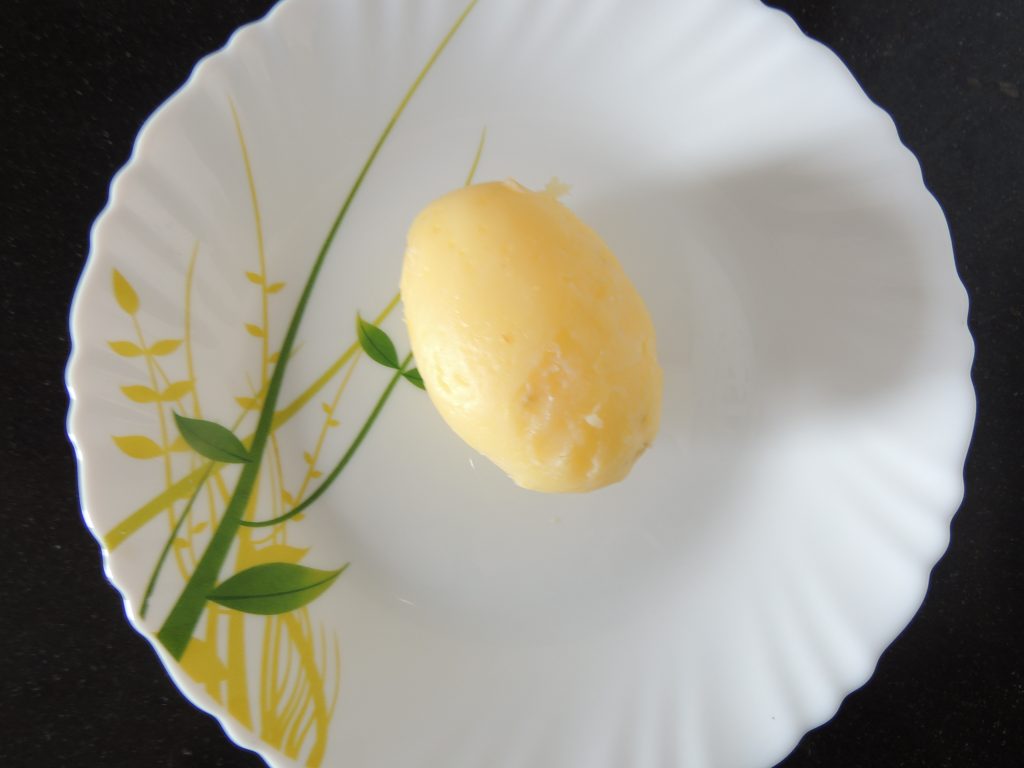
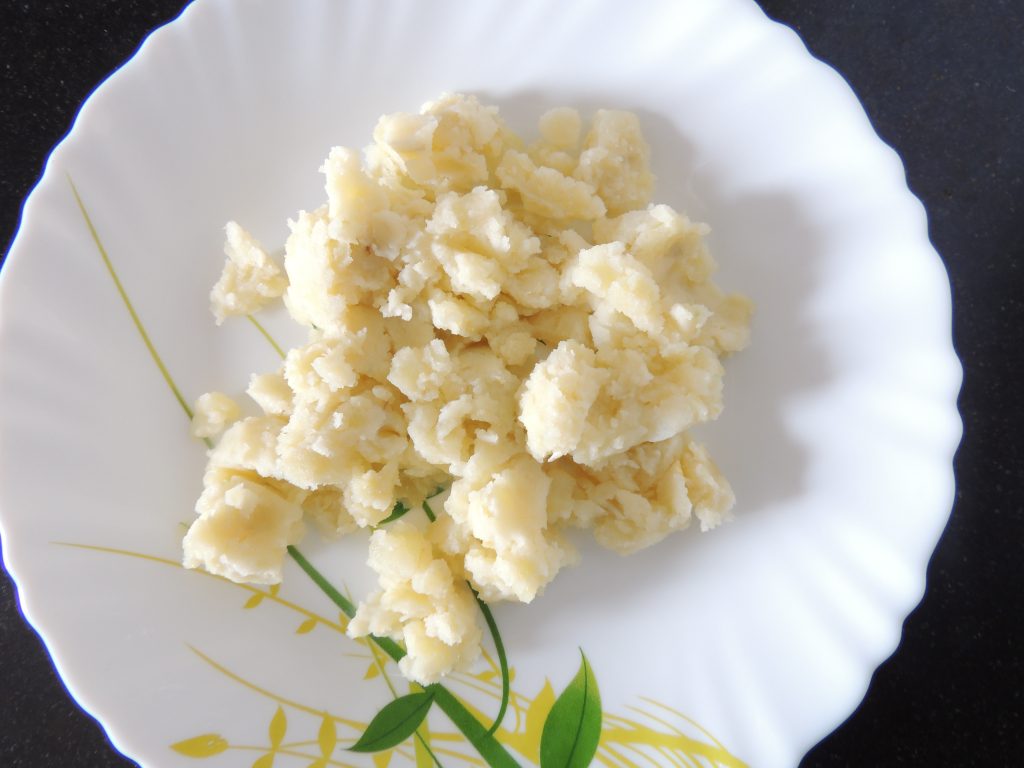
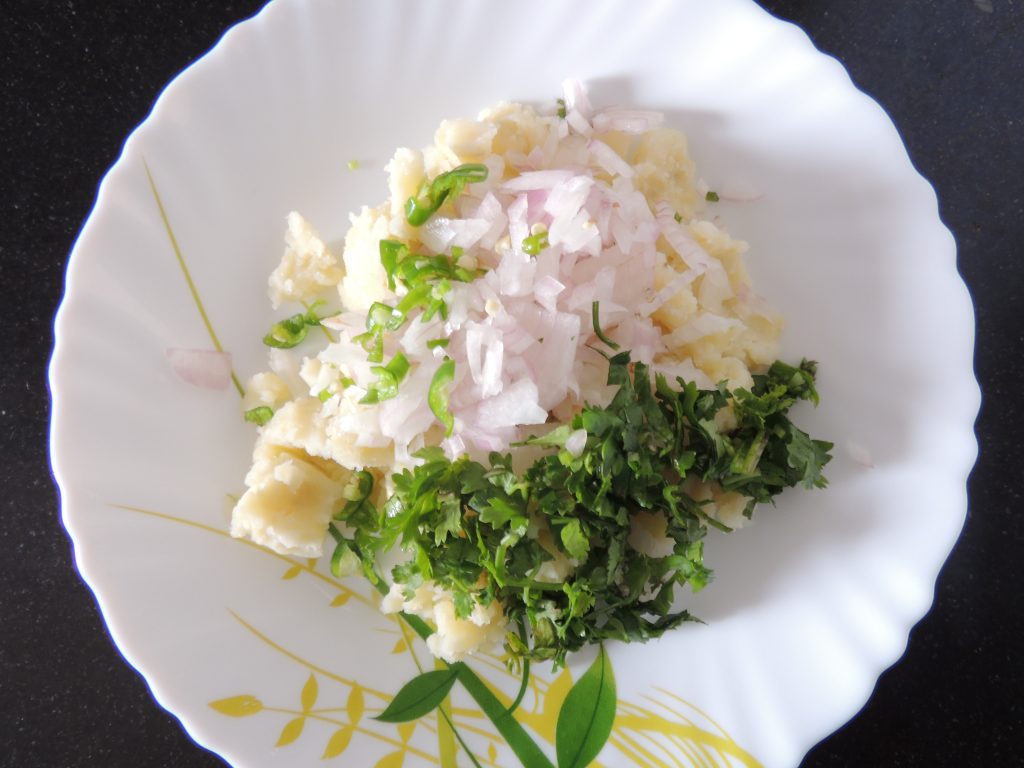
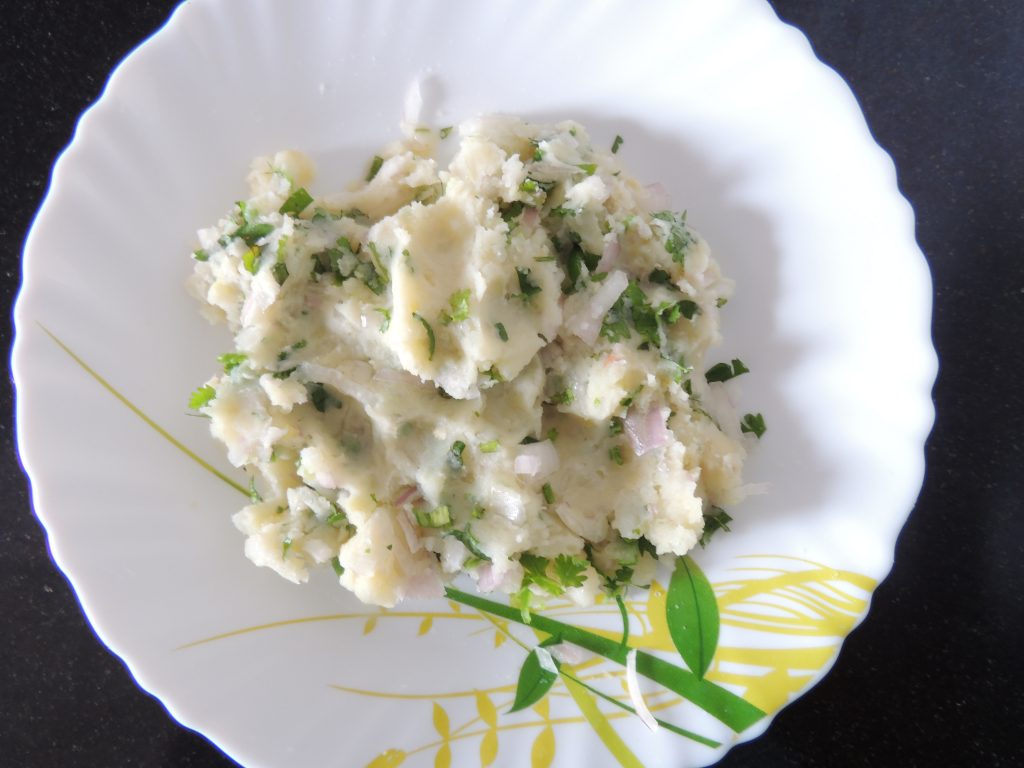
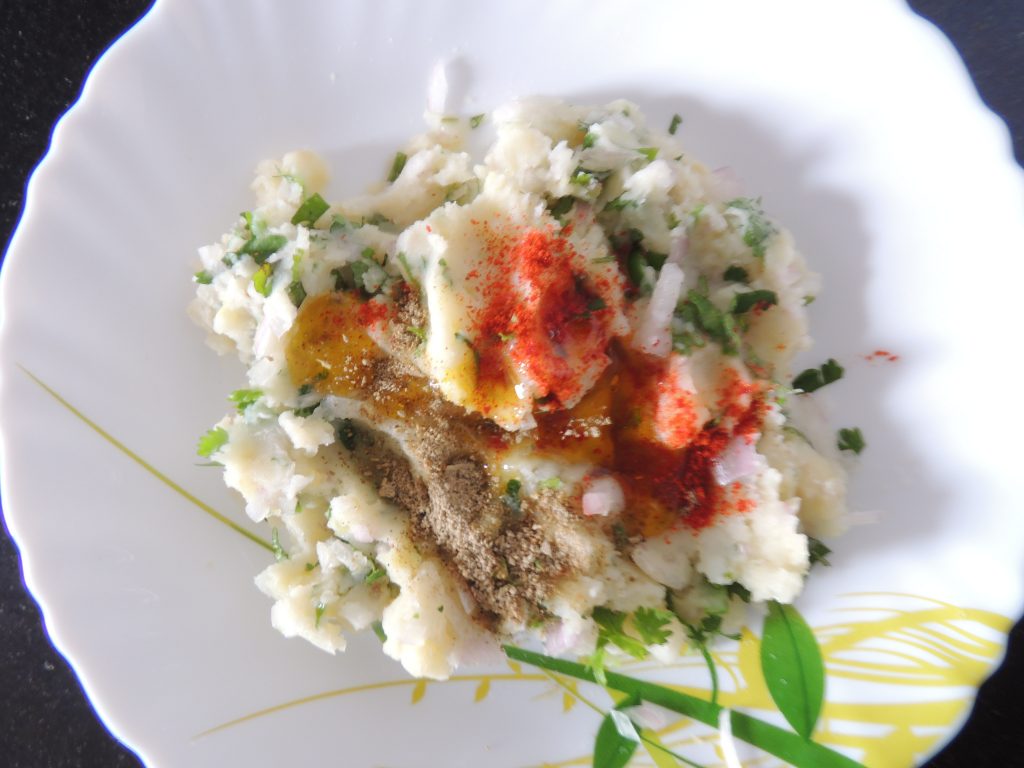
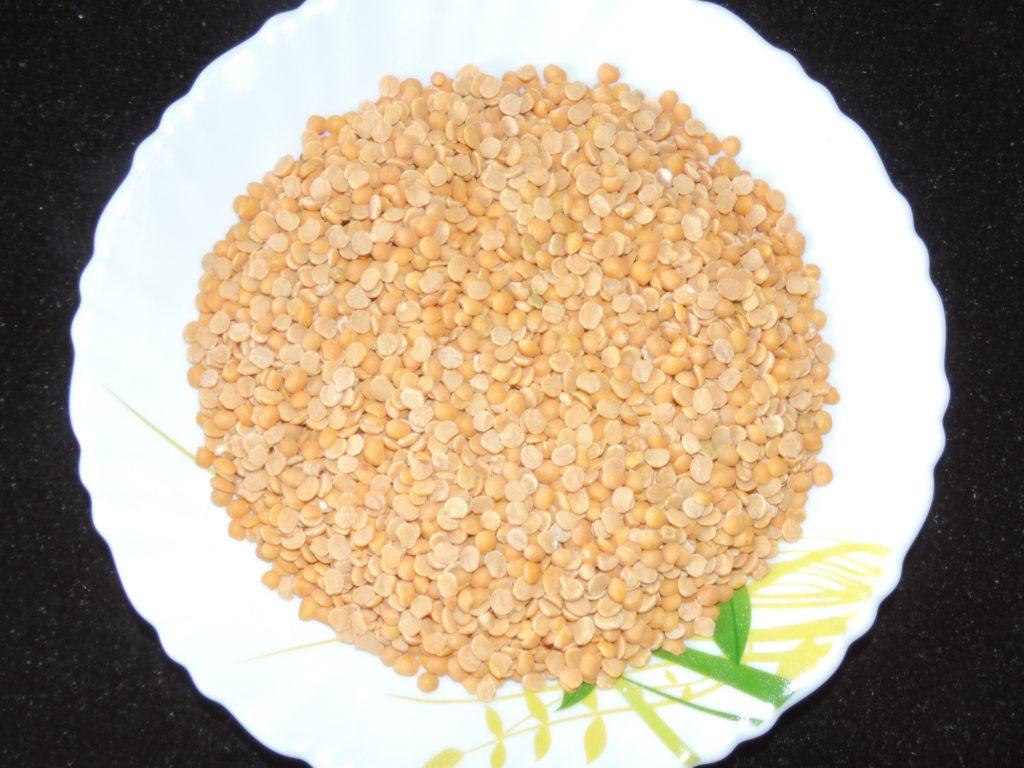
Perhaps the most common stuffing for parathas is mashed, spiced potatoes (aloo ka parantha) followed perhaps by dal (lentils).
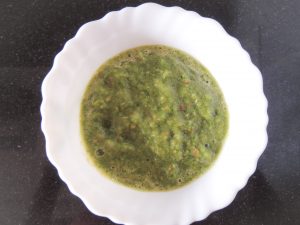
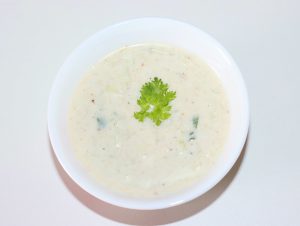
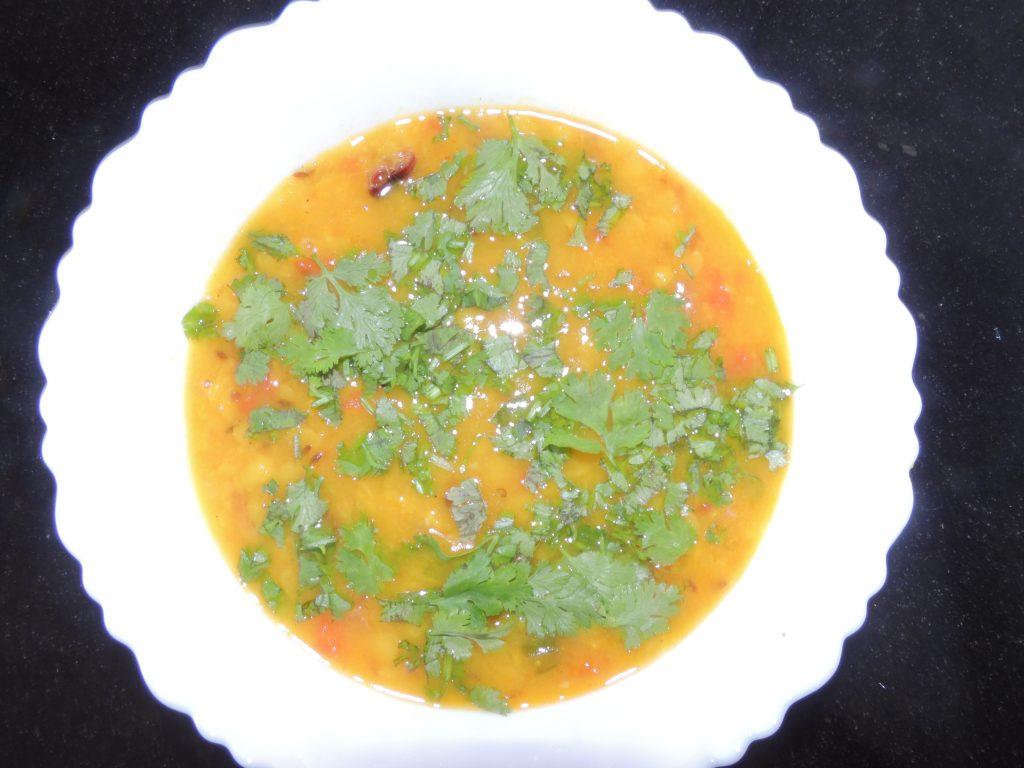
A paratha (especially a stuffed one) can be eaten simply with a pat of butter spread on top or with chutney, pickles, ketchup, dahi or raita or with meat or vegetable curries.
Some roll the paratha into a tube and eat it with tea, often dipping the paratha.
To achieve the layered dough for plain parathas, a number of different traditional techniques exist.
These include covering the thinly rolled out pastry with oil, folding back and forth like a paper fan and coiling the resulting strip into a round shape before rolling flat, baking on the griddle/ tava and shallow frying.
This bread is very nutritious and helps to get rid of hunger for a long time, plus it does not tire and improves brain function. This is important for people who work for a long time at the computer. Such as online casino players. The Slotogate platform is the best platform where various casinos are presented and where you can make various deposit methods including ecopayz online casino
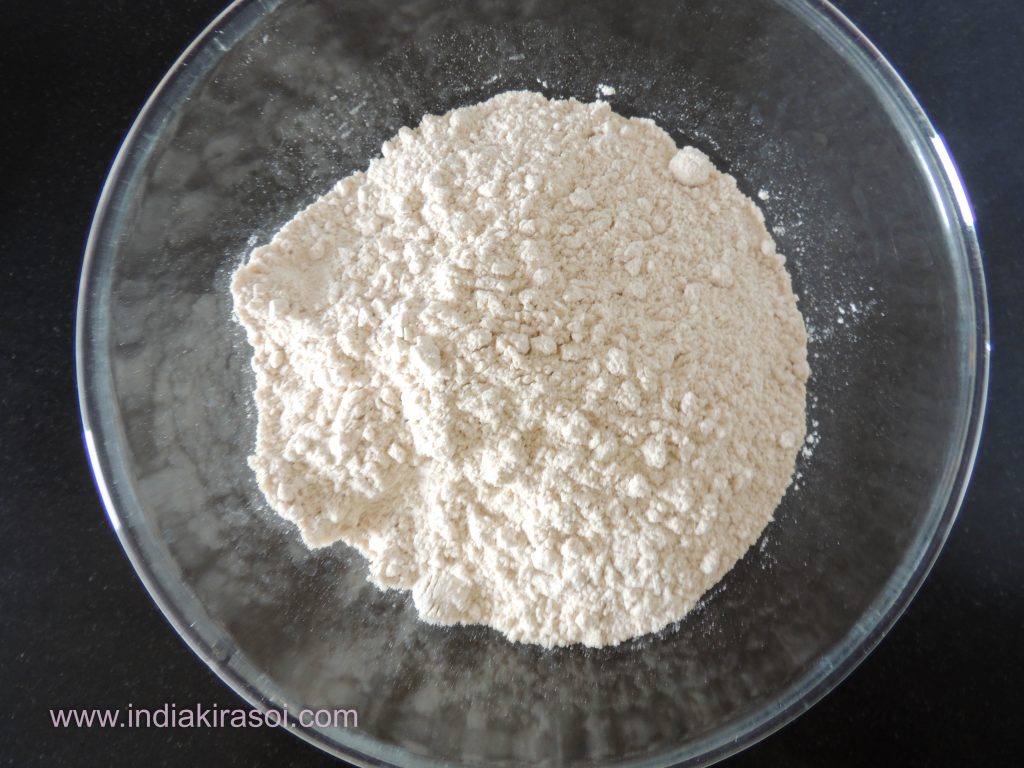
- 4 tsp Wheat Flour (1 paratha require 2 tbsp of flour)
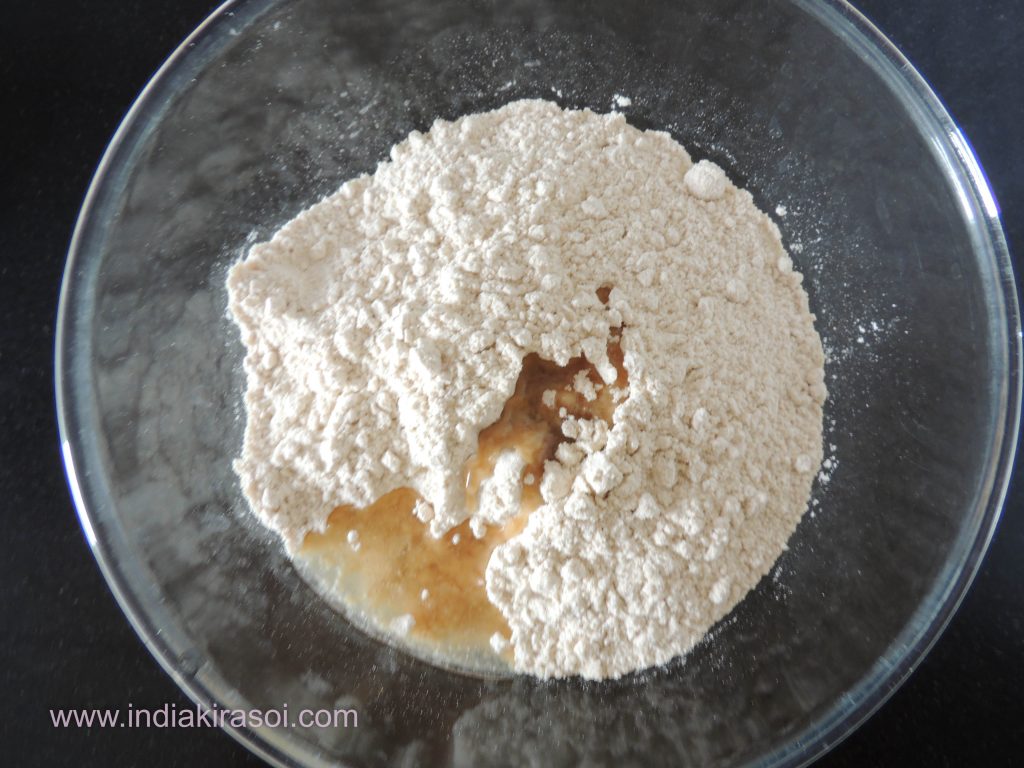
- 2 tsp Oil or Desi Ghee (To knead dough)
- as per required Water / Pani
- 4 tsp Oil or Desi Ghee (To apply on the layer of paratha)
-
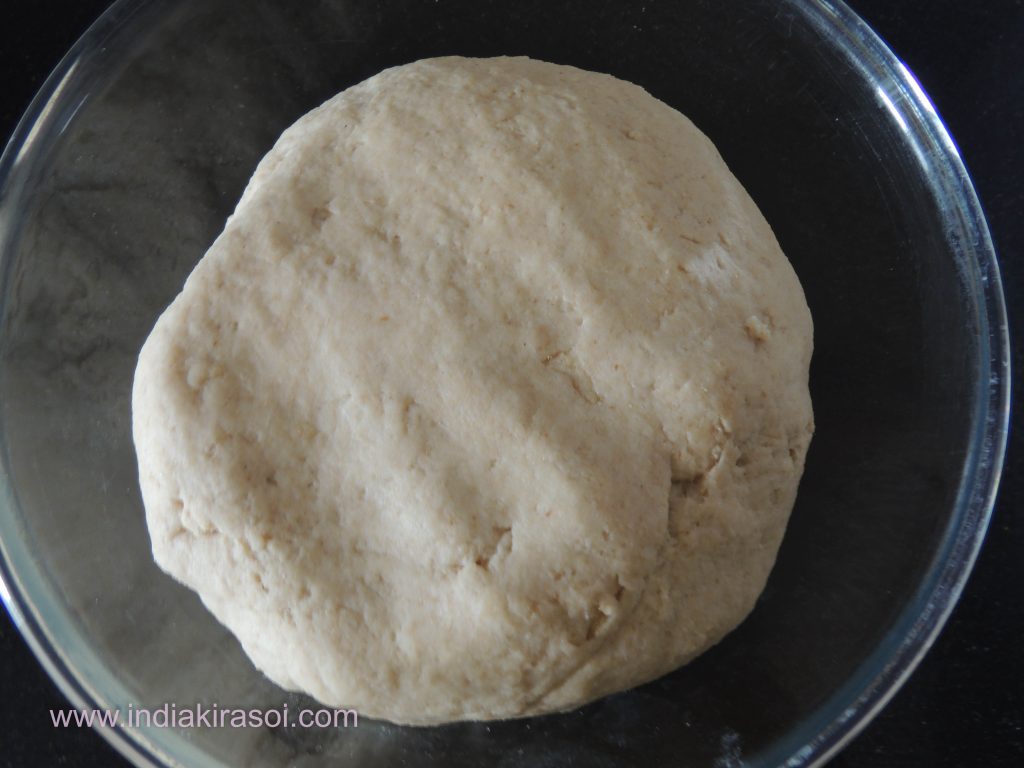
First take wheat flour and add 2 tsp of oil or desi ghee.Knead the dough.Dough will be like dough of chapati.
-
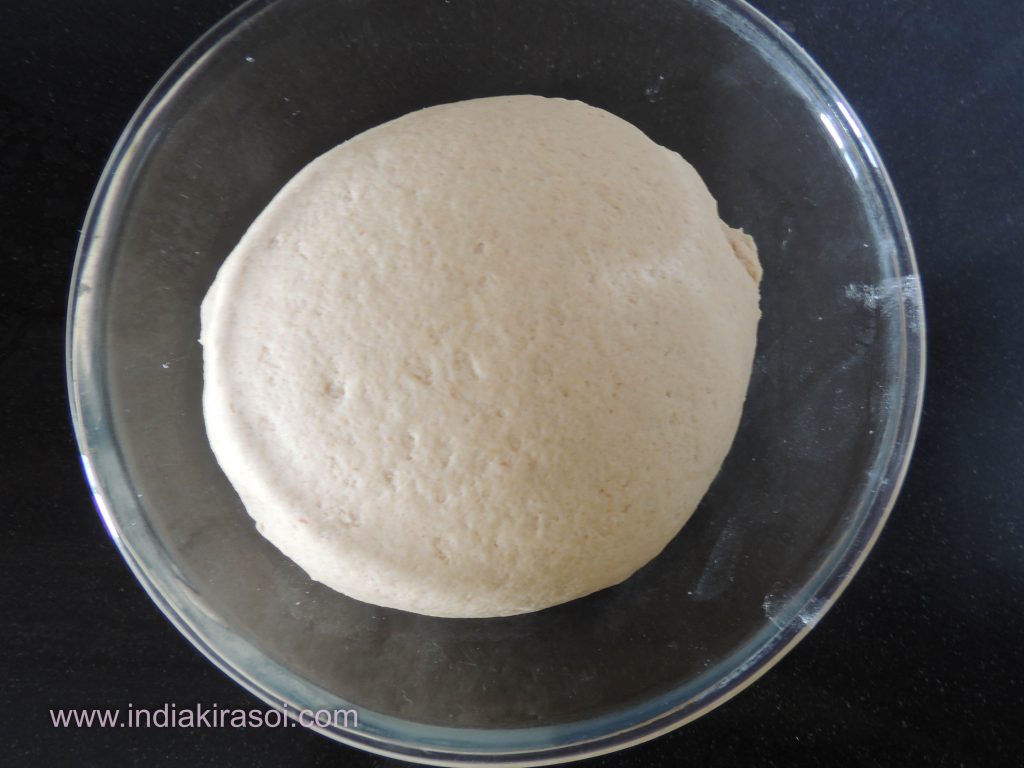
Cover the dough for 5 minute, so that dough will be properly settled.
-
After that take Oil or Desi ghee in the plate.
-
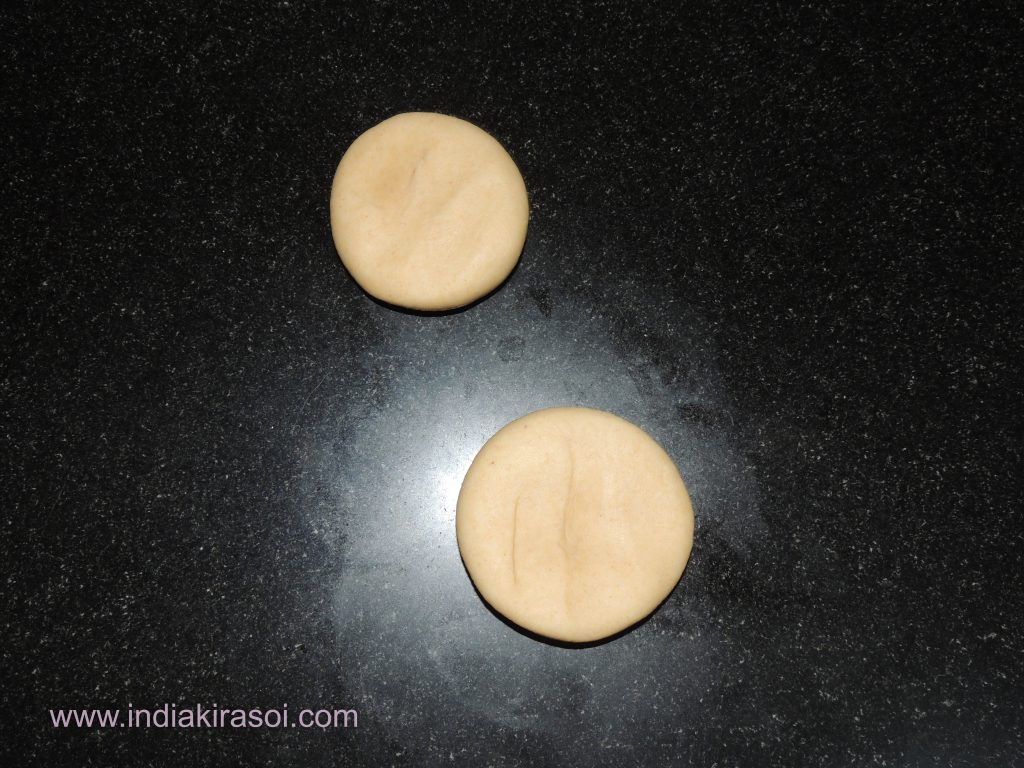
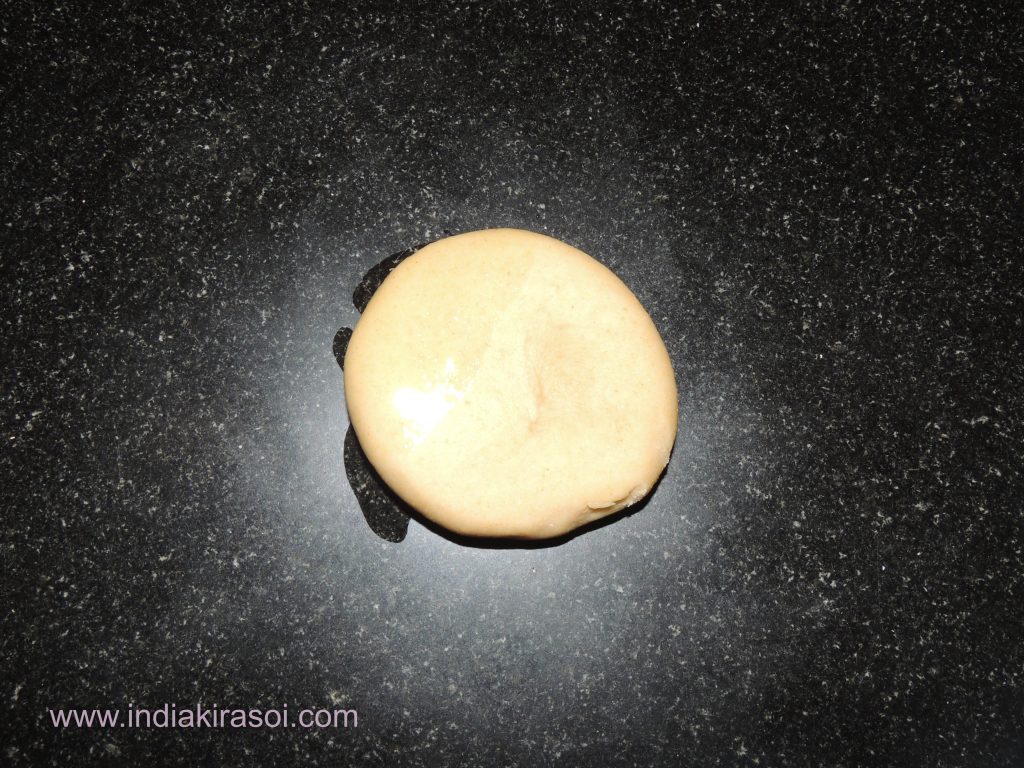
Make 2 balls / pieces of that prepared dough.Take one of them.
-
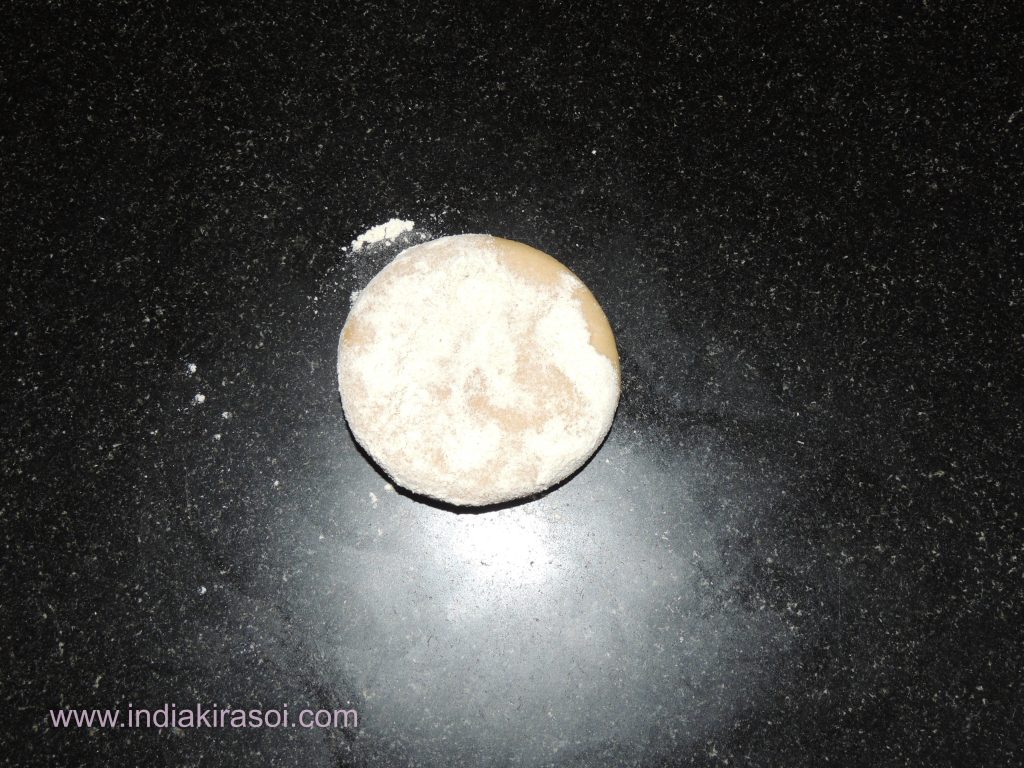
Coat one of ball with flour.Flatten the ball of dough.
-
Roll the ball to 3 -4 inch in circular motion with rolling pin.
- Spread 1/2 tsp of oil over the entire surface of the circle.
-
After that spread 1/4 tsp of oil over entire surface of the semi-circle.Do one more fold to create triangle.
-
Folding the layer is totally depend on you.Here we are creating and greasing the layer to create multi layer of the paratha.You can give any shape to the paratha, square or circular or any geometrical shape.
-
Now wrap the triangular shape with flour dust.
-
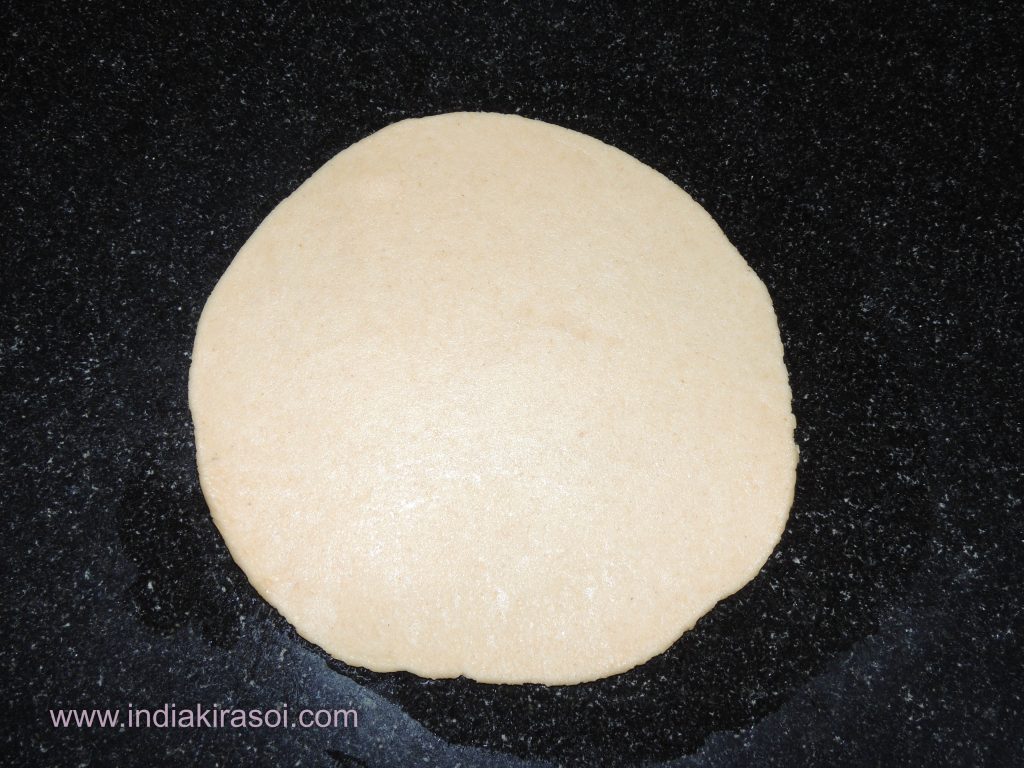
After this step, roll the triangle with rolling pin with light hand in circular motion.There is a trick on rolling paratha or any type of bread.As we know there are 2 handle of rolling pin.So while rolling in circular motion pressure on one side of rolling pin should be little more than the other side, to create circular motion.
-
Roll the paratha till it reaches 1/4 inch thickness, do not press hard while layer.Otherwise layer will not properly create.
-
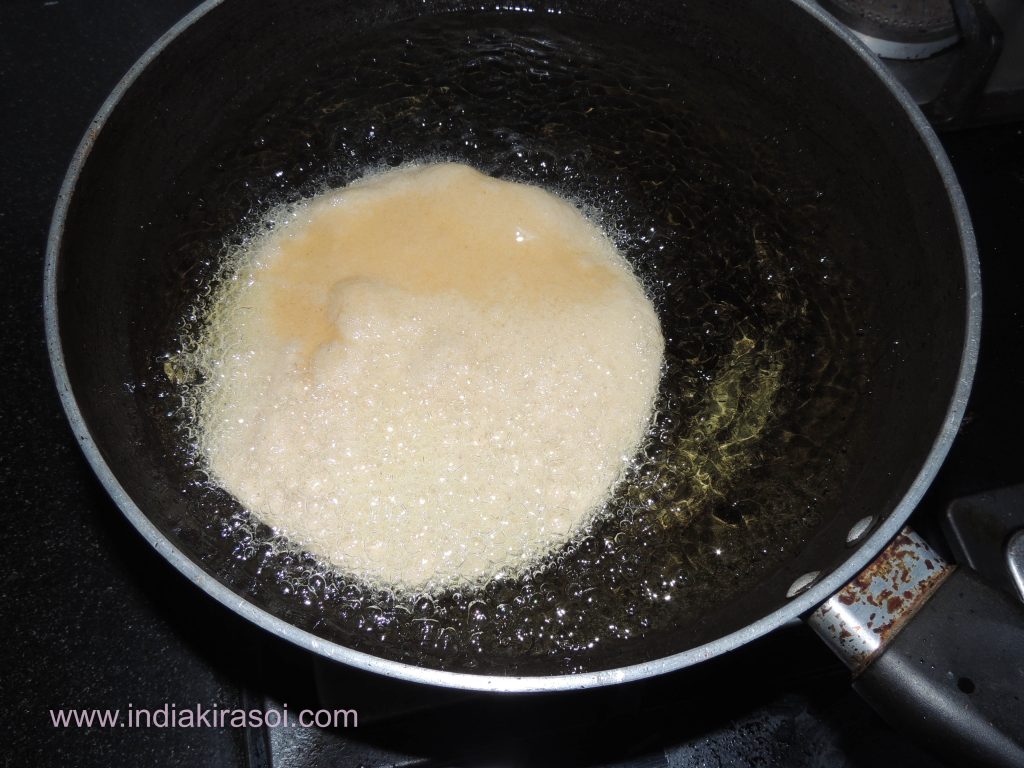
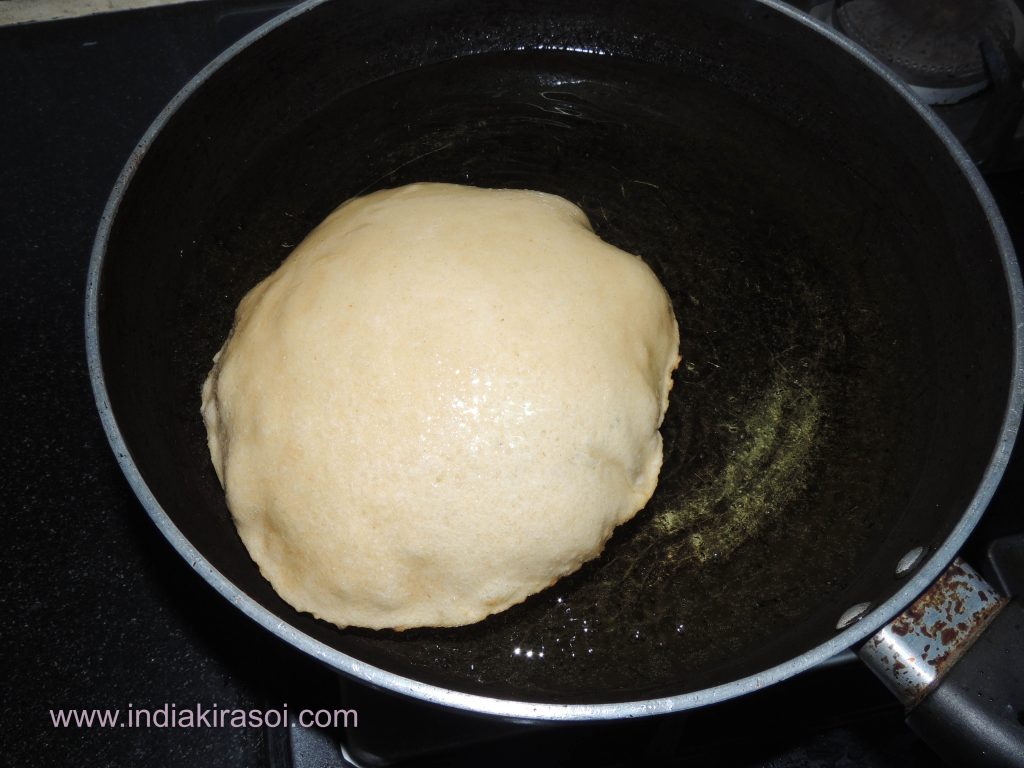
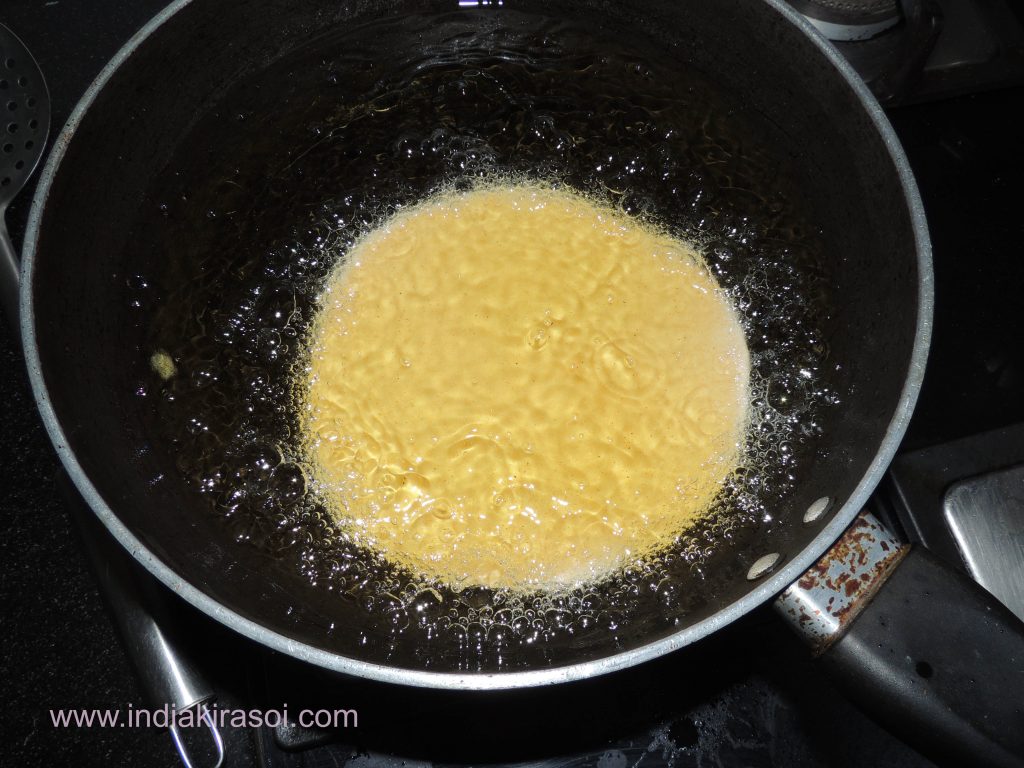
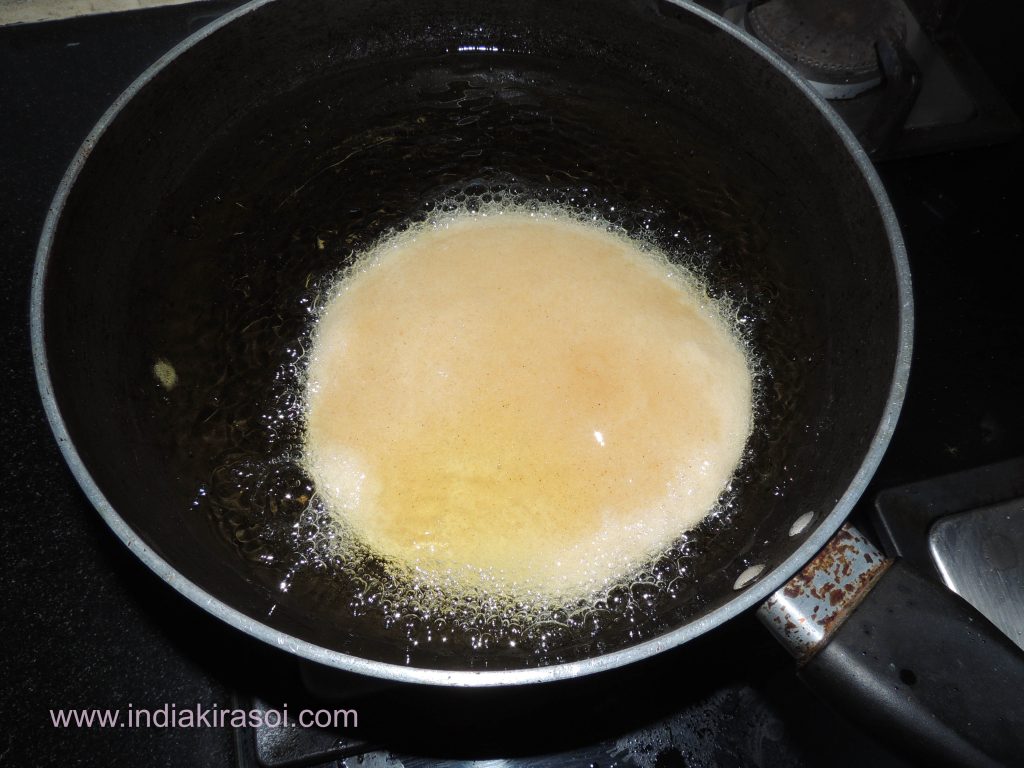
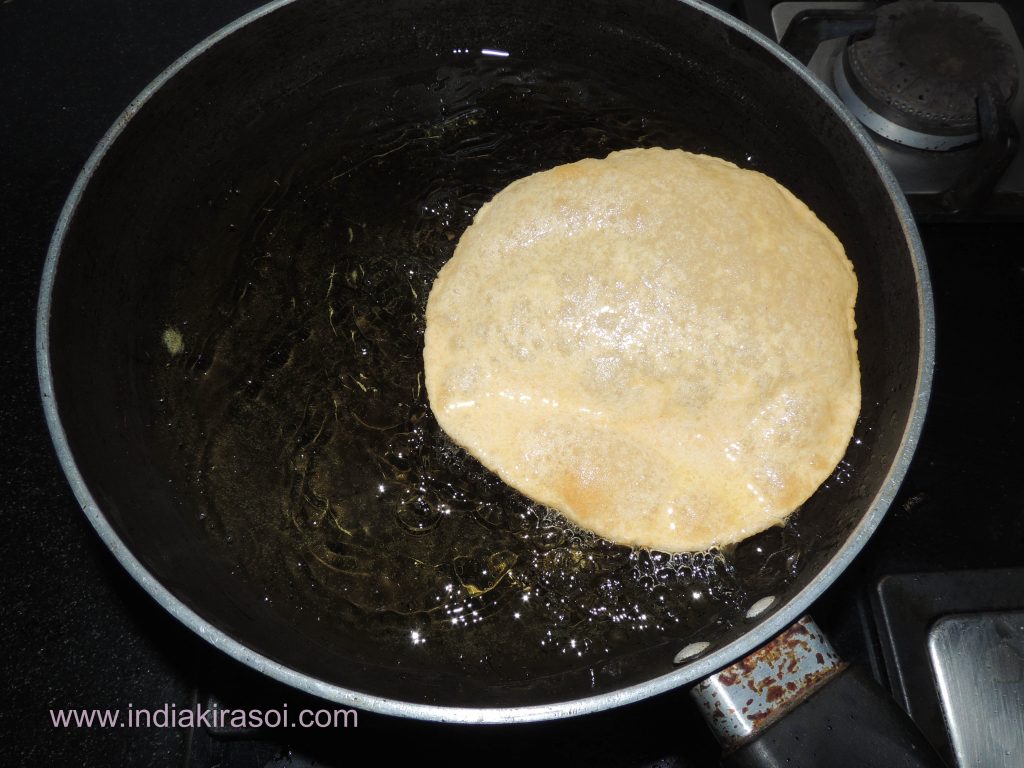
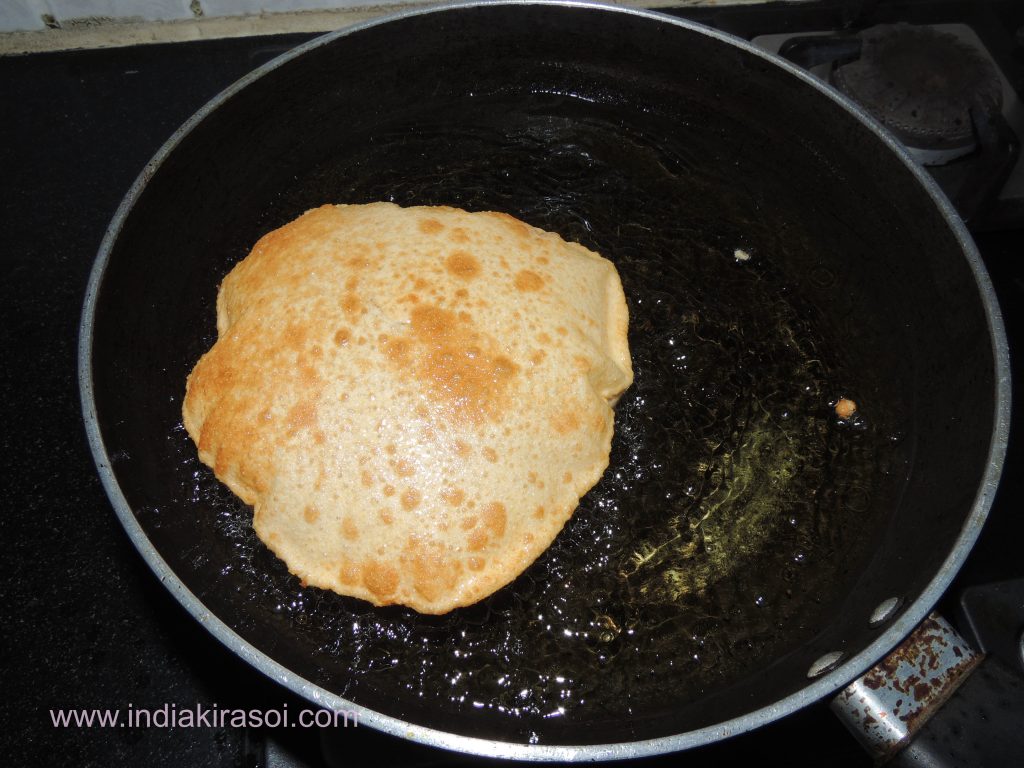
Heat the flat pan on the high flam.After that place the paratha on the flat pan.
-
Now flip the paratha, when you see raised bumps on the upper layer of paratha /flatbread.
-
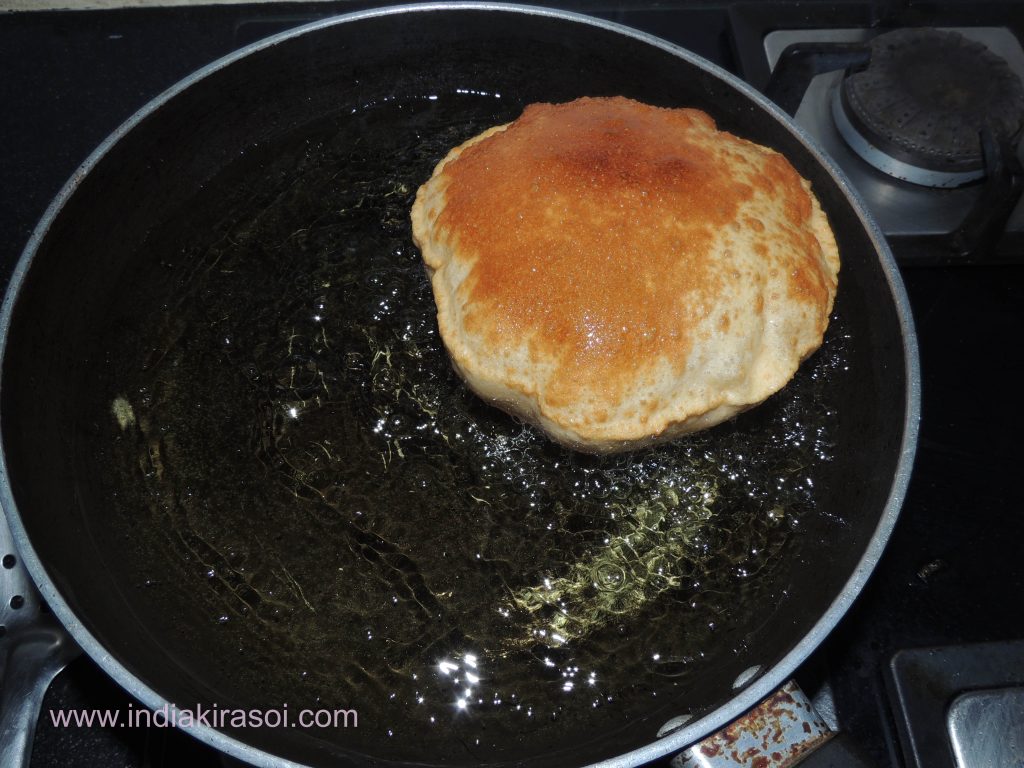
Now flip the paratha / flatbread again with spatula.
-
Apply 1/2 tbsp of oil all over the surface of paratha /flatbread, if oil required more then take little more amount of oil.
-
After that apply required oil to spread on the other side of paratha /flatbread.
-
Again flip the paratha /flatbread.
-
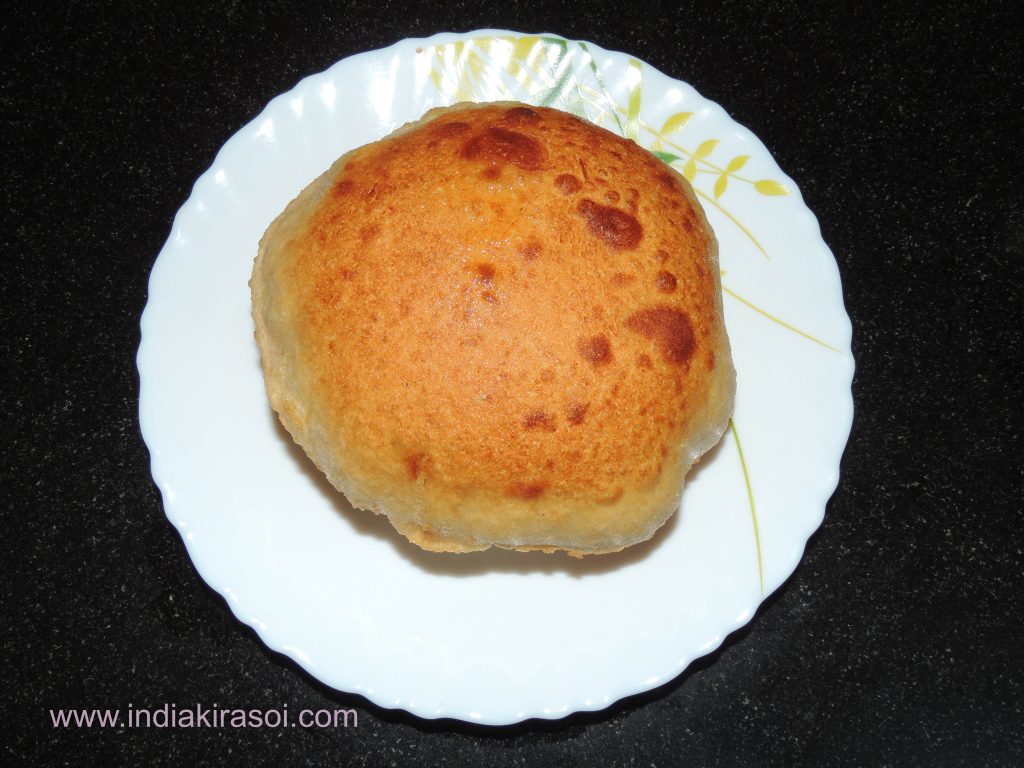
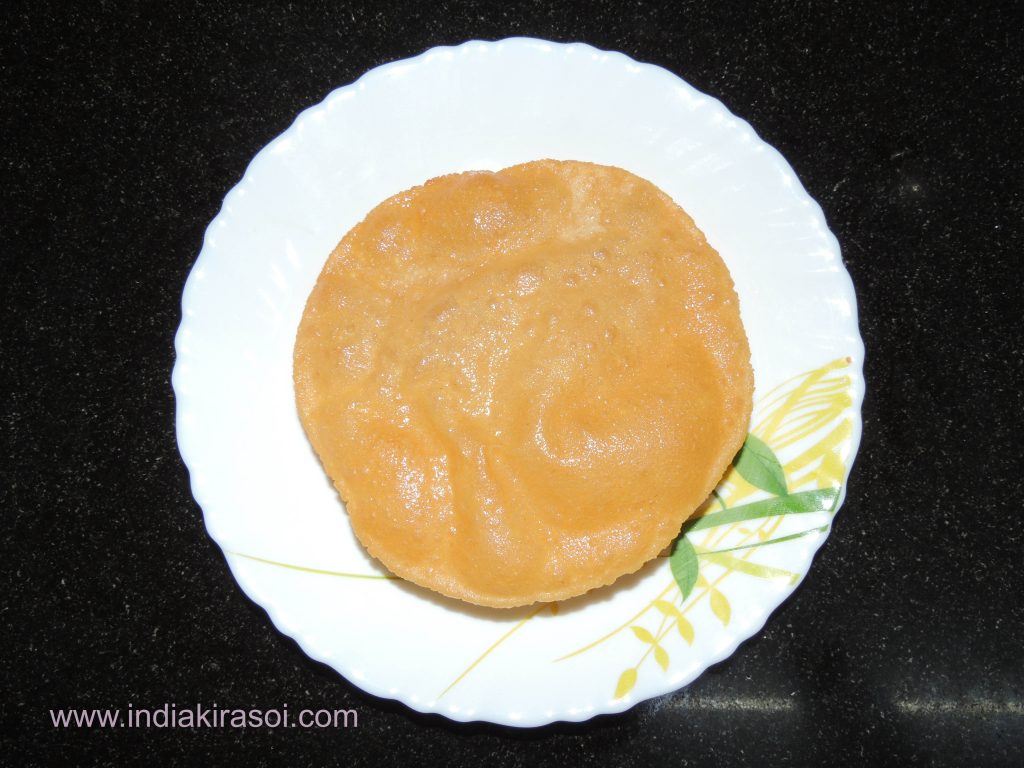
To make paratha crisp press paratha /flatbread by wooden hand masher on both side of the paratha.
-
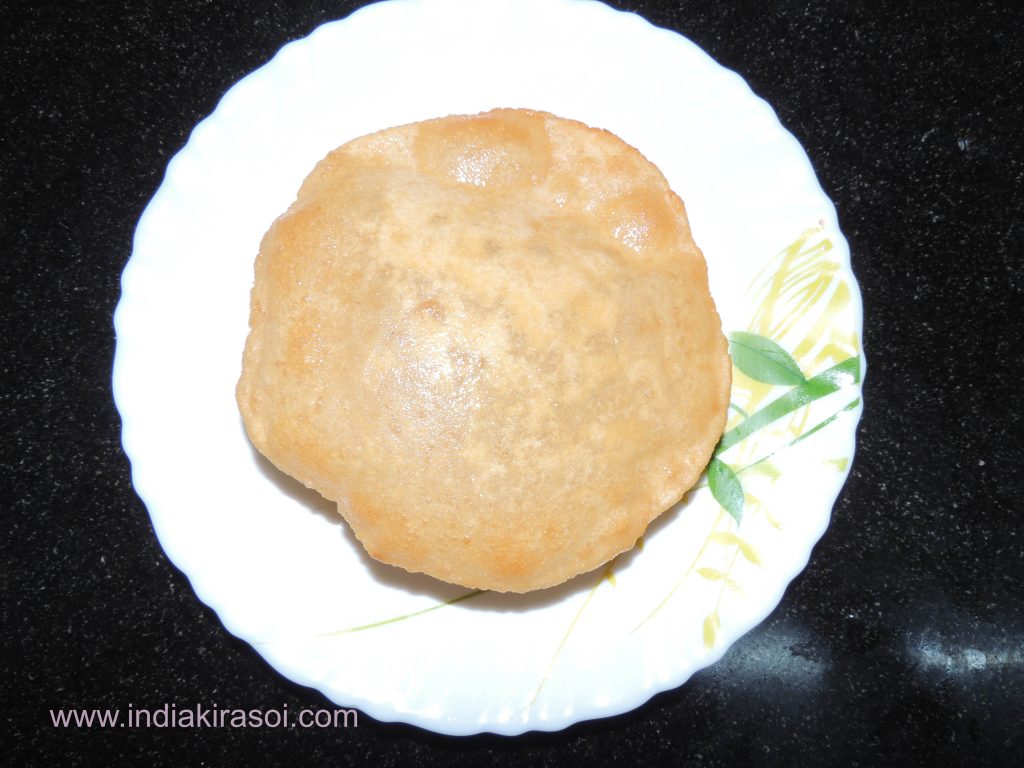
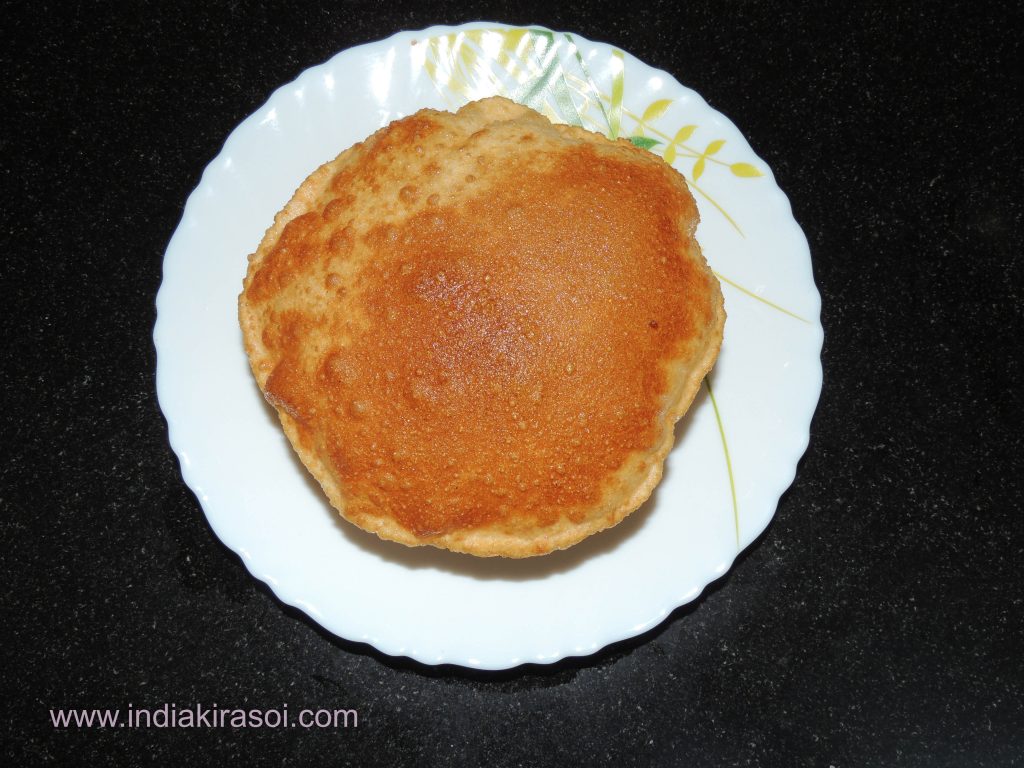
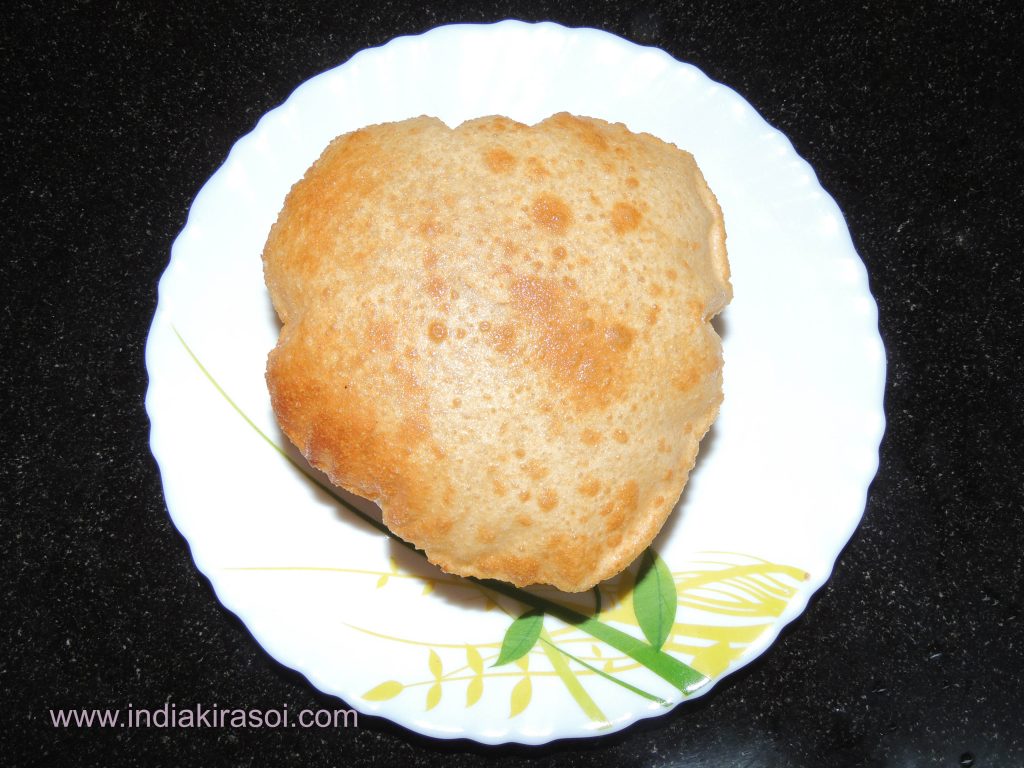
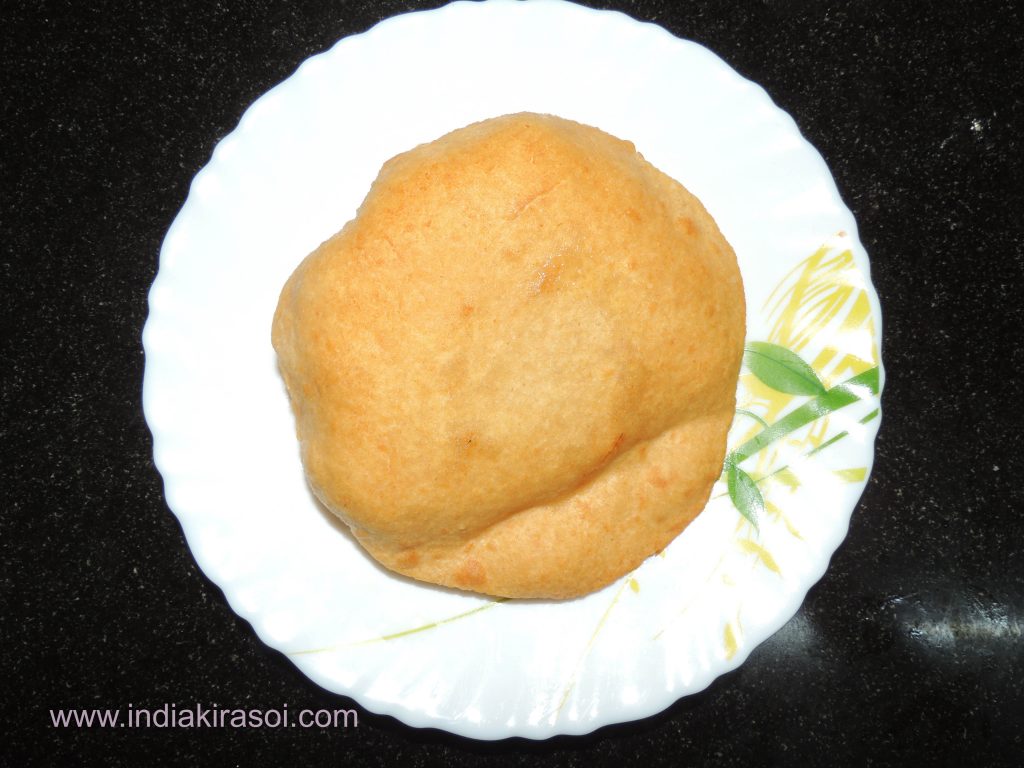
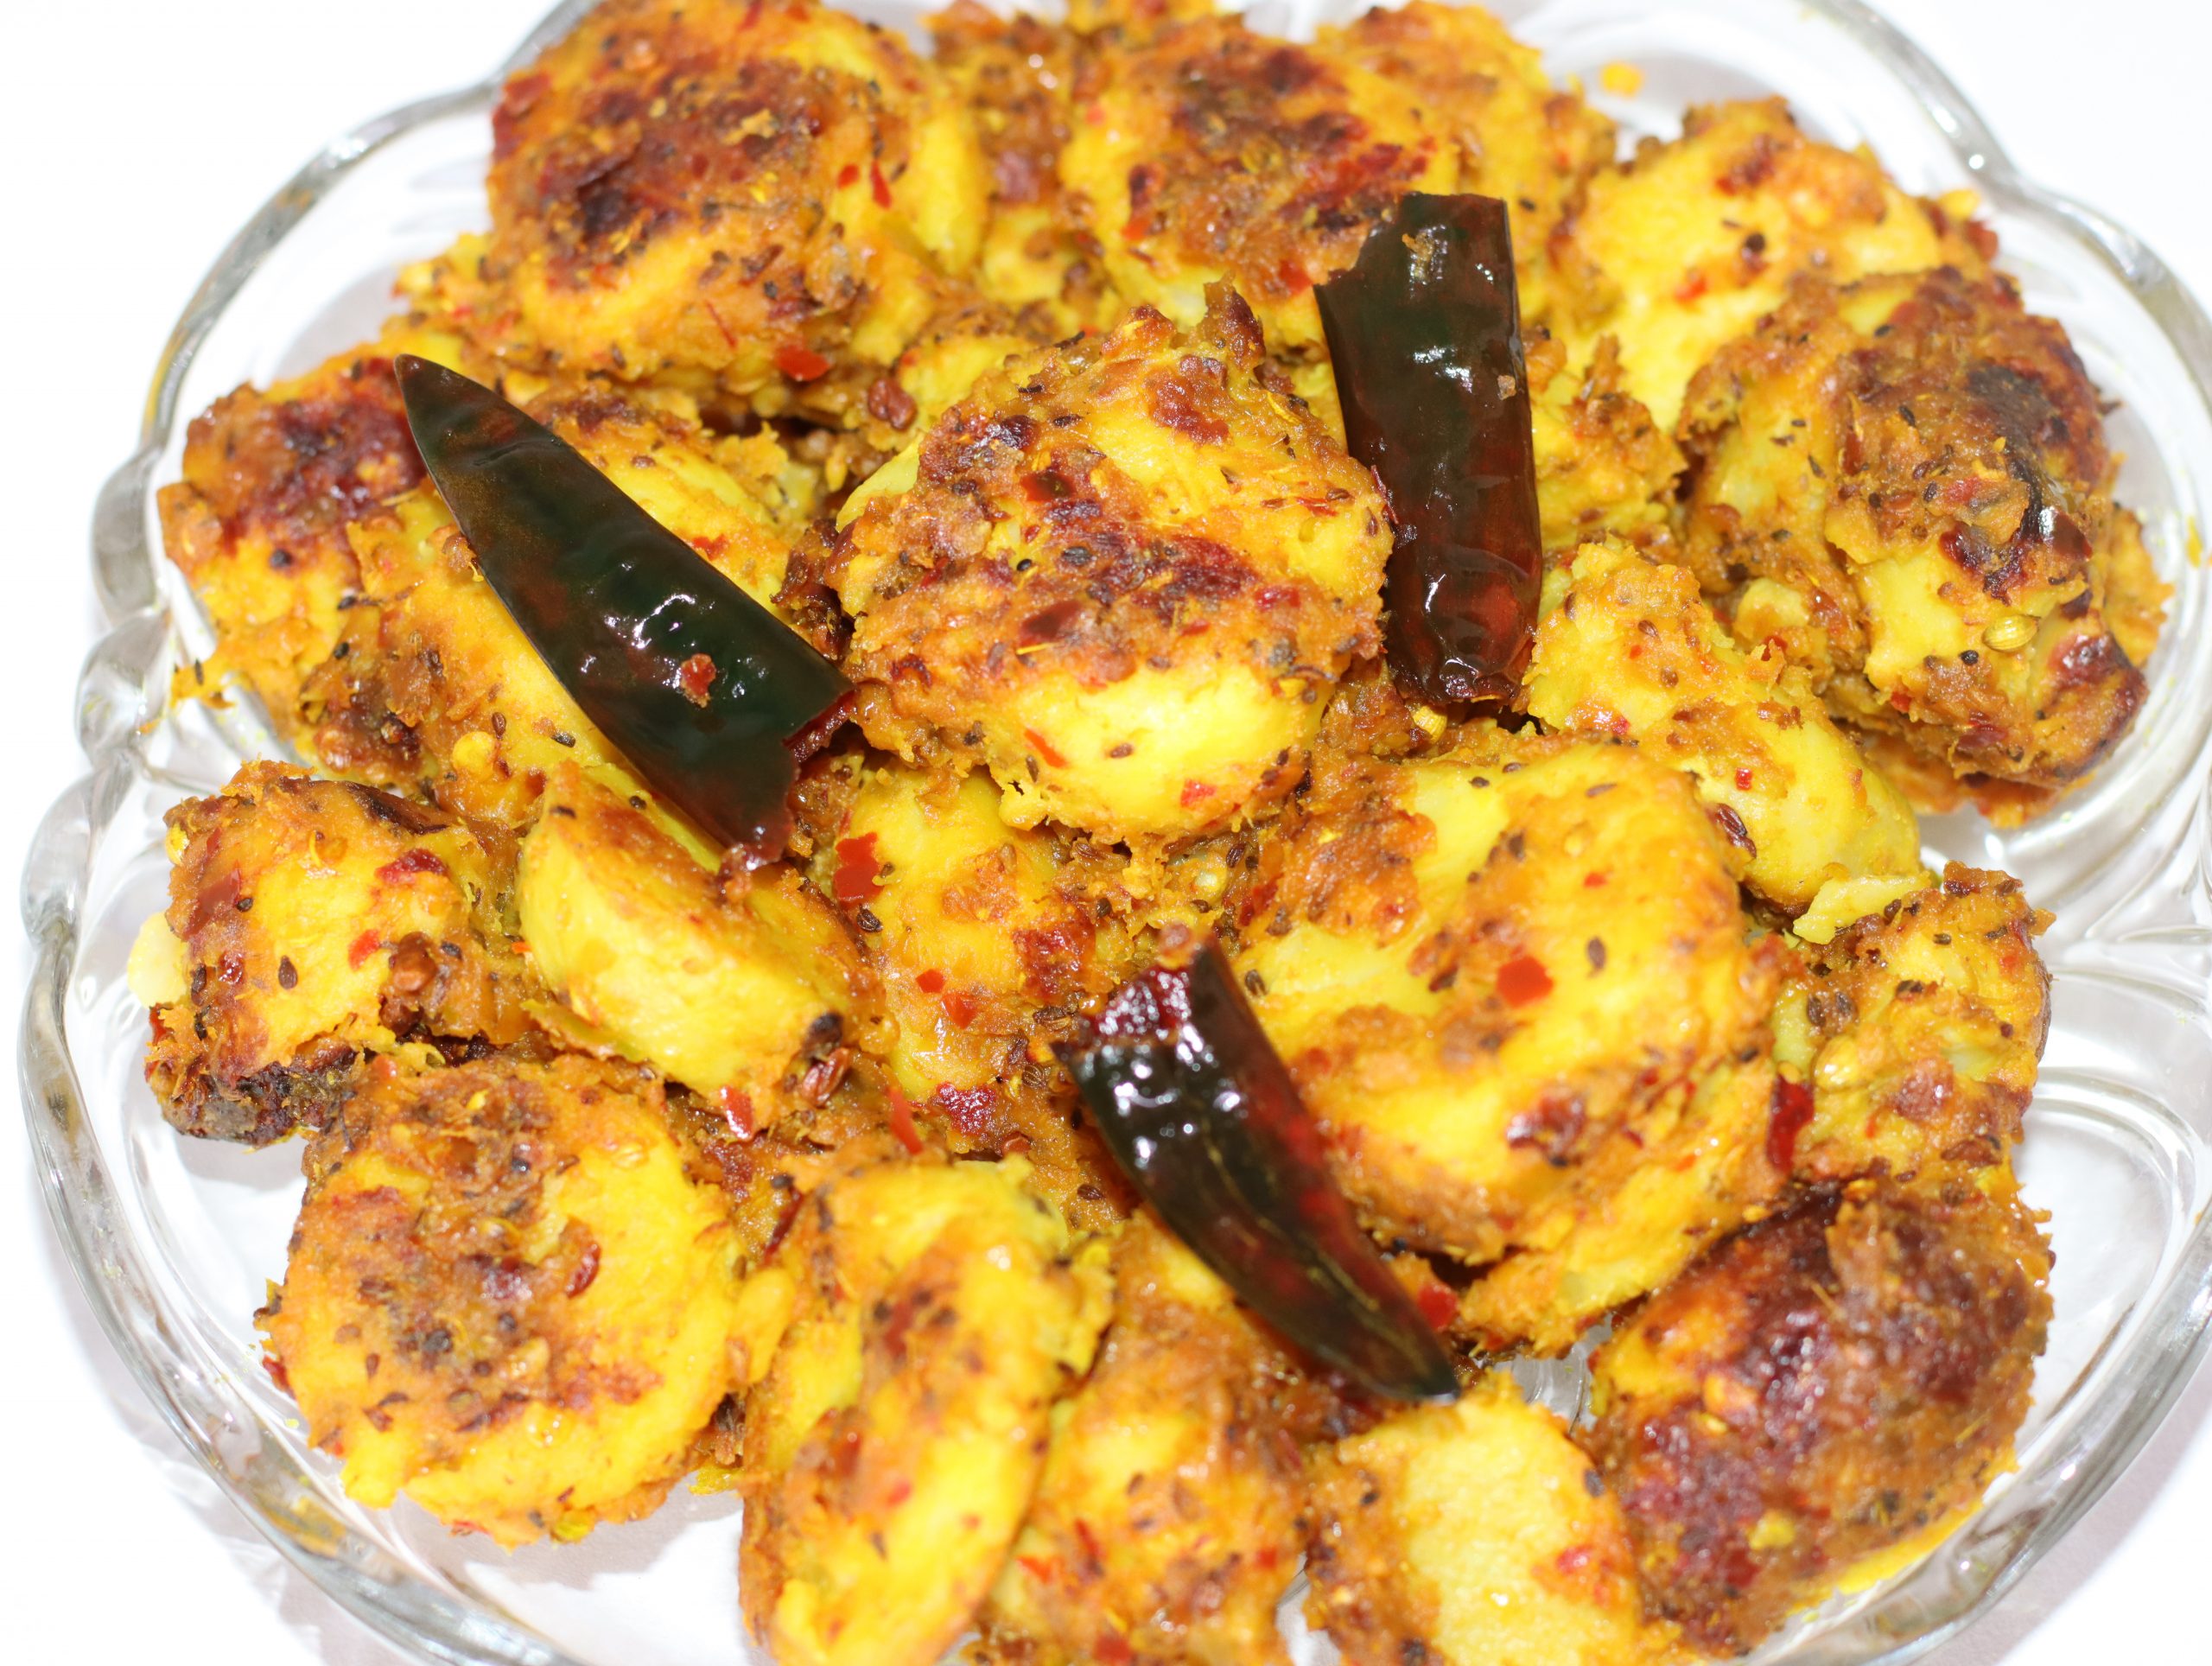
Now layered, crispy paratha/ flatbread is ready to eat.