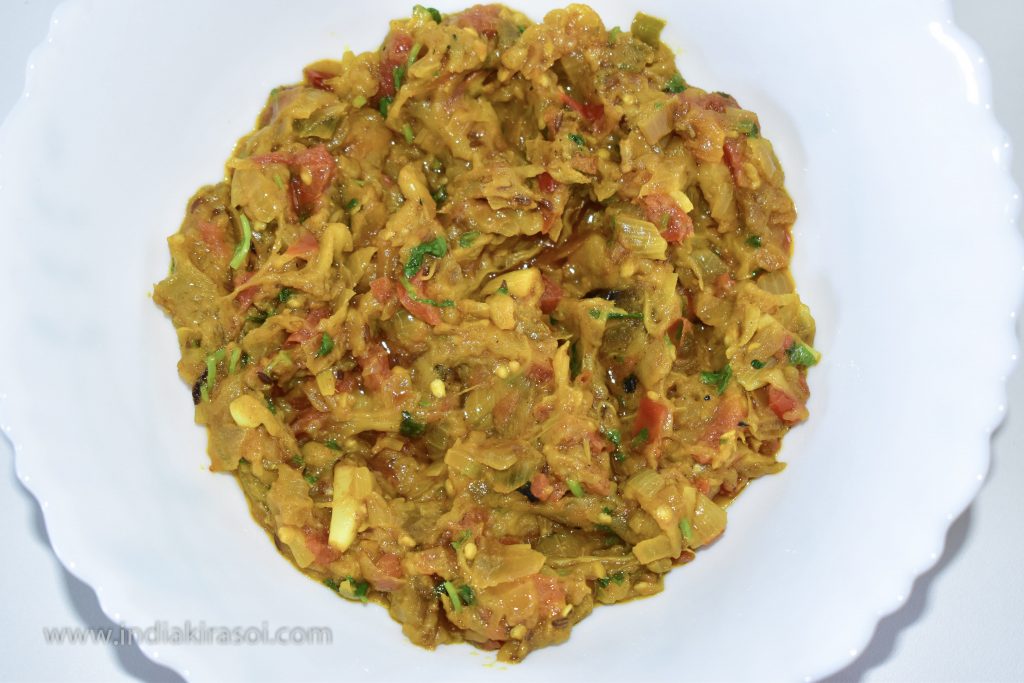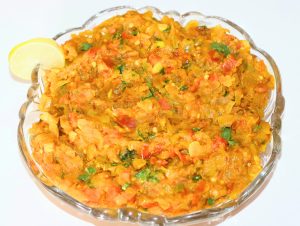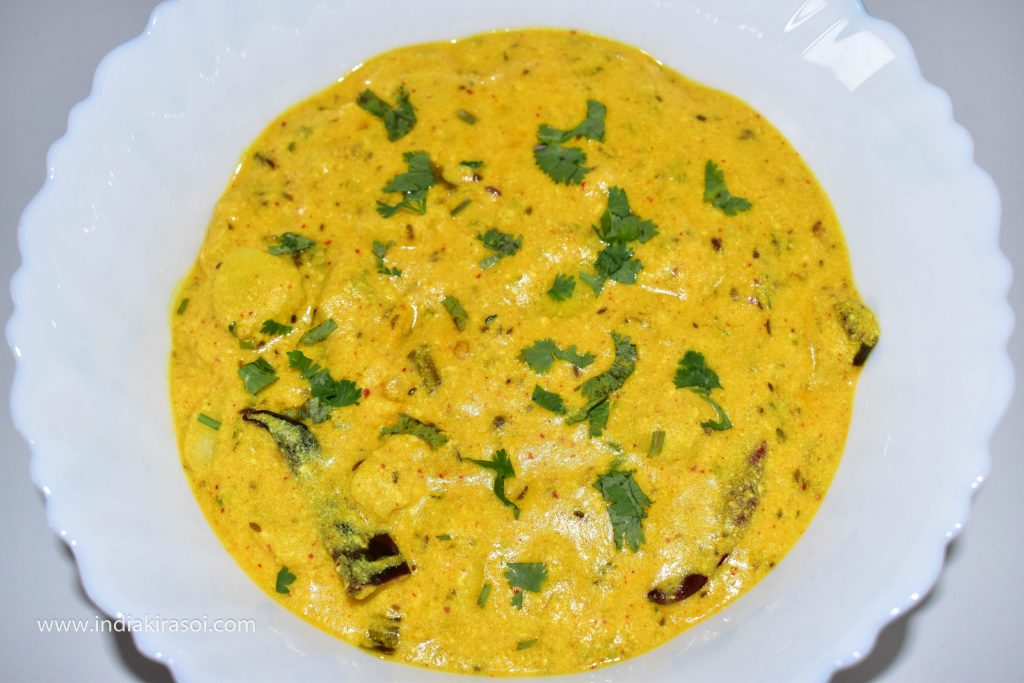
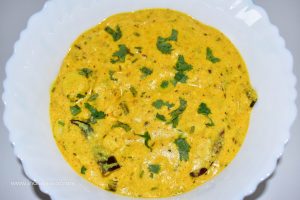
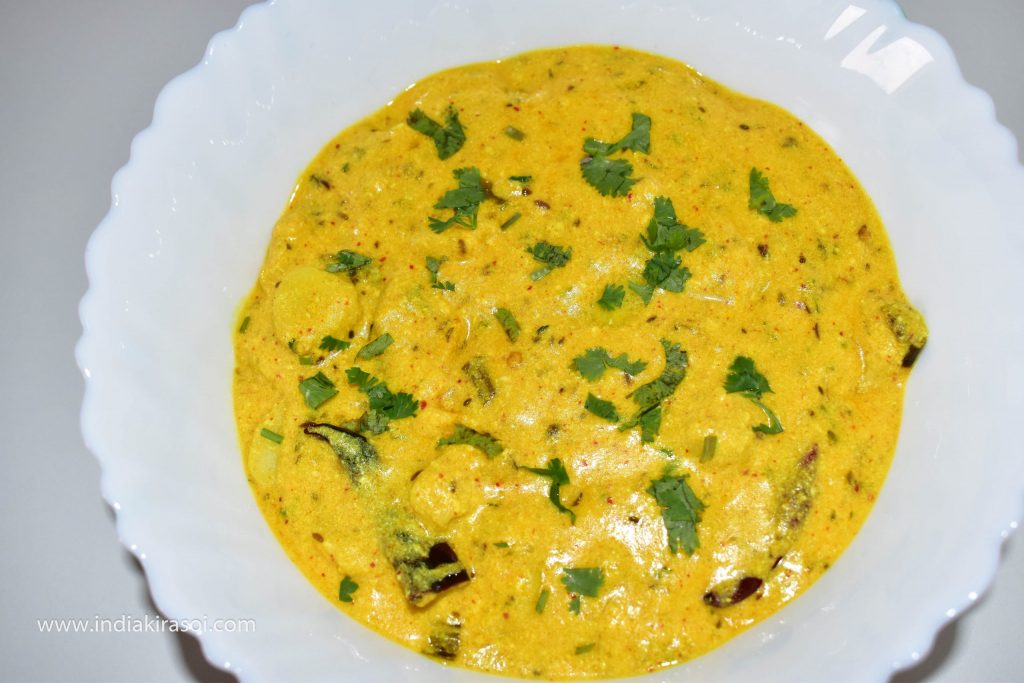
Yogurt Colocasia(Arvi/ Arbi/ Taro) / दही अरबी / Curd Colocasia
Yogurt is very good for our stomach.Yogurt can be eaten in many ways.You can also eat salt or sugar in curd.Or Curd Raita is also eaten.Those who do not like milk can also eat curd instead of milk.Today I will tell you how to make curd arbi, follow the steps given below to make curd arbi (Curd Colocasia) …
Servings 5 People
Calories 54kcal
Equipment
- Pressure Cooker
- Fry Pan/ Kadhai/ Wok
- Spatula/ Chamcha
- Bowl
- Knife
- Plate
- Lid
Ingredients
- 200 Grams Curd/ Yogurt/ Dahi
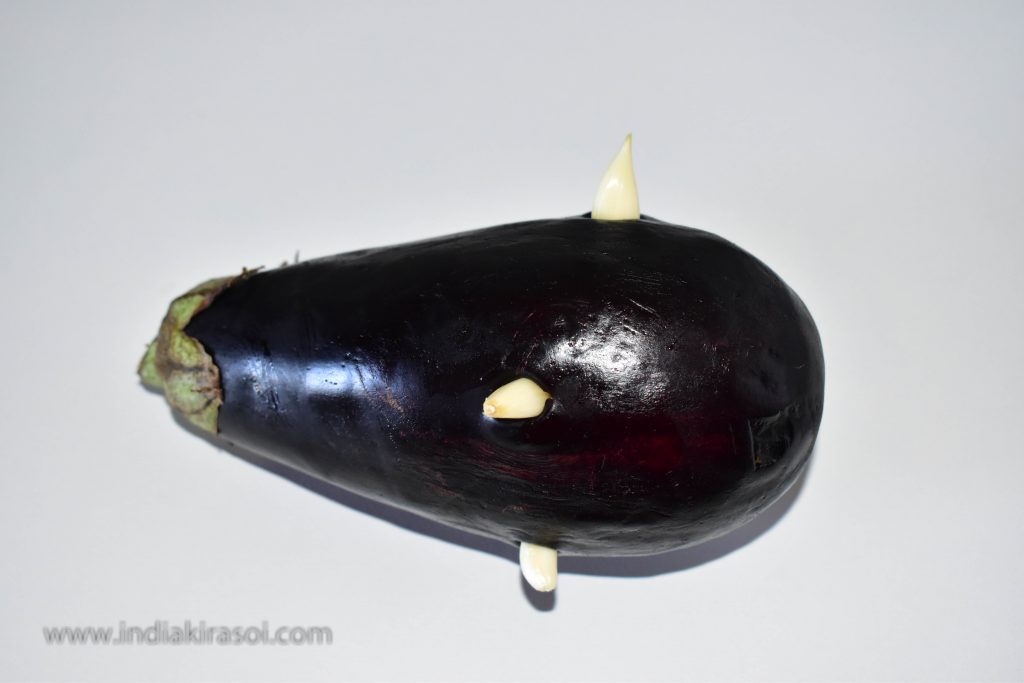
- 13 – 14 Unit Colocasia/ Ghuiya/ Arbi
- 2 – 3 Unit Clove/ Laung
- 2 Unit Green Chili/ Hari Mirch
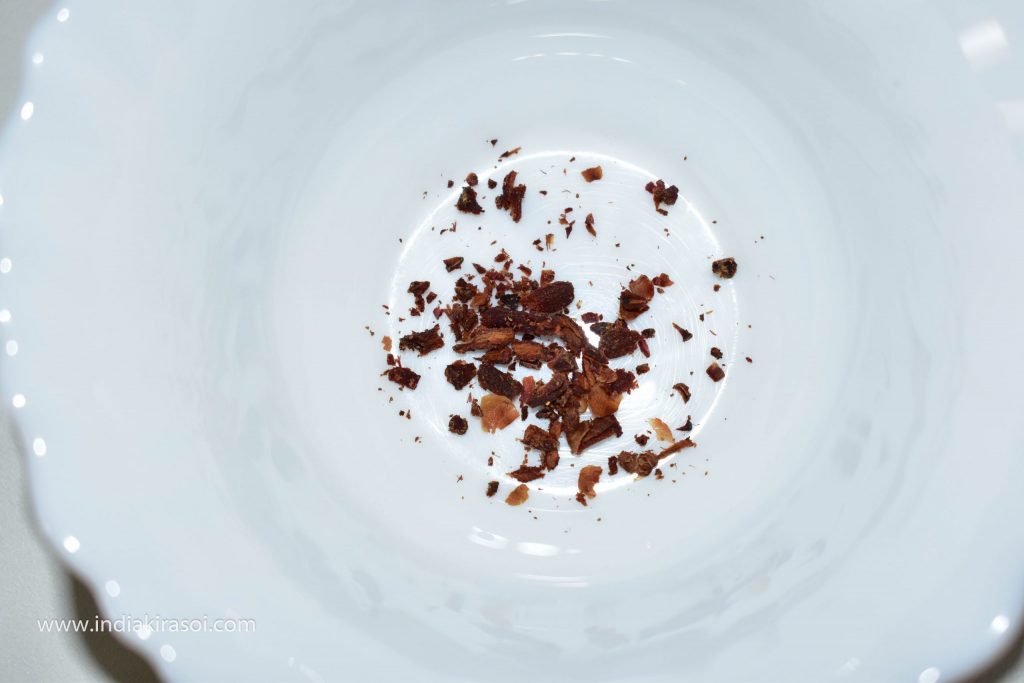
- 2 Unit Whole Red Chili/ Whole Lal Mirch
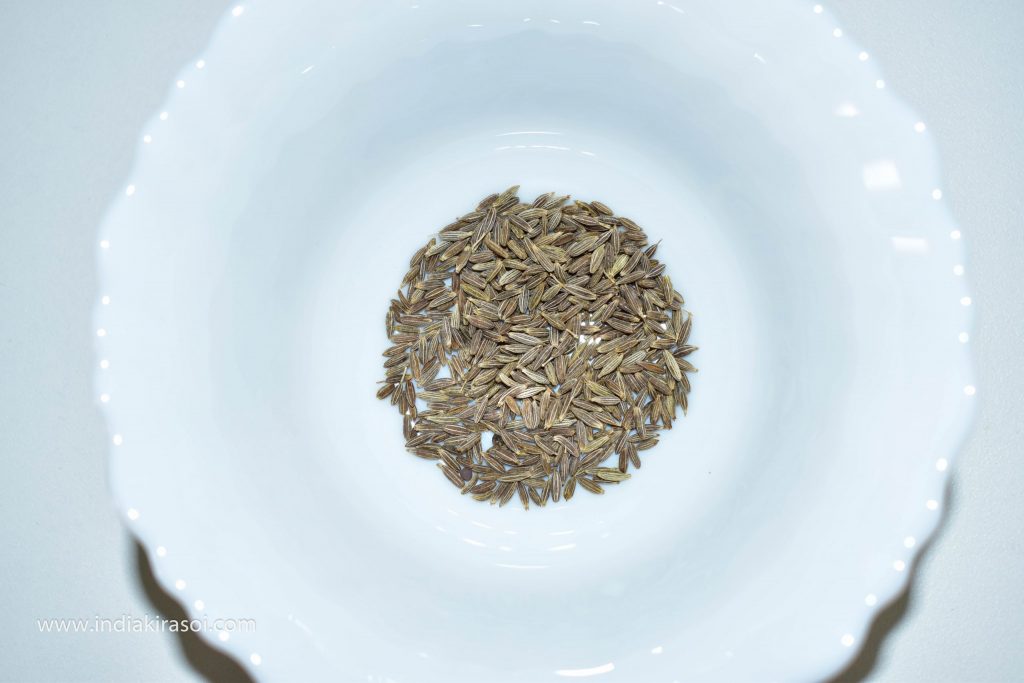
- 1/2 tsp Cumin/ Jeera
- 1/2 tsp Carom/ Ajvain
- 1/2 tsp Red Chili / Lal Mirch Powder
- 2 tsp Oil/ Desi Ghee/ Butter
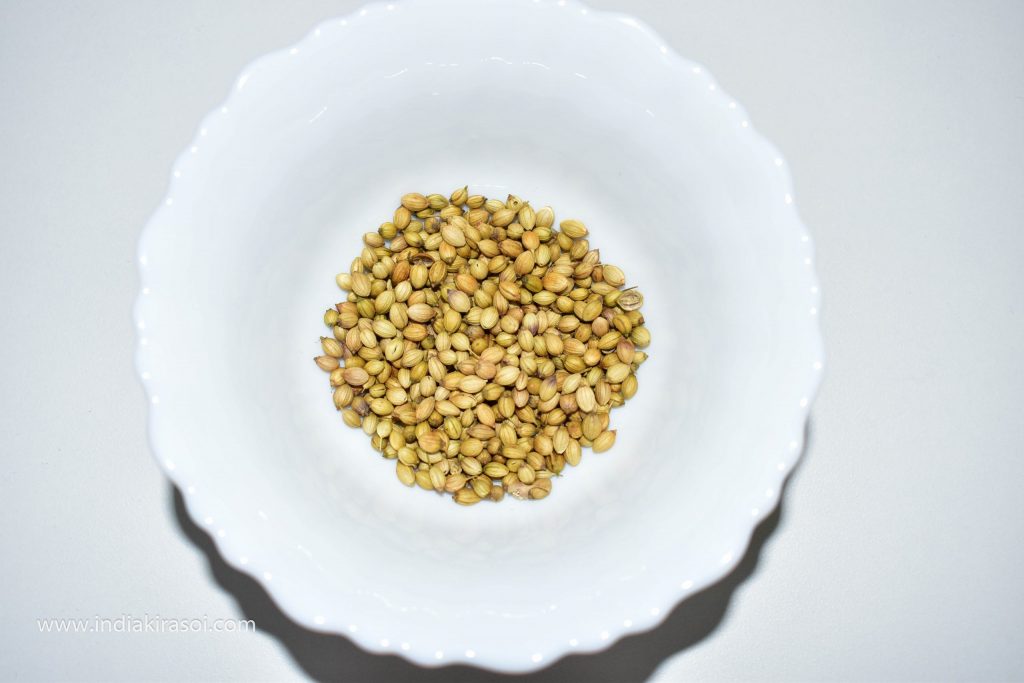
- 1/2 tsp Coriander Seeds/ Dhaniya Beej
- as per taste Salt/ Namak
Instructions
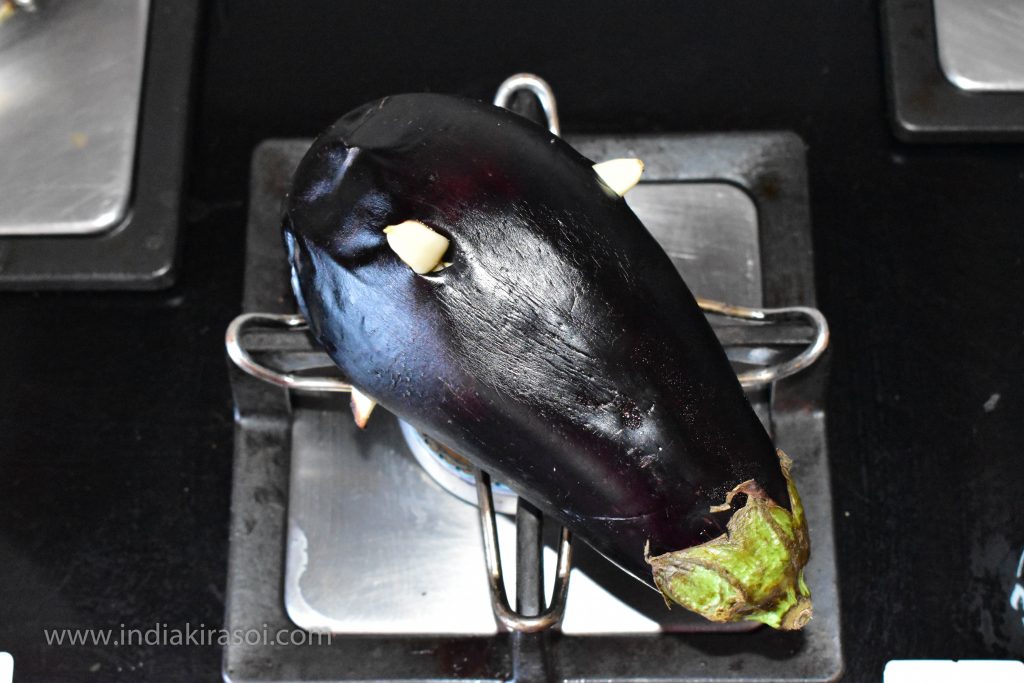
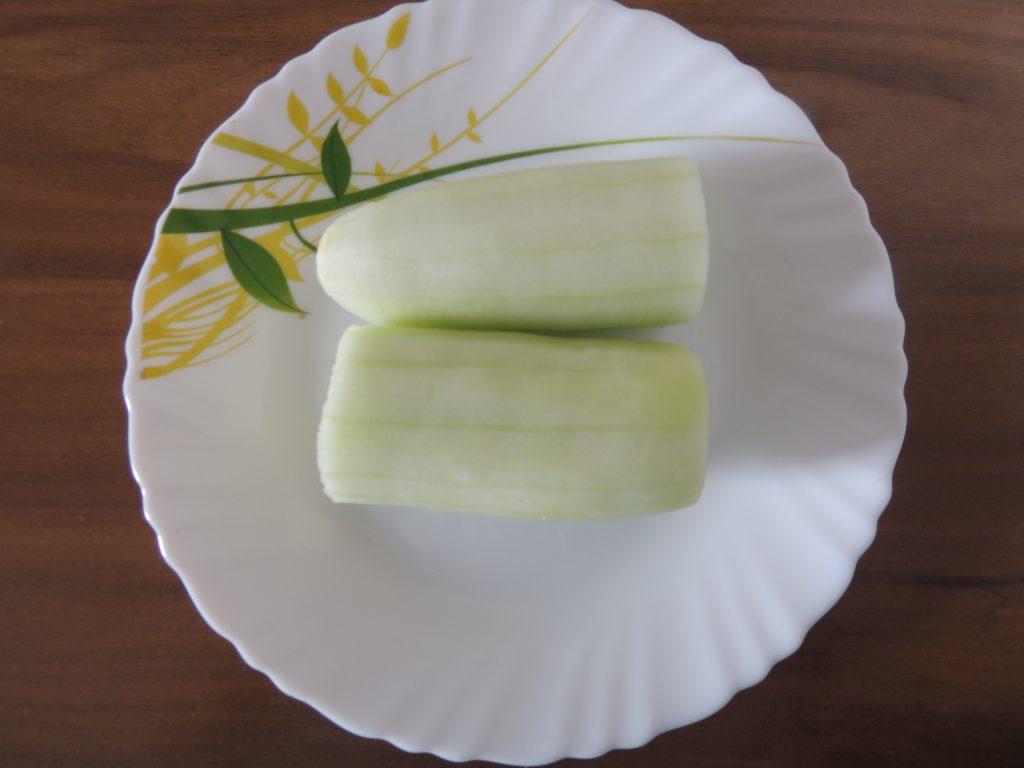
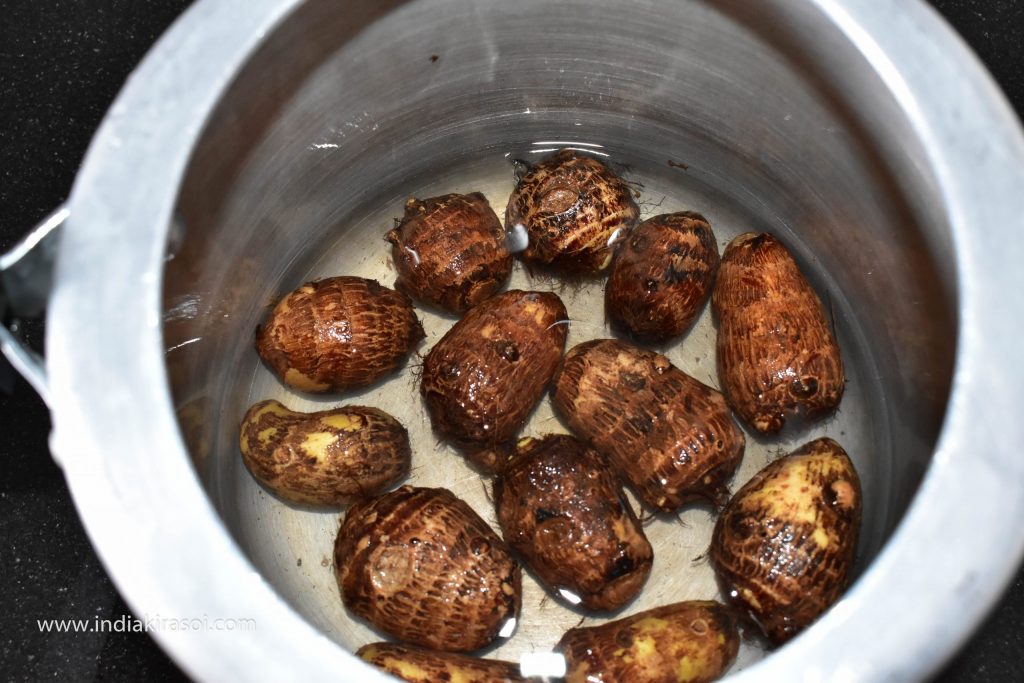
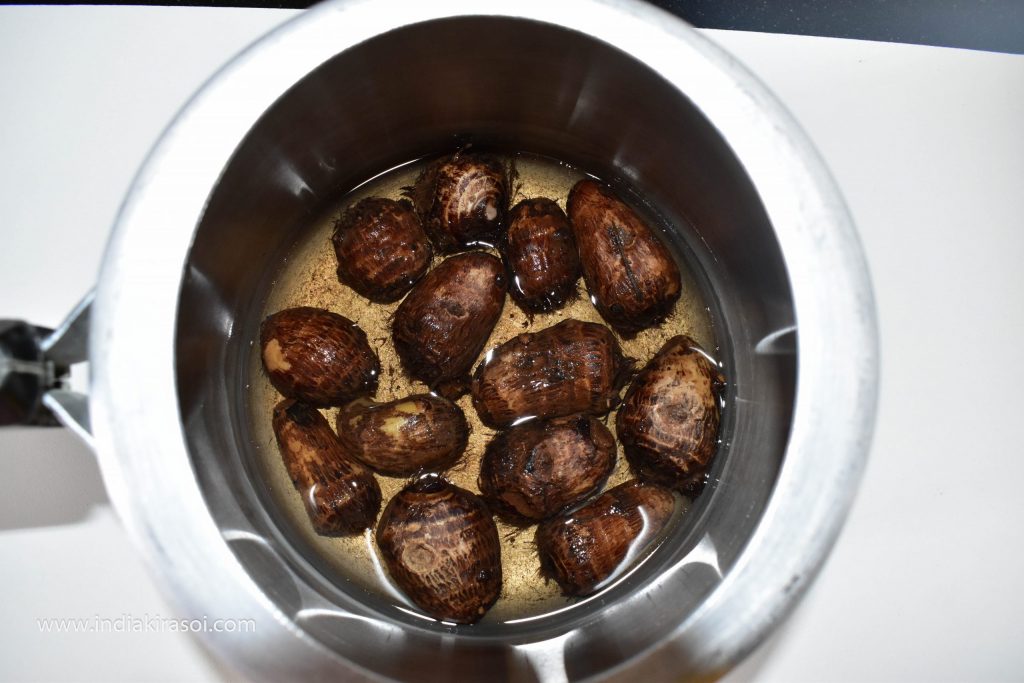
- Take colocasia / arbi first. Put the colocasia / arbi in the cooker and add water.

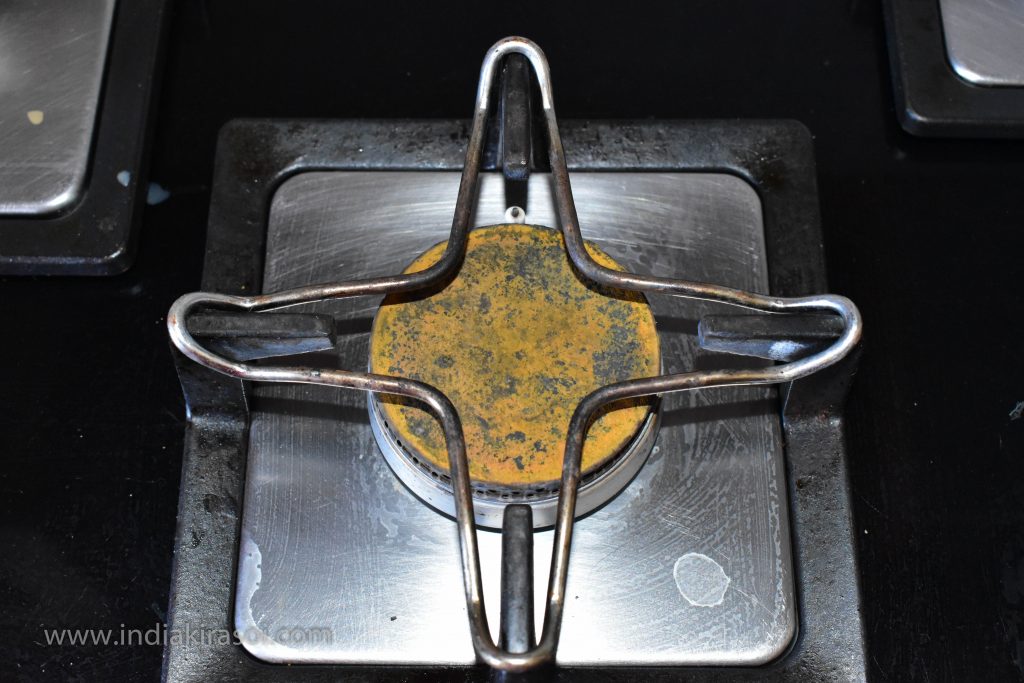
- Close the cooker’s lid and put it on the gas.
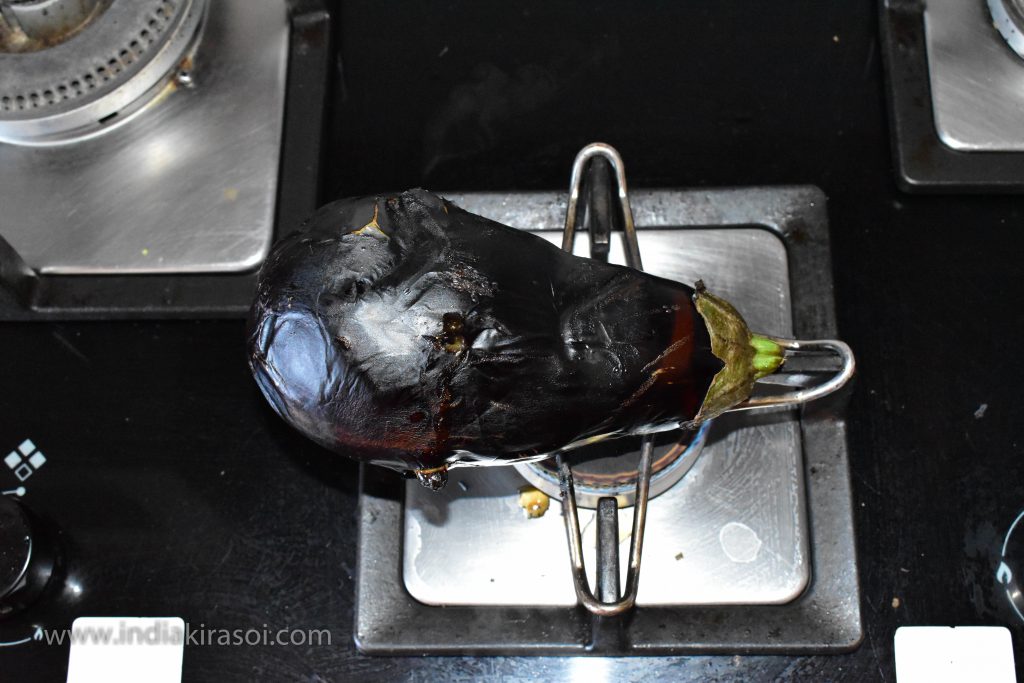
- Allow a whistle in the cooker.
- If the colocasia / arbi is too stiff then apply two whistles.
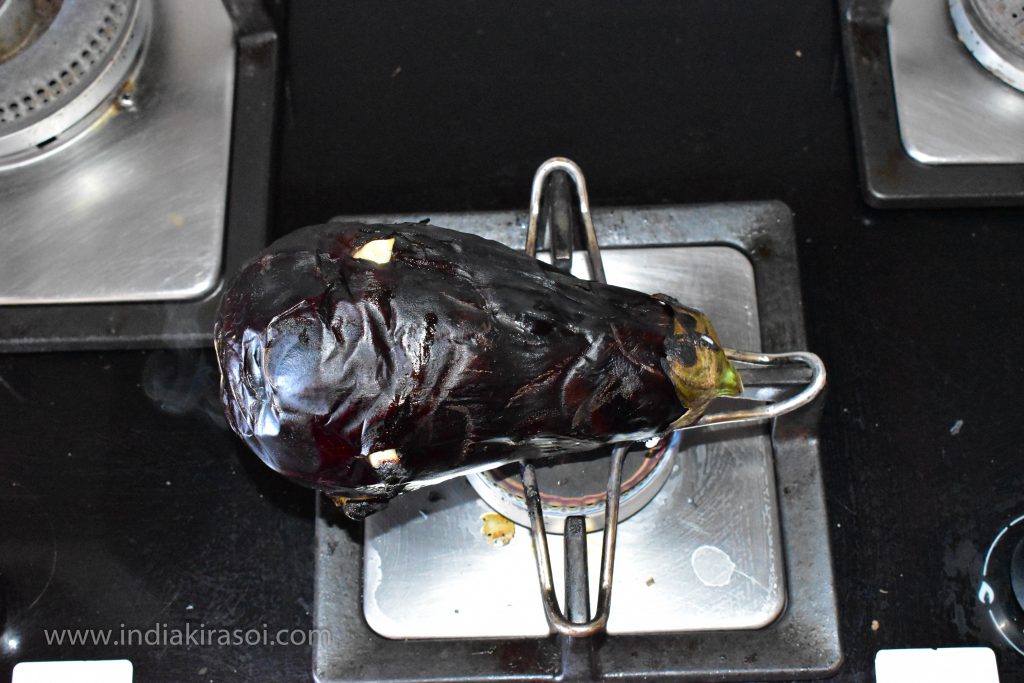
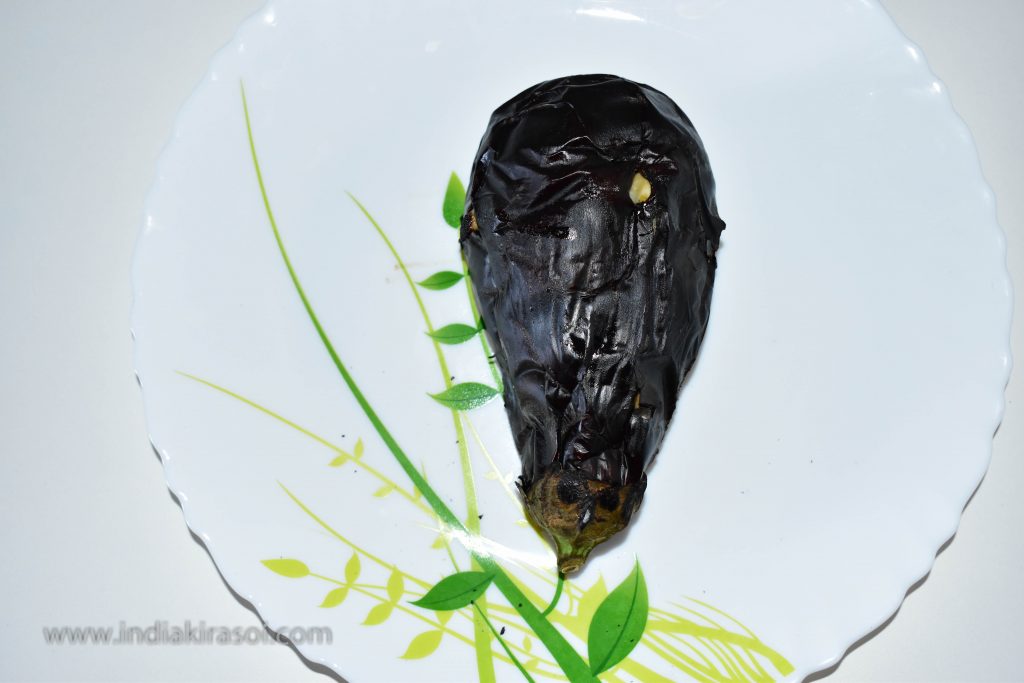
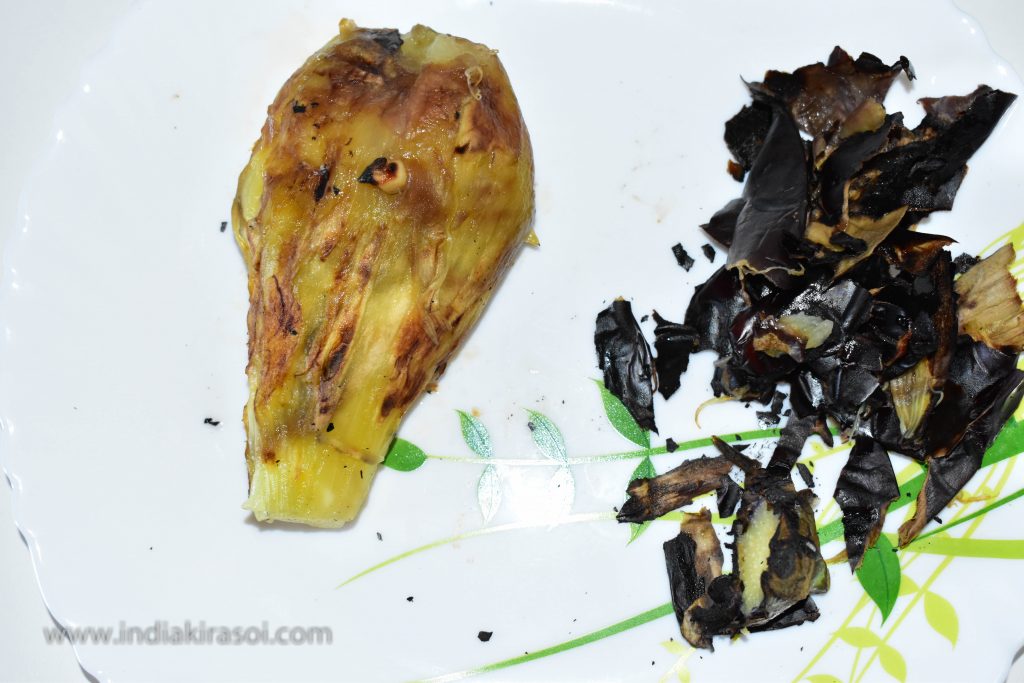
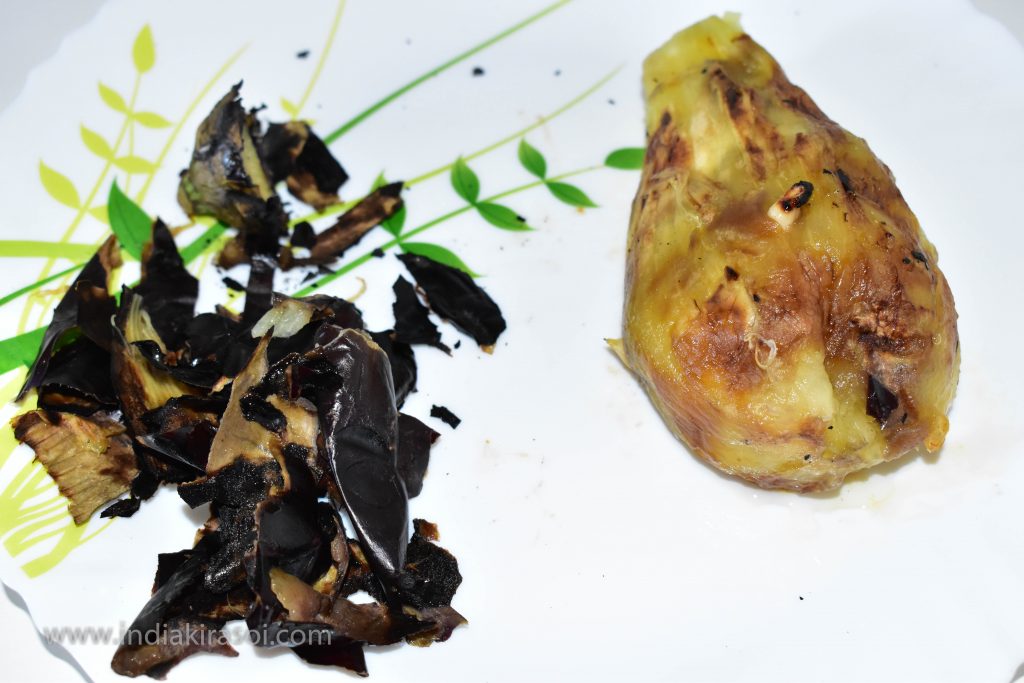
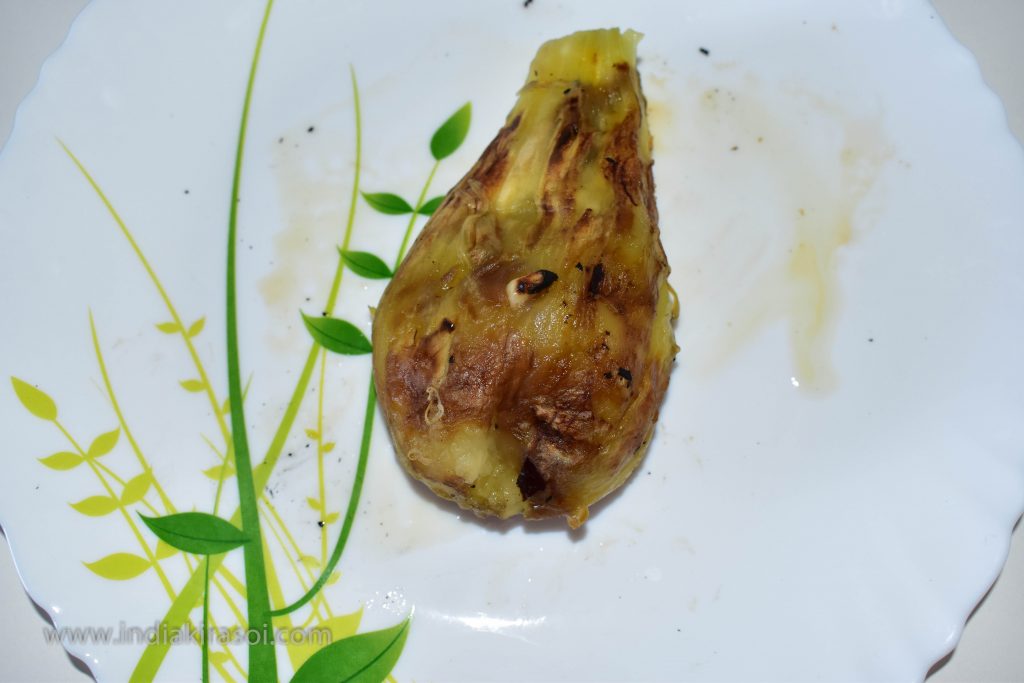
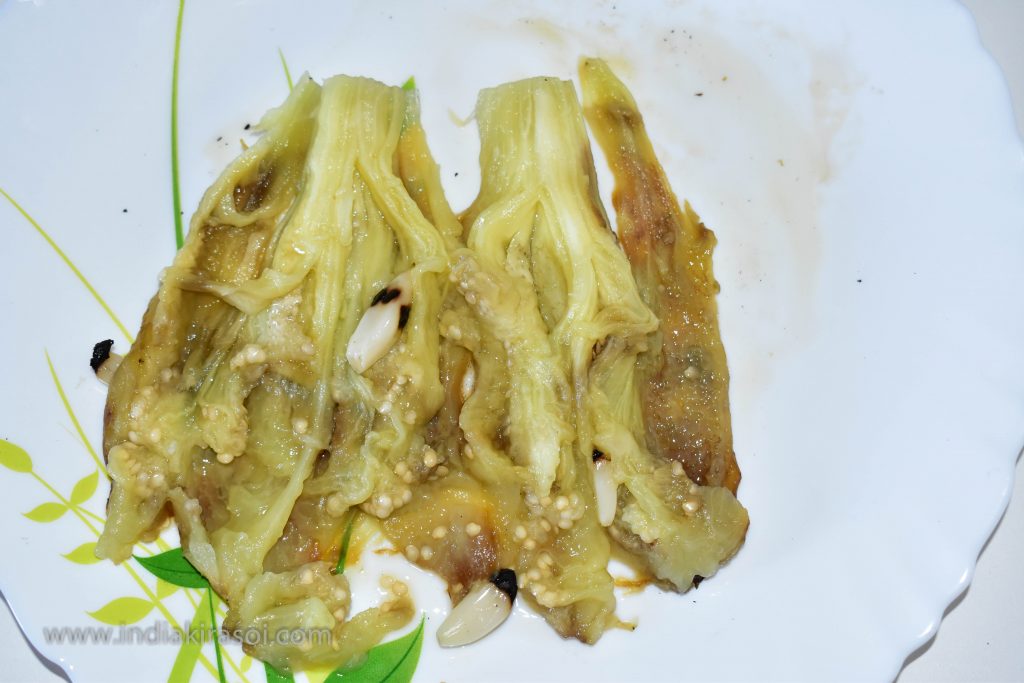
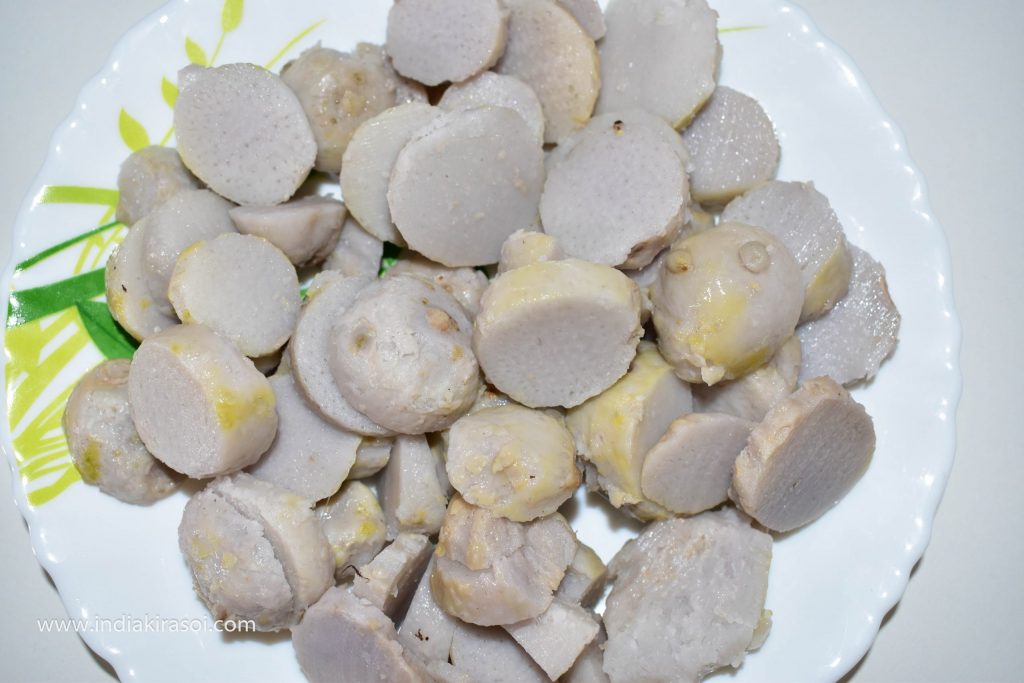
- When the pressure in the cooker comes out, remove the peel of the colocasia / arbi.
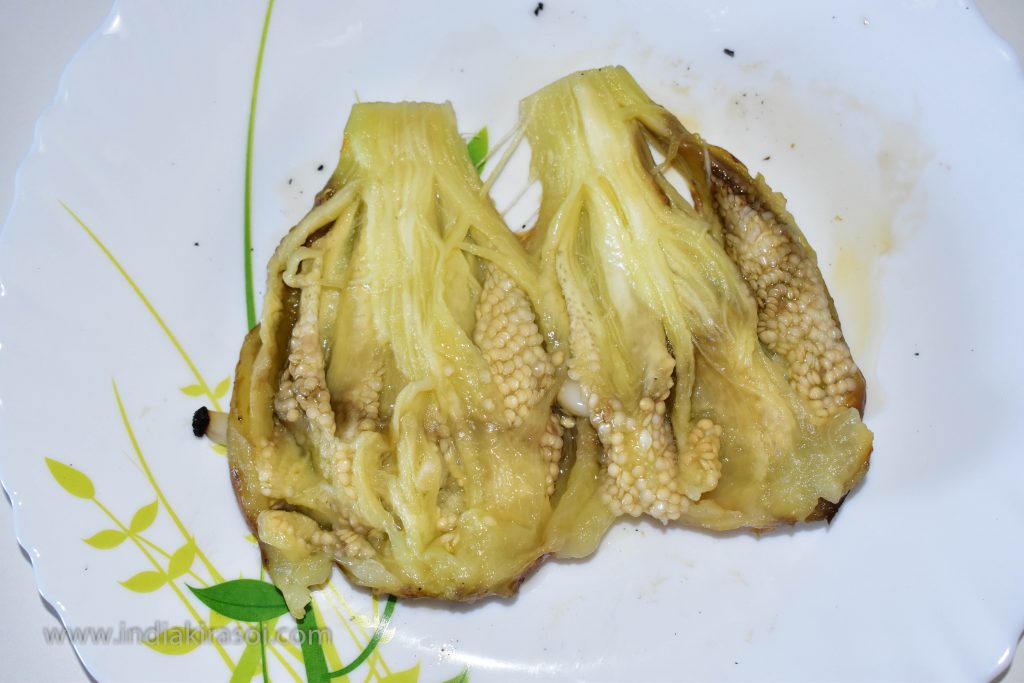
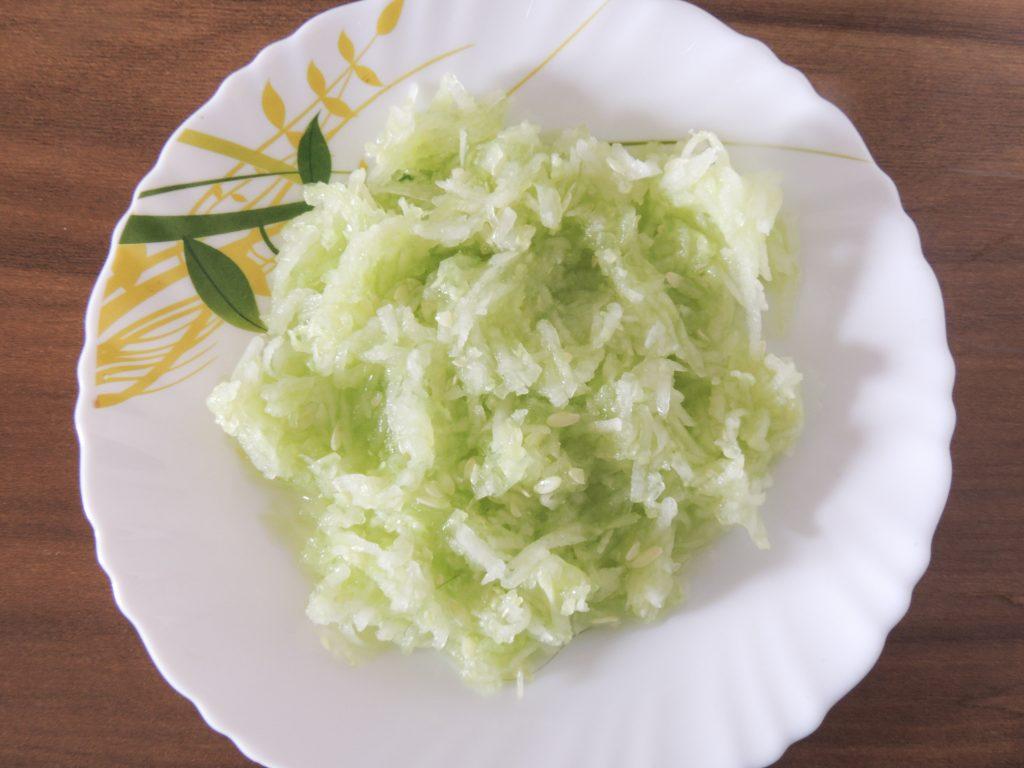
- And cut the colocasia / arbi into slices.
- Take 1/2 teaspoon cumin / jeera .
- Take 2 to 3 cloves and grind them.
- Take 1/2 teaspoon coriander / dhaniya seed.
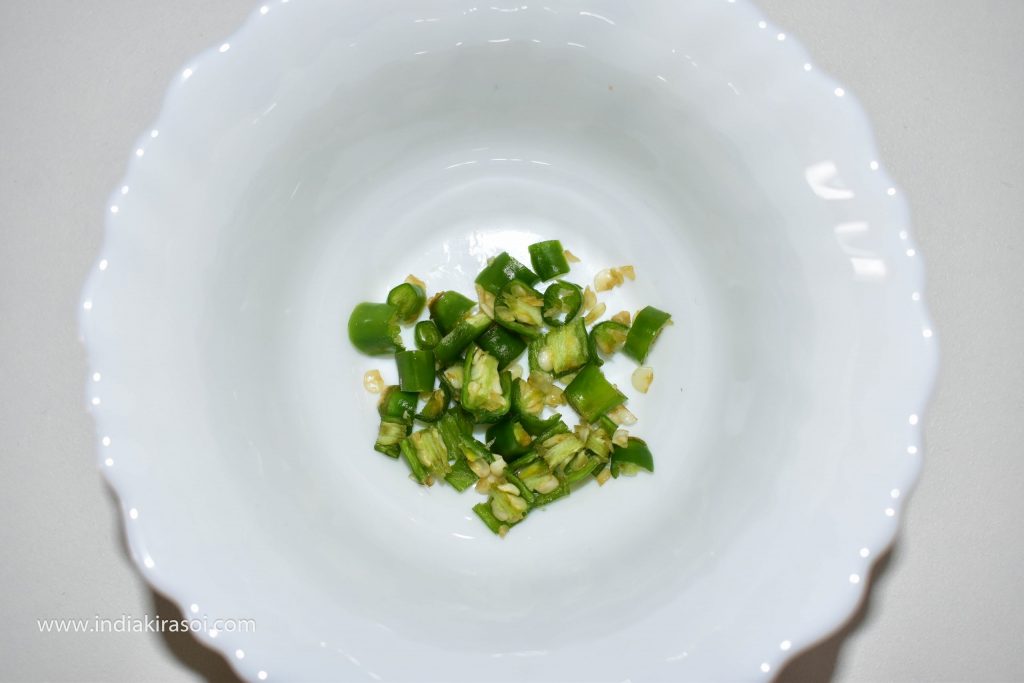
- Chop green chilies finely.
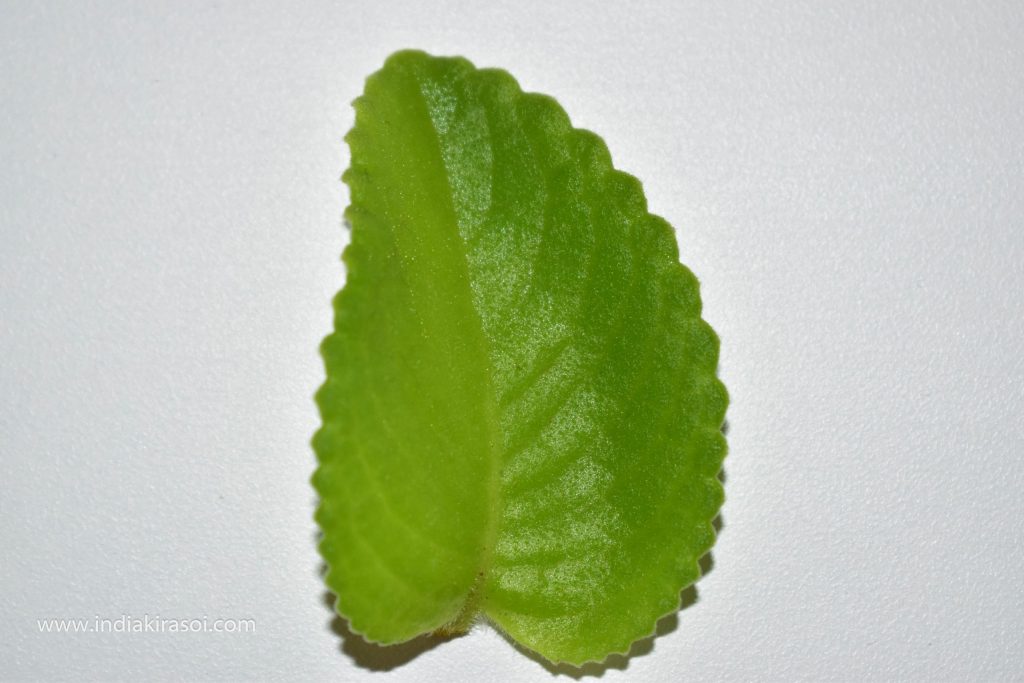
- If you have carom, then take a carom / ajwain leaf.
- Cut the carom / ajwain leaf.
- It doesn’t matter if there is no celery leaf.
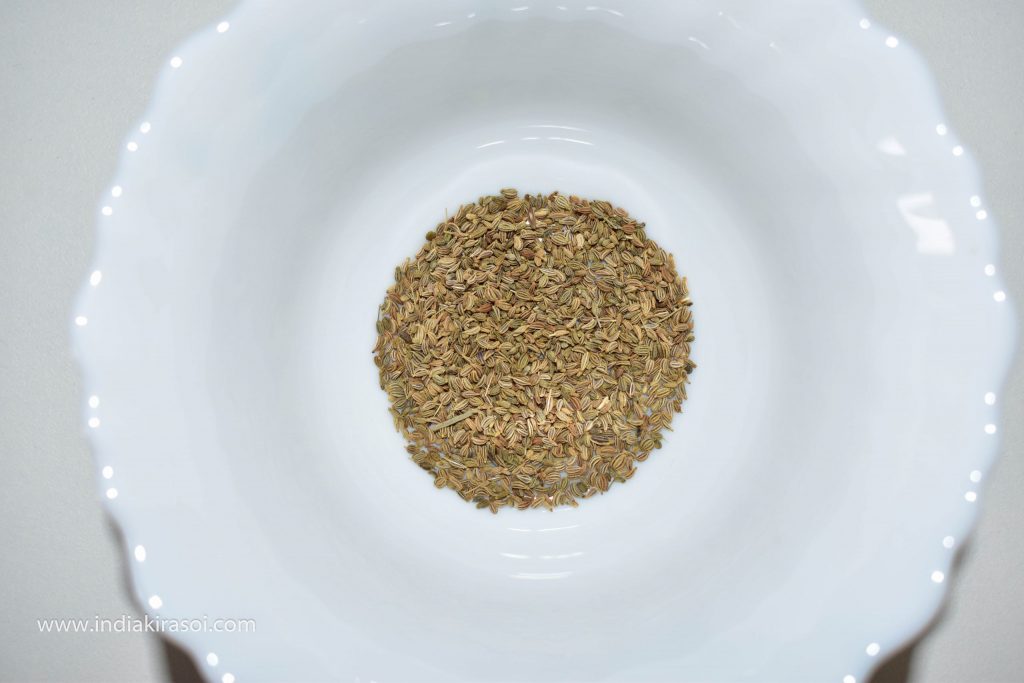
- Take half a teaspoon of celery seeds.
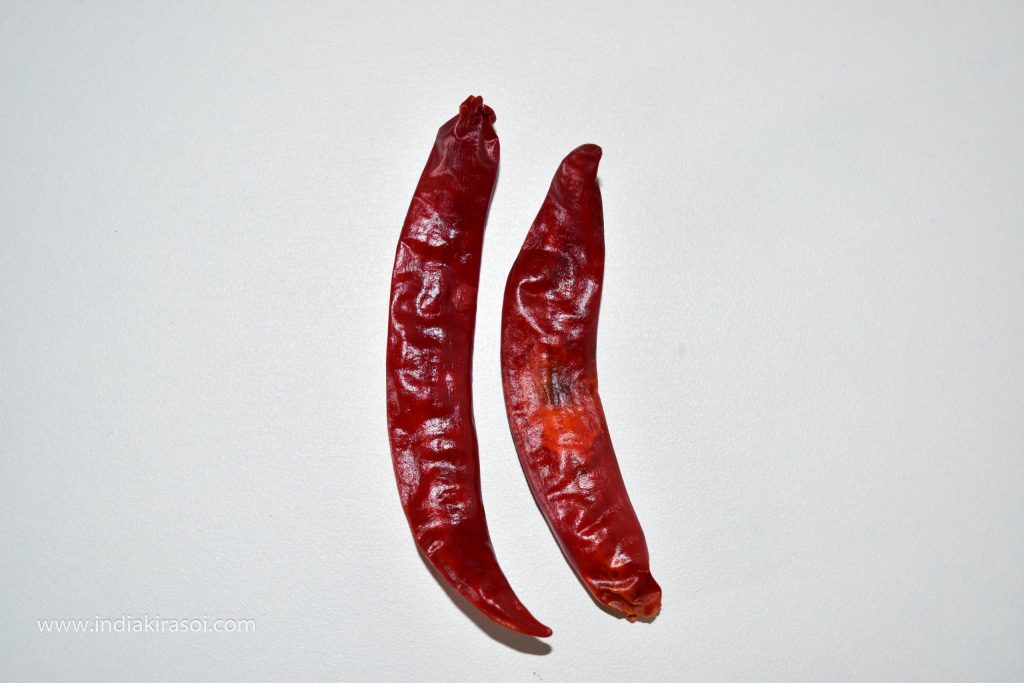
- Take 2 red chili peppers.
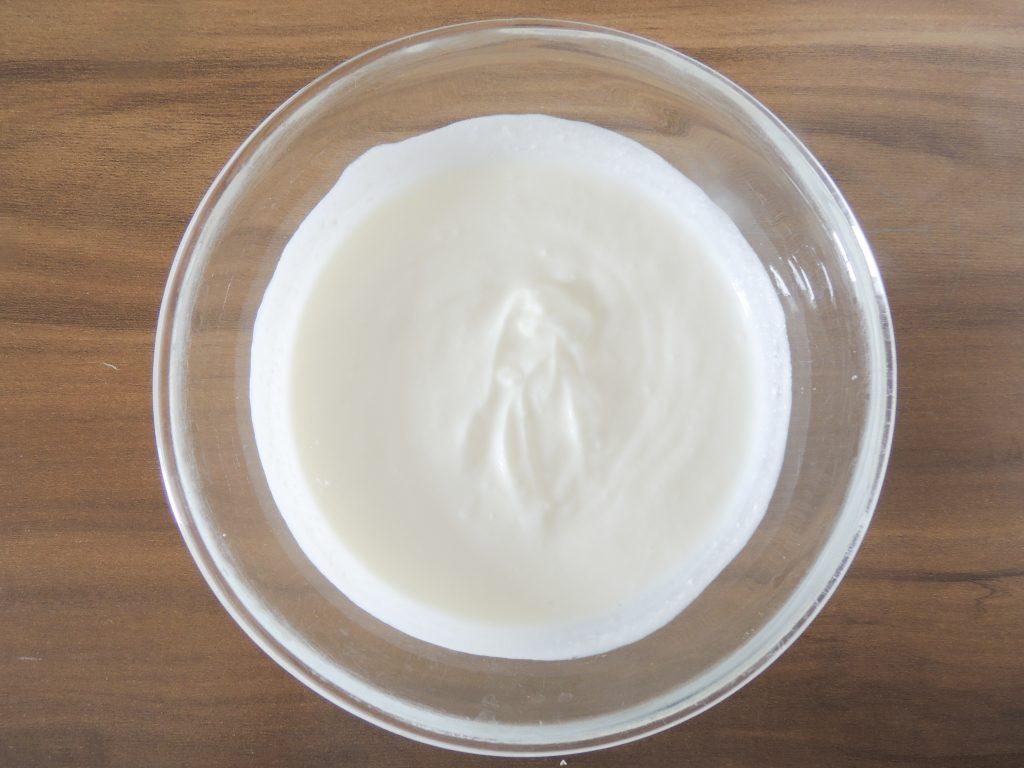
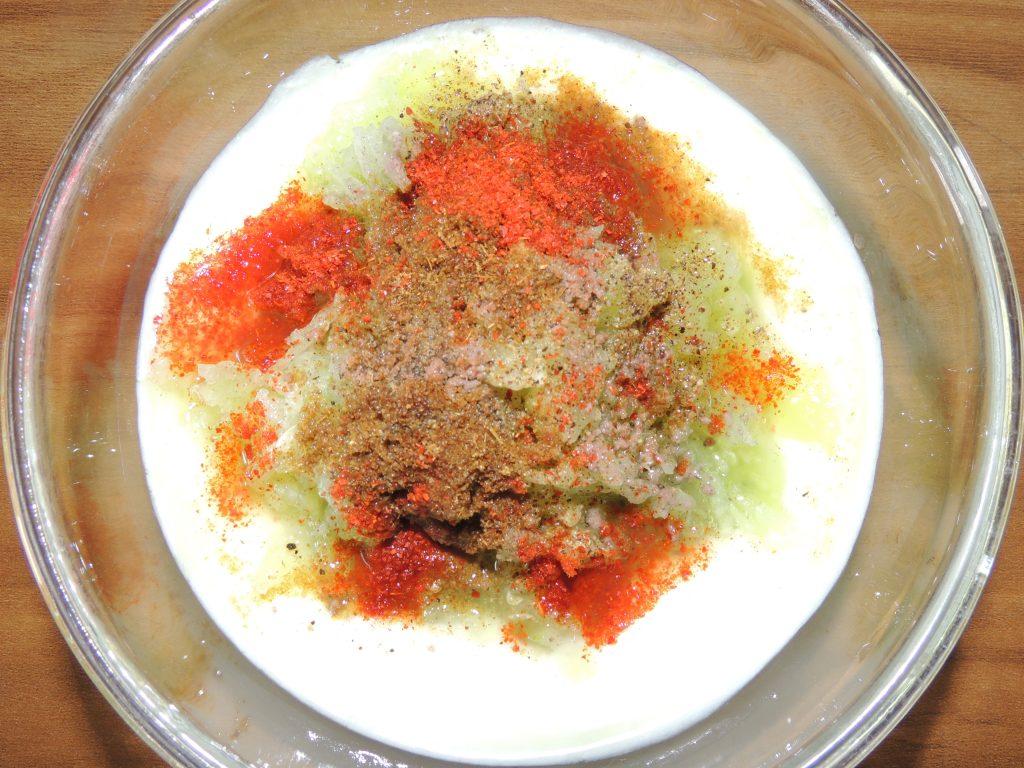
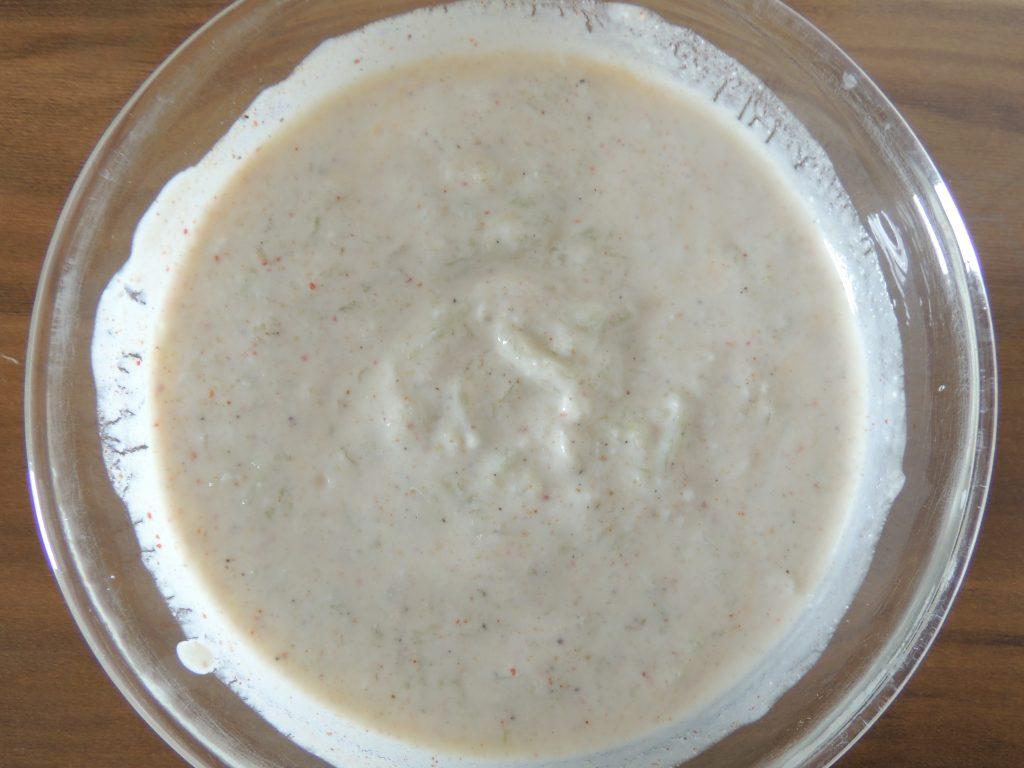
- Take 200 grams of curd and beat it well.
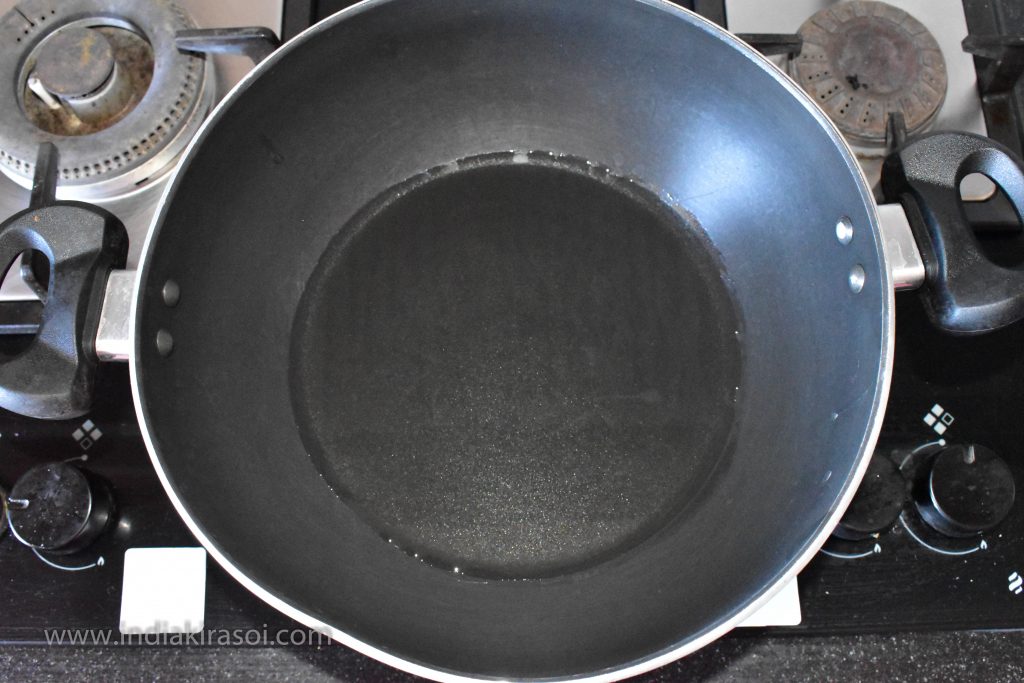
- Put kadhai/pan on the gas.
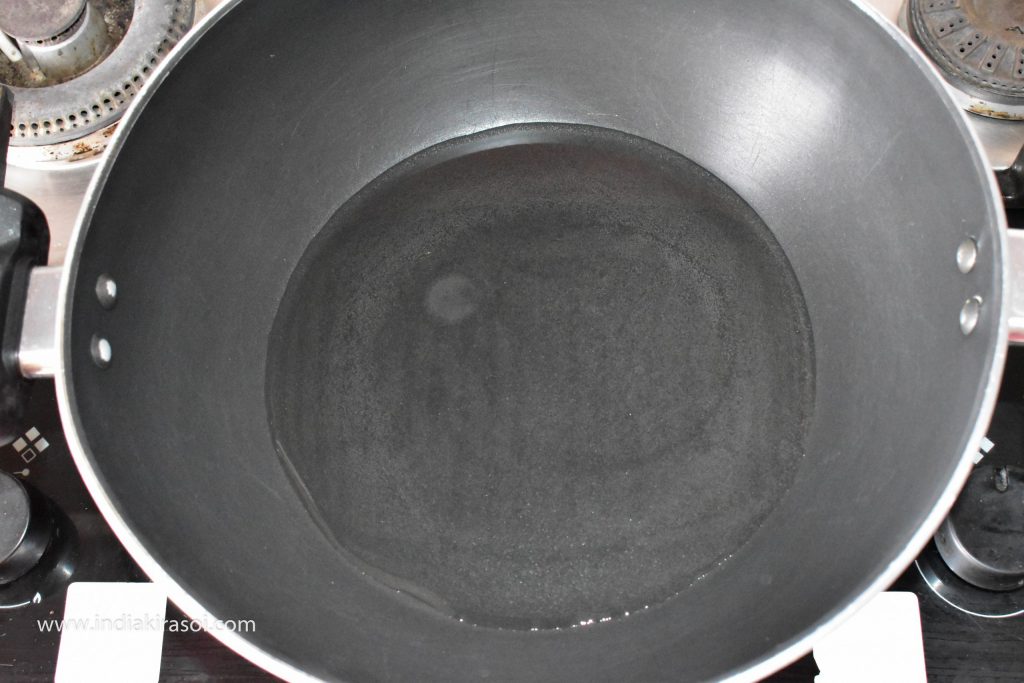
- Add desi ghee in the kadai / pan.
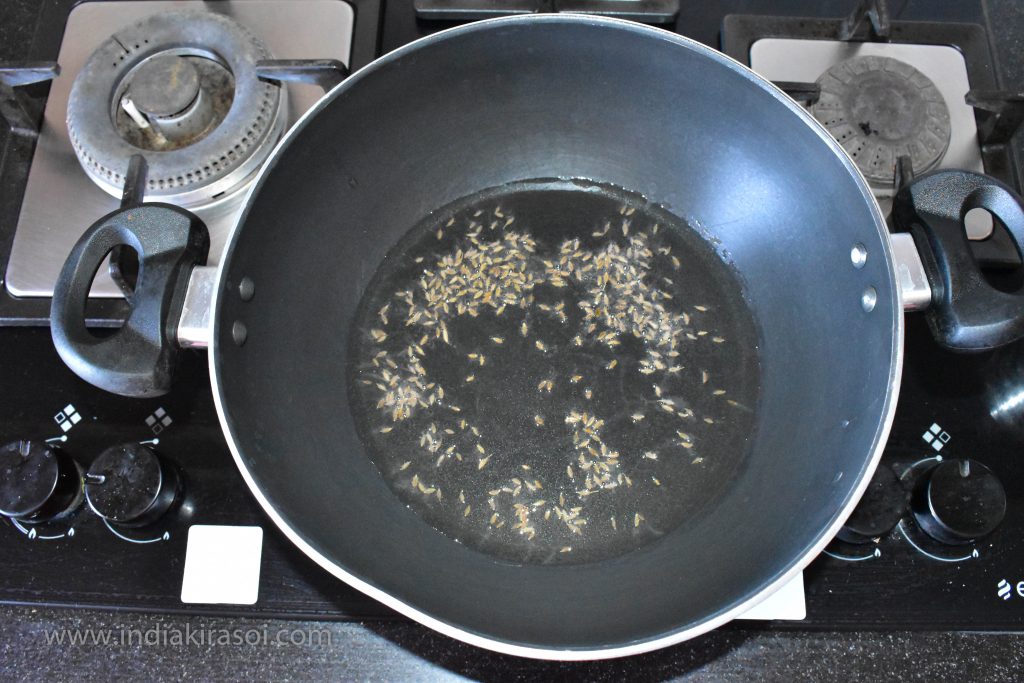
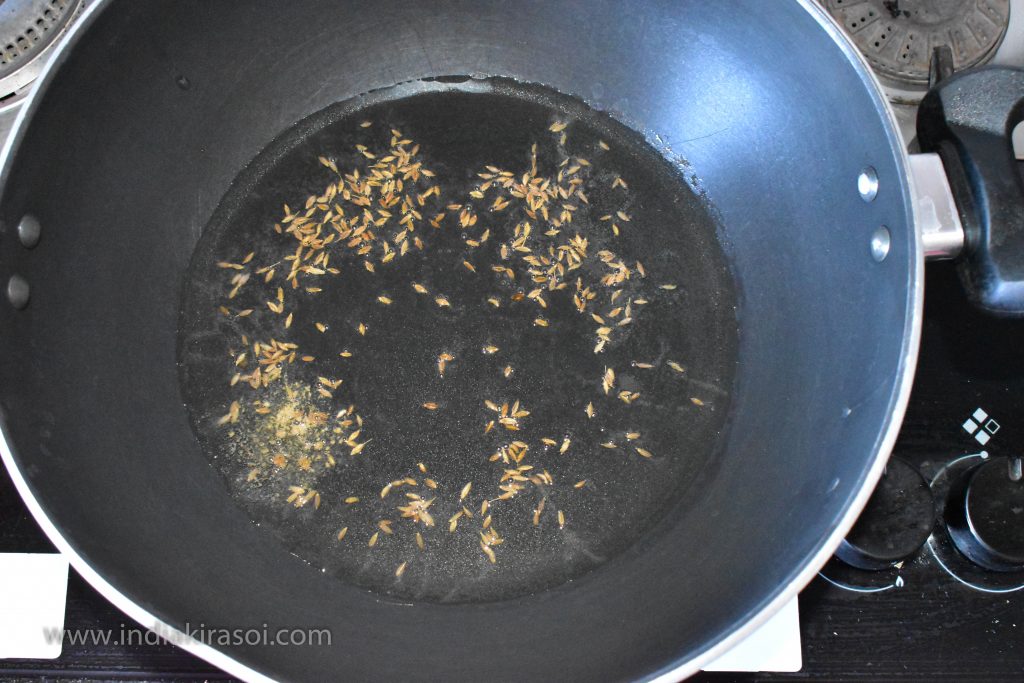
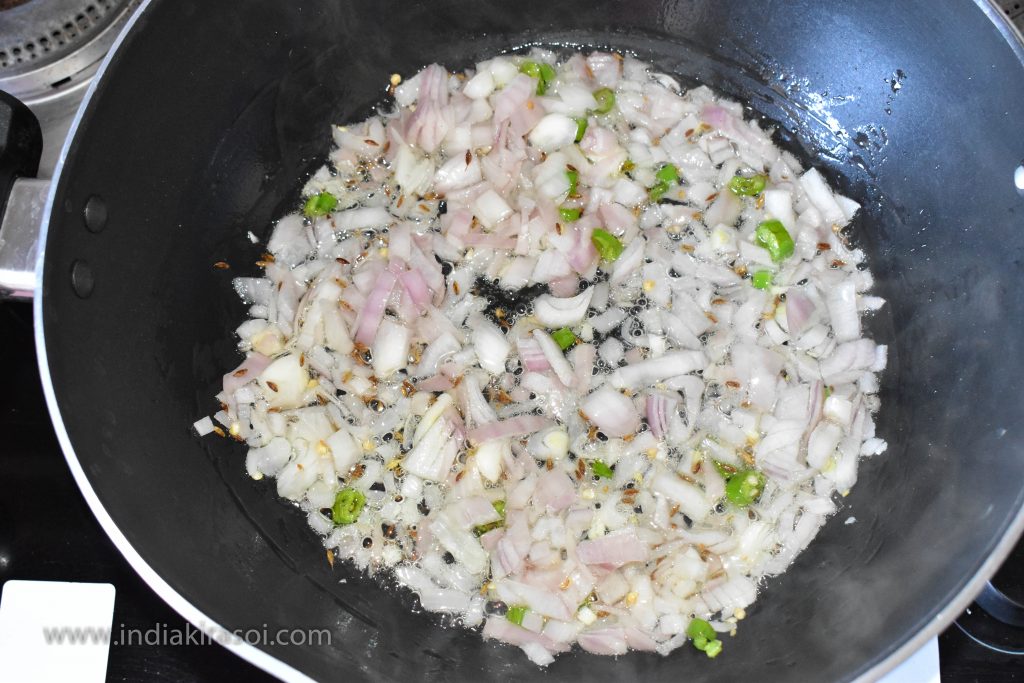
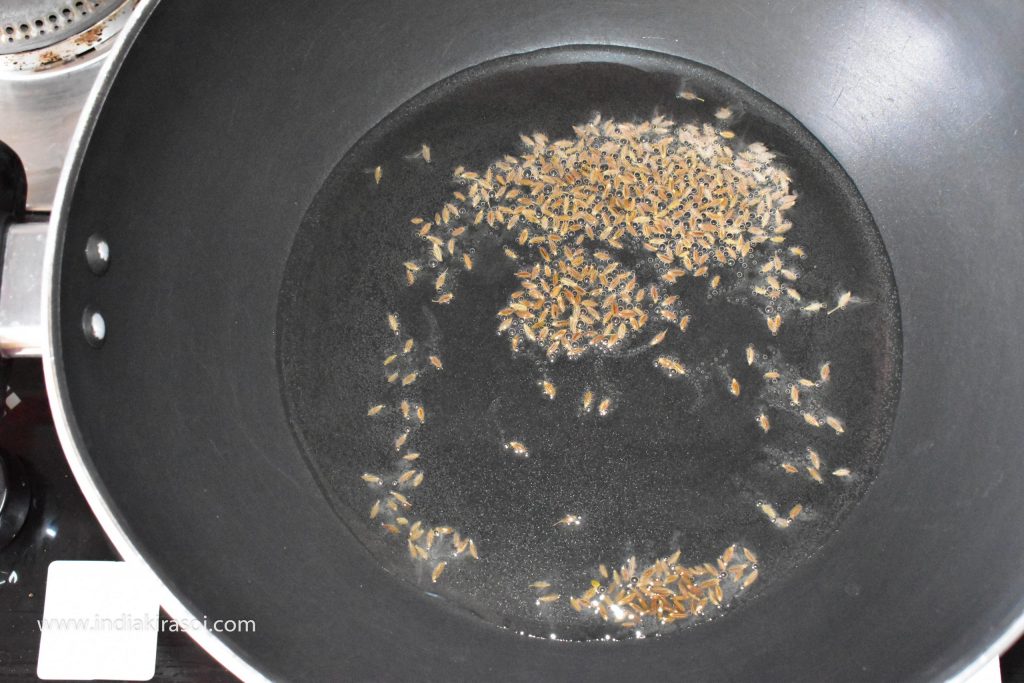
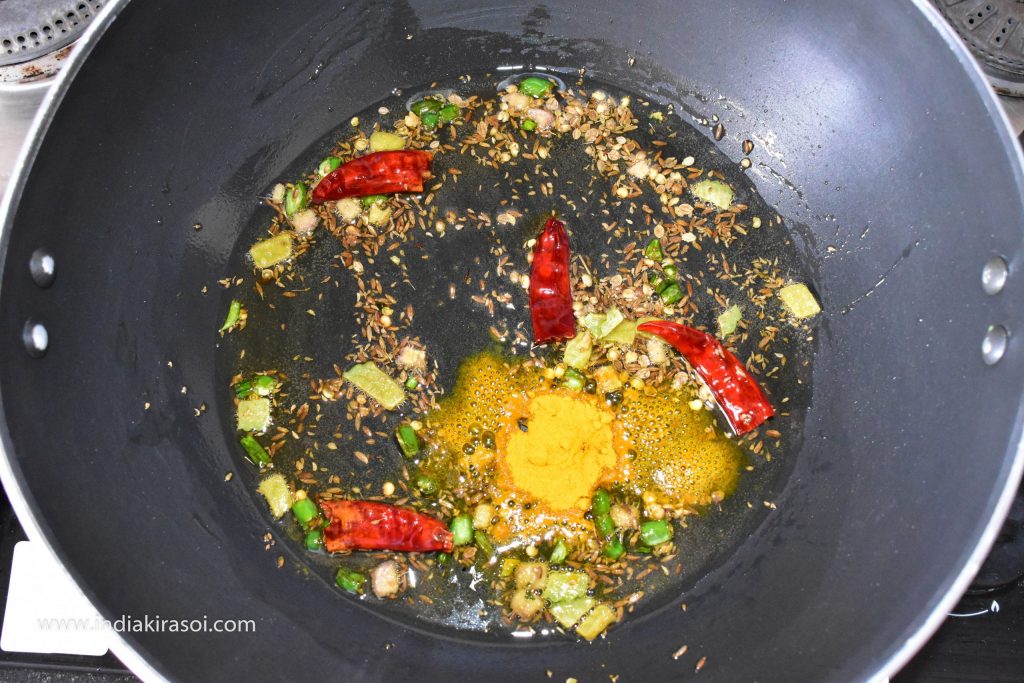
- When the oil is hot, add cumin seeds in the oil.
- When the cumin starts crackling, add carom seeds.
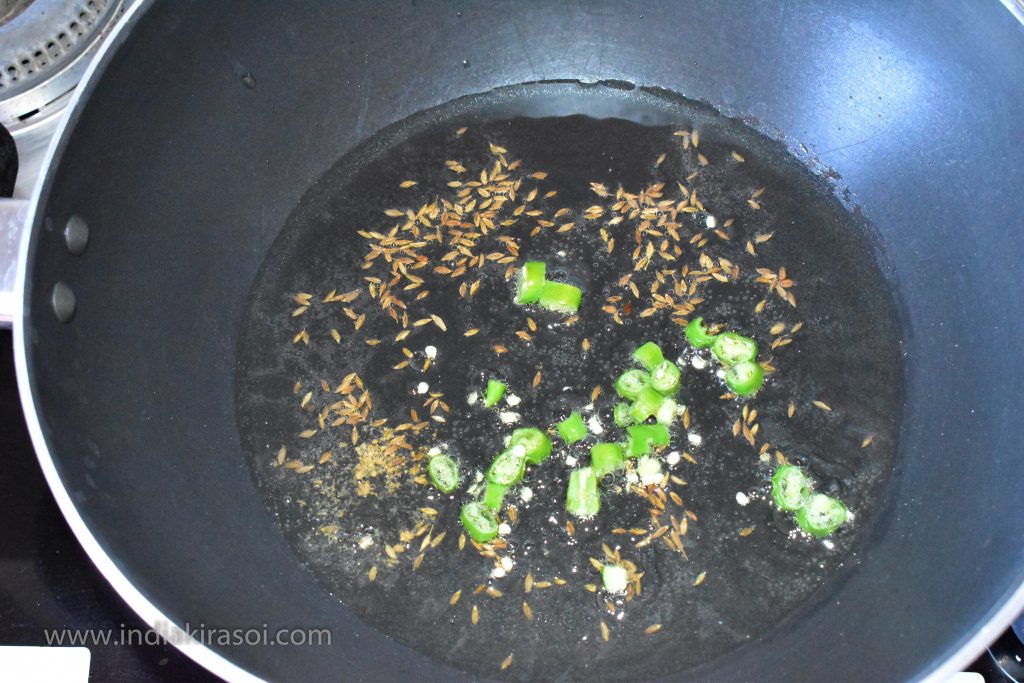
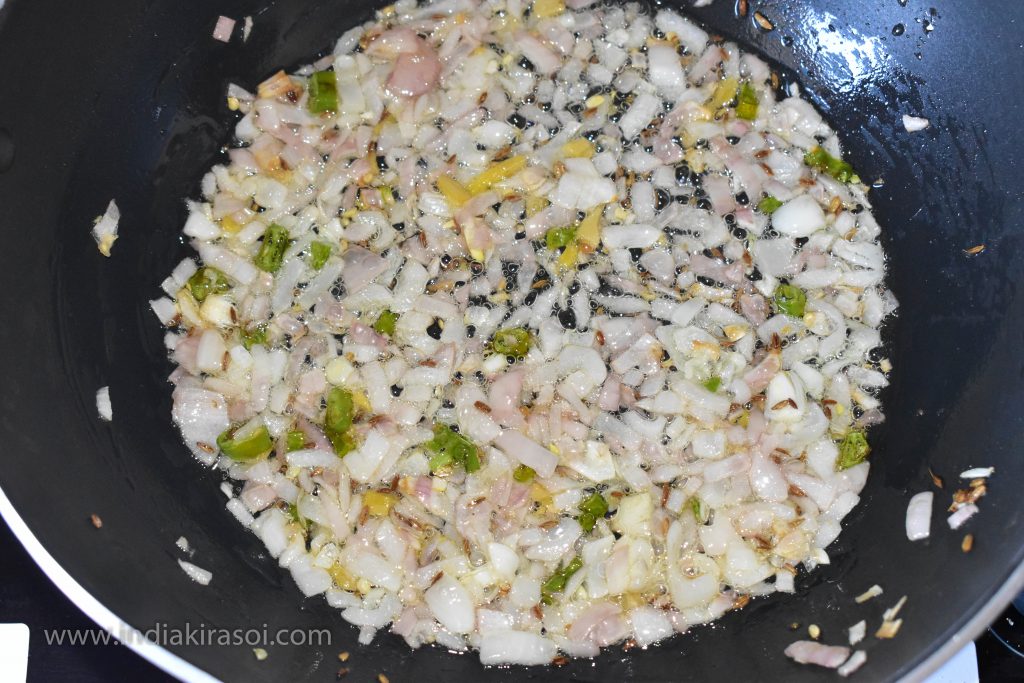
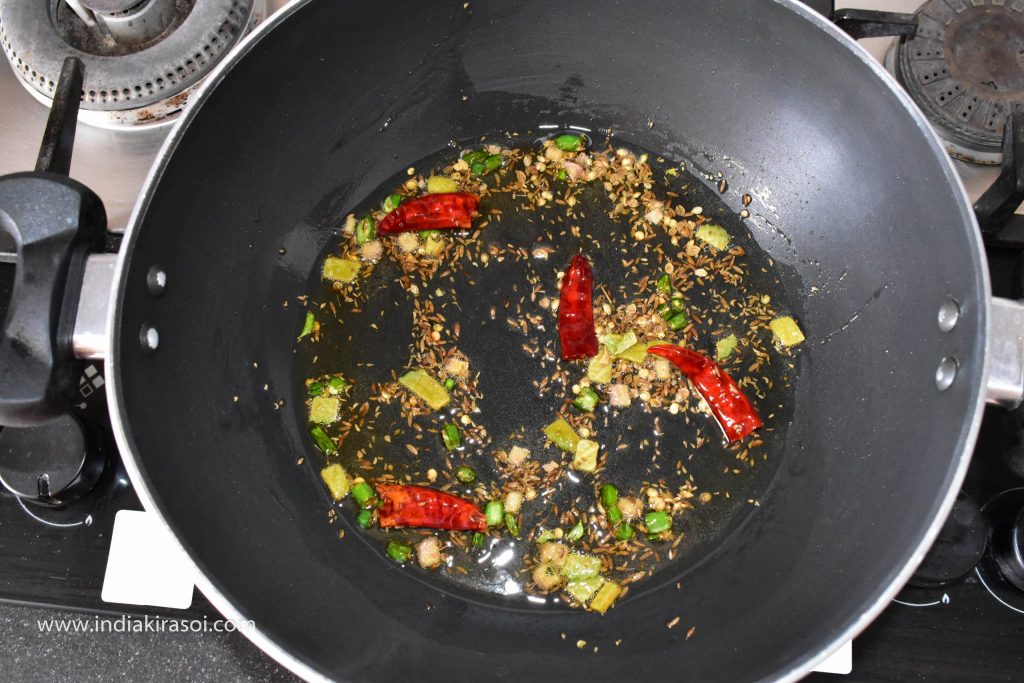
- If there is carom leaves, then chop the carom leaves, chopped green chilies and red chillies into 2 parts.
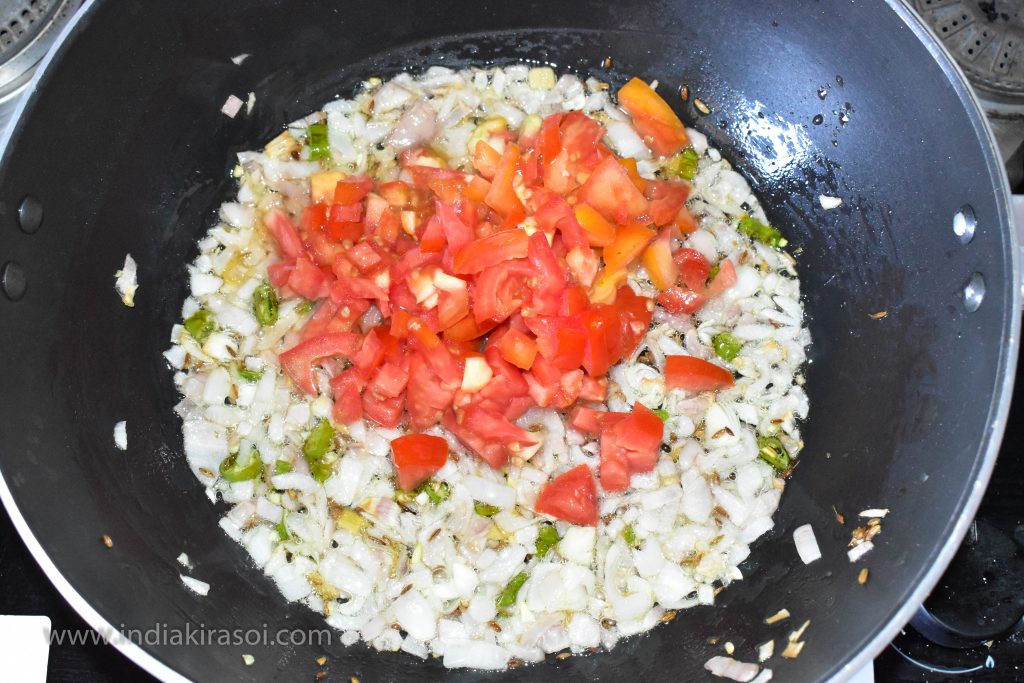
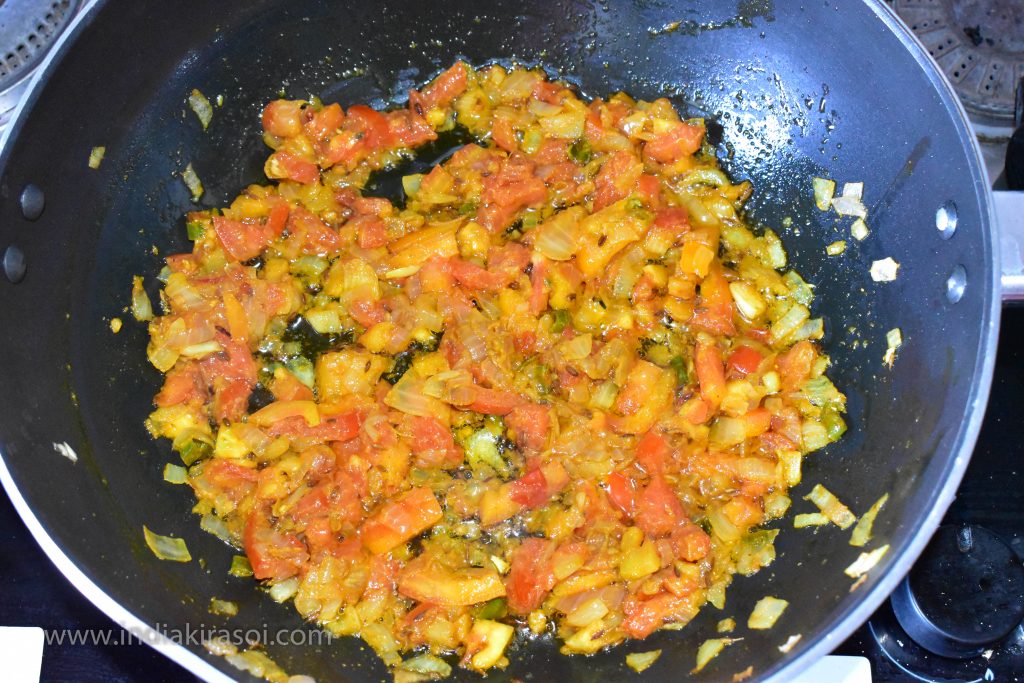
- When the green chillies fry lightly.
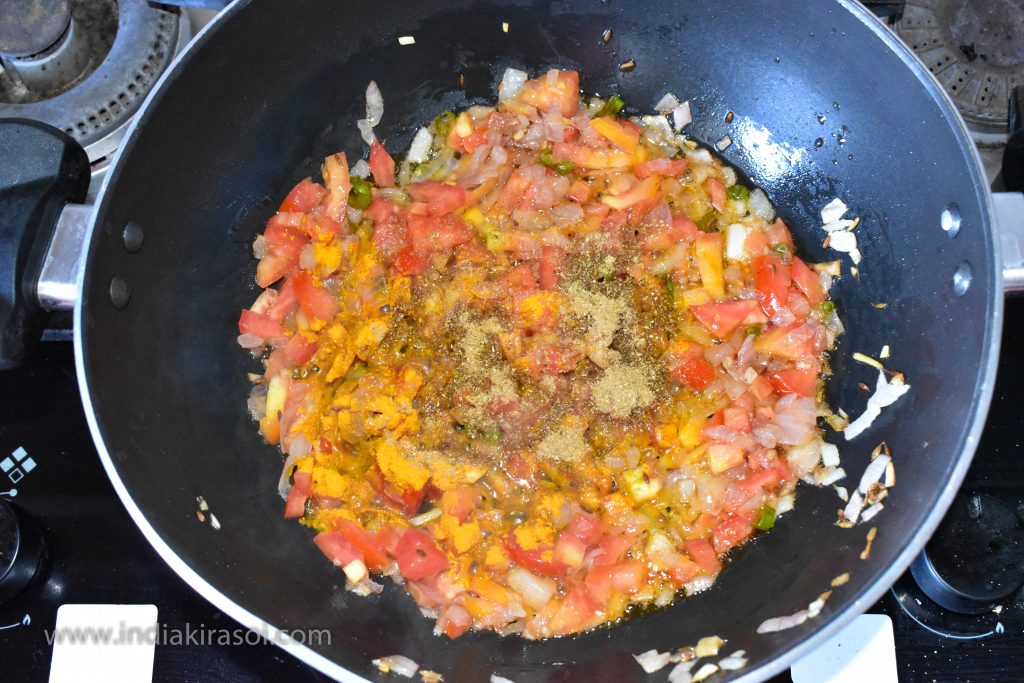
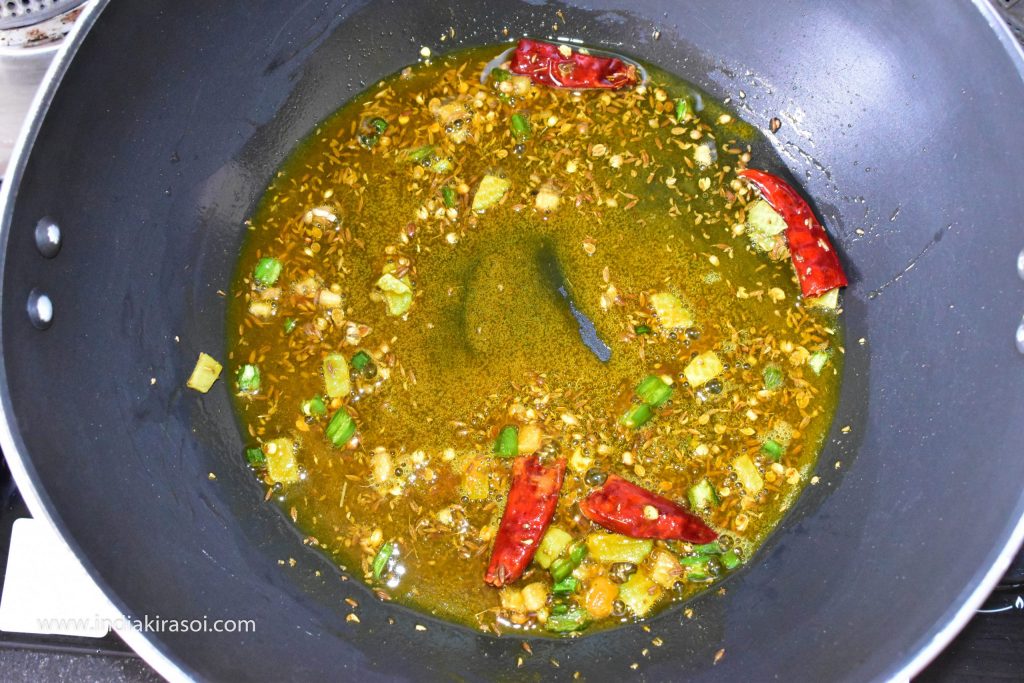
- Then add turmeric powder.
- Turmeric will be cooked in 10 seconds.
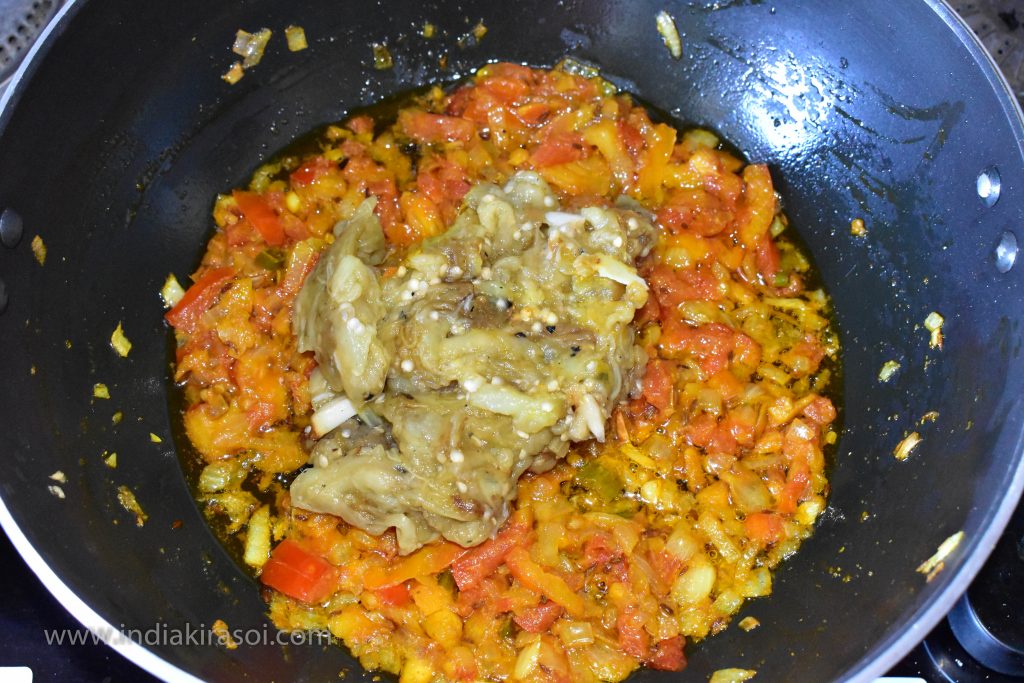
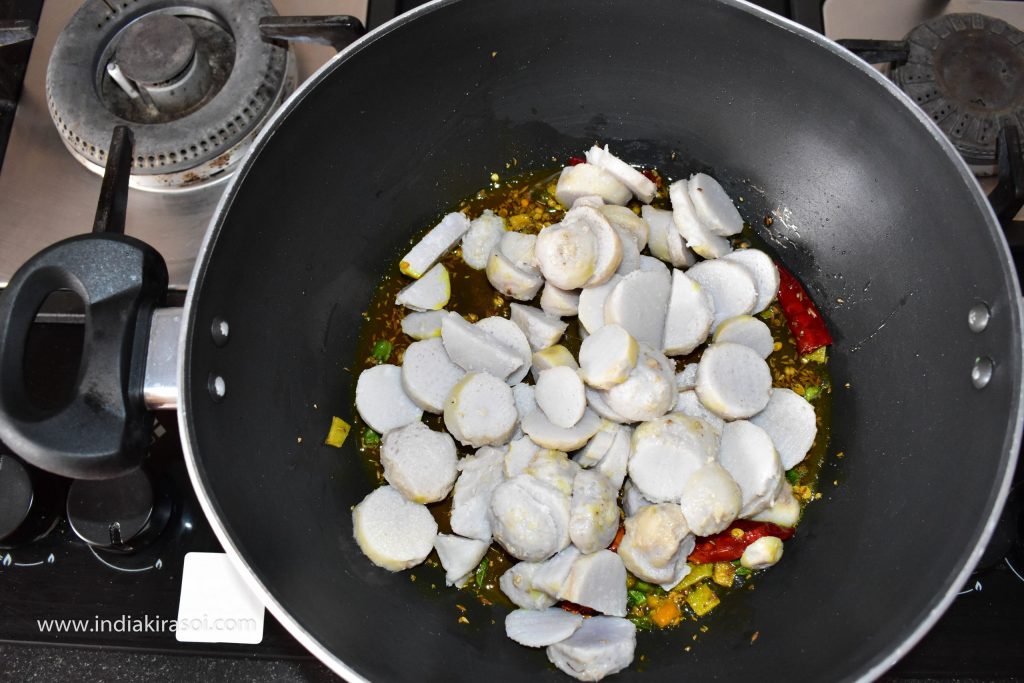
- Now add chopped colocasia / arbi.
- Add colocasia / arbi to the spices.
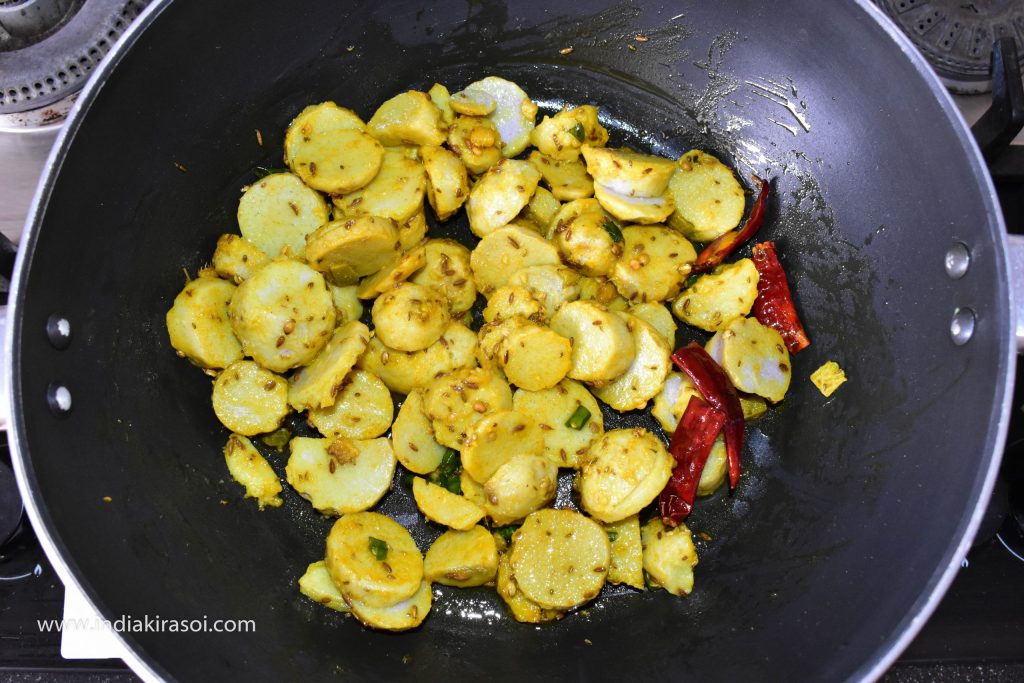
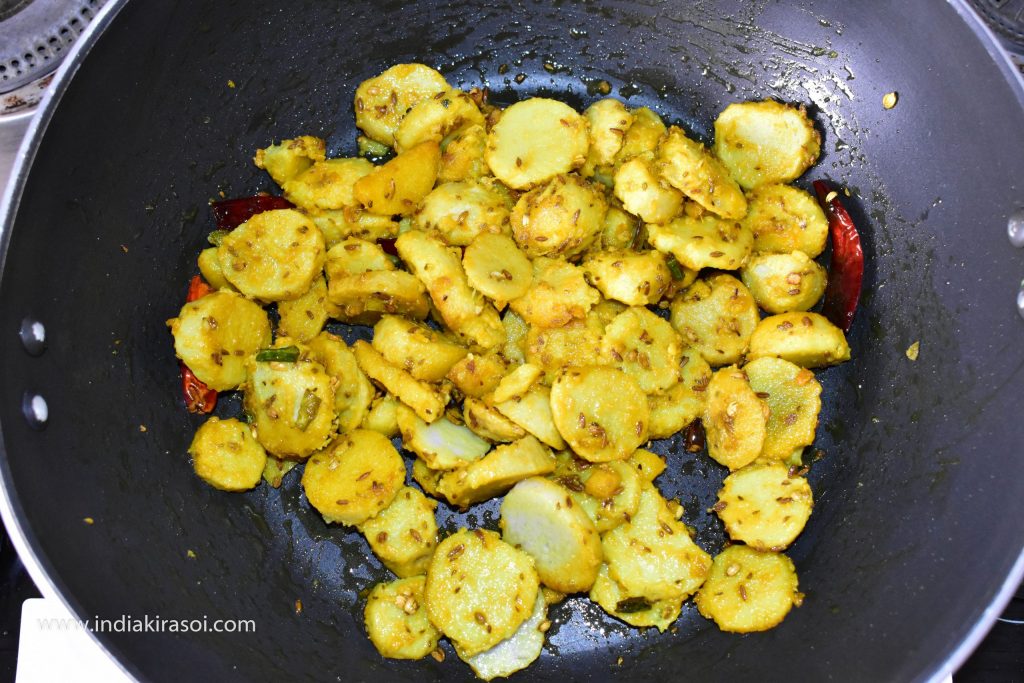
- Allow the colocasia / arbi to fry.
- And reduce the flame to medium.
- And let the colocasia / arbi fry for 5 minutes.
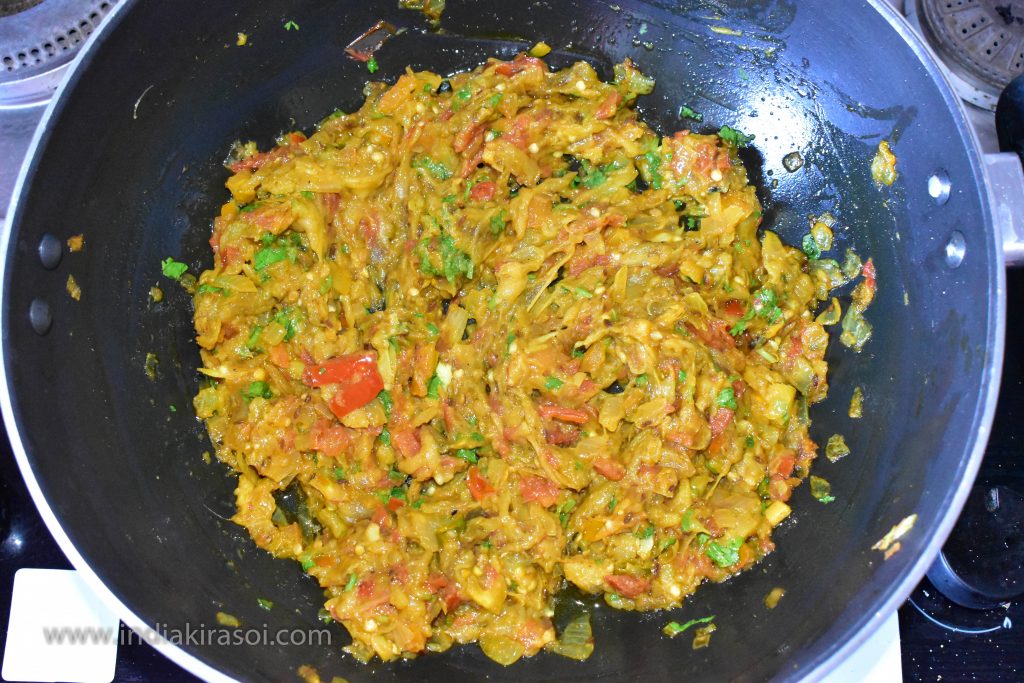
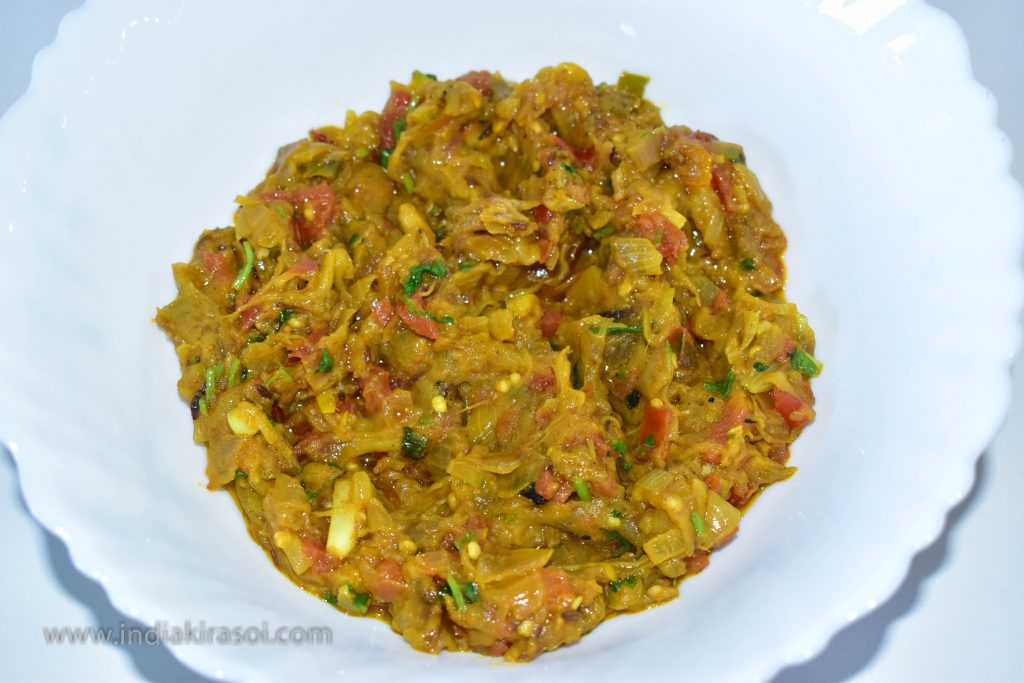
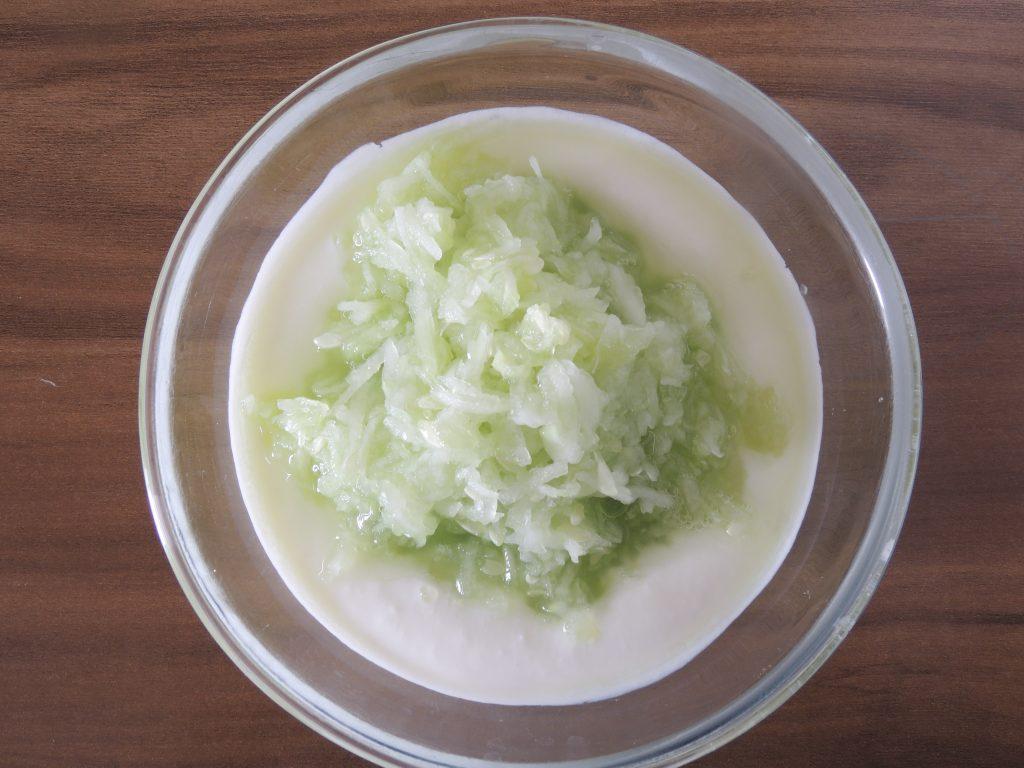
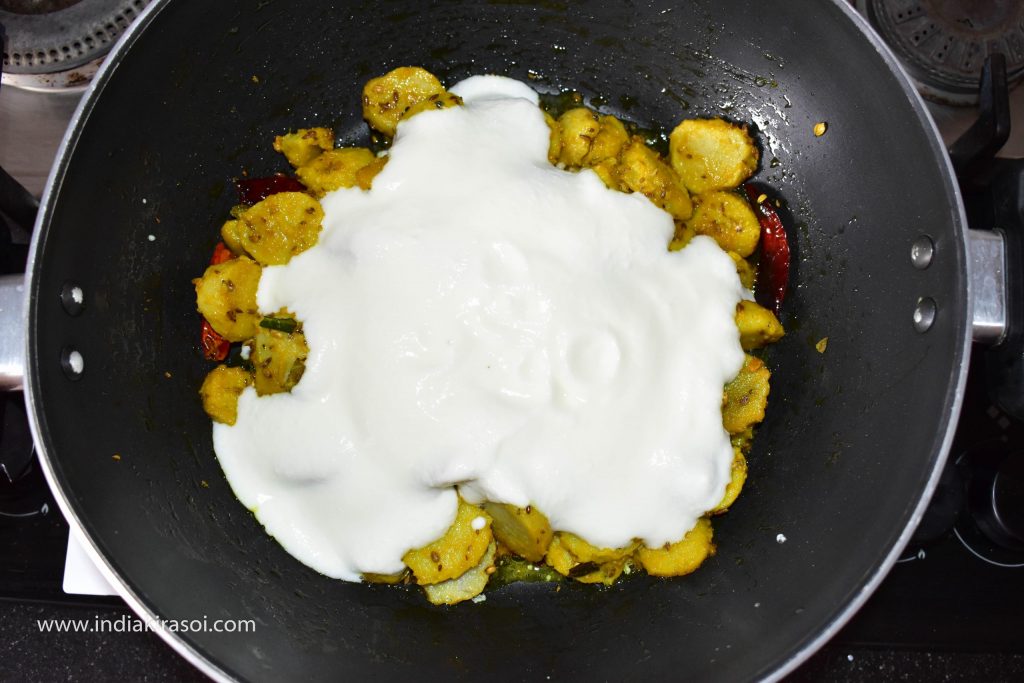
- When the colocasia / arbi fries started to turn light brown. Then pour the whipped curd in the kadai / pan.
- Mix curd with colocasia / arbi. Allow the colocasia / arbi to cook.
- Stir the colocasia / arbi with a spoon so that the curd does not break.
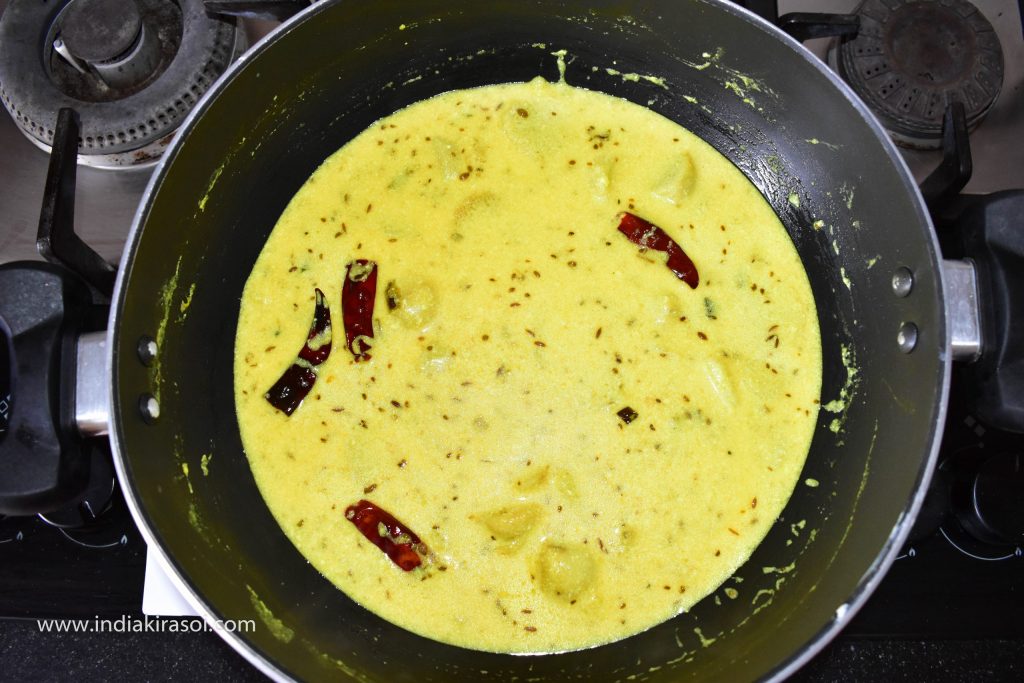
- Stir the colocasia / arbi with a spoon until the gravy comes to a boil.
- When the gravy starts boiling, add 100 grams of water to the gravy.
- If you want to increase gravy, then you can add water according to your taste.
- Now turn the flame on high.
- And stir the gravy with a spoon.
- Cook the gravy till it boils.
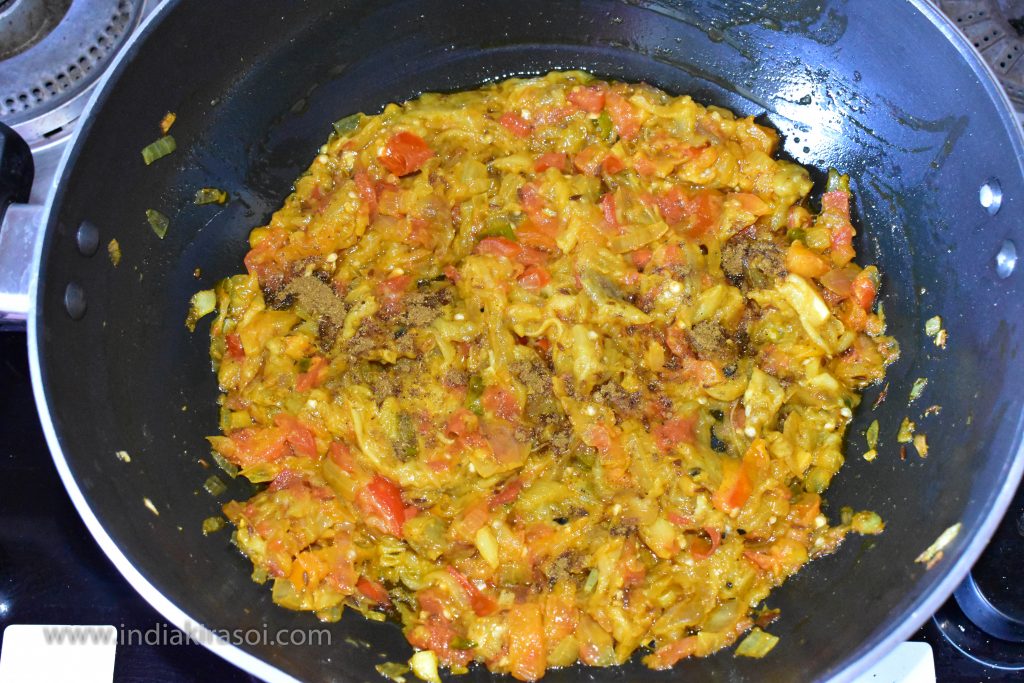
- When the gravy starts boiling then add red chili powder in the gravy.
- Also add salt as per taste.
- Turn down the flame to low.
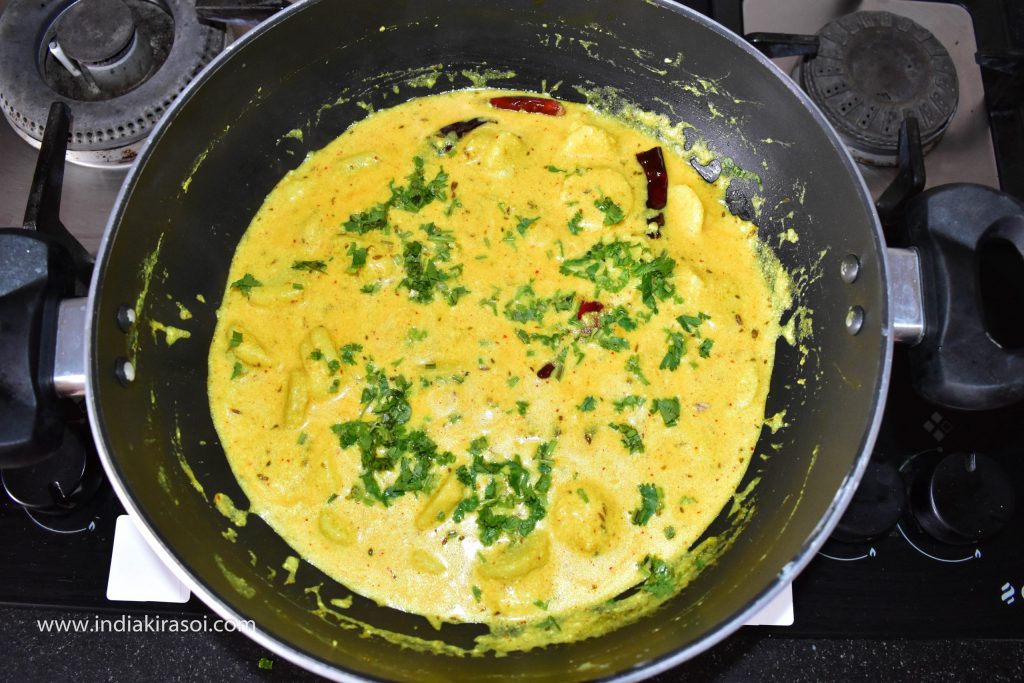
- Let the curry cook on low heat for 5 minutes.
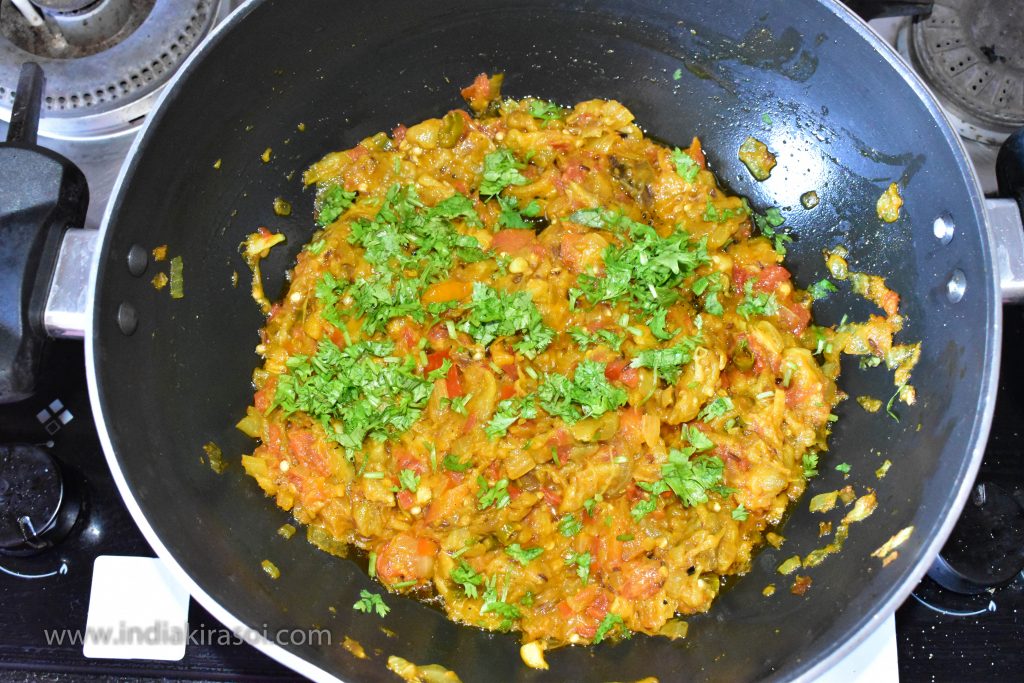
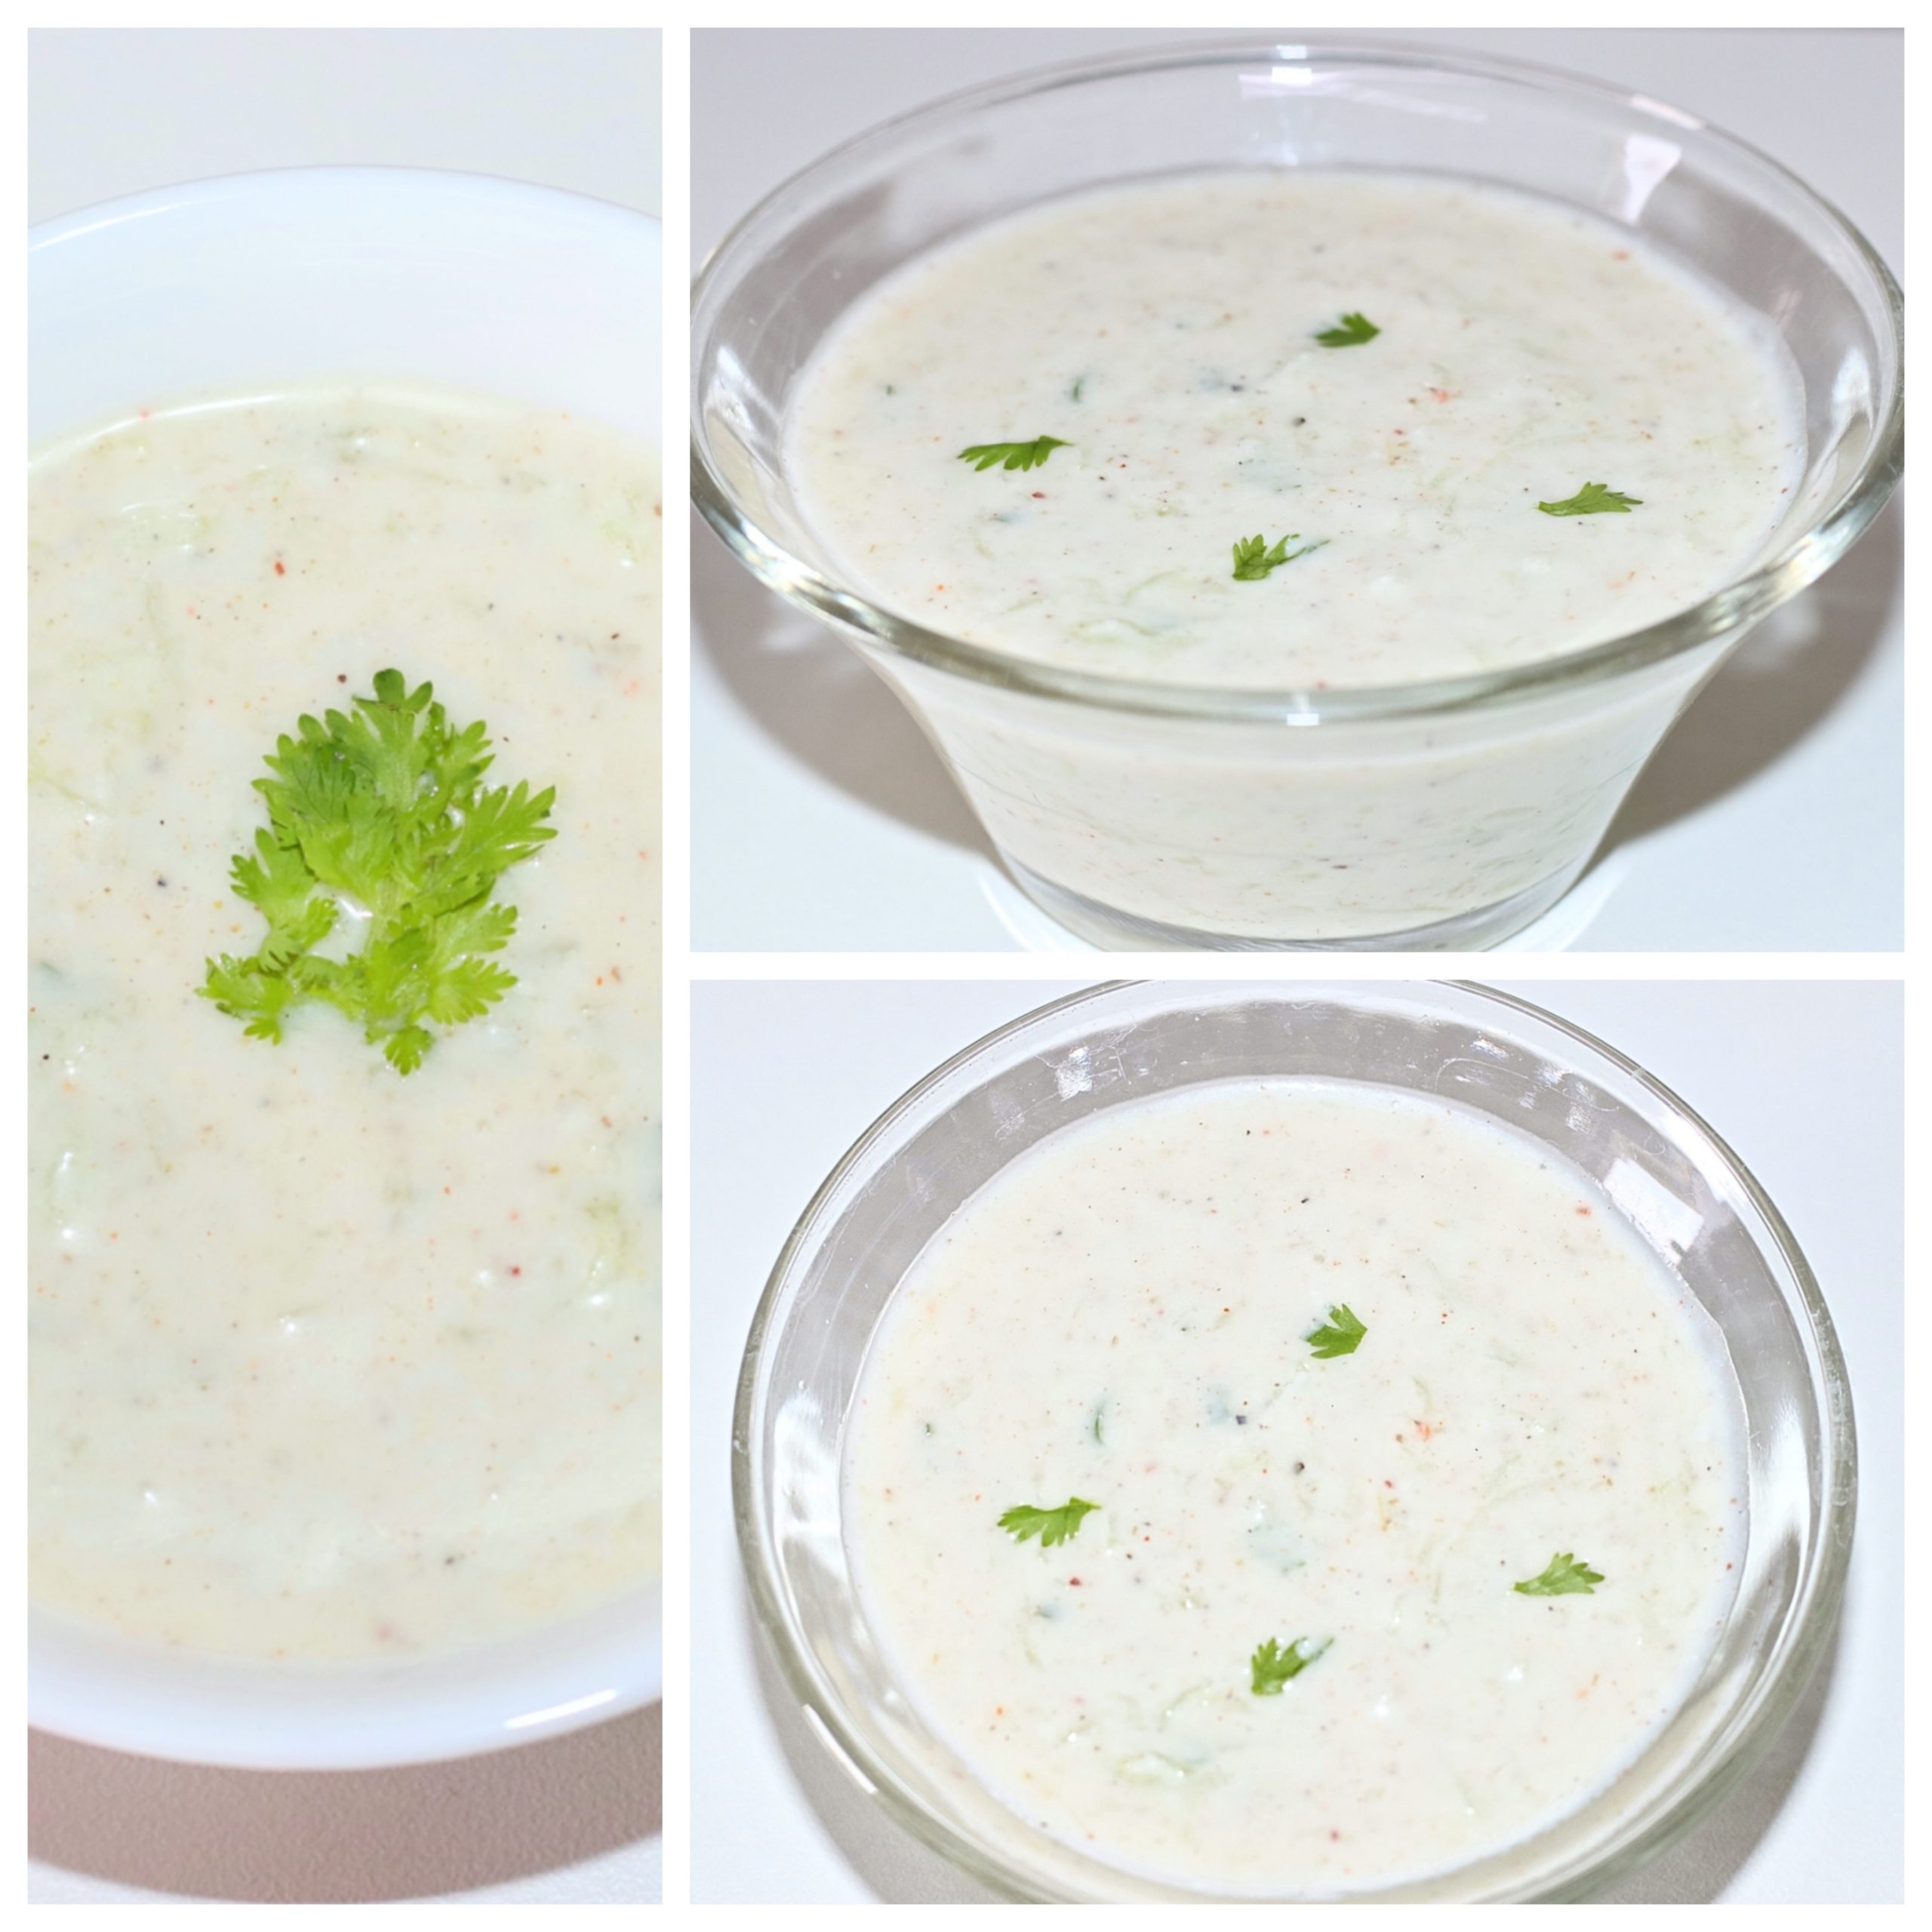
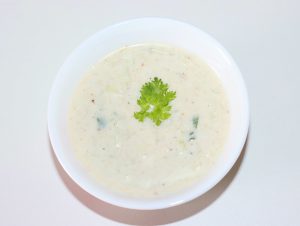
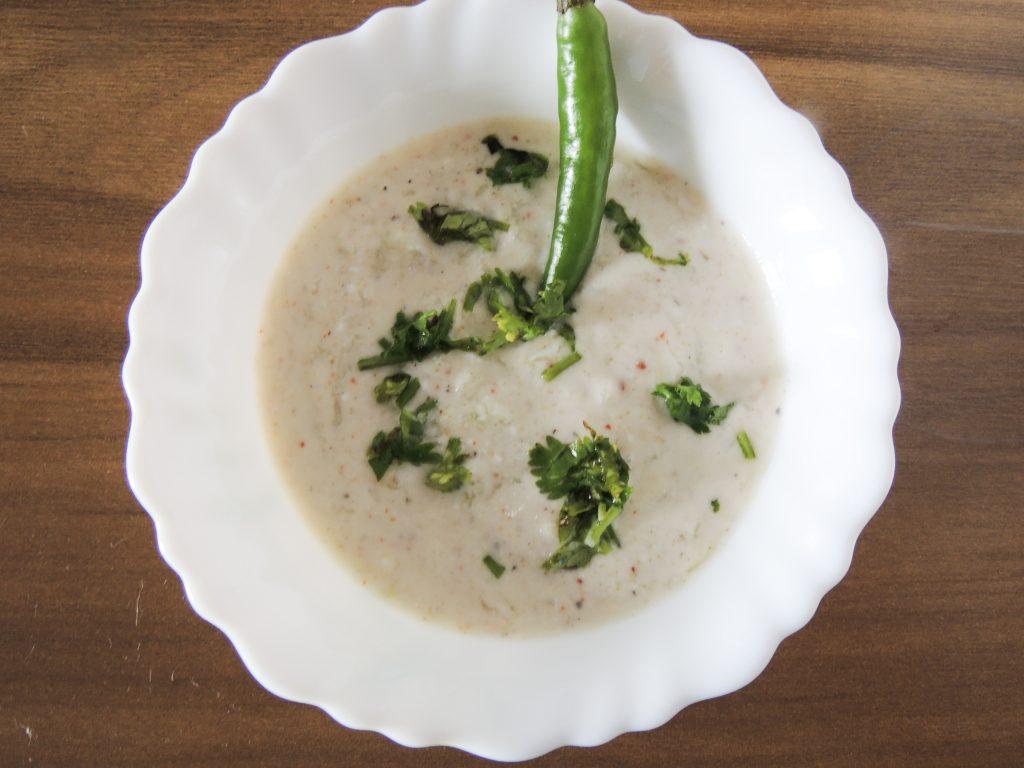
- Add green coriander leaves to the curry.
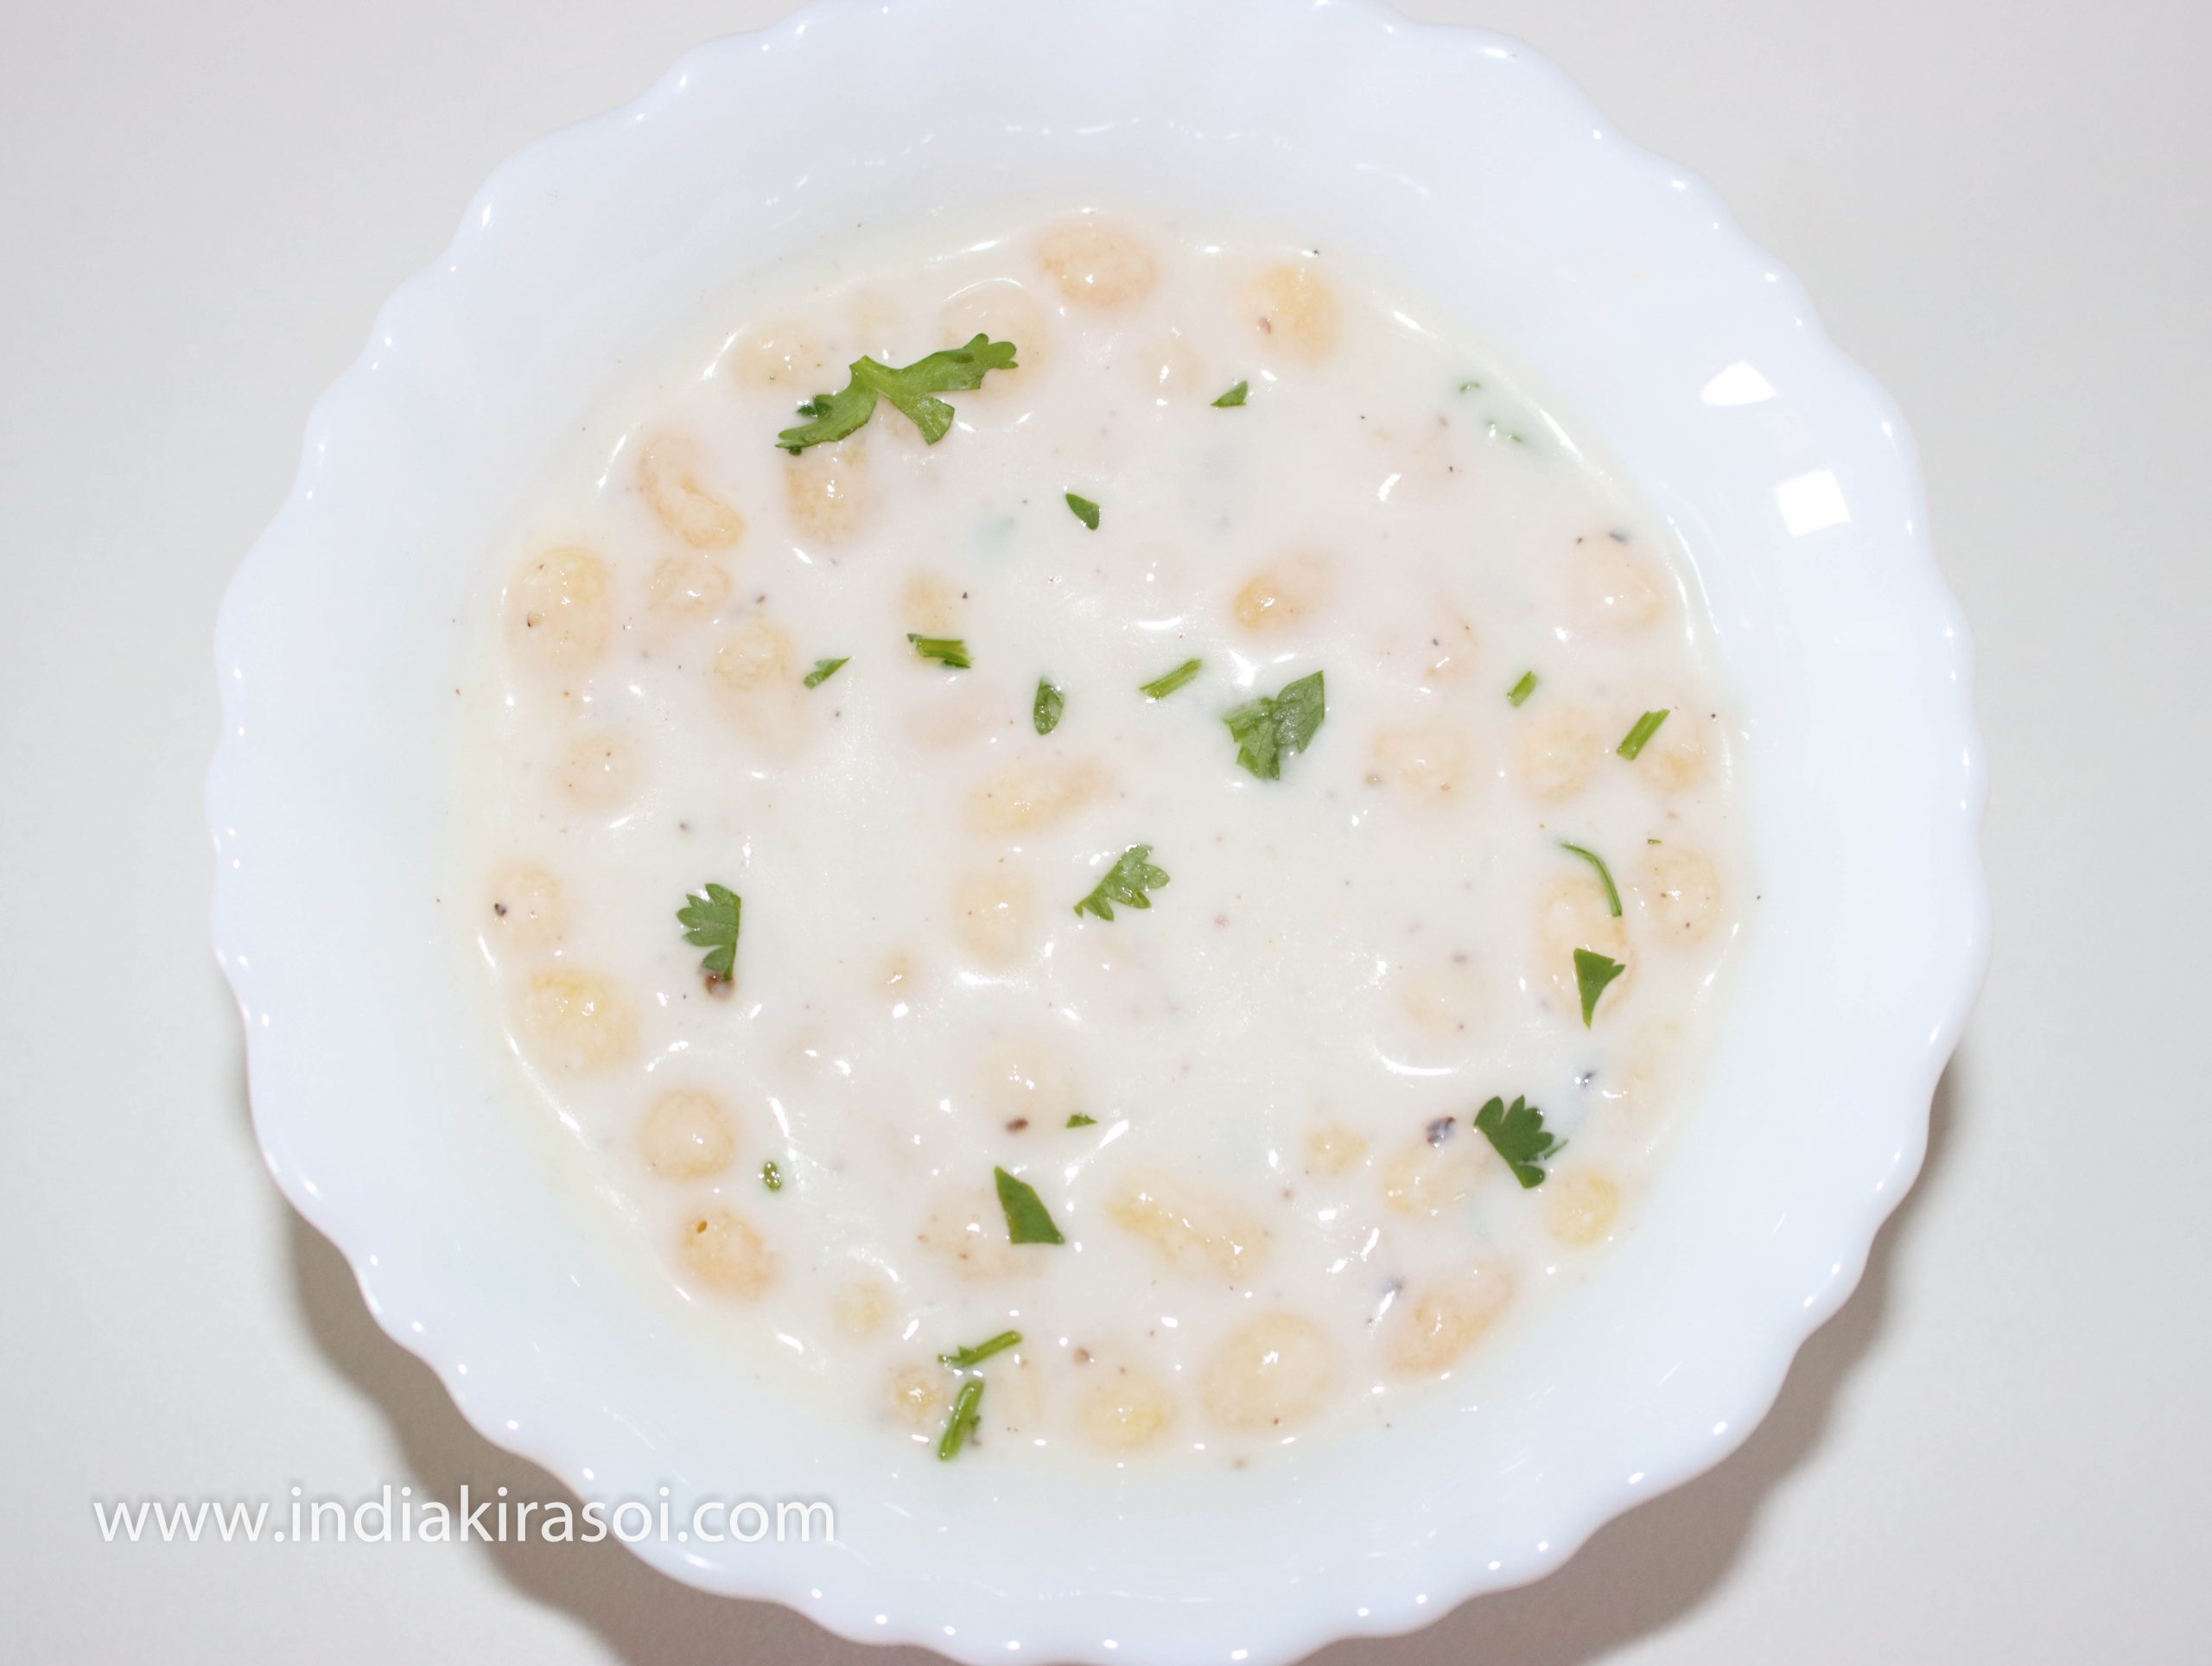
- Serve curd arbi / dahi arbi / dahi ghuiya with roti / chapati and rice.
- Yogurt can be eaten with poori as well.


Video
Notes
- One of the many yogurt benefits is that it helps improve your digestion.
- Yogurt can strengthen your immune system.
- Yogurt contains calcium, which plays a huge role in strengthening your bones and teeth.
- It also contains phosphorus which combines with calcium to promote bone growth.
- Eating yogurt regularly will help prevent diseases like arthritis and osteoporosis.
- Yogurt helps to relieve anxiety and stress.
- Yogurt can help to lose weight.
- Yogurt enhances skin texture.
- Arbi/colocasia vegetable is not only popular in general diet but also as a fruit, but due to its latter nature, we do not pay attention to its nutrients.
- 100 grams of Arbi/colocasia has 42 grams of calories, which is more than potatoes.
- Apart from this, it has many essential nutrients like 3.7 grams of fiber, five grams of protein, 648 milligrams of potassium, vitamin A, C, calcium and iron.
- Its digestion is easy because of the high fiber. It is beneficial for the skin due to the abundance of antioxidants. It is also beneficial for patients with diabetes.