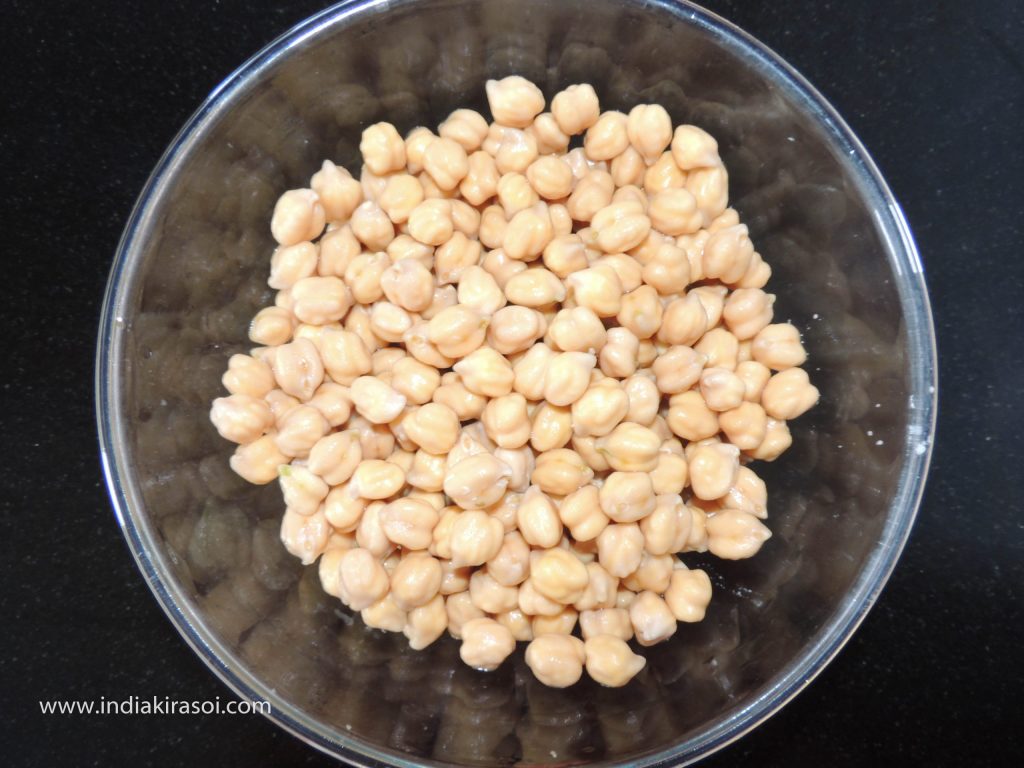
Chickpeas are good to eat. Along with this, chickpeas are also very beneficial for health.
Kabuli chana or chick pea (Cicer eritinum) is an annual function of the family Fabaceae, subfamily Faboidae.
Chickpeas serve as an energy and protein source.
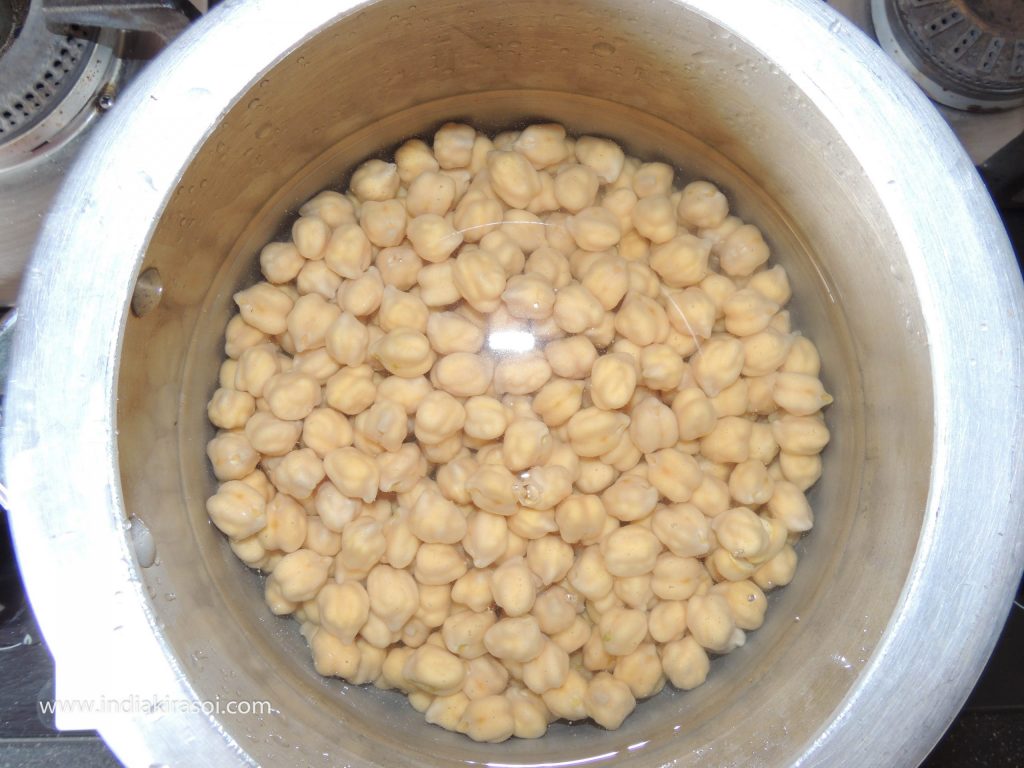
Serving 100 grams of cooked chickpeas gives 164 kilocalories (690 kJ). The ripe chickpeas are 60% water, 27% carbohydrate, 9% protein and 3% fat (Table). .75% of the fat content is unsaturated fatty acids, for which linoleic acid contains 43% of the total fat.
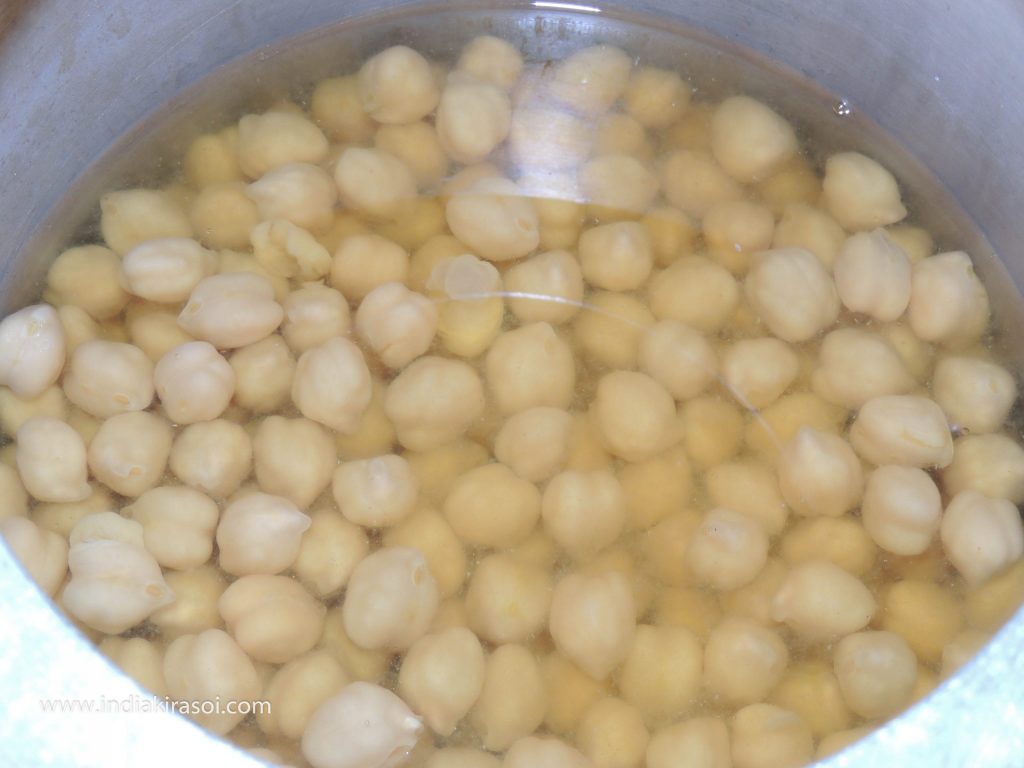
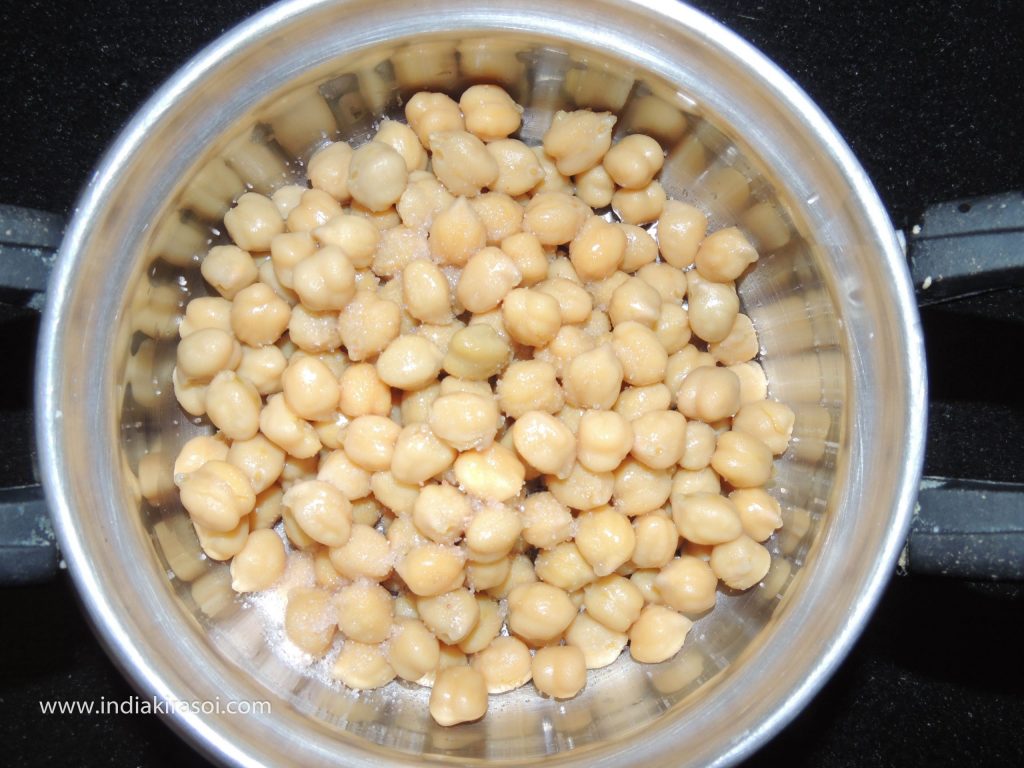
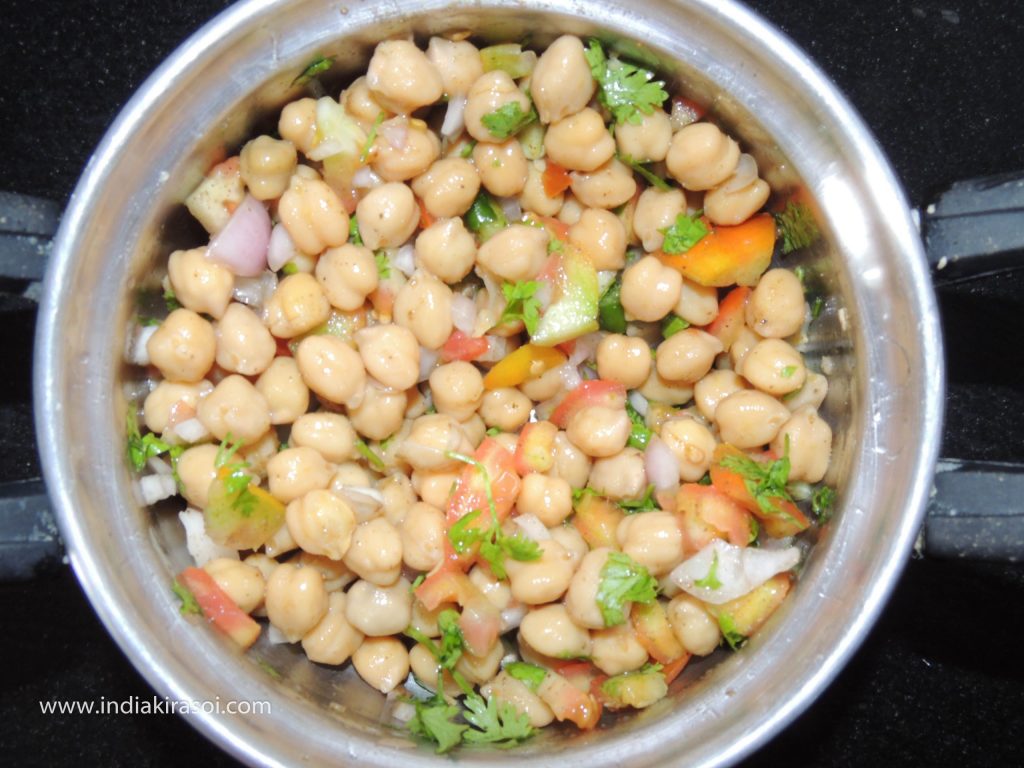
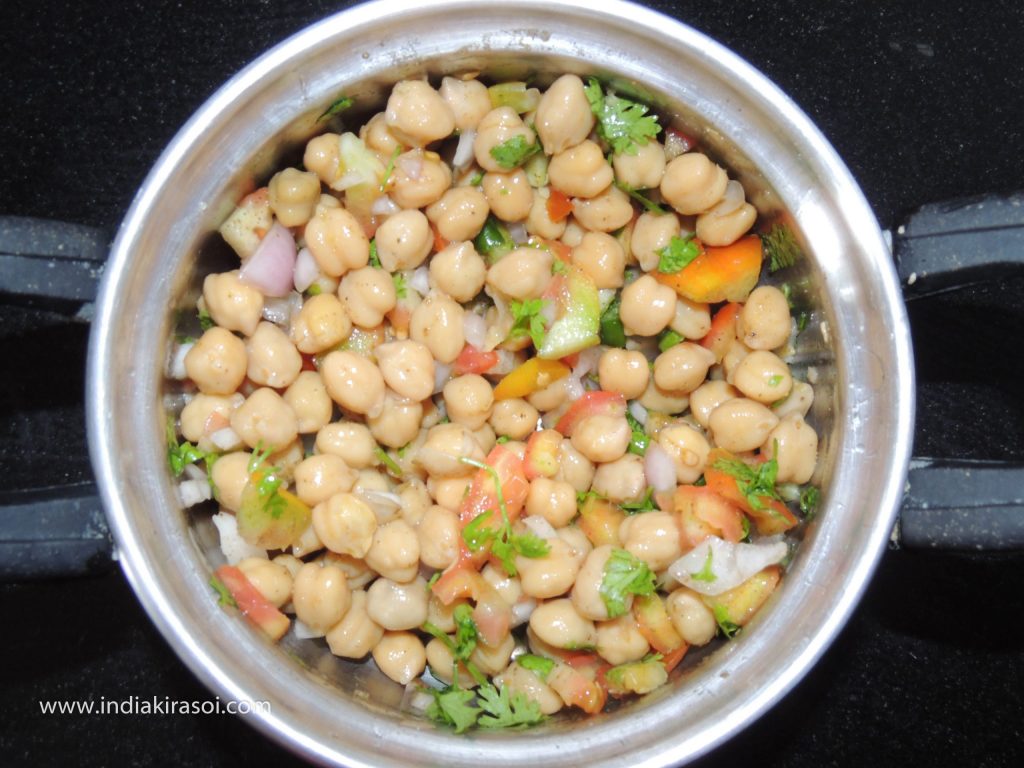
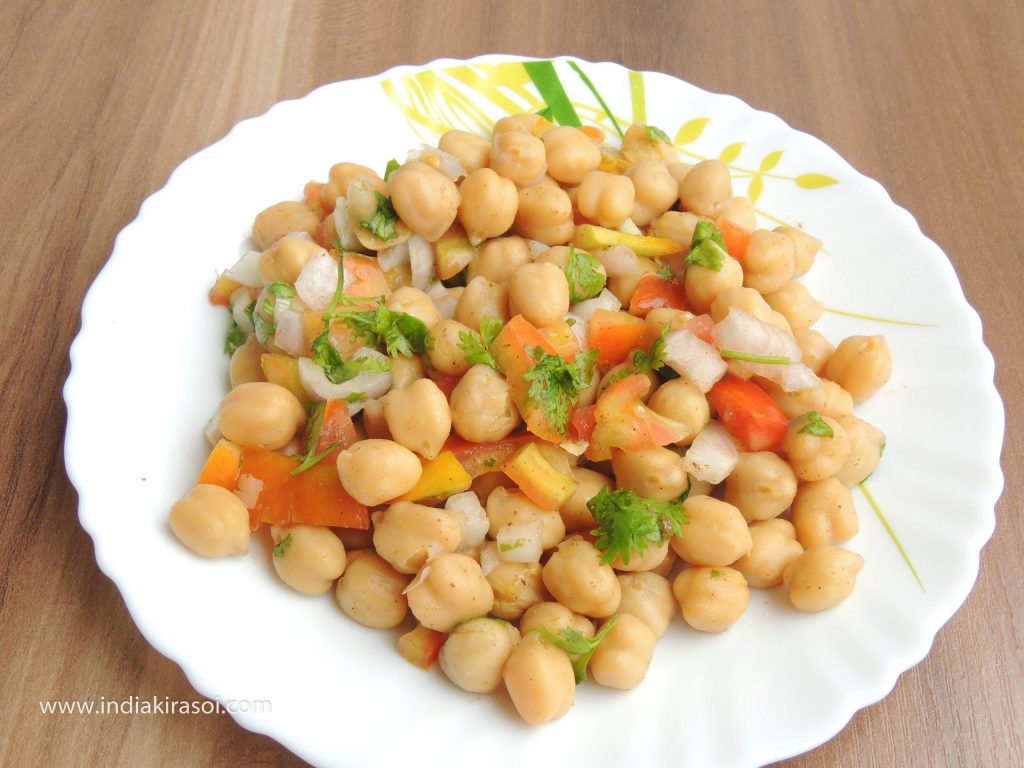
It is very easy to make nutritious and tasty chickpeas salad and it is also very tasty in food and also very nutritious for health.
To make nutritious and tasty chickpea salad, follow the method given below…
Course Breakfast, Indian, Lunch, Main Dish, Snacks, Starter
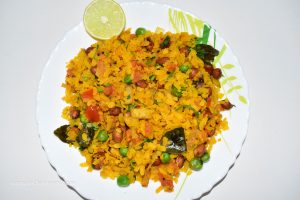
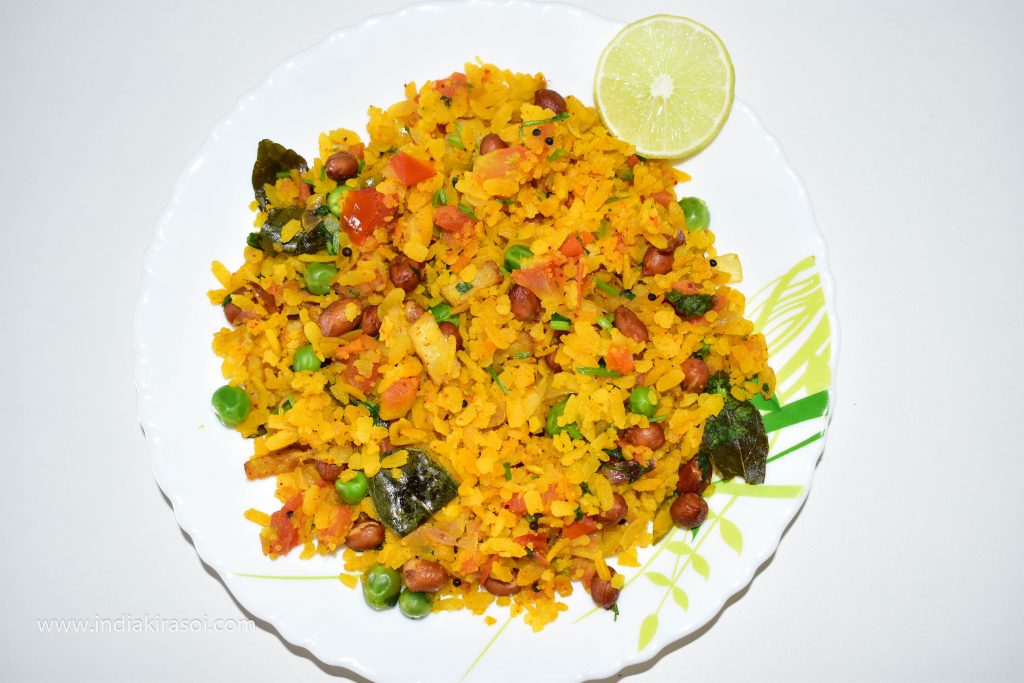
Poha is a very easy and good breakfast for health.Poha is very popular in Maharashtra but it is an easy and tasty snack to be used as breakfast all over India.Poha is made in a very tasty way using onion, potato, lemon juice, curry leaves, and tomatoes.You can also add peanuts to it, in the same way, you can eat poha raw in water or milk mixed with salt and sugar or you can fry it lightly in oil.In Chhattisgarh, raw poha eat with mix with jaggery…
Course Breakfast, Lunch, Main Course, Main Dish, Side Dish, Snacks, Starter
Cuisine Breakfast, Main, snacks
Prep Time 10minutes
Cook Time 10minutes
Total Time 20minutes
Servings 4People
Calories 65kcal
Cost 30 rupee
Equipment
Kadhai / Fry Pan
Plate
Knife
Spatula
Ingredients
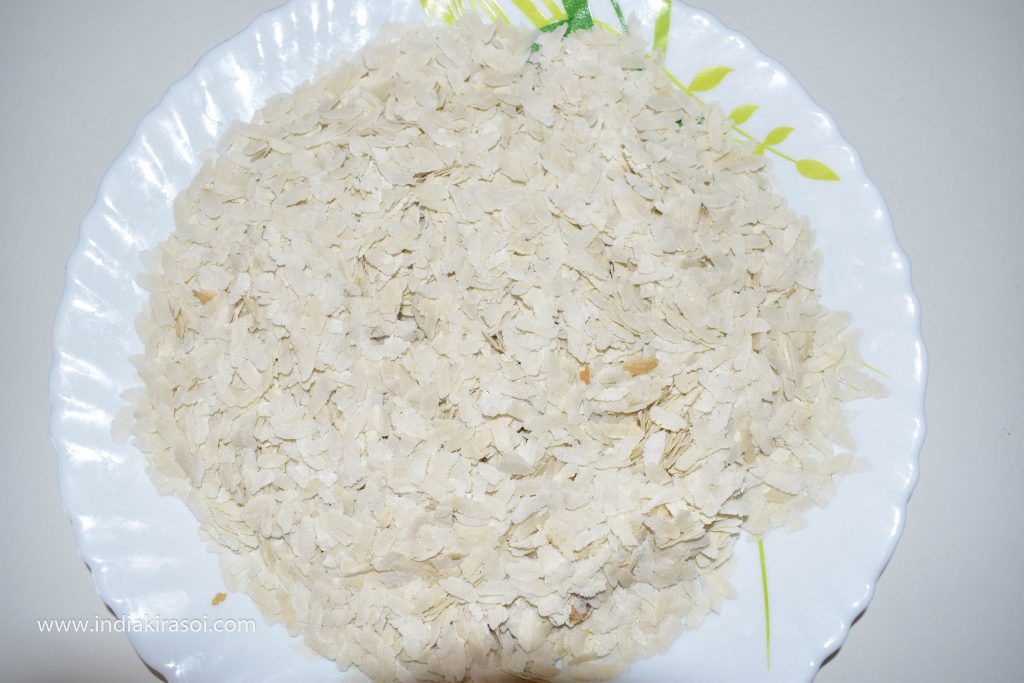
200gramsRaw beaten rice or poha
1UnitPotato
1UnitTomato
1/2CupGreen Peas
4-5tspRaw Peanut
1UnitGreen Chili
1Medium Sizeonion
1/2tspMustard Seeds
1/2tspTurmeric Powder
2tspLemon Juice
1/2tspRed Chili Powder
2tspGreen coriander leaves
5-6LeavesCurry Patta
asper tasteSalt
3tspOil , for frying peanuts
1tspOil, To make Poha
Instructions
First take 200 grams of poha.
If poha is dirty then clean it.
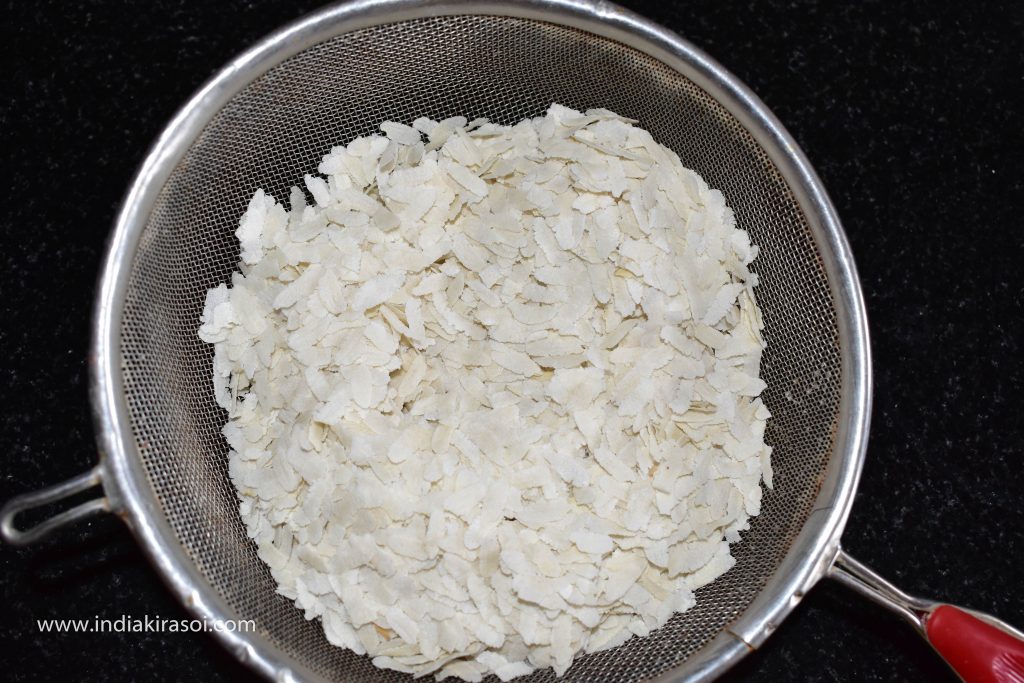
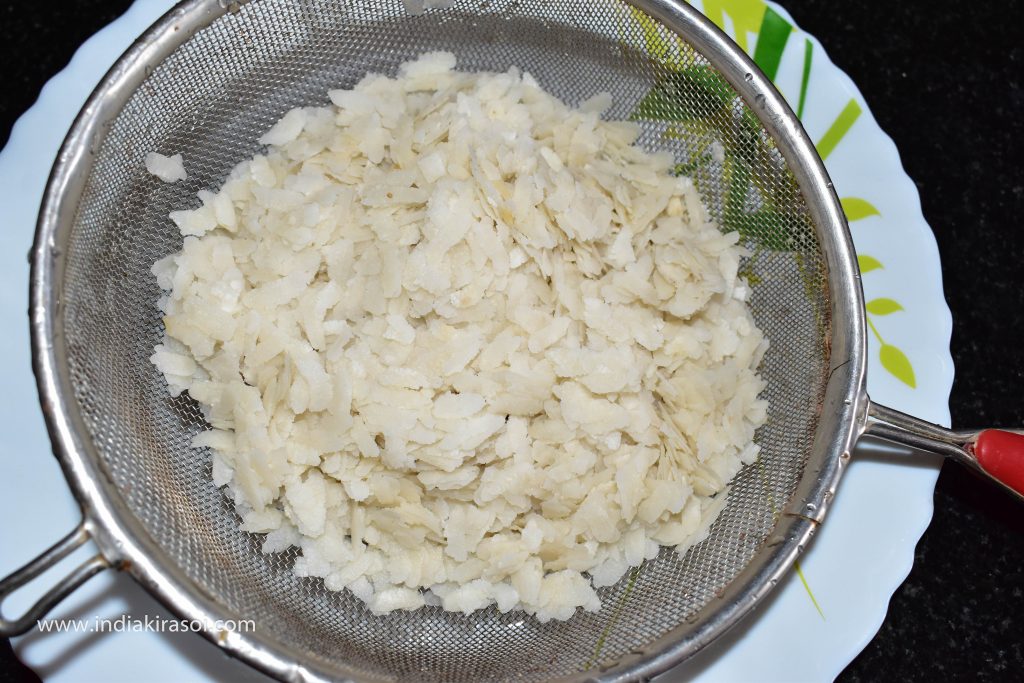
Then wash the poha in a sieve.
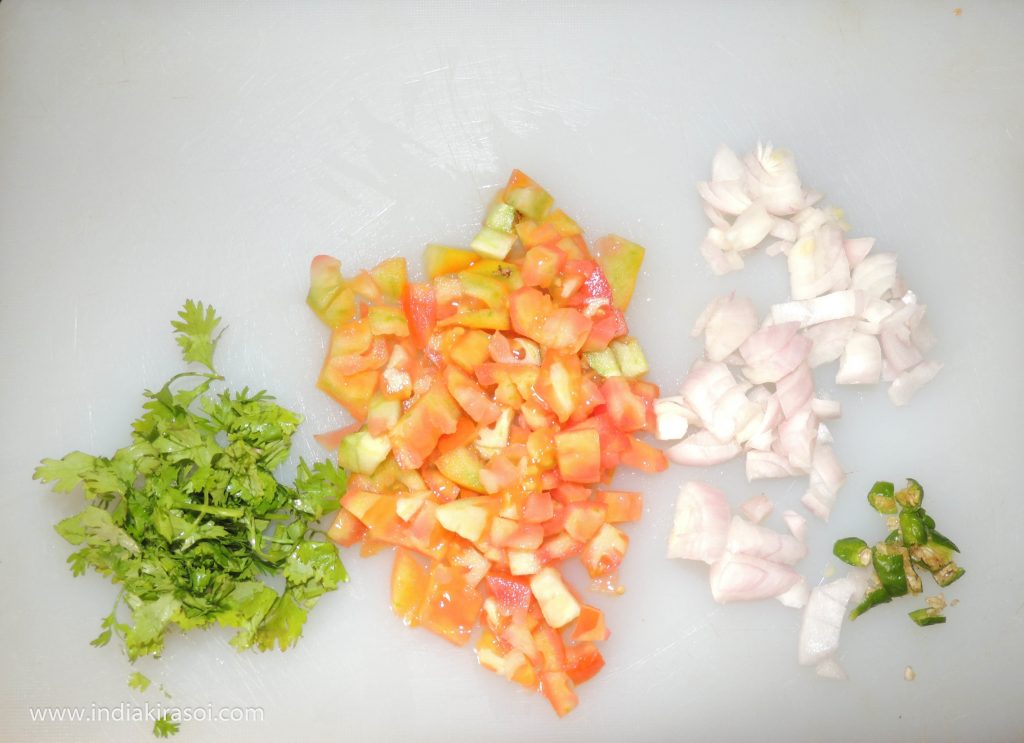
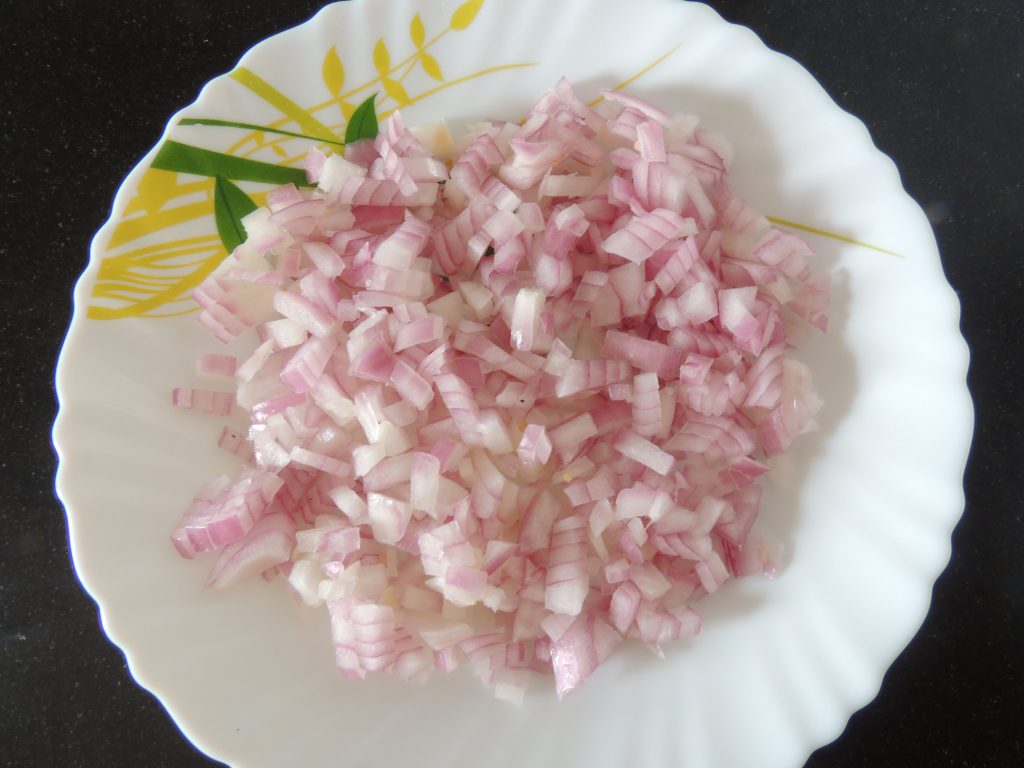
1 medium size finely chopped onion.
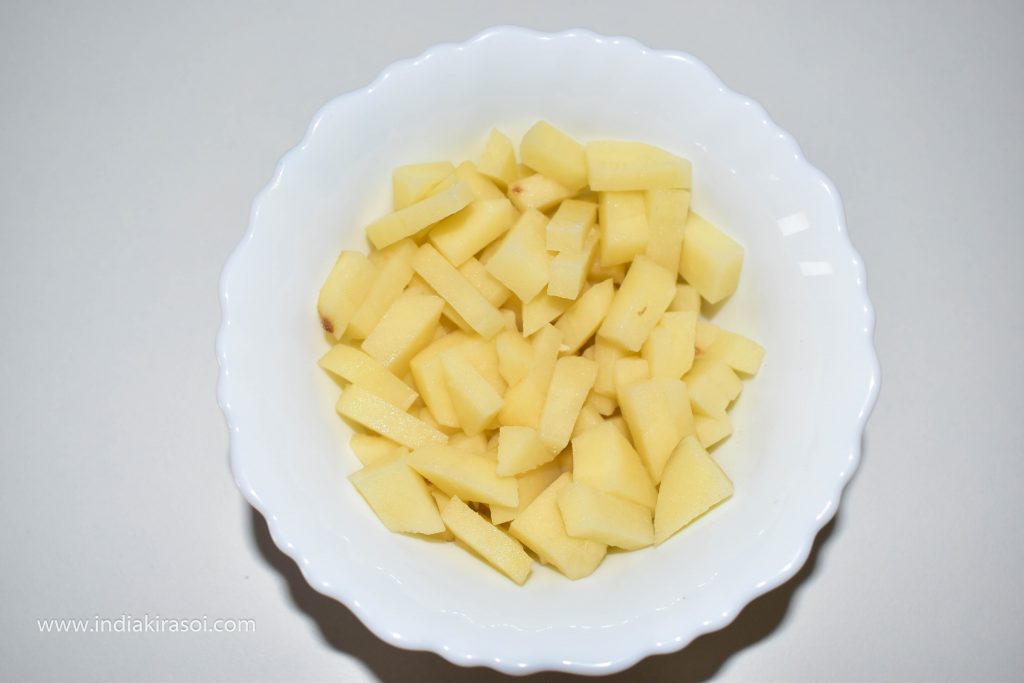
1 medium size potato peel cut into small pieces.
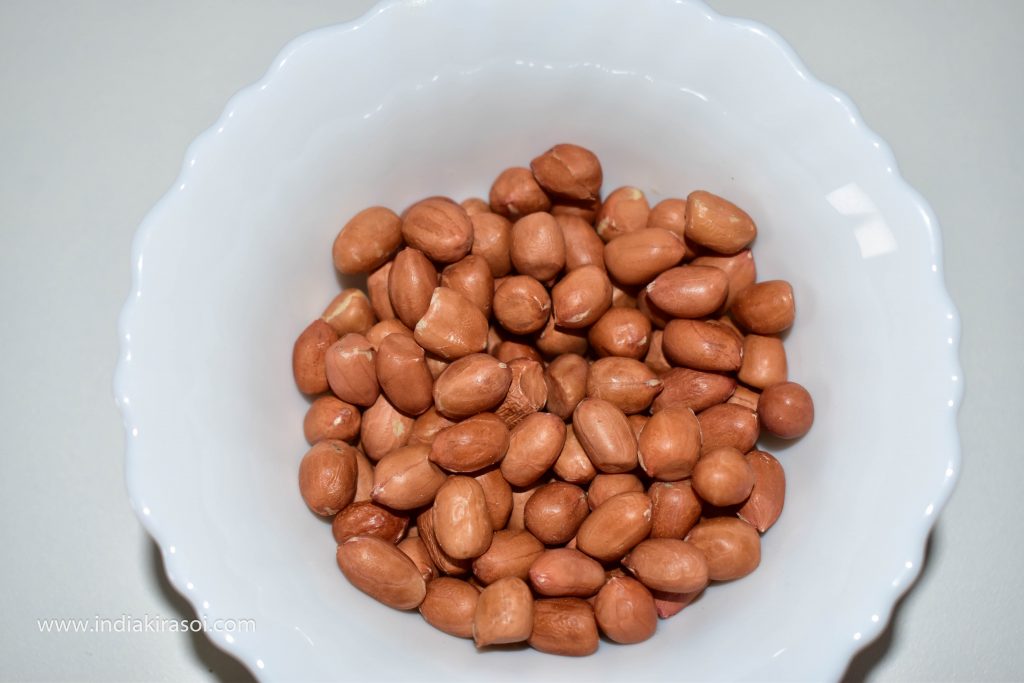
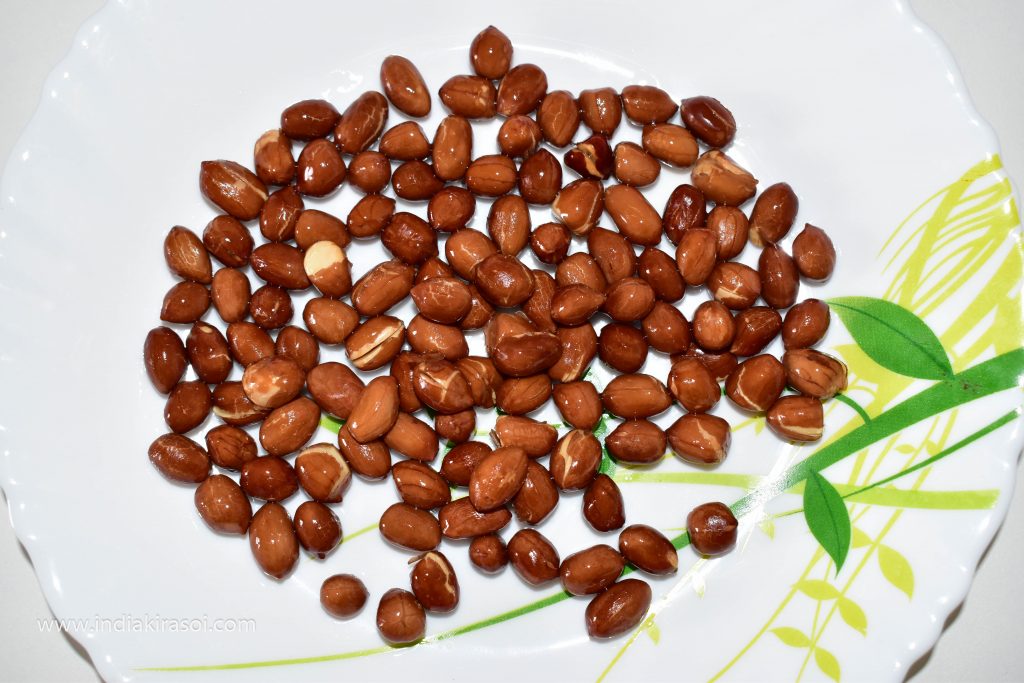
Take 4 to 5 teaspoons of peanuts.
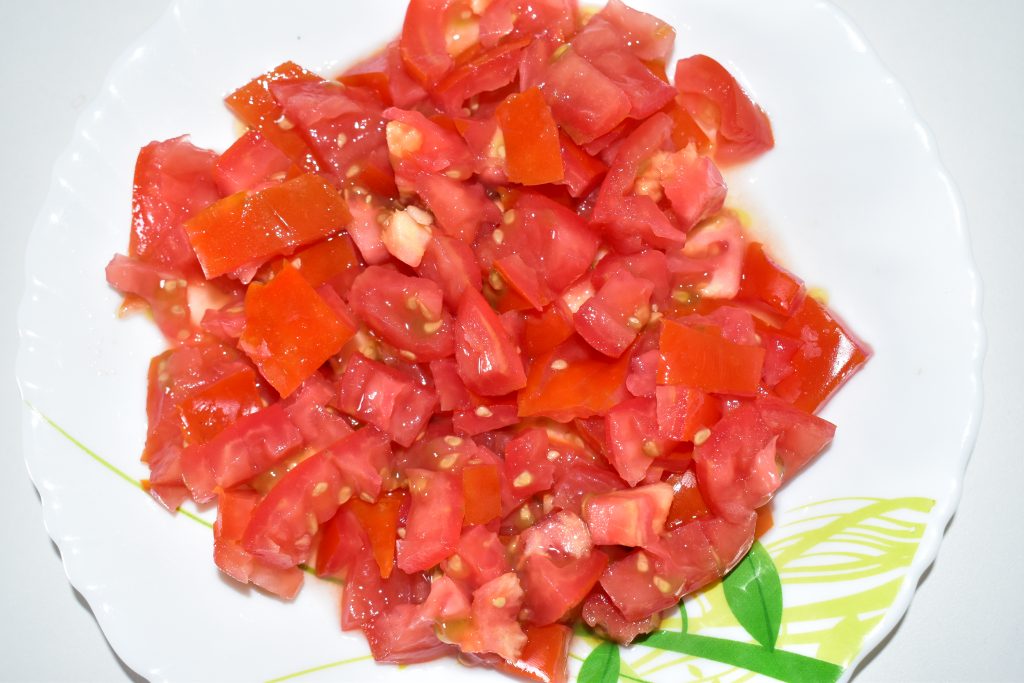
Chop a tomato into small pieces.
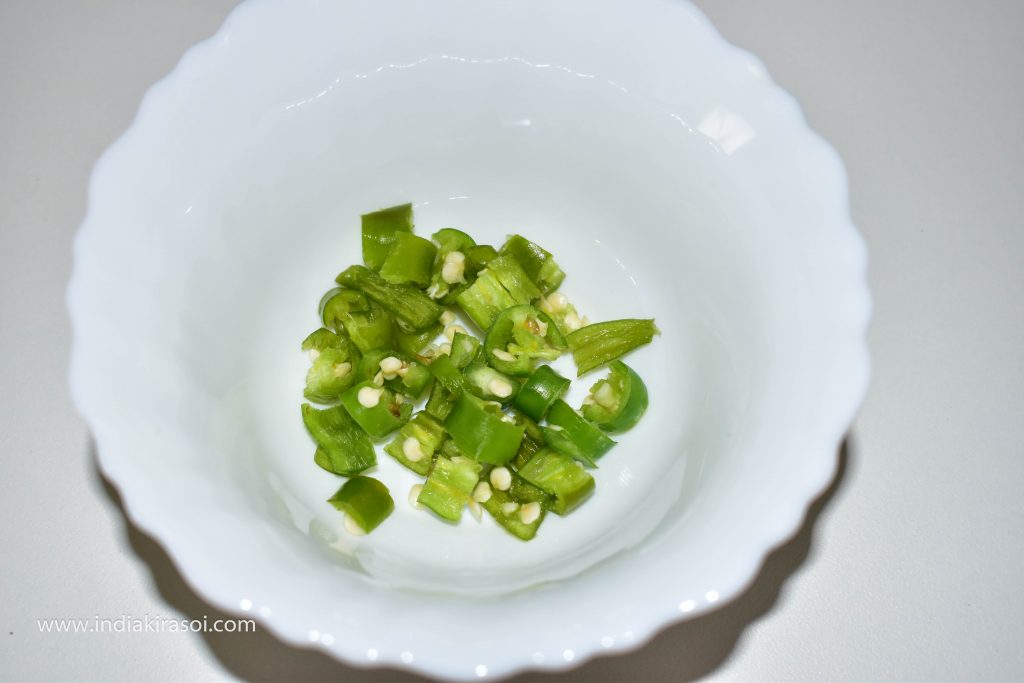
Chop a green chili into small pieces.
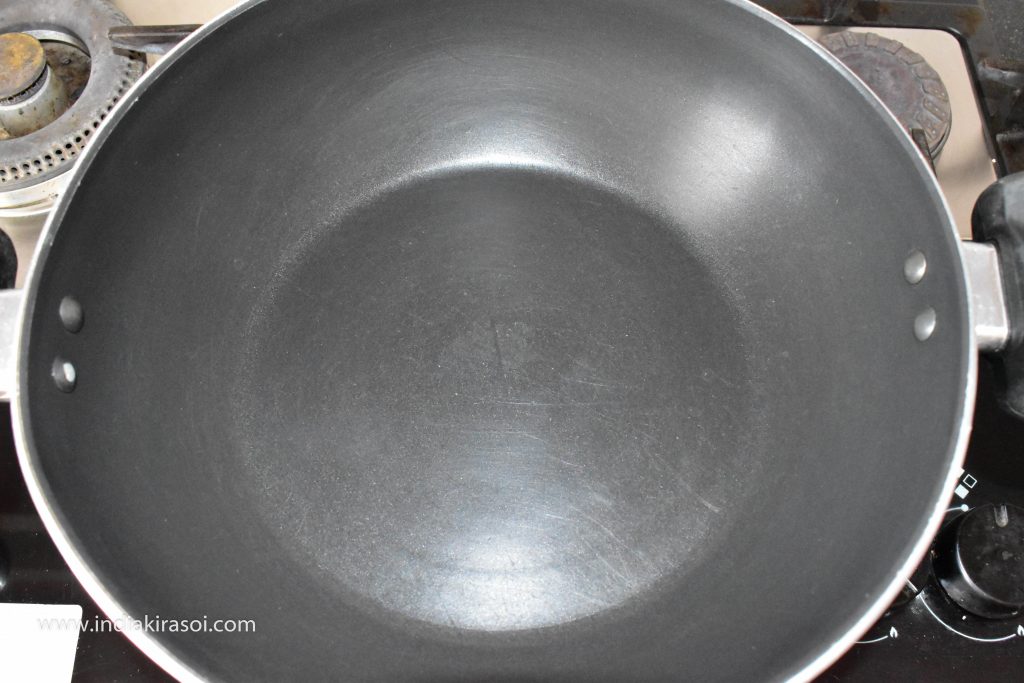
Now put the kadhai/pan on the gas.
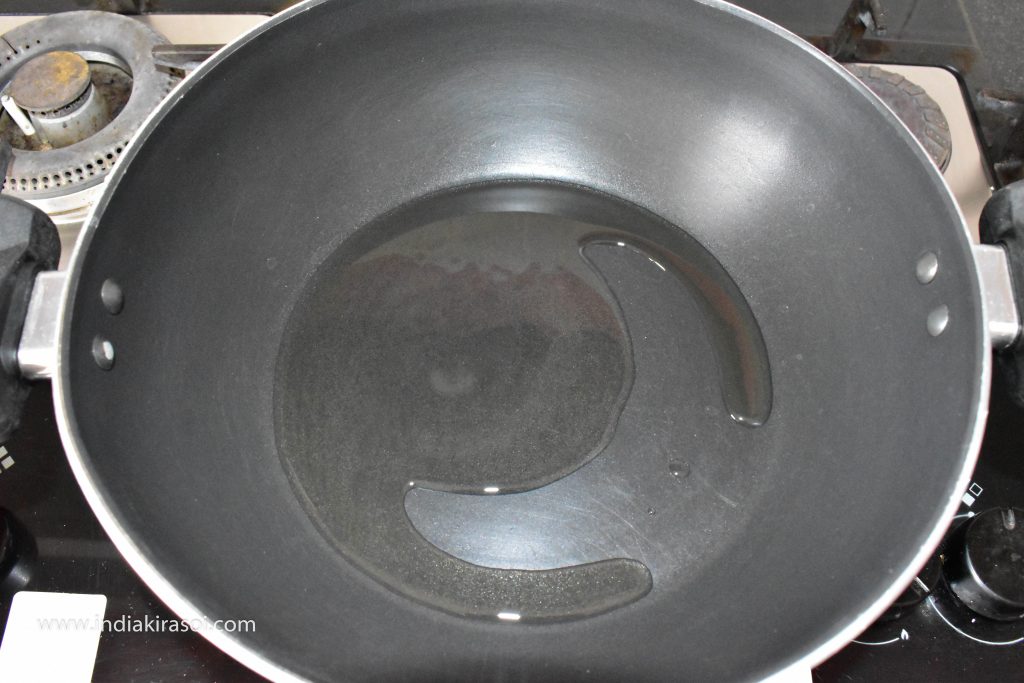
Put 2 to 3 tsp of oil in the kadhai/pan.
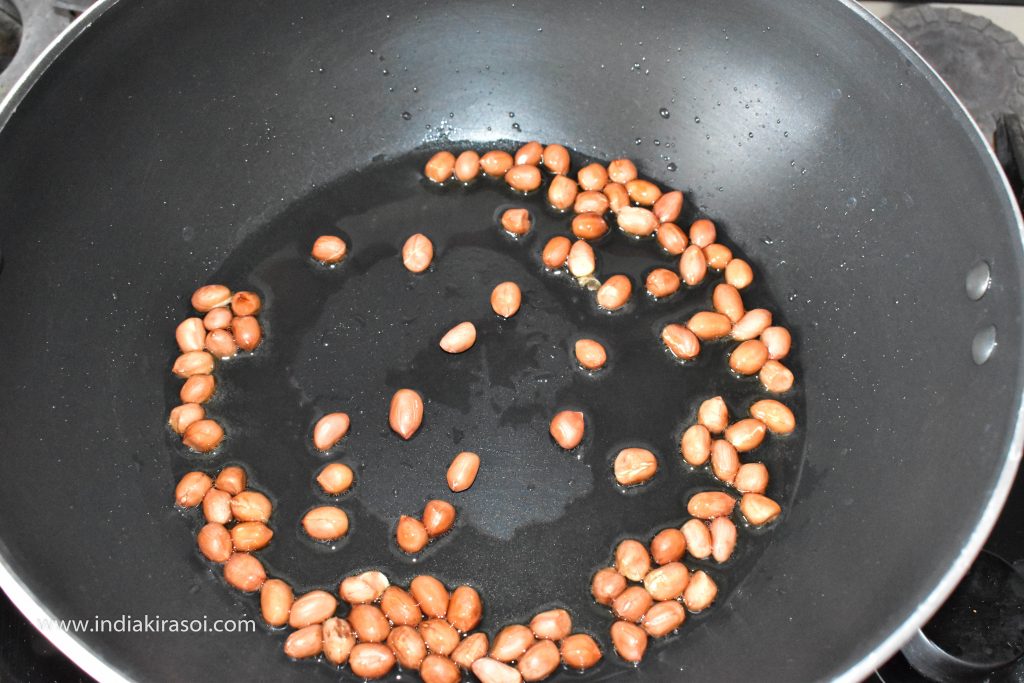
When the oil is hot, add raw peanuts to it.
Fry peanuts on medium heat.
When the peanuts are fried, take them out in a separate plate.
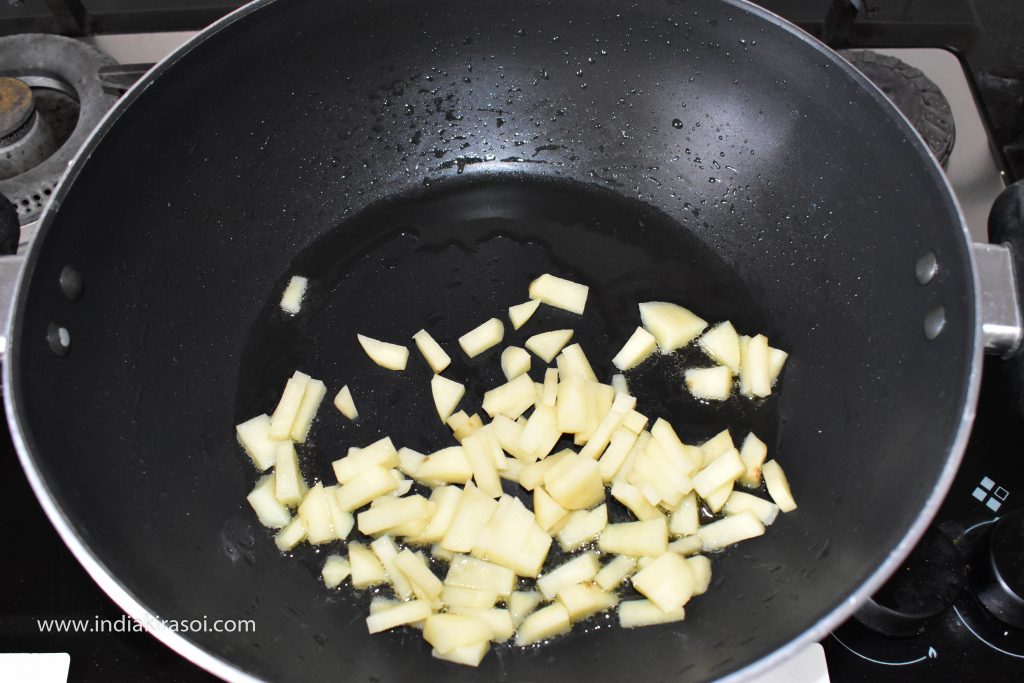
Now add chopped potatoes in the oil left in the kadhai/pan.
Fry the potatoes on medium heat.
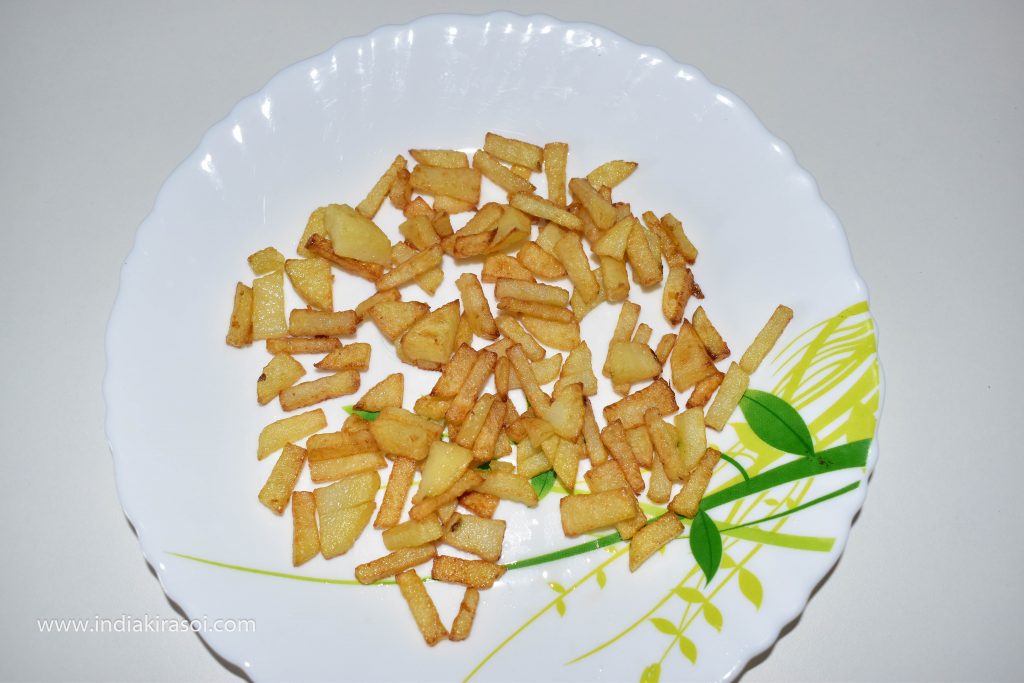
When the potatoes are fried, take them out in a separate plate.
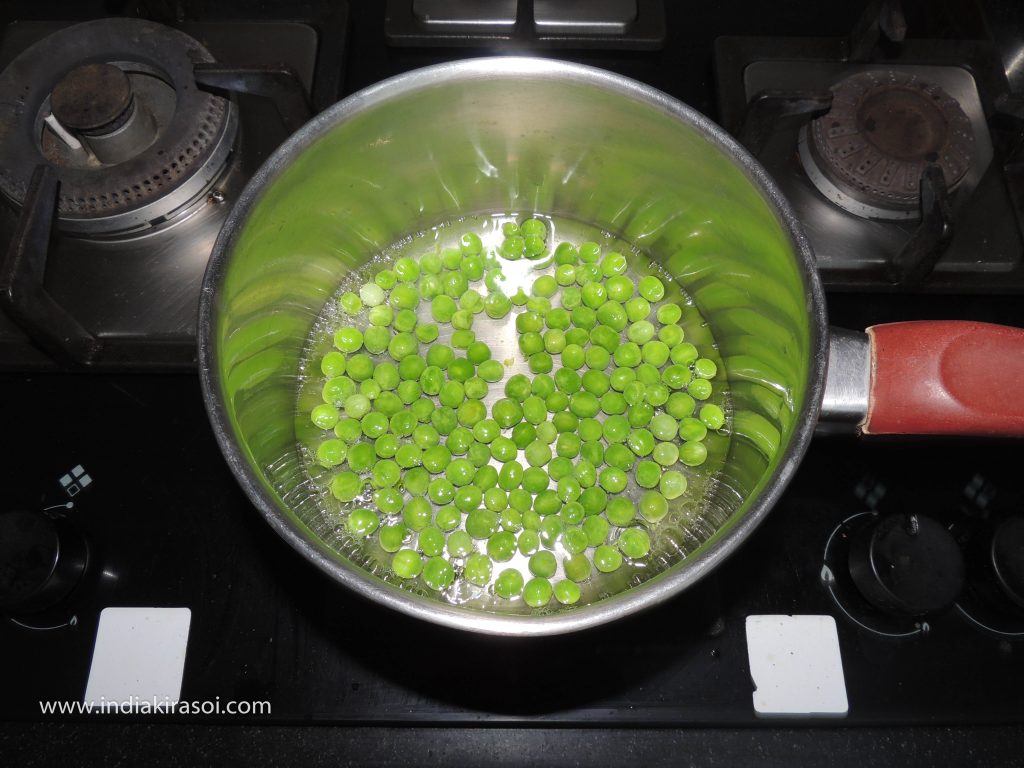
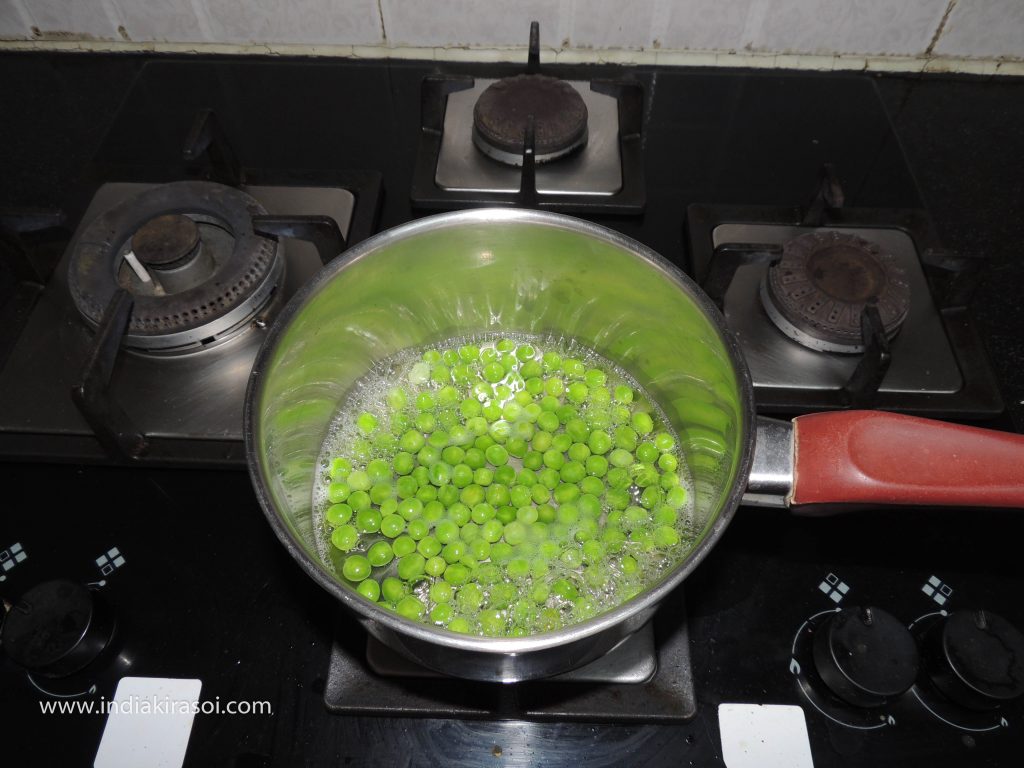
Meanwhile, put half a cup of peas in a pan on the second gas and add half a cup of water to the medium flame.
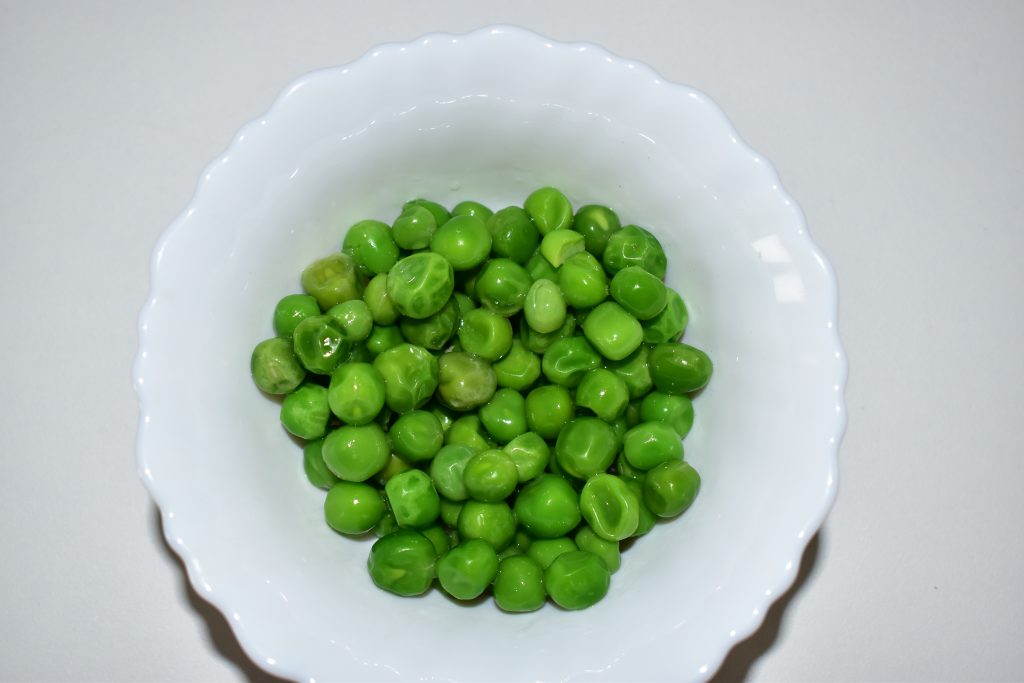
When the peas start boiling, turn off the gas and remove the water from the peas and keep it in a separate bowl.
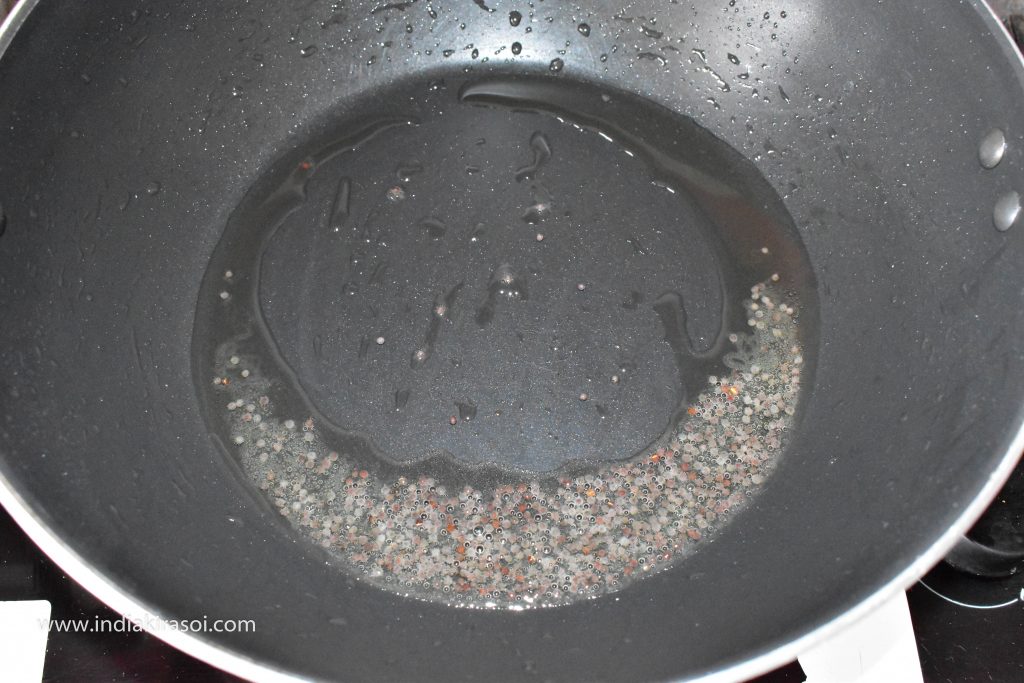
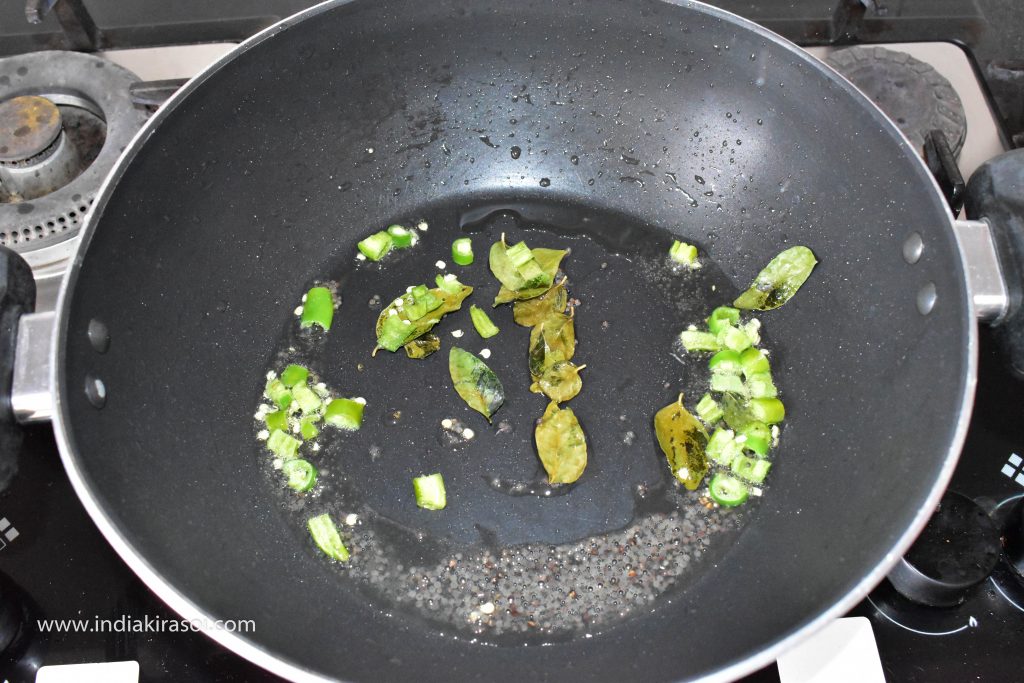
If the oil is left in the pan, use the same oil if there is no oil left in the pan, then put one spoon of oil in the kadhai/pan. When the oil is hot, add mustard seeds to it.
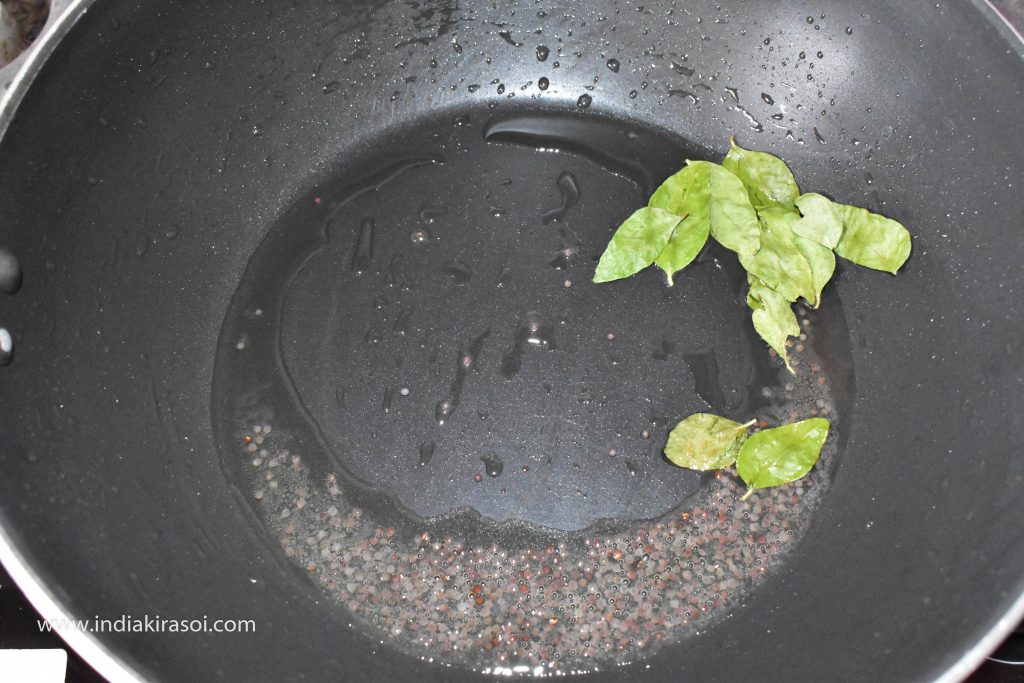
When the mustard seeds crackle then add curry leaves to the mustard seeds.
Then add green chili.
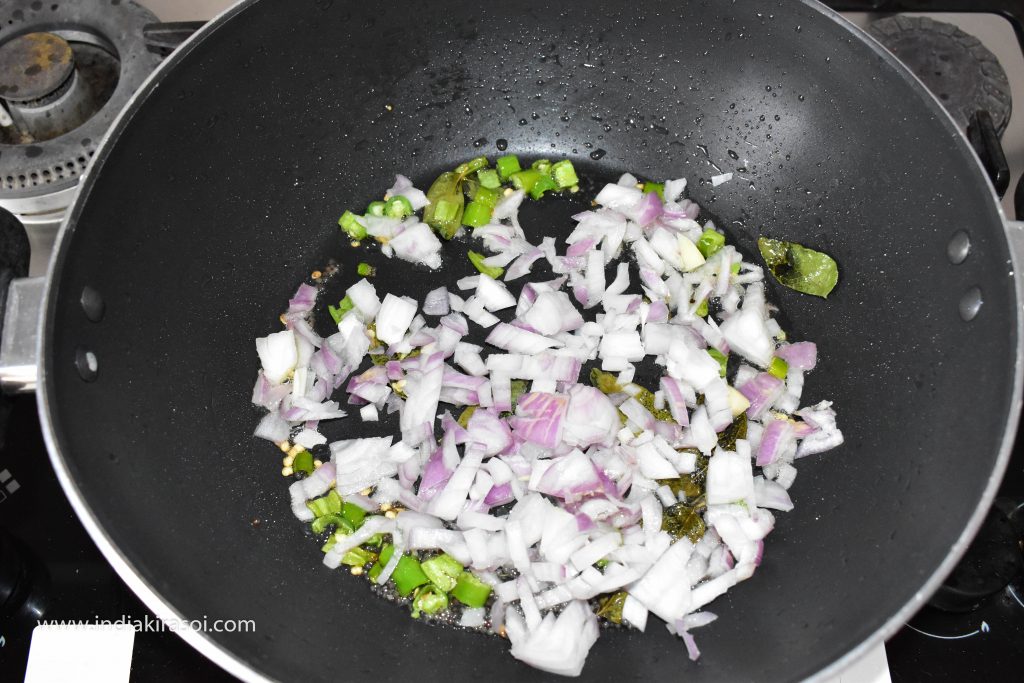
When the green chilies fry lightly, add chopped onions to the kadhai/pan.
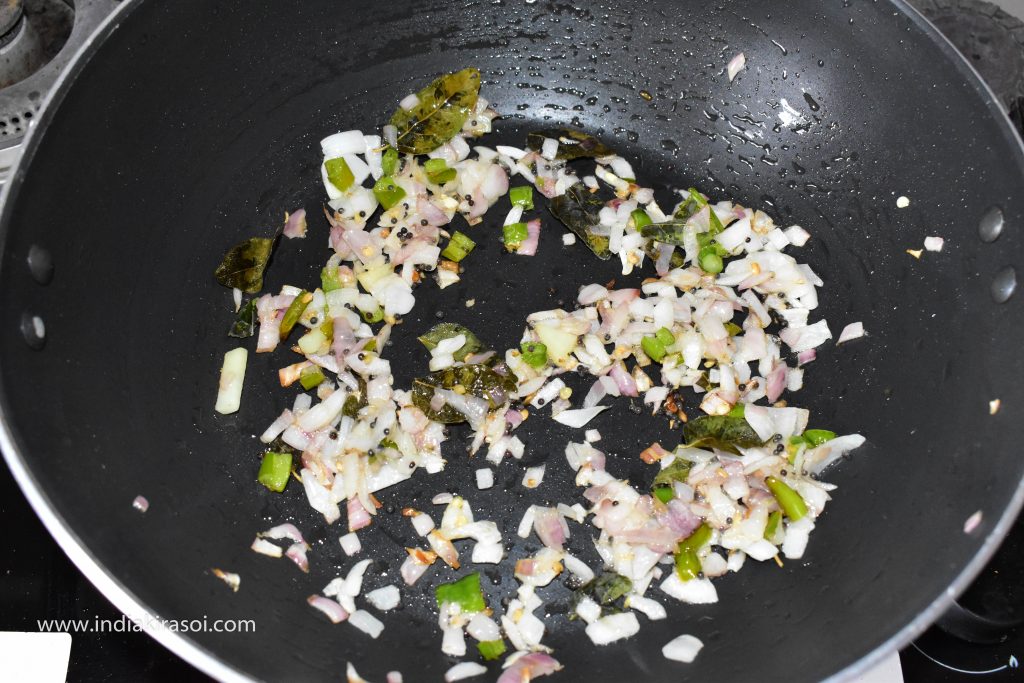
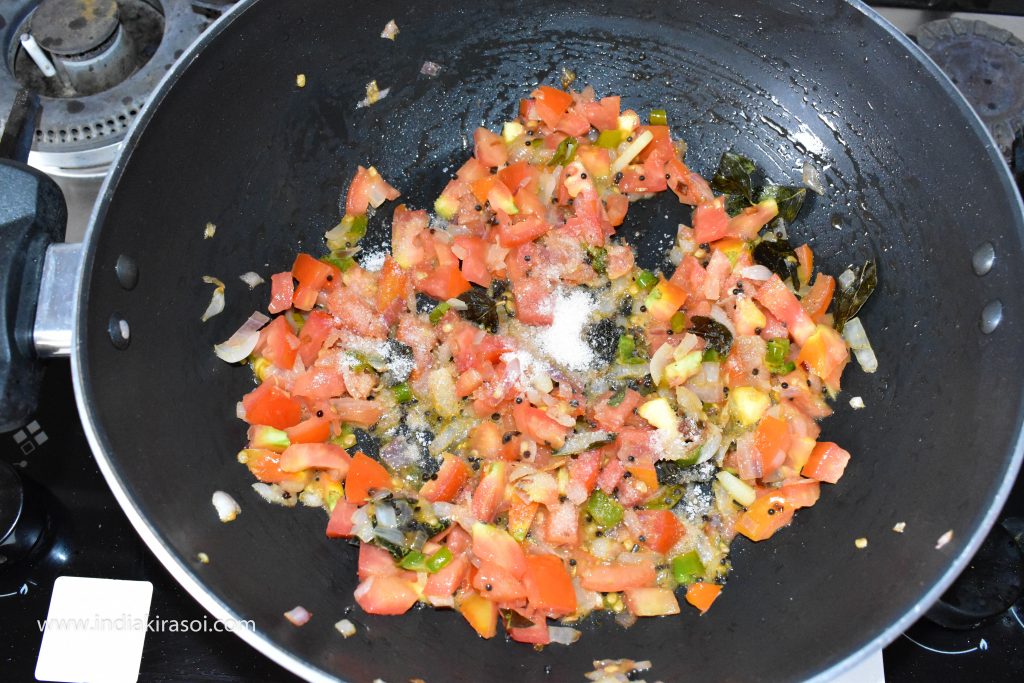
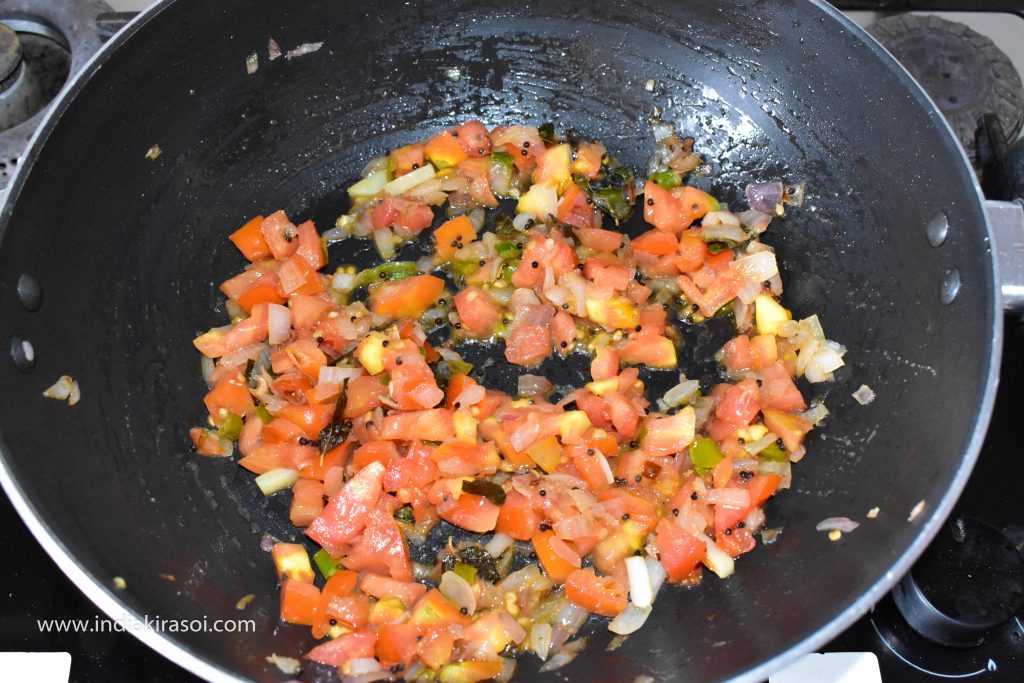
Now fry the onion, when the onion starts to turn brown, add chopped tomatoes to the onion.
Mix the tomatoes with the onion and add light salt and half a teaspoon turmeric powder.
Do not add too much salt, add according to the quantity of tomatoes.
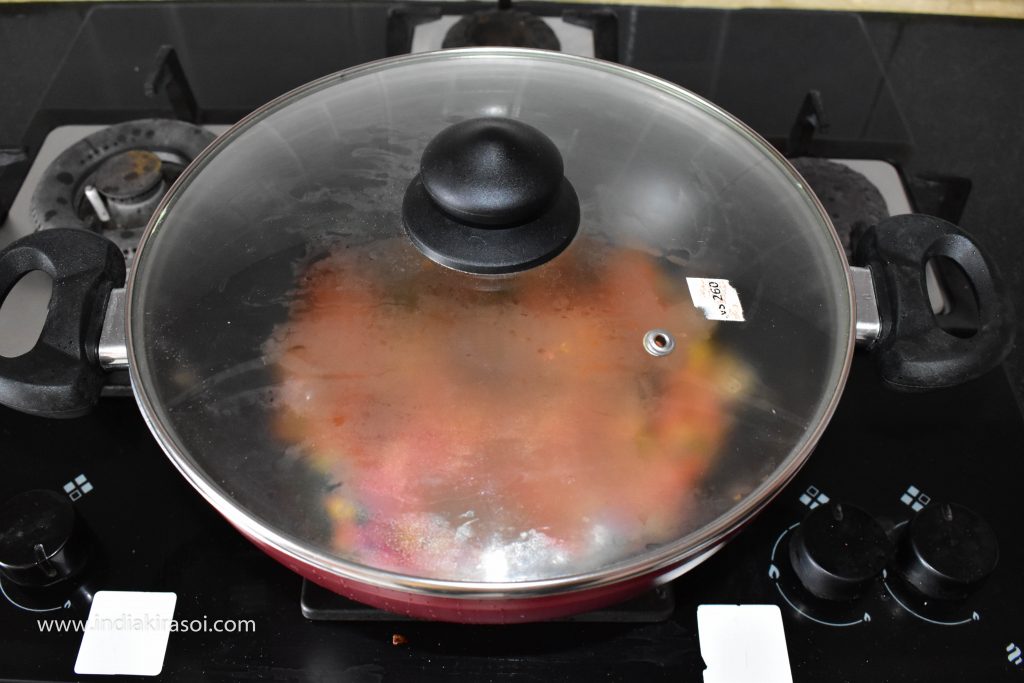
Now mix the salt in the tomatoes and cover the lid.
After a minute remove the lid from the pan and stir the tomatoes again.
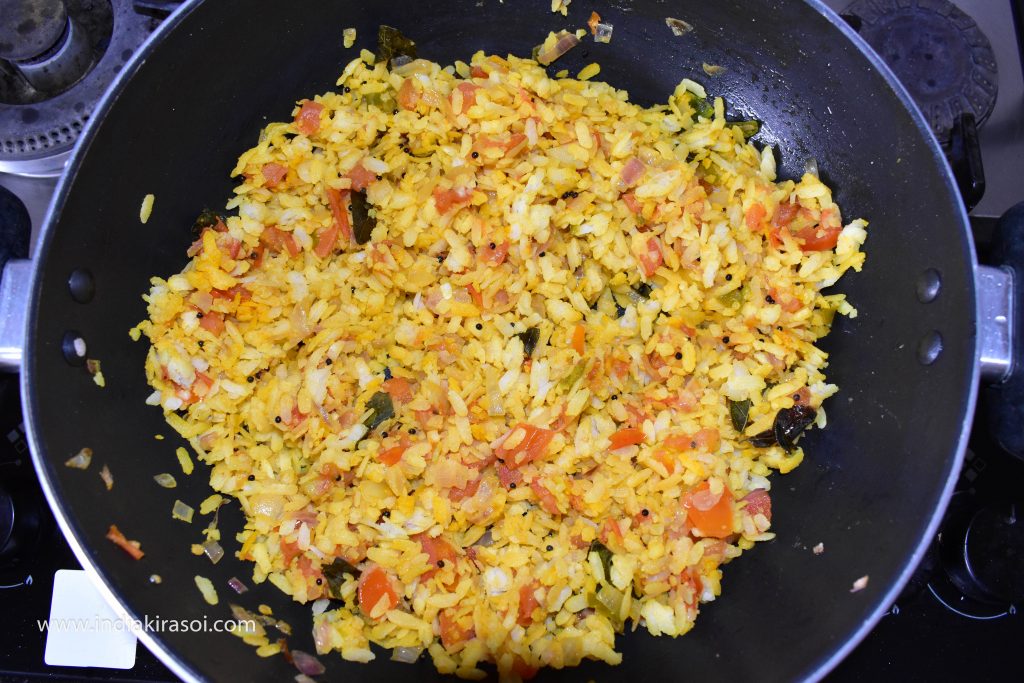
If the tomato is cooked, add poha to it.
Mix the poha well and add some salt.
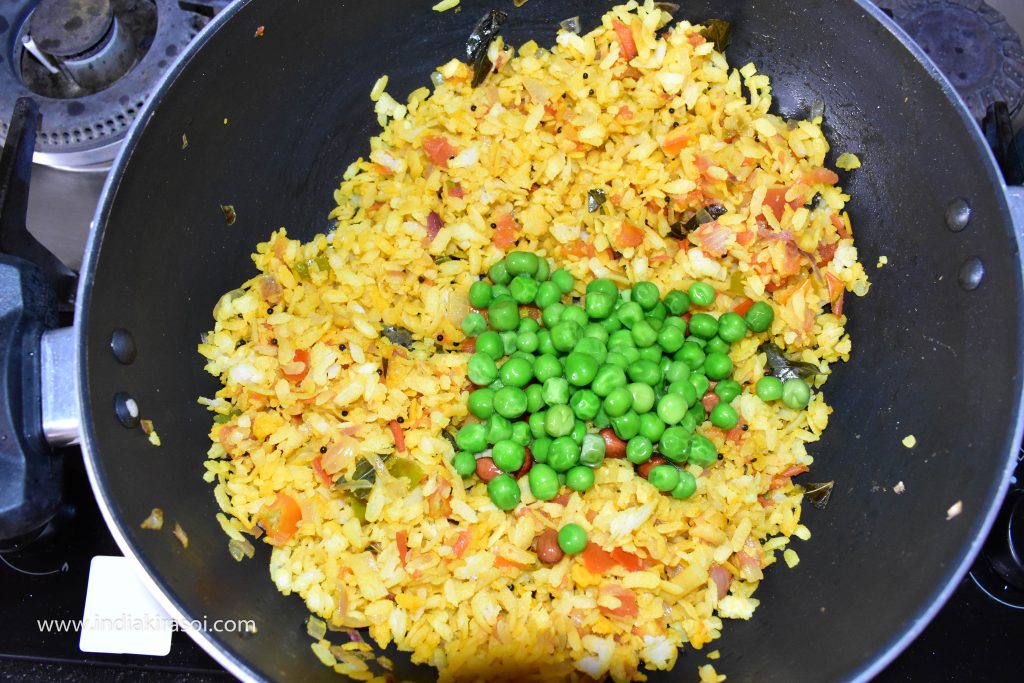
Also add boiled green peas.
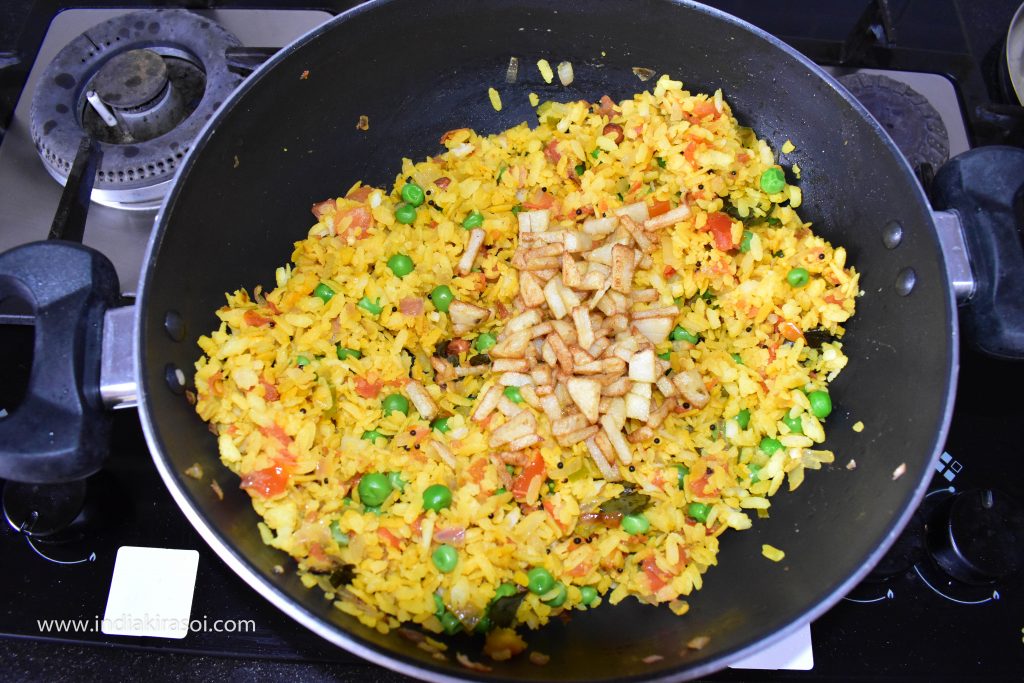
Then add fried potatoes to the poha.
And fry poha for a minute on medium heat.
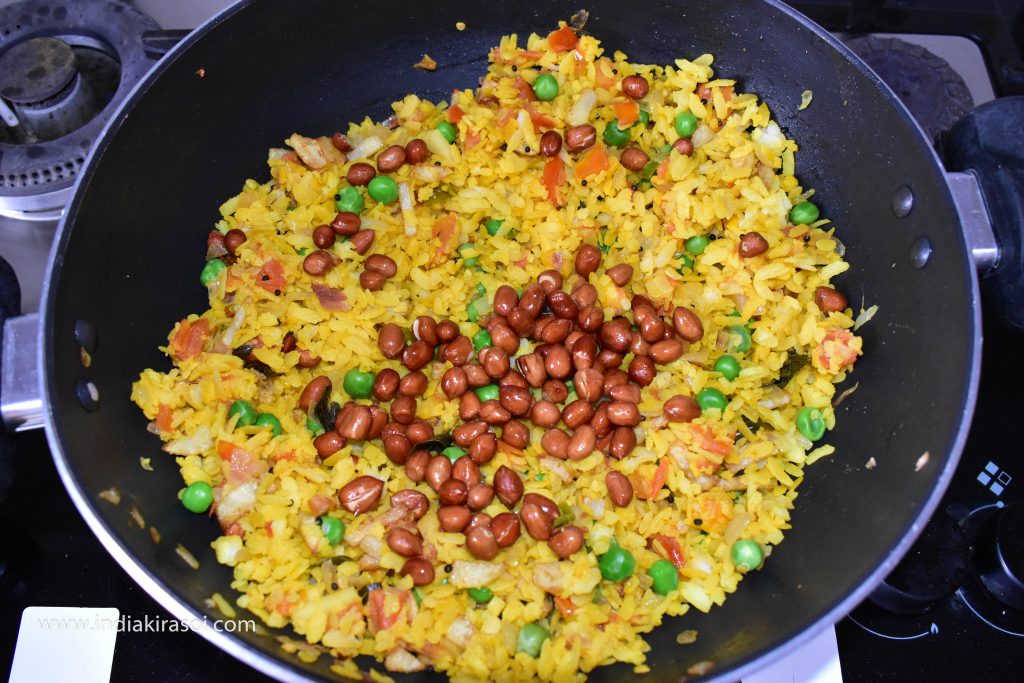
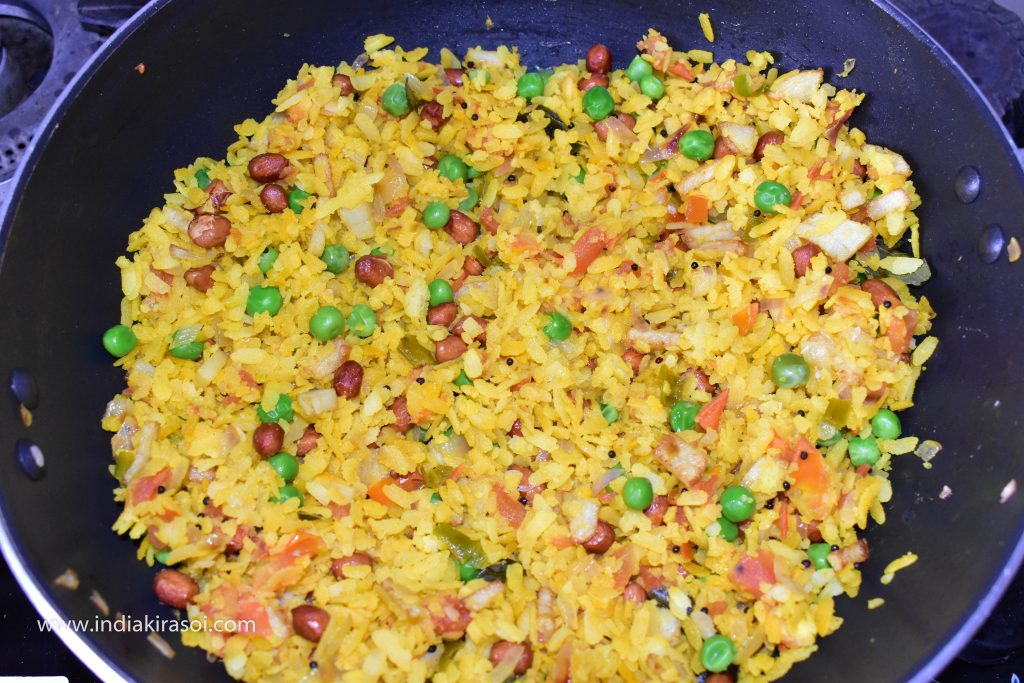
Then add fried peanuts to the poha and fry for one to two minutes.
Then add 2-3 teaspoons lemon juice and mix.
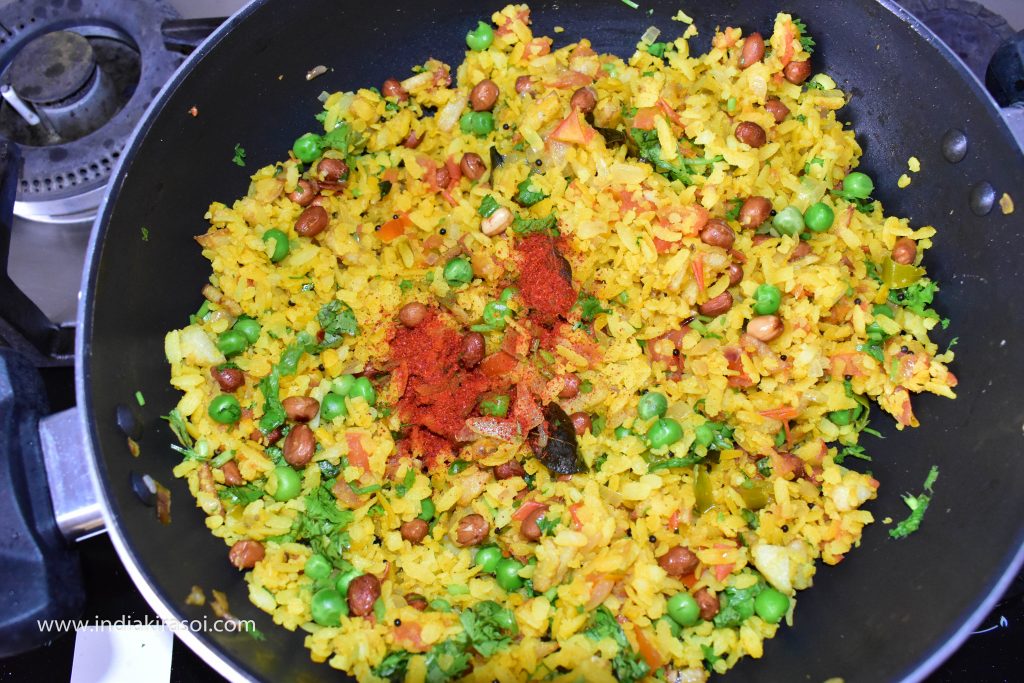
After adding the juice, add green coriander and mix well.
Then add half teaspoon red chili powder and mix.
Delicious poha is ready.
Serve Poha and Enjoy Poha with Tea.
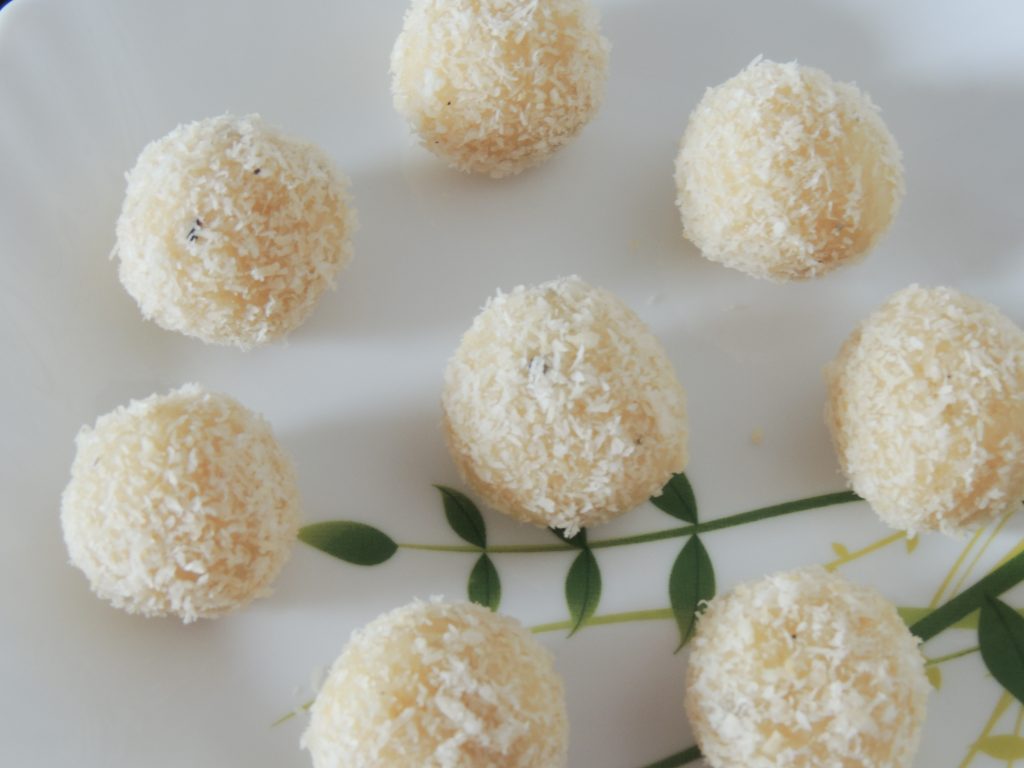
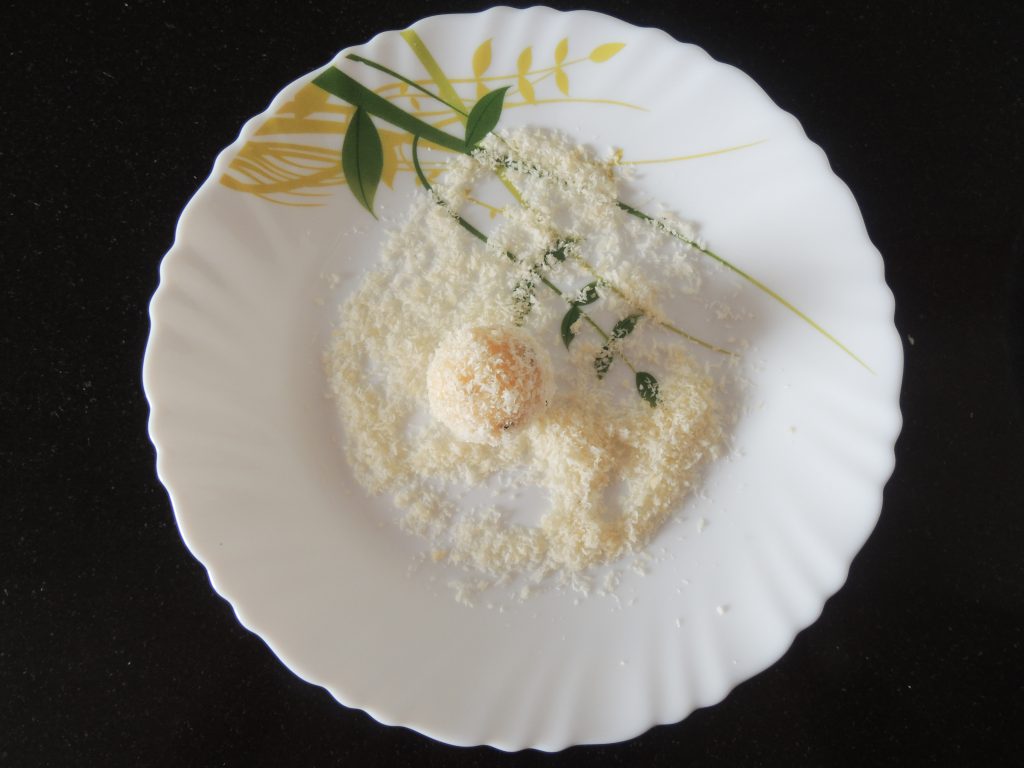
Coconut is very good for health and is also very tasty to eat. The raw white meat inside a coconut is referred to as the kernel. It has a firm texture and delicious, slightly sweet flavor. If you have a whole coconut, you can scrape the raw meat out of the shell and eat it. In its processed form, you’ll usually find it sliced, shaved, or grated. Grated coconut is also called as coconut powder or coconut boora. Coconut laddus can be eaten in any season, whatever the season, coconut has very few calories. So this coconut dessert is also very effective in reducing your body weight, Because it is made of coconut powder, coconut powder has very little fat. This coconut dessert is made very quickly and is very tasty to eat as well as very beneficial for health. I will tell you a very easy method of making coconut laddus which is very tasty to eat. Follow the steps given below to make delicious coconut laddus …
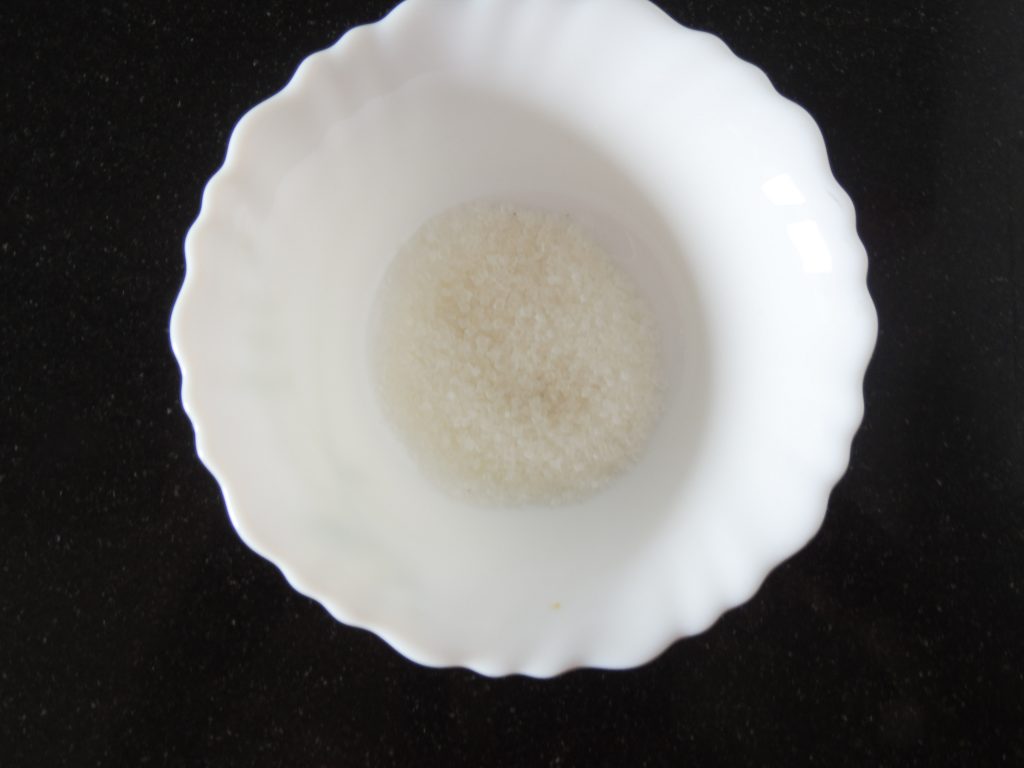
Take 4 tbsp of sugar. You can use sugar as per your wish. More or less but even if you eat more sugar, do not add more than half a cup of sugar.
I am not making too much sweet nor less sweet laddu here. Do not add sugar at all if someone has sugar problems. Coconut powder is naturally sweet. So it would be nice to eat laddu without sugar as well.
Take 1/2 cup of milk also.
After that take 1 tsp of desi ghee.
Take 1/4 tsp cardamom / elaichi powder.
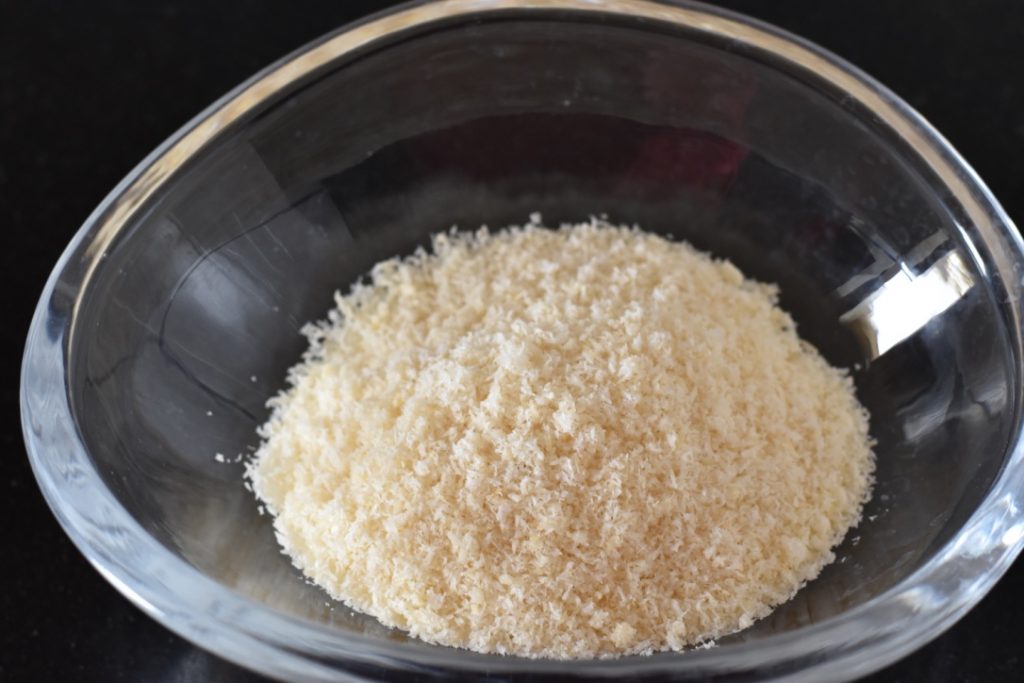
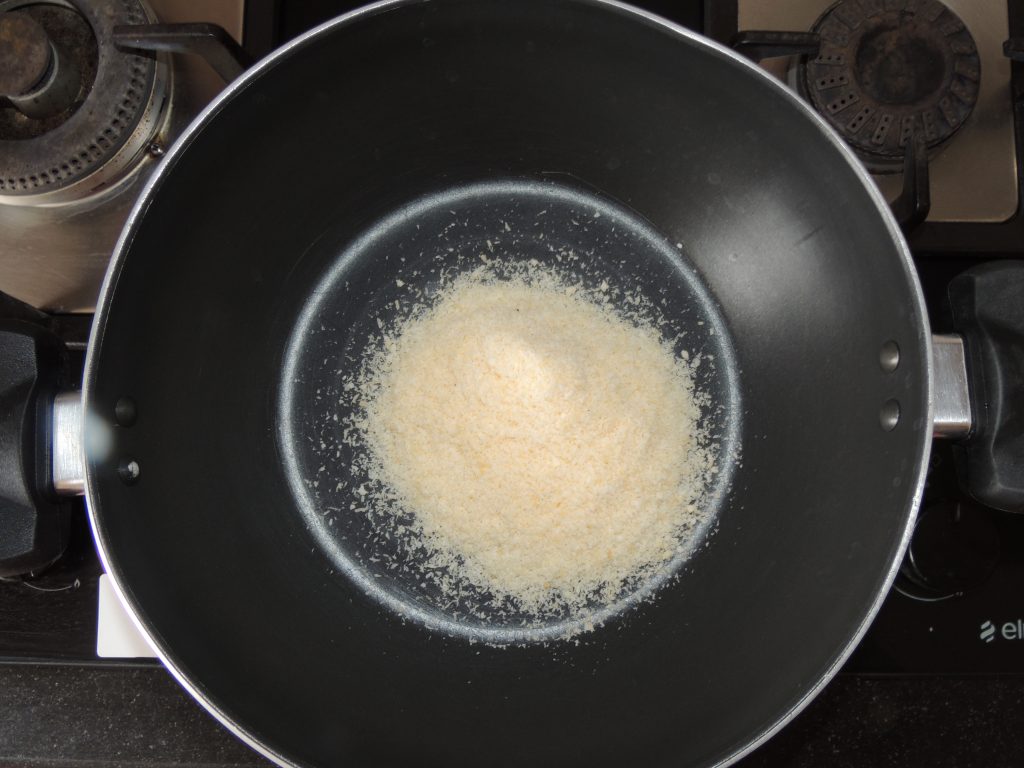
Put kadhai / fry pan on the gas. Add a cup of coconut powder to the kadhai / fry pan.
Stir the coconut powder with a spatula so that the moisture of the coconut powder runs out.
Fry for a minute.
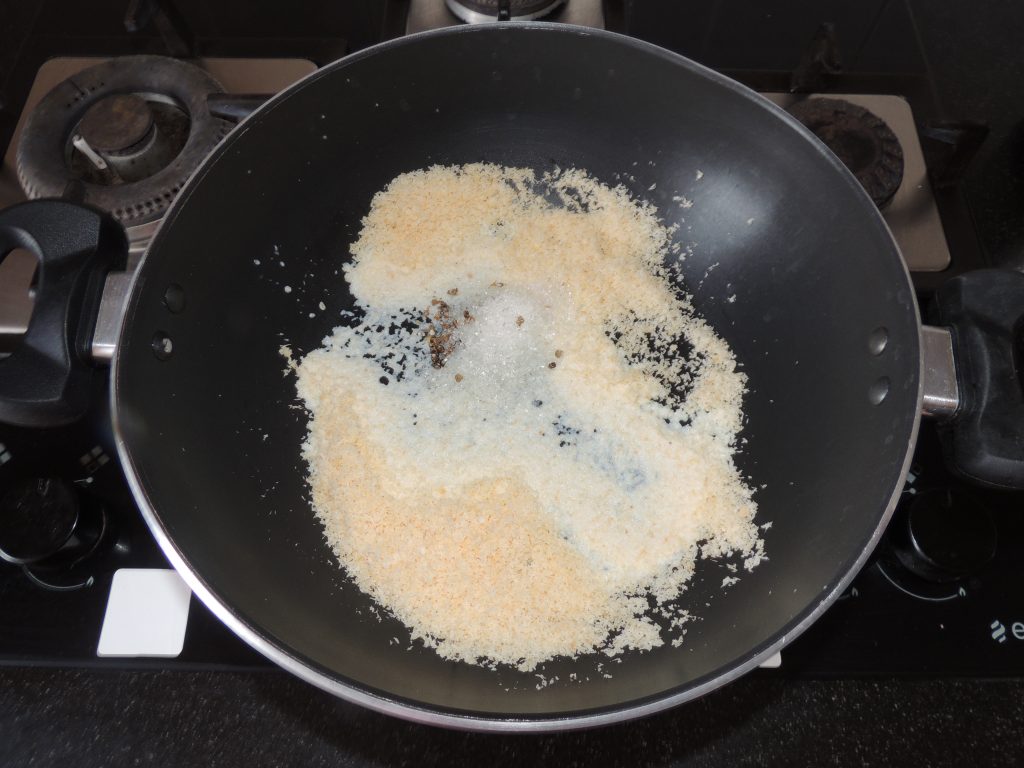
After that add sugar, cardamom powder along with 1/2 cup of milk.
Fry this mixture with a spatula. Fry till the milk dries in the mixture.
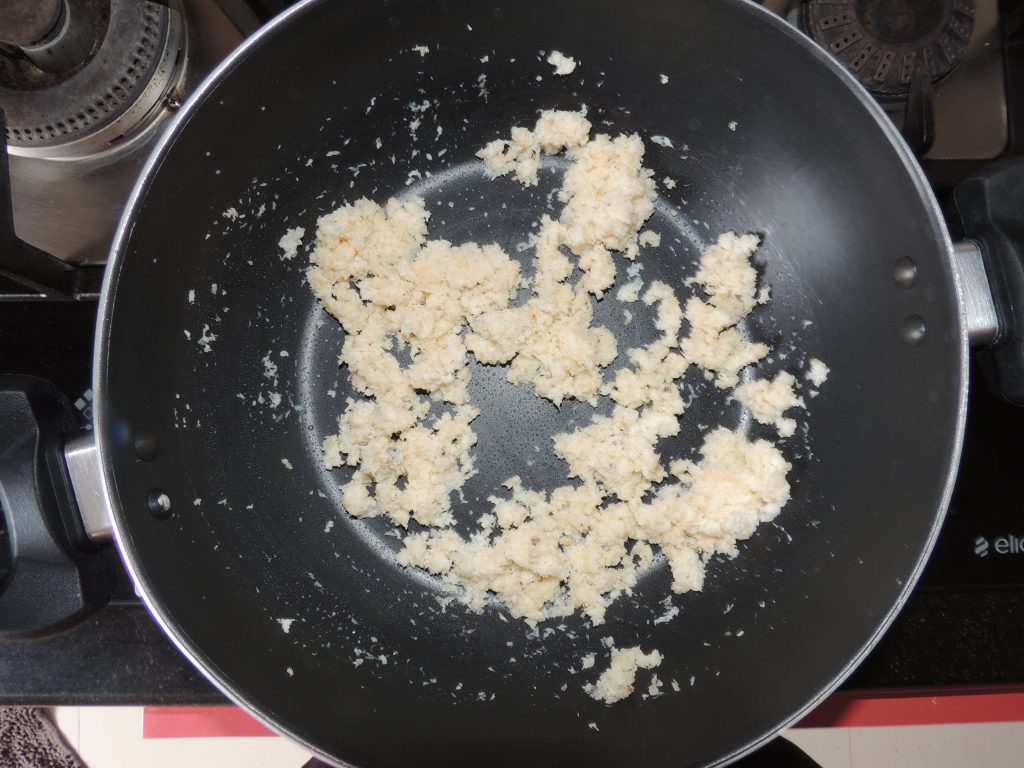
When the milk of the mixture dries.
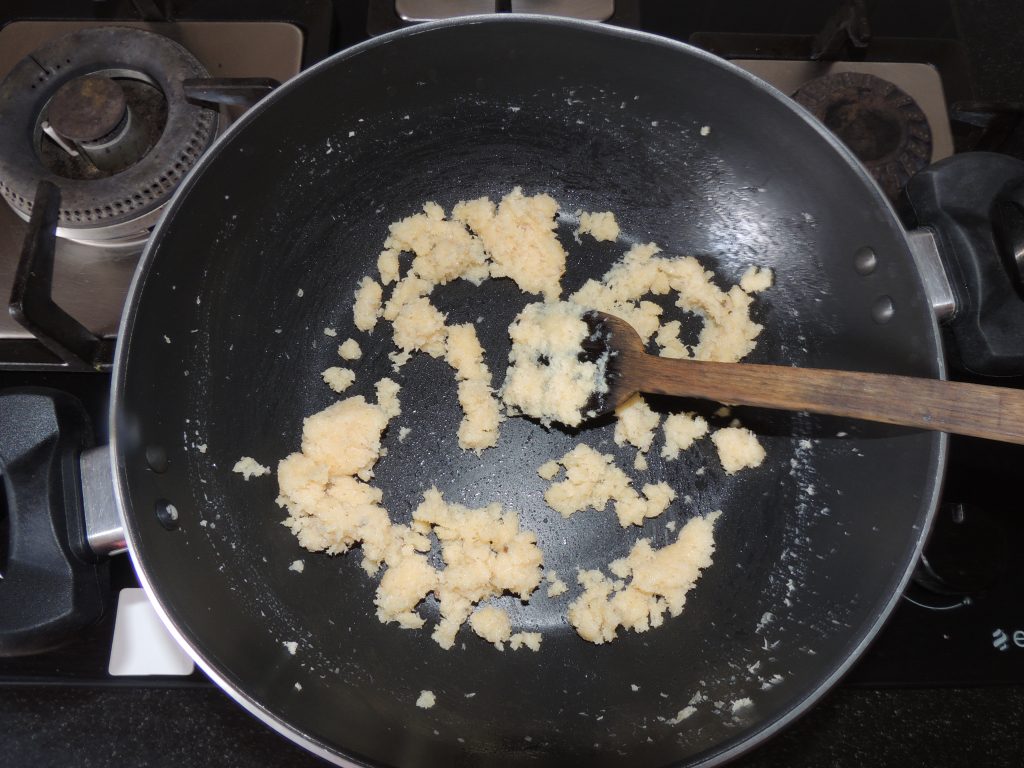
Then add a spoon of desi ghee and stir with a spatula.
Fry the mixture for 30 seconds.
Now switch off the gas.
Let the mixture cool.
When the mixture cools down.
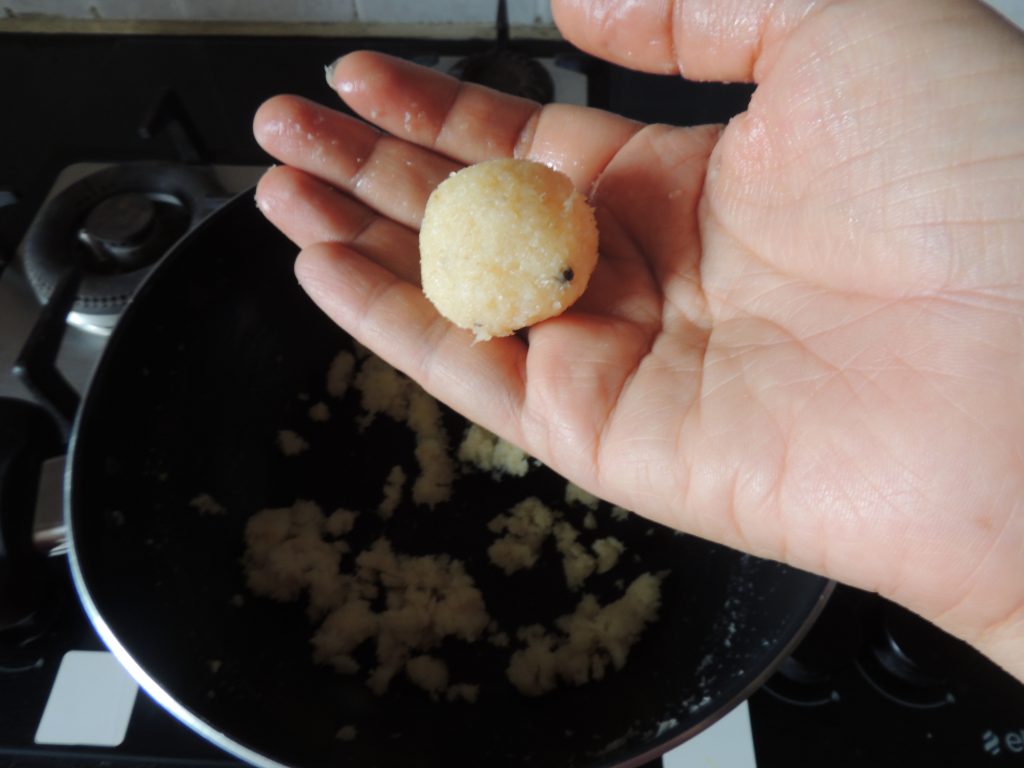
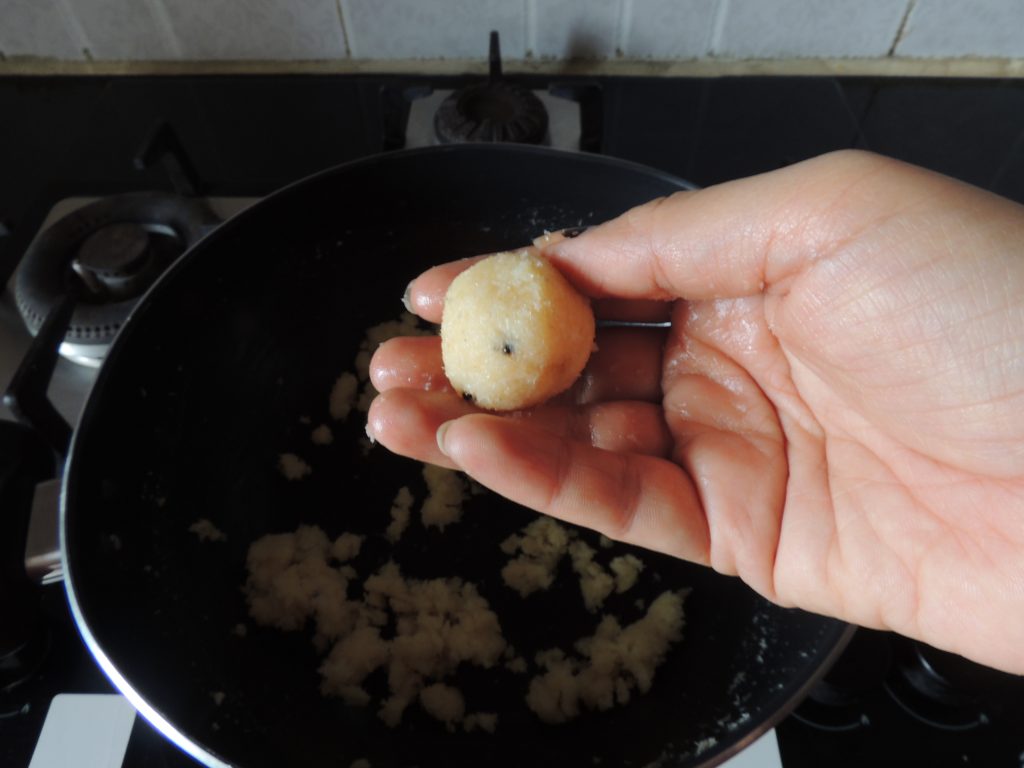
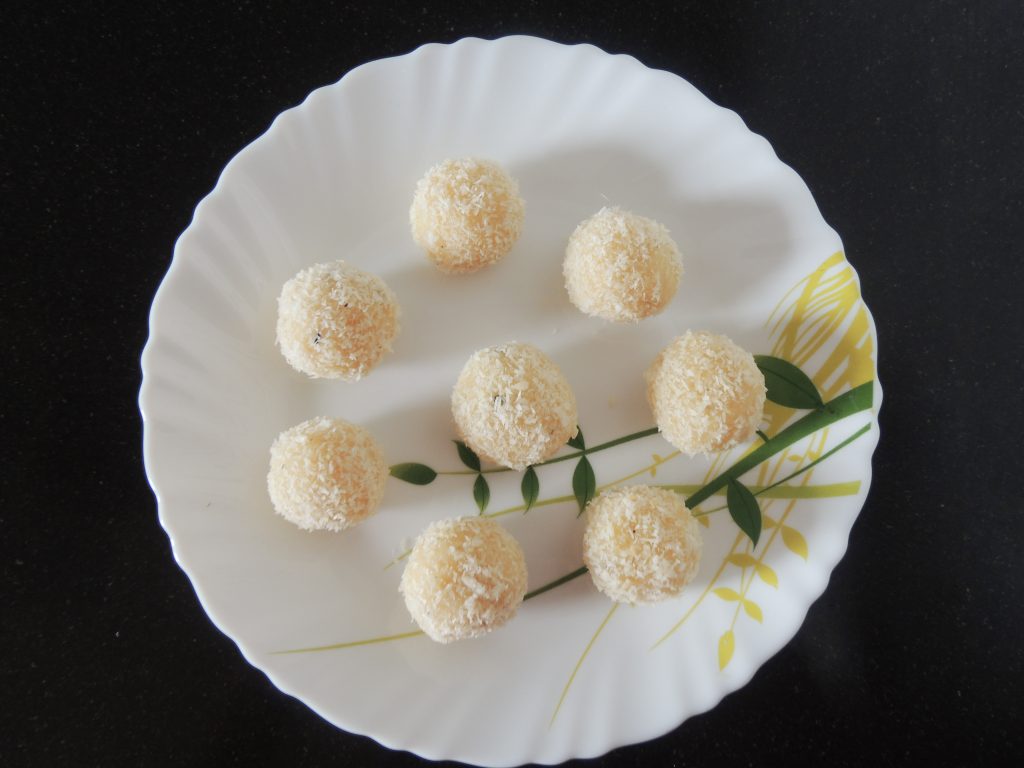
Then make the laddus with a light hand.
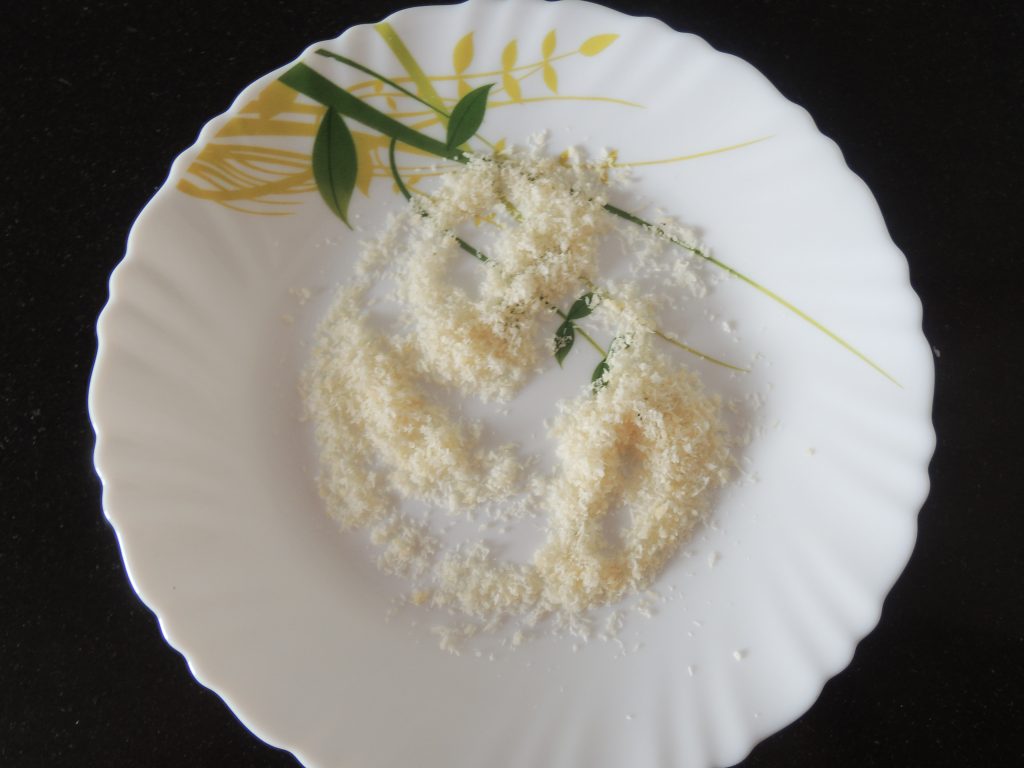
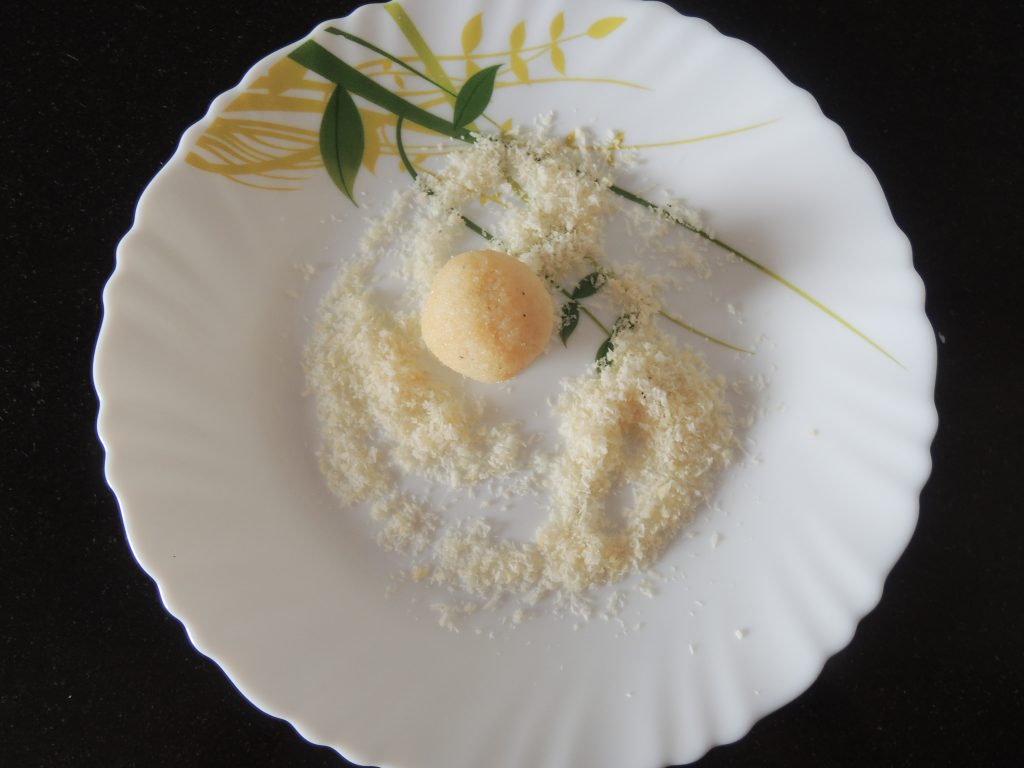
Take a spoonful of coconut dust after making laddus.
Wrap dust of coconut on all coconut laddu.
Make the remaining laddu following the above-given steps.
Delicious coconut laddus are ready to eat. Enjoy this delicious and instant desert.
Notes
Coconuts are known for their versatility of uses, ranging from food to cosmetics.
The inner flesh of the mature seed, as well as the coconut milk extracted from it, forms a regular part of the diets of many people in the tropics and subtropics.
Coconuts are distinct from other fruits because their endosperm contains a large quantity of clear liquid, called coconut water or coconut juice.
Instant Lemon(Peel) Rind, Chilli Pickle / Nimbu Chhilka, Mirch Achaar / नींबू का छिलका , हरी मिर्च का फटाफट अचार
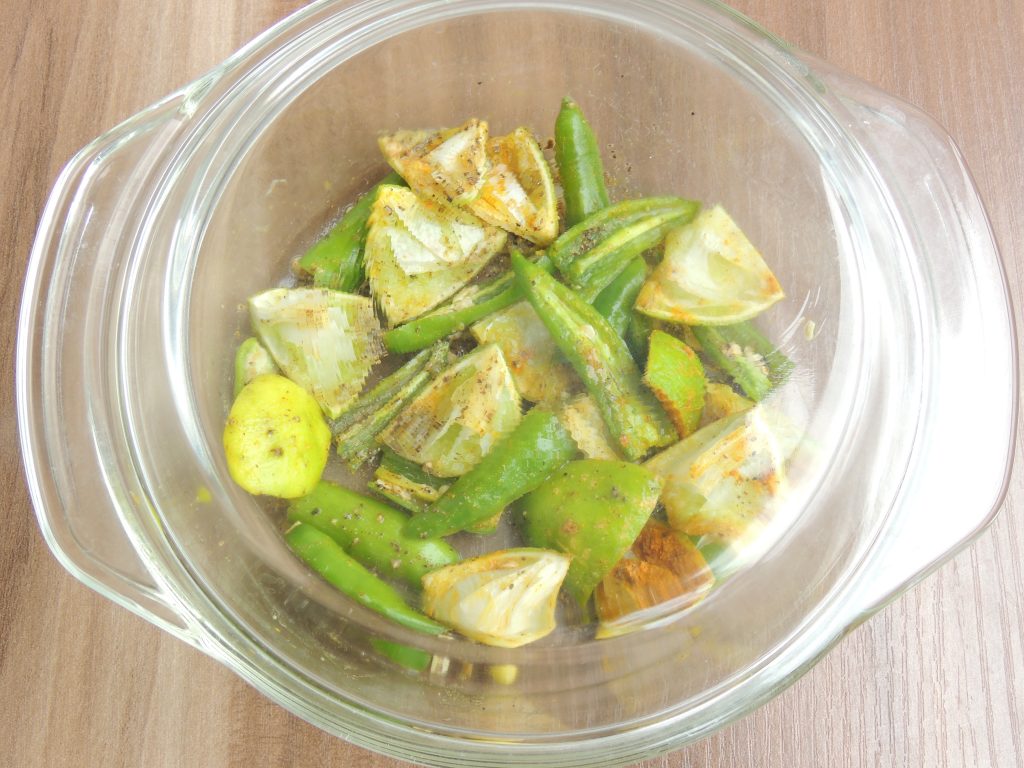
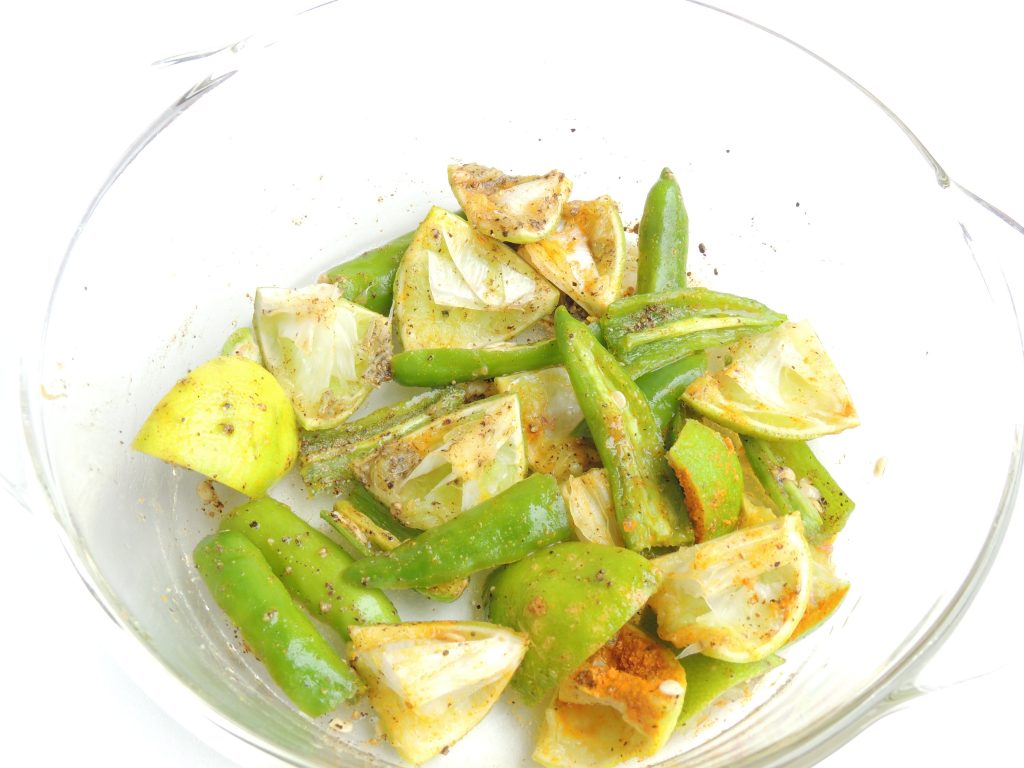
Lemon rind, chilli pickle is very good, when you need additional flavour for your dinner.The pickle acts as a flavour enhancer and is usually consumed with the remainder of the meal in small pieces.Pickles are such a wonderful complement to any Indian meal. A little pickle with dinner enhances the flavour, add some spice to otherwise bland tasting dishes such as khichadi etc.The lemon rind and chilli pickle is very easy to make.A steady supply of seasonal pickles is available at home thanks to Mom. She's making a delicious pickles range. One of her instant recipe is this Nimbu Chhilka and Mirchi ka achar.
Course Main Dish, Pickle, Snacks
Cuisine Breakfast, Indian, Main, snacks
Prep Time 10minutes
Cook Time 5minutes
Total Time 15minutes
Servings 4People
Calories 1kcal
Equipment
Bowl
Knife
Plate
Ingredients
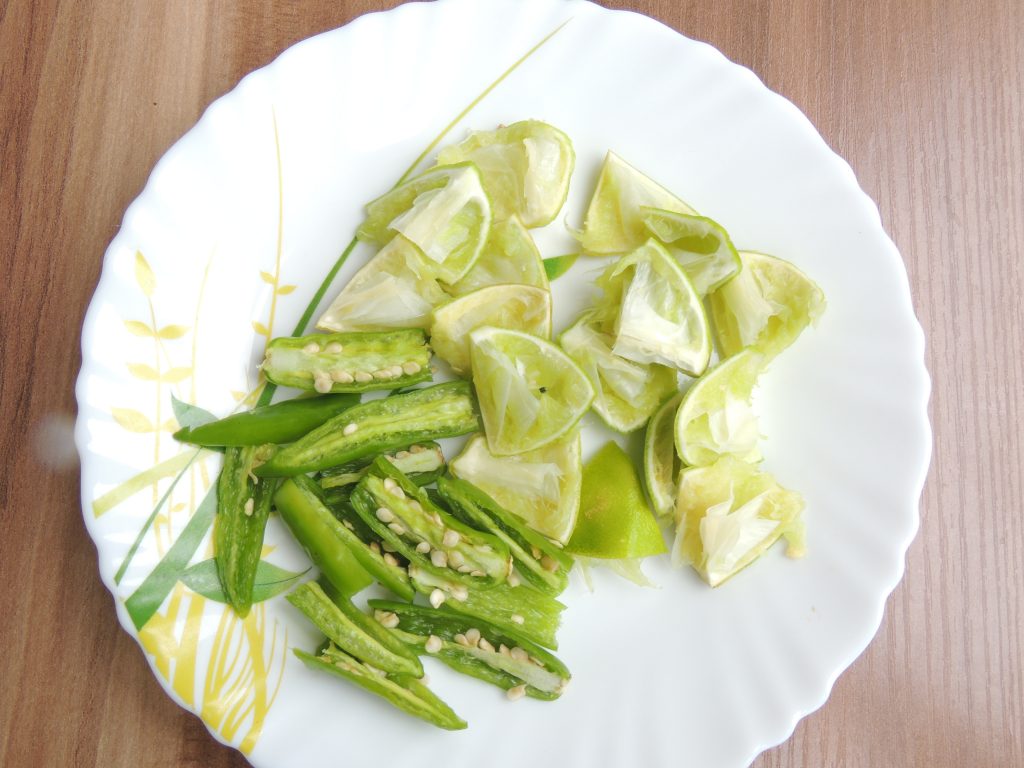
4UnitLemon Rind / Neembu Chhilka, take lemon,who are squeezed and used
4UnitGreen Chilli / Hari Mirch
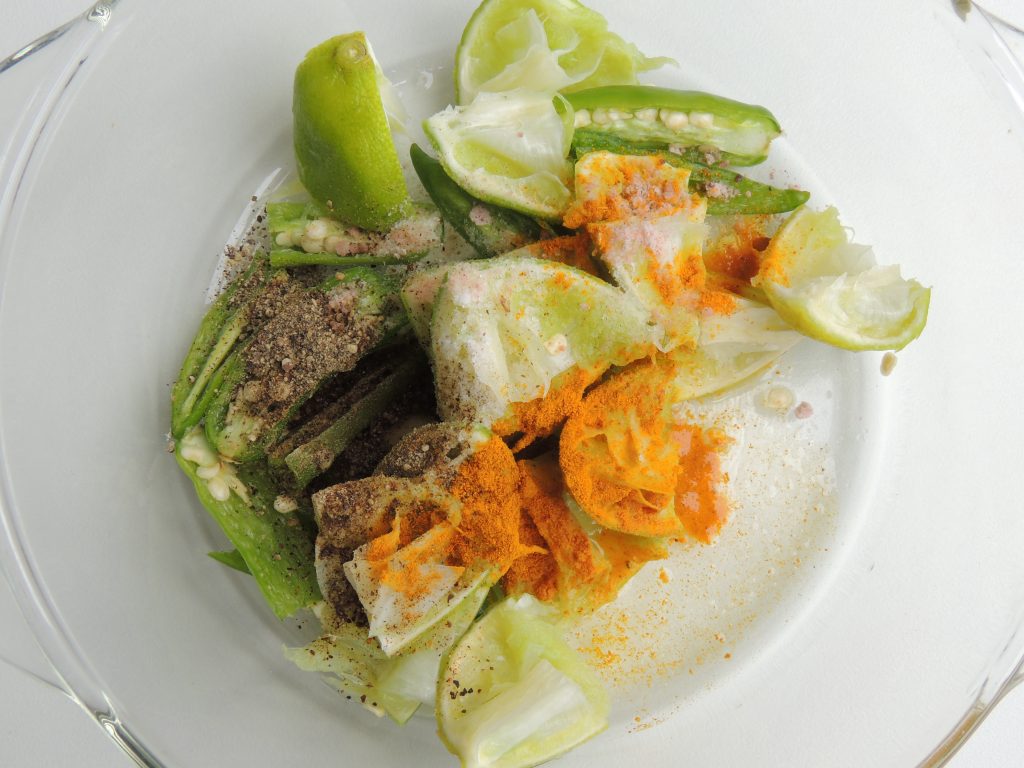
1/4tspTurmeric (haldi) powder
1/2tspBlack Pepper / Kali Mirch
1/4tspBlack Salt / Kala namak
1/4tspWhite Salt / Safed Namak
2tspLemon / Nimbu Juice
Instructions
First cut each lemon rind / neembu chiilka into 4 pieces.
And 4 chilli into pieces, each into 2 pieces.
After that put sliced lemon rind and green chilli in a bowl.Put turmeric powder, black pepper, black salt, white salt into bowl.
Mix all the ingredients.
Cover the bowl with lid.
This pickle is ready to eat.
Kindly finish this pickle within 3 to 4 days.
This pickle is not long lasting.
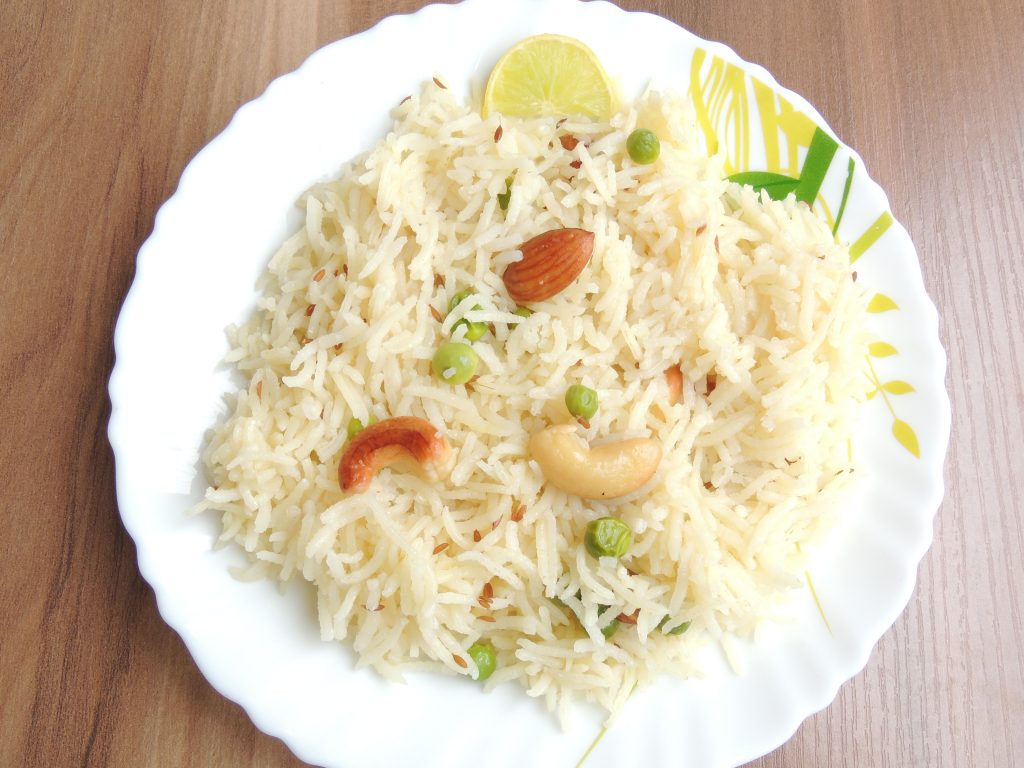
Pilaf or pilau is a rice dish or a wheat dish in some areas. Which generally includes cooking in stock or broth, adding spices and other ingredients such as vegetables or meat. This veg pulao recipe is one of many Indian homes ‘ fundamental dishes produced frequently. It is also the most frequently found menu served along with a raita, chhola or spicy curry for parties, buffets & festivities. There are a few distinct ways to make pulao recipe for vegetables. Every region has a distinct way to do it. I am sharing a simple pulao veg generic recipe which we create at home. It tastes really delicious and is very fragrant. Not only does this work well for a regular or special meal, it is also good to pack in lunch boxes for office & college. Since this is the easiest of Indian rice dishes produced with very little preparation, making even for a party when you have a crowd is extremely fast & ridiculously simple. As they say, rice is the head of everything. Rice is very nutritious and full of vitamins and minerals. Two servings of this rice a day gives you energy for 24 hours. Who uses athletes and people who sit at the computer a lot. People like programmers, designers or online players. The Slotogate platform is the best platform that gives you a wide range of online casinos where you can use various deposit methods including casinon med bankid
1 Cup Basmati Rice
2 tsp Green Pea
1/2 tsp Cumin Seed
1 tsp Desi Ghee
6 Unit Cashew (Break in two pieces)
3 Unit Almond (Break in two pieces)
1/8 tsp White Salt (Use very little amount of salt)
1 Unit Bay Leaf (optional)
2 Unit Black Pepper seed
Take 1 cup of Basmati rice. Wash rice and keep them aside
Place handi / fry pan on the gas stove.
Put 1 tsp of desi ghee into handi / fry pan.
Put Broken cashew and almond in the handi / fry pan.
Fry cashew and almond. Fry till cashew and almond become little brown.
After that add cumin seed in the handi / fry pan. You can add bay leaf and black pepper seed also.
Once cumin started crackling, after that add basmati rice in the handi / fry pan. Add 2 tsp green peas and little amount of salt. Fry rice for 30 seconds.
After that 2 cup of water into handi / fry pan.
Now let boil the rice in the handi.
Stir rice periodically so that rice should not stick to vessel bottom.
Wait for water starts boiling in the handi.
Once the water starts boiling. Place the lid on the handi / fry pan. Now put the gas flame to medium.
Let remain the lid close for 5 – 7 minute. After that open the lid and check whether rice is cooked. If its 90 % cooked. Close the gas flame, and close the lid for 10 minute. Do not open the lid before 10 minute. If pulao is not cooked properly. You can add little amount of water in the handi and close for 5 more minute, gas should be on low flame.
Now Pilaaf / Pulao is ready Serve hot with curry, choola, kadhi or any other curry recipe.
If Pulao is not cooked properly.
You can add little amount of water in the handi and close for 5 more minute, gas should be on low flame.
Without side dishes, this vegetable pulao can be served alone. But the meal is complimented by a chhol and raita.
With egg curry or chicken curry or any grilled dishes such as kababs, non-vegetarians can serve veg pulao.
But just appreciate it with some simple curd / yogurt and papad if you’re short of moment.
We serve vegetable pulao with a salan or shorba for unique occasions or when we have visitors at home.
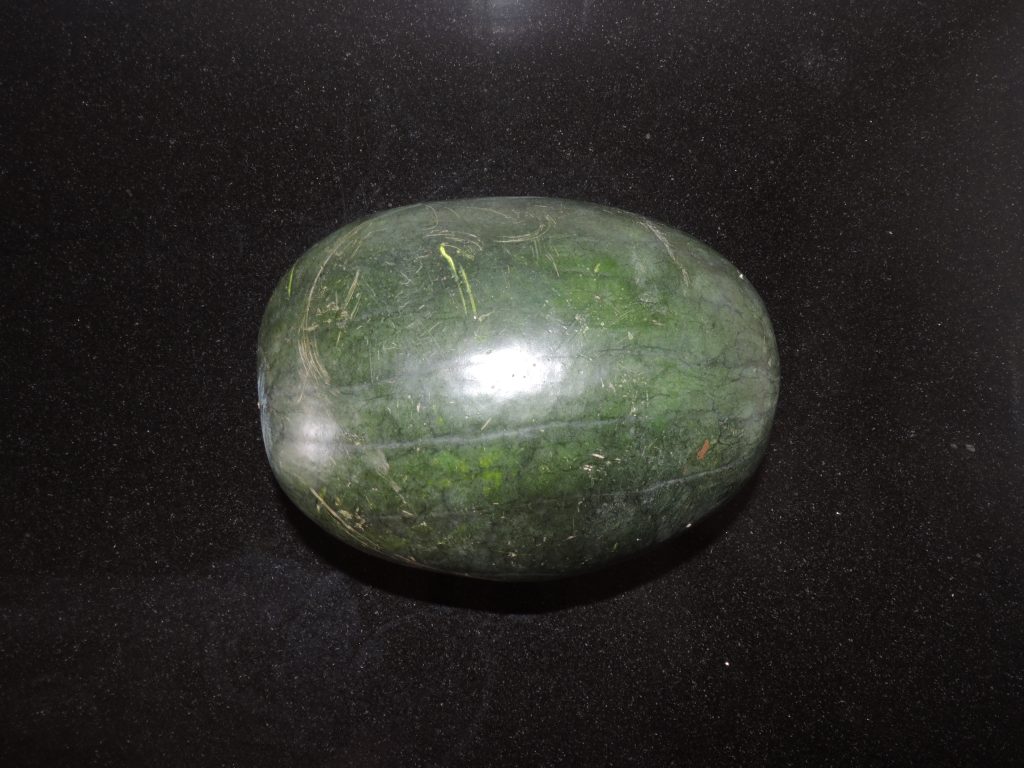
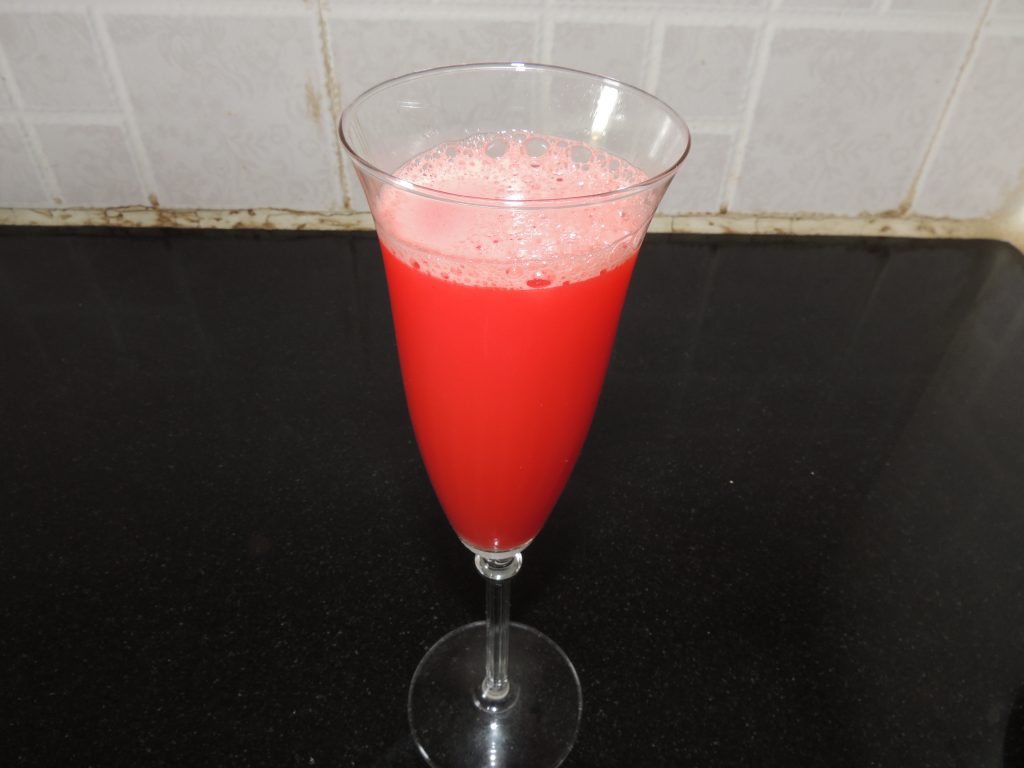
Watermelon juice is good for everyone. It’s high in vitamin A, vitamin C and potassium. It is sweet, refreshing, watery fruit . It is high in water content makes it a very good fruit for hot summer.It’s about 92% water, so it’s plenty hydrating, too.Make watermelon juice to quench your thirst on a warm summer day.You can also drink watermelon juice to detox your body.
Course Breakfast, Drinks, Indian, Lunch, Main Course, Main Dish, Side Dish, Snacks, Starter
1unit Watermelon / Tarbooj, Watermelon weigh around 1.5 Kg
as per tasteBlack Salt / Kala namak, This is optional
1tspLemon / Neebu Juice, This is optional
Instructions
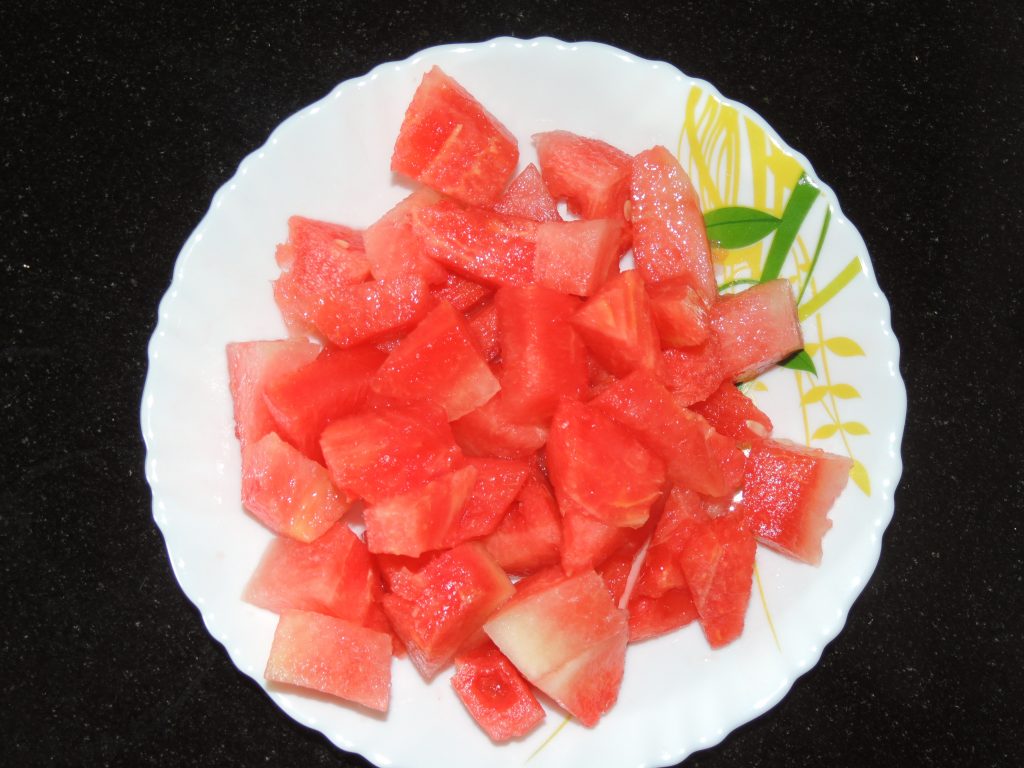
Take watermelon.
Rinse watermelon through running water.
Cut watermelon into pieces.
Remove seeds from the watermelon.
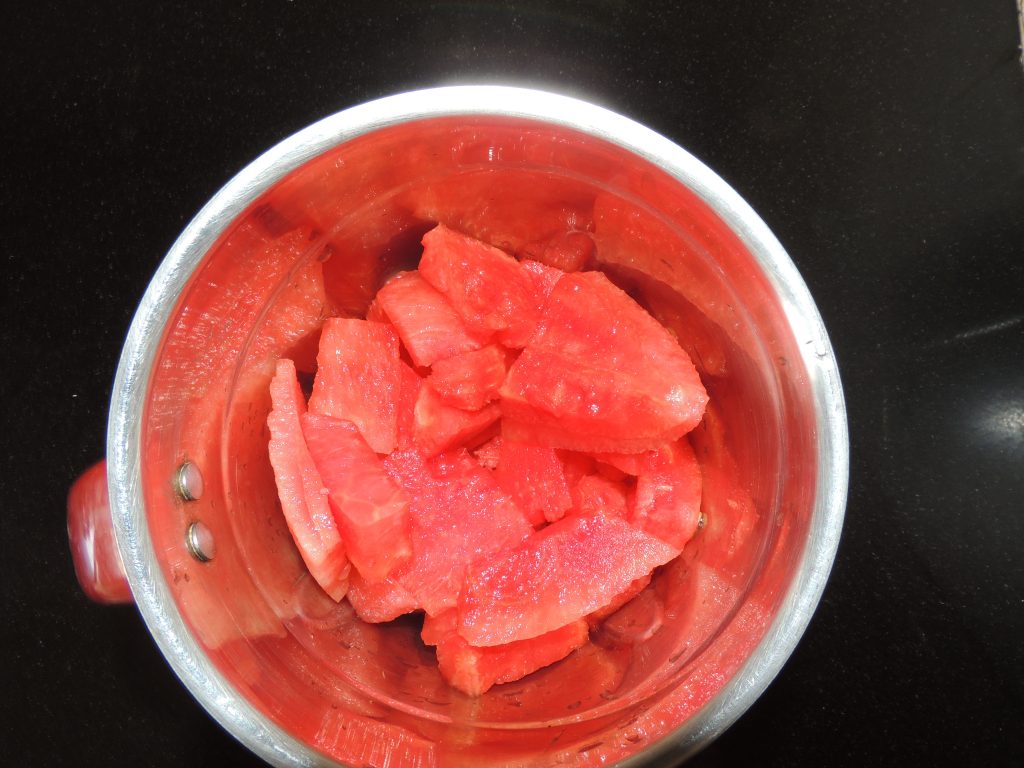
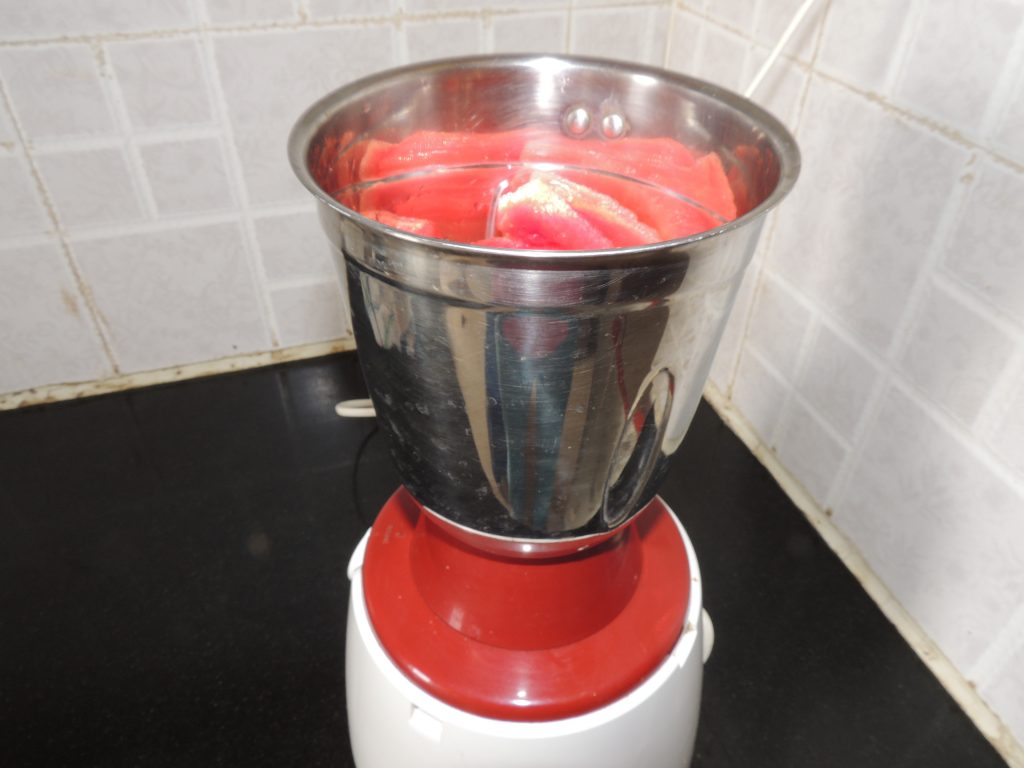
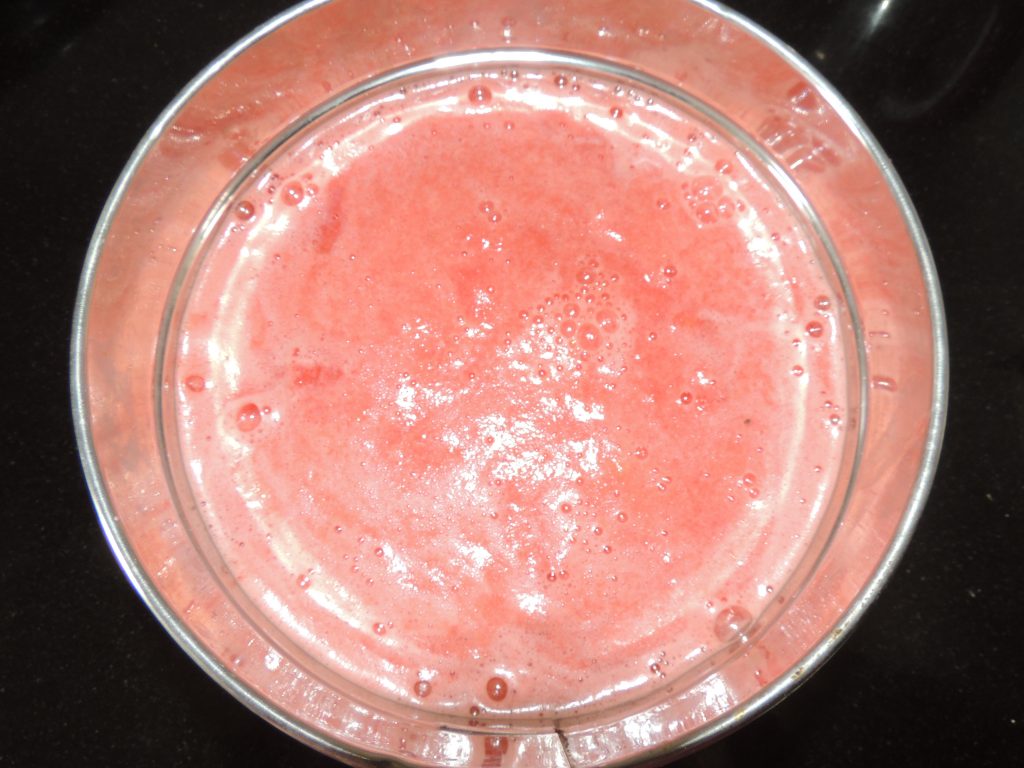
Put all the pieces into the jar of mixer grinder.
You can also add sugar to the juice if watermelon is not sweet enough.
But i will suggest not to add sugar into it.
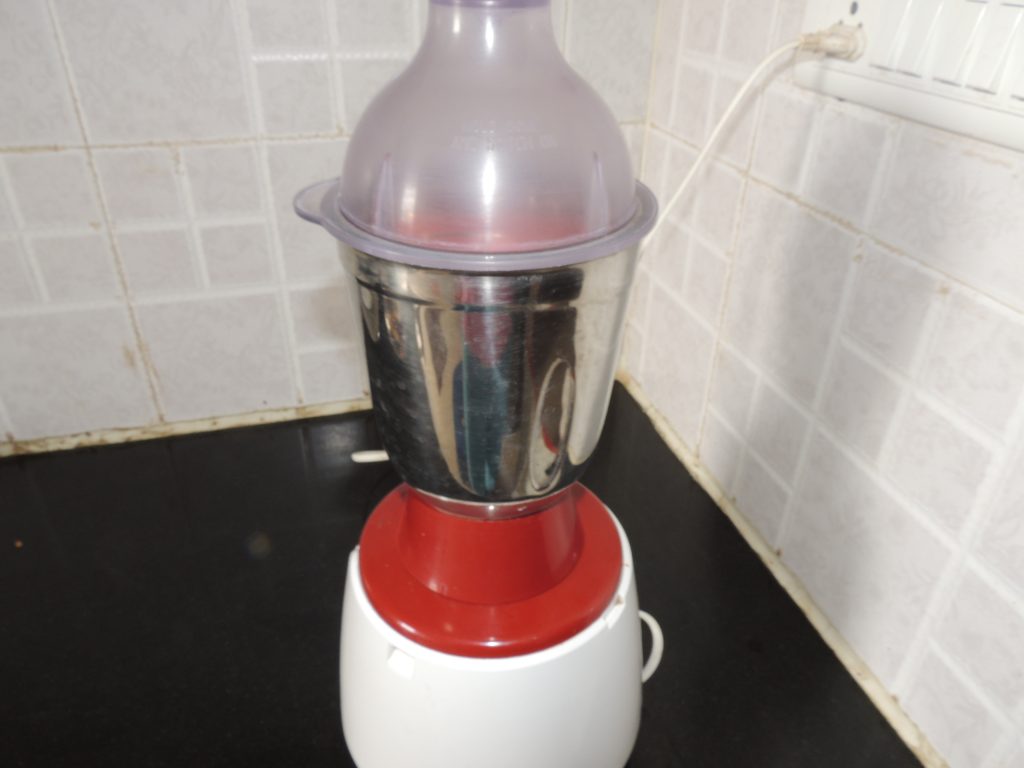
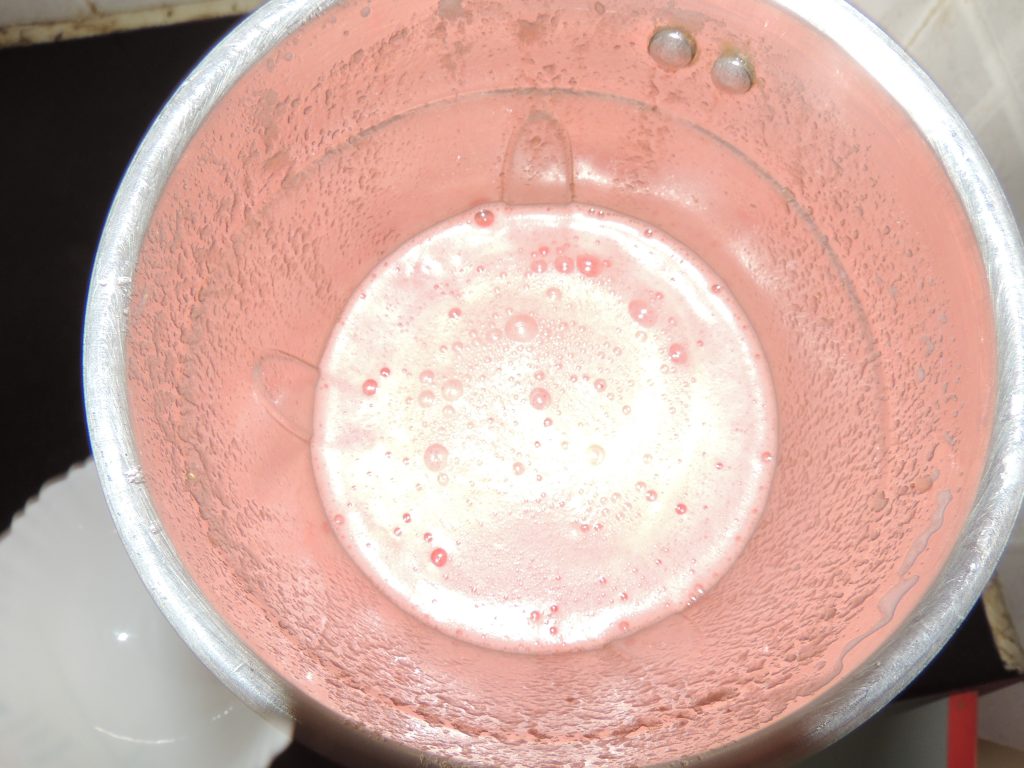
Start mixer grinder and make juice.
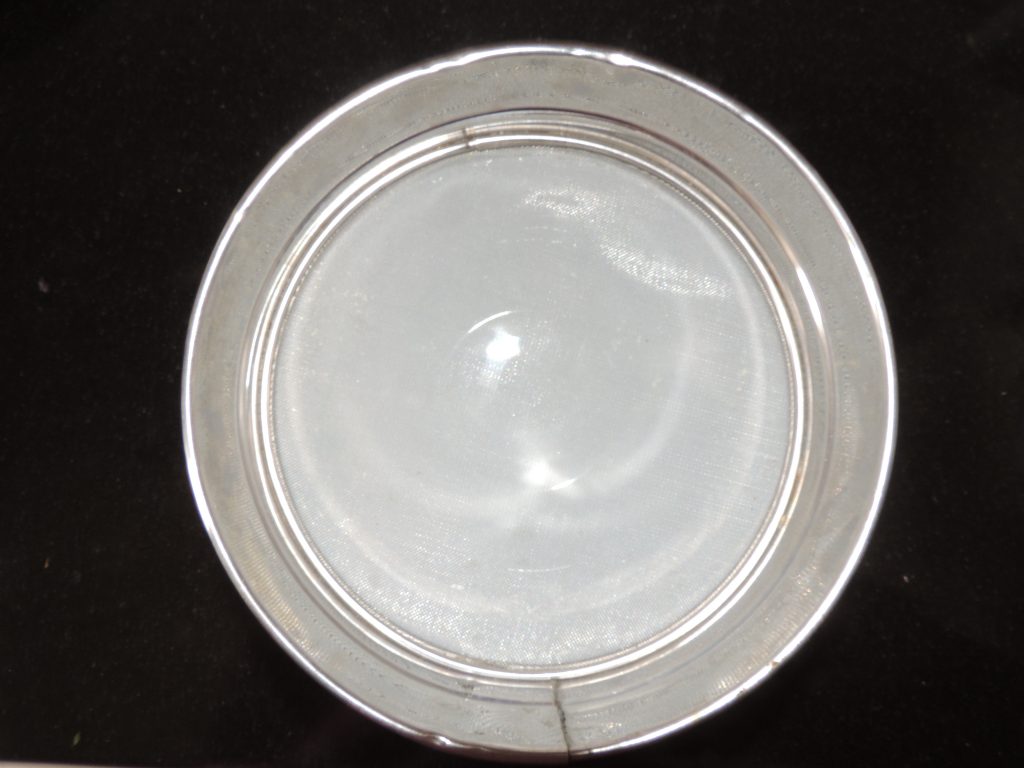
After that take one juice strainer.
Filter juice with the strainer.
So that all the seeds and impurities will be filter out.
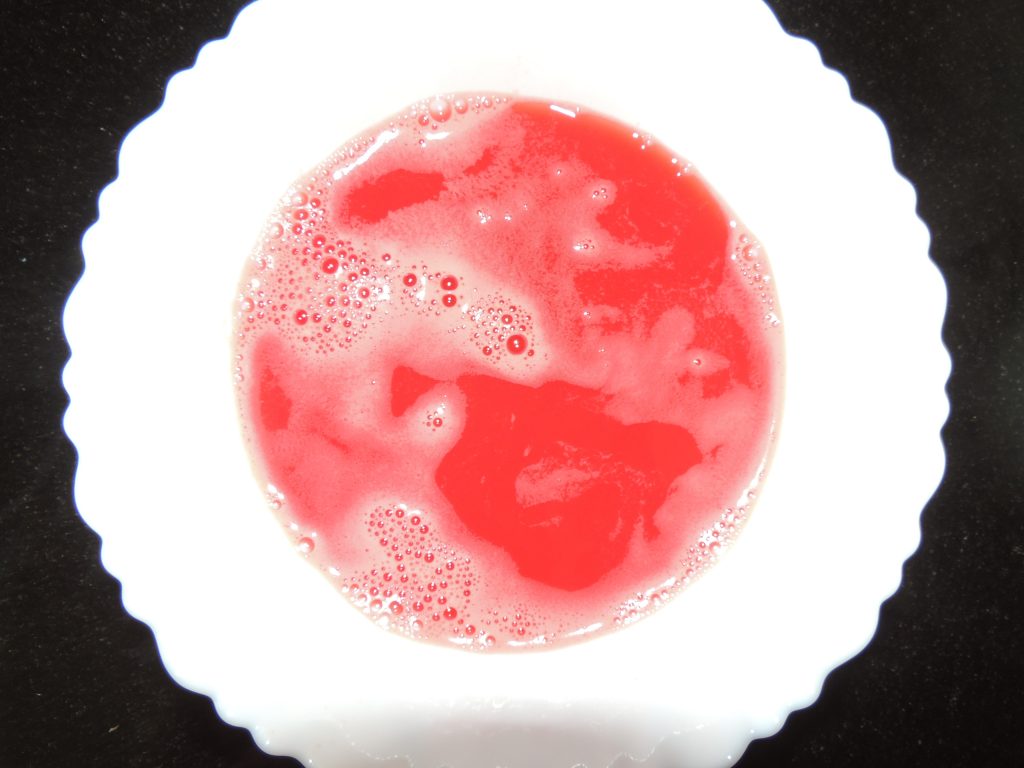
Add lemon juice and black salt. This step is optional.
If you want to have pure juice then do not add lemon juice and black salt.
Lemon juice will add extra zing in the taste.
Now watermelon juice is ready.
Enjoy juice and detox your body.
Video
Notes
The juice will separate over time, just stir it with a spoon to recombine.
Black watermelon seeds contain zinc, protein, iron and fiber so if you do have any problem while having it, then no need to be spitting them out!
Watermelon is high in vitamin A, vitamin C and potassium.
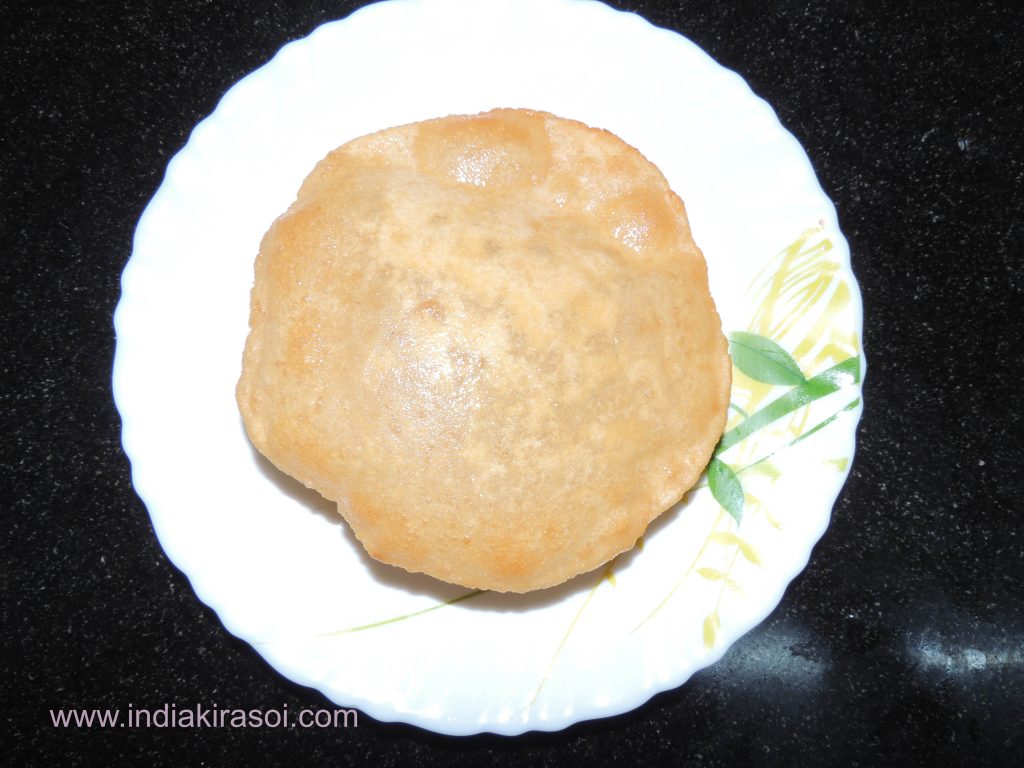
Puri or Poori is a deep-fried bread, famous in Indian subcontinent.
This recipe is eaten for breakfast or snacks to change the taste.
It is usually served with bhaji or curry.
It can also be eaten with sweet dishes.
It is also served on special occasion or ceremonial functions along with other vegetable food or with sweet dish, offered in prayer as prasadam.
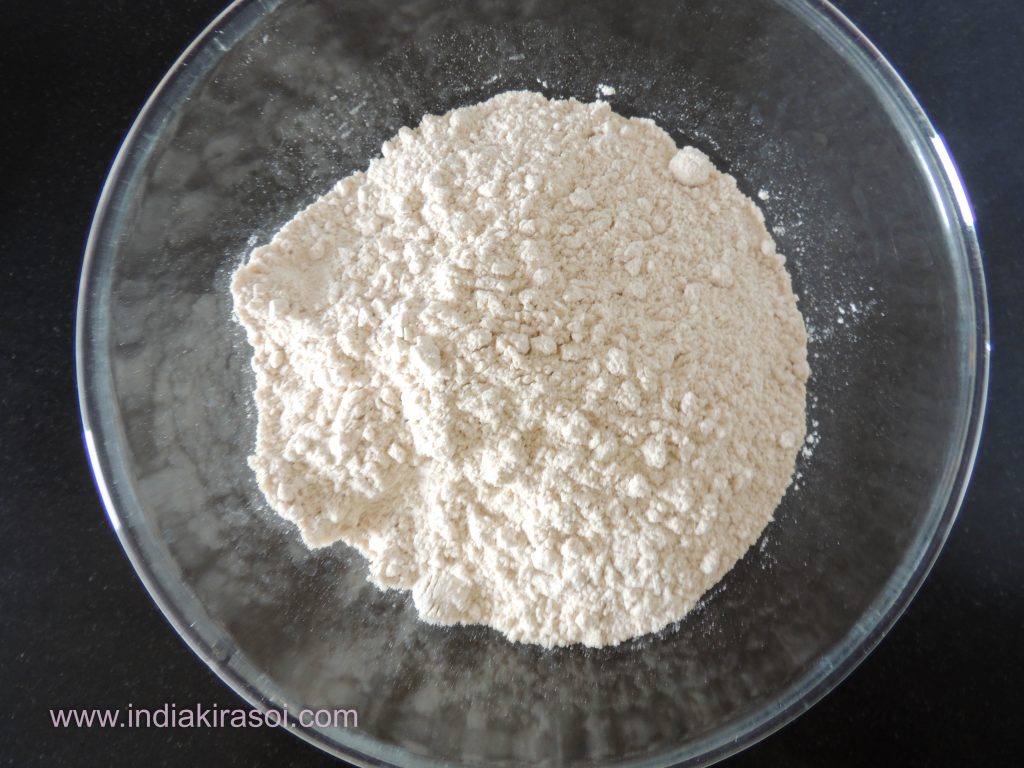
Puri can be prepared with wheat flour ( atta ), sooji (coarse wheat flour) or with maide known as refined wheat flour.
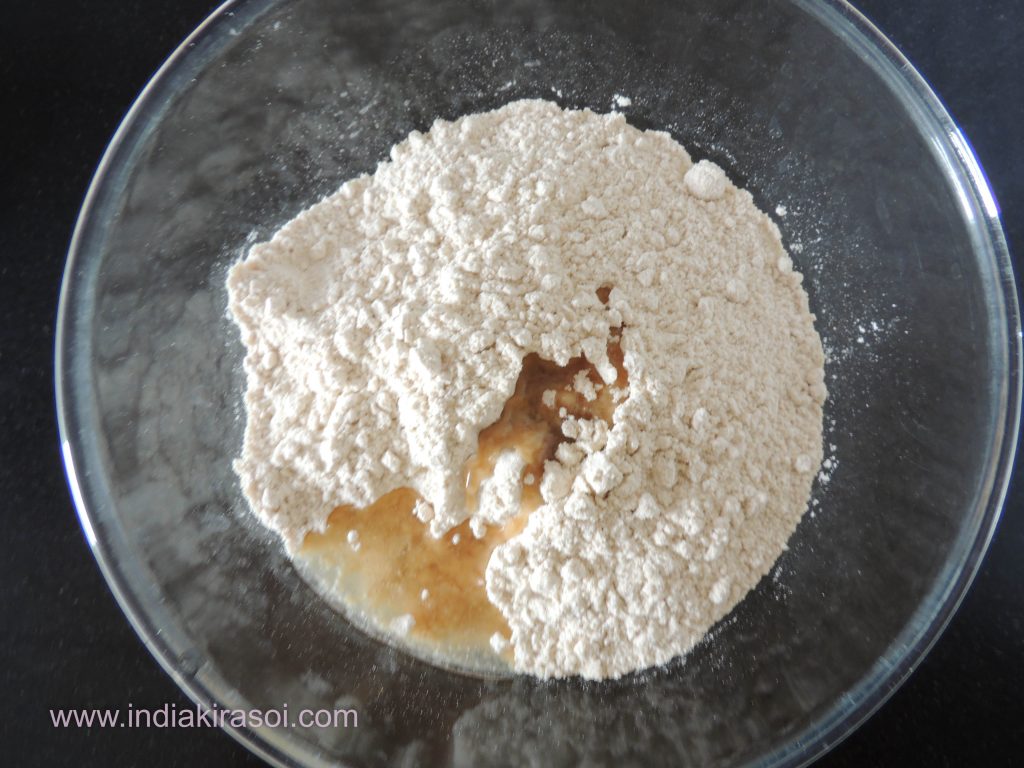
You can also add ajwain or cumin seed while kneading the dough to change the taste of poori.
The dough rolled out in small circle and then deep fried in ghee or vegetable oil.
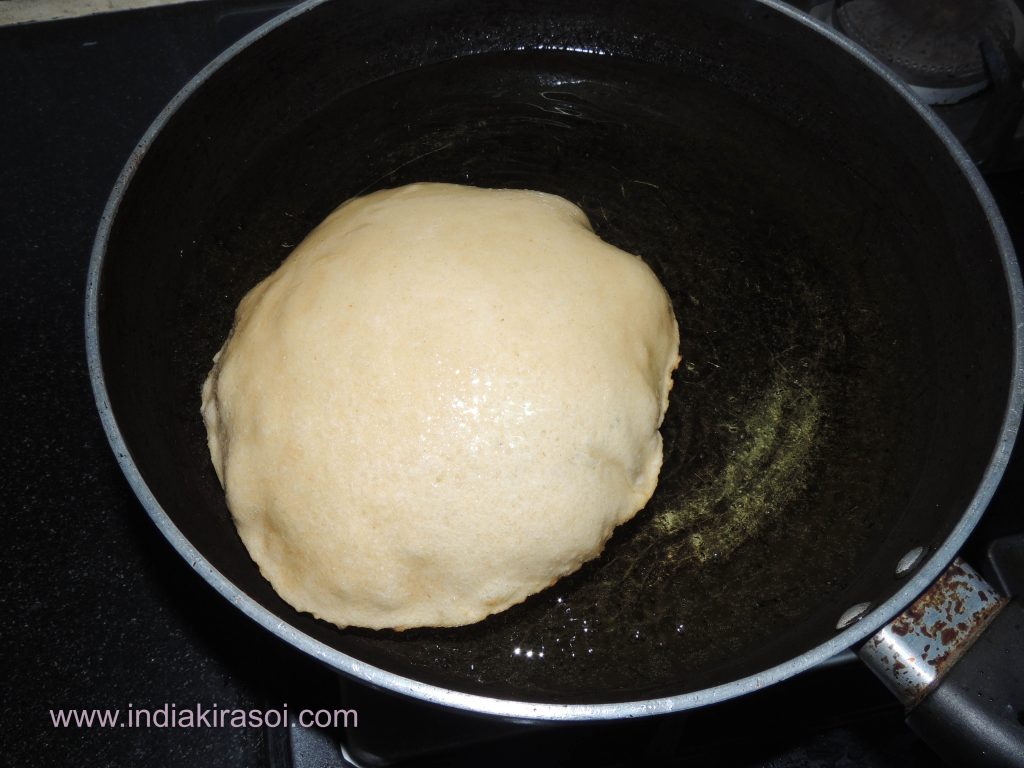
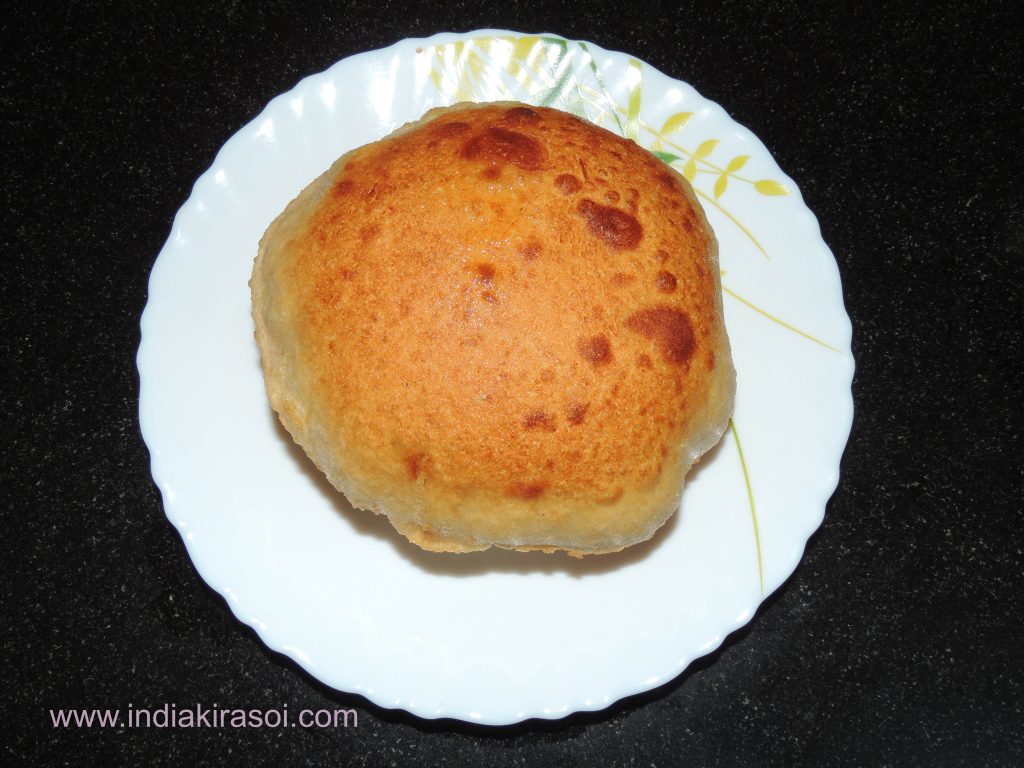
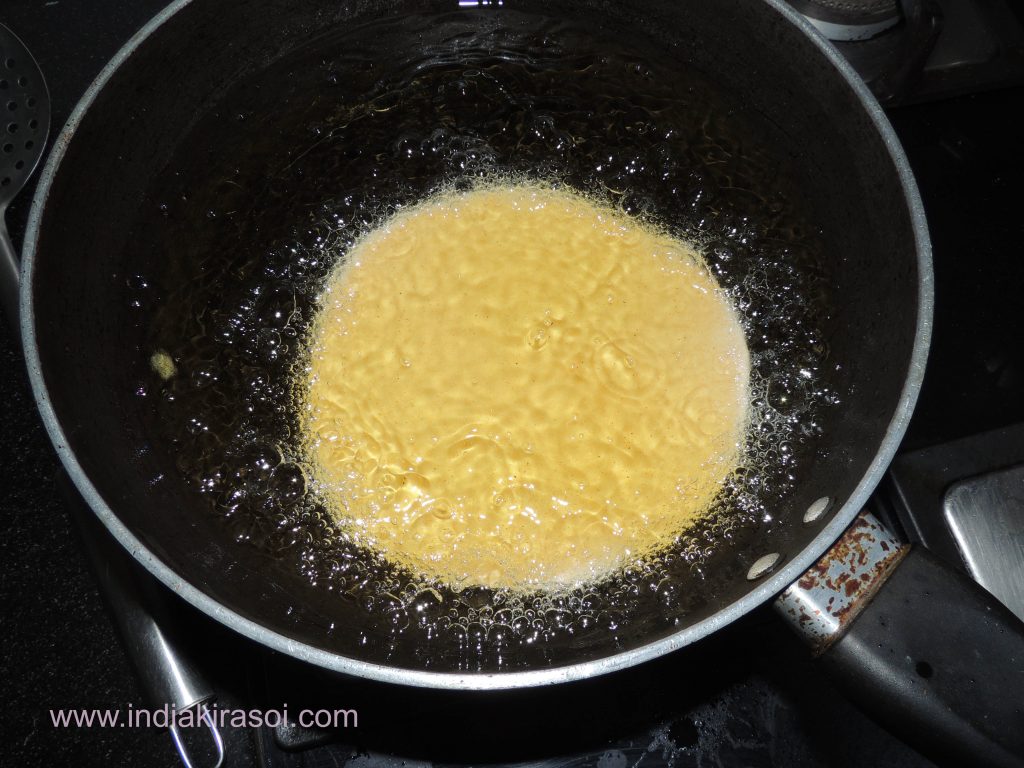
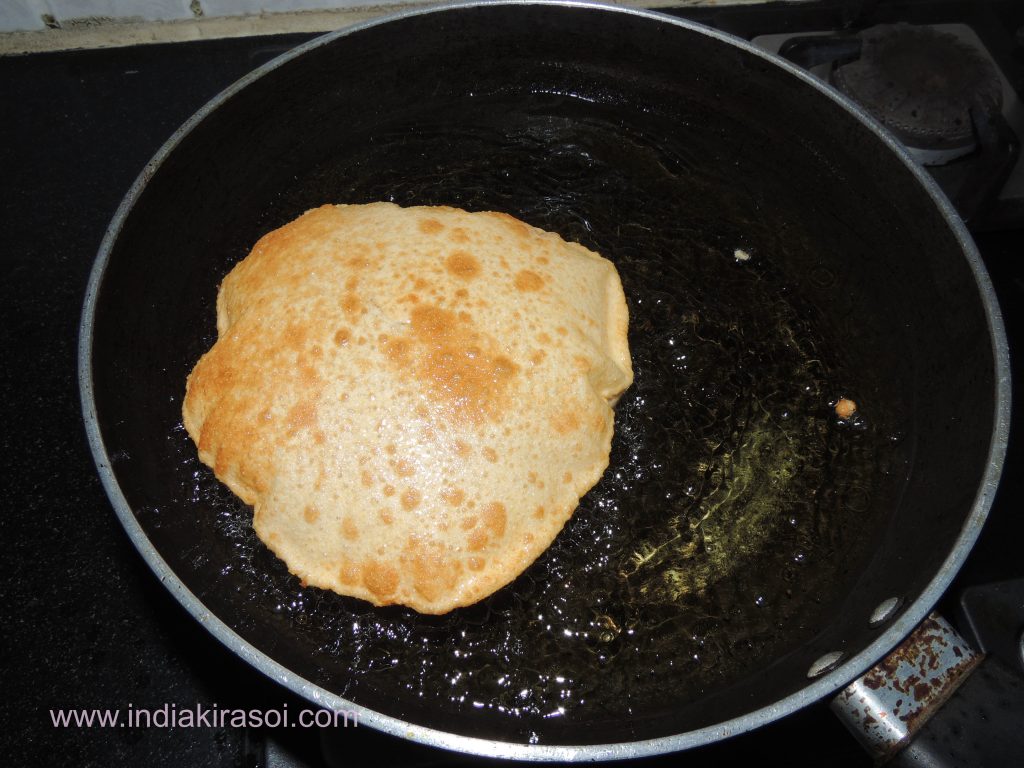
At the time of deep frying, puri puff up like a round ball because moisture in the dough changes into steam, which try to expand in all directions.
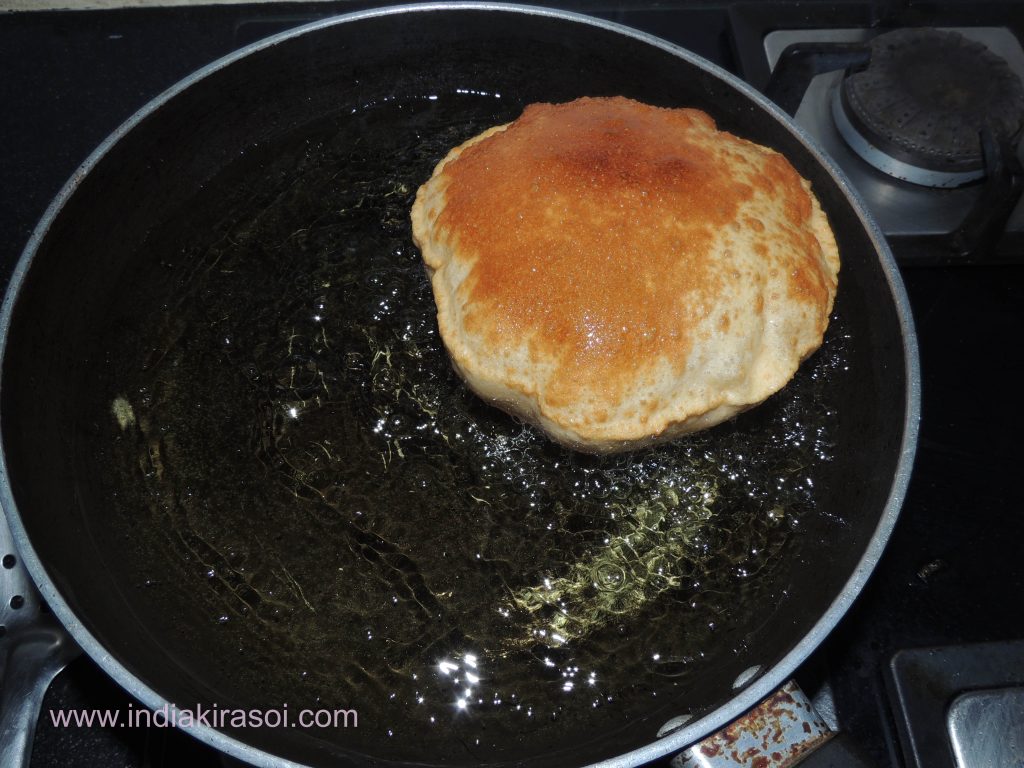
When they golden brown in color or cooked, they are removed from oil and can served hot.
At the time of frying ,they may be pricked with a fork before deep frying to make flat puris for chat or bhel puri, this is also called as mathari.
A punctured poori does not puff because of on steam inside poori as it it already escaped at the time of prickling.
Poori also taste good with mango pickle.
Course Breakfast, Dinner, Lunch, Main Dish, Snacks, Starter
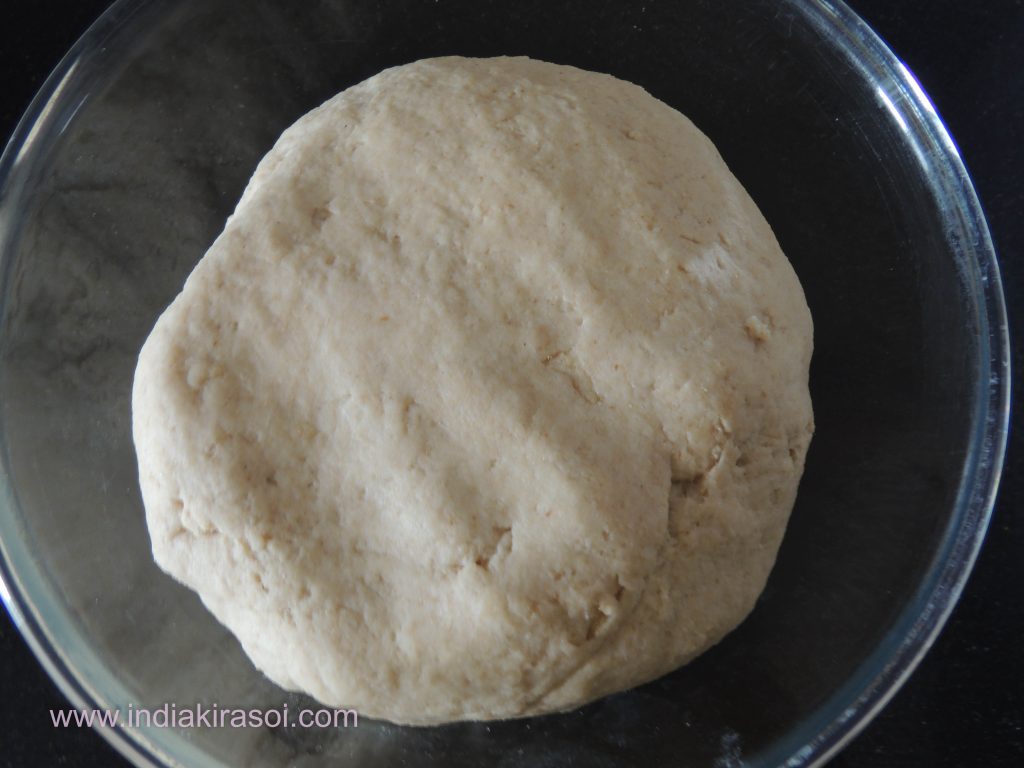
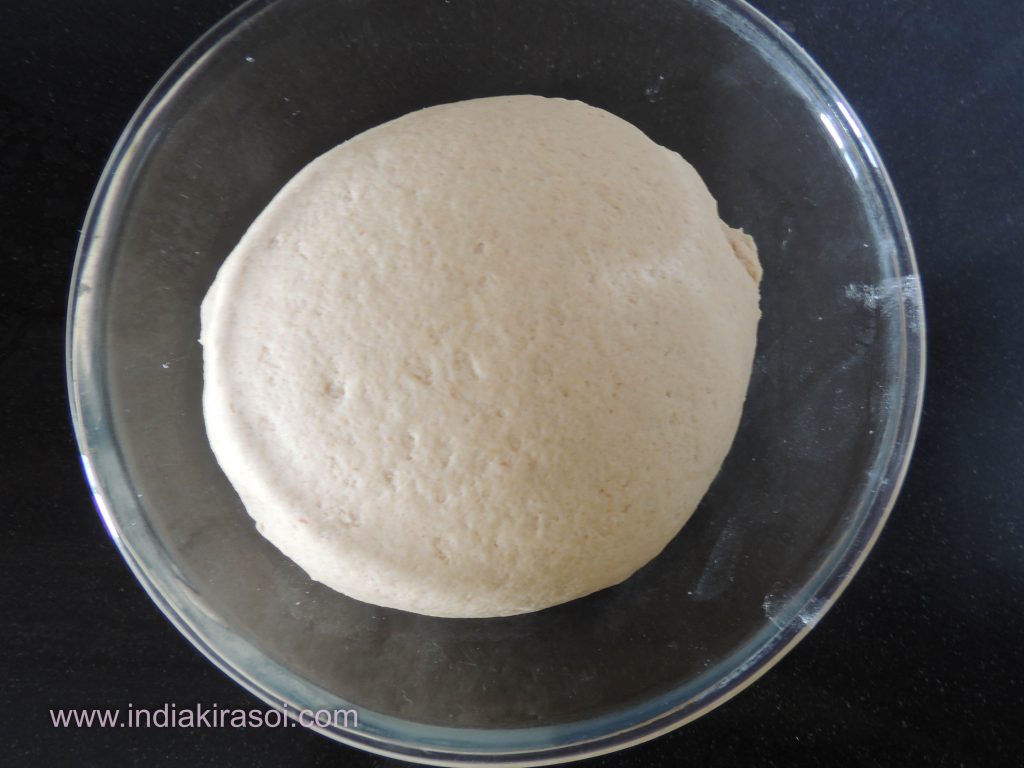
Cover the dough with cotton cover or any plate and rest it for 10 minute.
Mix and press the dough again.
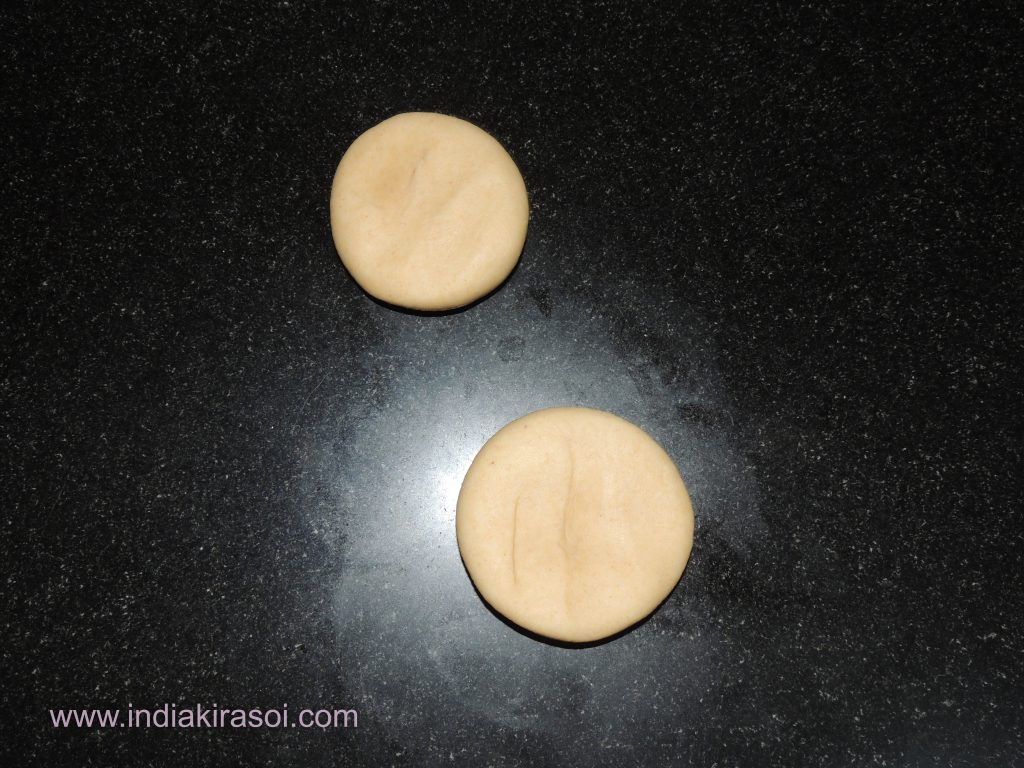
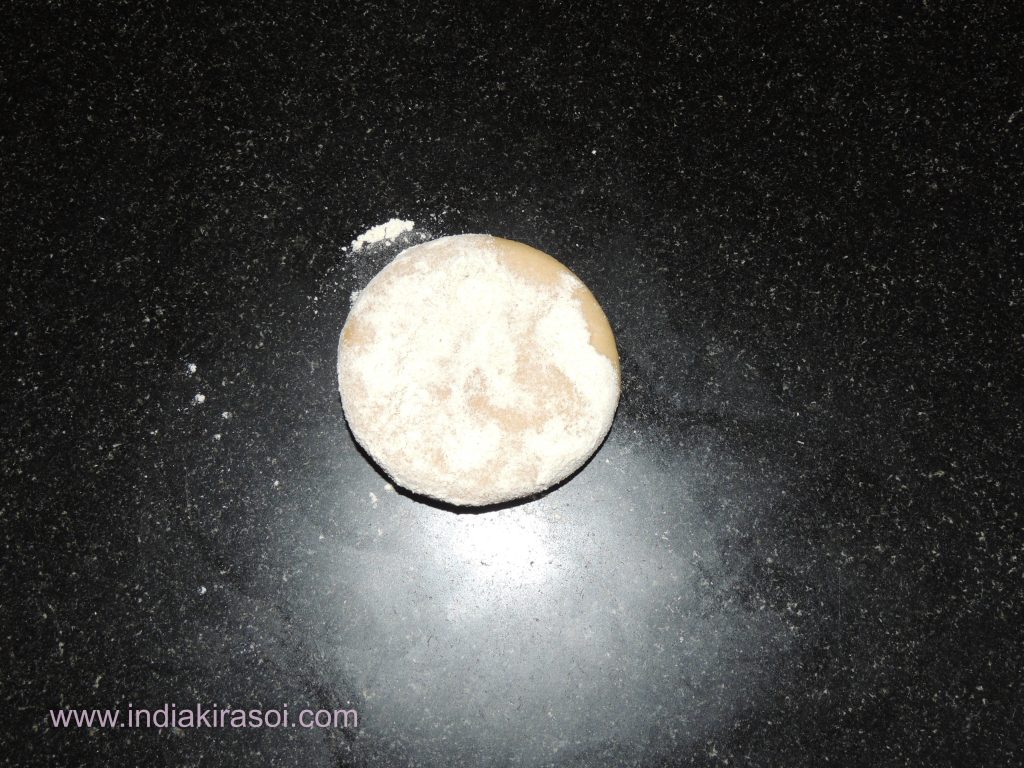
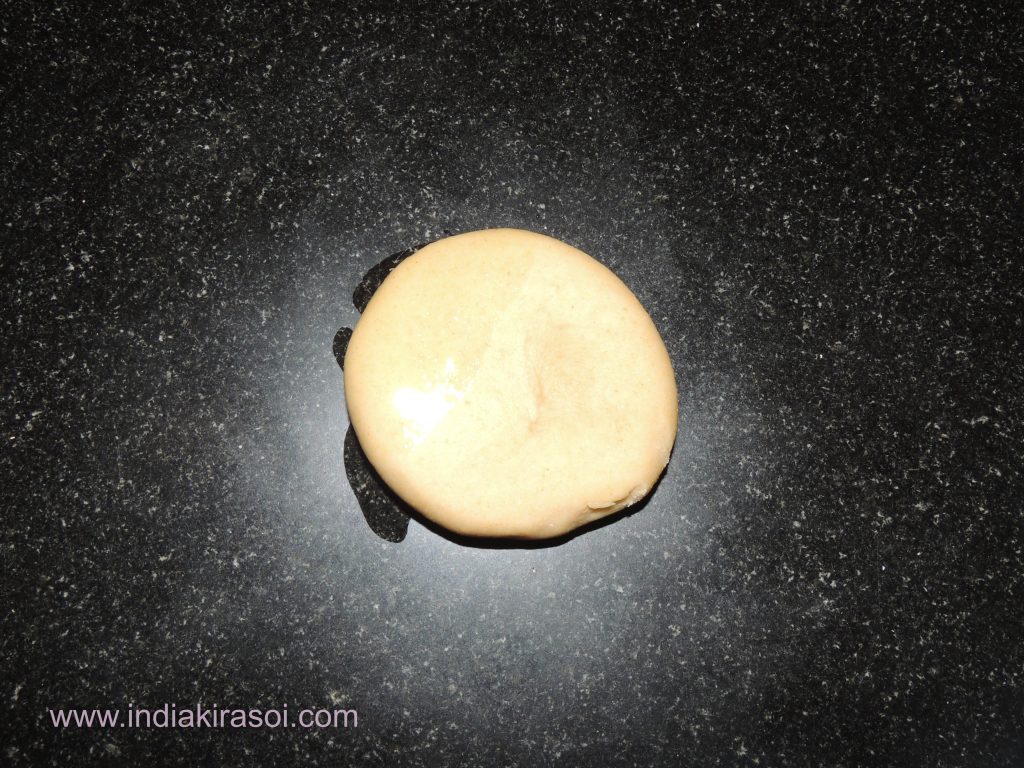
Divide the dough into small lemon size balls.
Place the fry pan or kadai on the gas with high flame.
Dust the dough ball lightly with flour.
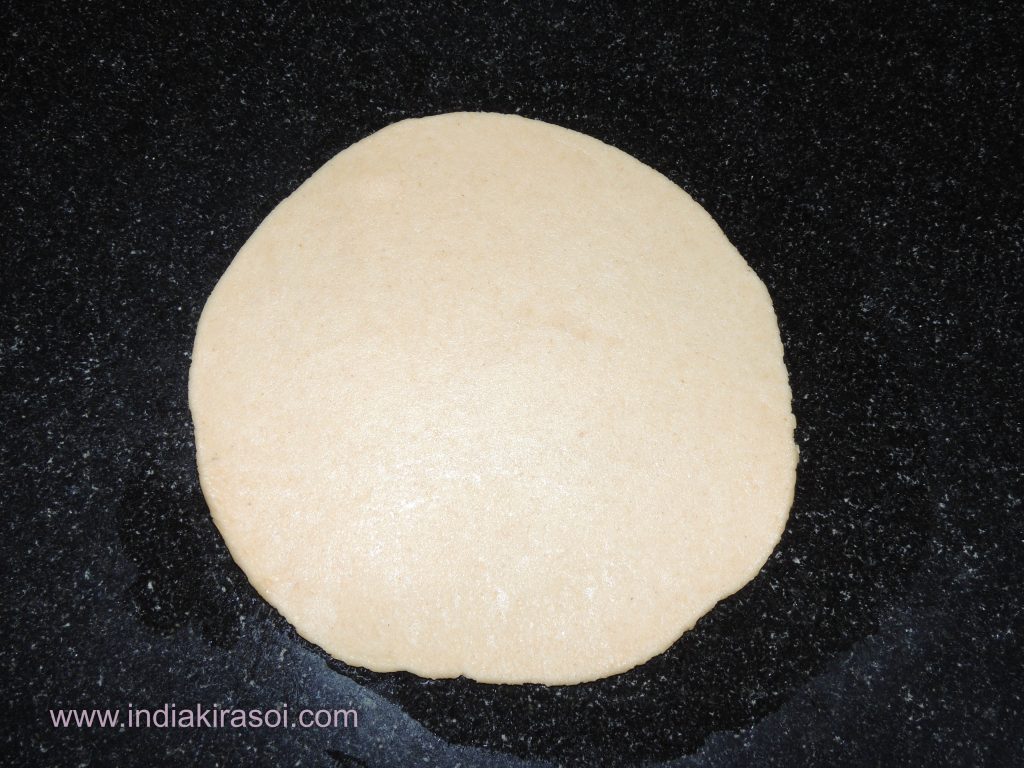
Roll the ball with rolling pin, make small circular shaped disc.
Thickness of disc should be approximately 2 mm.
Meanwhile oil would be hot enough, check with drop a very small ball into oil.
If the oil becomes hot, that circular ball will come up on the upper layer of oil.
Now oil is hot enough to fry the poori.
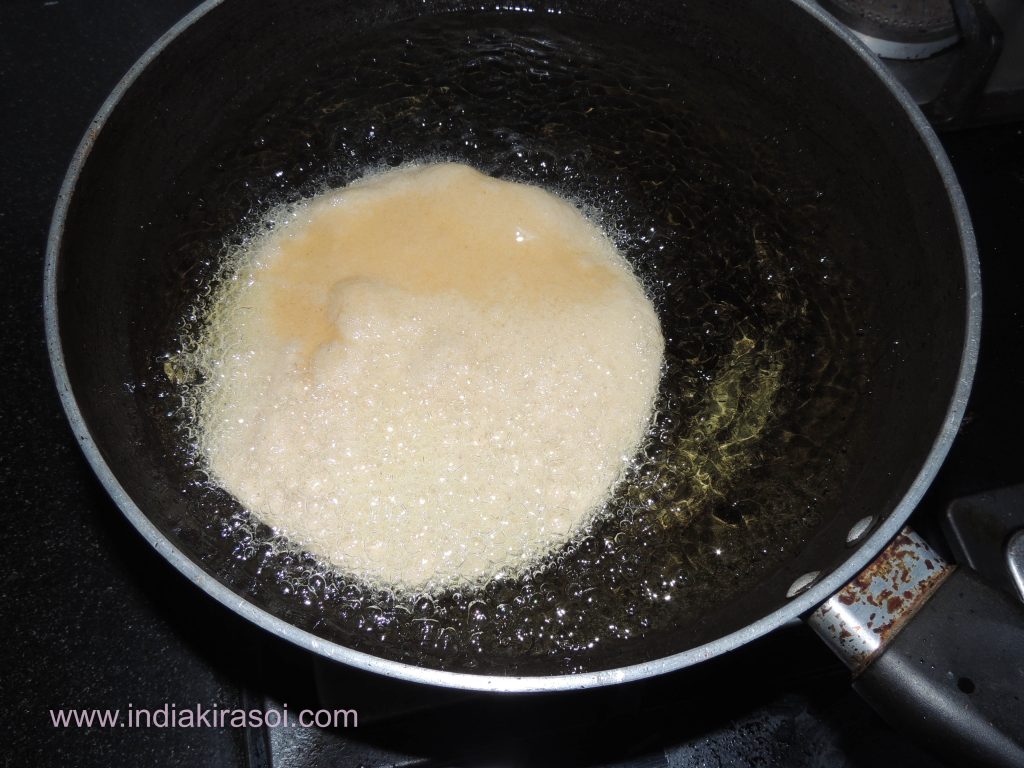
Place the poori into oil.
Slightly push poori with stainless steel skimmer / frying spoon, with this process poori will start rising up.
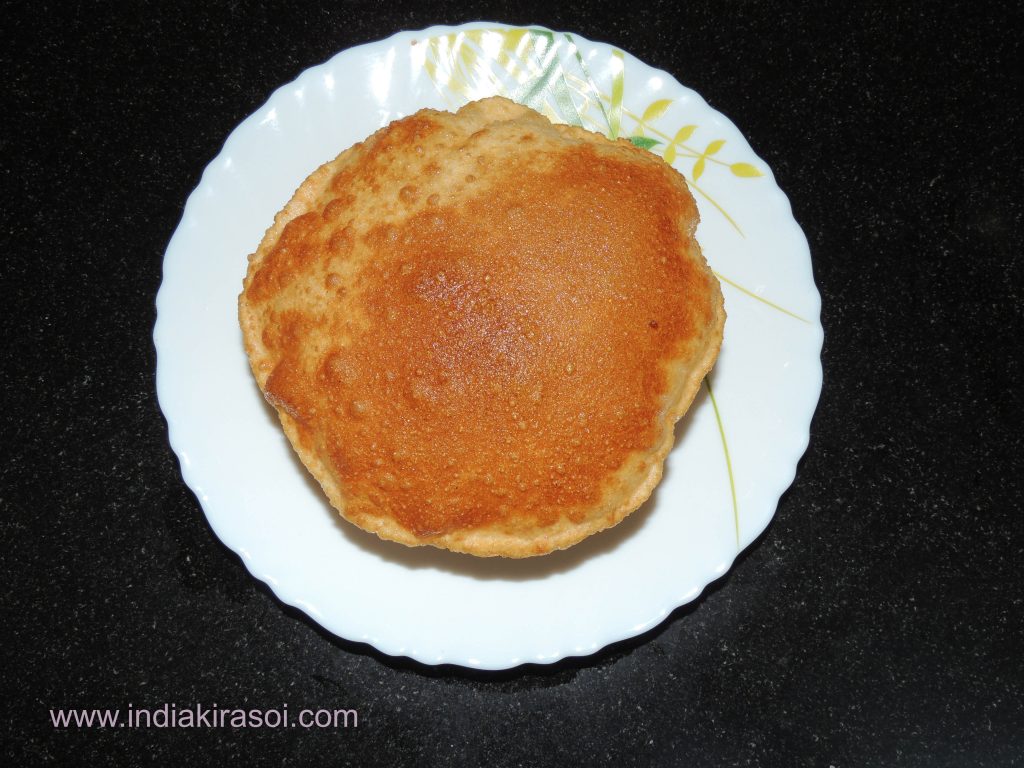
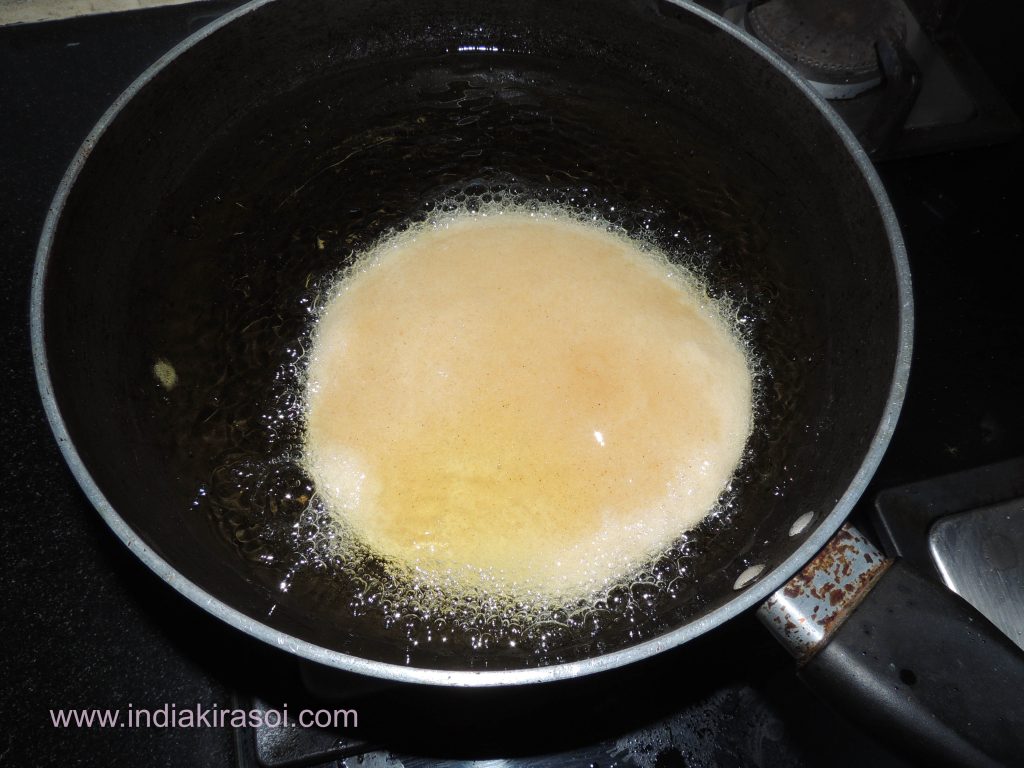
When the poori puffs up, flip the poori other side for few seconds.
Slightly touch at the corners with a frying spoon for it to puff up and for properly cooked.
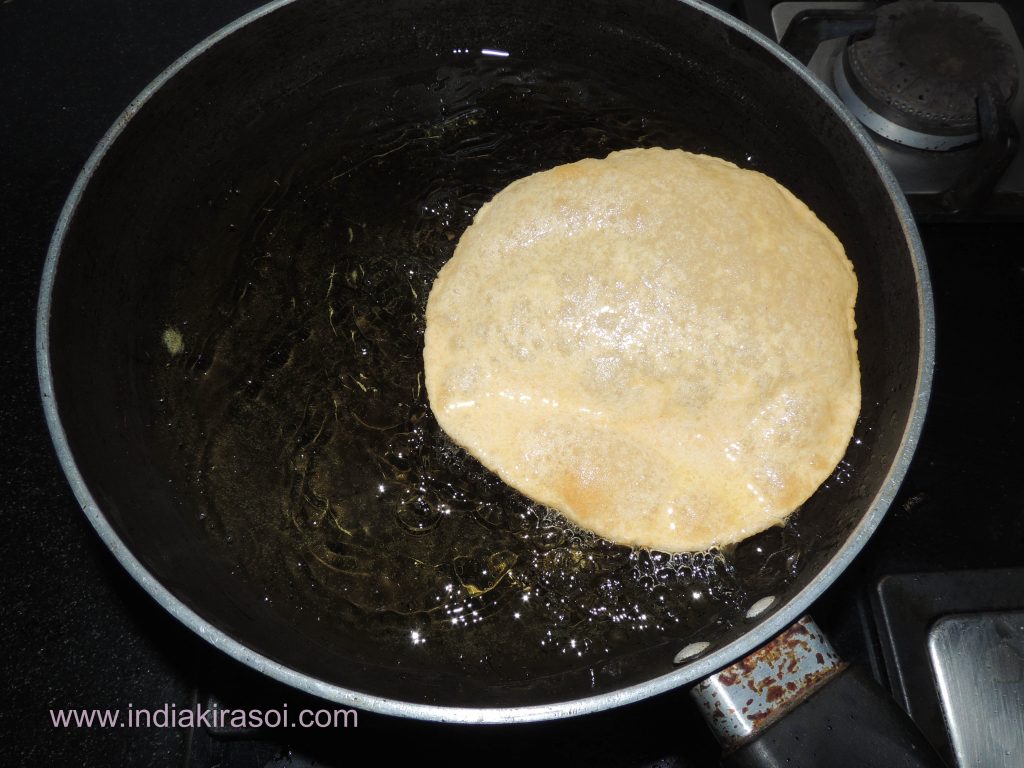
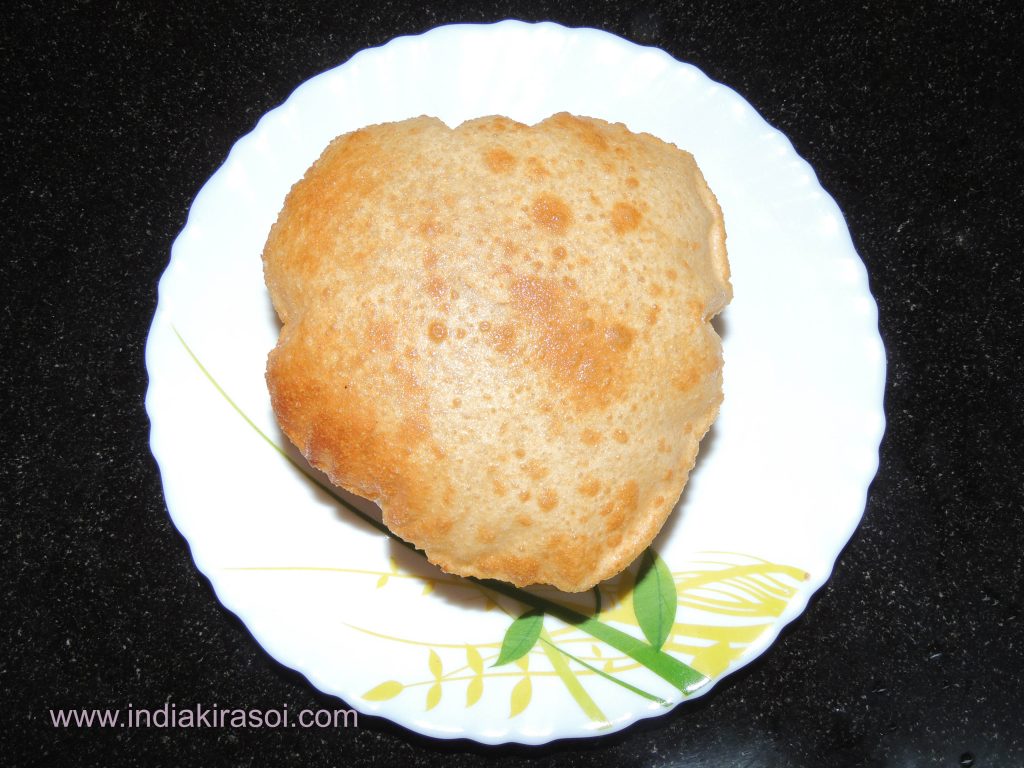
Now take the poori out on a tissue paper.
Back and front both sides of poori is cooked.
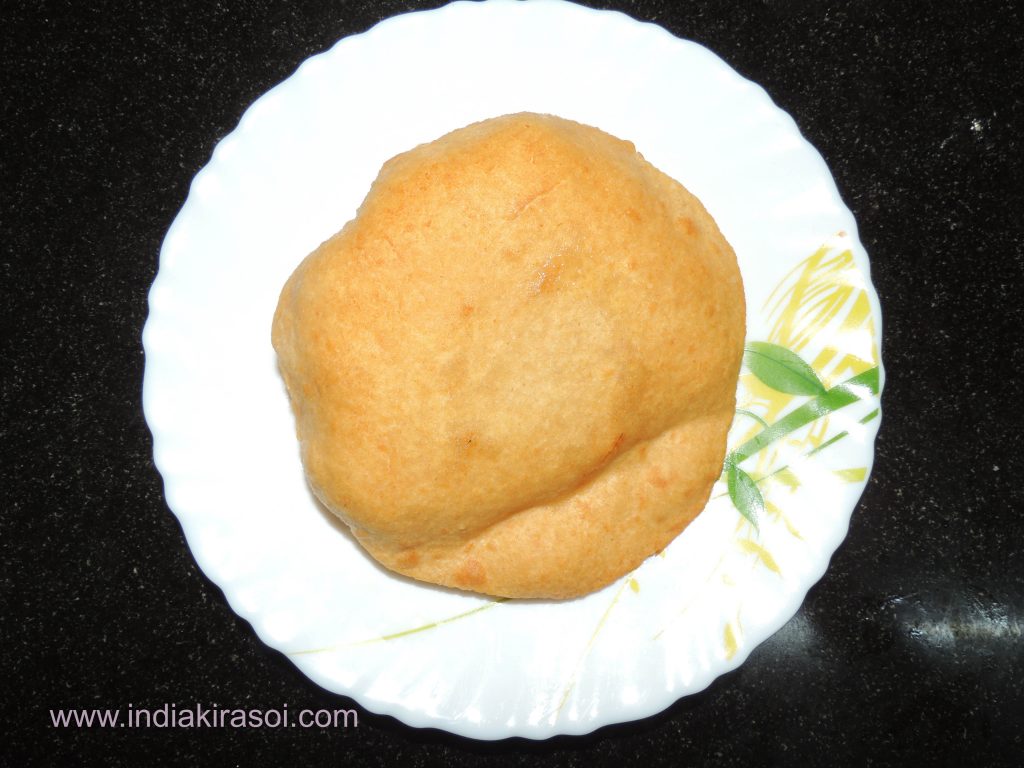
Now One more poori i will guide you, In this poori I will not cover the dough ball with flour.
This time apply little amount of oil as the cover for dough ball.
By this process oil be be clean after cooking all the poori’s.
Now repeat the rolling process i.e. roll the ball with rolling pin, make small circular shaped disc.
Thickness of disc should be approximately 2 mm.
Place the poori into oil.
Slightly push poori with stainless steel skimmer / frying spoon, with this process poori will start rising up.
When the poori puffs up, flip the poori other side for few seconds.
Slightly touch at the corners with a frying spoon for it to puff up and for properly cooked.
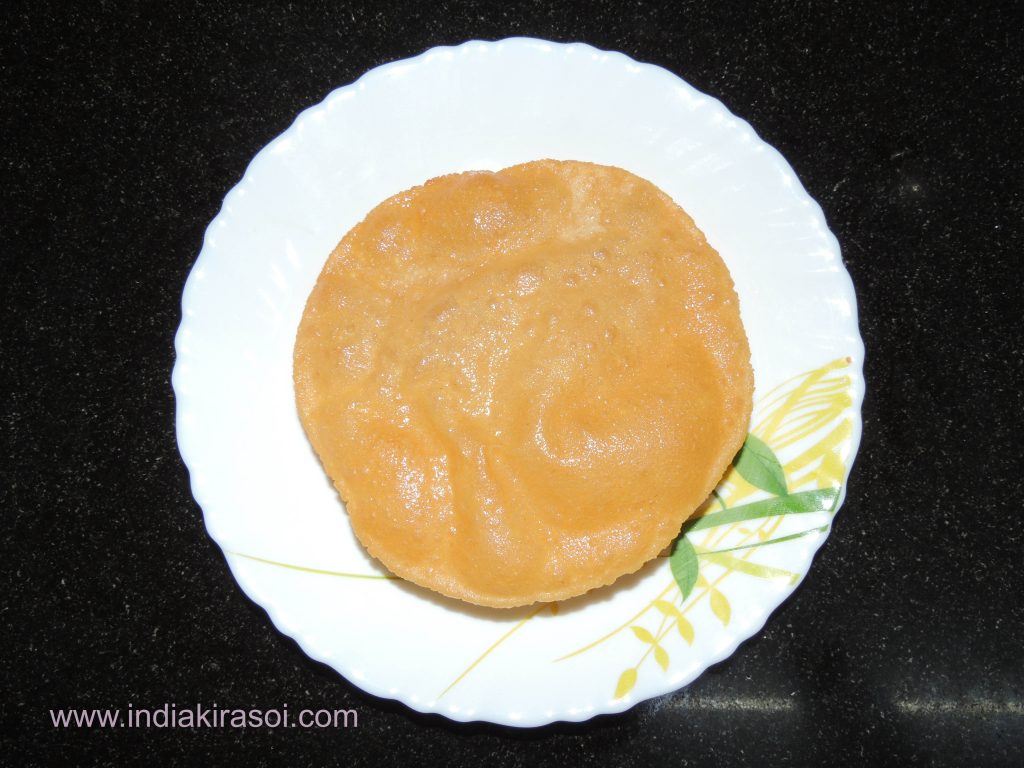
Now take the poori out on a tissue paper.
Cook the rest of poori in the same way.
Poori is ready. Serve these yummy poori’s with aloo curry, chhola, curd, pickle, raita or chutney also.
Notes
You can add sooji / rava while kneading the dough to get more crispy poori’s.
You can also add ghee or oil while kneading the dough.
Do not fry poori in very hot oil otherwise it will burn the poori’s.
You can also make poori of maida flour / refined wheat flour.
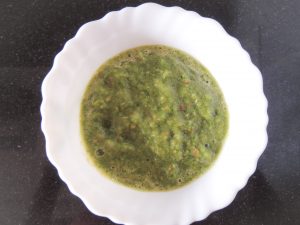
Tomato and coriander both are very good for health.This chutney is very good for health as well as you can make this in no time.With the tempting taste of chutney, you can enjoy with meal, with aloo pakoda, any type of chat.You can also enjoy this exotic chutney with bhel poori, you can sprinkle chutney on namkeen and can enjoy this yummy chutney.
Course Main Dish, Snacks, Starter
Cuisine Indian, Main, snacks
Prep Time 2minutes
Cook Time 3minutes
Total Time 5minutes
Servings 4People
Calories 0.01kcal
Equipment
Mixer Grinder
Spoon
Bowl
Ingredients
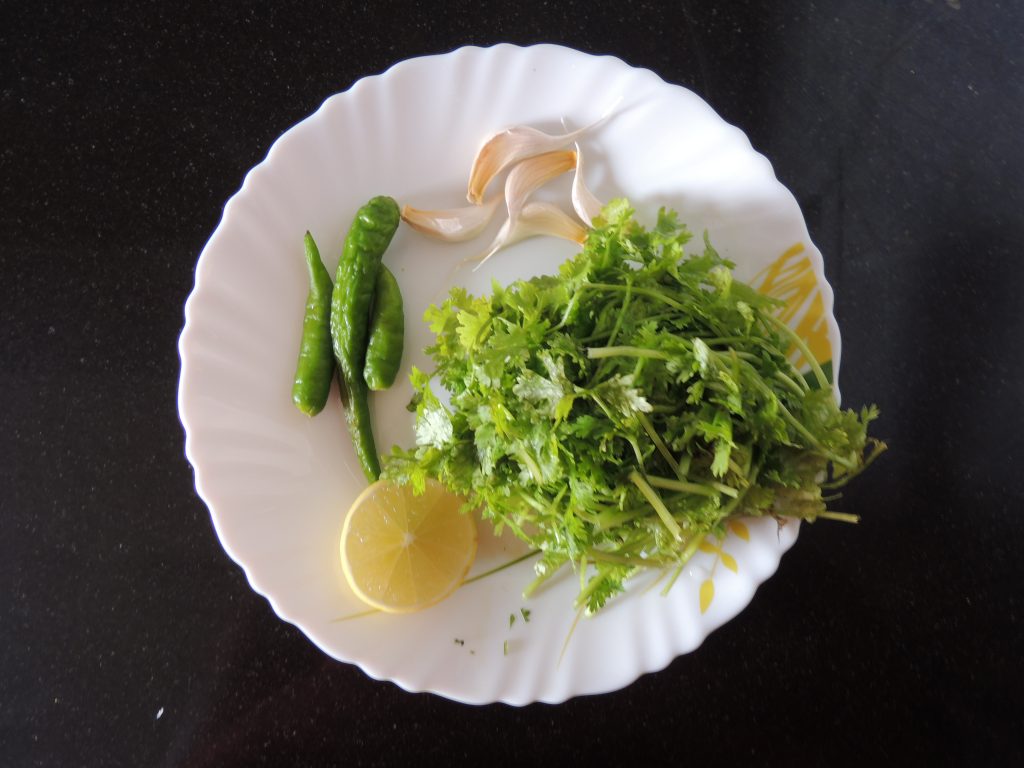
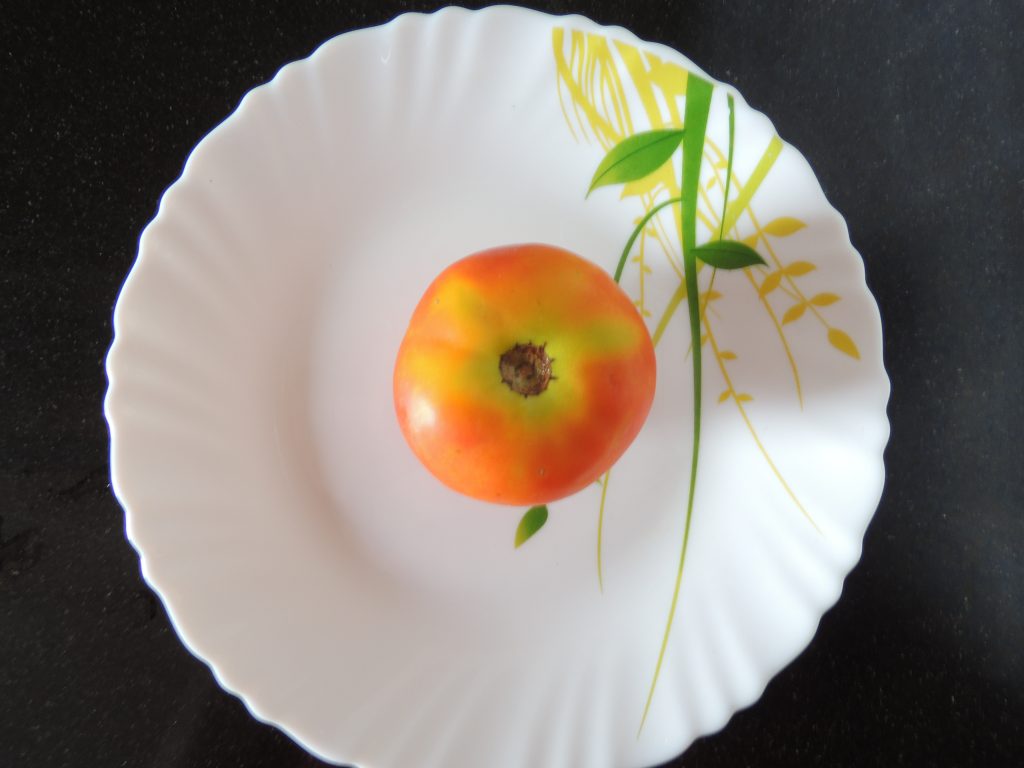
1UnitTomato / Tamatar
1/2 UnitLemon / Neebu, squeeze the lemon juice
4ClovesGarlic / Lahsun
2-3UnitGreen Chilly / Hari Mirch
10tspCoriander leaves / Dhaniya Patti
As per tasteBlack Salt / Kala namak
Instructions
First Clean all the ingredients except salt.
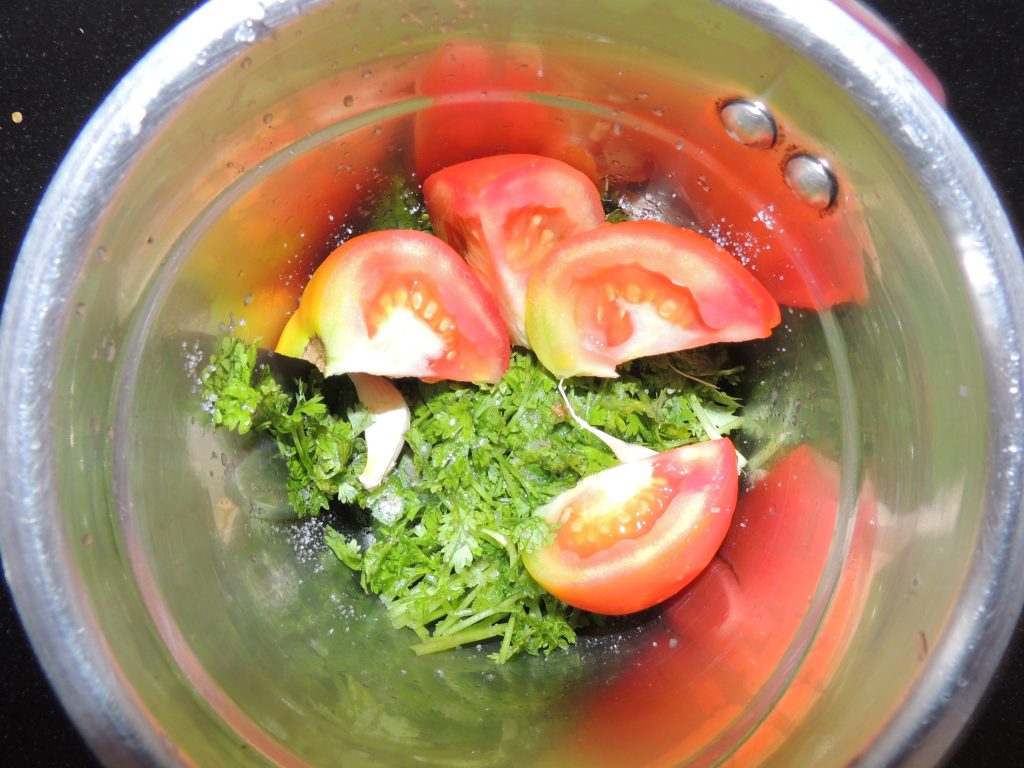
After that put all the ingredients in the mixer jar.
After that grind coarse all the ingredients, Do not make very thin paste.
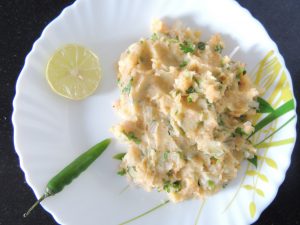
Yummy chutney is ready. Enjoy this chutney with any thing. Full taste of meal will change.
Notes
Here important thing is that you need to grind mixture coarse not very pulpy.
You can enjoy this chutney with potato pakodi, onion pakodi, mashed potato, potato fry and many more.
Aloo ka Bharta is a North Indian recipe made by using potatoes and a lot of Indian spices. Aloo bharta has several names like choke, bhaate popular in various part of India ( Uttar Pradesh, Bihar, Rajasthan and other states ). Mashed potatoes are mixed with spices and flavoured depending on the based of state, family and personal preference. Aloo Bharta is a super yummy Indian style spiced mashed potato recipe. This is very easy recipe and can make very quickly and exotic in eating. Aloo bharta can serve with dal and rice or with dal and chapati. You can also use in pani poori fillings. See how to make Potato Onion bharta recipe with detailed step by step photos as given below…
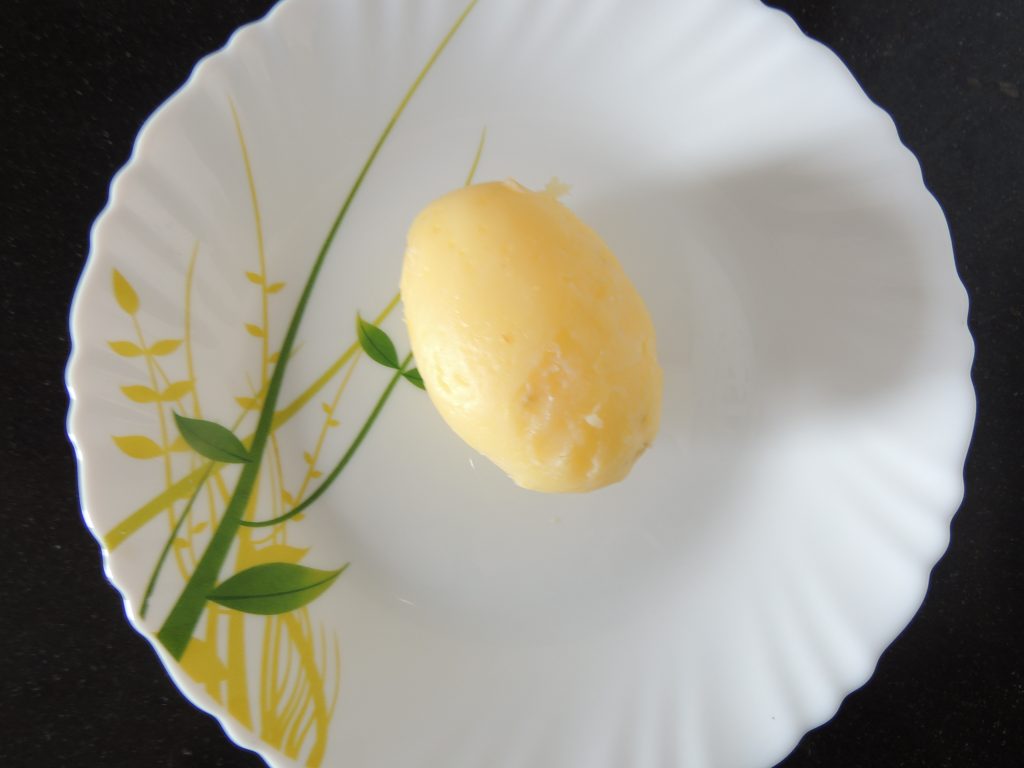
Take 1 raw potato.
Boil them in cooker, give 2 whistle after that close the gas stove.
Peel off the potato.
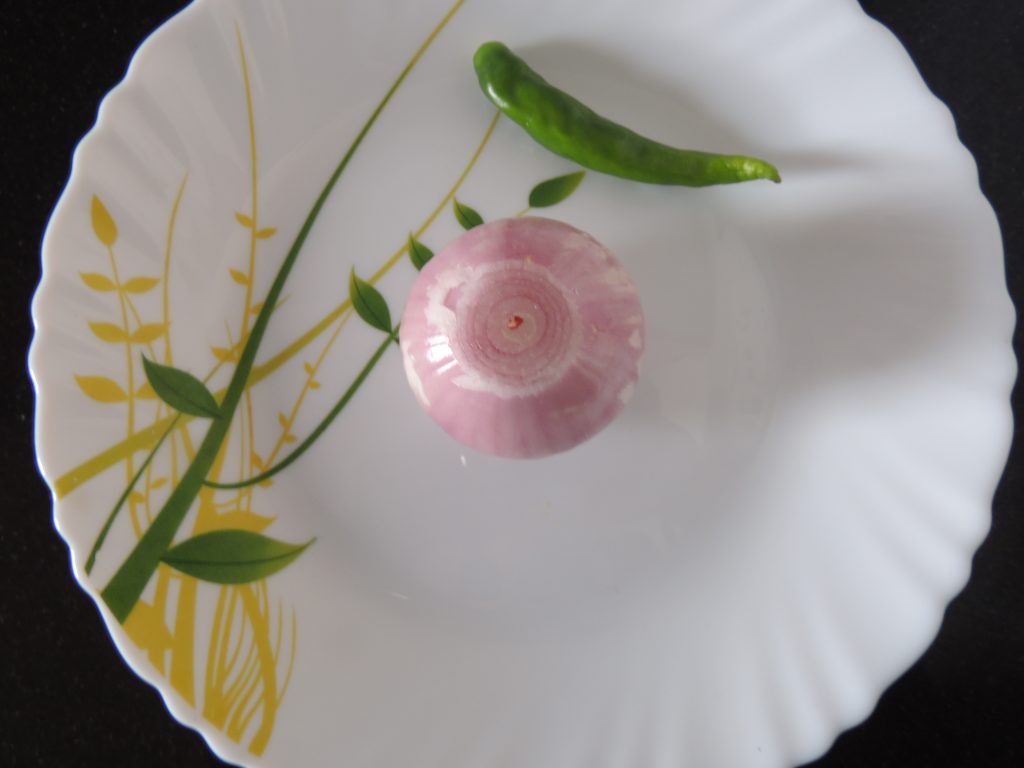
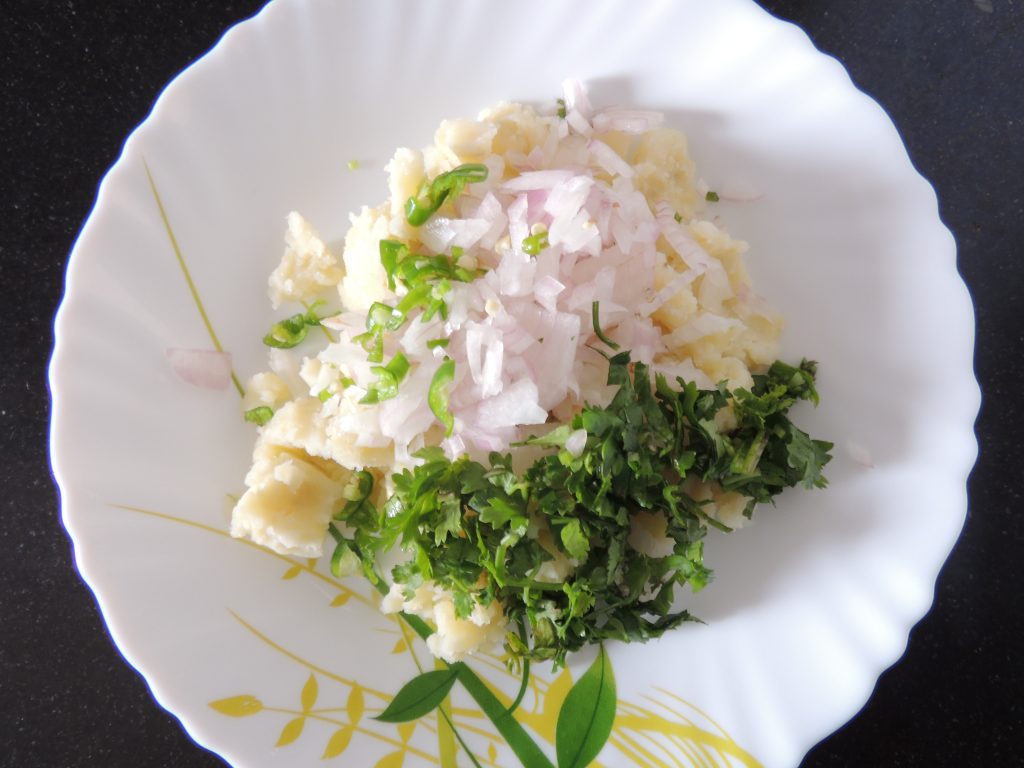
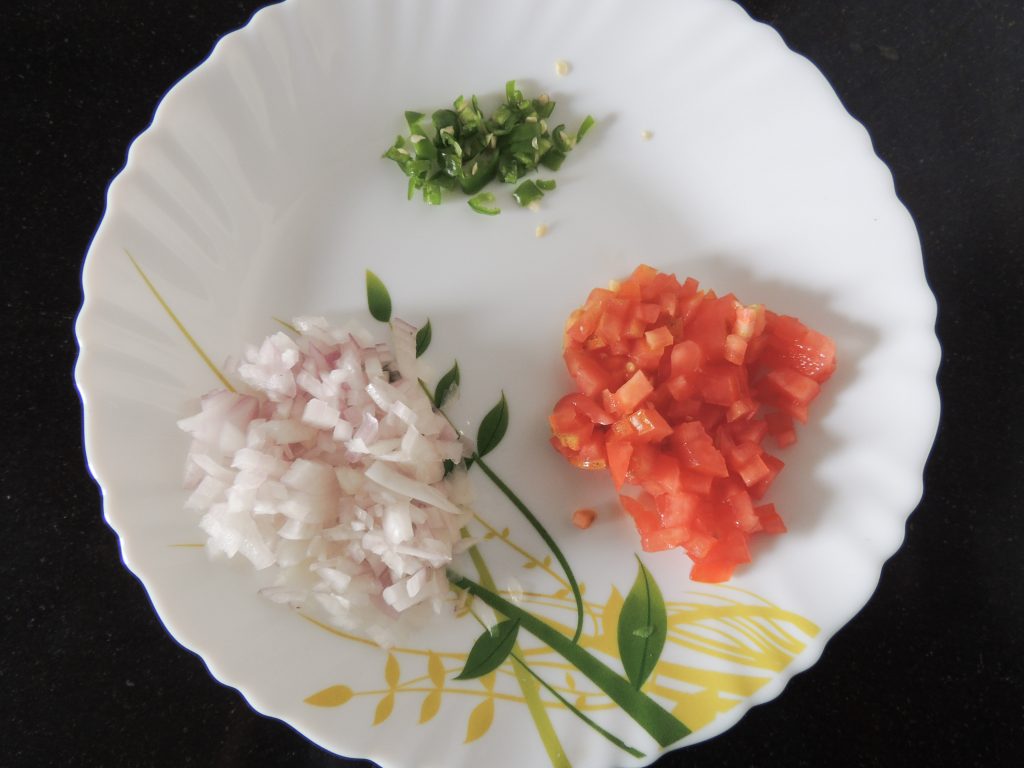
Take Onion and green chilly.
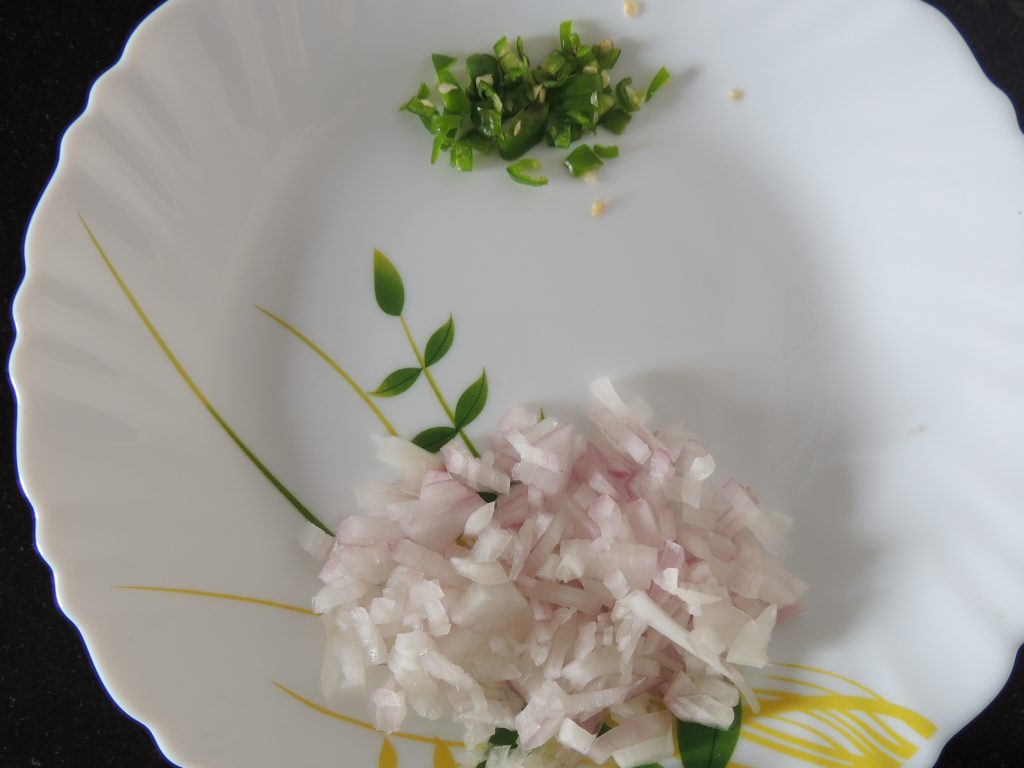
After that chop onion and green chilly.
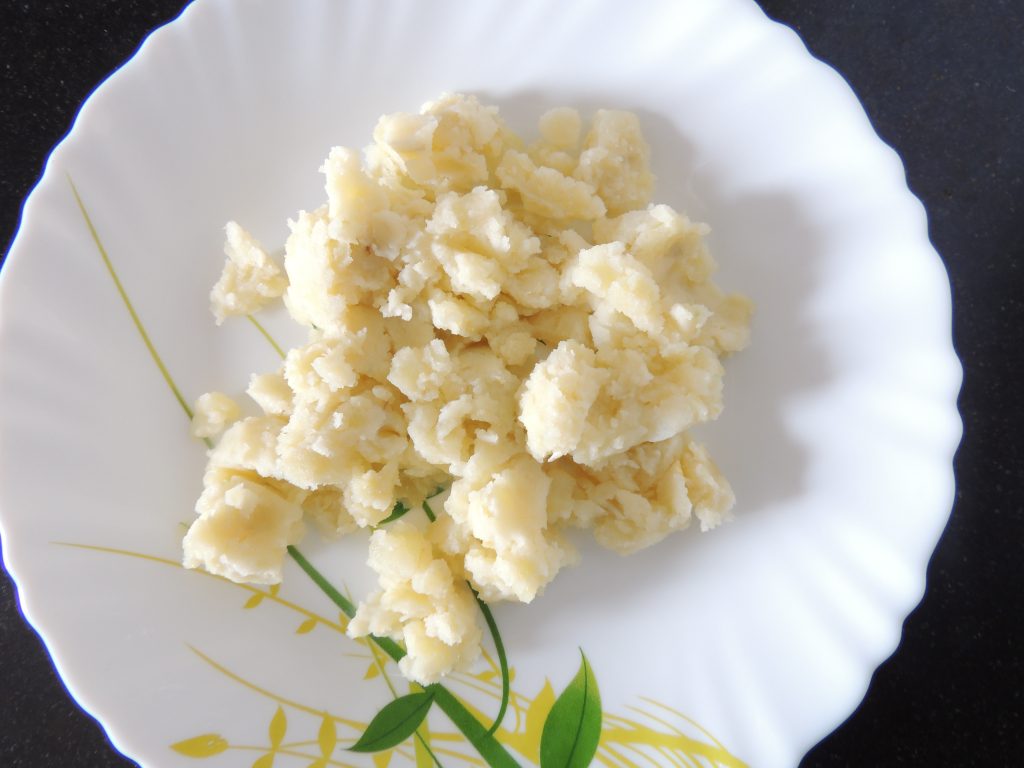
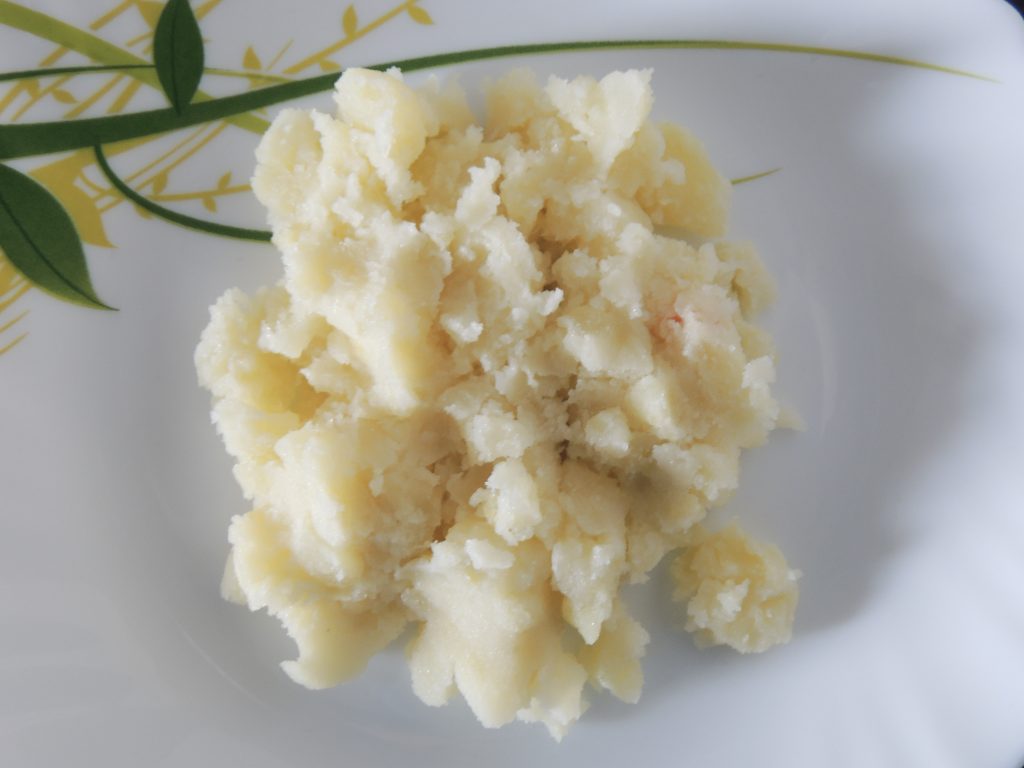
After that mash potatoes.
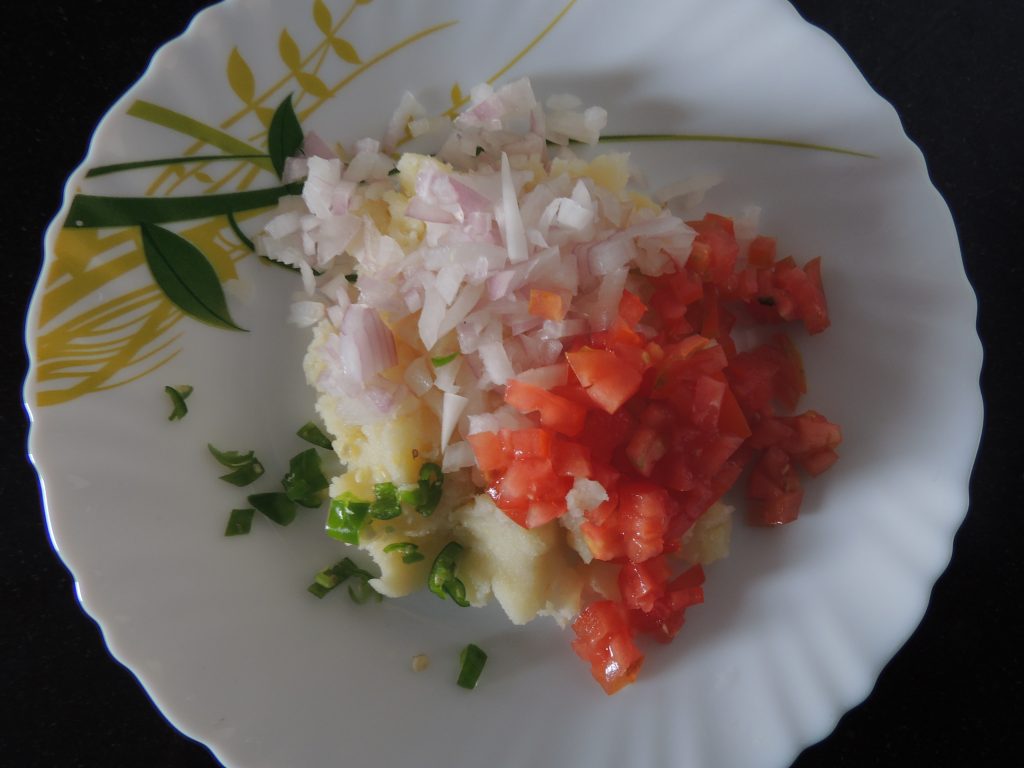
Add onion, green chilly, coriander leaves.
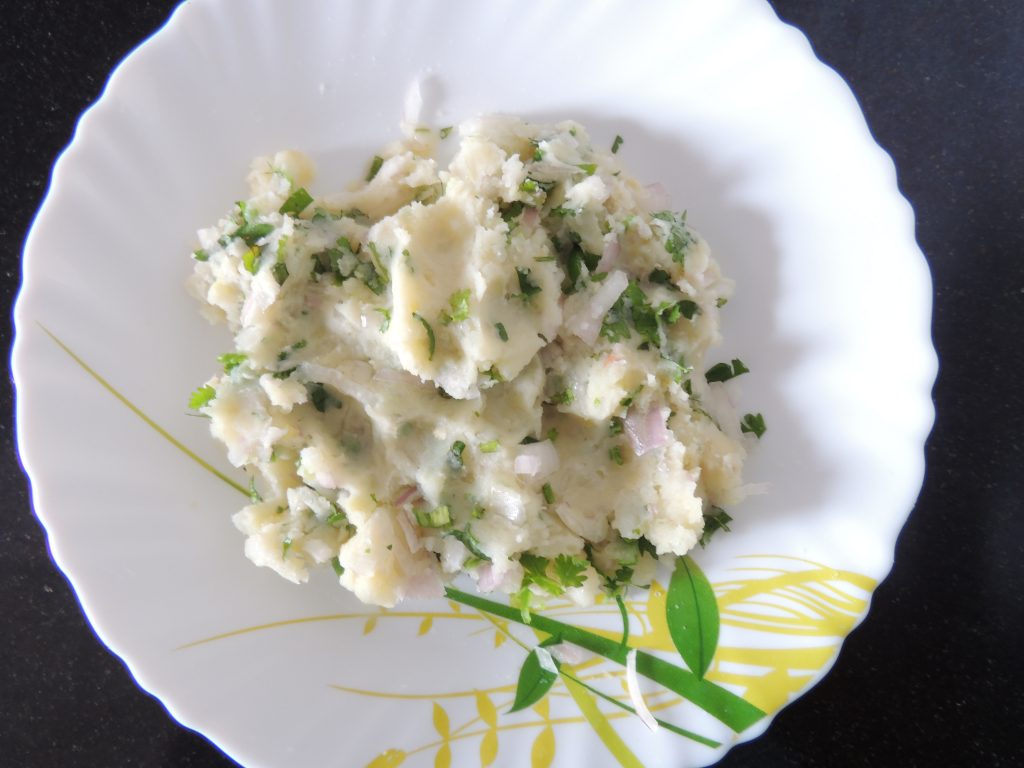
Mix all ingredients.
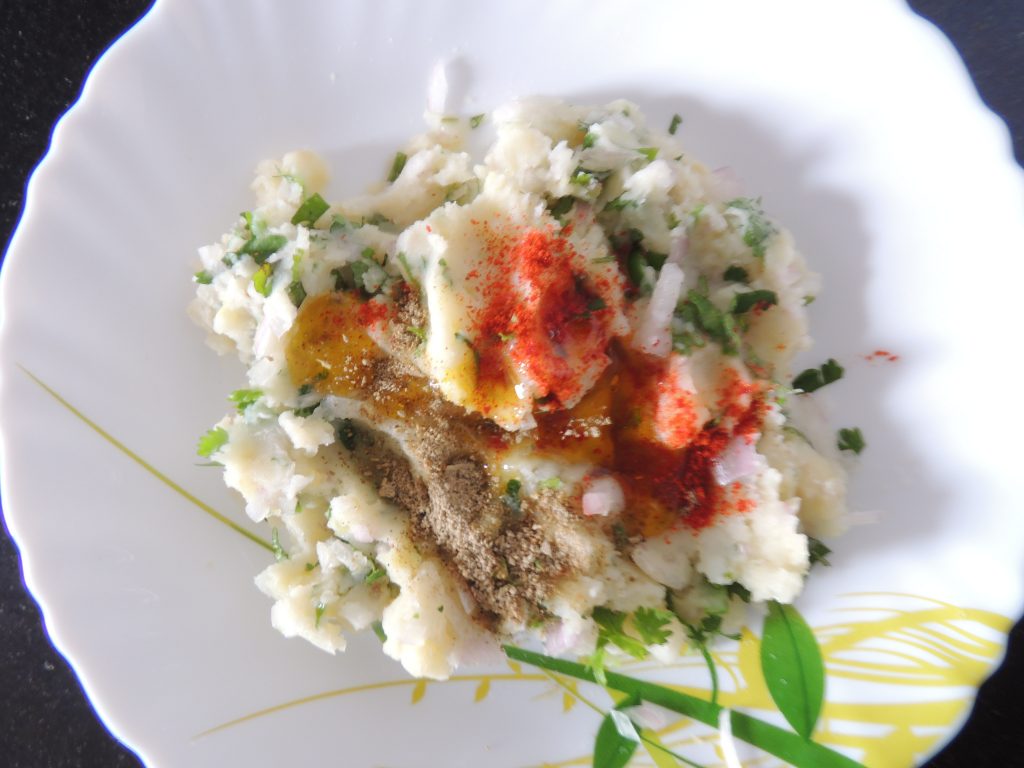
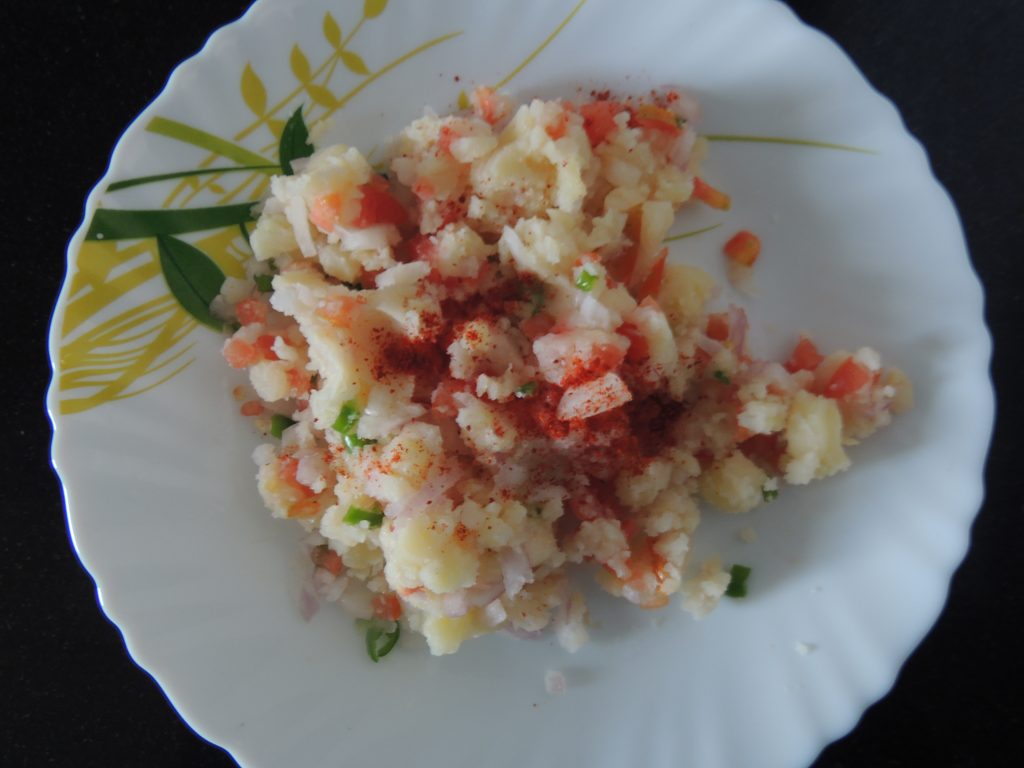
After that add red chilly powder and oil in the mixture.
If you have mango pickle then take 1 tsp of oil from the pickle.
This will add extra flavour to the mixture.
After that add salt and lemon juice and 5 tsp of water.
Now exotic, yummy and flavoured bharta / mashed potato is ready
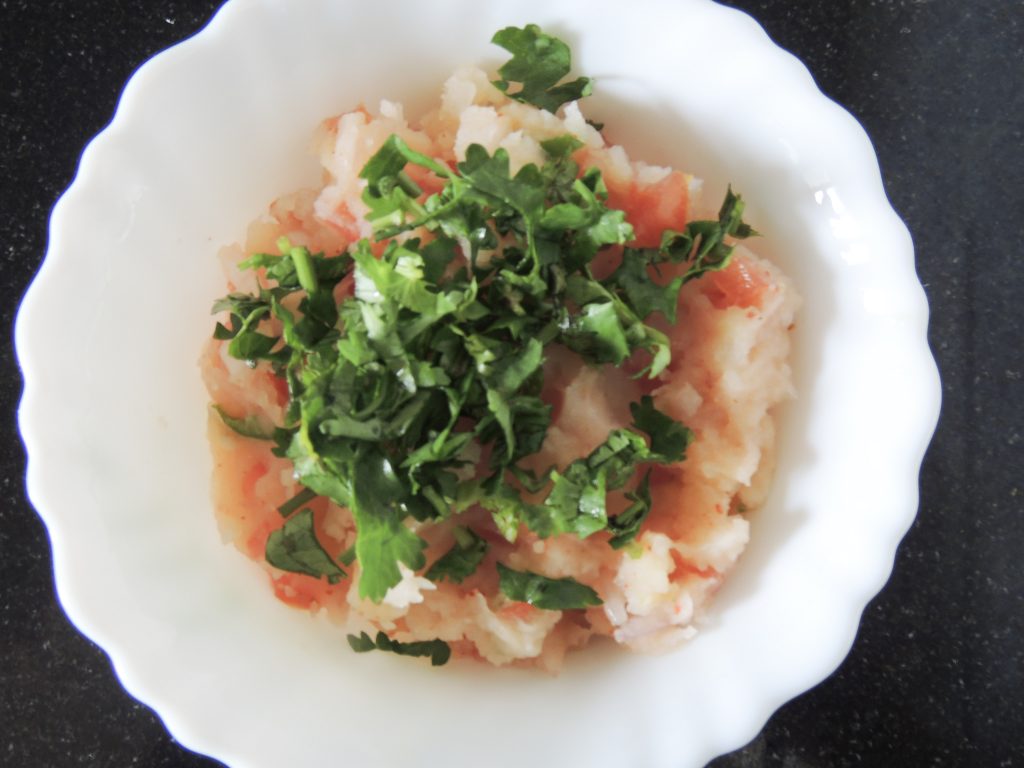
Aloo ka Bharta is a North Indian recipe made using potatoes and a lot of Indian spices. Aloo bharta has several names like chokha, bhaate popular in various part of India ( Uttar Pradesh, Bihar, Rajasthan and other states ). Mashed potatoes are mixed with spices and flavoured depending on the based of state, family and personal preference.Aloo Bharta is a super yummy Indian style spiced mashed potato recipe. This is very easy recipe and can make very quickly and exotic in eating.Aloo bharta can serve with dal and rice or with dal and chapati. You can also use in pani poori fillings.See how to make Potato Tomato Onion bharta recipe with detailed step by step photos as given below…
Course Dinner, Lunch, Main Dish, Snacks
Cuisine Indian, snacks
Prep Time 5minutes
Cook Time 5minutes
Total Time 10minutes
Servings 1People
Calories 8kcal
Equipment
Pressure Cooker
Spoon
Bowl
Ingredients
2unitPotato, Potato should be boiled
1unitonion, Chopped
1unitTomato, Chopped
1/2unitgreen chilly, Chopped
2tbspLemon Juice
1/4tbspRed Chilly Powder
1tbspGreen coriander leaves
White salt as per taste
Instructions
Take 1 raw potato.
Boil them in cooker, give 2 whistle after that close the gas stove.
Peel off the potato.
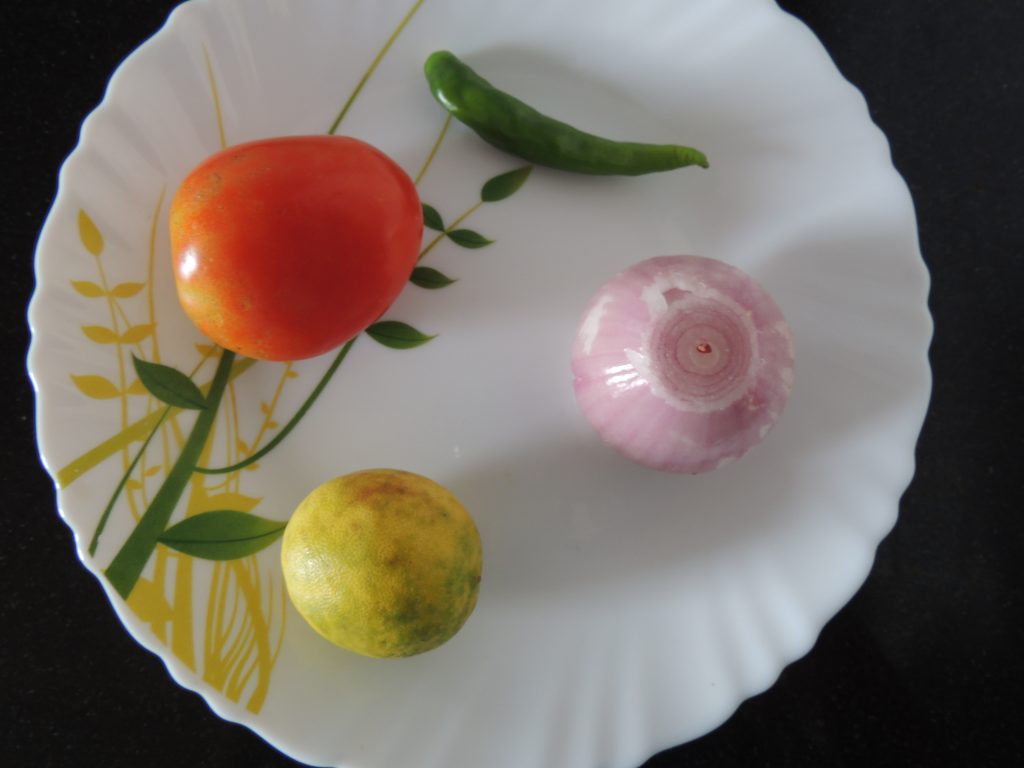
Take potato, tomato, green chilly, onion and lemon.
Chop tomato, potato, green chilly.
After that mash potato.
After that mix tomato, potato, green chilly, mashed potato.
Sprinkle salt, red chilly powder.
After that add 5 tbsp water and lemon juice in the bharta.
Sprinkle coriander leave in the bharta.
After mixing, bharta is ready. Enjoy bharta with rice and dal or with chapati and dal.
Notes
If you do not have lemon then you can add amchur / raw mango powder.You can try below chutney’s with Aloo Tamatar Pyaz Bharta …
video por no español crystal chase natasha nice xxnxl.vip alice in wonderland xxx the best celeb nudes, mia khalifa porn bideos nude 18 yr old xnxxbangbros.com the best free porn hd izzy green onlyfans leak, hannah palmer onlyfans leaked trisha paytas inly fans motherandsonporn.com blowjobs in the movies kristen stewart nude leaked
naked women working out tail blazer book of spells animation cuckoldwife.win big tit blonde milf 2023 avn awards nominees, jonah and rebecca in passion hd 9 to 5 - days in porn xnnx.vip to hot to handle porn mother and son porn, mommy caught son masturbating share girlfriend with friend xxxfreeporn.win asian sloppy blow job taboo porn for free
leaked videos of celebrities sierra skye only fans leaks wifexxx.vip black on white gay porn mom porn hub video, fotos de las vergas mas grandes beauty salon boner bonanza sexporn.win mother in law anal rick & morty porn comics, pussy of ariana grande ashley serrano onlyfans leak swingerwife.win coger con mi hermana sword art online porn
woman has sex on twitch the boys nude scene xnxxteenvideos.com me.cojo a mi sobrina eva lovia only fans, cojiendo a mi mamá biggest boobs and butt milfrabbit.net top japanes porn star videos por nos maduras, black abd white porn women at the glory hole pornhiho.net bme pain olympic 2002 mom striping for son
swinger clubs in ohio sandra bullock nude pictures videoprono.vip legend of the seeker n hen tai .net, cumming in a sock the minxx club nude latexporn.win kendra spade pure taboo demon slayer porn comic, rick amd morty a way back home dad seduces step daughter hotsexvideo.vip skylar mae leaked onlyfans lauren spencer uk leak
krissy lynn step mom massage with a happy end bbwxnnx.com best for free porn man with two penises
Don`t copy text!
fantasy factory adult store wife getting cream pie xxnx.vip videos on sexual positions free full porn mivies, boom egg male toy gay video blow job wifeporn.win huge cumshots on tits how to eat a pussy., naked and afraid xxx amanda cerny leak onlyfans xxxpor.win wendy naked gravity falls nip slips emma watson