Baby Corn / बेबी कॉर्न
Baby corn (also known as young corn, cornets or baby sweetcorn) is a cereal grain taken from corn (maize) harvested early while the stalks are still small and immature. It typically is eaten whole – cob included – in contrast to mature corn, whose cob is too tough for human consumption. It is eaten both raw and cooked. Baby corn is common in stir fry dishes.Maize also is known as corn.It’s rich in fiber, vitamins and minerals. Processed corn products are not as nutritious.Baby corn is very easy to make, baby corn is very tasty to eat,Today I will tell you to make very easy and delicious baby corn vegetable.Please follow the method given below…
Servings 4 People
Calories 48kcal
Equipment
- Kadhai / Fry Pan
- Big Spoon
- Knife
Ingredients
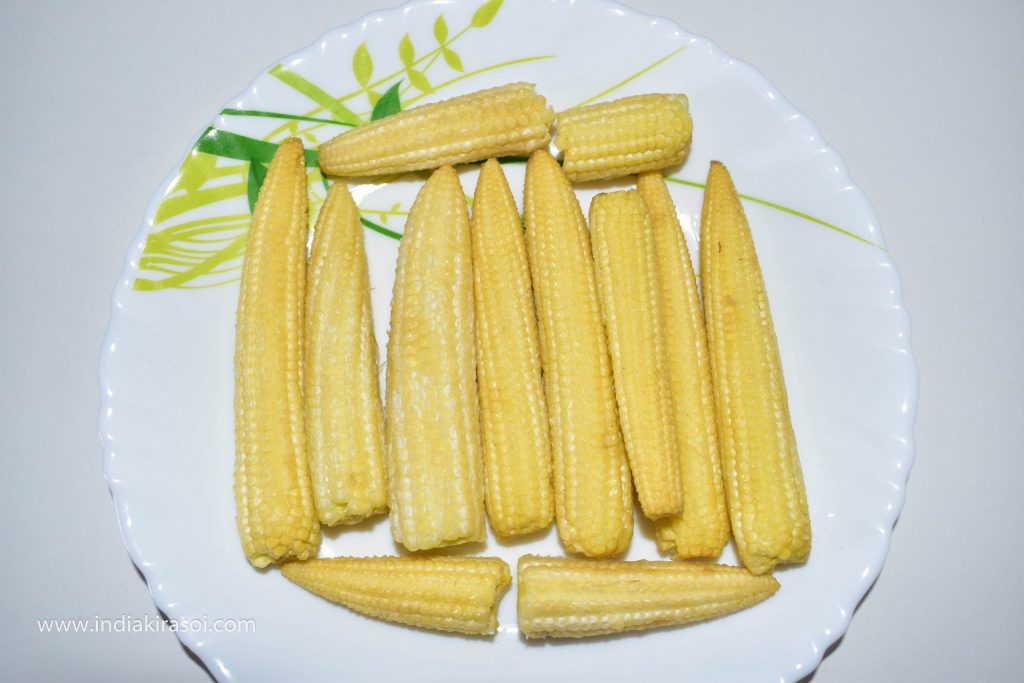
- 200 Grams Baby Corn
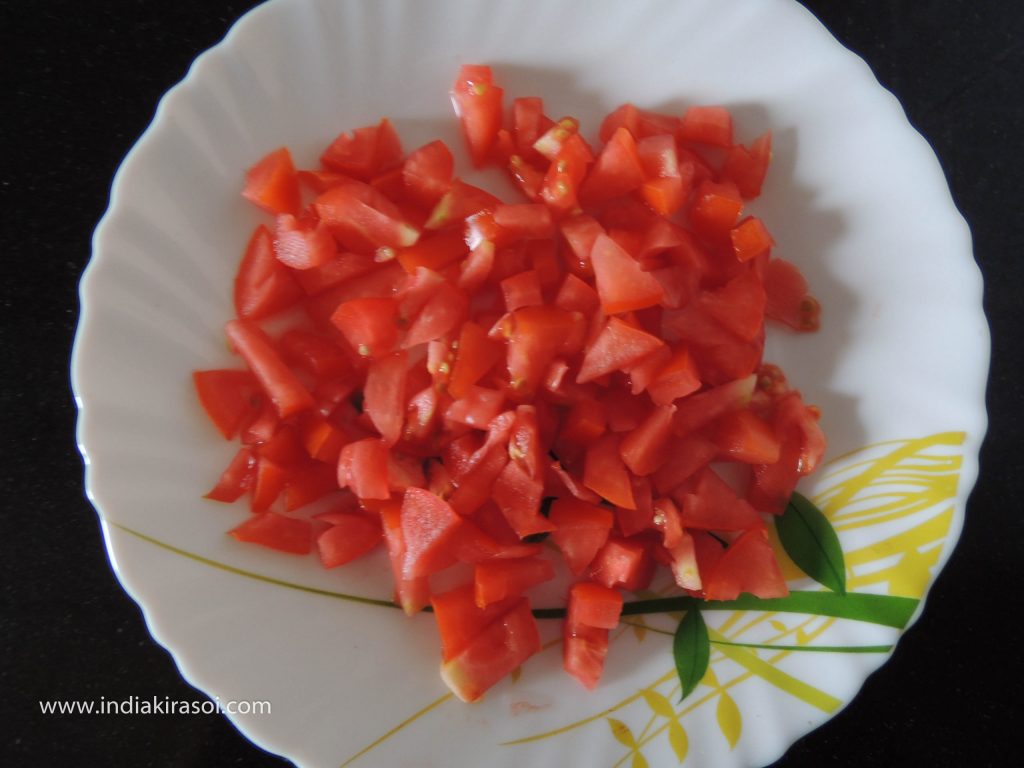
- 1 Unit Big Tomato / Bada Tamatar
- 1 tsp Turmeric (haldi) powder
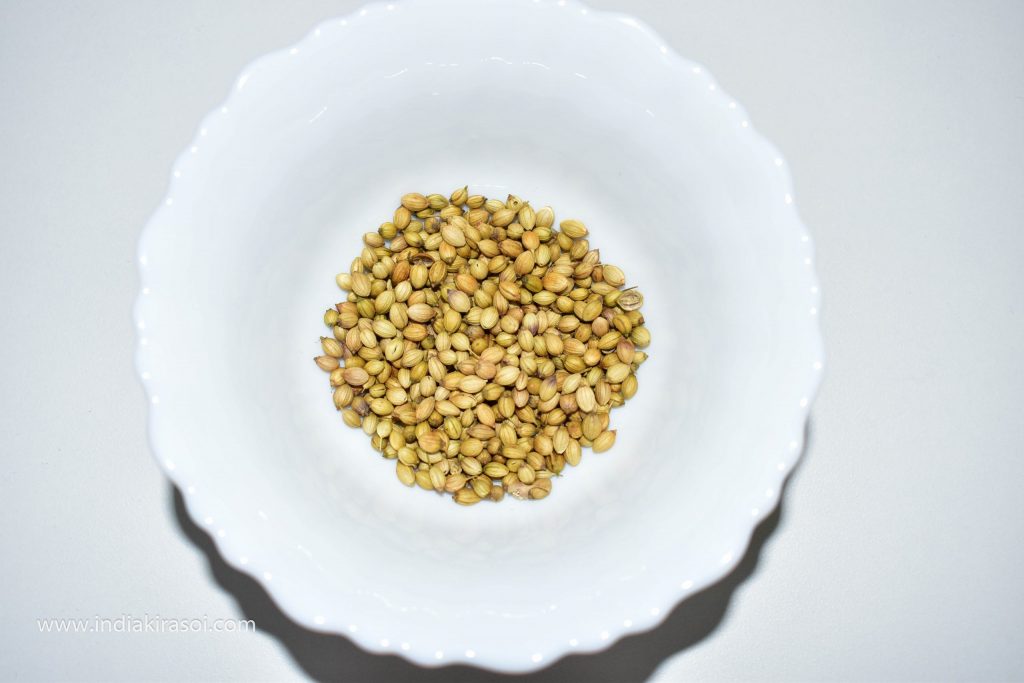
- 1/2 tsp Coriander / Dhaniya Powder
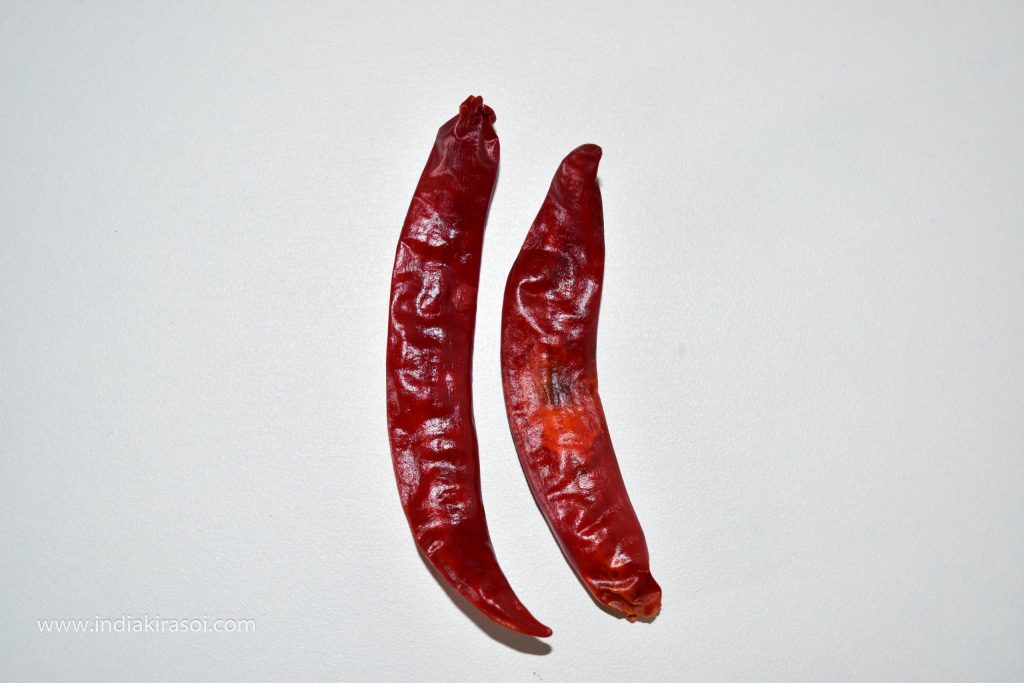
- 1/2 tsp Red chili / Lal Mirch Powder
- 1/4 tsp Garam Masala Powder
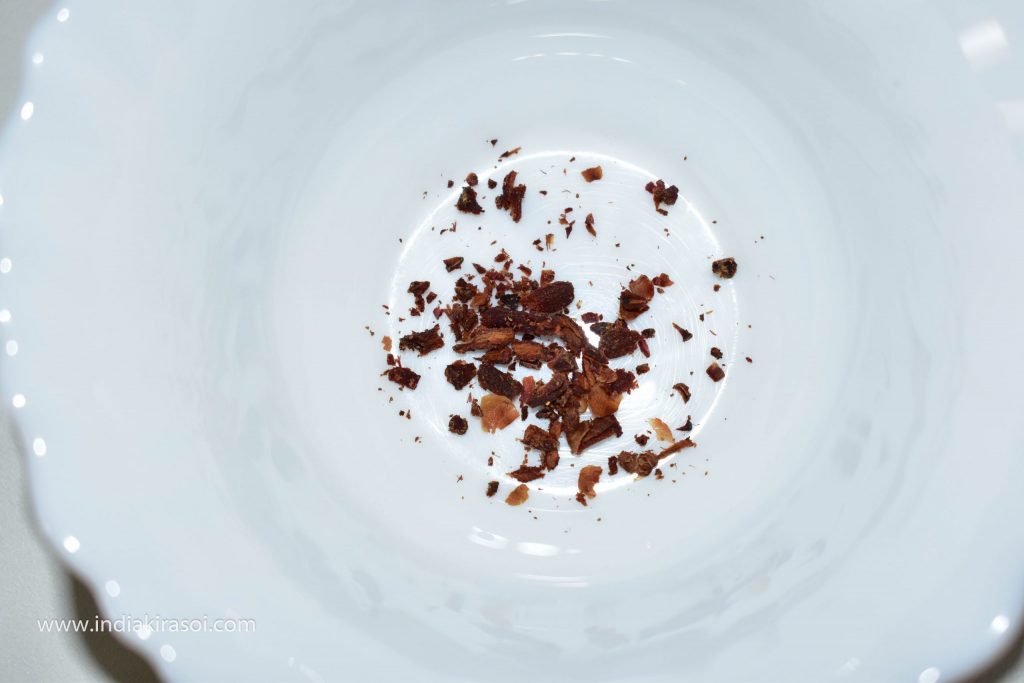
- 1/2 tsp Raw Mango / Amchur Powder
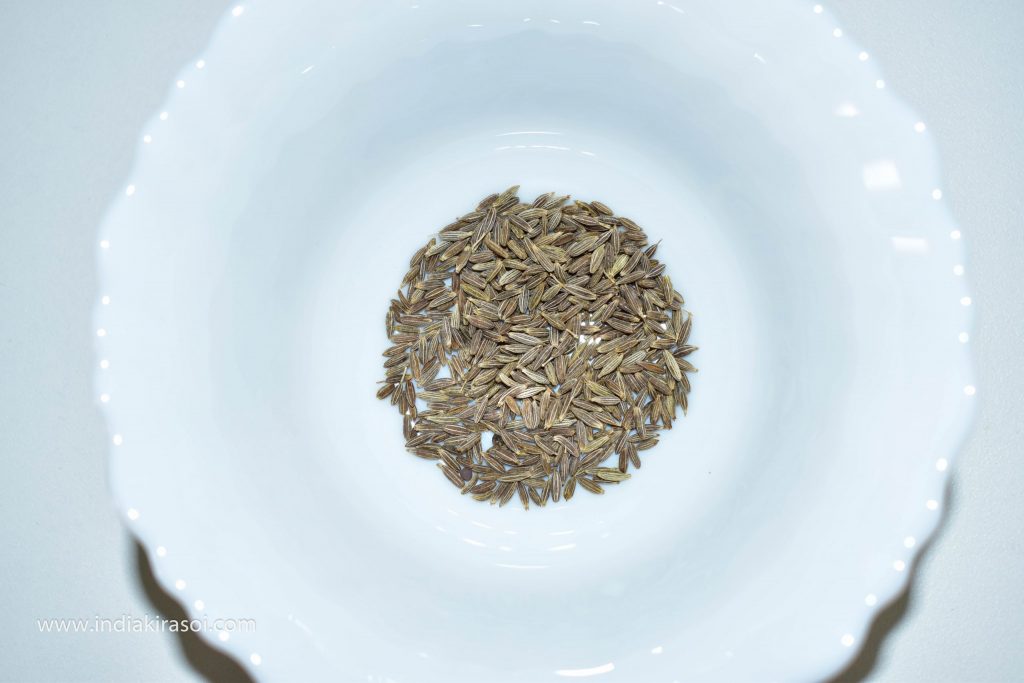
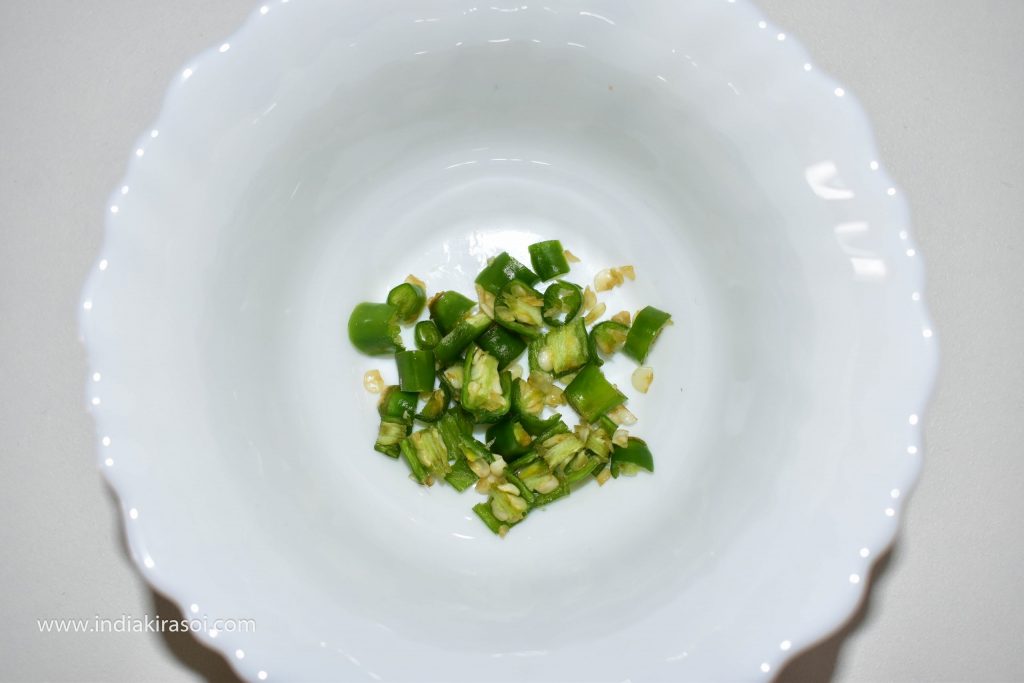
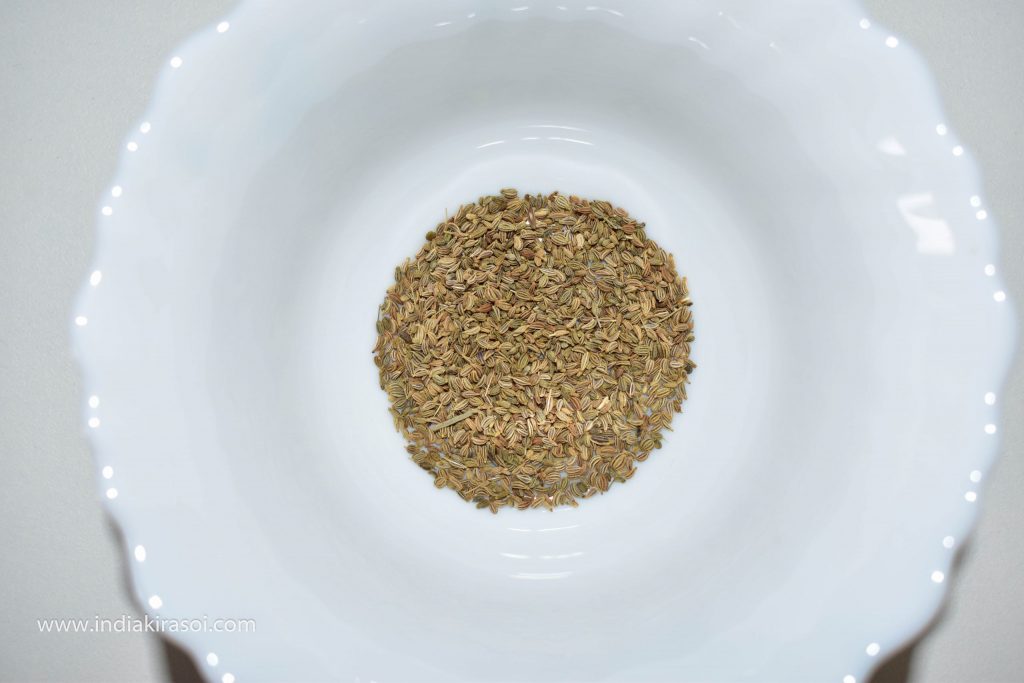
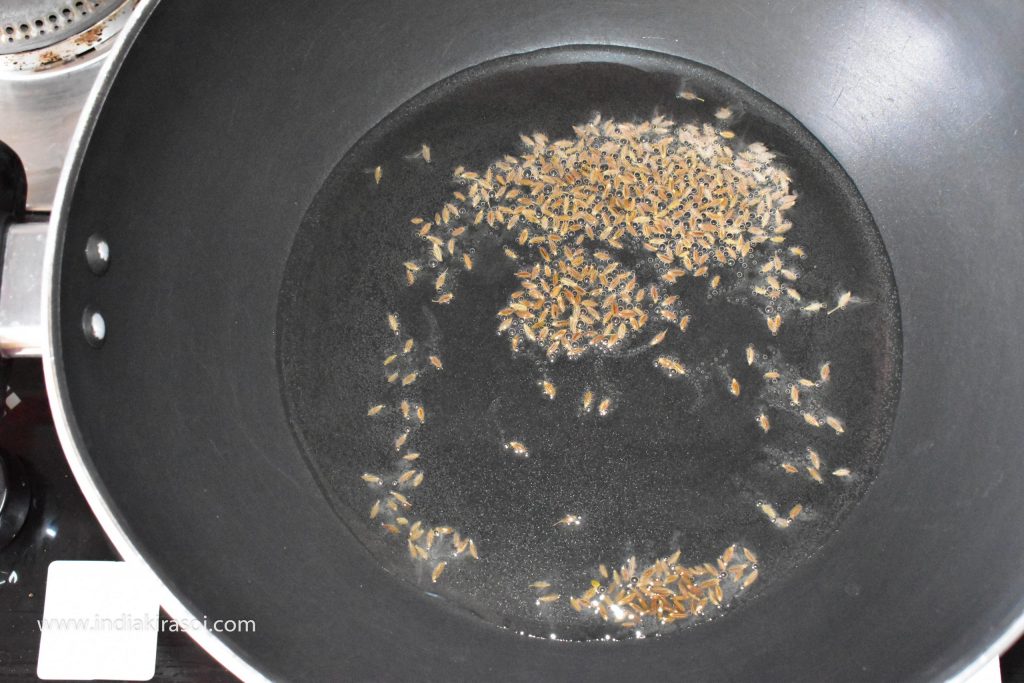
- 1/2 tsp Cumin / Jeera Seeds
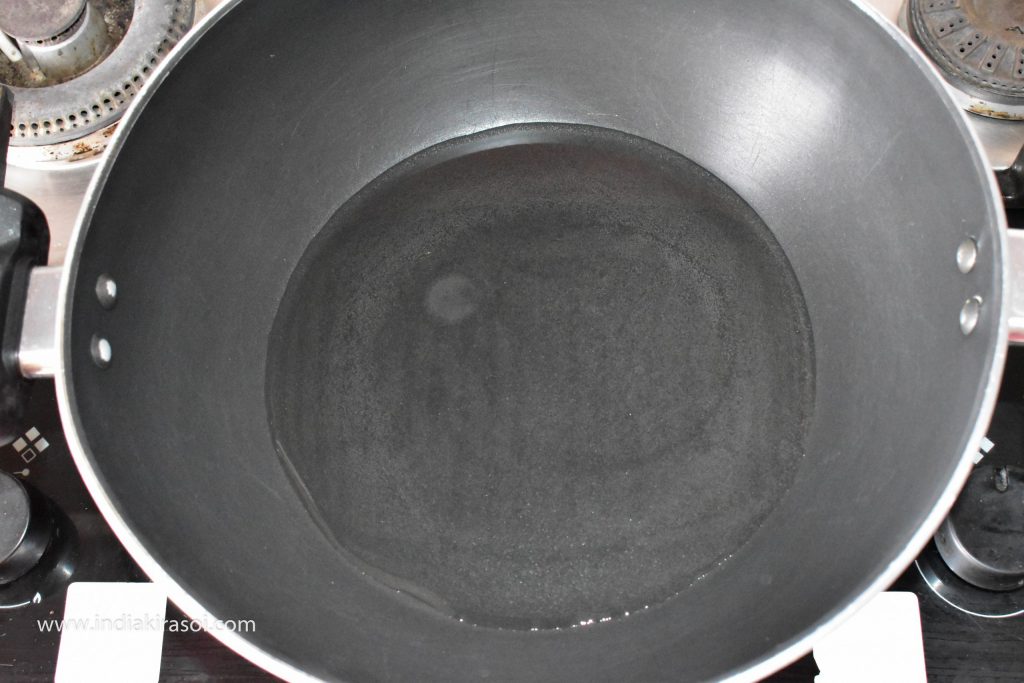
- 2 tsp Oil / Tel
- 1 Cube Cheese / Paneer
- as per taste Salt / Namak
Instructions
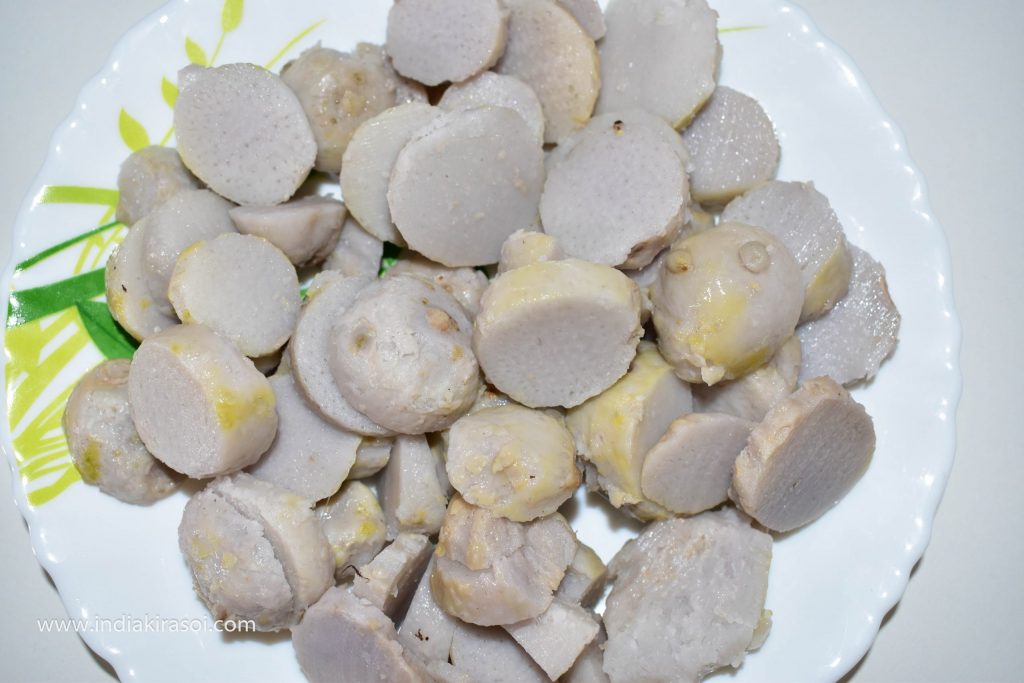
- Take 200 grams of baby corn to make baby corn.

- Wash baby corn thoroughly.
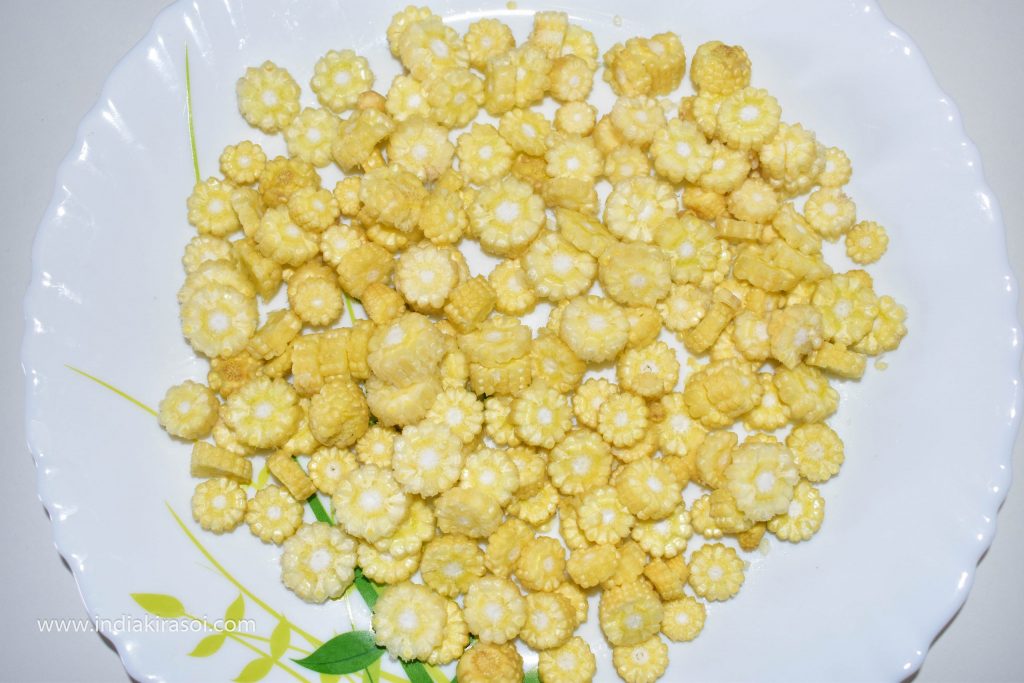
- Cut baby corn into thin slices.
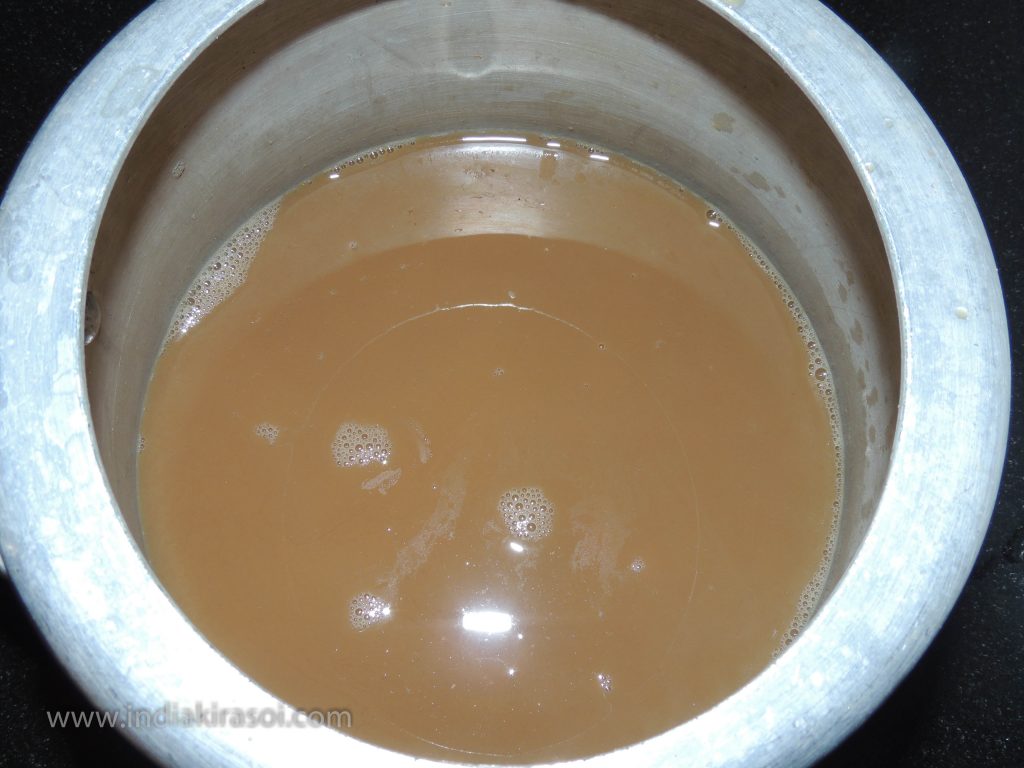
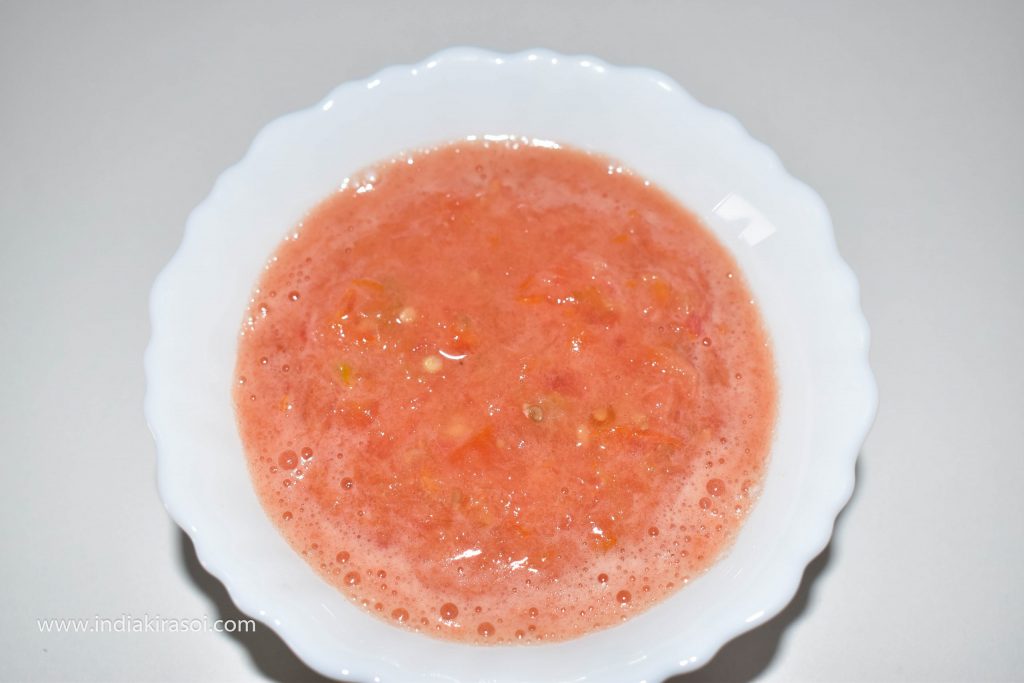
- Take a big tomato and mix it into a paste.
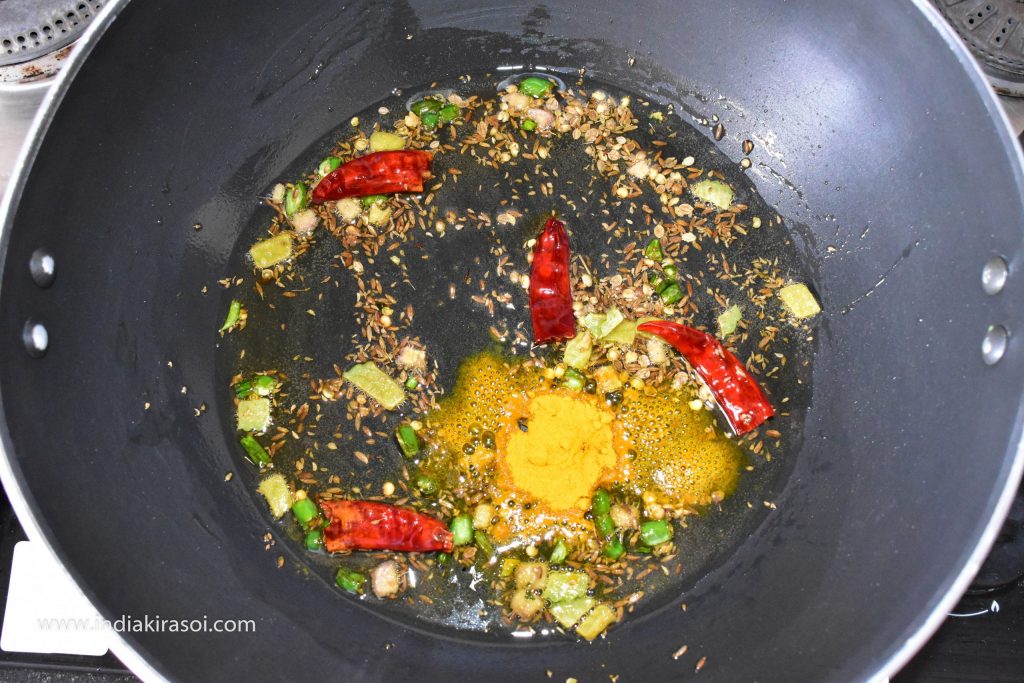
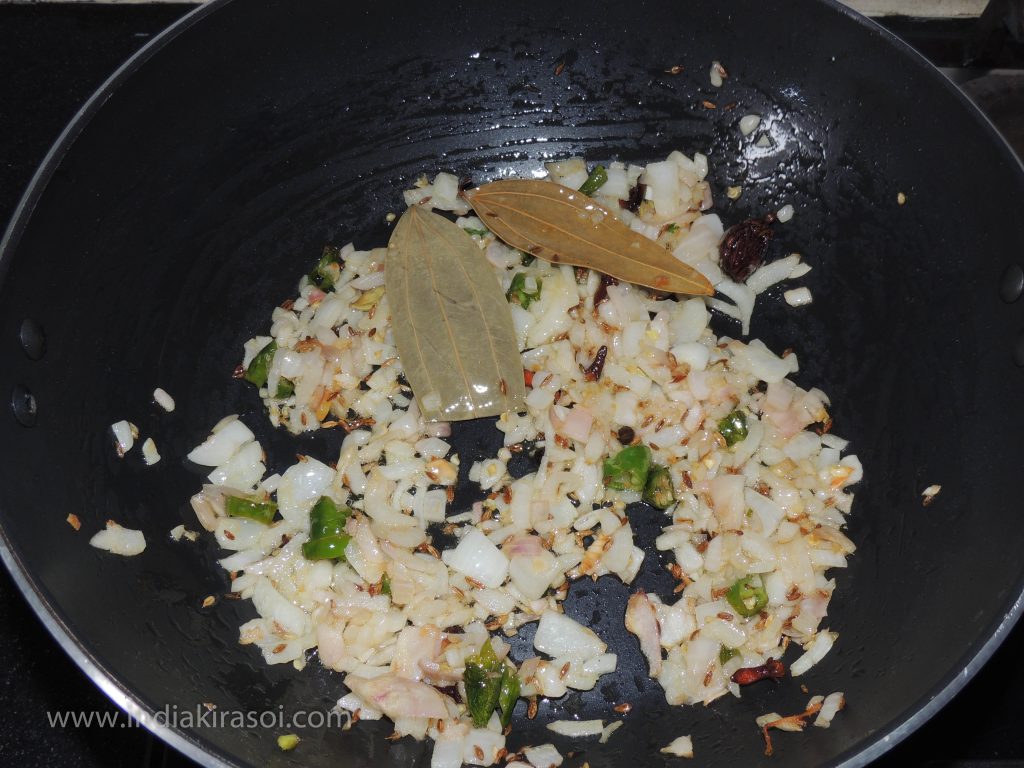
- Put kadhai/fry pan on the gas.
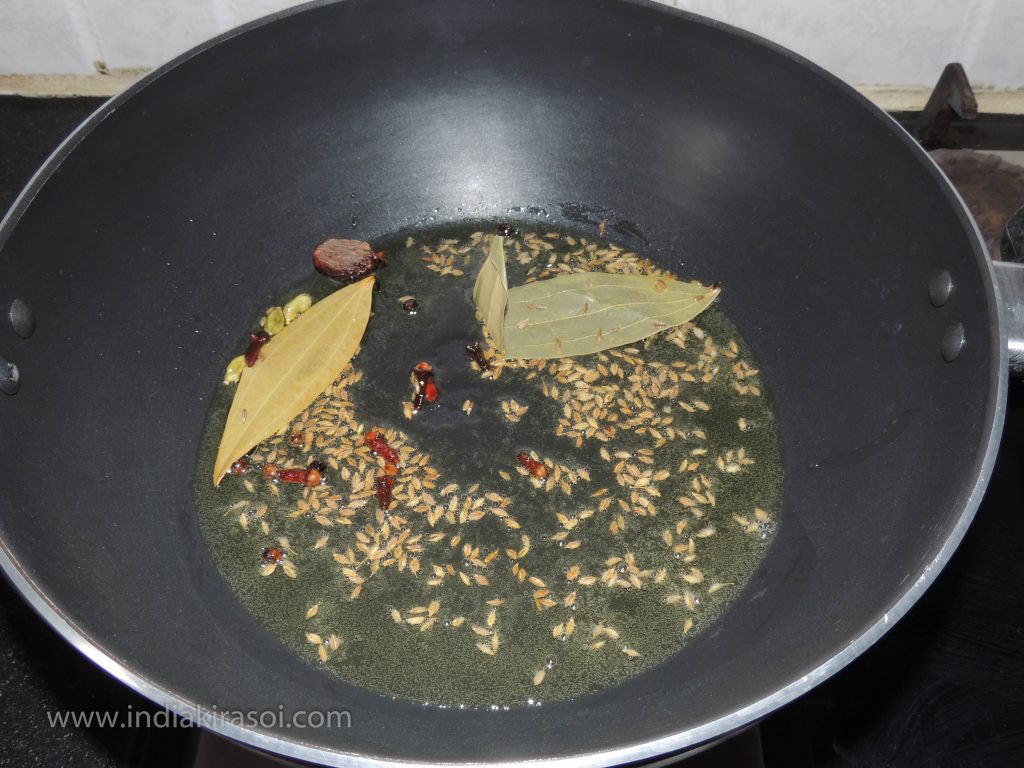
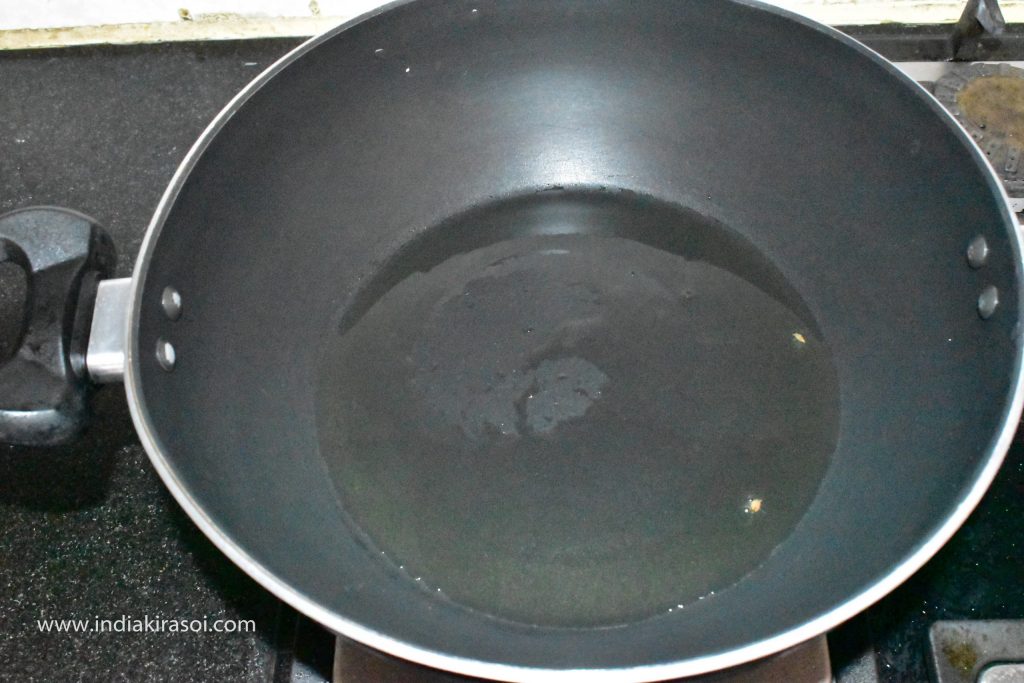
- Put 2 teaspoon oil in the kadhai/fry pan.
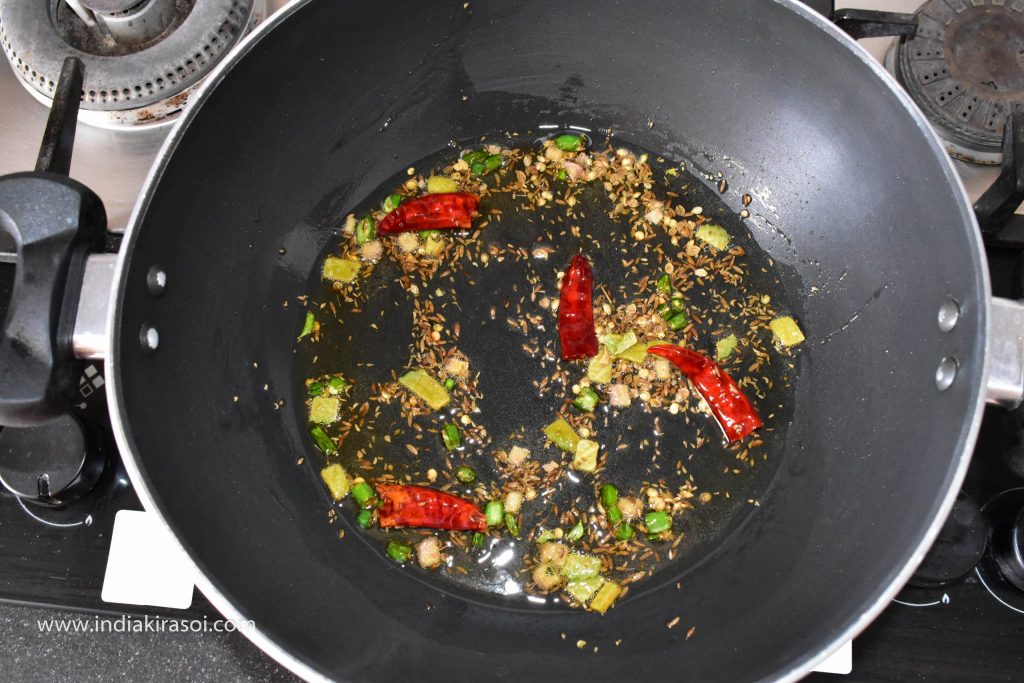
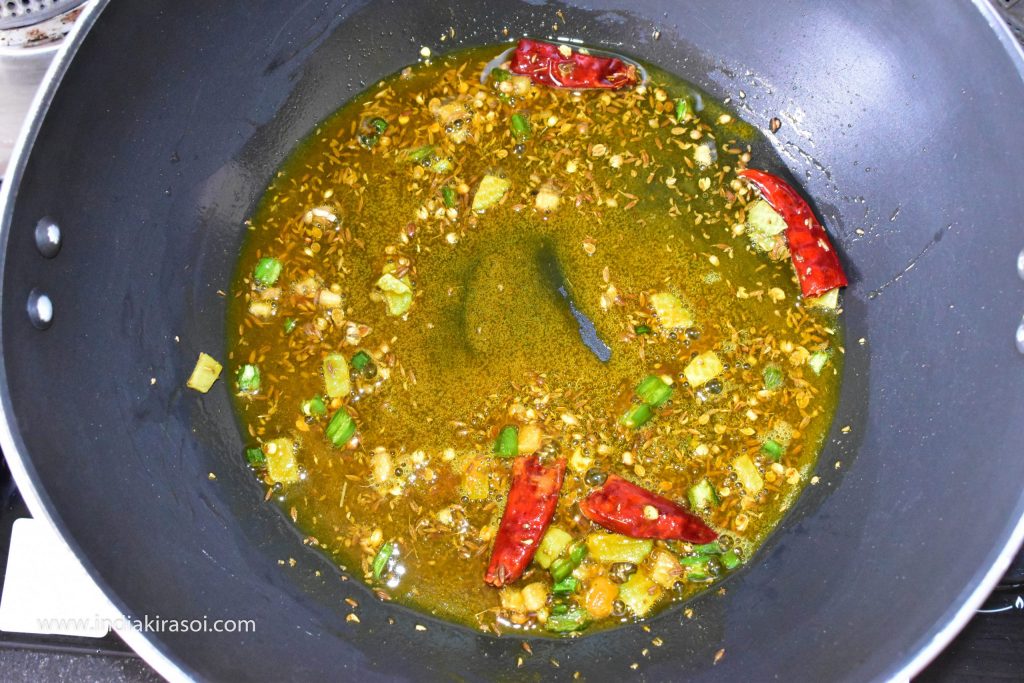
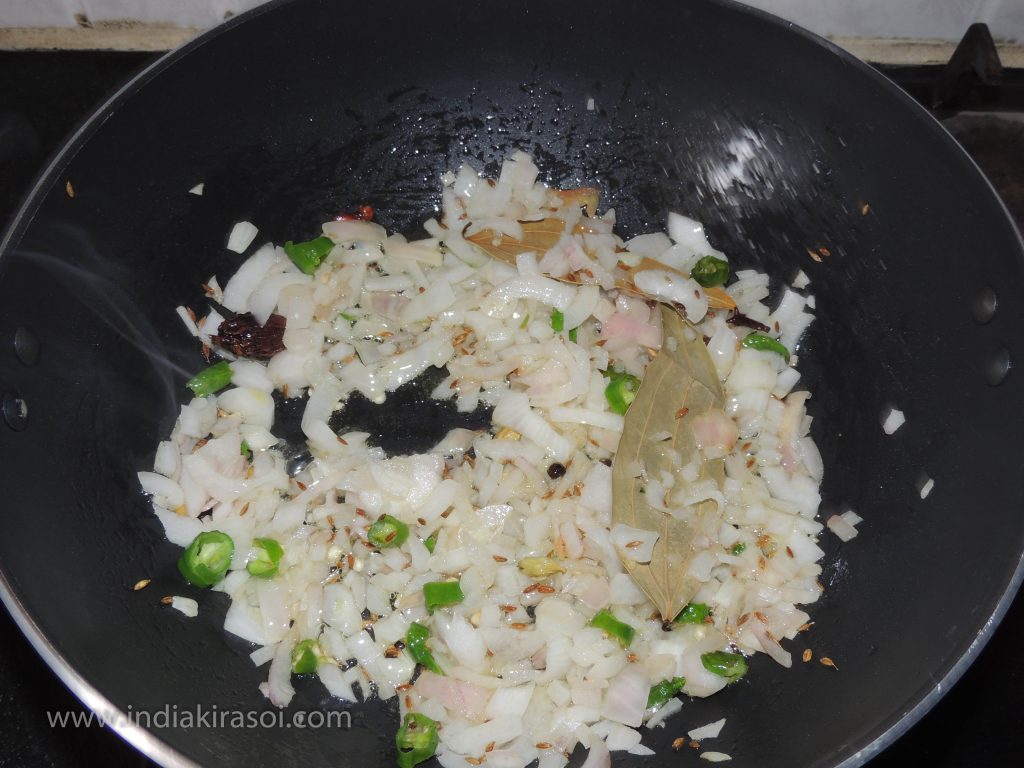
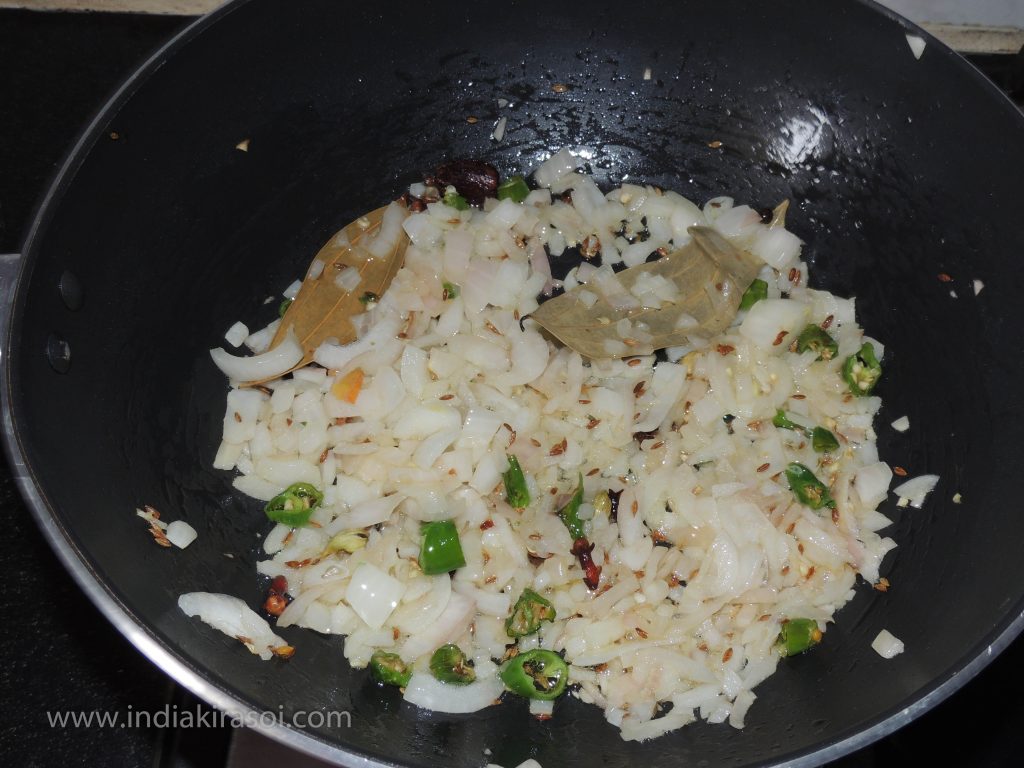
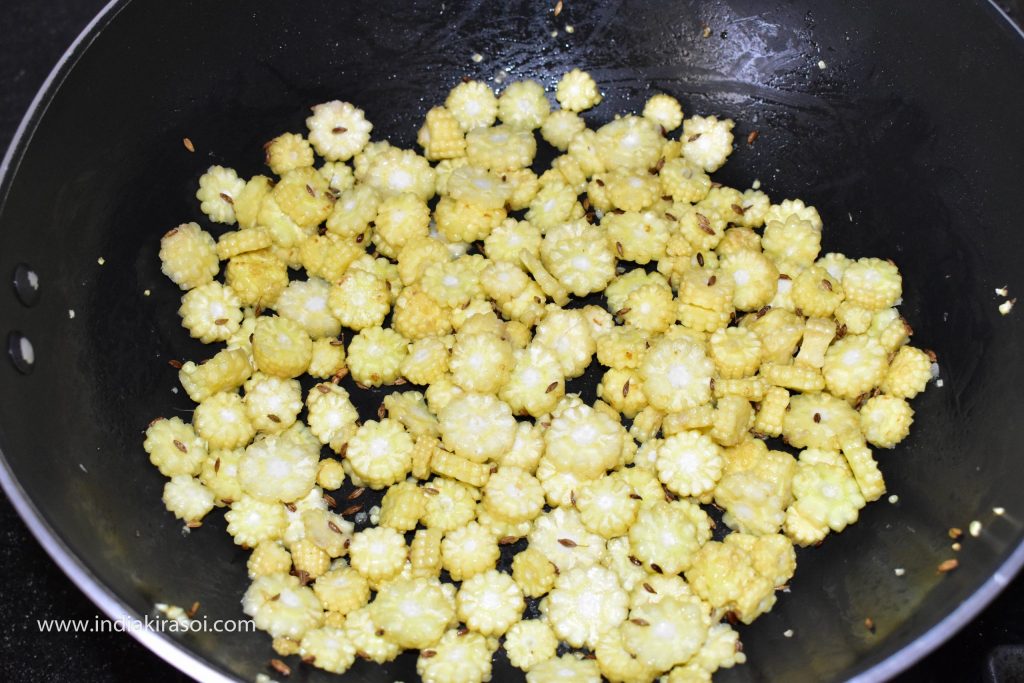
- When the oil is hot, add 1/2 teaspoon cumin seeds to the oil.
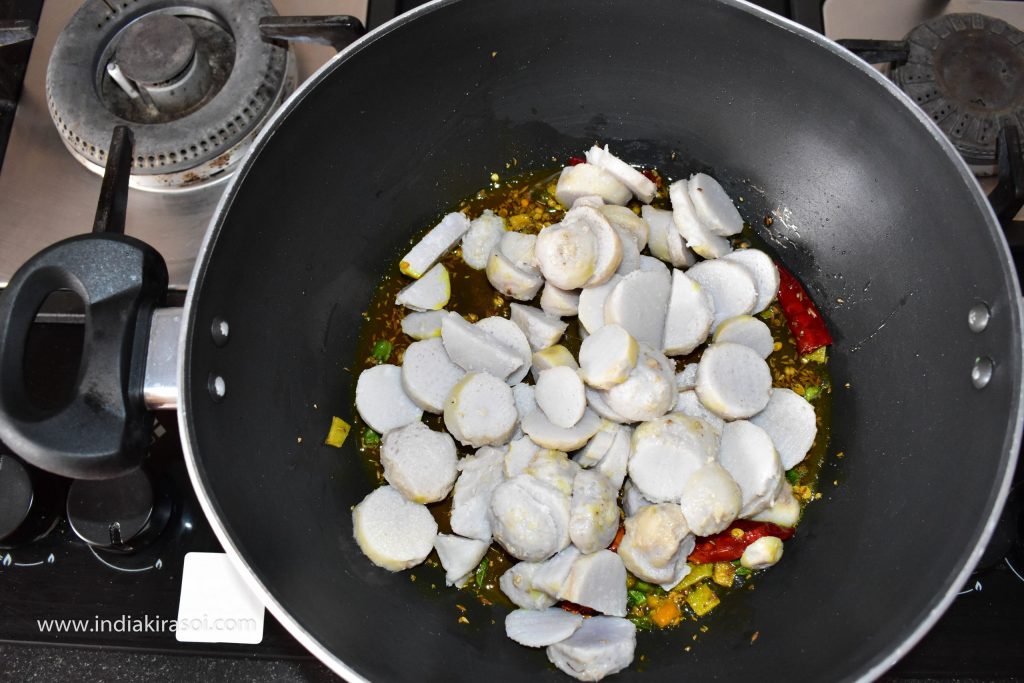
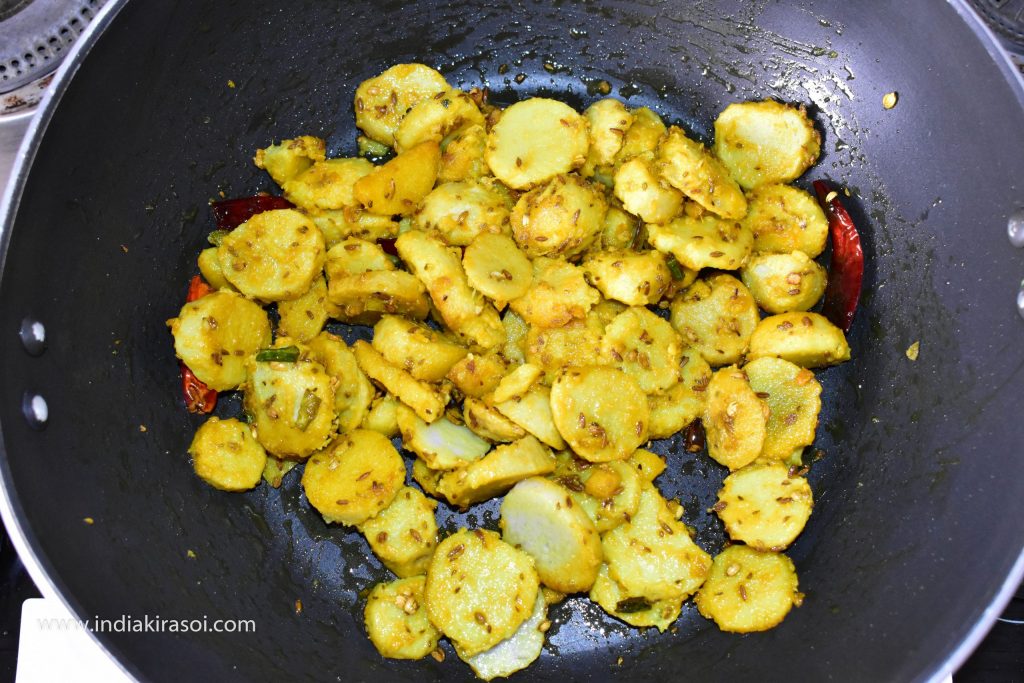
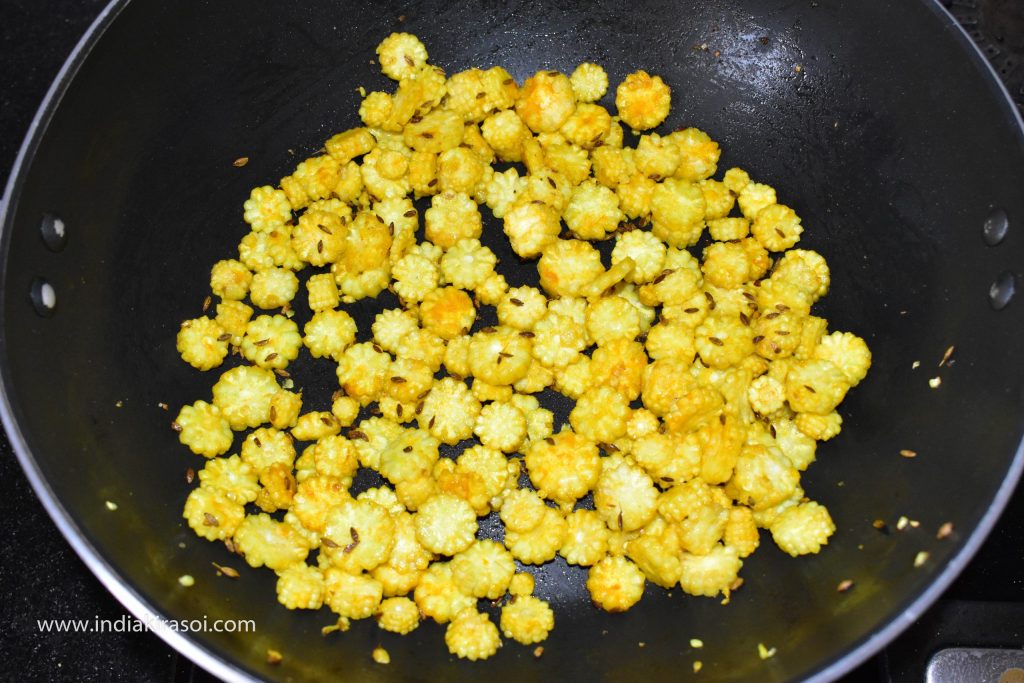
- When the cumin seeds crackle, add chopped baby corn.
- Add 1/2 teaspoon turmeric to baby corn.
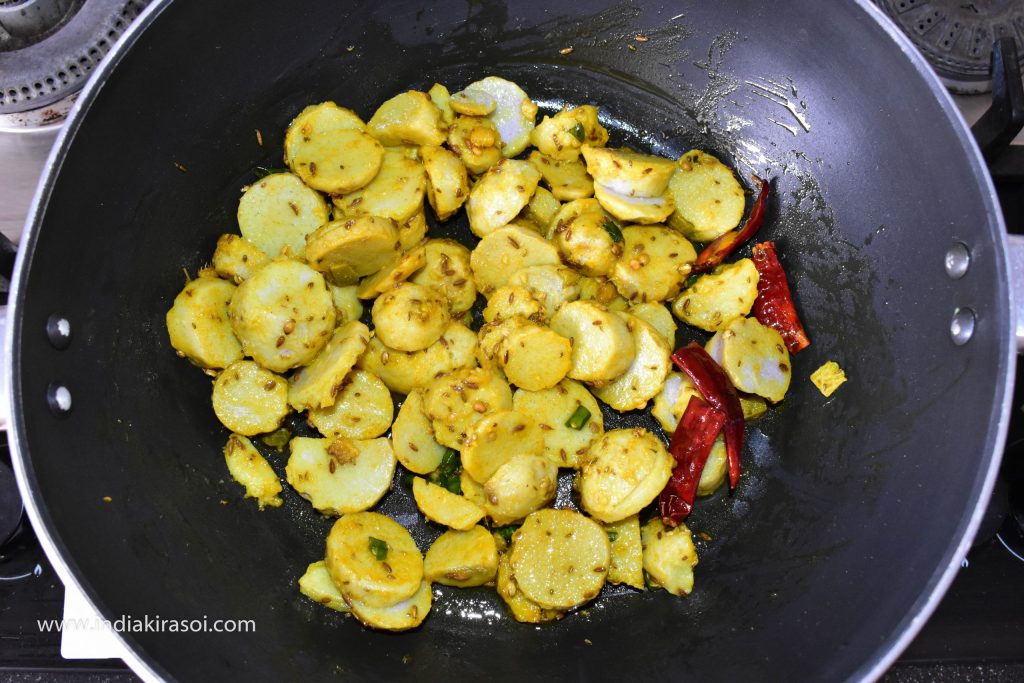
- Fry baby corn for a minute.
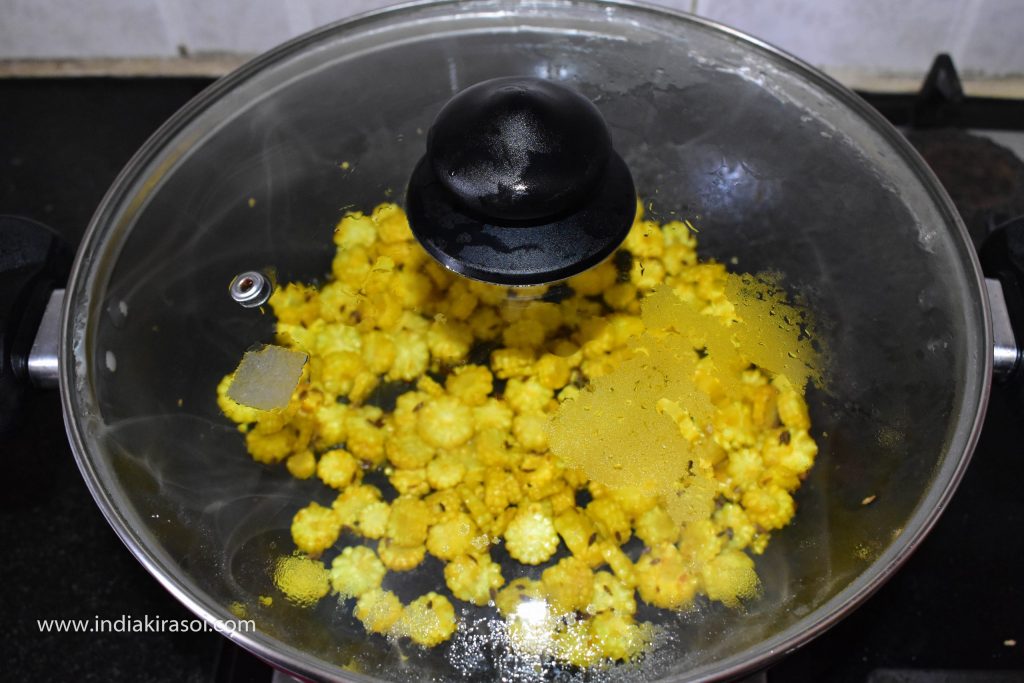
- Turn down the flame to low.
- Cover the lid on the kadhai/fry pan.
- Cook baby corn for 2 minutes.
- After 2 minutes remove the baby corn in a plate and keep it aside.
- Put the same kadhai /fry pan on the gas.
- If you are using nonstick dishes, then there is no need to add oil again.
- If you are not using nonstick dishes, add a spoon of oil to the pan.
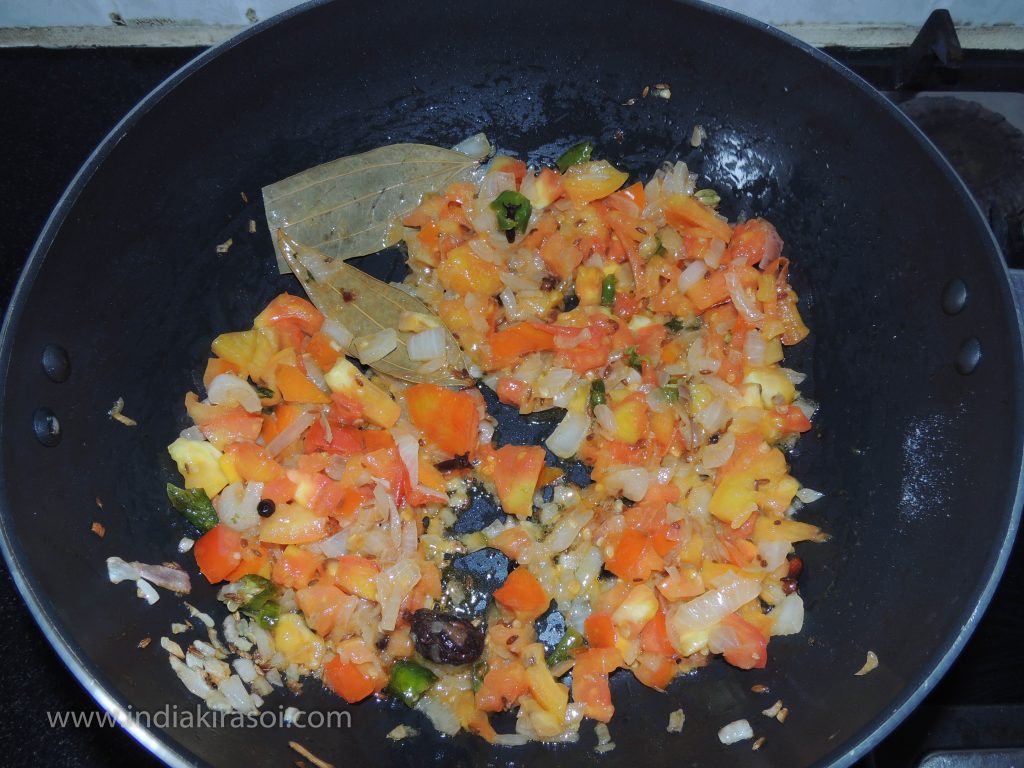
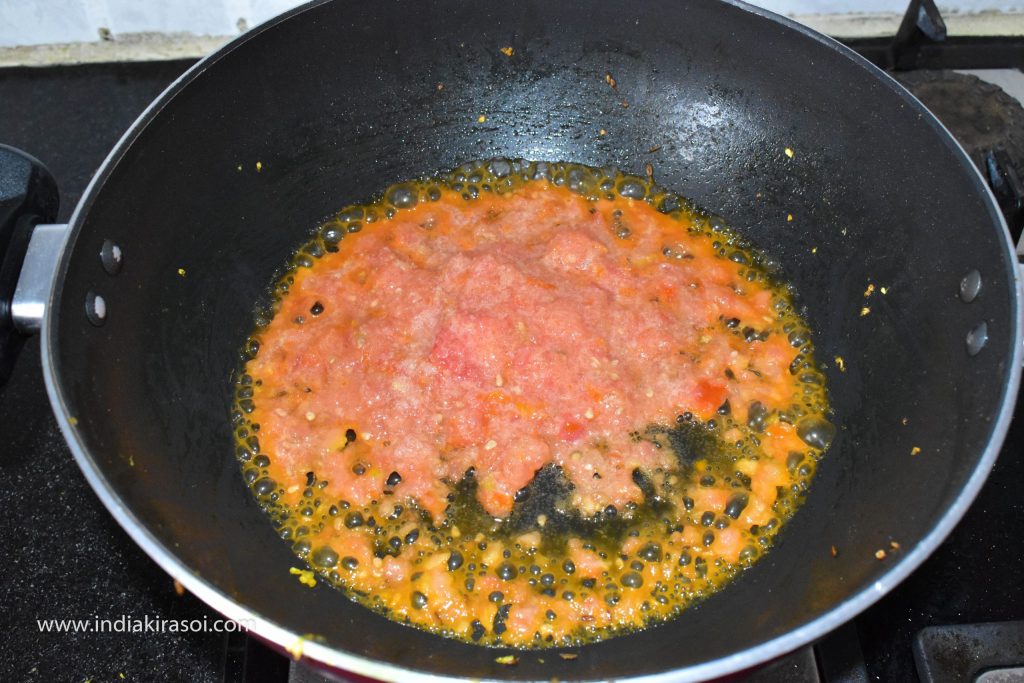
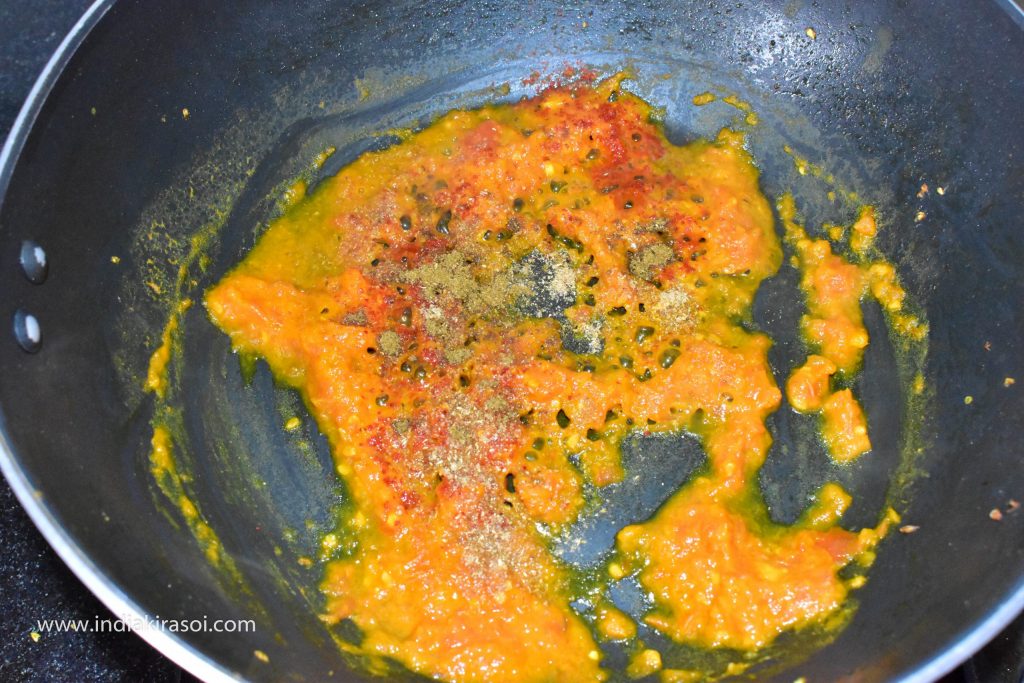
- After that add paste of tomato in kadhai /fry pan.
- Then add 1/2 teaspoon turmeric powder to the frying pan.
- Mix turmeric with a spoon and cook. Reduce the flame of the gas.
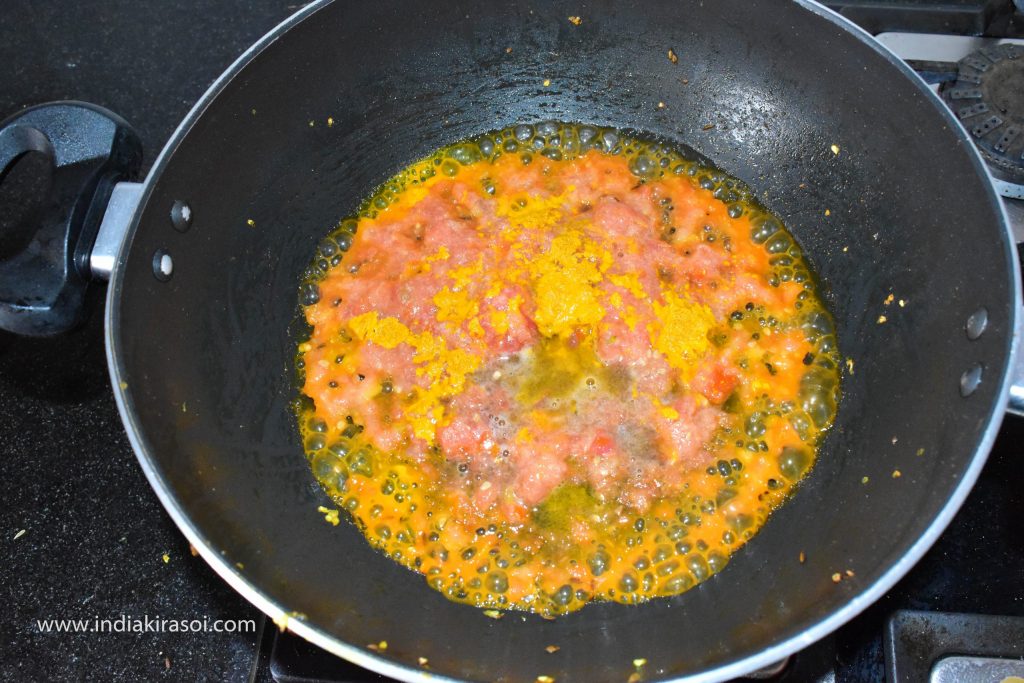
- Let tomatoes cook.
- When tomatoes are cooked, add half teaspoon coriander powder, half teaspoon red chili powder and 1/4 teaspoon garam masala powder.
- Do not add garam masala if you do not like garam masala.
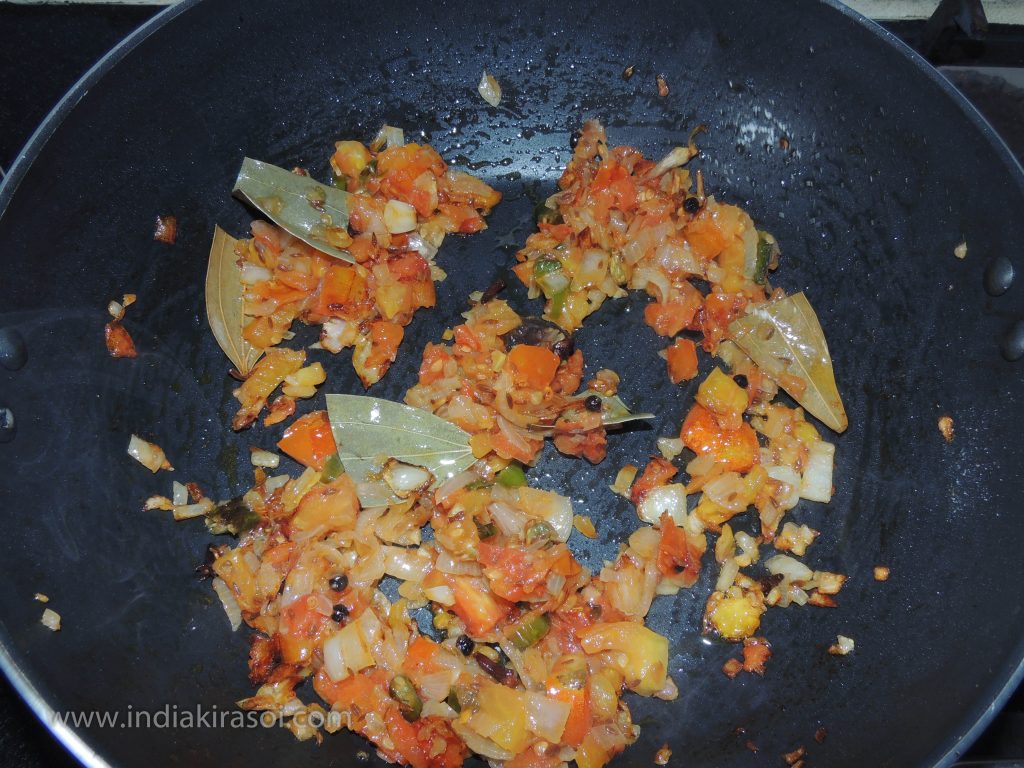
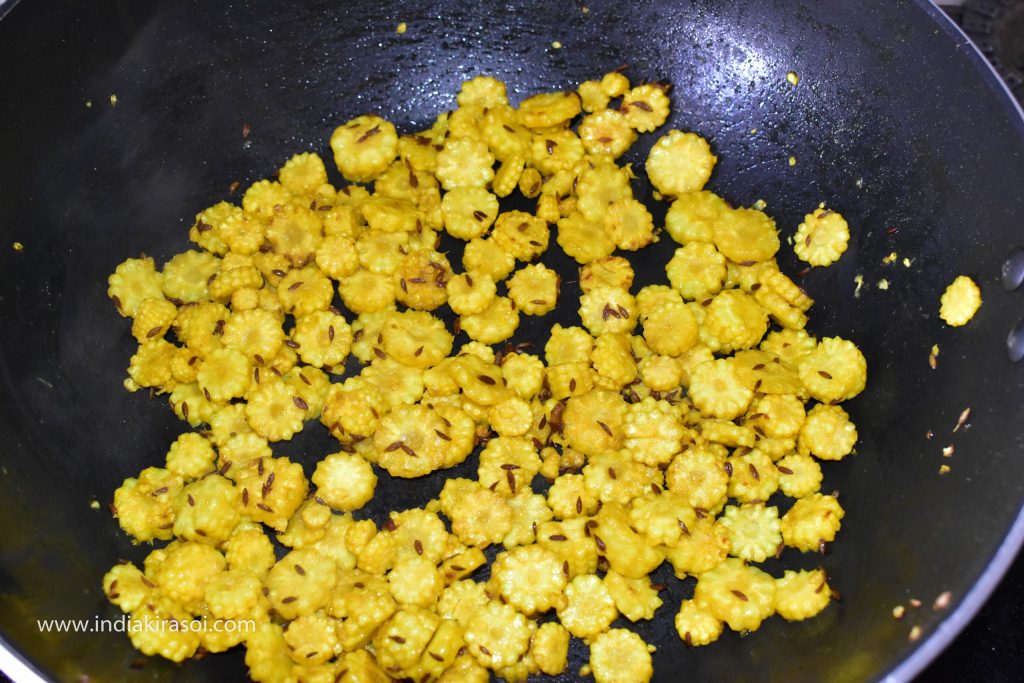
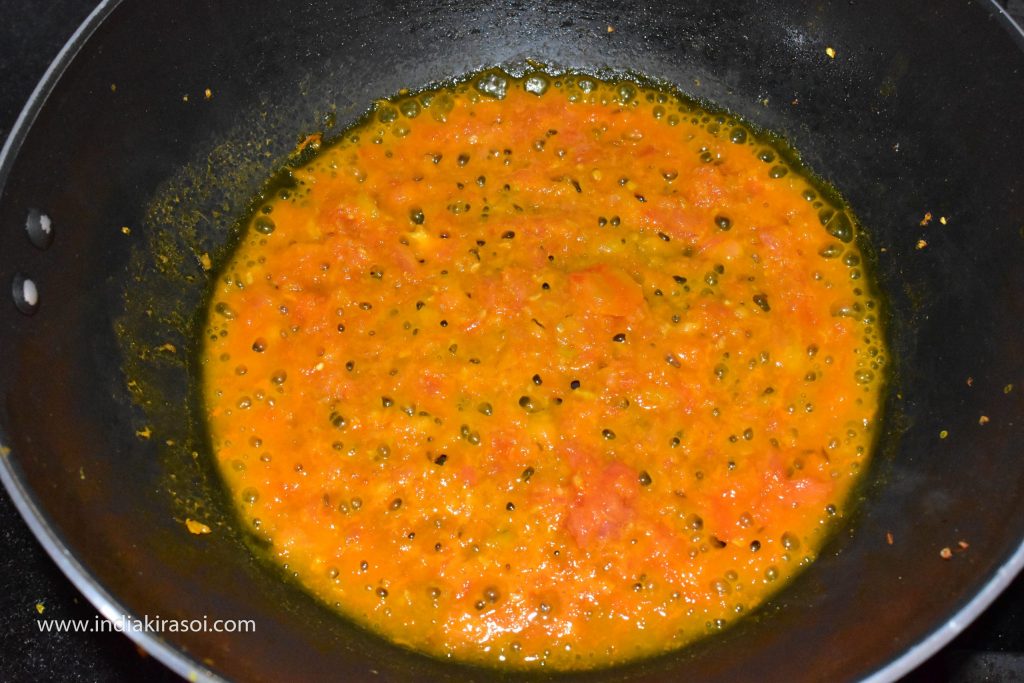
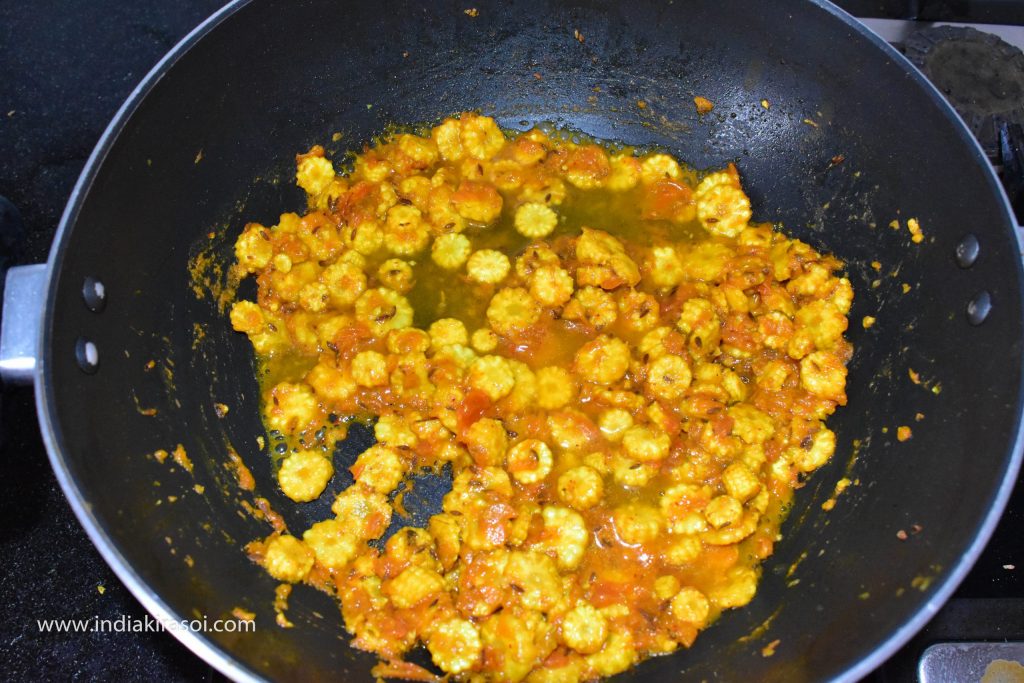
- Now put the fried baby corn in the kadhai /fry pan.
- Add baby corn to the spices and cook for a minute.
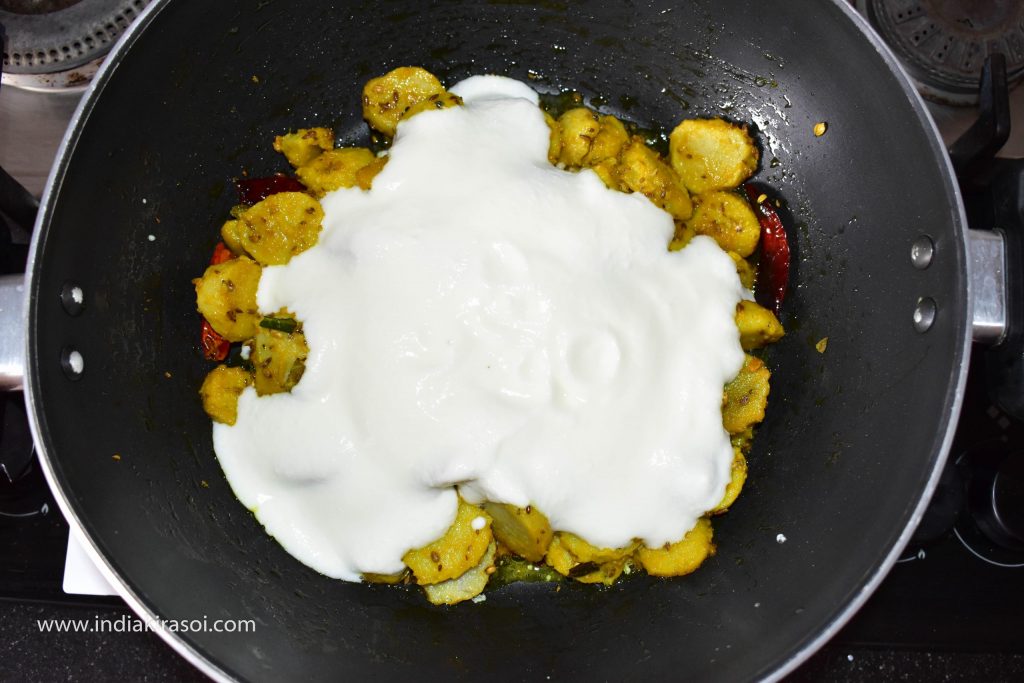
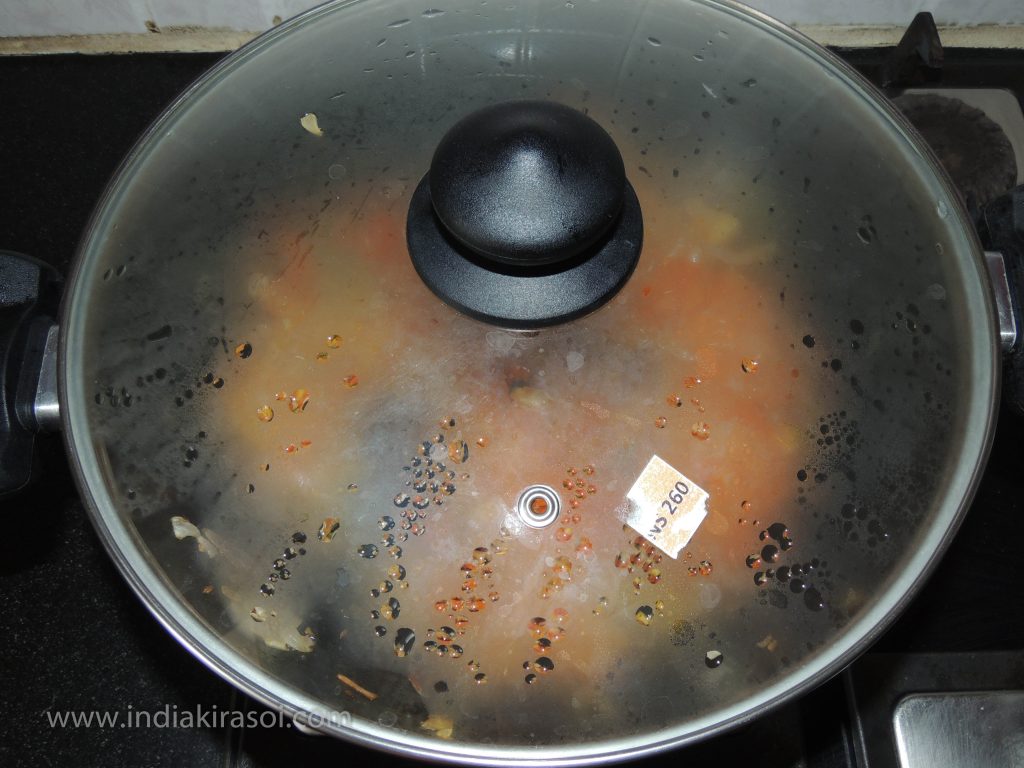
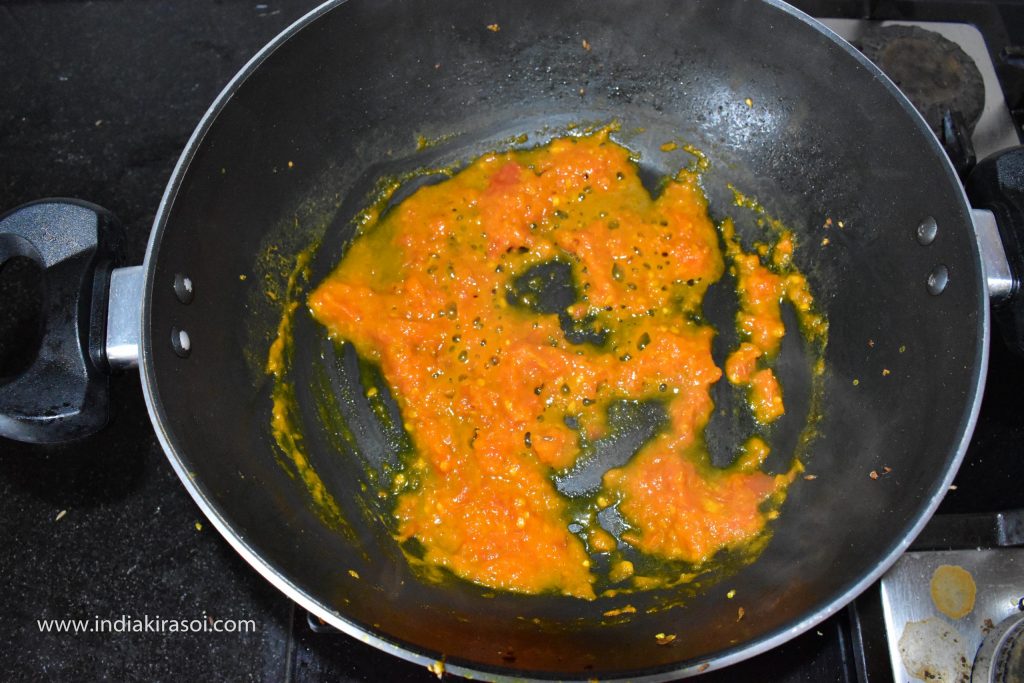
- After that add a half cup of water and cook on low flame for 5 minutes.
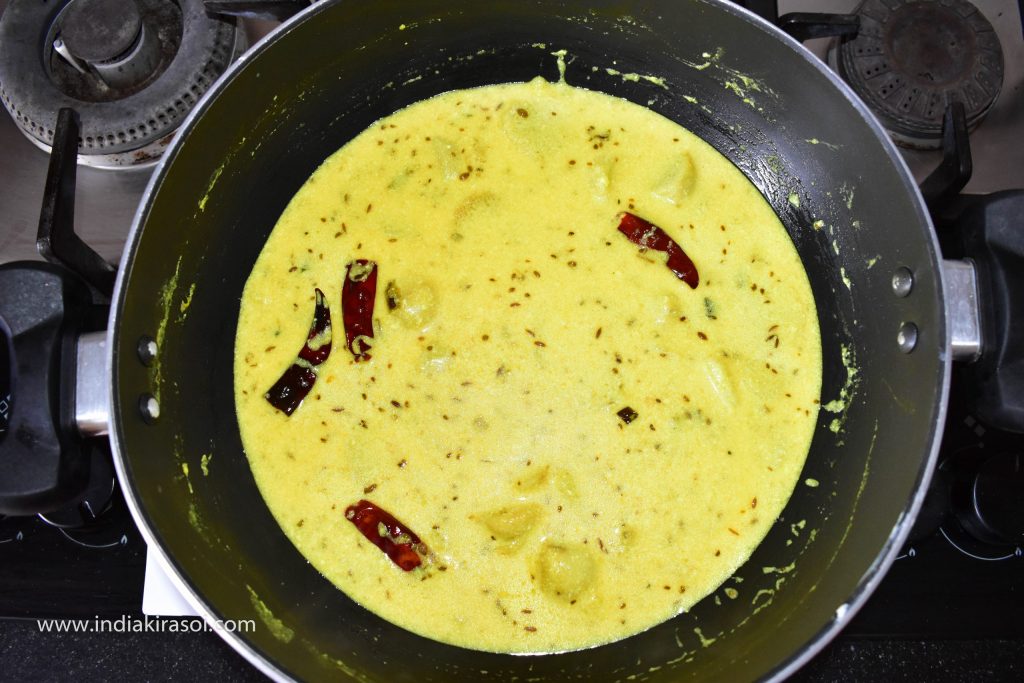
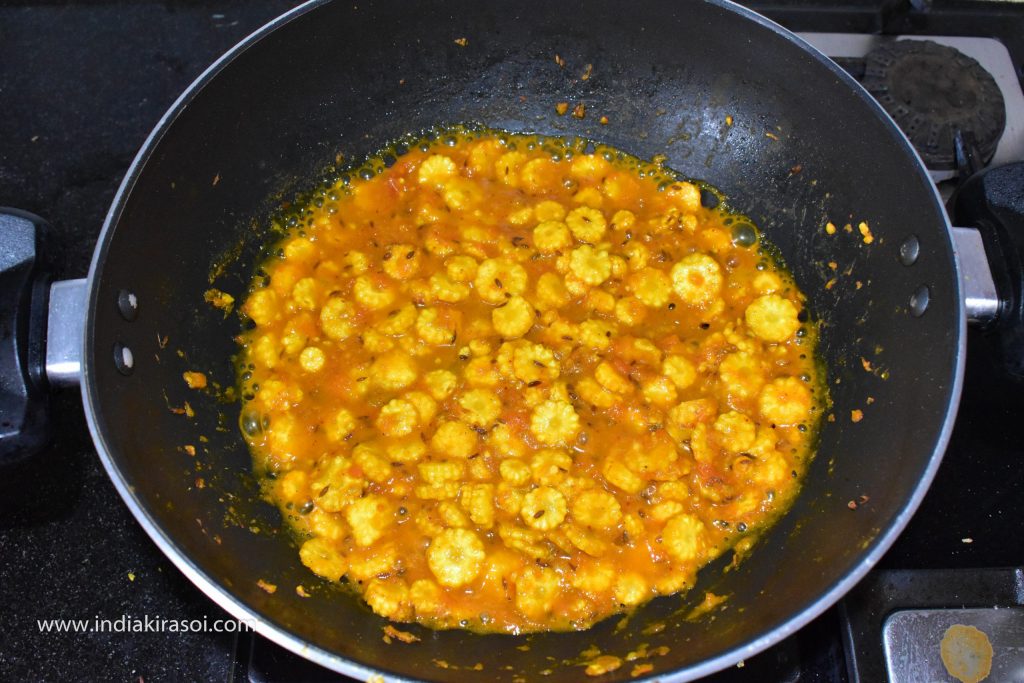
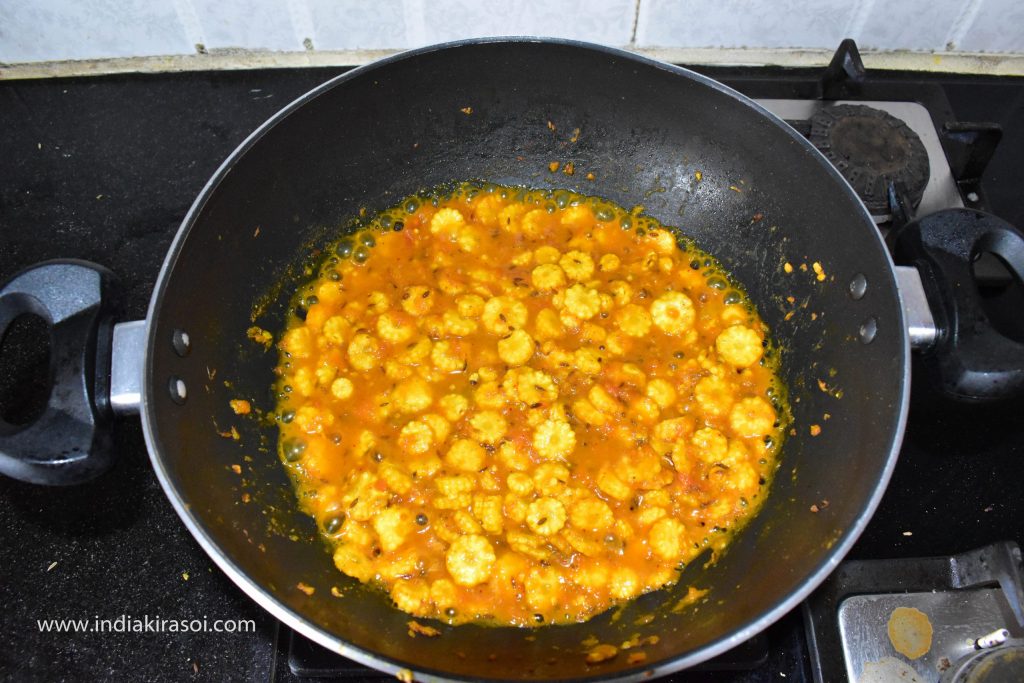
- Finally, add 1/2 teaspoon sour powder and mix well.
- Cook the baby corn for 5 minutes.
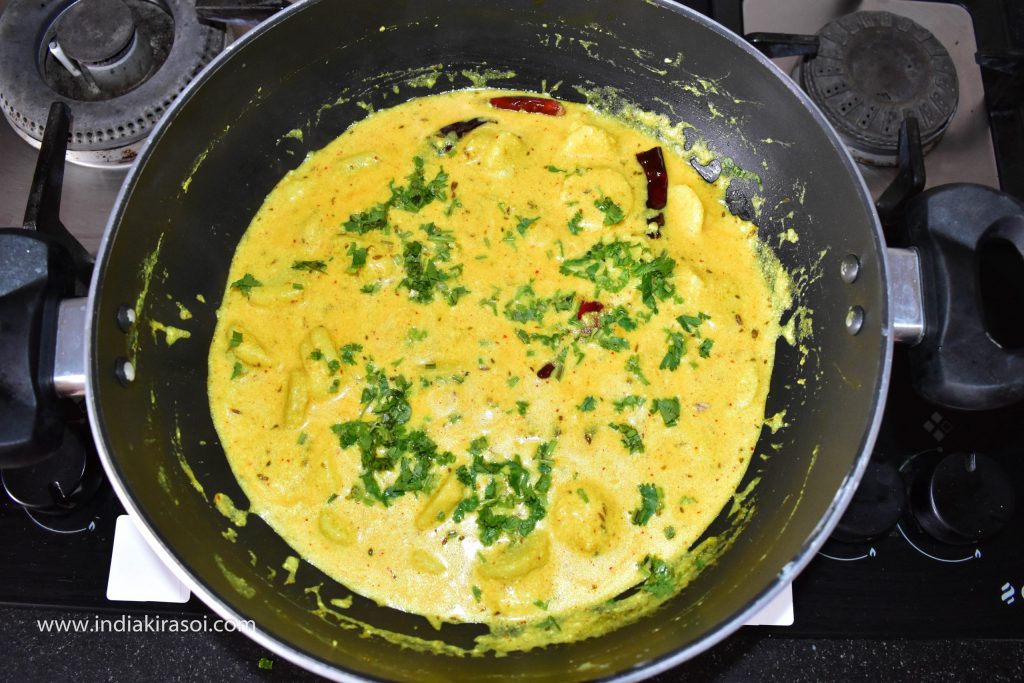
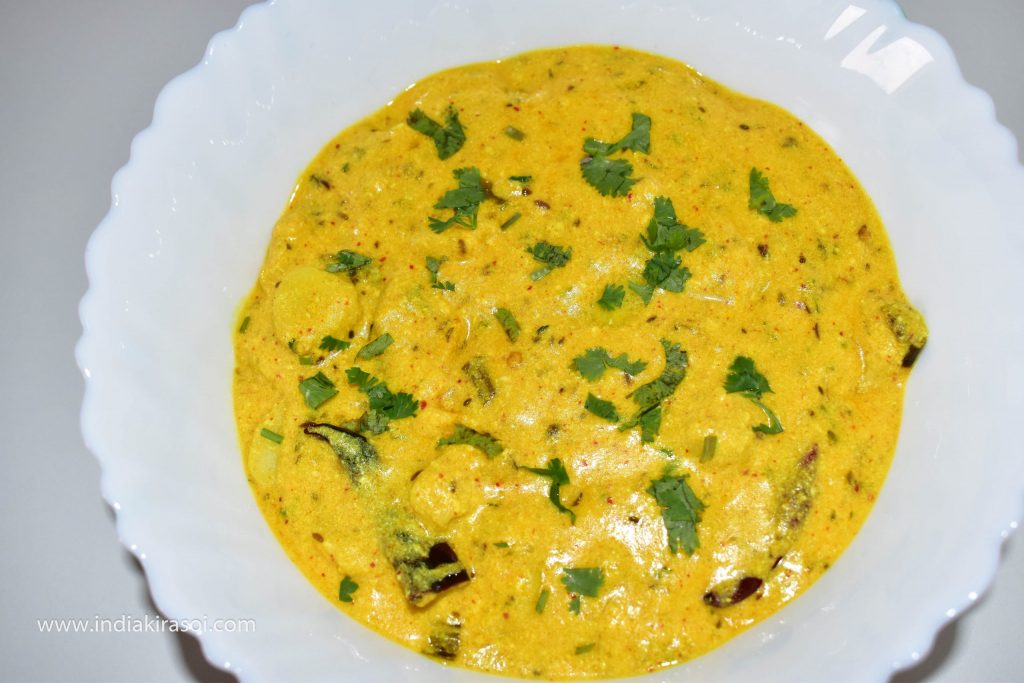
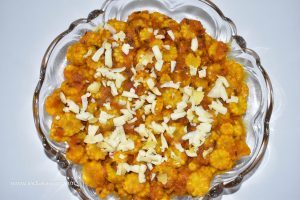
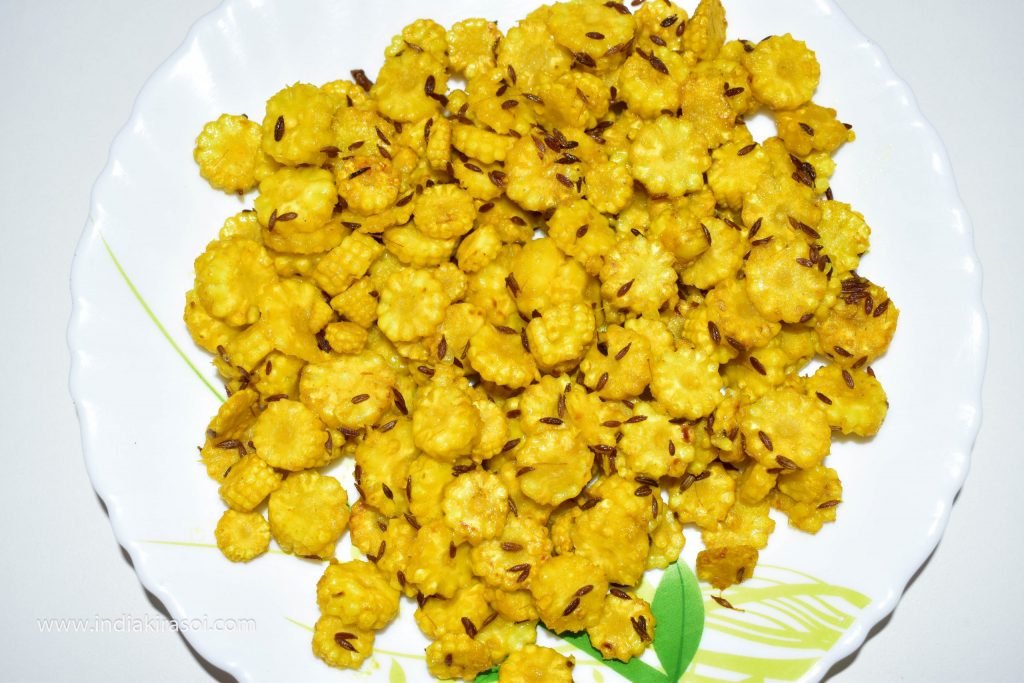
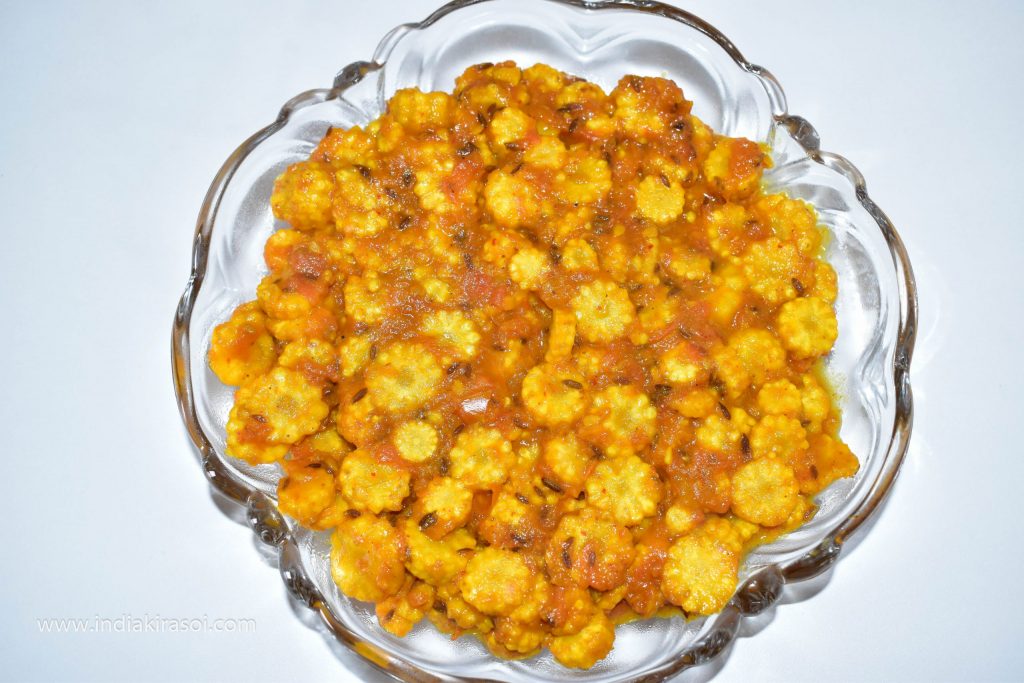
- Yummy Baby corn recipe is ready.
- Grate cheese on the prepared baby corn.


Notes
- Maize also known as corn, is a cereal grain first domesticated by indigenous peoples in southern Mexico about 10,000 years ago.
- It’s rich in fiber, vitamins and minerals.
- One cup (164 grams) of sweet yellow corn contains : • Calories: 177 calories
- Whole corn is loaded with fiber and contains vitamin C, B vitamins, magnesium and potassium. Processed corn products are not as nutritious.
• Carbs: 41 grams
• Protein: 5.4 grams
• Fat: 2.1 grams
• Fiber: 4.6 grams
• Vitamin C: 17% of the daily value
• Thiamine (vitamin B1): 24% of the daily value
• Folate (vitamin B9): 19% of the daily value
• Magnesium: 11% of the daily value
• Potassium: 10% of the daily value