
Mix Veg Raita / Mix Vegetable Raita / मिक्स वेजिटेबल रायता
Today I will tell you how to make mix raita. Raita caters to every meal
Raita is also very good for health and if there is some deficiency in food then it also fulfills it.
There are many types of raita like cucumber raita, mint raita, potato raita and many other types of raita can be made. The spices we add to raita are most important.
Spices in raita are very beneficial for health. Like we add black pepper.
Black pepper is also very good for our throat and is very good for our stomach.
Together we also add black salt, which is very beneficial for the stomach.
Also roasted cumin, which keeps the stomach’s digestion right and increases our appetite
So let us see how to make Mix Raita, We will put Cucumber Tomato Onion in Mix Raita…
Servings 4 People
Calories 21kcal
Equipment
- Cooker
- Plate
- Knife
Ingredients
- 100 Grams Curd/ Yogurt/ Dahi
- 1 Unit Tomato / Tamatar
- 1 Unit Onion / Pyaz
- 1/2 Unit Cucumber (Kheera)
- 1/2 tsp Black Pepper / Kali Mirch
- 1/2 tsp Red chili / Lal Mirch Powder
- 1 tsp Coriander Leave / Hari Dhaniya Patti
- as per taste Black Salt / Kala namak
Instructions
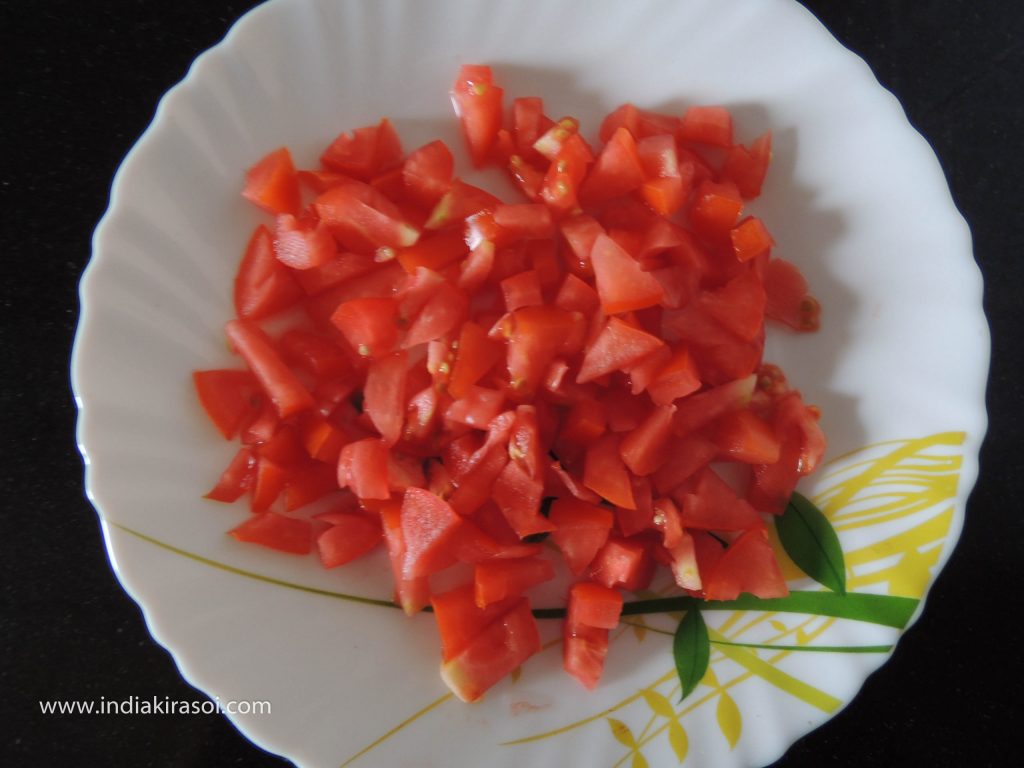
- Take a tomato, onion and half peeled cucumber.
- Finely chop the tomatoes.

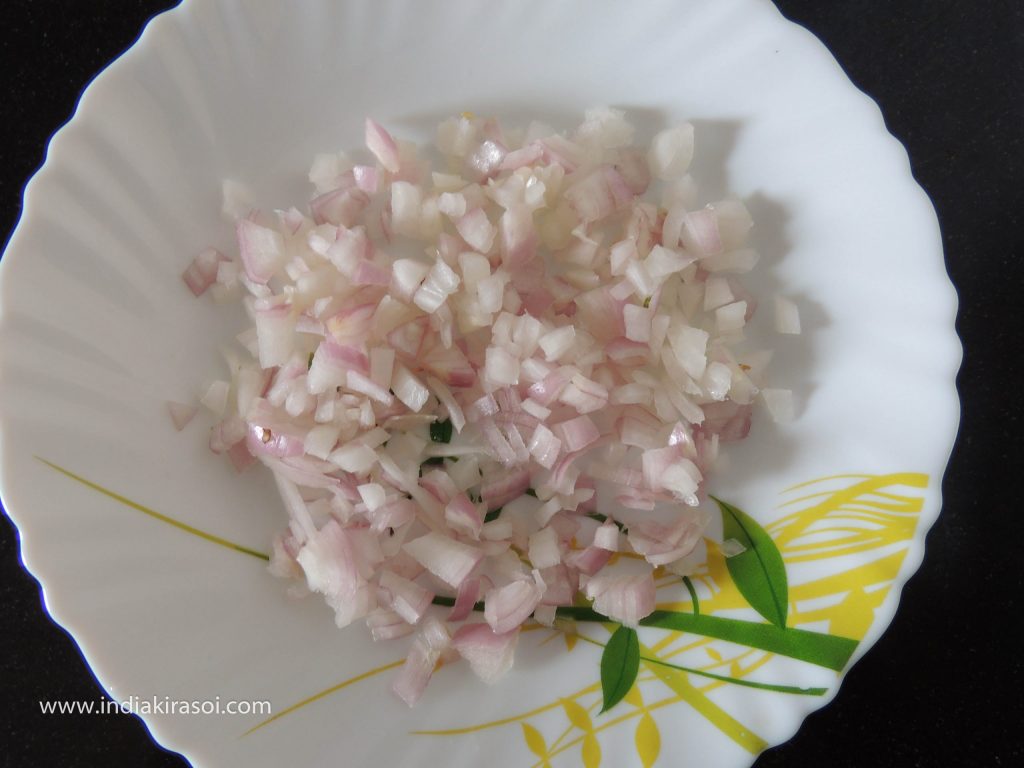
- Similarly, finely chop the onion.
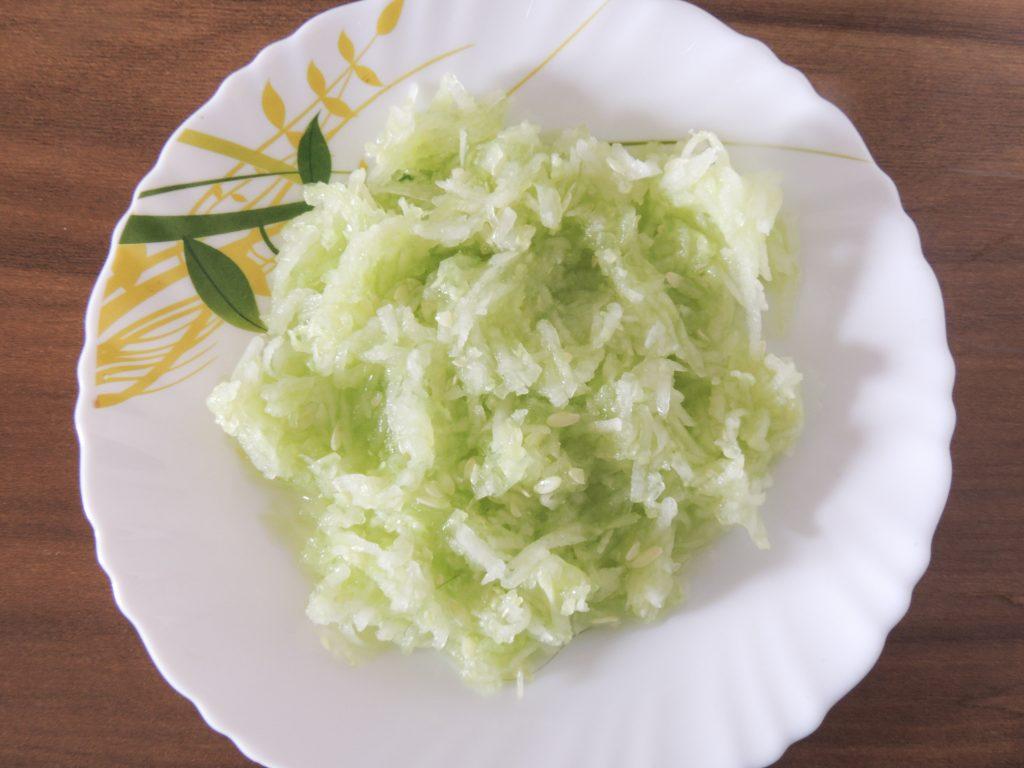
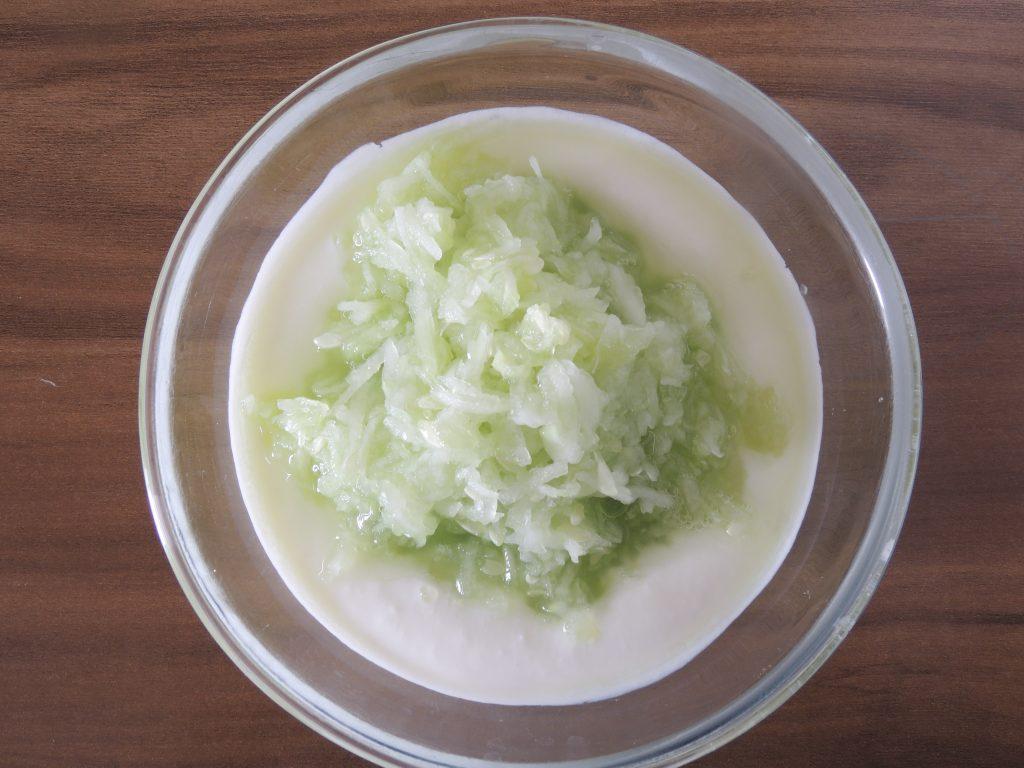
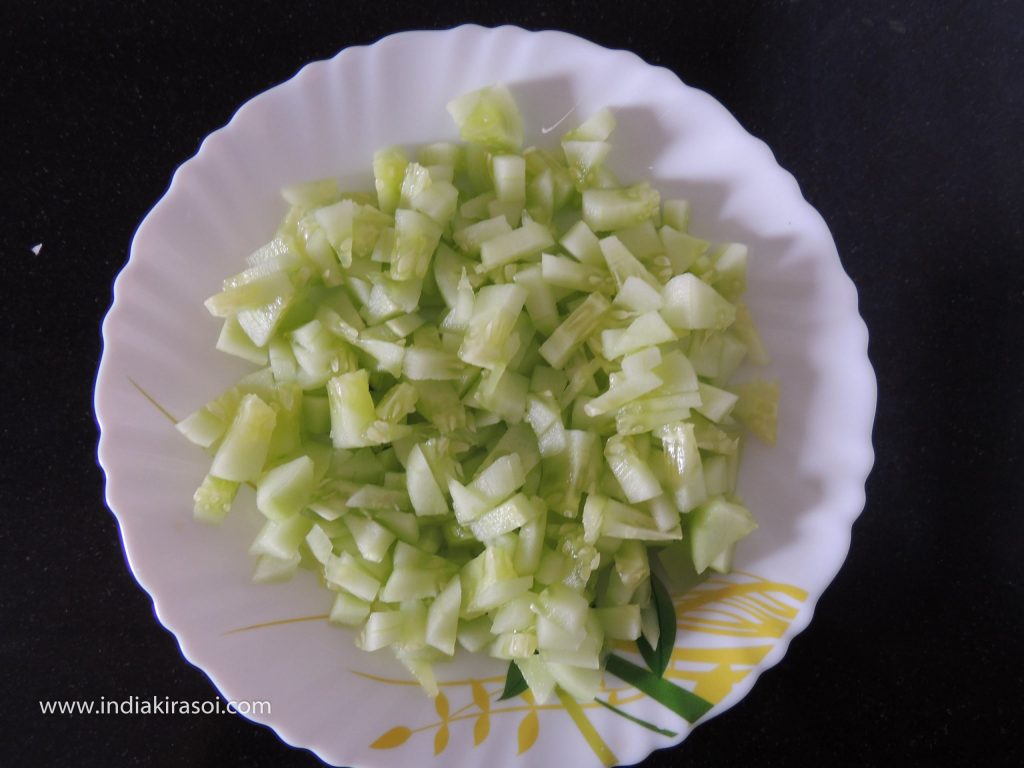
- And also cut the cucumber into cubicle shape.
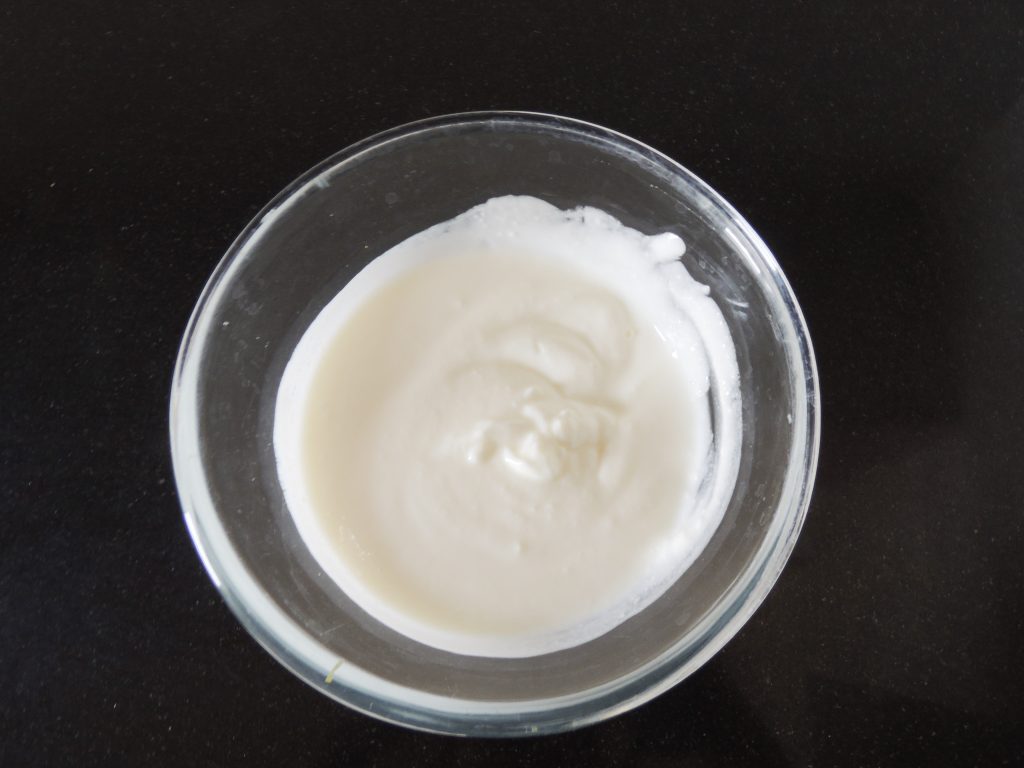
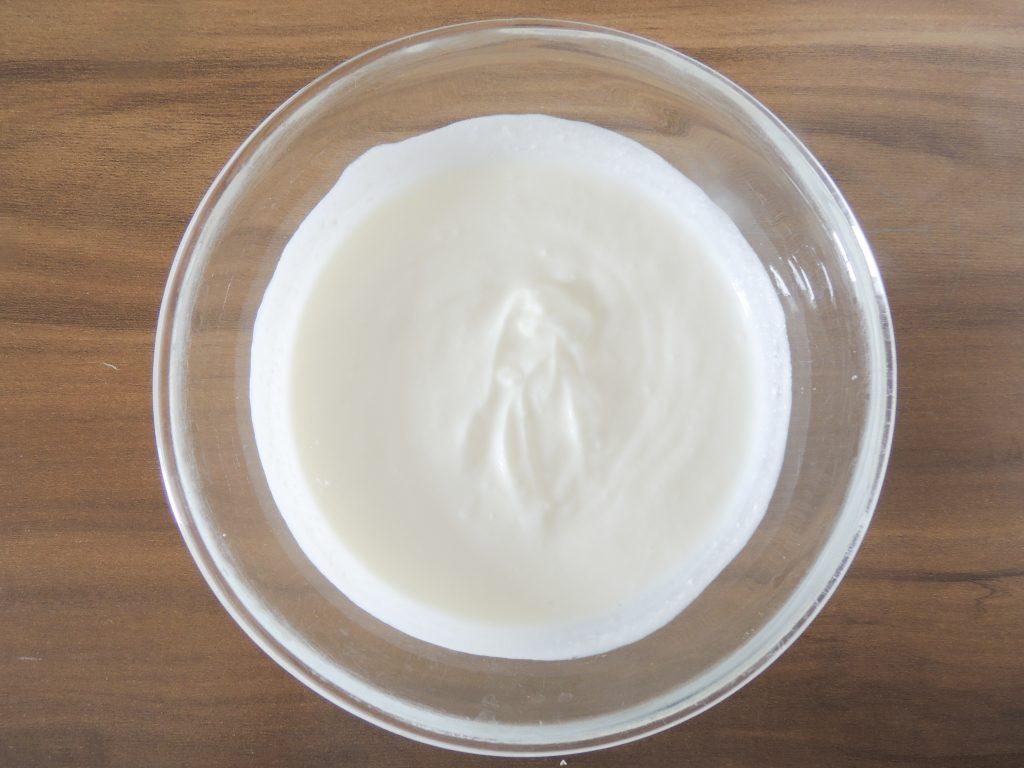
- Now take about 200 grams of curd. Beat it well.
- Then add chopped tomatoes, chopped onion and chopped cucumber to the curd.
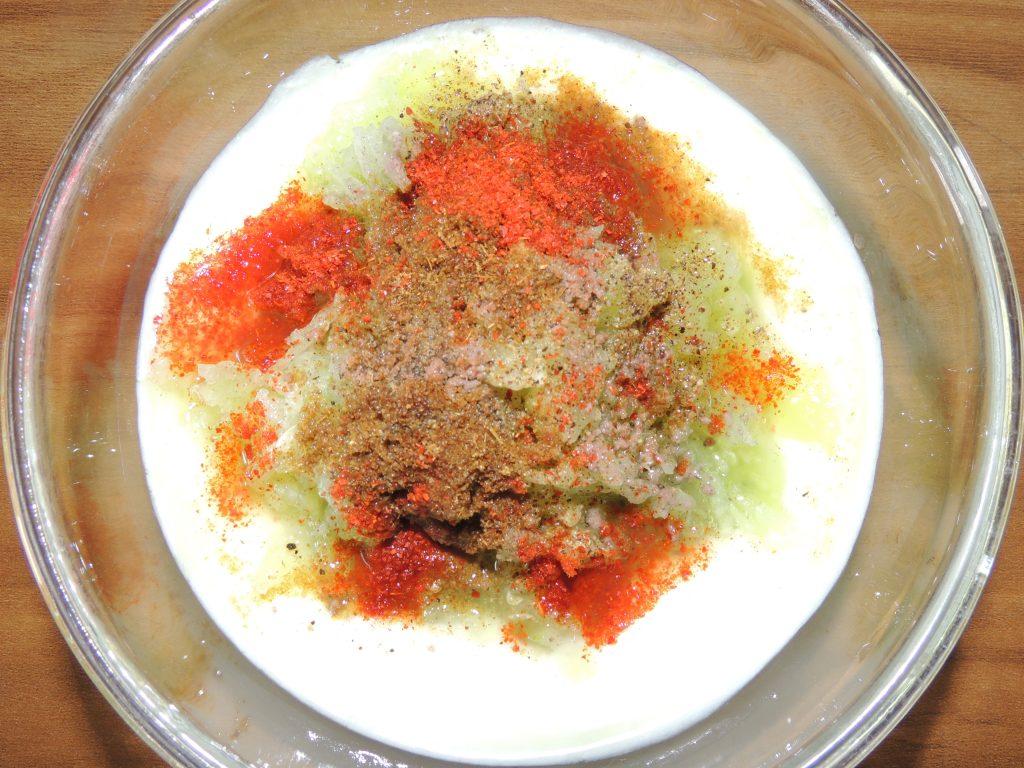
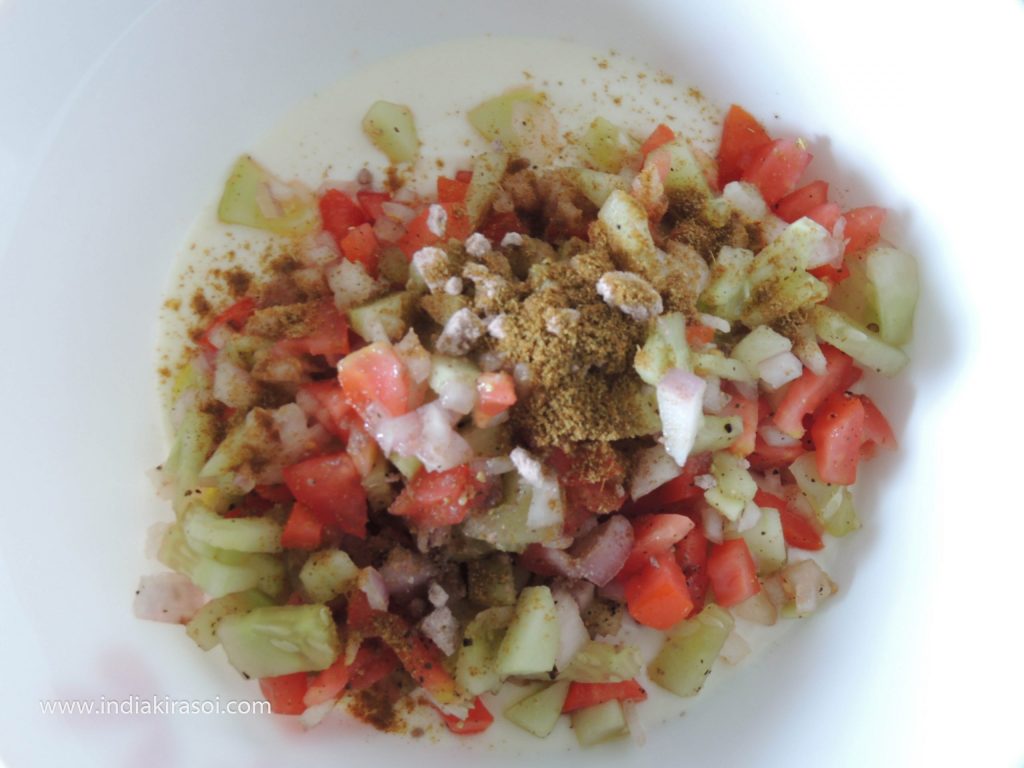
- Add black salt, roasted cumin powder, pepper and red chili powder.
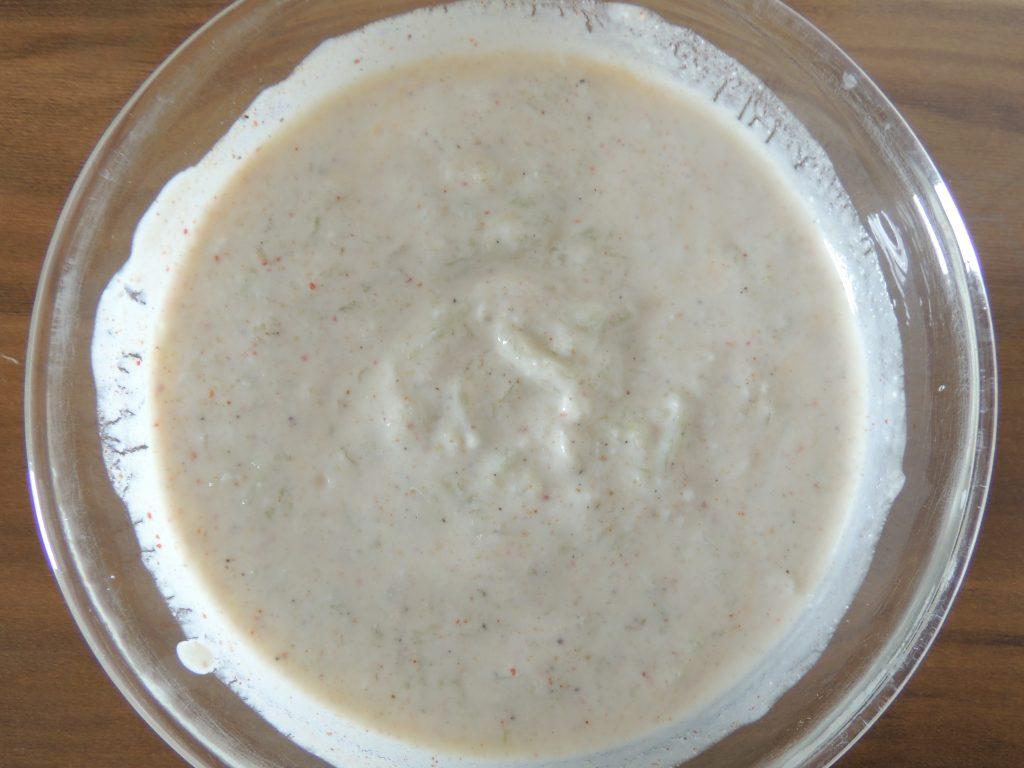
- Stir this mixture well with a spoon.
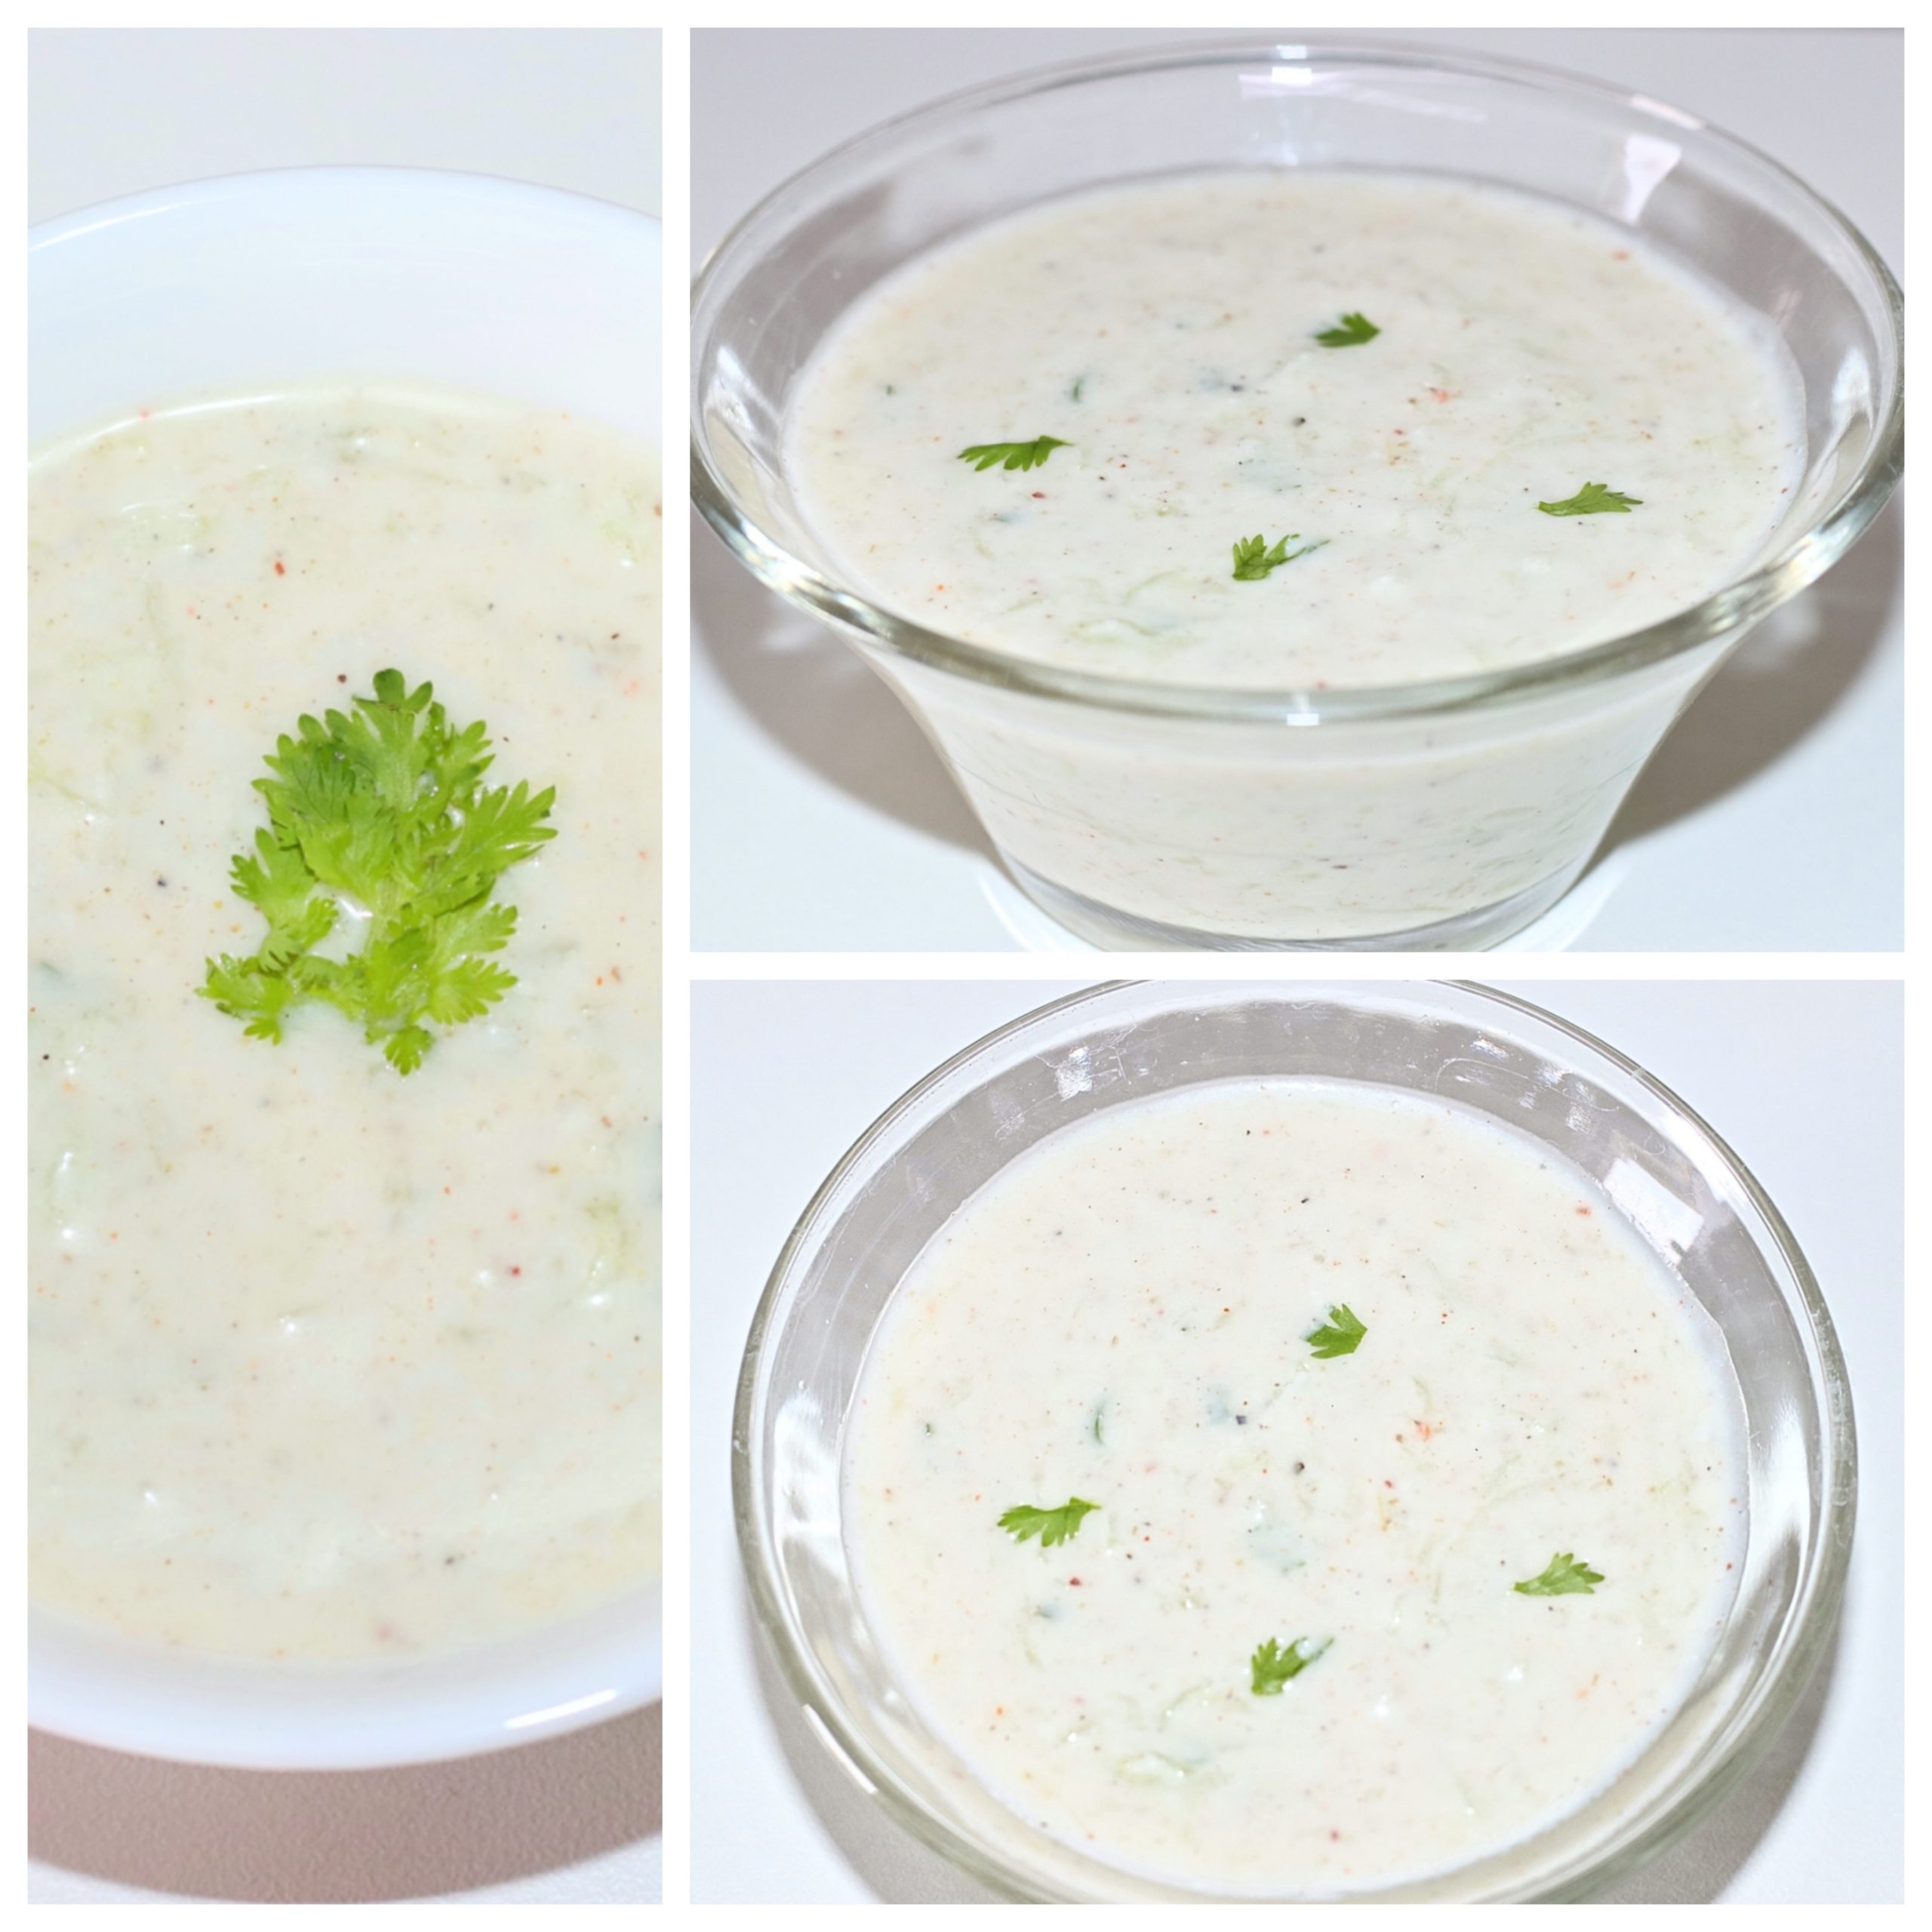
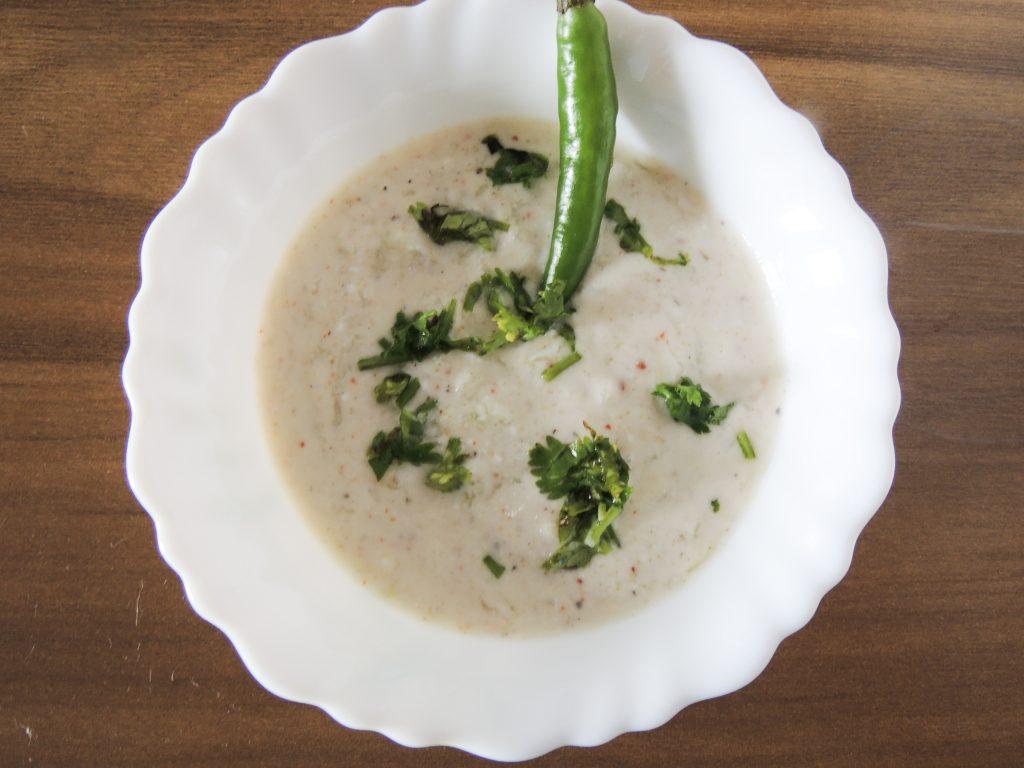
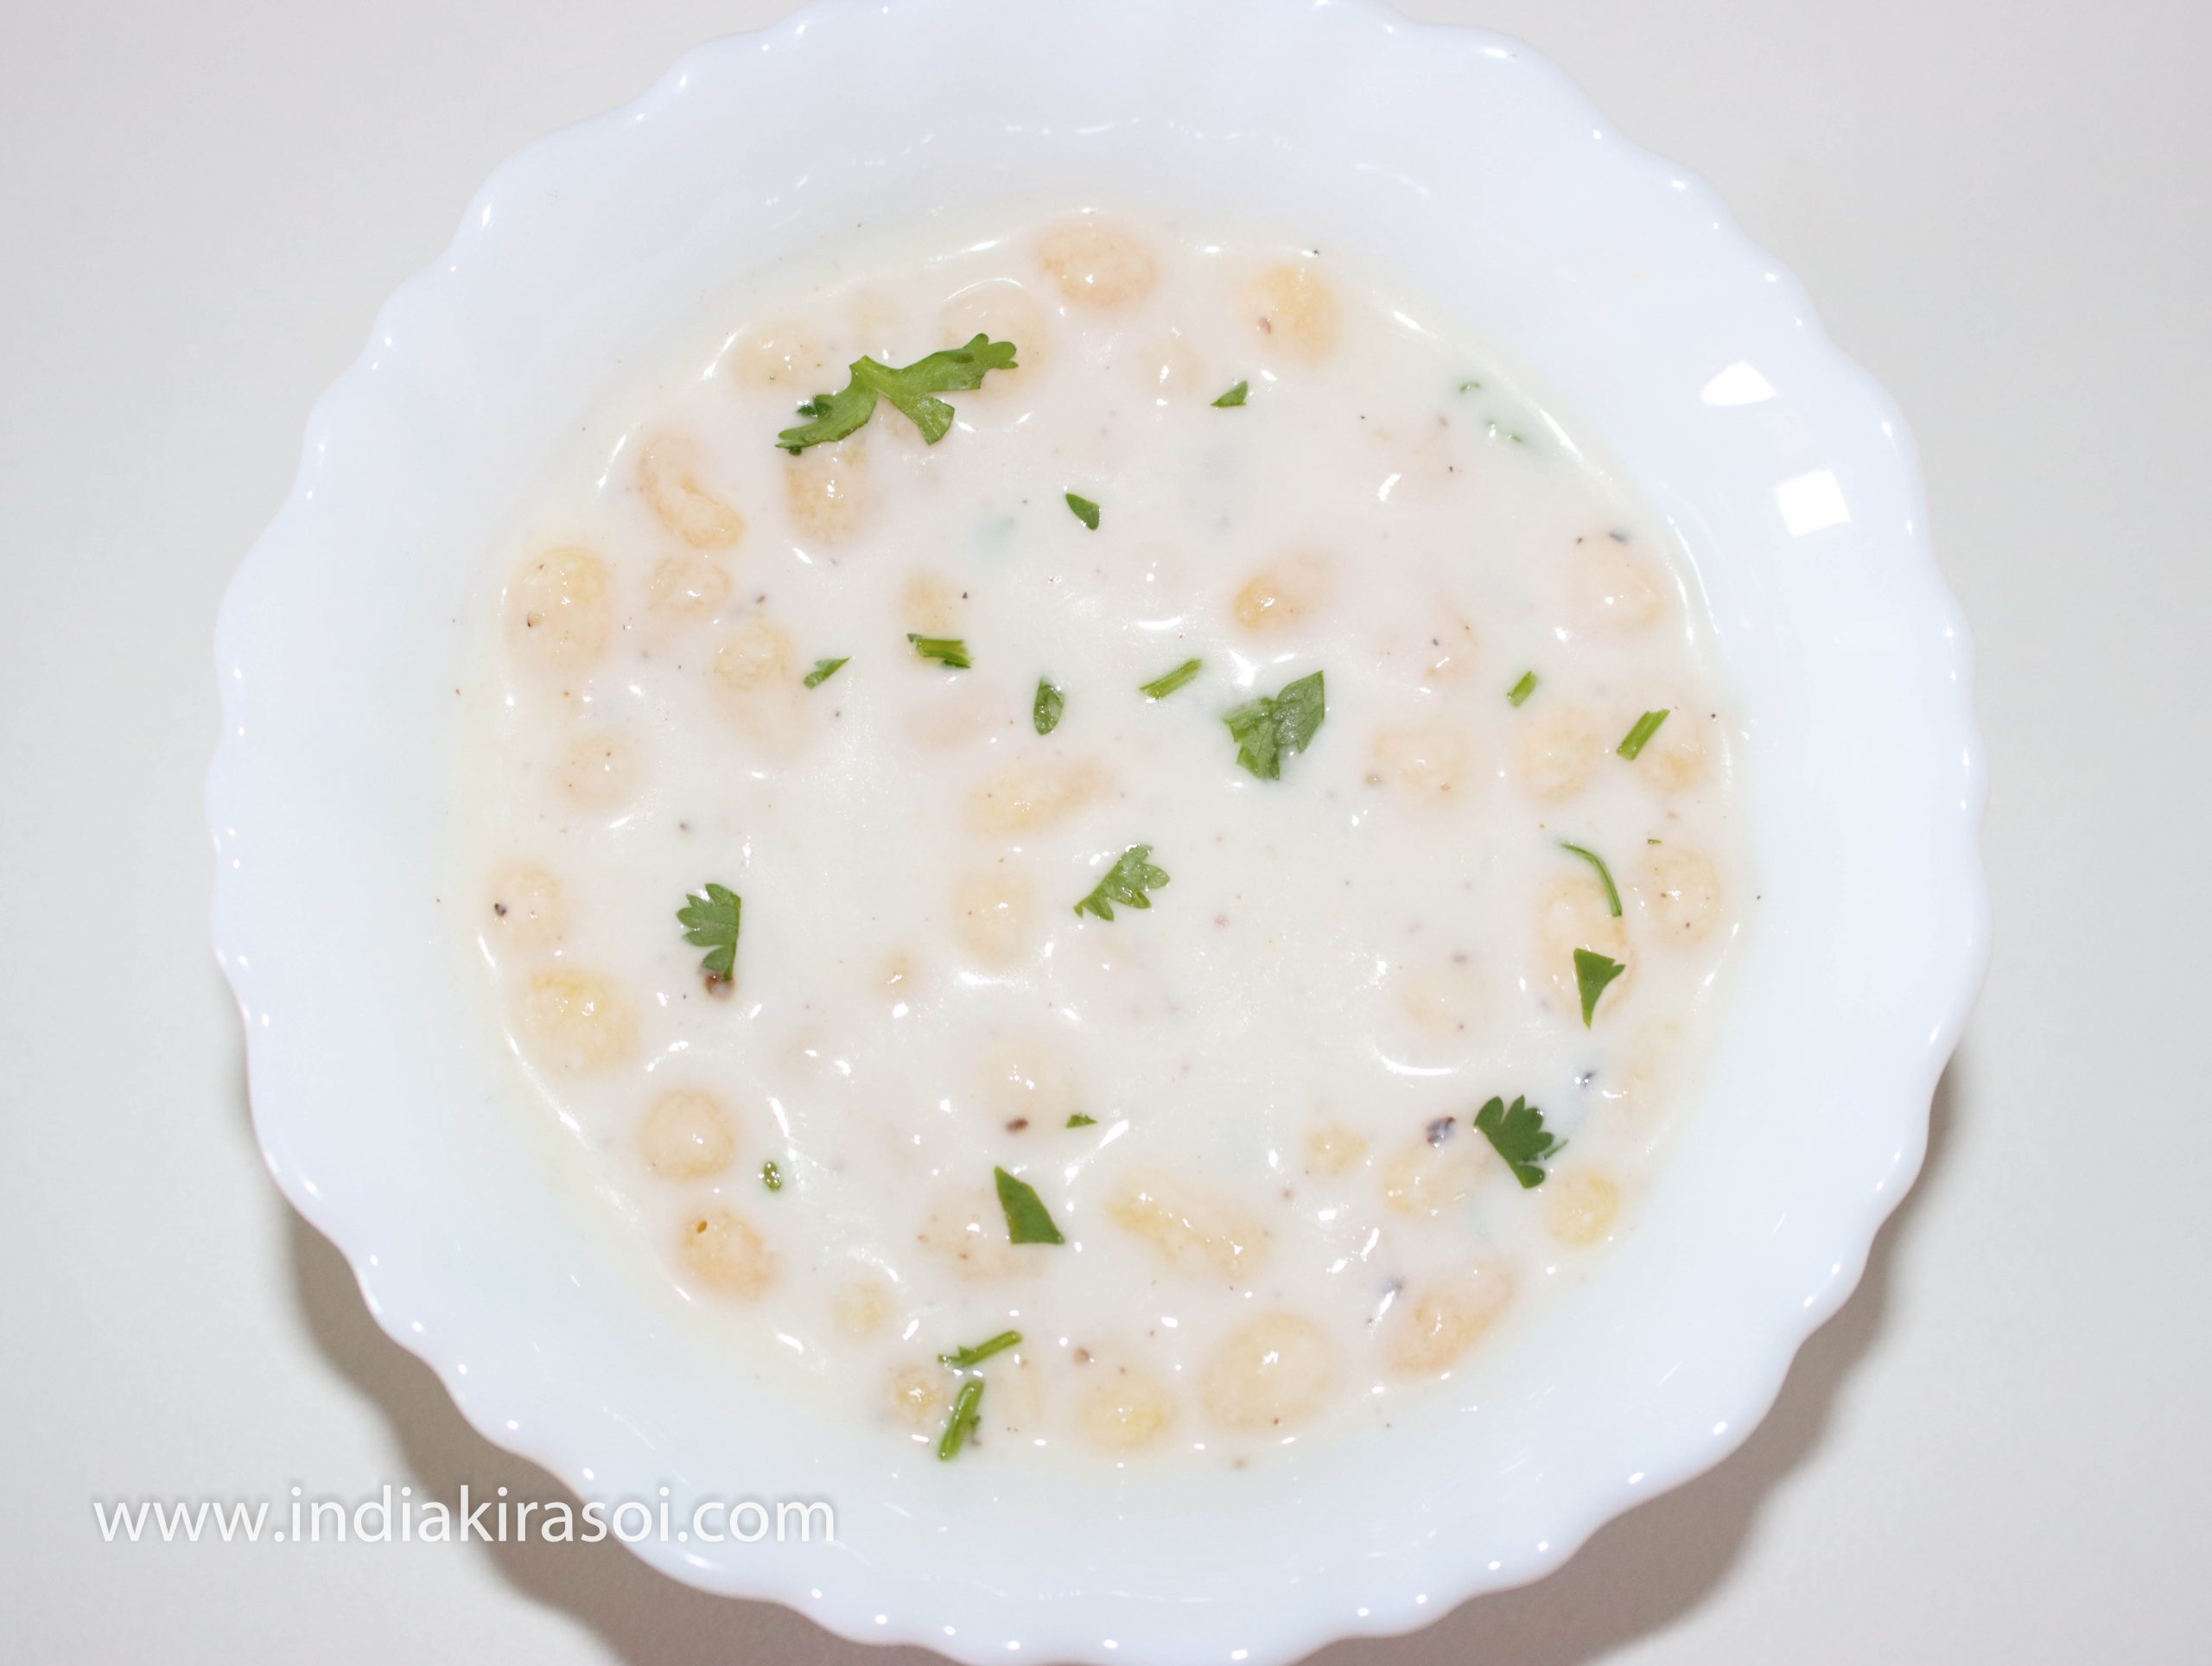
- Mix Raita is ready. Serve with coriander.
- If you are not going to eat raita immediately, add salt later. Otherwise, the curd will become sour with salt.
- In this way we saw how easy it is to make Mixed Veg Raita. Eat this raita alone or eat it or eat it with paratha, eat it with puri.
- Eat it in a way that will give your stomach a boost and is also very good for your health.


Notes
- Yogurt is very good for health.
- If someone does not like to drink milk. So milk curd can also be eaten.
- One of the many yogurt benefits is that it helps improve your digestion.
- Yogurt can strengthen your immune system.
- Yogurt contains calcium, which plays a huge role in strengthening your bones and teeth.
- It also contains phosphorus which combines with calcium to promote bone growth.
- Eating yogurt regularly will help prevent diseases like arthritis and osteoporosis.
- Yogurt helps to relieve anxiety and stress.
- Yogurt can help to lose weight.
- Yogurt enhances skin texture and quality.