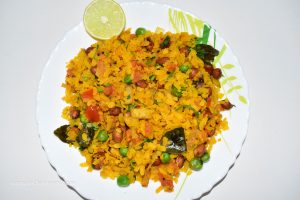
Chickpea Protein Salad / छोला प्रोटीन सलाद
Chickpeas are good to eat. Along with this, chickpeas are also very beneficial for health.
Kabuli chana or chick pea (Cicer eritinum) is an annual function of the family Fabaceae, subfamily Faboidae.
Chickpeas serve as an energy and protein source.
Serving 100 grams of cooked chickpeas gives 164 kilocalories (690 kJ). The ripe chickpeas are 60% water, 27% carbohydrate, 9% protein and 3% fat (Table). .75% of the fat content is unsaturated fatty acids, for which linoleic acid contains 43% of the total fat.
It is very easy to make nutritious and tasty chickpeas salad and it is also very tasty in food and also very nutritious for health.
To make nutritious and tasty chickpea salad, follow the method given below…
Servings 4 People
Calories 41kcal
Cost 15 rupee
Equipment
- Pressure Cooker
- Plate
- Knife
Ingredients
- 100 Grams Chickpea/ White Chola
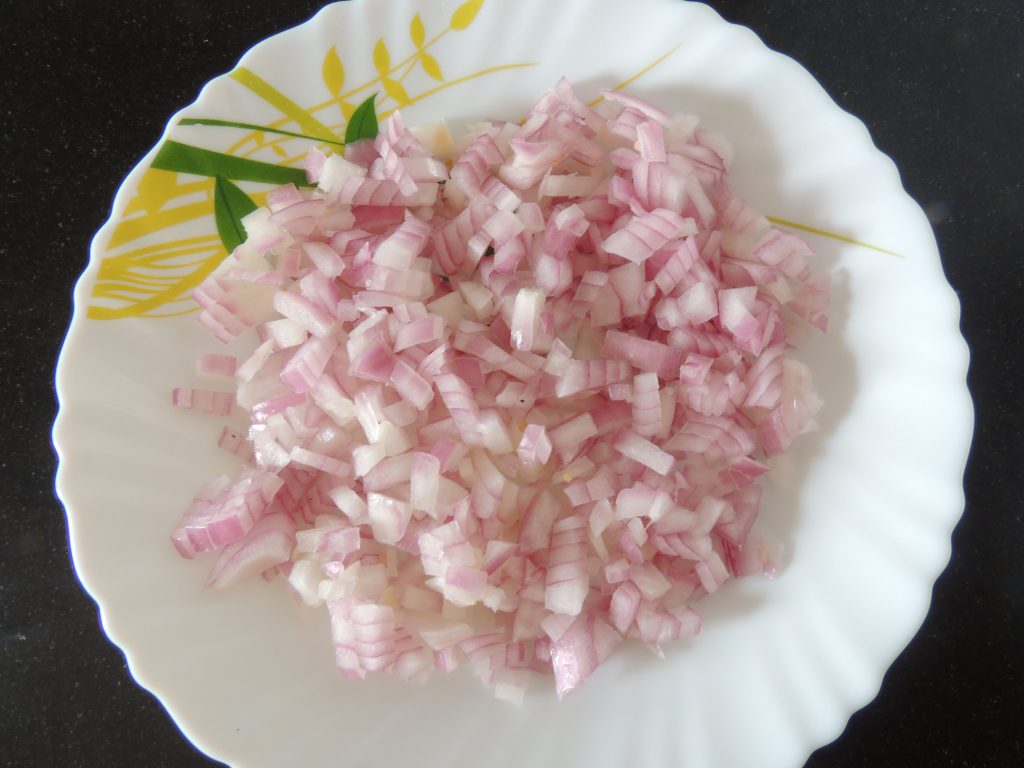
- 1 Unit Onion / Pyaz
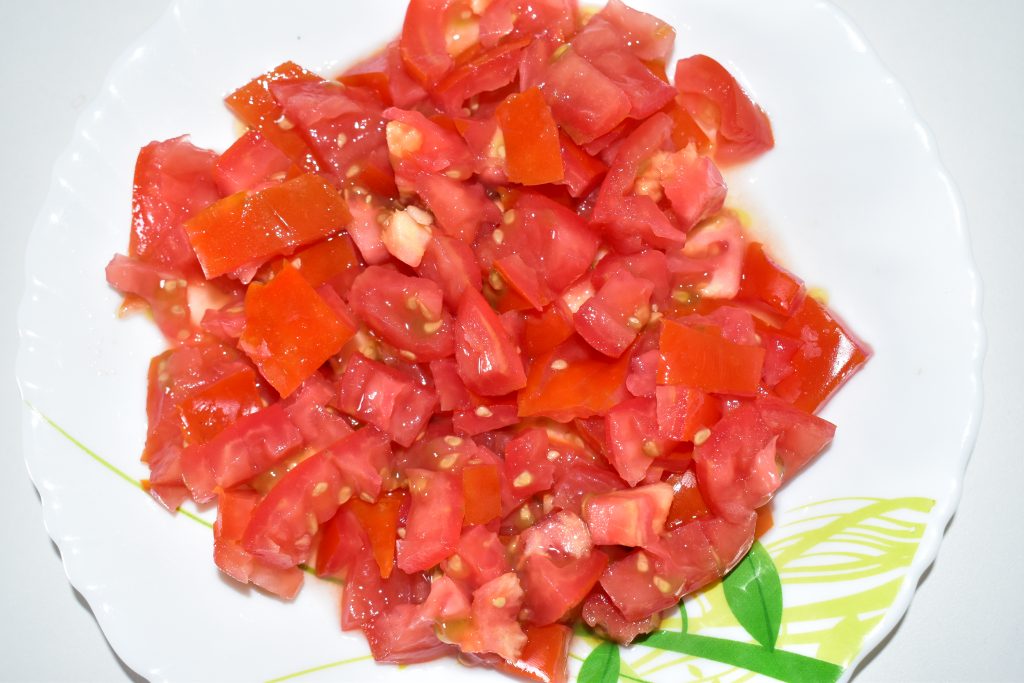
- 1 Unit Tomato / Tamatar
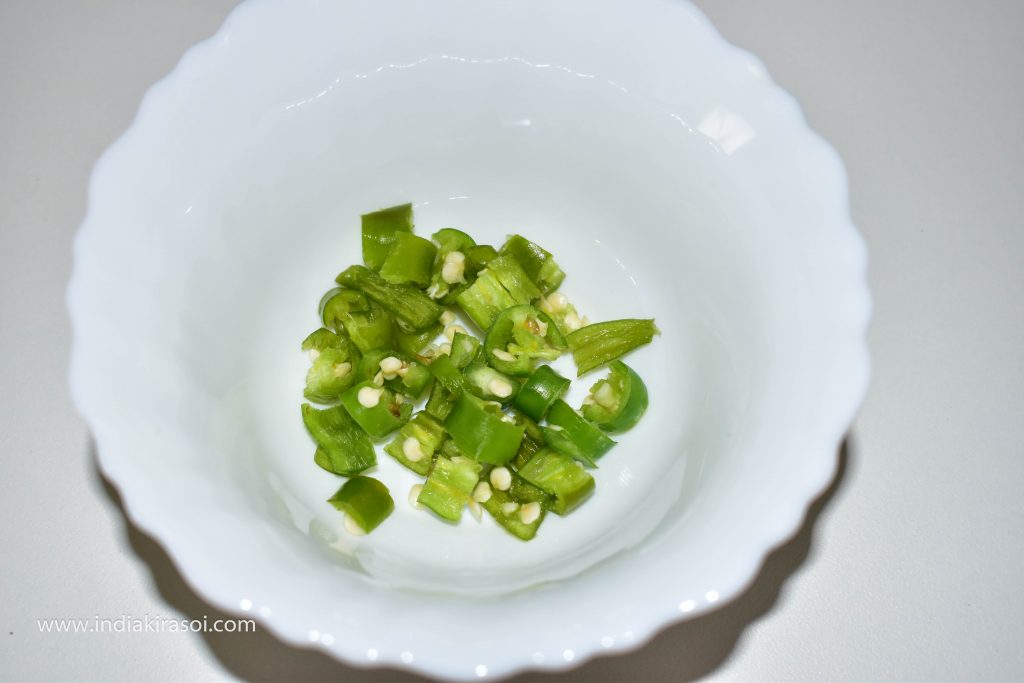
- 1 Unit Green Chili / Hari Mirch
- 1/2 tsp Chat Masala
- 2 tsp Lemon / Neebu Juice
- as per taste Salt / Namak
- 2 tsp Coriander leave / Dhaniya Patti
Instructions
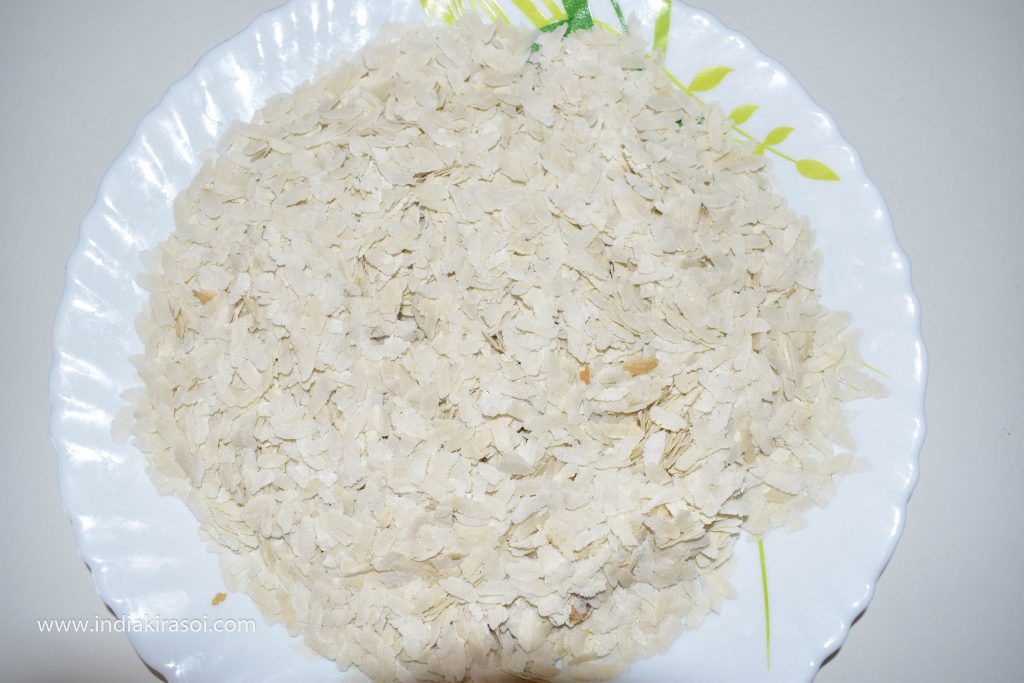
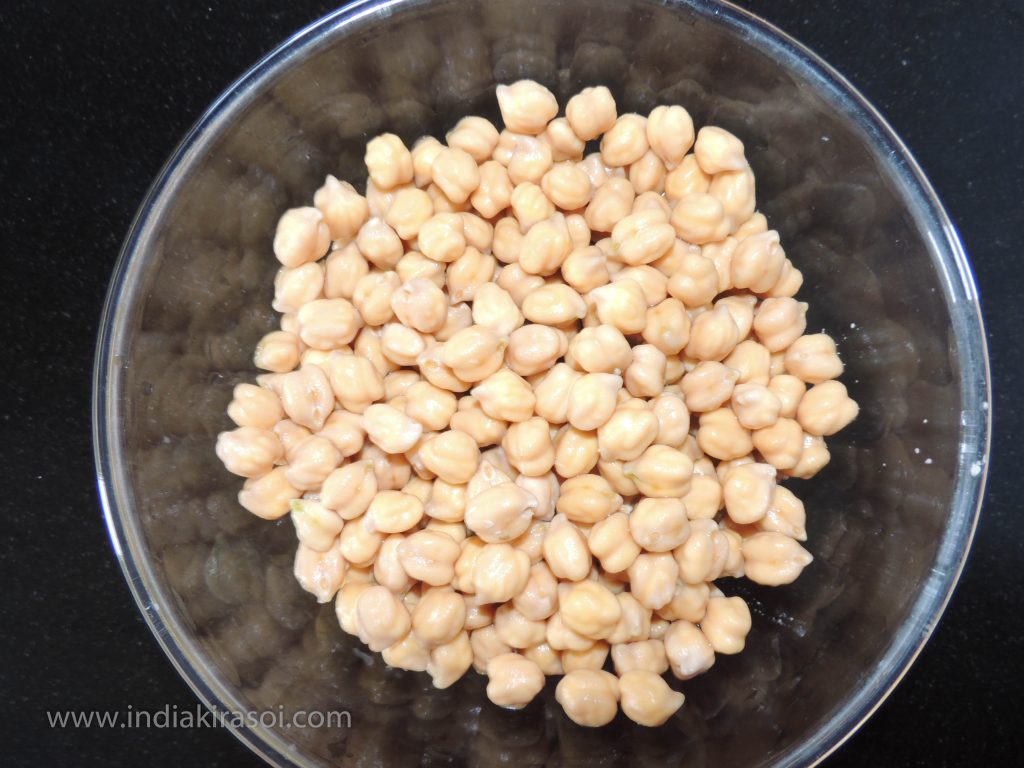
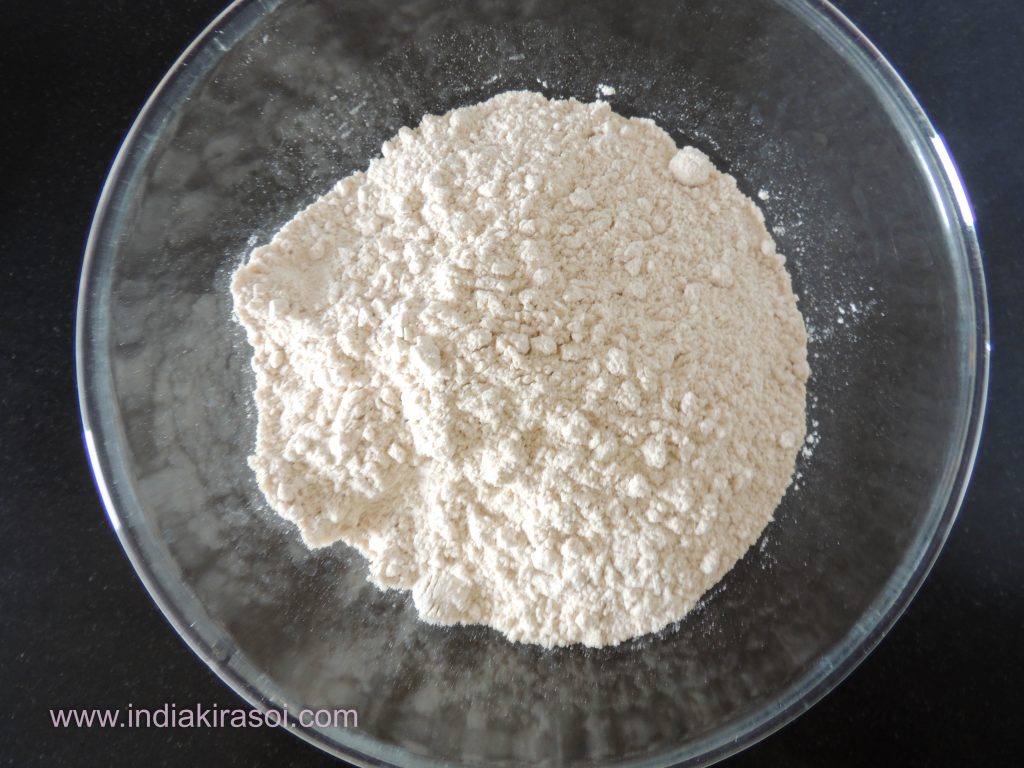
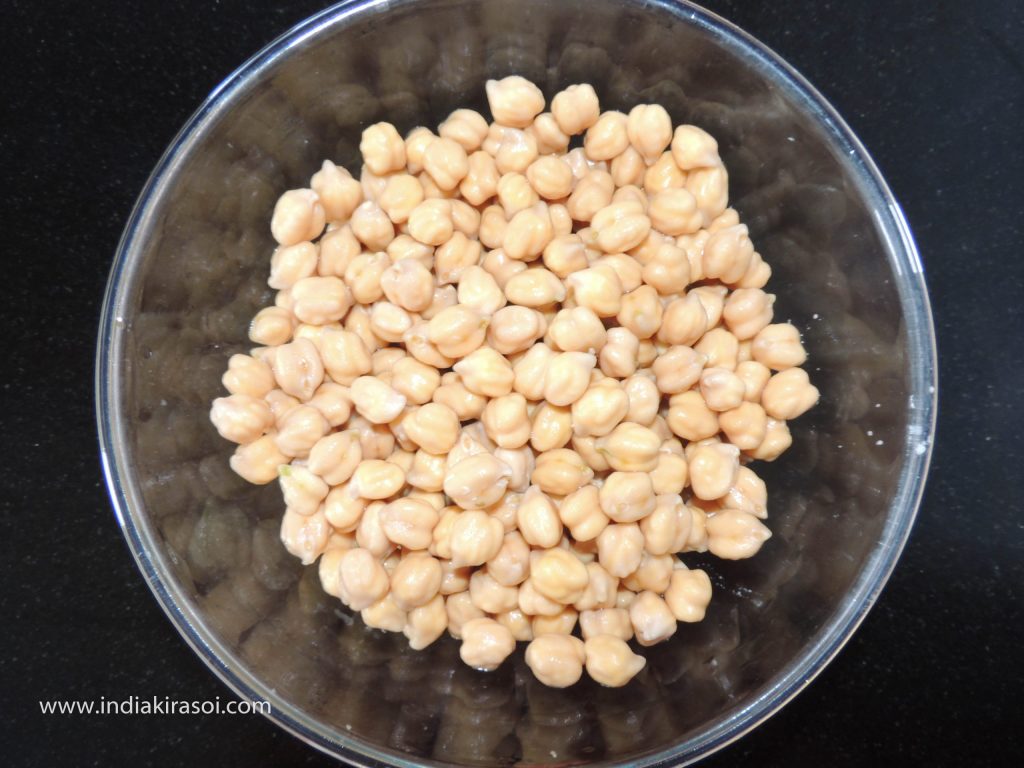
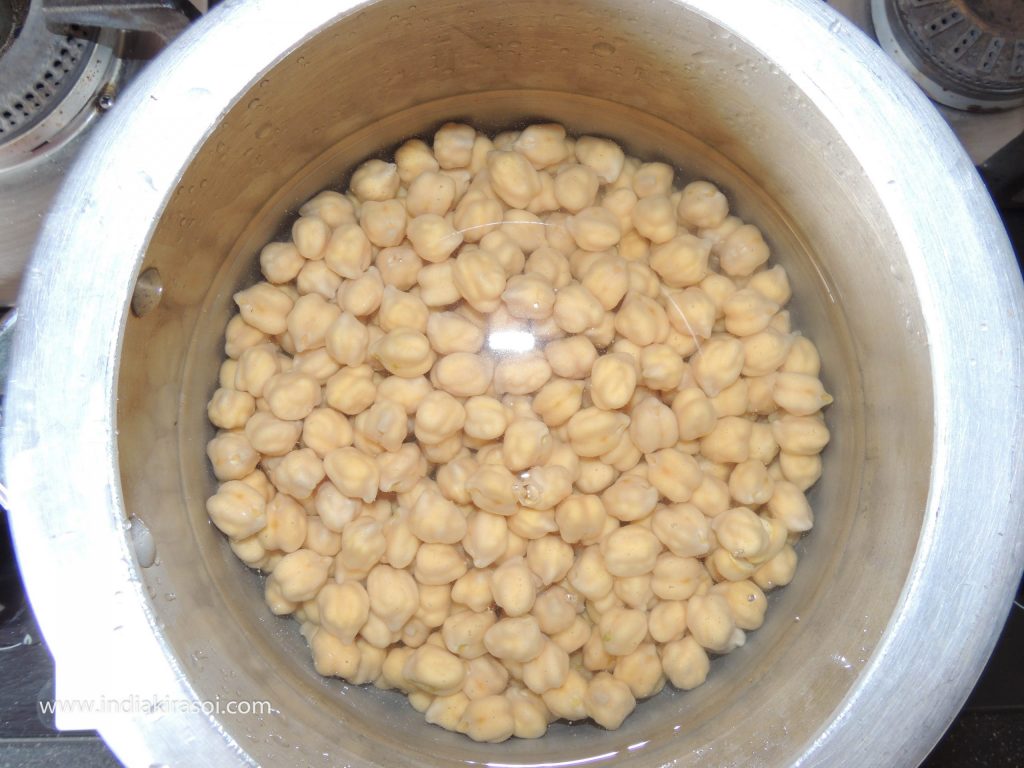
- To make chickpea protein salad, take 100 grams of chickpeas.

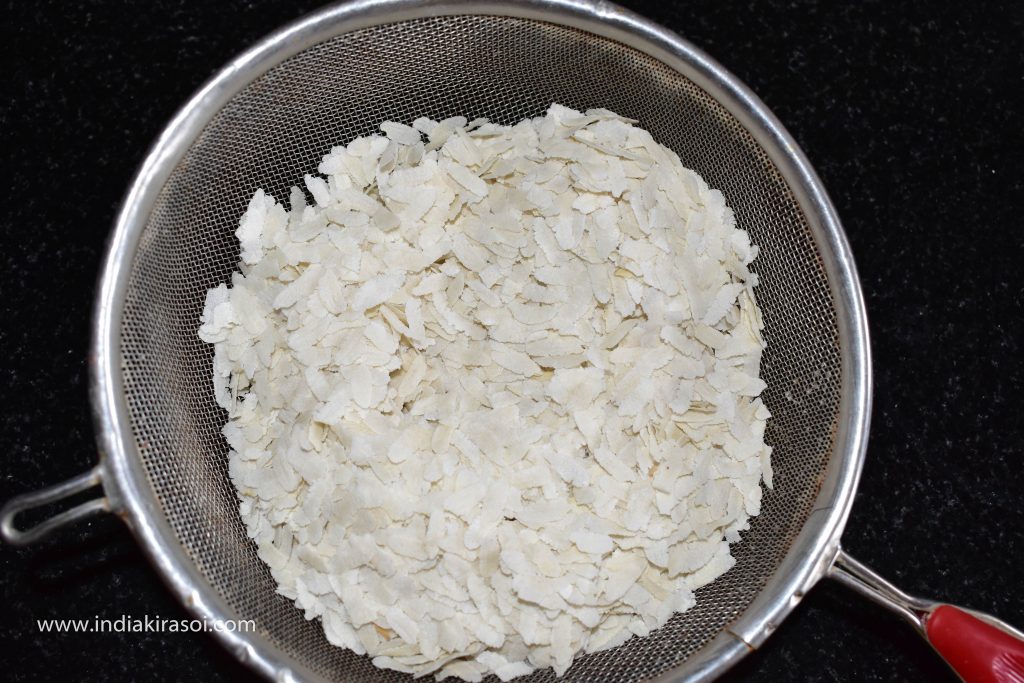
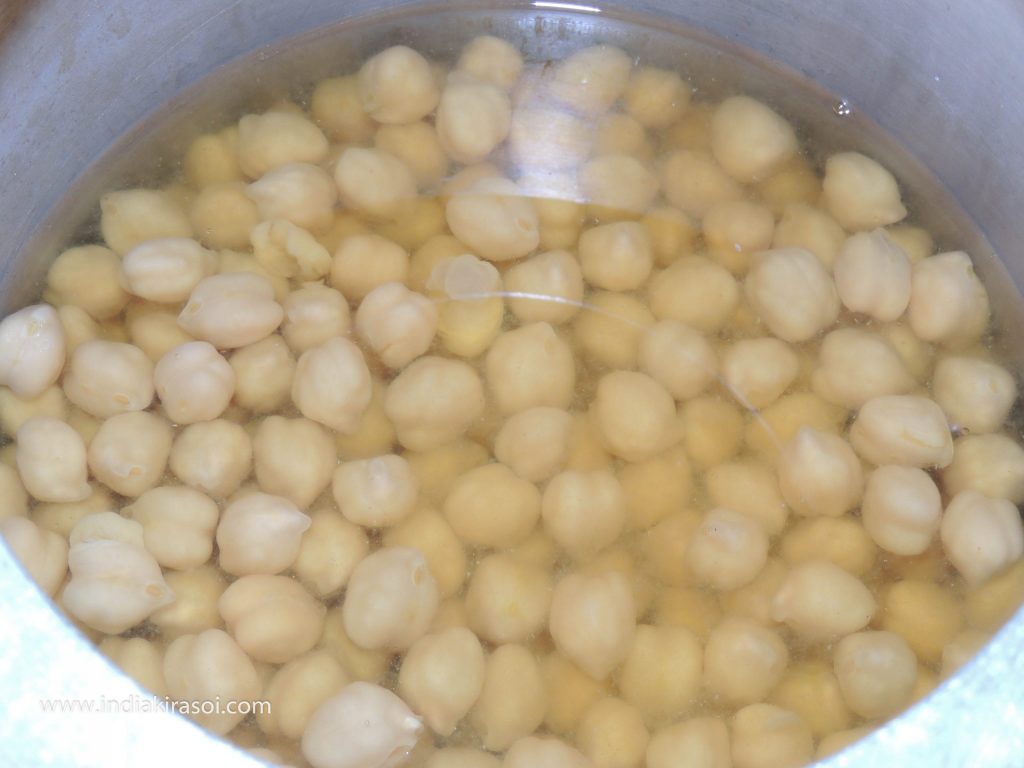
- Soak the chickpeas in the night or soak the chickpeas in water for 5 to 6 hours.
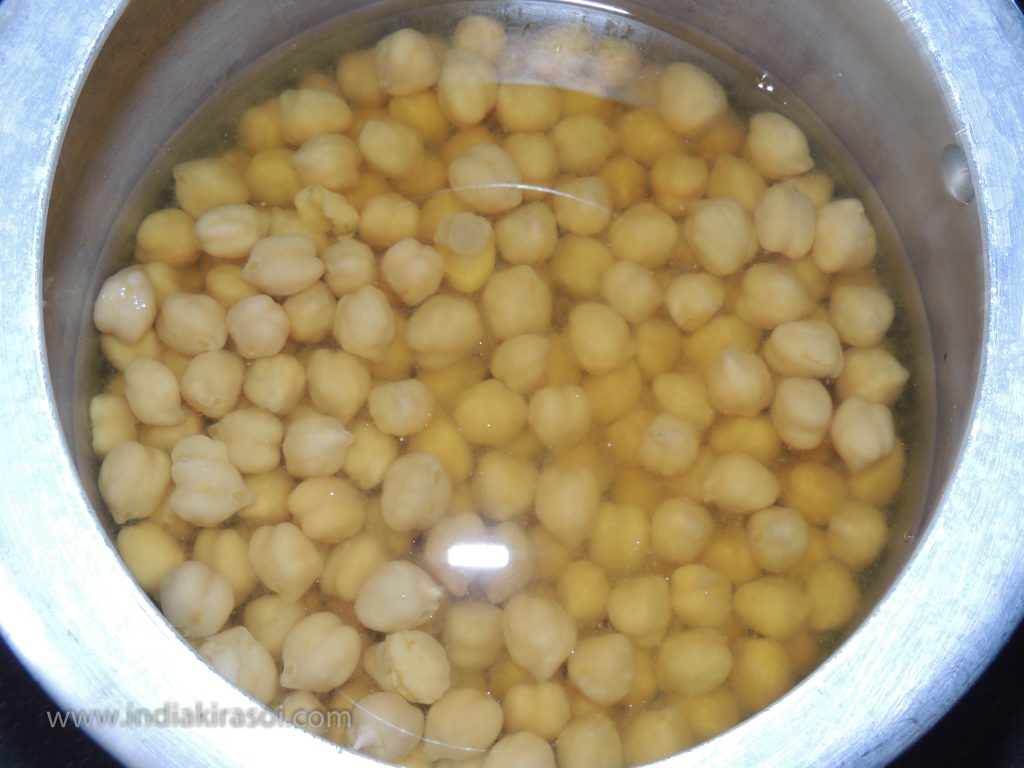
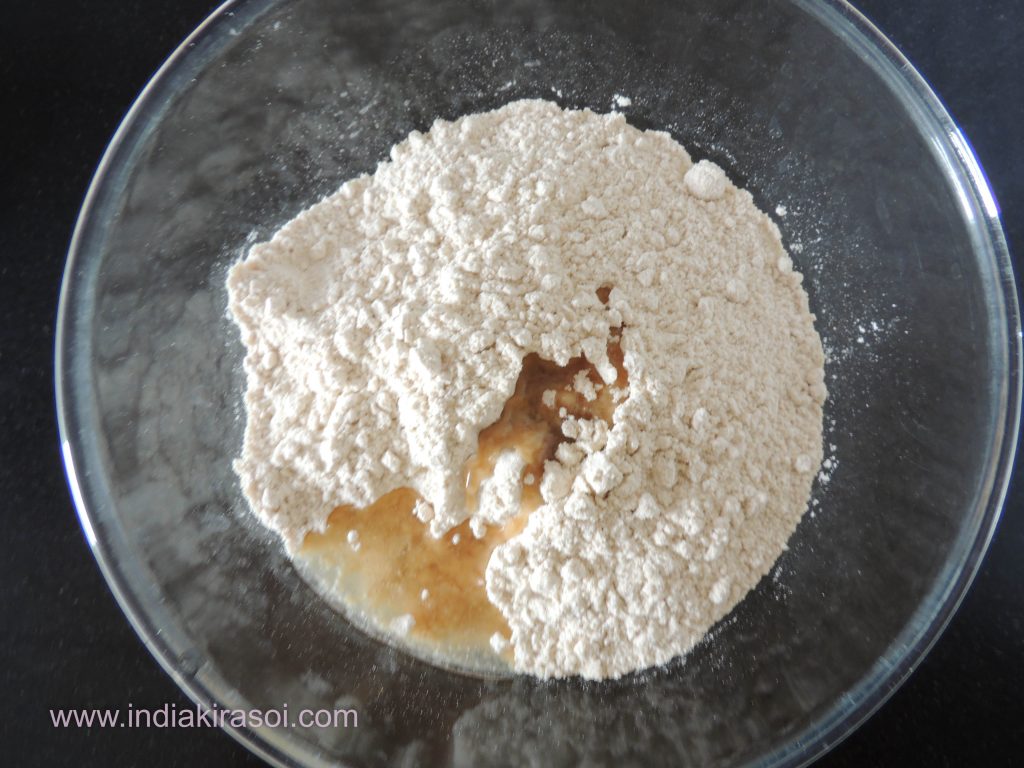
- When the chickpeas get soaked then put the chickpeas in the cooker and add half teaspoon salt.
- Close the lid of the cooker and allow 4 to 5 whistles.
- Turn off the gas after 5 whistles. When the pressure of the cooker drops.
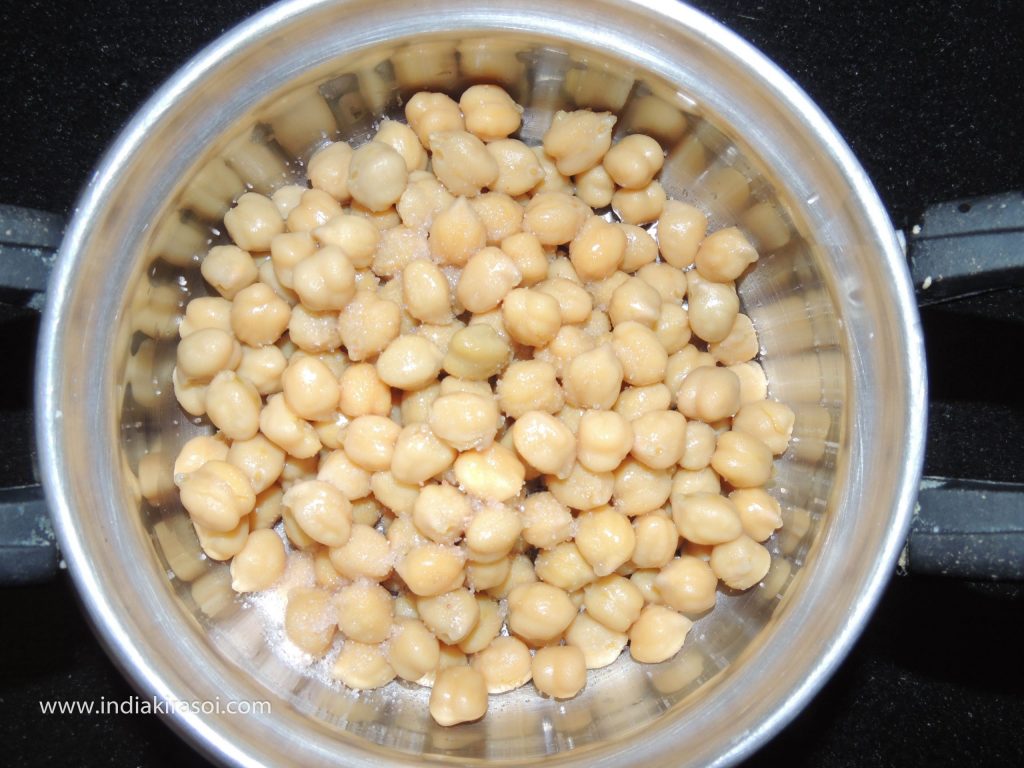
- Then open the lid and see.
- If the chickpeas are cooked then step ahead.
- If the chickpeas are not cooked, apply one or two whistles on the lid of the cooker.
- Because sometimes in different cookers the food is cooked even in low whistle.
- And sometimes it may require more whistling to cook.
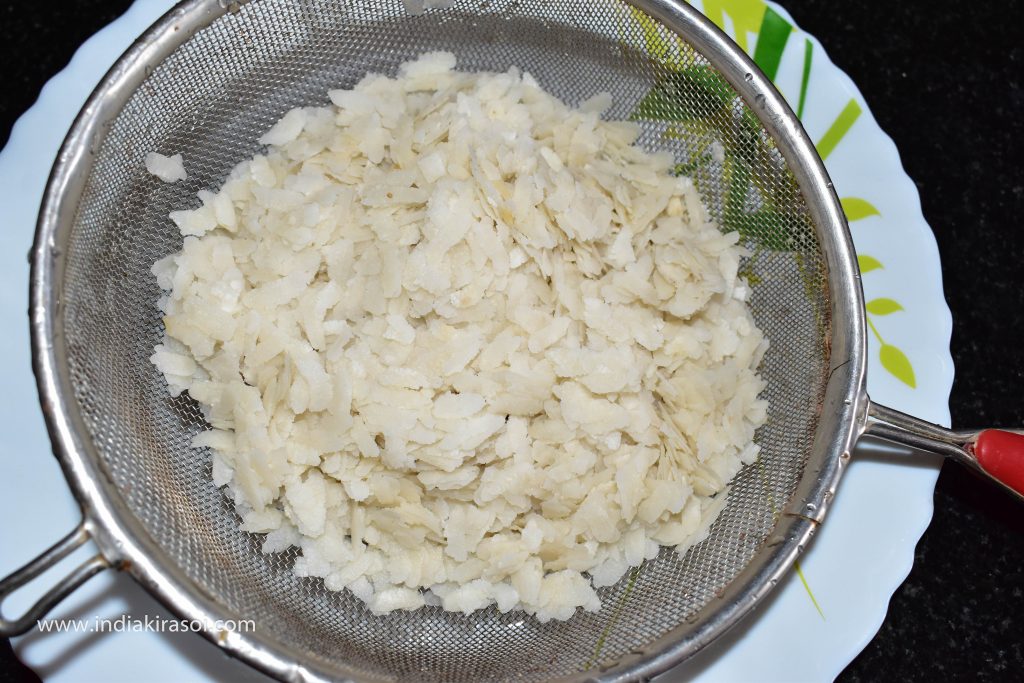
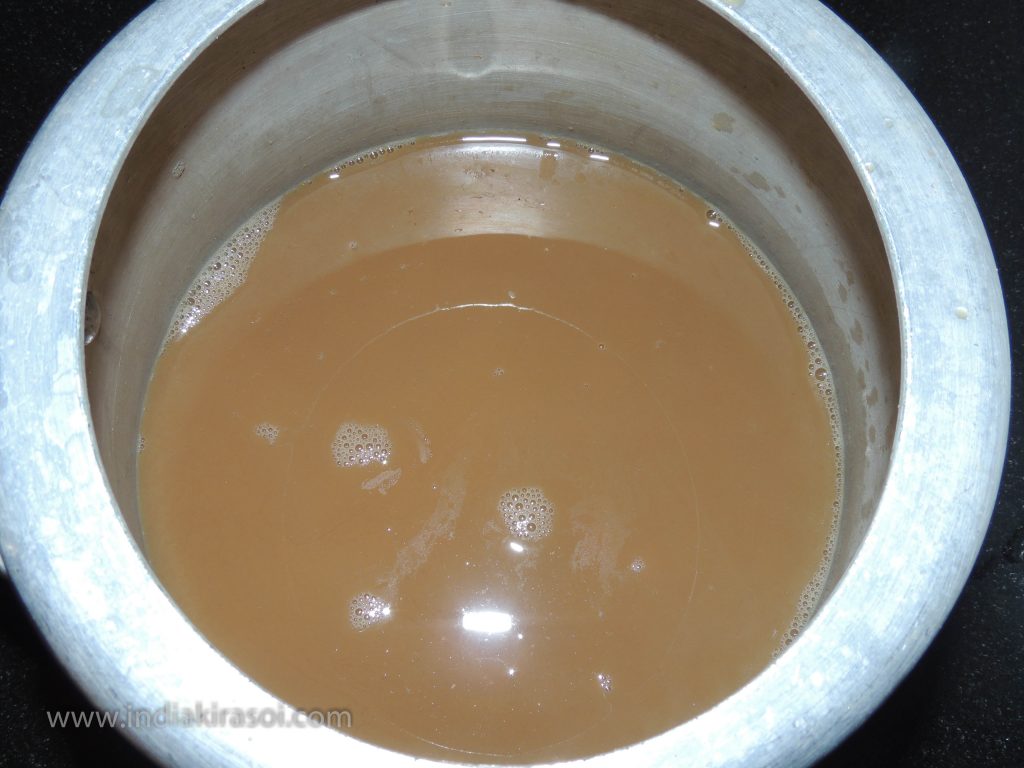
- So if the chickpeas are cooked, drain the chickpeas.
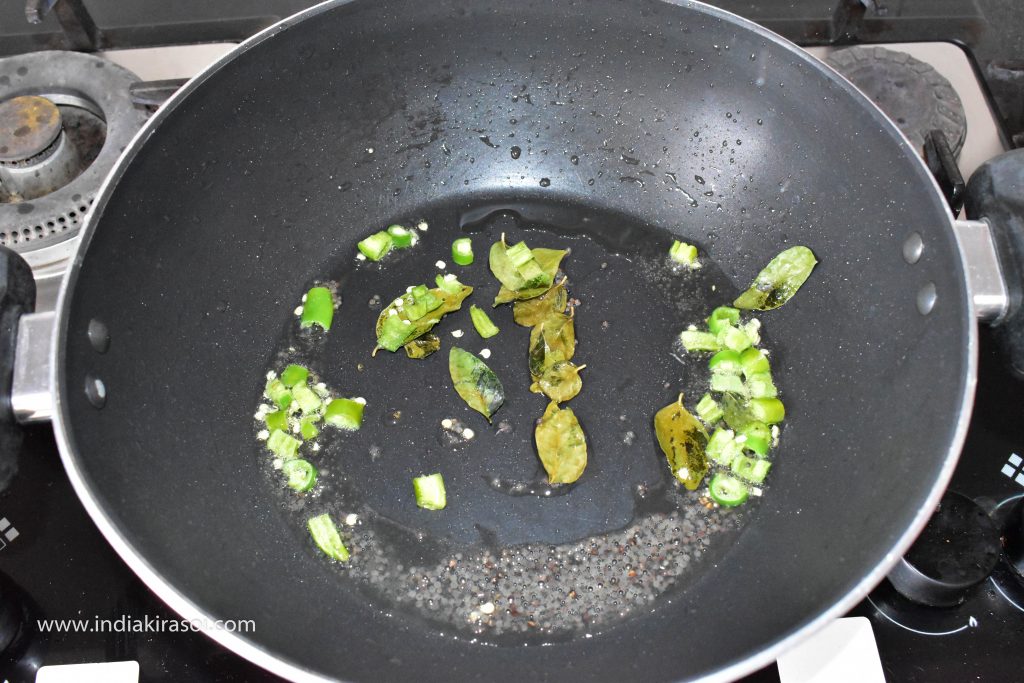
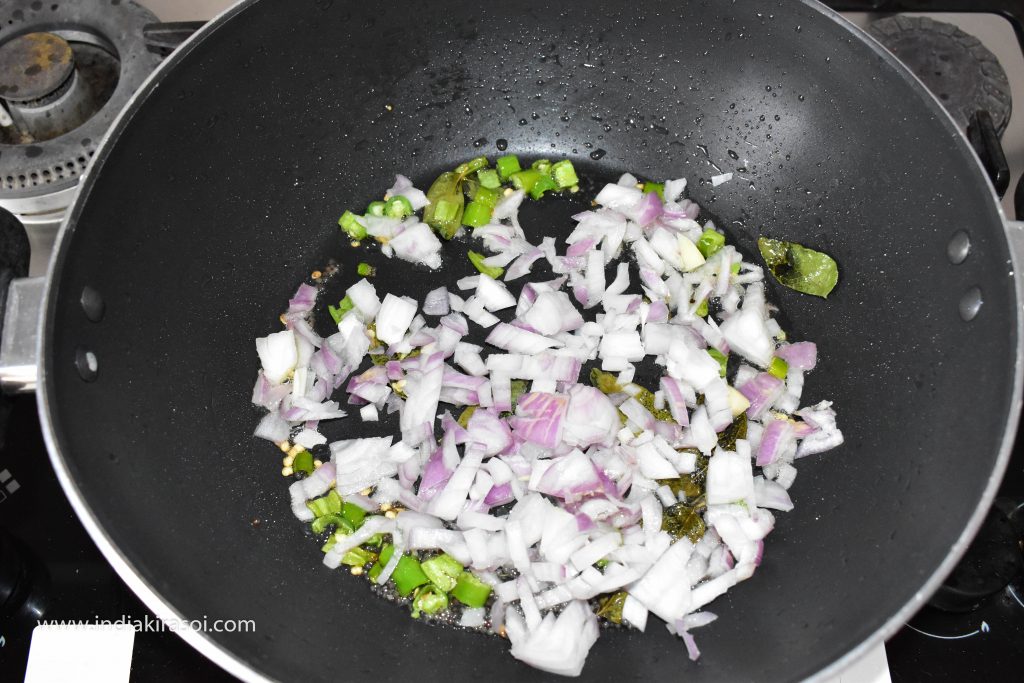
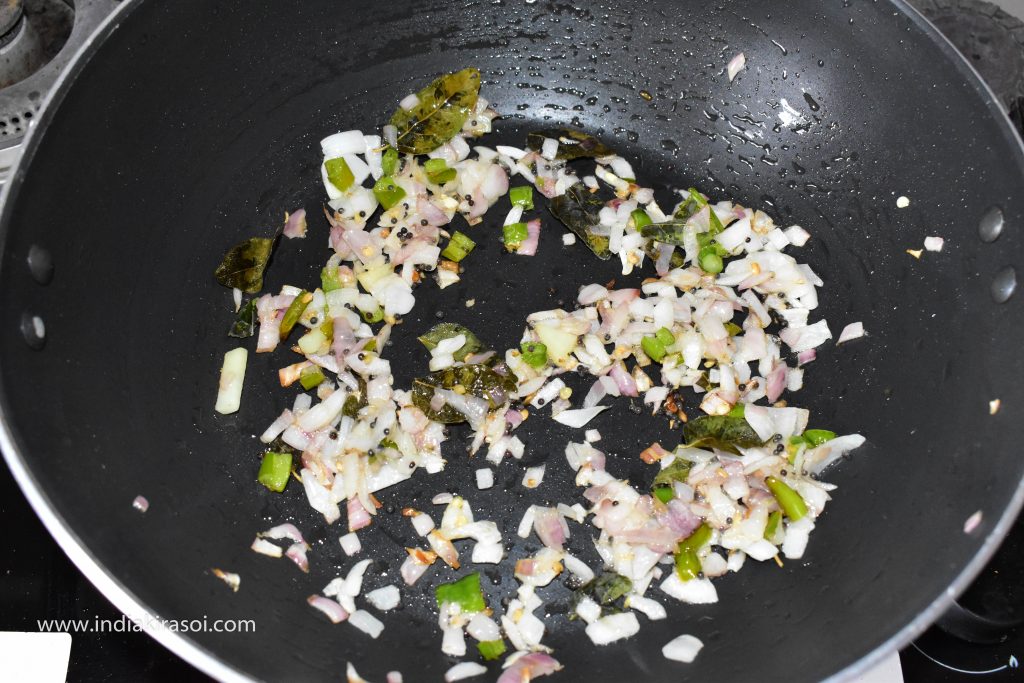
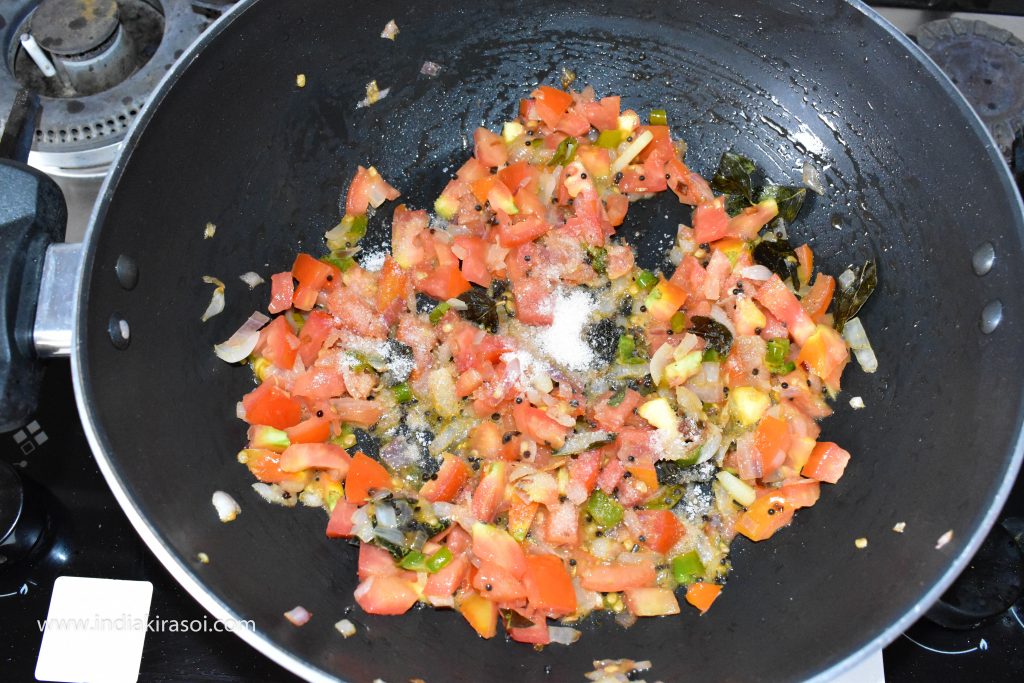
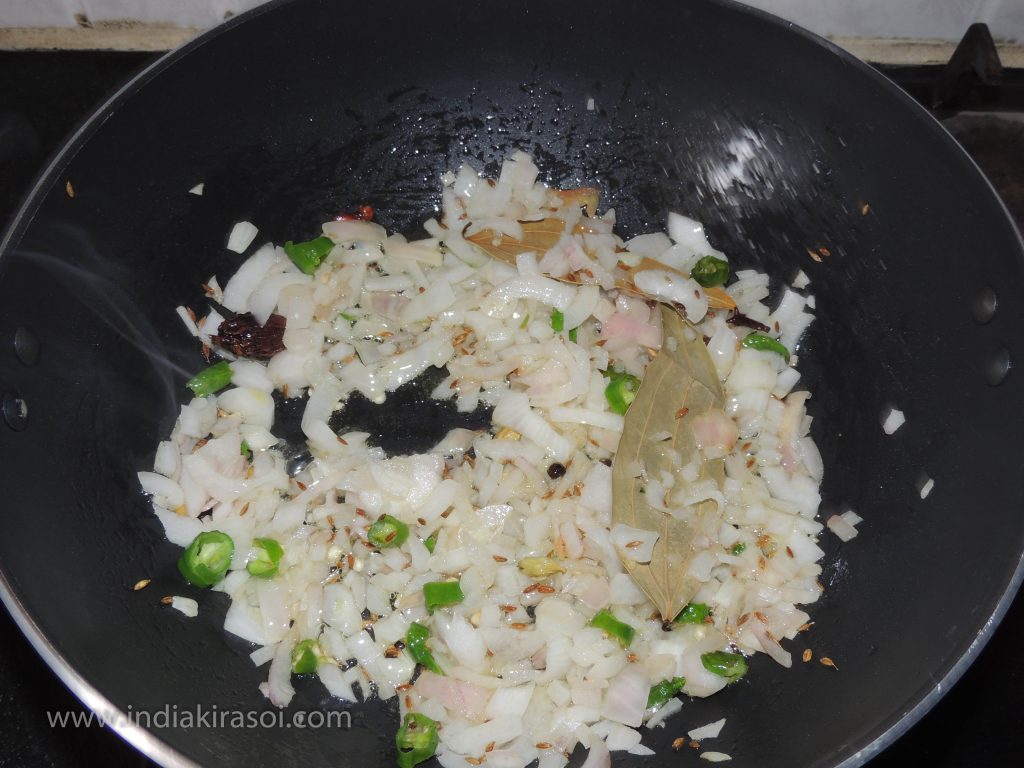
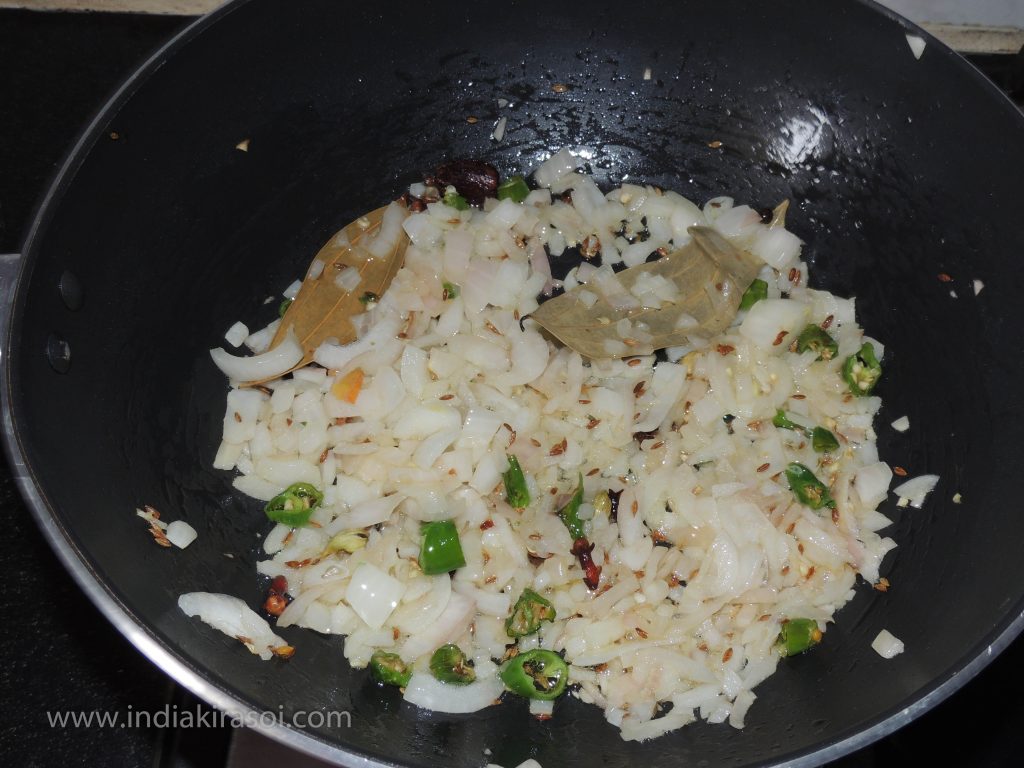
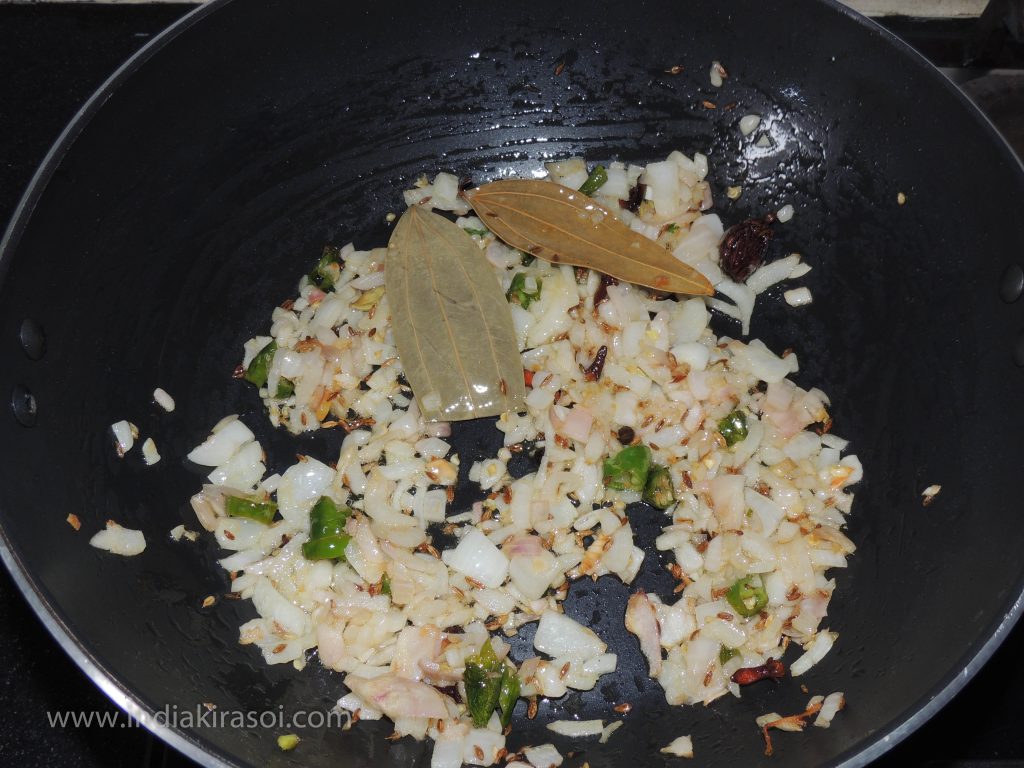
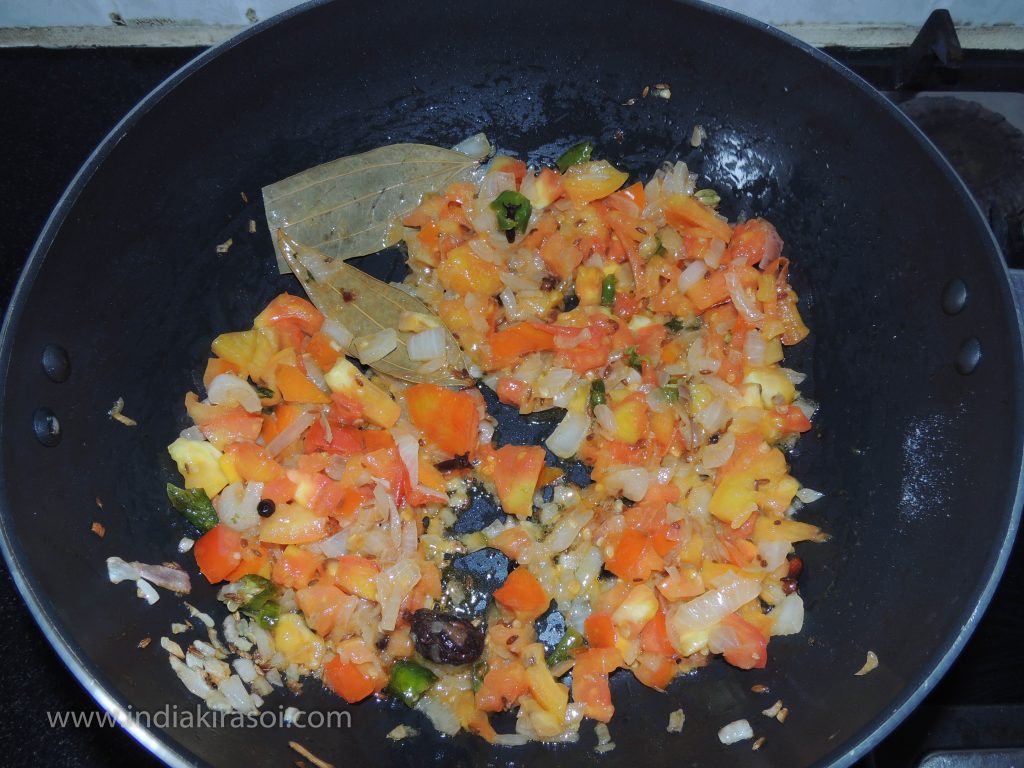
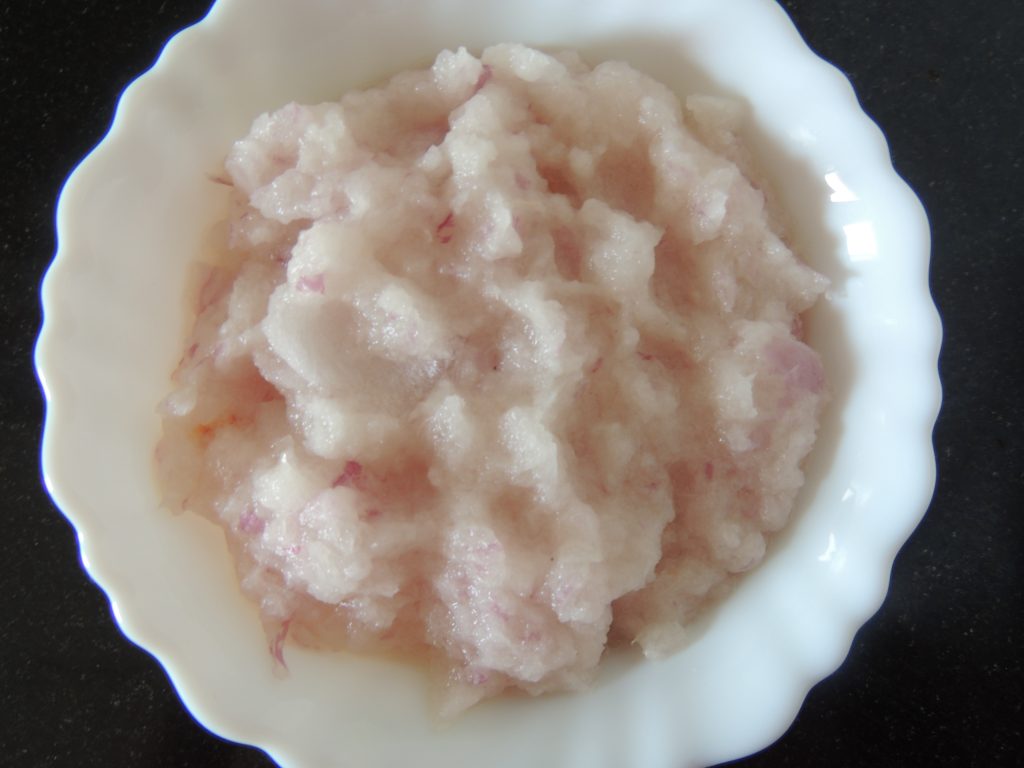
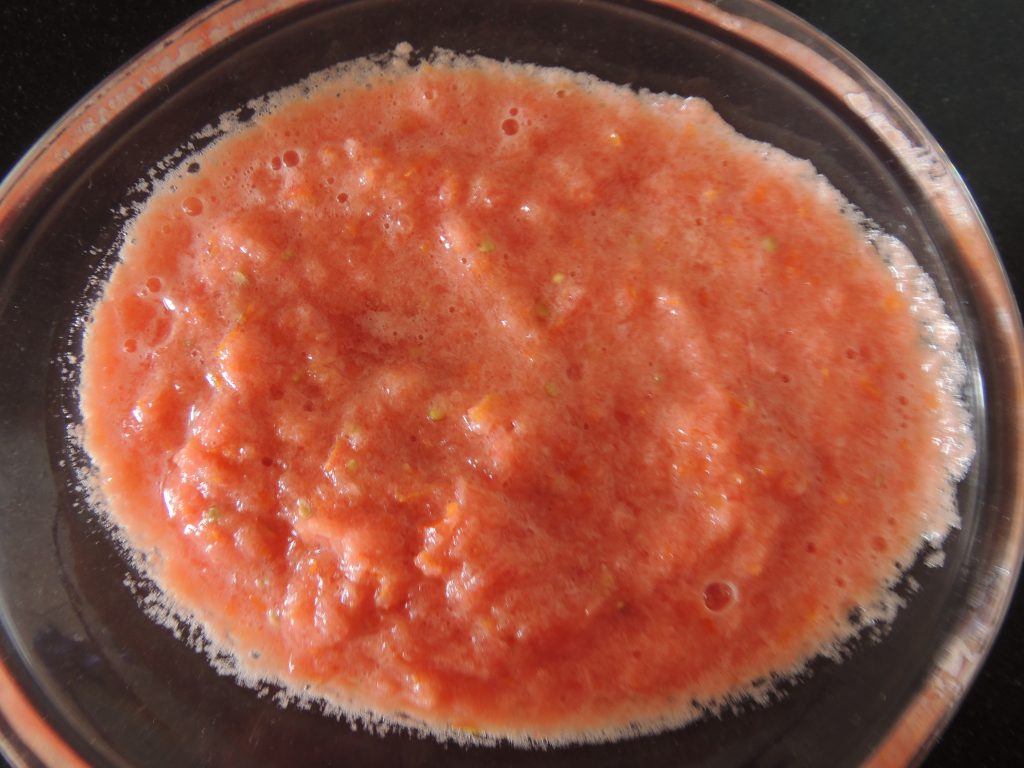
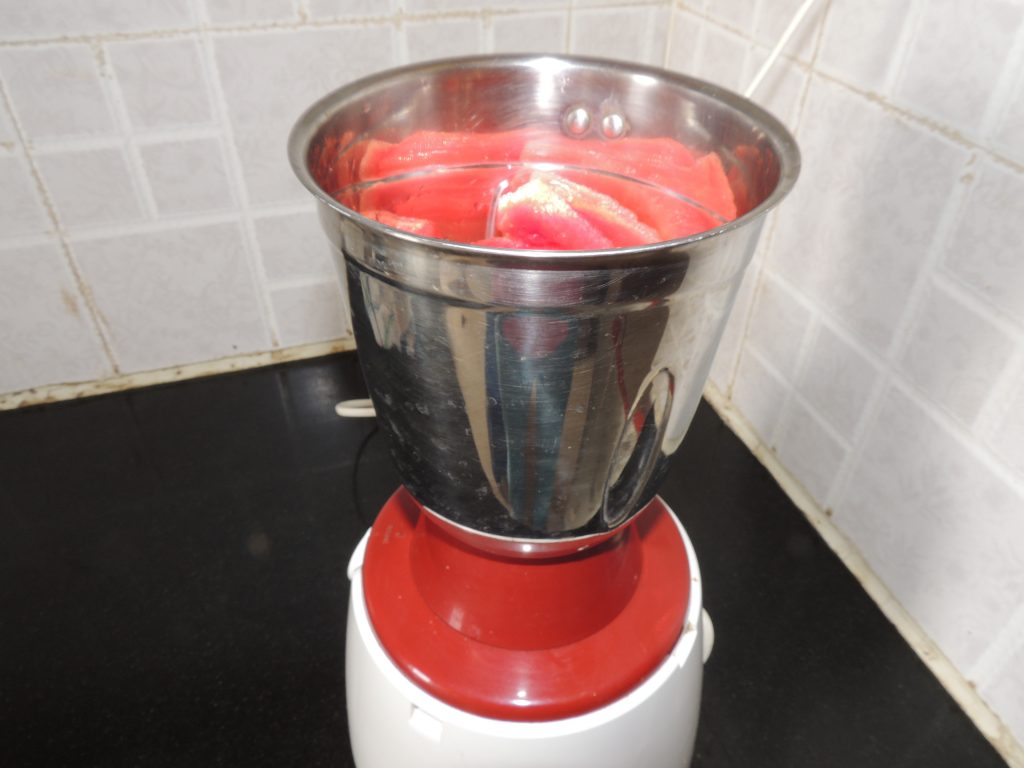
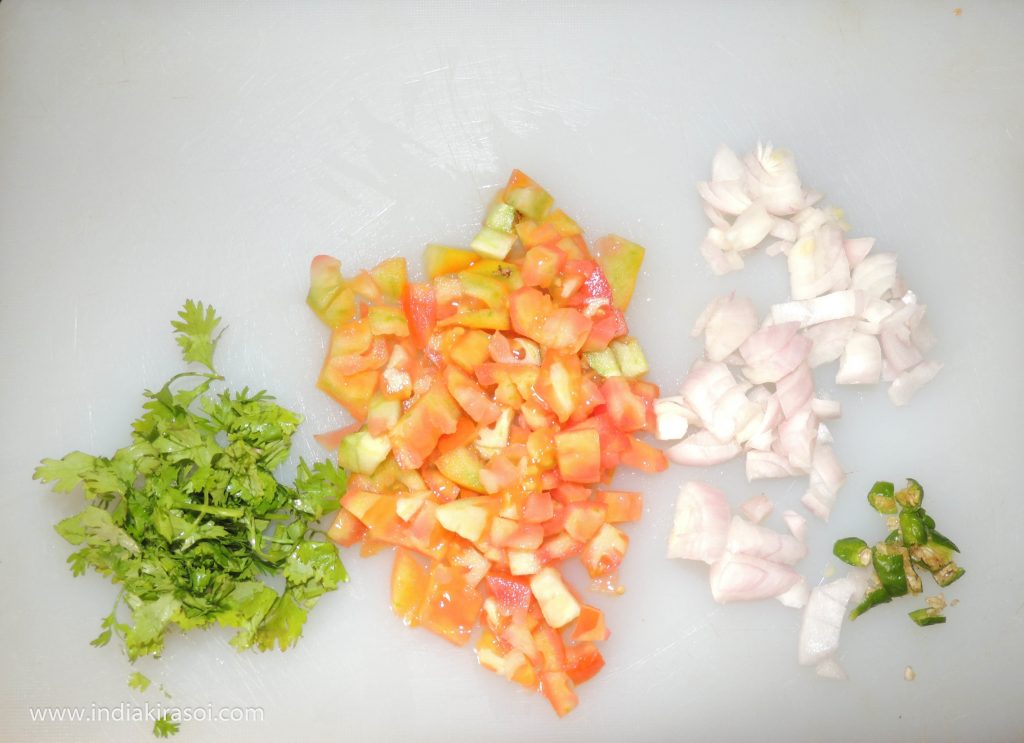
- Now cut an onion into small size, cut a tomato , chop coriander leaves along with green chili.

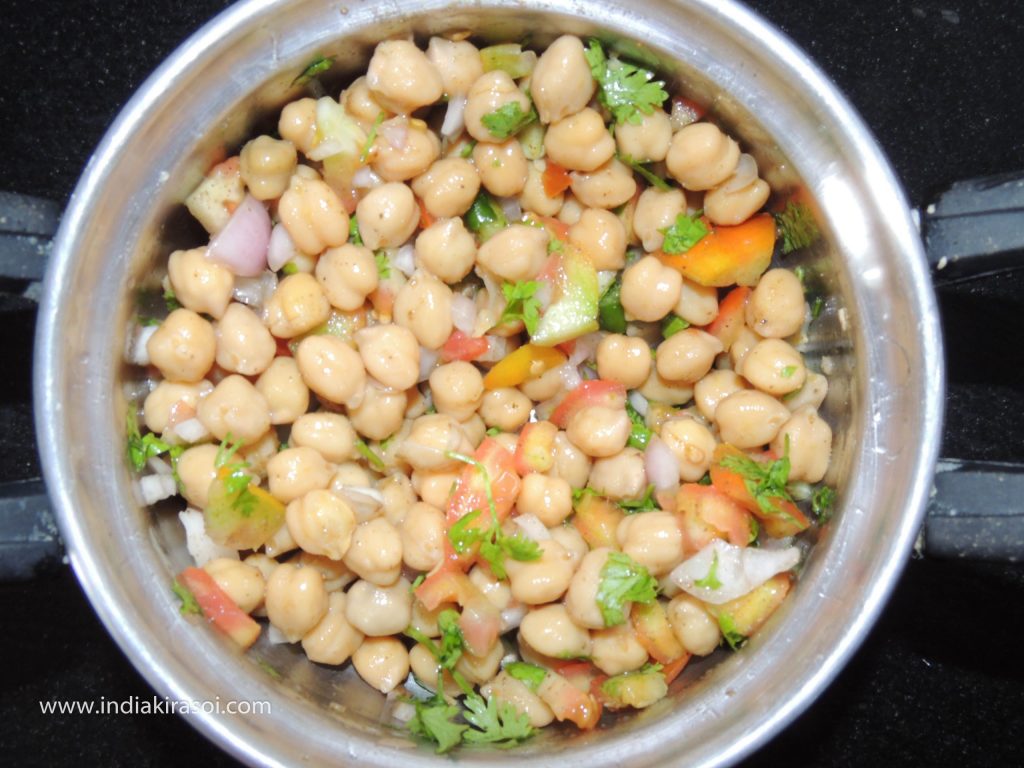
- After this, take the cooked chickpeas, chopped onions, chopped tomatoes and chopped green chilies, chopped coriander leaves in a vessel.
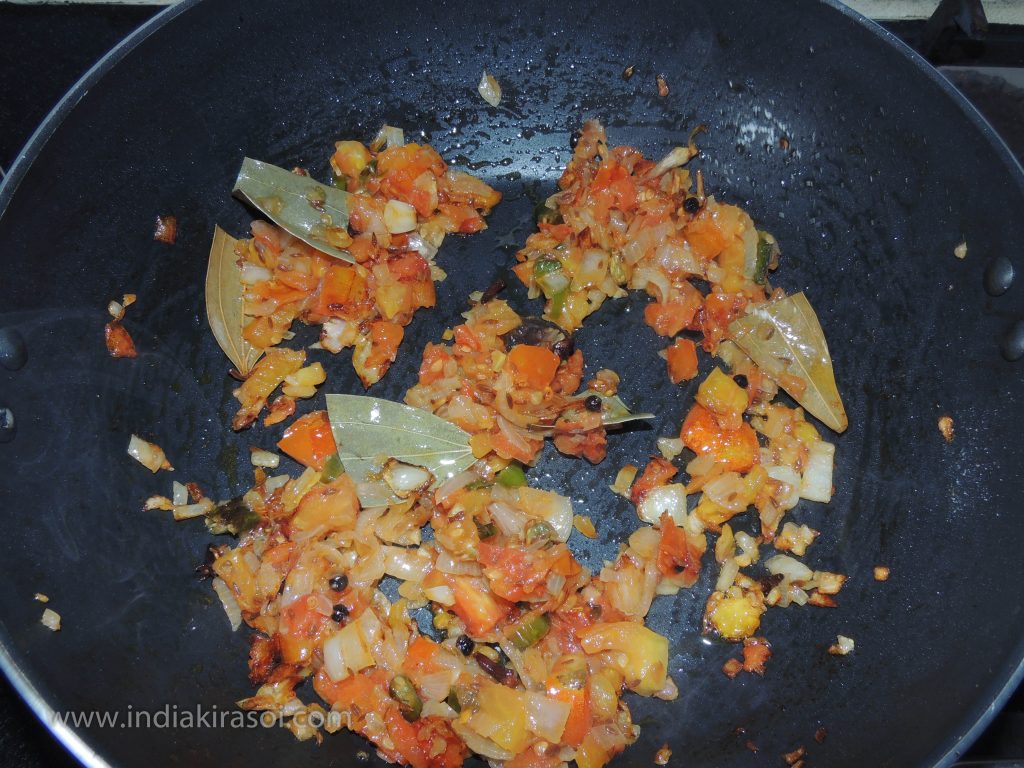
- And mix everything.
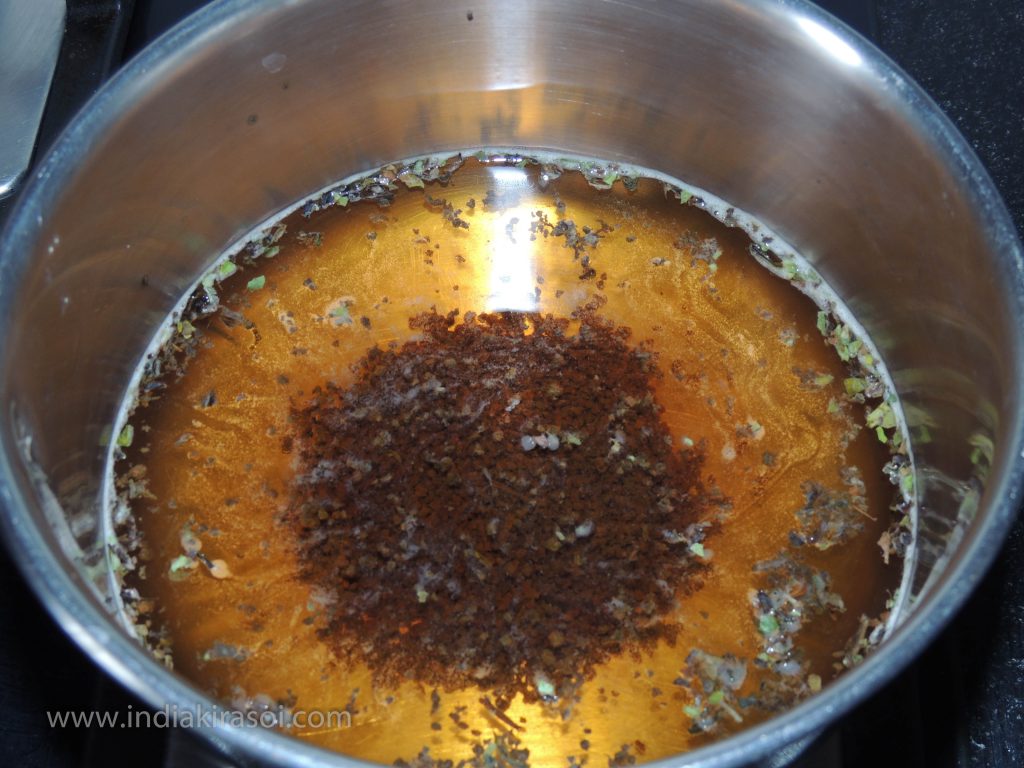
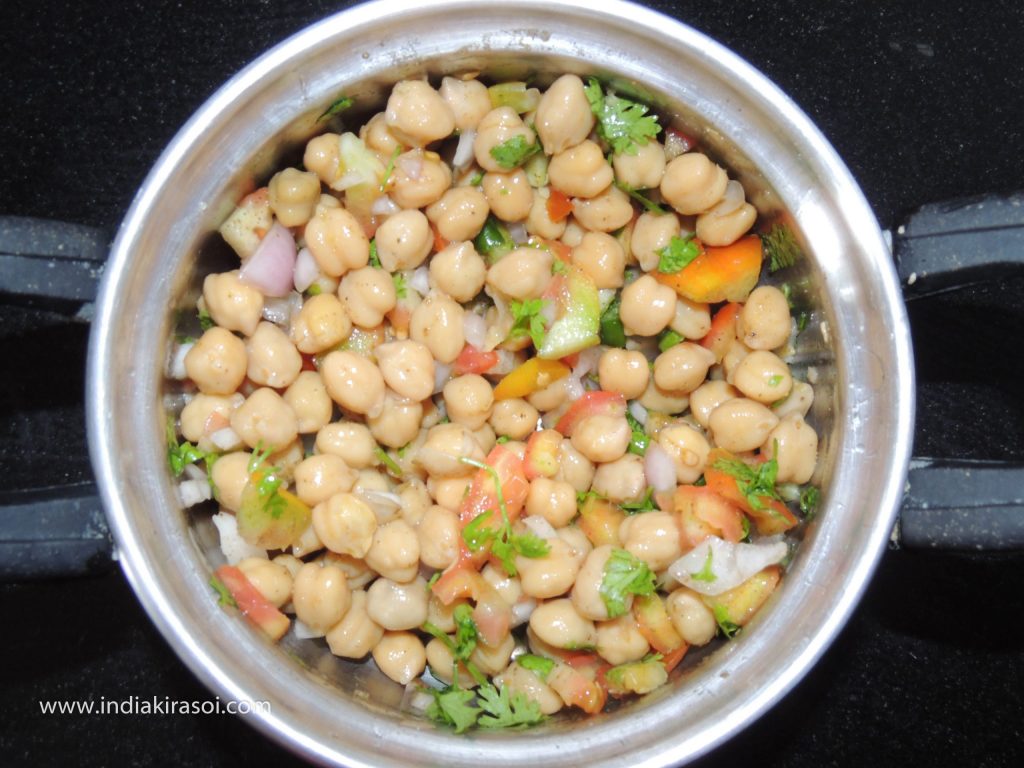
- After this, add salt, half a teaspoon of chaat masala and also add 2 teaspoons lemon juice to the chickpeas.
- If you like more sour then you can increase the quantity of lemon.
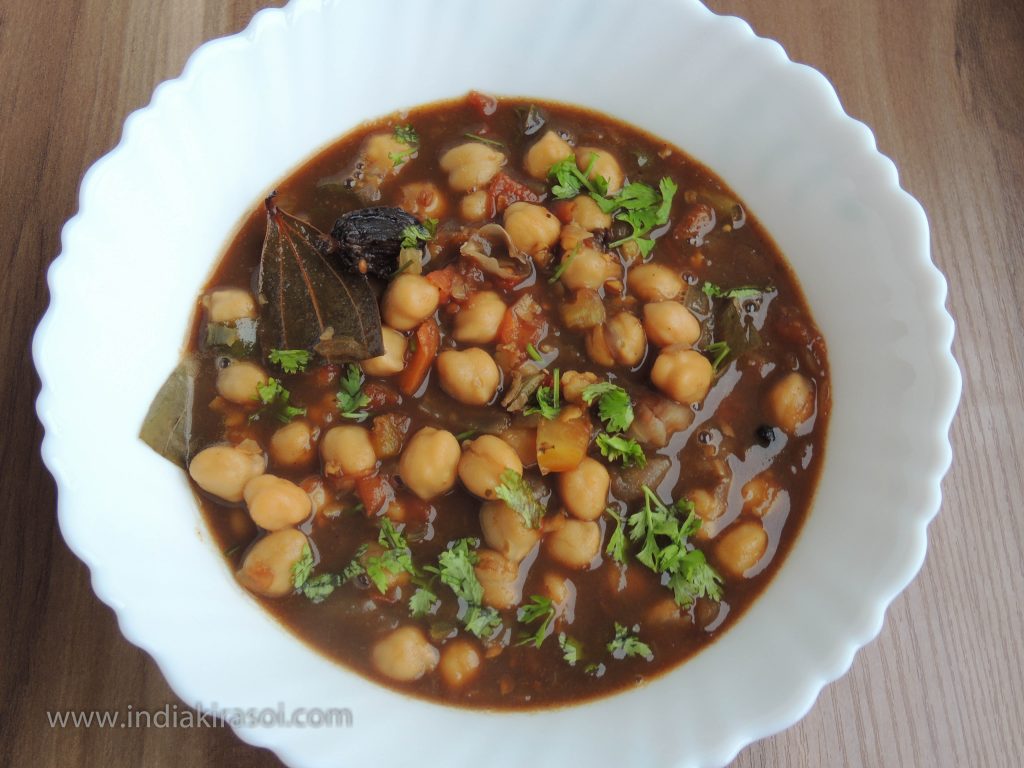
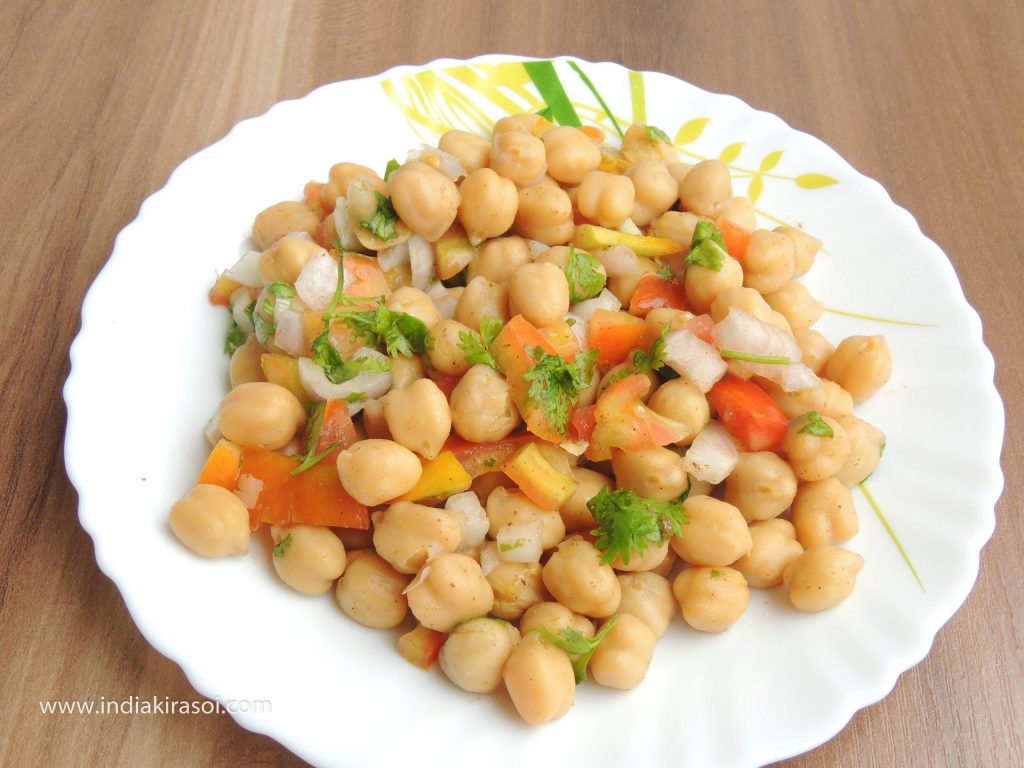
- Garnish with green coriander and serve.
- Chickpea protein salad is ready.
- And take care of health with taste and give feedback in the comment section.

Notes
- Chickpeas serve as an energy and protein source.
- Serving 100 grams of cooked chickpeas gives 164 kilocalories (690 kJ).
- The ripe chickpeas are 60% water, 27% carbohydrate, 9% protein and 3% fat (Table).
- 75% of the fat content is unsaturated fatty acids, for which linoleic acid contains 43% of the total fat.
- It is very easy to make nutritious and tasty chickpeas salad and it is also very tasty in food and also very nutritious for health.